Whether you know them as amaryllis or hippeastrum, we can all agree that these plants are a staple during the festive season. But if you want to grow it to adorn Christmas tables or gift loved ones, you must know how to plant amaryllis bulbs in pots.
Sure, you can buy fully-grown amaryllis plants from your local garden centre or supermarket, but there’s nothing quite like growing your own blooms from the bulb. And if you know when to plant amaryllis bulbs and how to care for amaryllis, you’re already halfway there. There’s a technique to planting the bulbs, though - and one wrong move could result in your amaryllis not flowering.
That’s why we’ve put together the ultimate guide on how to plant amaryllis bulbs in pots. And this step-by-step guide will ensure that you get to enjoy this festive plant over the Christmas period and for many years to come.

What you'll need
As well as helping your amaryllis bulbs grow this year, this bulb compost will also ensure that this festive favourite continues to replenish itself to flower next season, too.
If you love white amaryllis flowers, 'Snow Queen' is ideal. This particular variety is known for blooming at Christmas when planted at the correct time, too.
As amaryllis thrives in well-draining soil, using this potting grit will improve drainage and prevent root rot. Plus, it adds a lovely decorative finish.
Step-by-step
1. Choose the right pot
Like many of us, amaryllis bulbs like to be cuddled during the winter months - which means that they grow best in smaller pots. Ideally, you should grow them in a container that allows for a couple of centimetres on either side of the bulb.
Gardening expert Oliver Johnson at HomeAdviceGuide.com explains, 'They will do much better in a pot that is just a little larger than the bulb. This is because amaryllis prefers to be pot-bound, giving it the impetus to send out a flower stalk in order to reproduce as it cannot spread its roots.'
It's not just the size that matters, though. Morris Hankinson, Managing Director of Hopes Grove Nurseries, also urges amaryllis-lovers to choose a pot with drainage holes.
He says, 'Make sure you use a pot with good drainage holes, as amaryllis bulbs can rot if left in waterlogged soil.'
This pot is ideal for planting amaryllis bulbs, and the matching tray allows you to monitor watering. After all, if you find water build-up in the tray, you're overwatering it.
While it may not be the most colourful, you can plant your amaryllis bulb in this plastic offering before placing it inside a more decorative pot.
If you want to add some more festive sparkle to your amaryllis plant, this plant pot offers stunning silver flecks. And it has the all-important drainage holes.

2. Soak the bulb in water
You might already know that some spring bulbs require soaking, but what about amaryllis bulbs? Well, before you start planting your amaryllis bulb, experts would advise soaking the bulb in room-temperature water for a few hours. This will help to soften up the roots and kickstart the growing process.
And while this step is not entirely necessary, it should help to speed up the blooming process, which could be helpful if you’re trying to get the bulbs to flower before Christmas.
3. Plant the bulb in compost and grit
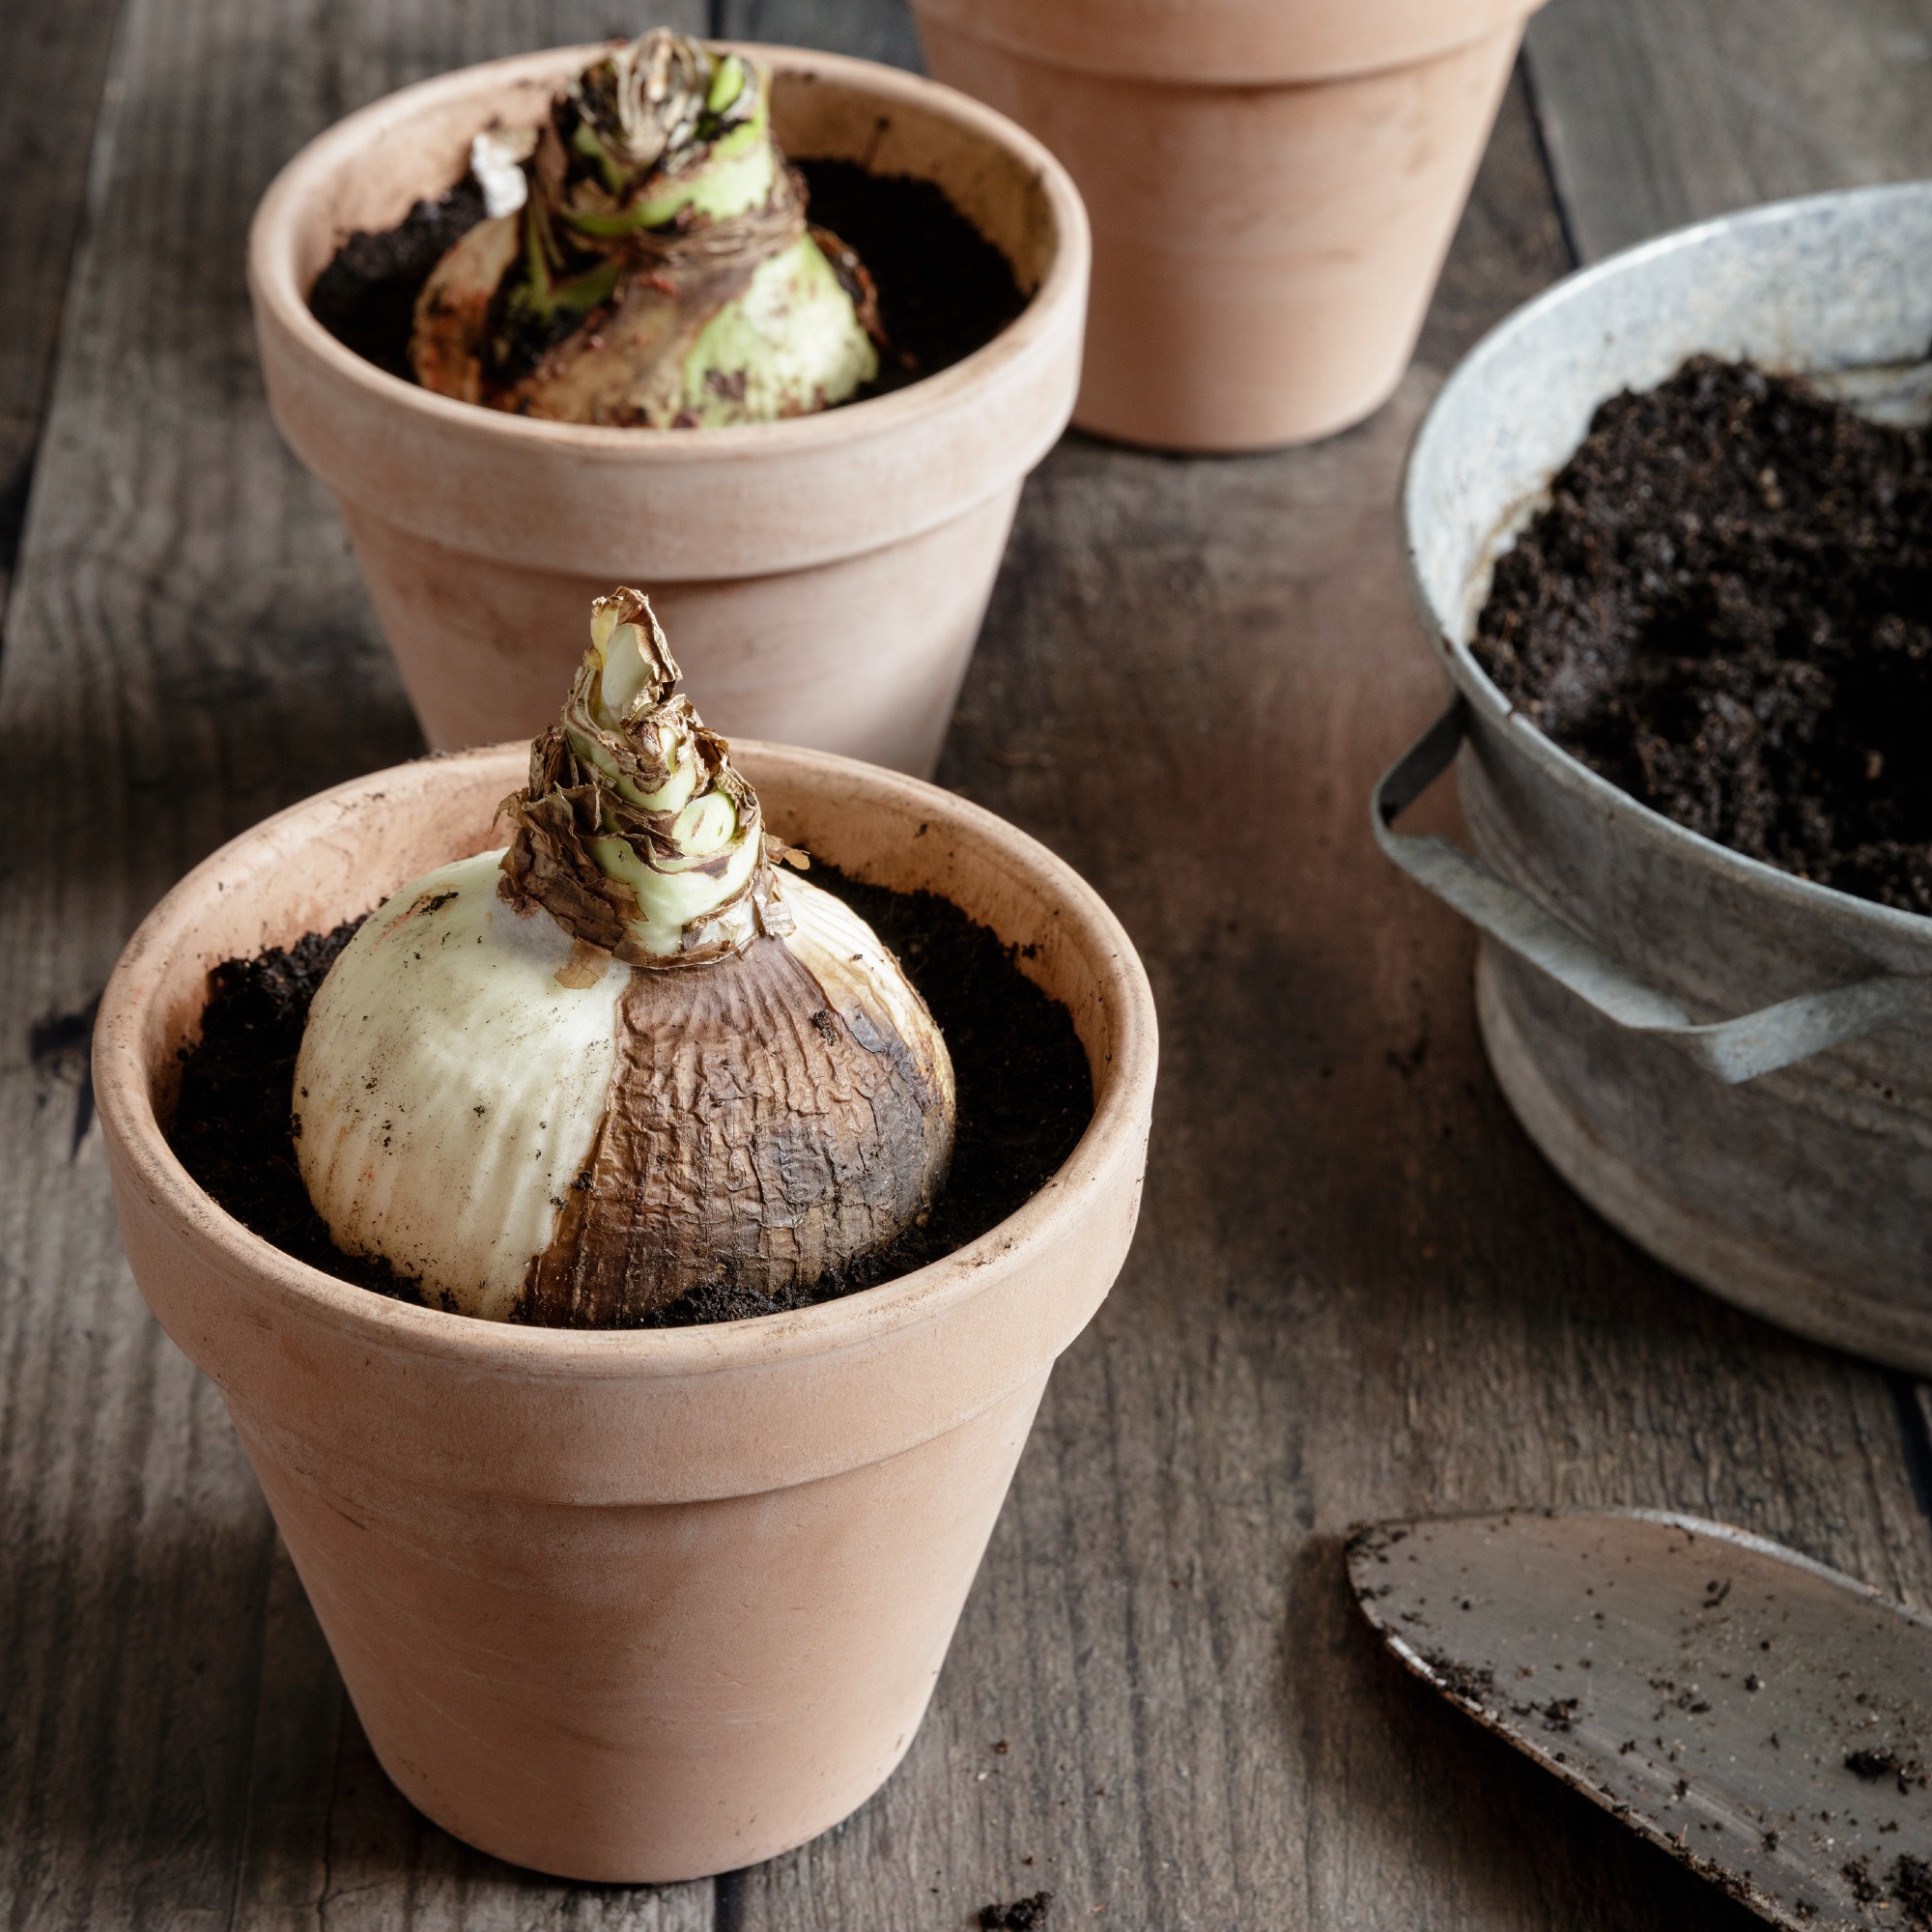
Next, fill up your pot halfway with rich and well-draining soil compost when you've done that. Then, you can plant the bulb, ensuring that the tip of the bulb pokes out of the top.
Fill in the gaps with some more compost, gently pressing down to make sure it settles around the bulb, and then water well.
Finish by adding some horticultural grit to the top of the pot, making sure it surrounds the top of the bulb - but Morris says it shouldn't cover it.
This will help with drainage over the winter months, keeping the compost moist but not too wet during your regular watering schedule.

4. Place in a warm and bright position
Although amaryllis is a popular winter bloom, it’s not the biggest fan of the cold temperatures. So, you need to find the perfect position for it.
Oliver adds, 'Now put the pot in a warm and well-lit position. An ideal temperature is about 21°C. It’s also important to turn the pot regularly as the flower stalk grows to prevent it from leaning towards the light.'
Of course, you also need to keep on top of watering. Morris says, 'Keep the soil moist until you see growth and then water regularly as it begins to flower.'
FAQs
How long can you leave amaryllis in pots?
If cared for correctly, amaryllis can survive for decades in pots. However, they can quickly outgrow their pots if you don’t repot them every few years. Most experts would suggest repotting them every three to four years to be safe or earlier if you spot any signs of your amaryllis being pot-bound.
You should also repot them after flowering, so aim to do this between January and March.
What to do with amaryllis bulbs in pots after flowering?
After flowering, you should then cut the amaryllis flower spikes (not the foliage) back to the base and continue a regular watering and fertilising schedule. Then, place the amaryllis bulbs in pots outside during the summer months. Continue watering regularly during this time.
After summer, in September, you should move the amaryllis in pots to a cooler spot - ideally, around 13°C for two to three months. This will force the amaryllis into a resting period and allow it to preserve its energy. You shouldn’t need to fertilise during this rest period, but you should occasionally water it to stop it drying out completely.
Now you know how to plant amaryllis bulbs in pots, it's time to get cracking.


