
There’s no better time to get creative with your outdoor plant pots than on a beautiful sunny day, with assorted paint colors in hand.
But before going into excitement overload about the prospect of your latest crafty project, learn the steps from the pros to make sure your artwork lasts the test of time.
We spoke to painting experts and designers for a three-step guide on how to make your best plants for pots shine even brighter and last.
Why paint your plant pots?
There are a few reasons why you might take the plunge and paint your outdoor pots, including a failure to find a design you love, or that matches your patio or backyard aesthetic. You might have broken the one you love and want to bring in design elements for it, or simply, because you love a bit of crafting: why not apply an artistic and custom design to your plant pots yourself?
‘Painting outdoor plant pots can enhance the aesthetic appeal of a garden, adding color and a personal touch to the space,’ says Gregory Pittman, Director of Commercial Painting Services at Five Star Painting, a Neighborly Company.
Stephanie Lindsey, Principal of Etch Design Group, adds, ‘Paint can quickly add character and color. It’s also a generally quick and inexpensive way to change or update your outdoor space.’
If you’re new to painting or feel a bit hesitant to give painting plant pots a try, fear not. The great thing about this sort of DIY is that it can cater to any skill level, leaving you with something interesting, fun and memorable regardless of whether you’re destined to be the next Picasso.
Step 1: Thoroughly clean the pot

There are many reasons why you should clean garden pots, but especially so if you are planning on adding paint to a pot that's been in use and a bit worse for wear.
Remove mud, dust, mildew or mold from the surface before you get started. If this debris remains on the pot, it will get caught up in the paint and become increasingly visible to you once the paint dries. These painted spots of debris could flake off in the future, leaving parts of your old, unpainted pot exposed.
To clean your pot, rinse it out with warm, soapy water, then give it a good scrub. Afterward, leave the pot to dry thoroughly naturally to prevent lint and fluff from towels sticking to the pot's surface and disrupting your painting later.
Step 2: Lightly sand and prime
‘Once the pot is completely dried, lightly sand the surface and then apply a coat of primer,’ says Gregory. Try the water-based Rust-OLEUM primer available on Amazon which dries in one hour and blocks stains from showing for the perfect outdoor painting base.
Whilst this primer doesn't require sanding first, many do to help primer and paint adhere to the surface. It'll also help avoid your handiwork flaking off in time when left outside in all weather.
It is recommended to allow most latex-based primers a drying time of up to three hours, even if they appear to be touch-dry in far less time. This allows the primer adequate time to cure, a fundamental factor in creating a well-executed paint job.
Step 3: Paint and seal

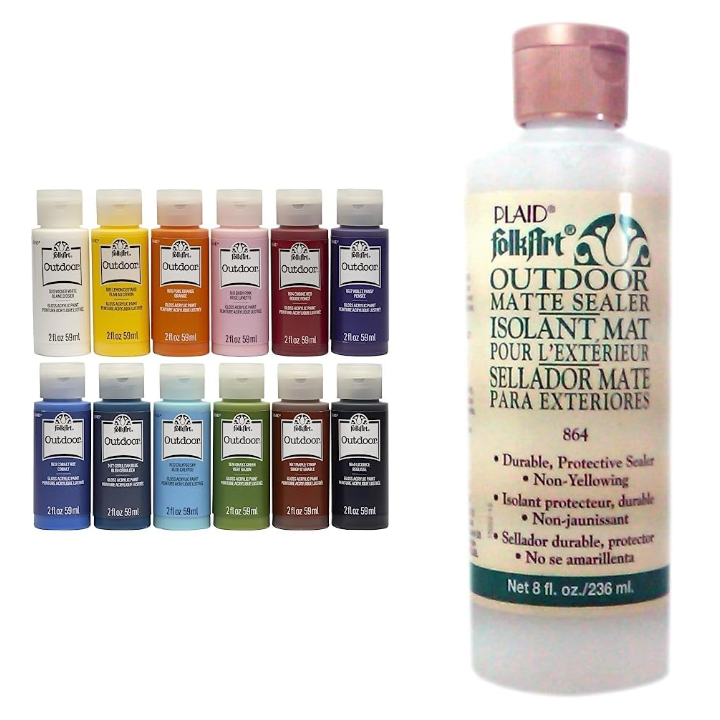
Your finished product will be subjected to additional wear and tear from being outside in the changing seasons, from wind and rain to freezing or high temperatures. Pick a durable paint that will protect container plants from winter weather and more.
‘I recommend using acrylic or latex paint that is suitable for outdoor use because it is durable and weather-resistant,’ says Gregory. ‘The paint can last several years if it’s properly applied and maintained.’
Most paints will state on the can whether they are suitable for outdoor use, like the Kilz Latex Outdoor Paint from Walmart, but if you’re at all unsure you can always consult a member of staff or ask customer service.
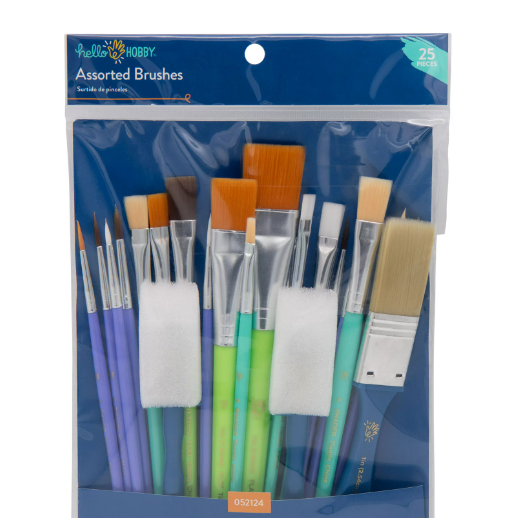
Apply multiple thin layers of paint one by one onto your pot with a small brush that grants you more control. Try your best to paint your brush strokes in the same direction if you’re starting by painting the pot a solid color so you don’t end up with a streaky finish. Allow each layer of paint a minimum of an hour's drying time, depending on how much of the surface area you are painting.
‘It’s best to remove the plant from the pot you’re painting first if you aren’t painting brand new pots and to wait at least twenty-four hours for the paint to dry before using the pot again,’ says Gregory.
Finish with a sealant such as Aleene's Acrylic Spray Sealant from Amazon, which is waterproof and durable, sticking to most surfaces with ease and protecting your paint-work.
FAQs
What simple designs could I paint on my outdoor plant pots?
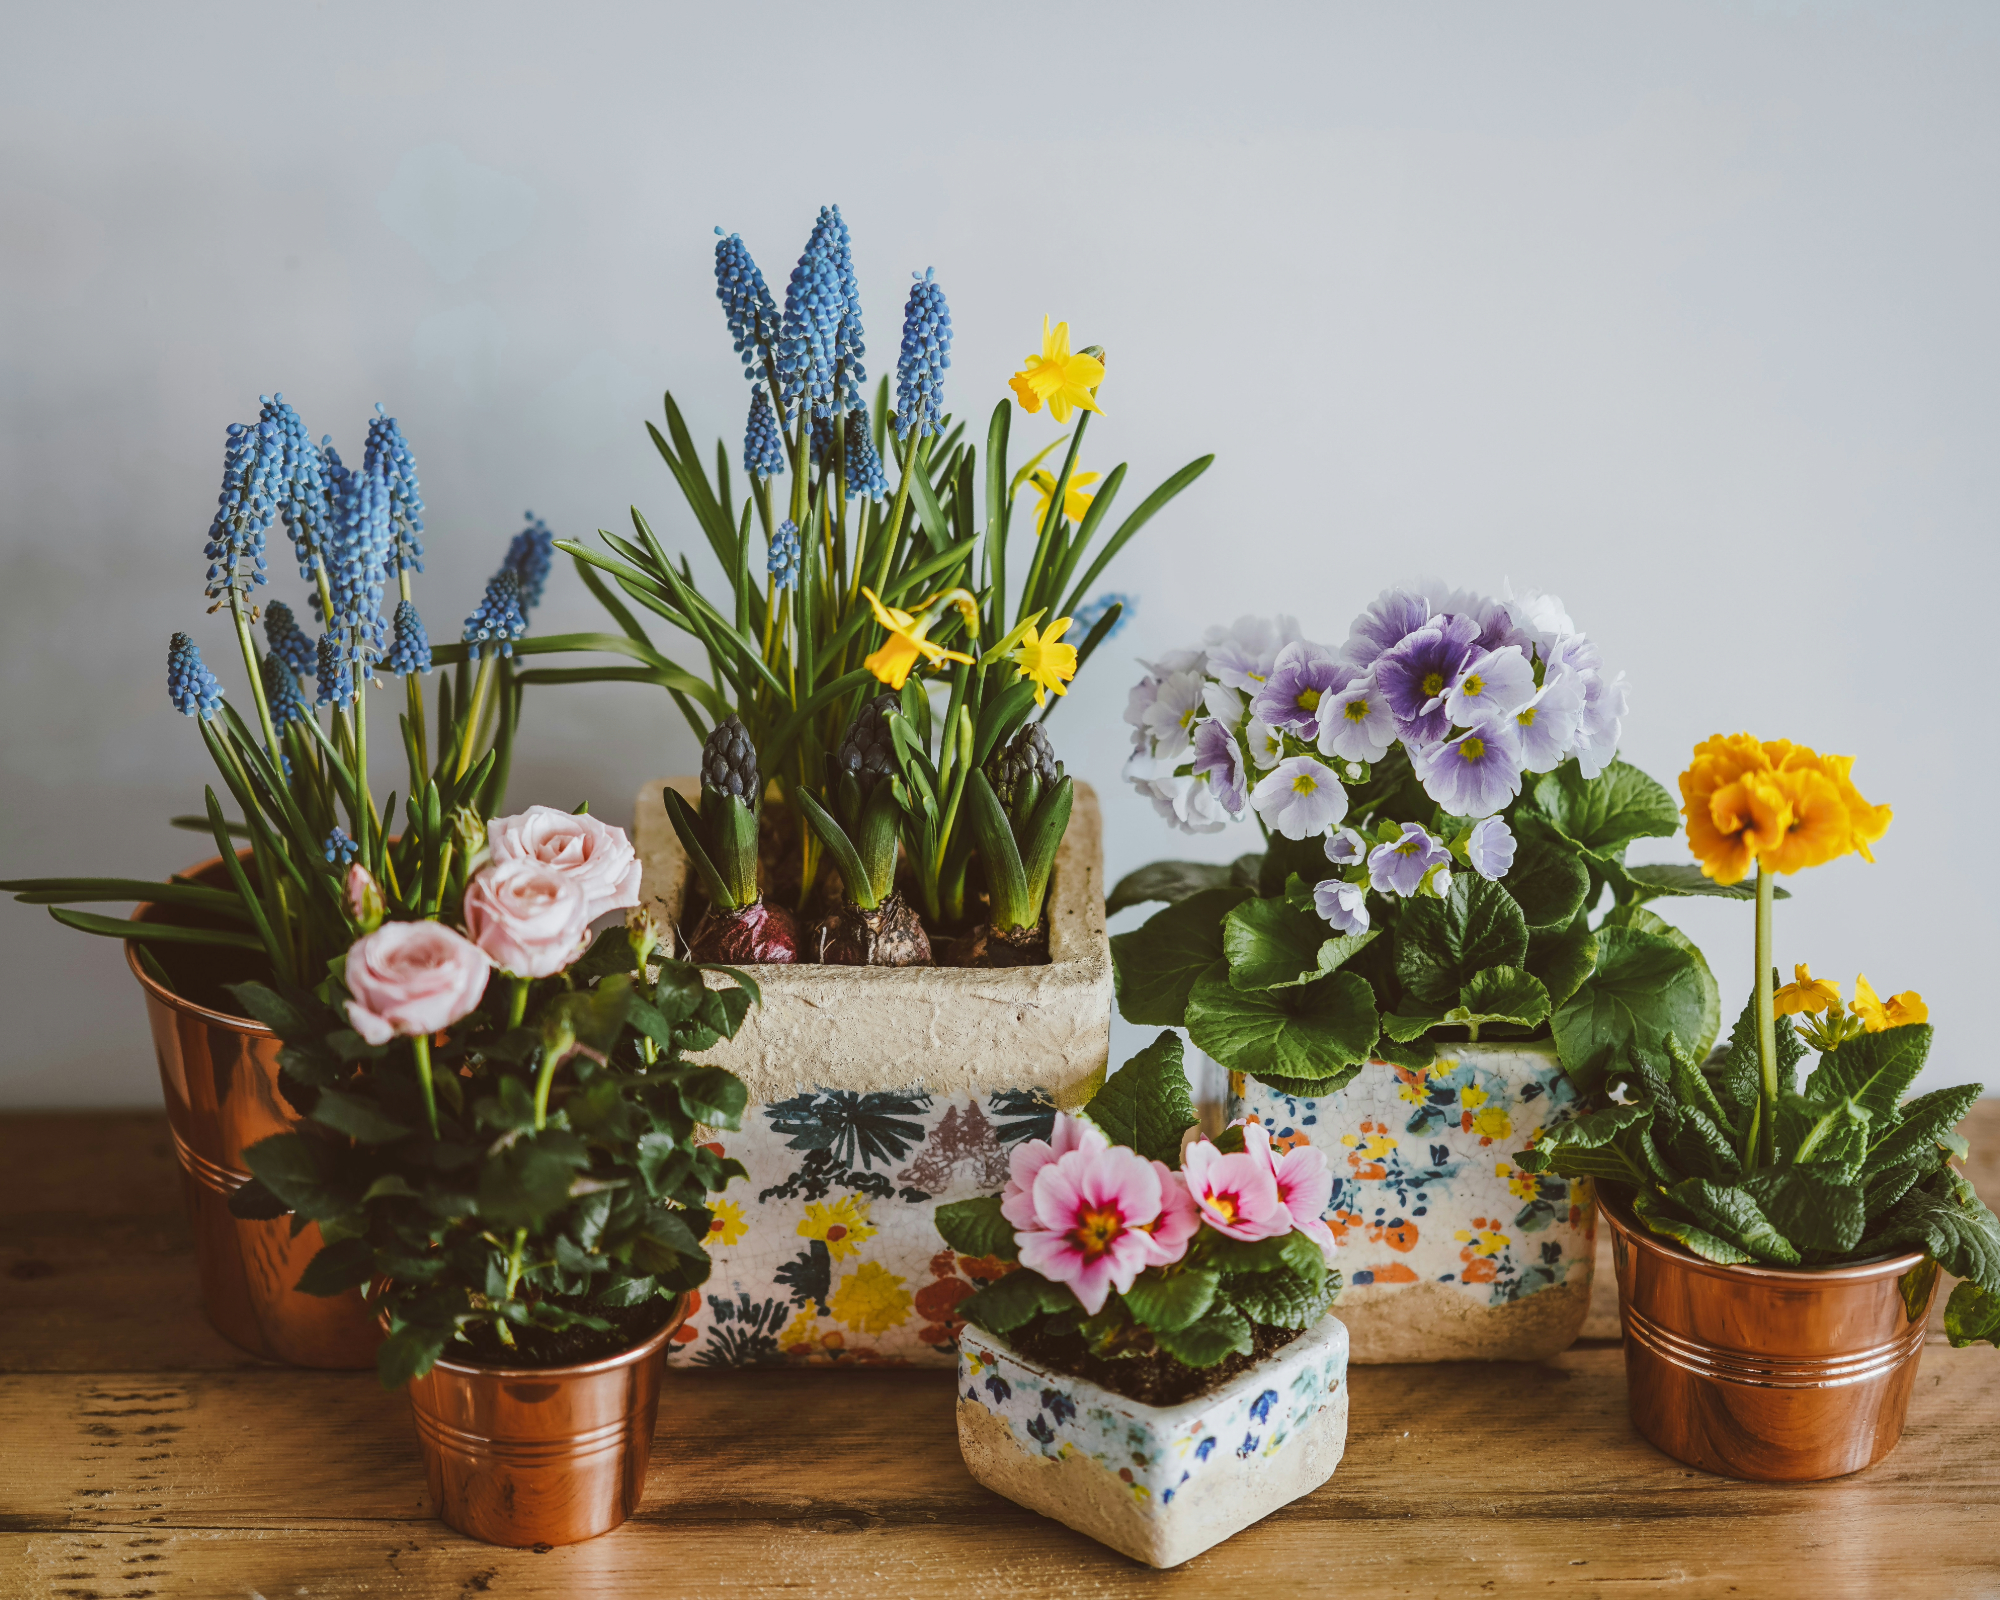
Elana Mendelson, Luxury Interior Designer and CEO of Elana Designs encourages you to focus on fun with this DIY, not perfectionism. ‘Instead of focusing on perfecting the piece, focus on the color and aesthetic to be achieved. Is it a bright bold planter that serves as a focal point or a more muted, subdued pot to highlight the plants inside?’
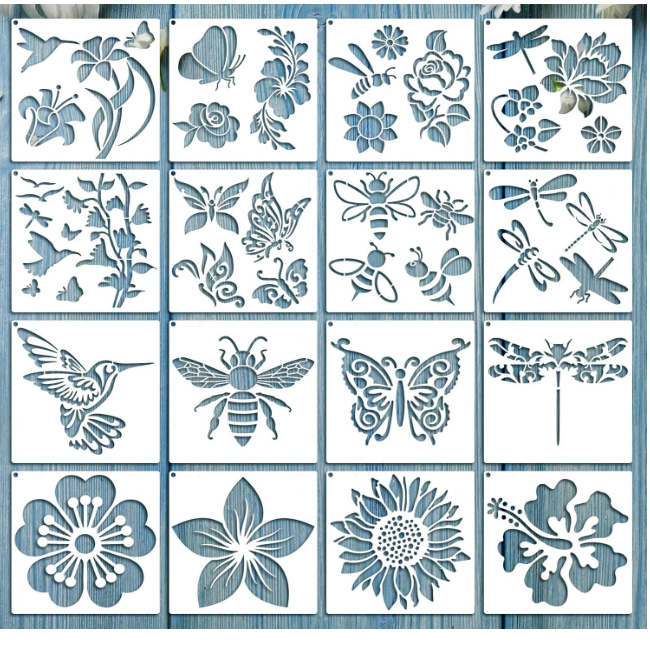
She continues, ‘Simple ideas for painting planters that won’t add too much time or stress would be to spray paint the planter all one color, add multicolored stripes or a simple flower design consisting of a center and a few petals. You could also paint cute garden phrases like “Smell the Flowers” or “The Garden is My Happy Place” on the pot.’
If you’re looking for a super simple way to create a stripe design, Stephanie has just the trick for you: ‘You can even paint patterns using painter’s tape to create designs if desired’.
The tape will help create a guide for you to paint the crispest, most professional-looking lines.
If you're a serial arts-and-crafter, consider one of our beautiful craft room design ideas to set up a room dedicated to your hobby.


