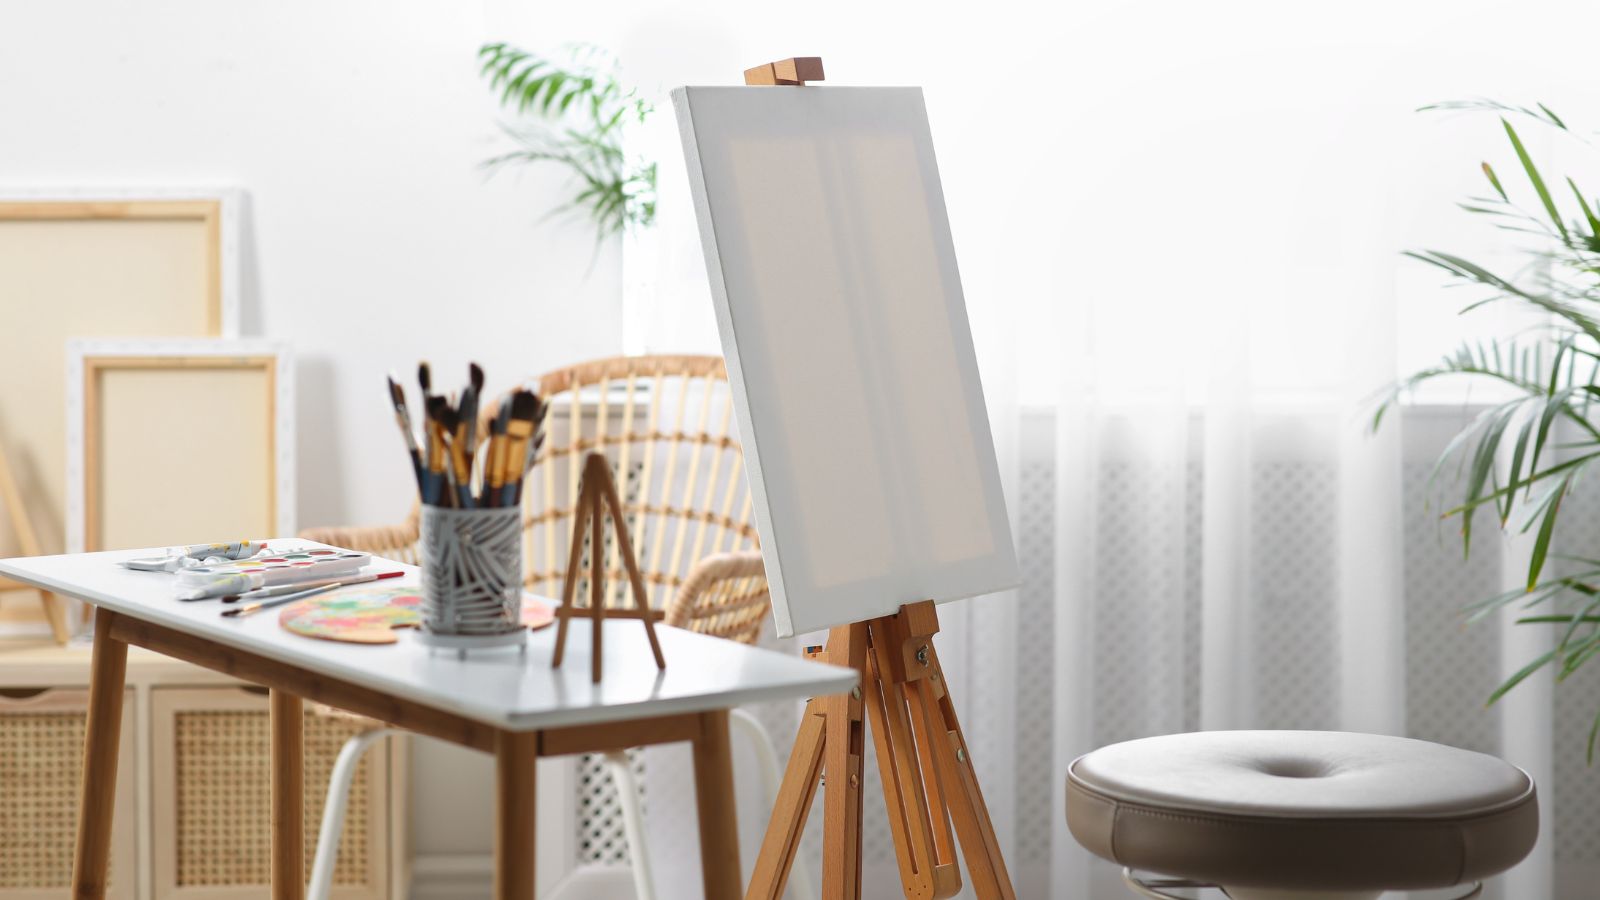
If you've been lucky enough to turn an empty room in your home into a craft room you’ll know that keeping this space free from clutter is essential for ensuring you can embrace your creativity with as little stress as possible.
Unfortunately, rooms like these are prone to becoming overwhelmed, disorganized, and filled with 'stuff'. This is usually due to the sheer number of items many of our beloved hobbies require – from sewing room materials to notebooks and paintbrushes.
But neglecting to declutter this room is a mistake; cluttered craft room ideas that are difficult to clean and manage means you’re unlikely to want to dive into a much-loved hobby at the end of a busy day.
This is how to organize a craft room with top decluttering tips to finally get your craft room in tip-top shape.
How to organize a craft room
The key to organizing a craft room effectively is to ensure you’ve dedicated space to everything you need to store and do. Before implementing any home organizing ideas or investing in any storage ideas, be clear about how you’re planning to use the space and put together a list of the things you need, from work surfaces and seating to supplies and equipment.
Sort through your existing stash and replenish anything that’s running low but be strict with yourself – clutter is not conducive to creativity, so you want to keep things as streamlined as possible.
‘Do you really need three cutting machines for everyday crafting? Probably not. Be strict with yourself and donate any unwanted machines and materials to schools, churches, and other non-profit organizations, advises professional crafter Tisa Jackson.
1. Arrange items based on how often you use them
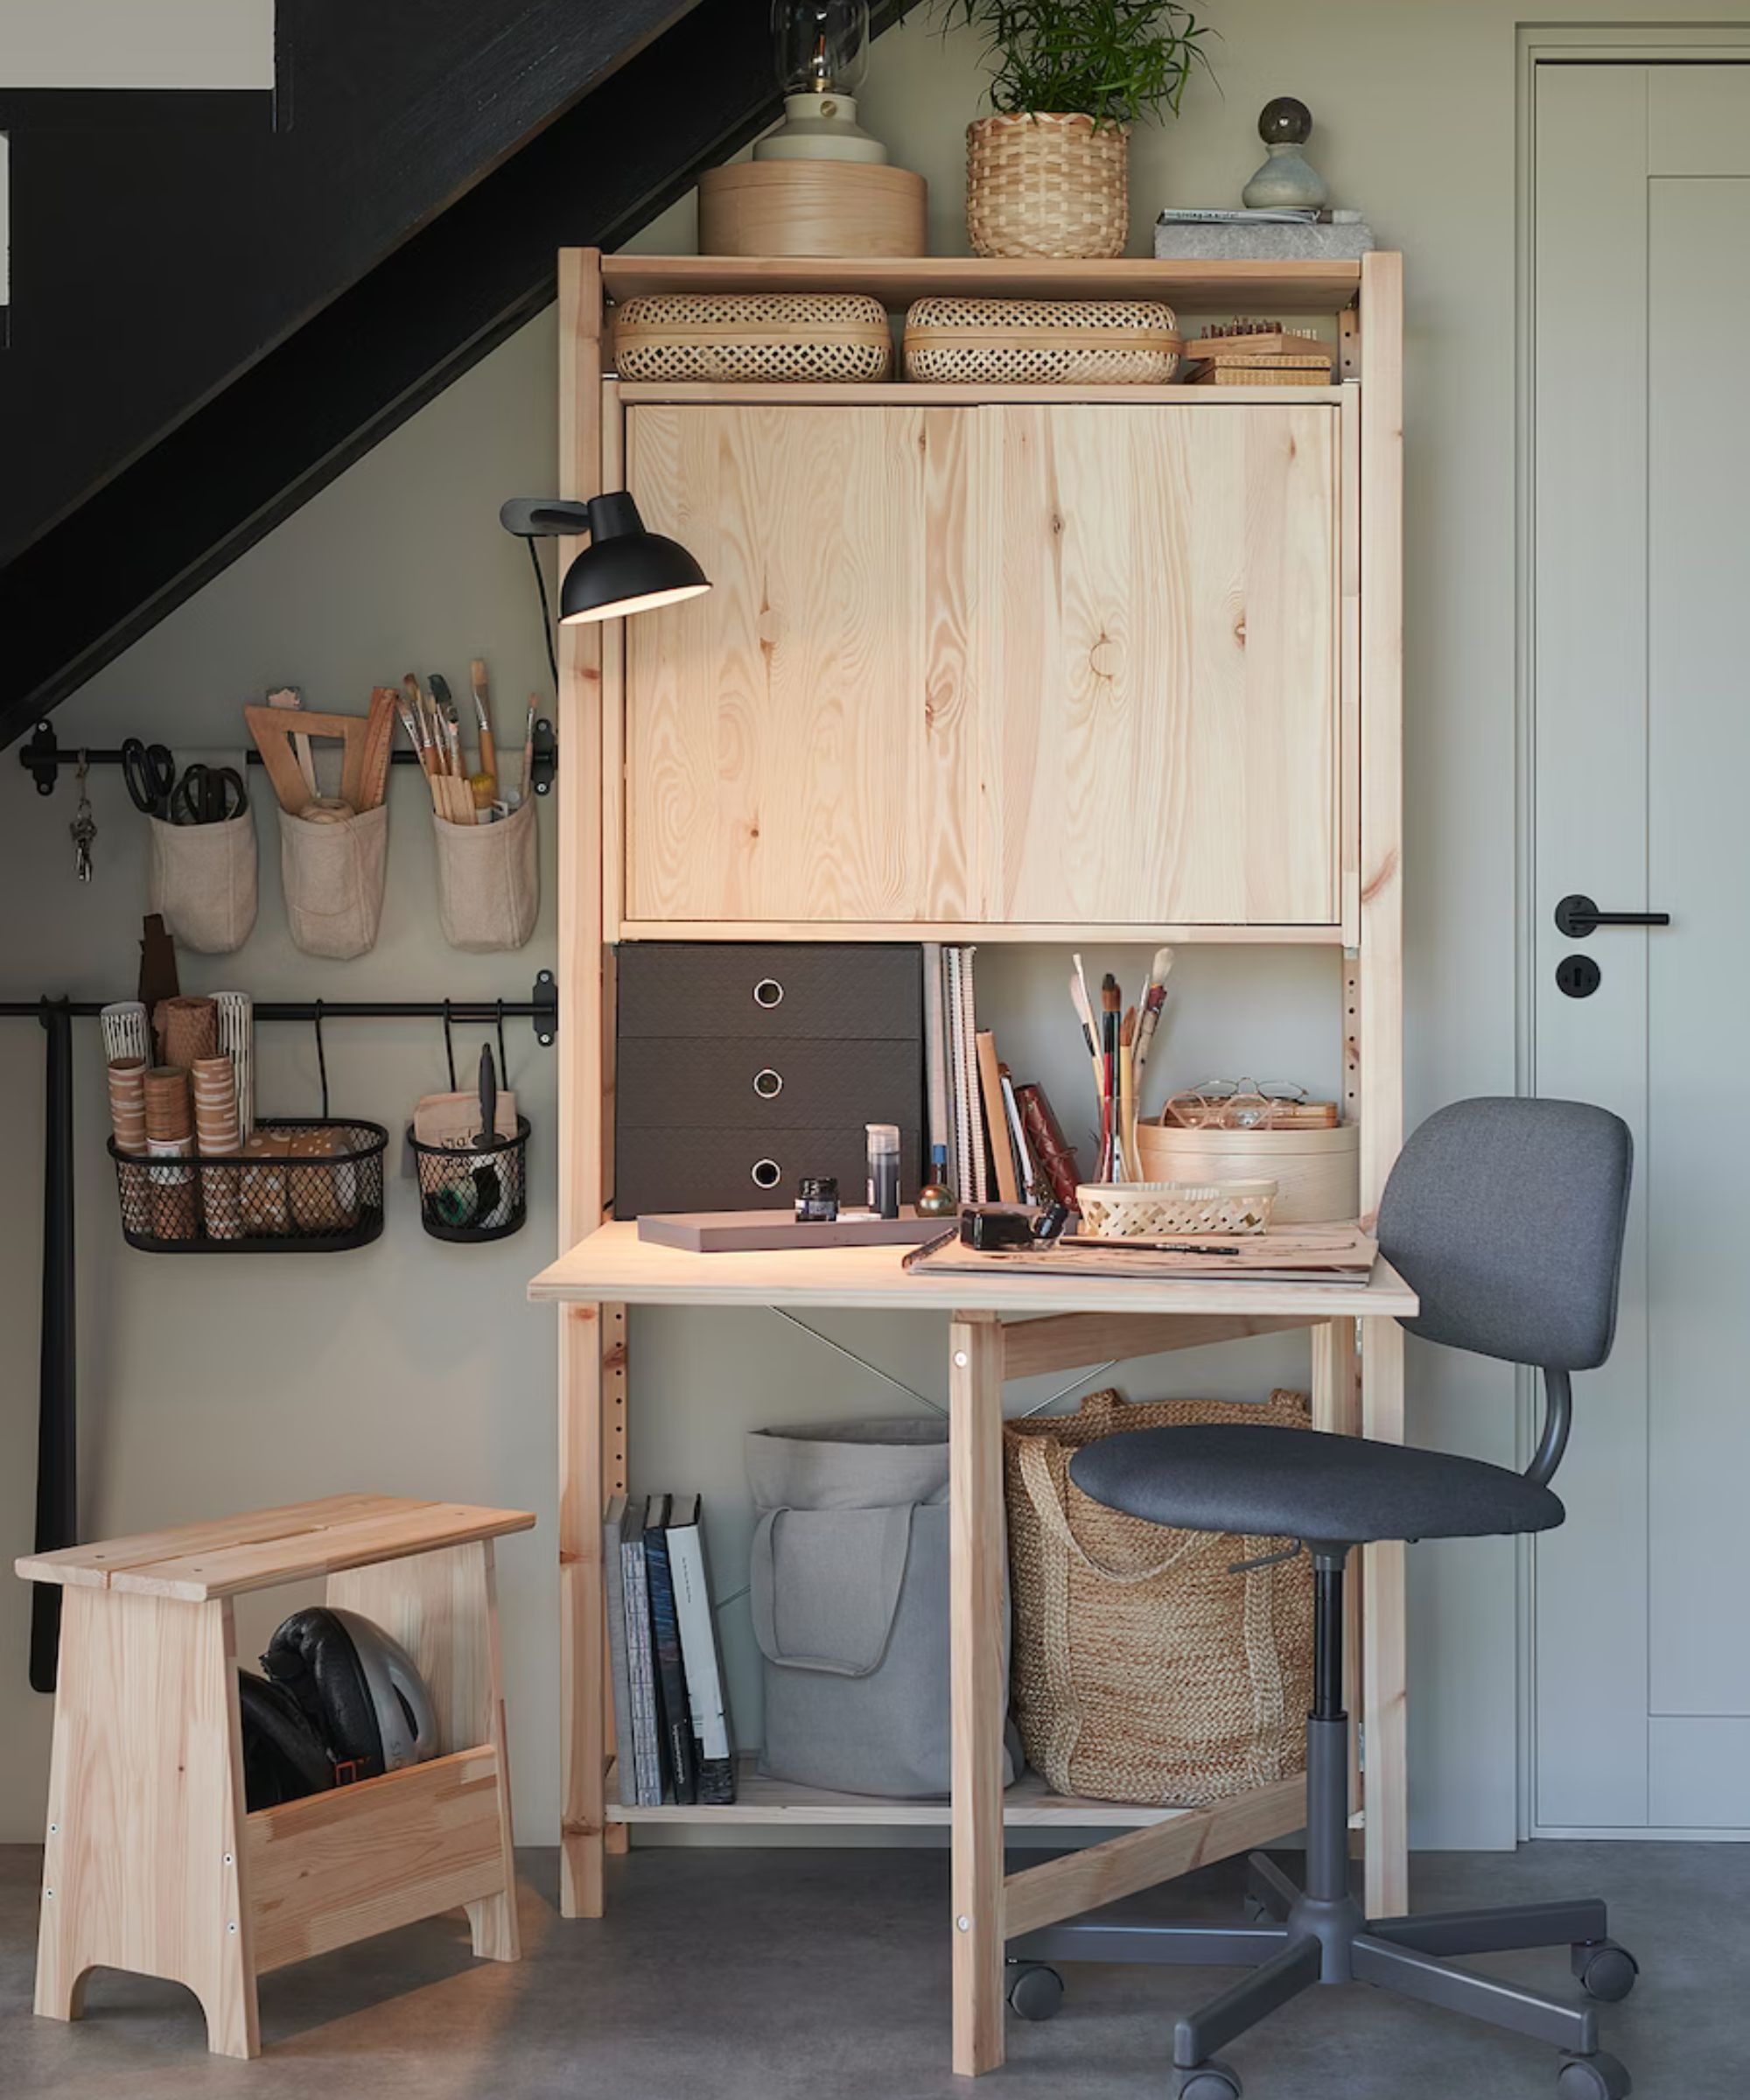
Hobbies come with many different tools and accessories, which means that – unless you’ve got unlimited space available – you’re realistically going to have to stash some items away in a less accessible area and ensure that your most regularly used items are close by and easy to reach.
That's why the first step ingrouping items together based on how often you need them is a wise move when organizing a hobby room. 'Separate your items based on frequency of use,' professional organizer Ben Soreff, Founder of House to Home Organizing says. 'You probably have back-up materials or bulk items you don't use all the time and these items, if possible, should live more remotely, like in a basement storage area – not in a prime spot in your hobby room.'
Shantae Duckworth, professional organizer and Founder of Shantaeize Your Space agrees, suggesting that items you use every time you go into your hobby room should also stay in the same nearby place. 'Group similar items together and store them in designated areas to streamline the process of finding what you need daily.'
2. Group like items
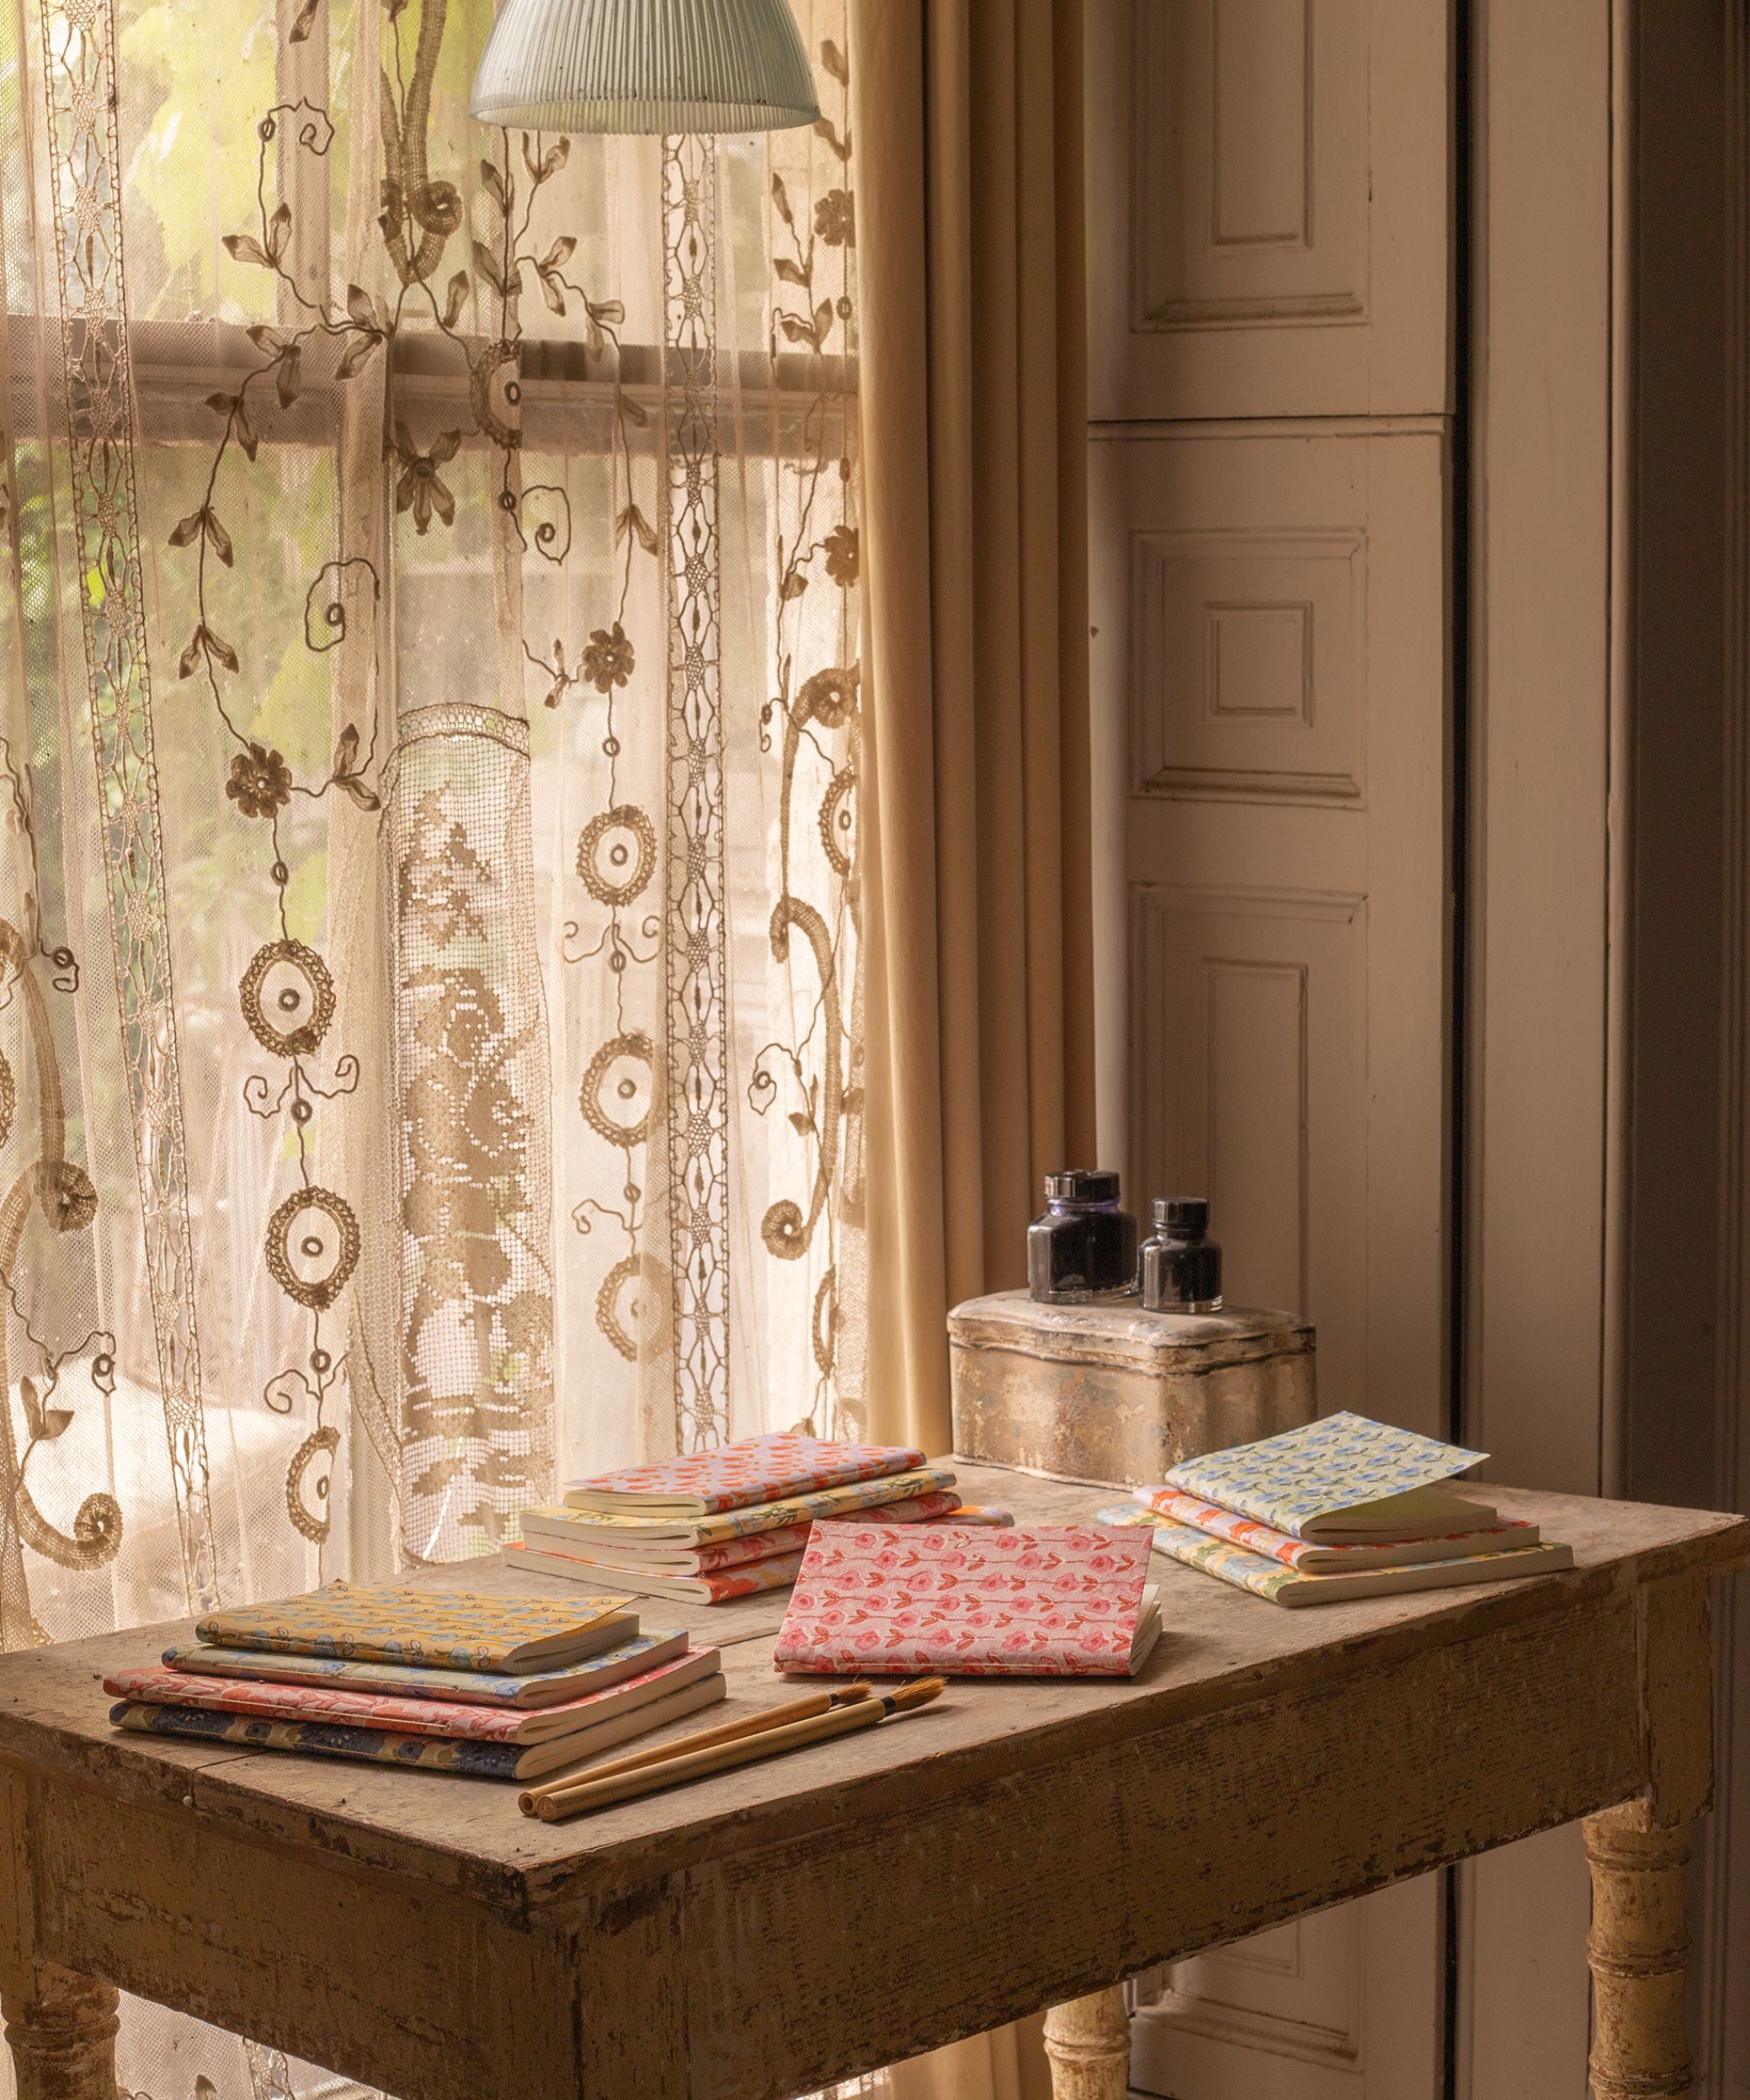
There’s nothing more frustrating than having to stop what you’re doing to track down sticky tape, or a pair of scissors. Certain supplies are always useful to have close by, regardless of your chosen activity.
‘Beyond the essentials, make it easy to get started on any particular activity by keeping sets grouped together’, advises Sarah Grant of Be.neat Studio . ‘Whether it’s scrapbooking, knitting, painting or jewelry-making, have everything you need for that activity in one place, a particular cupboard, drawer, bin or basket, for example’.
Once you’ve worked out your categories, you’re able to work out the best way to store them. ‘I like to use small jars for safety pins, bobbins and buttons, etc, and I sort them by color and size. I designate a drawer or cubby to keep slightly larger items such as seam rippers, rotary cutters, tape measures and pin cushions. Fabric stores are best rolled or stacked on a shelf, so you can see the pattern easily’, says Jennifer Lindsey, founder of Inspired Wraps.
3. Use rolling carts
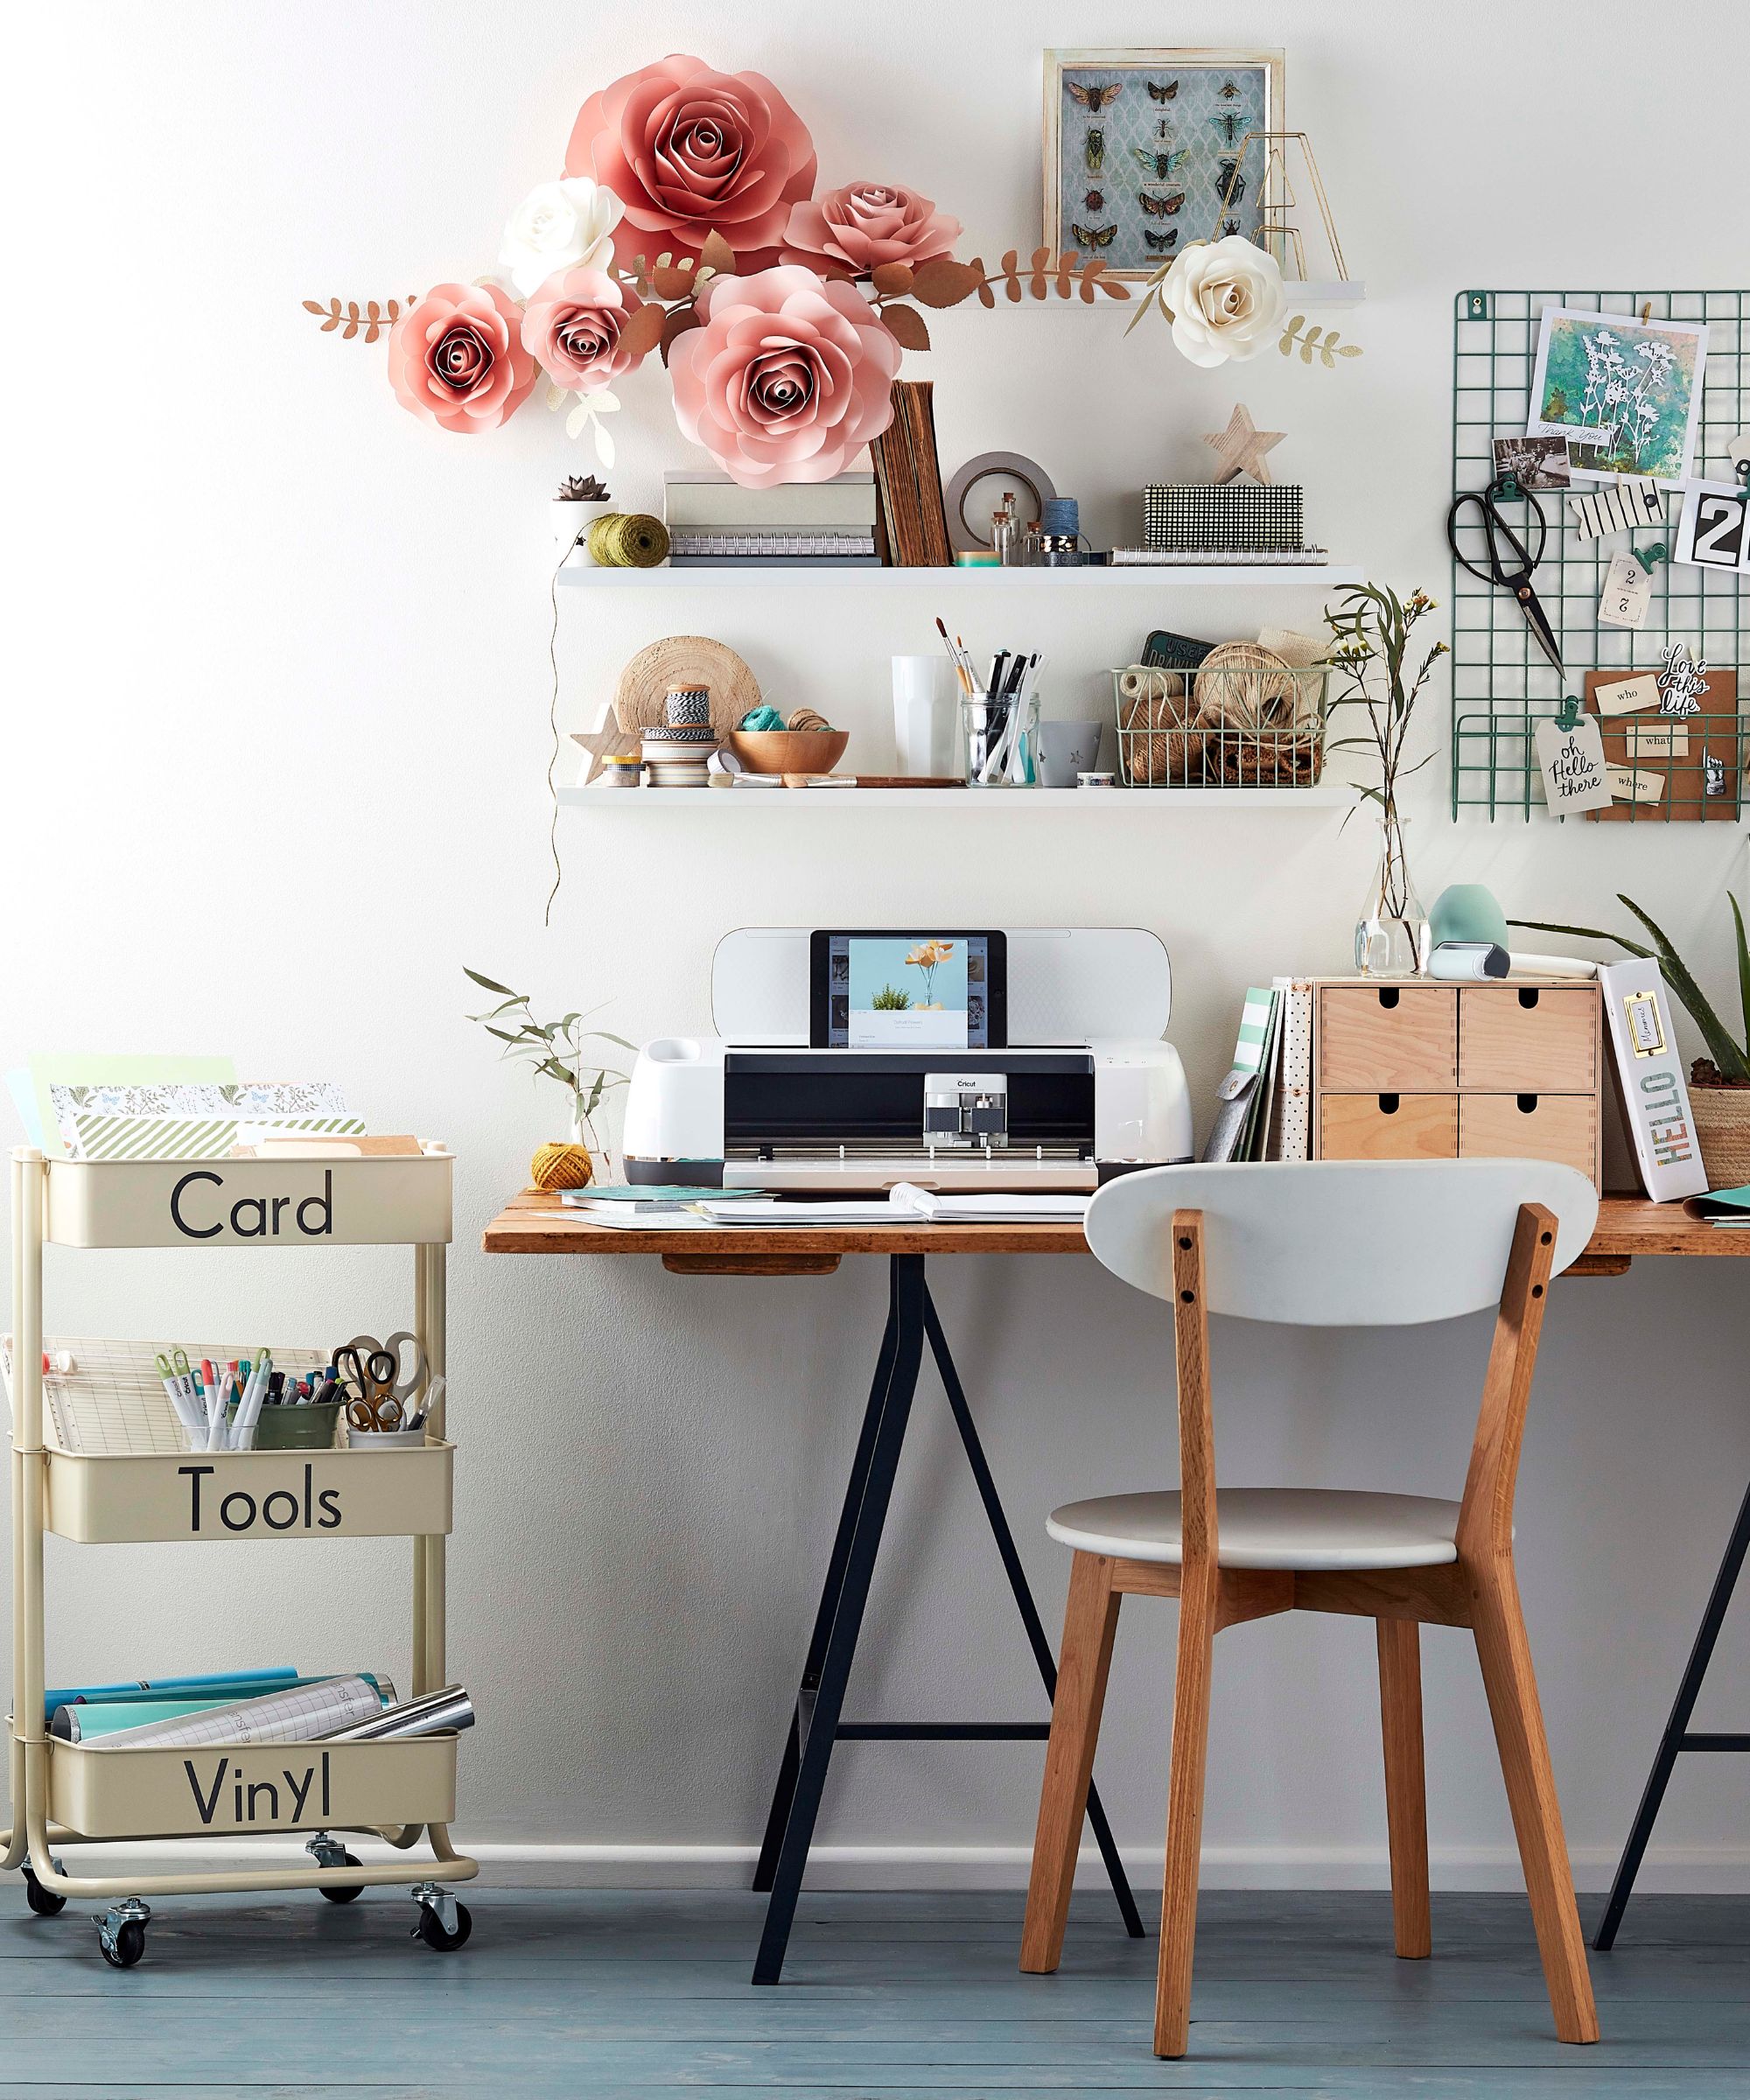
Moving items around your hobby room is likely to be something you do often, whether you're consistently using different sets of paints as you work or you like to swap out your pencils as you draw.
Because of this, Ben advises that using a certain type of storage solution is ideal for all of the items you need most often: 'Carts with small shelves on wheels work really well in hobby or craft rooms,' he says. 'If you don’t want to buy new, you can repurpose an office cart with drawers for art supplies.'
And when it's not in use, you can easily store carts on wheels under your desk or work table, or even tucked into a corner, so it’s completely out of the way the rest of the time.
With slimline drawers, this rolling cart is ideal for paper craft hobbies and the smaller tools in you crafting collection
With three large storage baskets and elevated edges, this utility cart provides perfect organization for craft rooms.
Made from durable plastic, this rolling cart has a frame that sits on smooth-glide casters for easy mobility over most surfaces.
4. Plan a practical layout
A craft room is first and foremost a functional space, so an effective layout needs to take priority over prettiness (although the two can work in tandem, of course). Think about how you use the space and designate areas for them accordingly. It sounds simple, but it can make a huge difference to how effectively you work.
Assign areas for specific activities such as cutting, assembly, and painting, and store the items needed for each one nearby as best you can. Be careful not to overfill the room; be sure to leave plenty of open space, factoring in door opening areas, so that you can move around freely as you work’, says Oberon Copeland, founder and CEO of Very Informed.
Position the desk away from the walls to allow room for storage and displays, and to offer an alternative view when you sit down to work.
If you are planning to invest in new furniture or storage for your craft room, Sian Pelleschi, APDO Conference Director and founder of Sorted!, advises you to thoroughly assess what you need beforehand.
‘The biggest mistake crafters make is getting excited about a storage solution they’ve seen but not actually working out if it’s suitable for their needs’, she says. ‘Do you need open boxes for easy access? Shelving for larger items? Or is it drawer space for smaller items you require? These are the questions you should be asking yourself’, she says.
5. Use labeled (or color-coded) storage bins
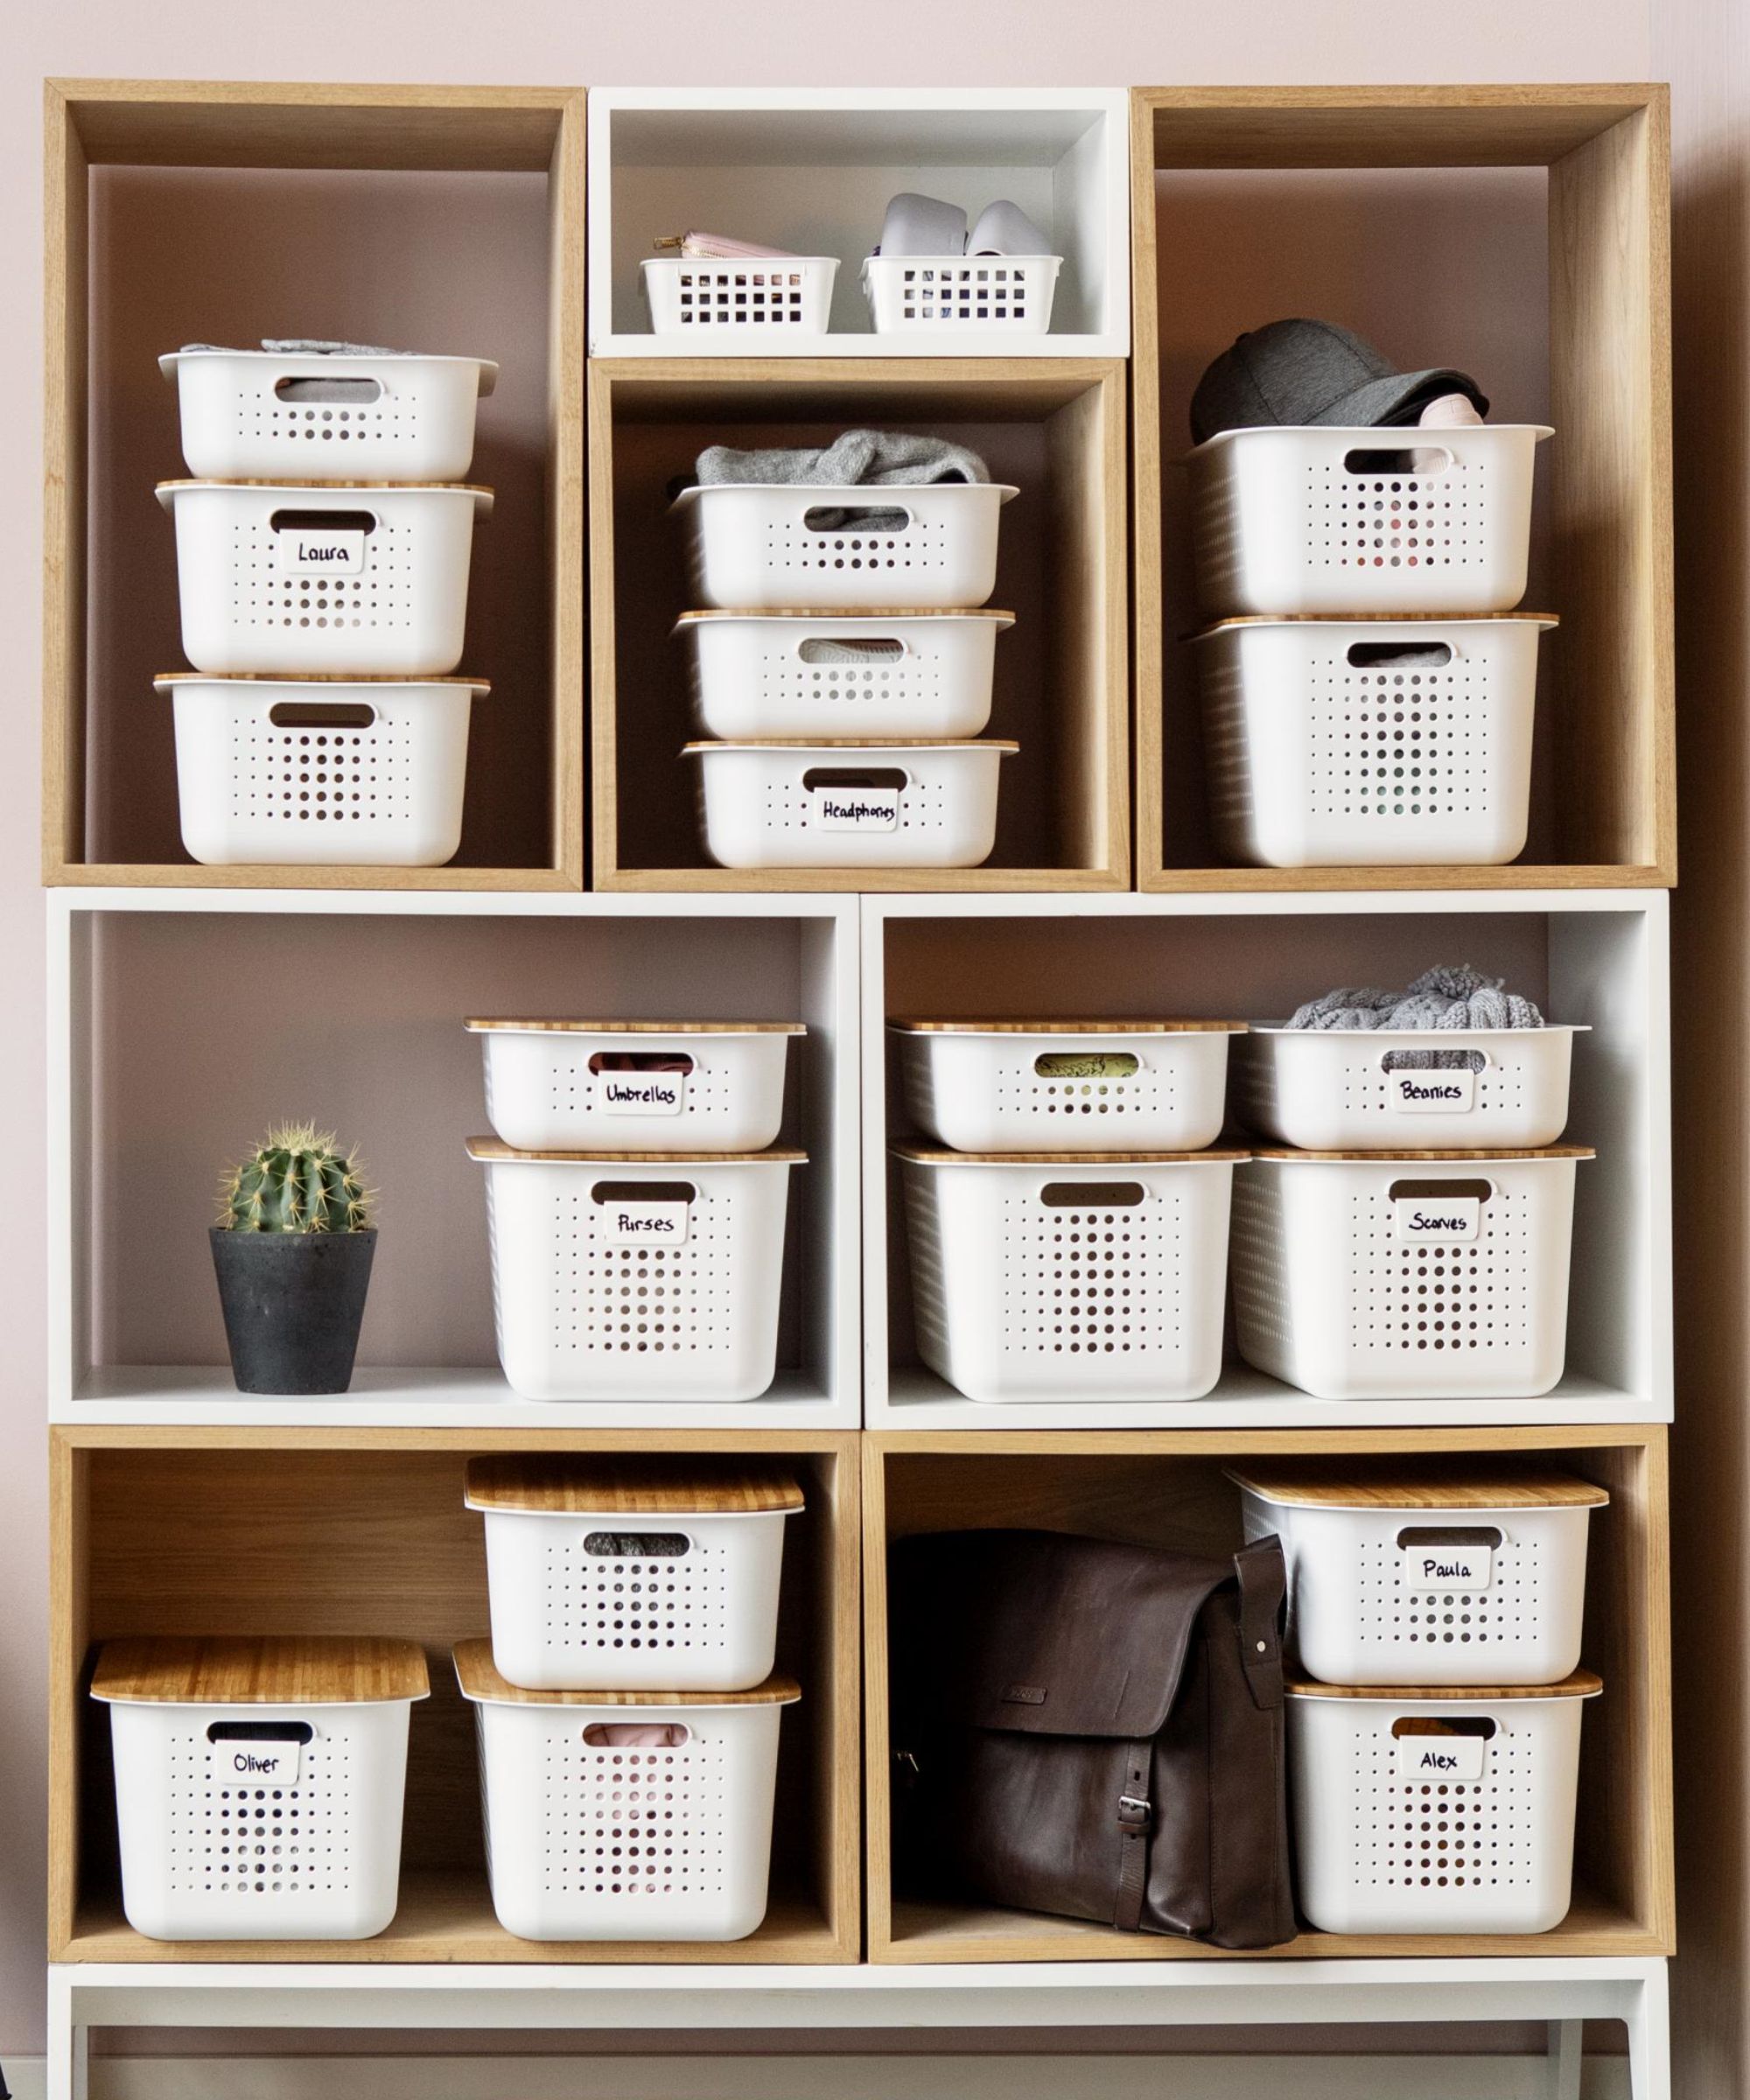
To ensure things don't get lost, misplaced or damaged, it can be really useful to invest in clear storage bins to keep everything contained. Shantae Duckworth recommends clearly marking what is inside each bin, to save future-you from rifling through each one to find the item you need.
'Consider using color-coded labels on storage bins to further organize your supplies,' she suggests. Labeling everything is super important so you know where it all is! This way, you can also keep your workspace clutter-free by keeping essential tools and supplies away from your desk but within easy reach.'
6. Use lazy susans for taller supplies
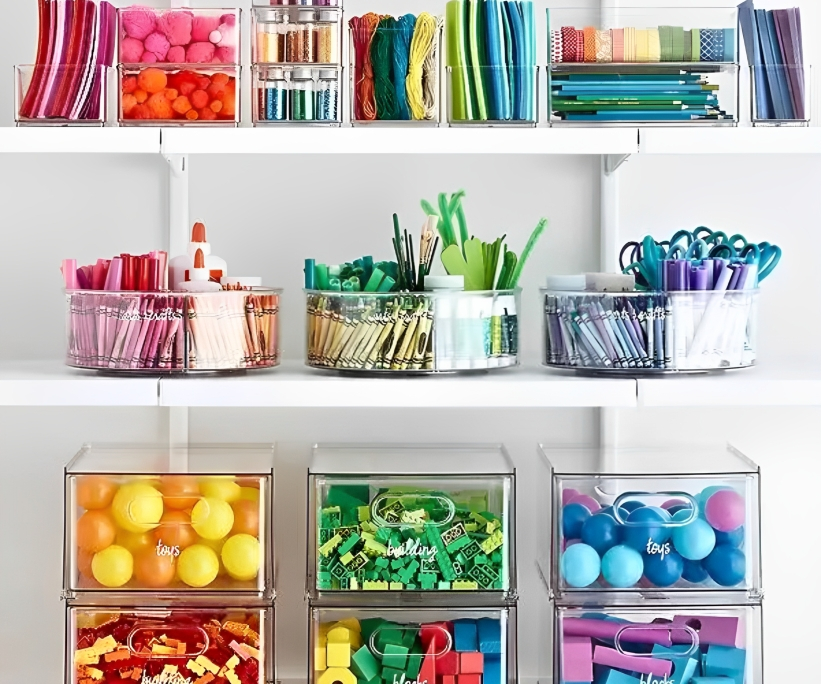
Professional organizers swear by them for kitchens, but a lazy susan can be a fantastic asset in a hobby room, too. 'I'm a huge fan of lazy susans for organizing items in hobby rooms – they're ideal for storing smaller hobby supplies for easy access on a regular basis,' Shantae says.
In a hobby room, a lazy susan can be an excellent place to store taller items, such as paint pots, tall camera lenses, your favorite paint brushes, pens, or even knitting needles. Having these items on a lazy susan means you can easily access what you need without hunting through cupboards – which simply means more time for your favorite hobby!
As suggested above, try pairing similar items together on a lazy susan, so that you’re quickly able to find what you need – and don’t be afraid of installing multiple ones for different categories of items, either.
When it comes to where to place them, most lazy susans should fit neatly onto free-standing shelves, in cubby holes, or within cupboard shelves.
7. Utilize vertical space for certain items
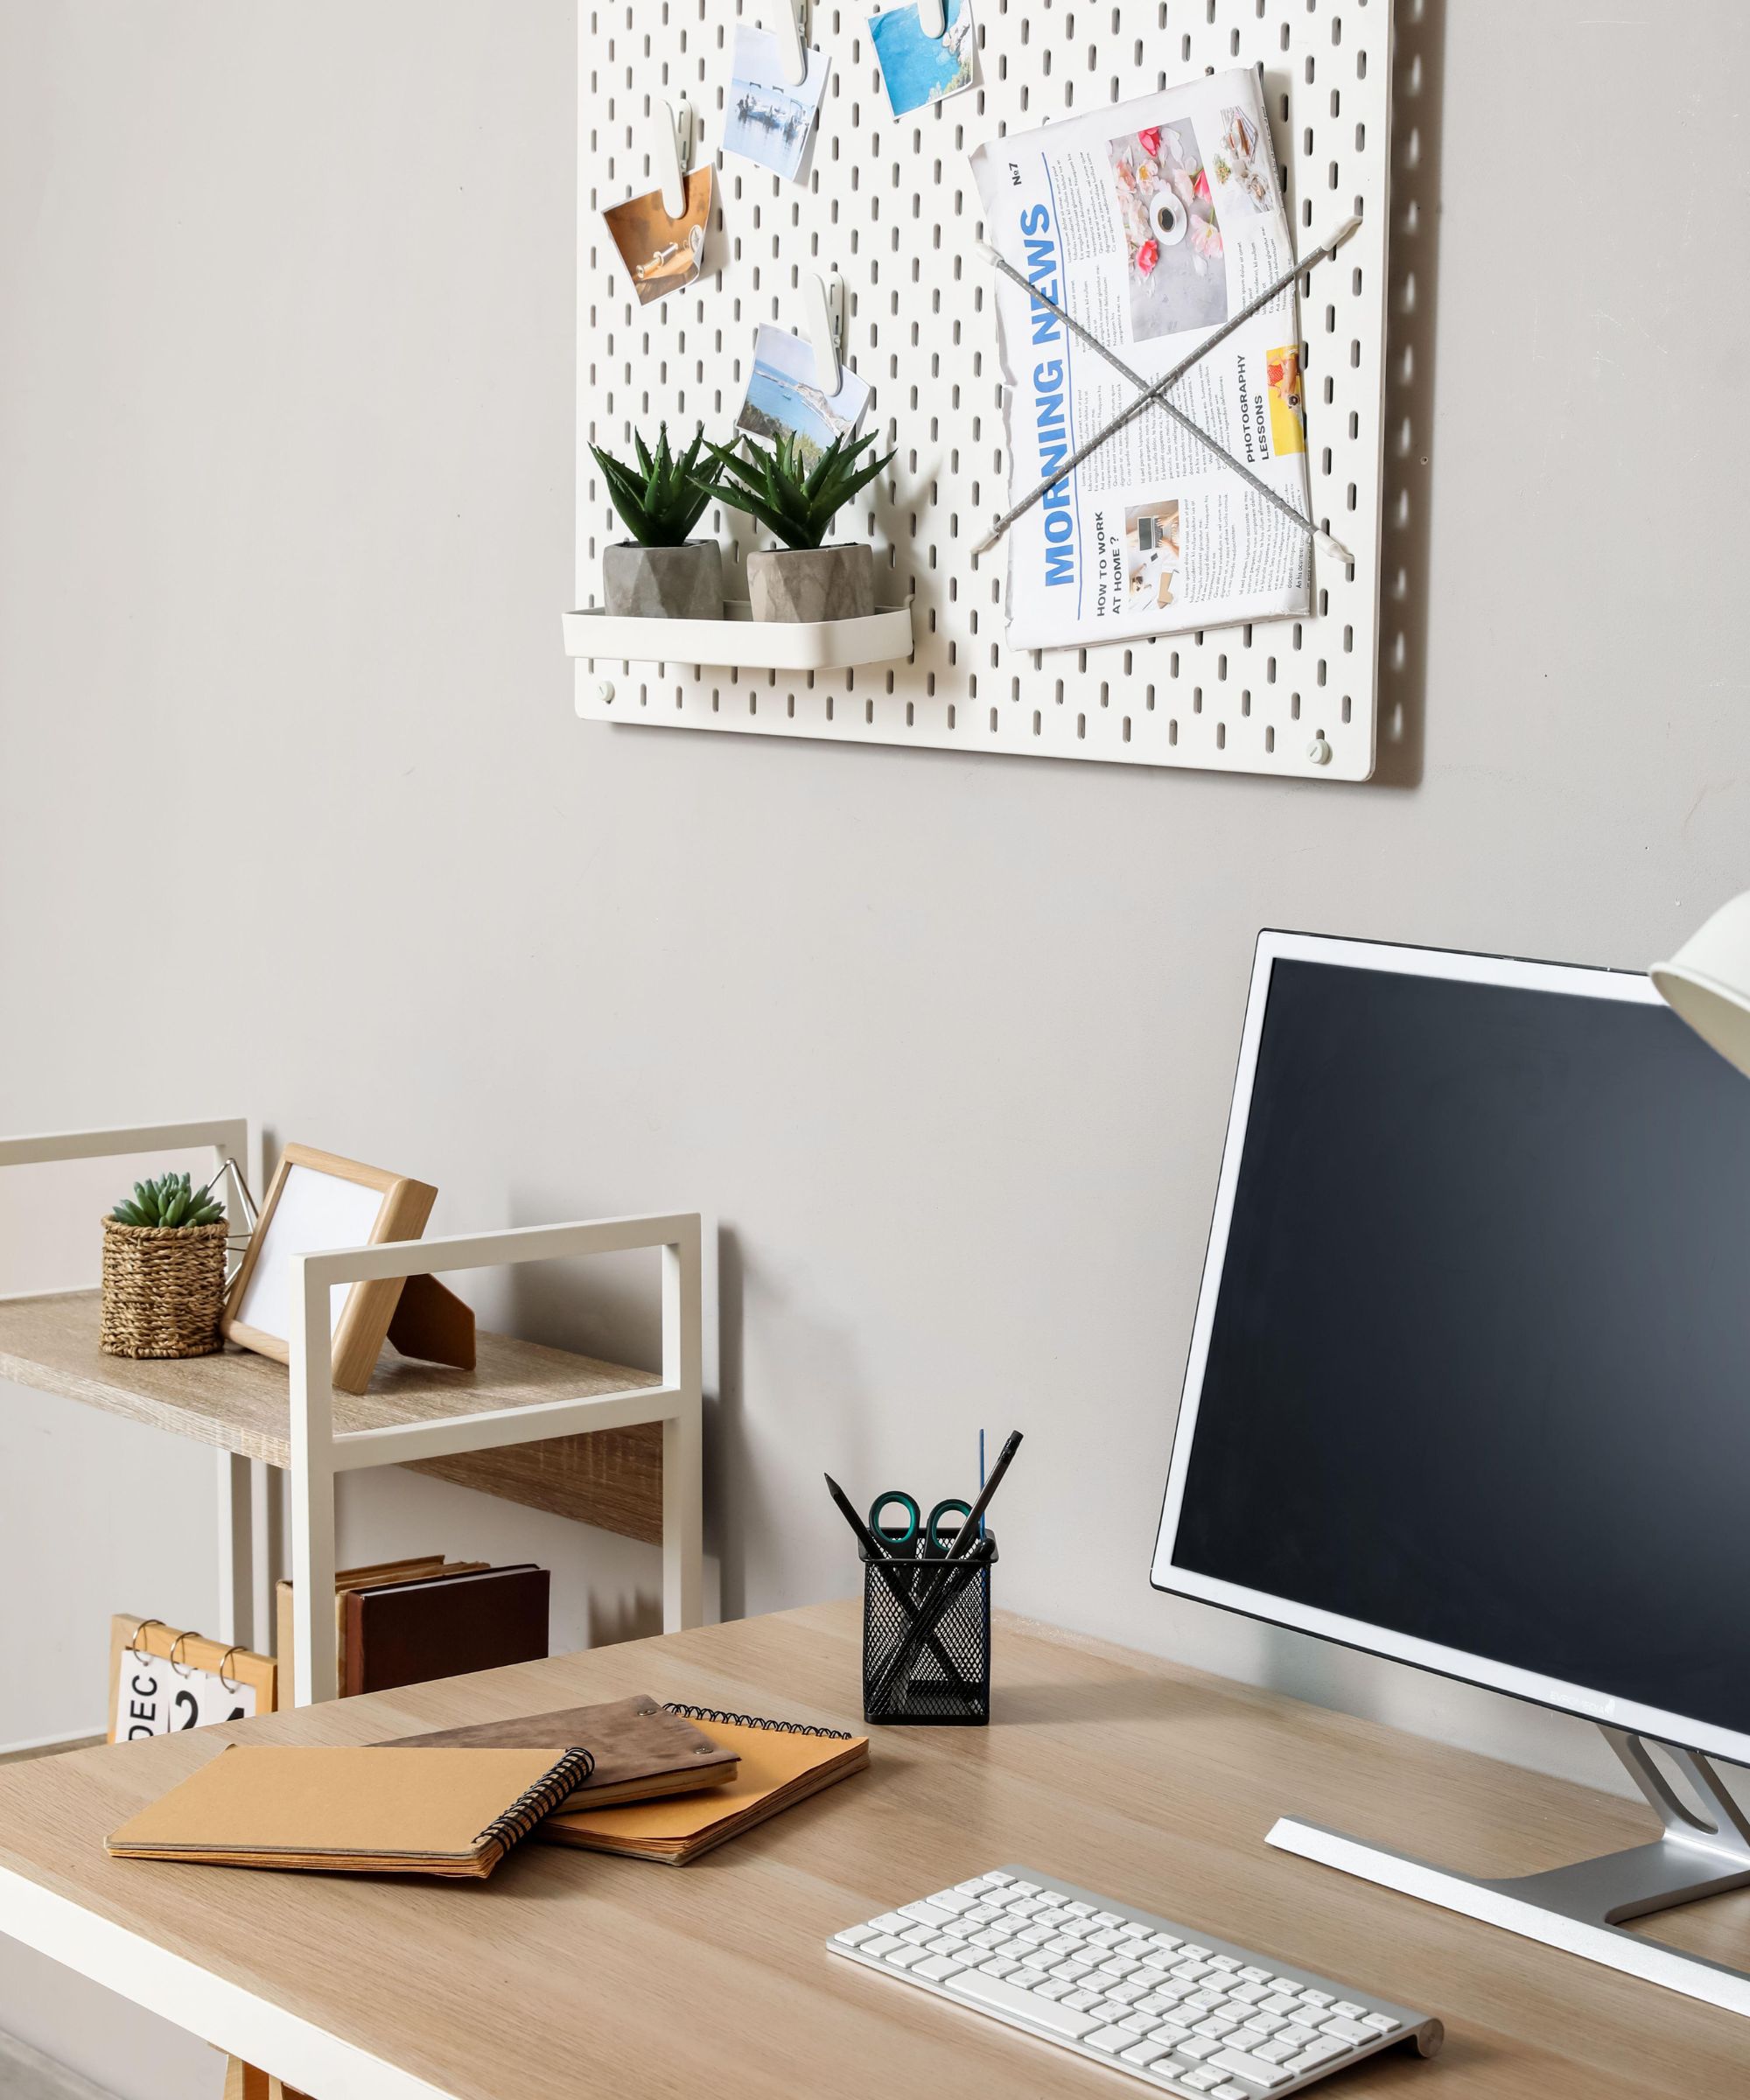
In a room that likely has a huge number of items, utilizing the space you have on your walls is essential. It's even more important in a room that may be on the smaller side, where you're not going to to want to take up too much floor space.
Professional organizer Cori McDougald, owner of Meat & Potatoes Organizing says, 'I recommend using wall-mounted shelves, pegboards, and hooks to maximize vertical space and keep items off surfaces in a hobby room.'
Shantae agreed, explaining vertical wall storage solutions are ideal for items you use regularly. 'Invest in organizers like tool caddies or pegboards to keep frequently used items like scissors, brushes, or rulers within arm's reach,' she suggests. 'This can enhances productivity and make it easier for you to dive into your projects.'
'You could also utilize vertical wall space by installing hooks to hang tools, equipment, or even finished projects – this not only maximizes storage space, but also adds visual interest to the room,' Shantae continues.
Plus, keeping items off of your work desk and on your walls means your table will be easier to clean at the end of a session of creativity; which is always a win.
These two peg boards can be easily mounted on the wall. With the two baskets, different hooks and one wood board you can customize your own layout to suit your needs.
Constructed of solid steel, these durable wall hooks can handle everything from heavy backpacks and purses to even sports gear and
These shelves come with pre-drilled holes, detailed instructions, and all necessary mounting hardwarer, which make installation simple and easy in just a few minutes.
8. Choose multi-functional furniture
If you’re decorating the room from scratch, or you are in the market for new furniture options, an easy way to keep your hobby space organized is to invest in furniture that does the job for you.
'It can be helpful to choose furniture pieces that serve dual purposes, in order to optimize space in your hobby room,' Shantae says. 'Consider a worktable with built-in storage, or a multi-functional desk with drawers and compartments. Foldable tables or desks are also great options for small or multipurpose rooms.'
However, Ben insists that you should also ensure that your actual available surface space is plentiful enough, too. 'In hobby rooms, we tend to see a lack of table space. We want to actually enjoy making something, and so an open project table is also super important,' he says.
And of course, don't forget about creating a cozy nook in your hobby room either, which would make for a perfect spot to read up on your chosen hobby, or enjoy some downtime after a creative session.
9. Invest in storage solutions tailored to your hobby
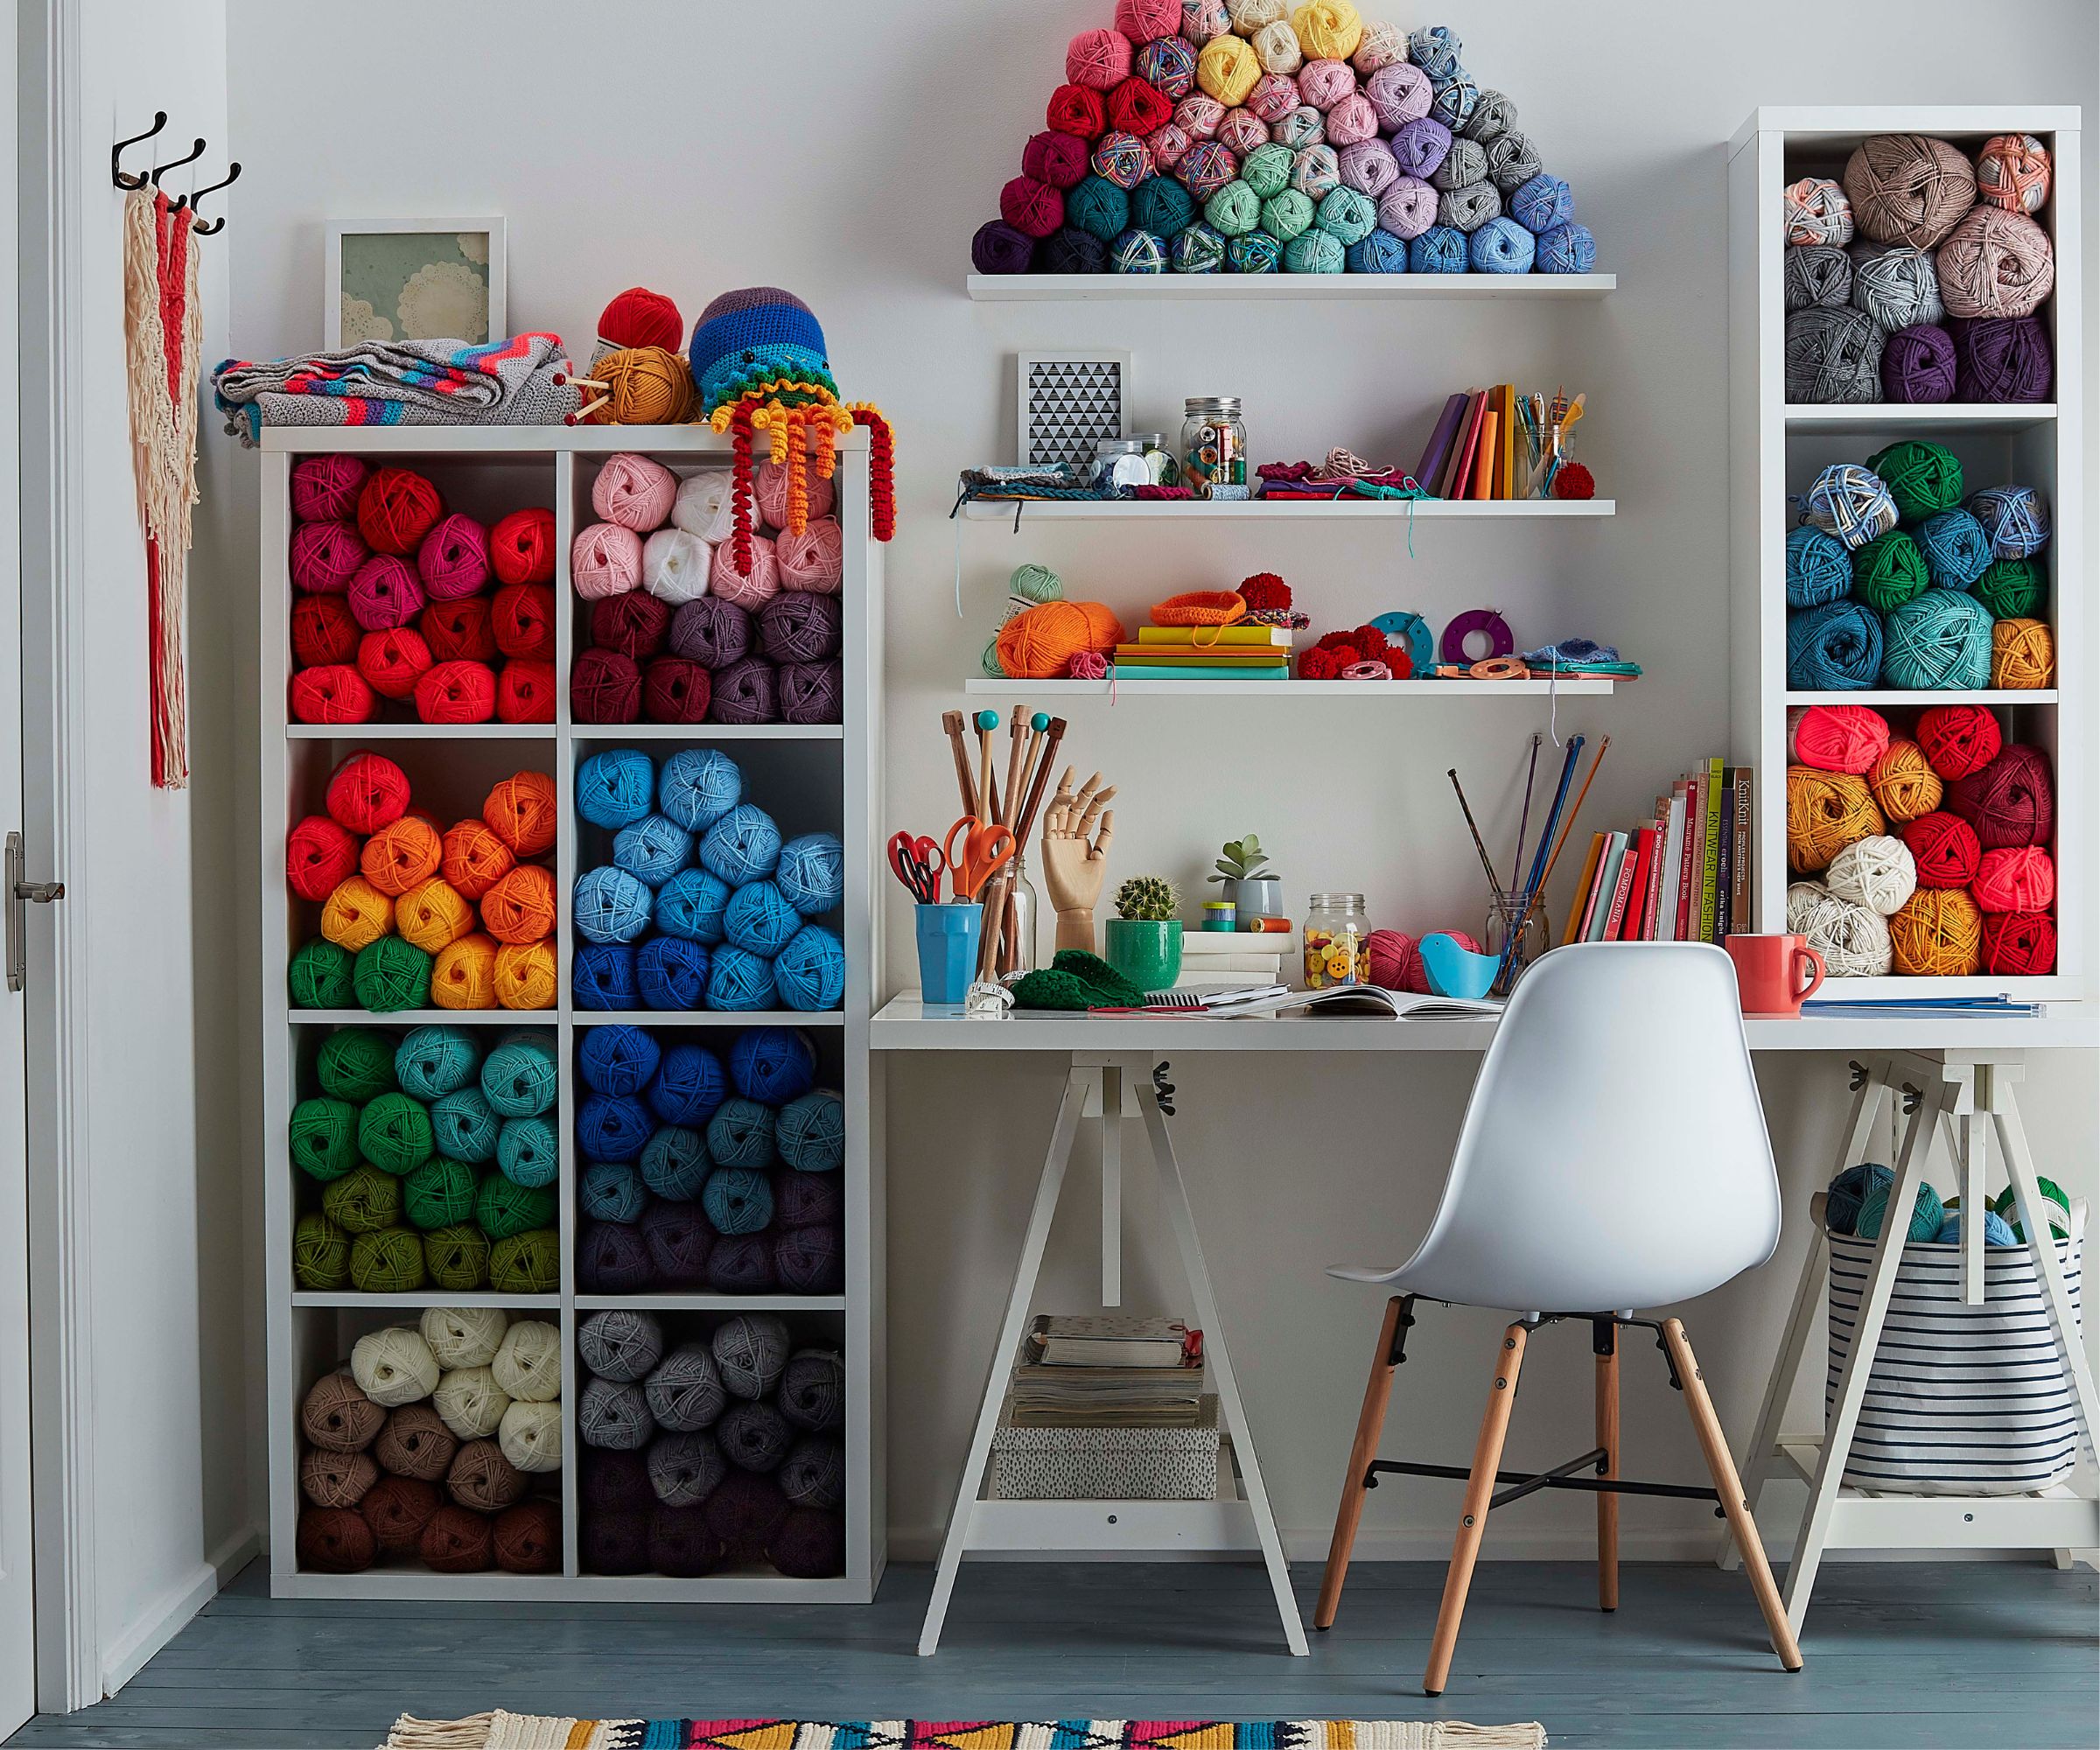
Every hobby is unique, which means that the items you use for different hobbies should be stored differently. Because of this, specialized organizing solutions are incredibly useful for storing essential supplies – both in order to prevent items getting damaged, and to ensure everything stays neat and tidy.
'This may include camera bags for photography equipment, foam inserts for delicate items, and organizing supplies by project or theme to streamline workflow,' Cori suggests.
Shantae agreed, explaining that there are plenty of options out there. 'For photography, consider padded cases or dividers to safely store cameras, lenses, and accessories.
'And for calligraphy, opt for specialized pen holders, inkwells, and nib organizers to keep supplies neatly arranged and protected. There are a range of storage solutions for every hobby; just be sure to do some research,' she says.
10. Dedicate space to your creations
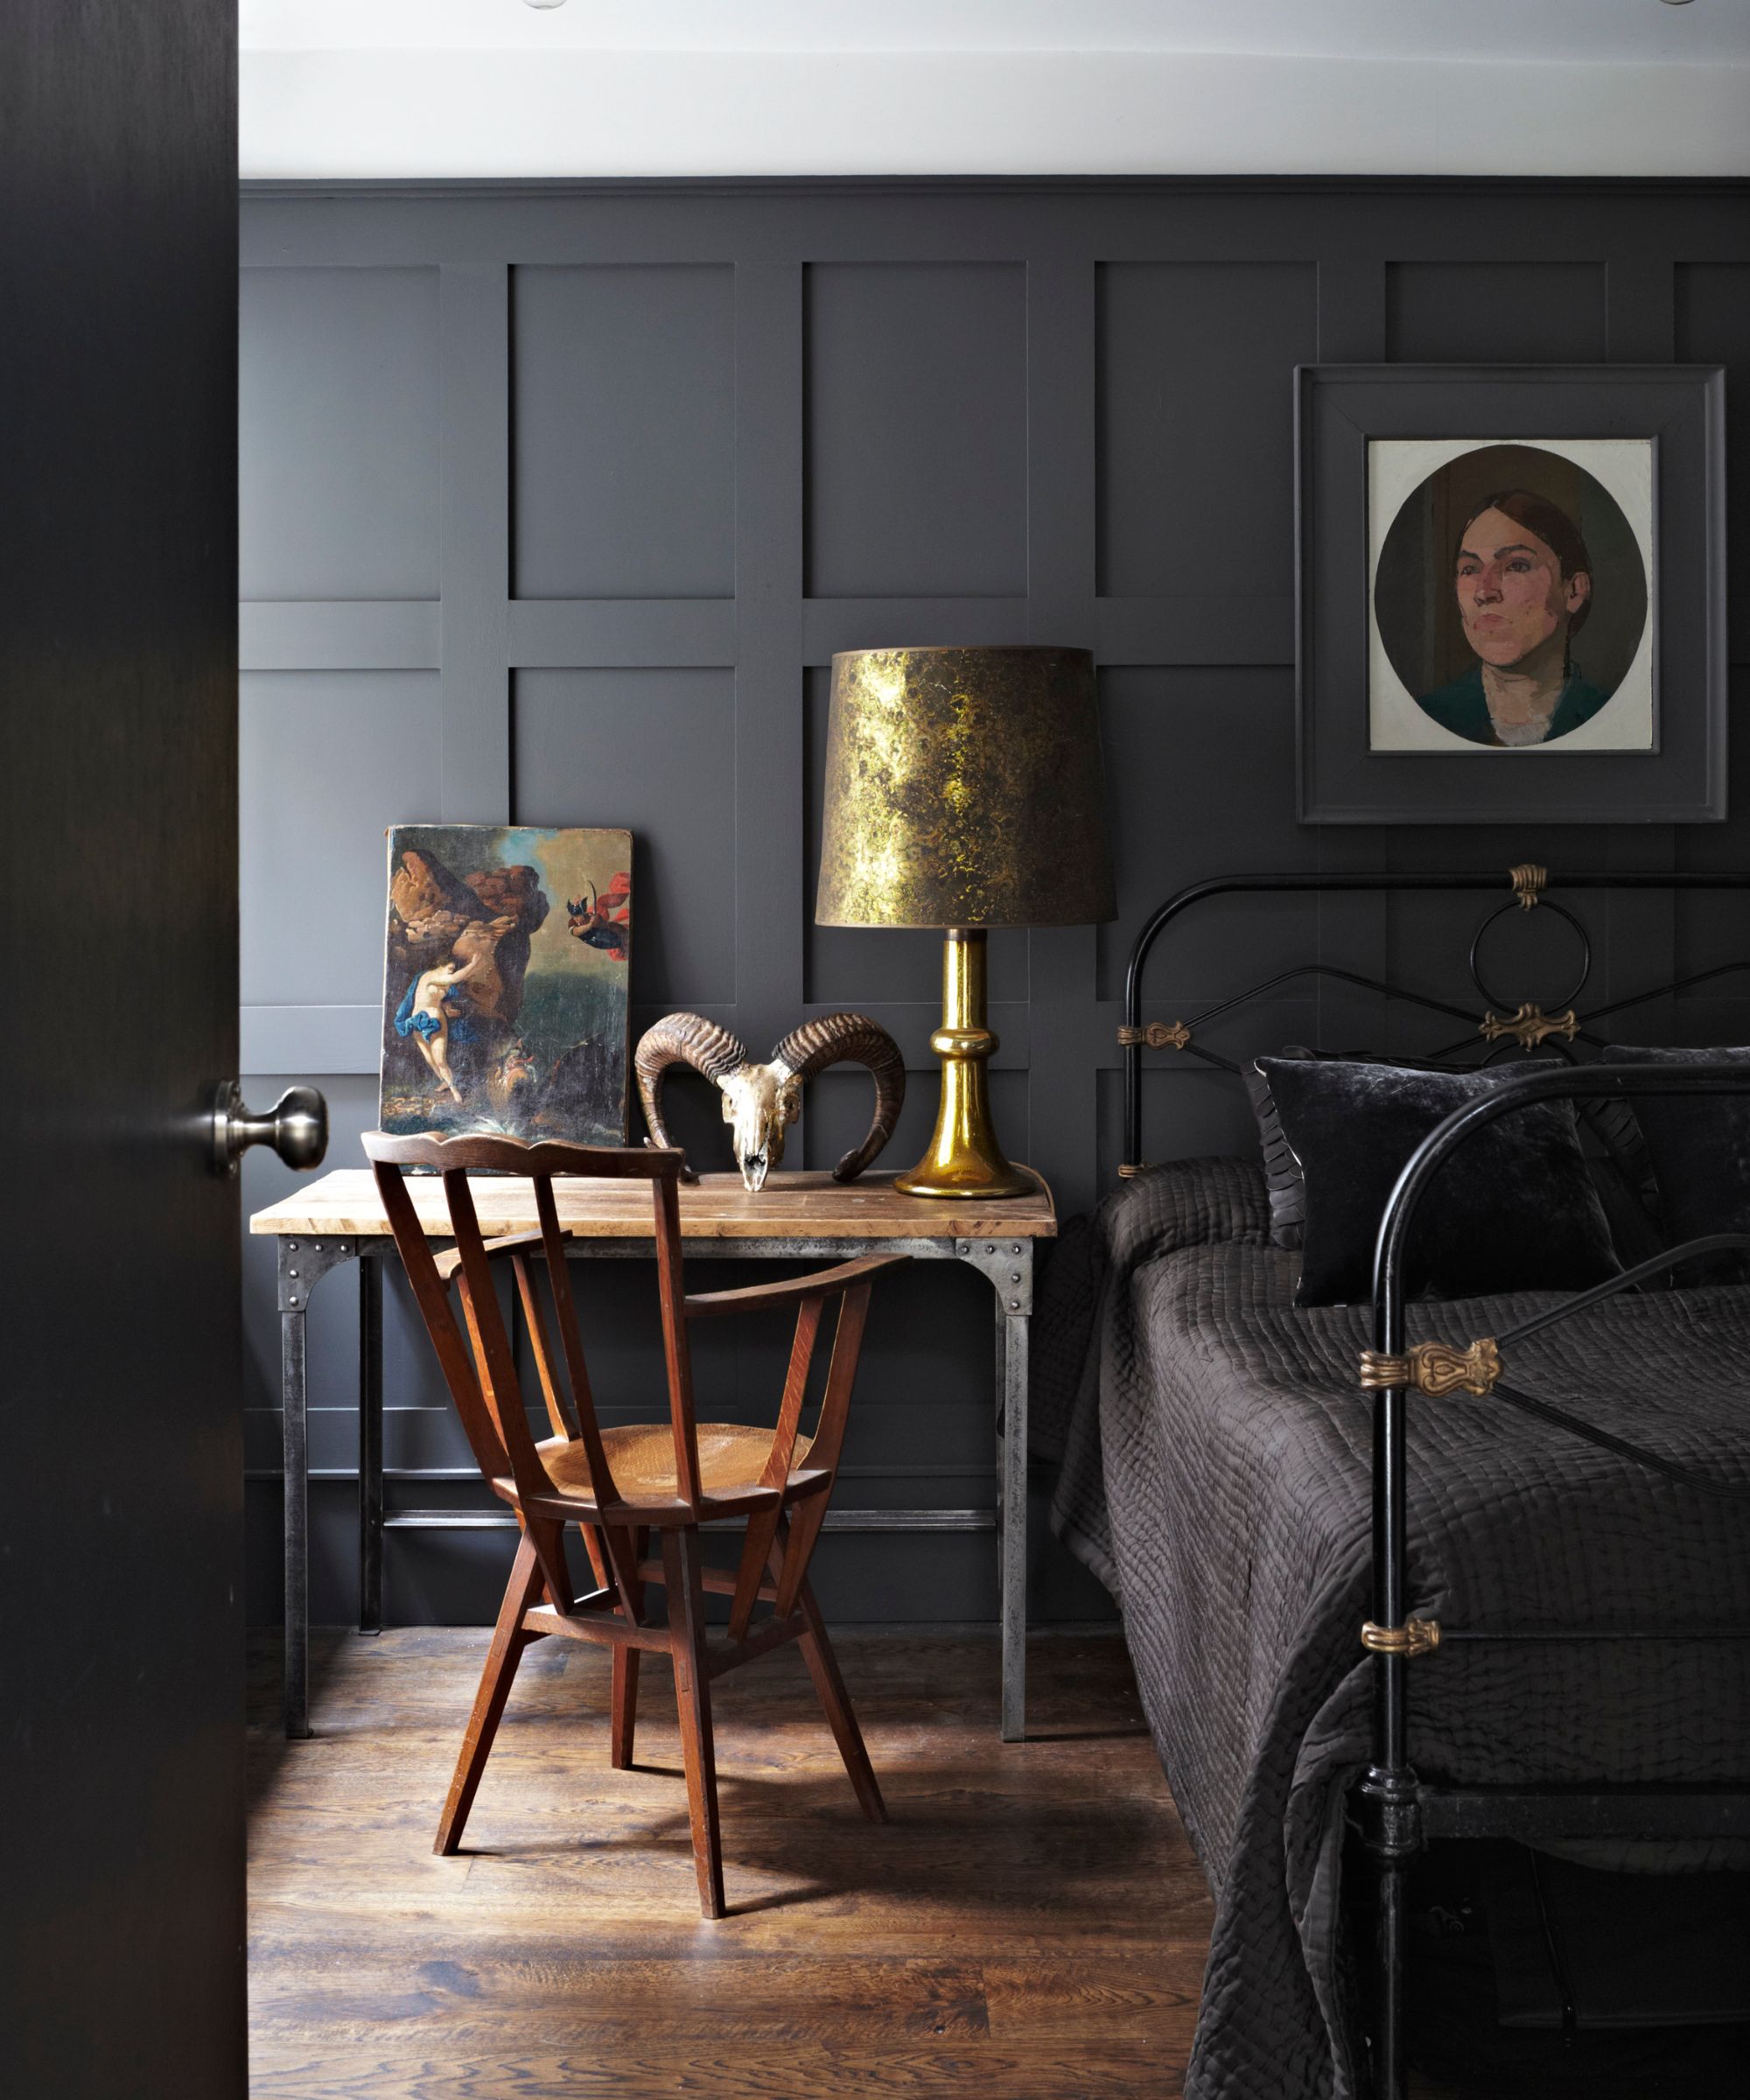
It’s easy to get caught up in organizing craft supplies, but don’t forget to factor in space for your creations.
‘Whether they’re finished or a work in progress, it’s important to display and enjoy your creations at all stages’, says professional organizer Sarah Grant. ‘Depending on your craft, make the most of vertical space by hanging additional shelving, hooks, or magnet boards for preliminary drawings or finished pieces.
If your creations are on show, it’s important to put some thought into how you display them. Taking the time to create artistic, meaningful displays can inspire further work and add to the room’s décor, while still contributing towards an organized and efficient crafting space.
FAQs
How do you maximise space in a small craft room?
if you are working with a small craft room and, like many crafters, are struggling to store everything you need, then it's time to get creative with storage. Consider taking storage up and onto the walls and backs of doors with pegboards and shelving, or add drawers under your desk to make the most of otherwise dead space. Multi-purpose furniture such as chairs or stools with storage in them will also be your friend.
How do I keep my craft room tidy?
The first time you organize your craft room is going to involve the most investment in terms of time and effort. However, once it’s to a standard you’re happy with, it’s surprisingly easy to keep tidy. The trick is consistency. At the end of every crafting session, set aside five minutes to declutter. Putting everything back in its rightful place will ensure you’re set up for the following day.
It's also worth scheduling a ‘deep declutter’, perhaps once every few months, where you go through and take stock of your supplies. Replenish, recycle, get rid where necessary. Use this time to evaluate any half-finished projects. Be strict with yourself – if you’re not going to finish them, get rid or find them a home elsewhere.
According to the experts, it’s almost impossible to think creatively if you’re surrounded by mess and clutter, so if it’s efficiency you’re after, you might want to think about instilling a daily declutter routine – at least once a day, if possible.
‘It doesn’t have to take long, just five minutes or so, but adopting a ‘put away at the end of a day’ habit, so you walk into a calm, tidy space, can make all the difference to how you approach your tasks the next day’, says Sian Pelleschi, professional organizer. ‘If you’re amid a project, it’s ok to leave things out but tidy away what you can or move it to one side of the room to free up space’, she says.


