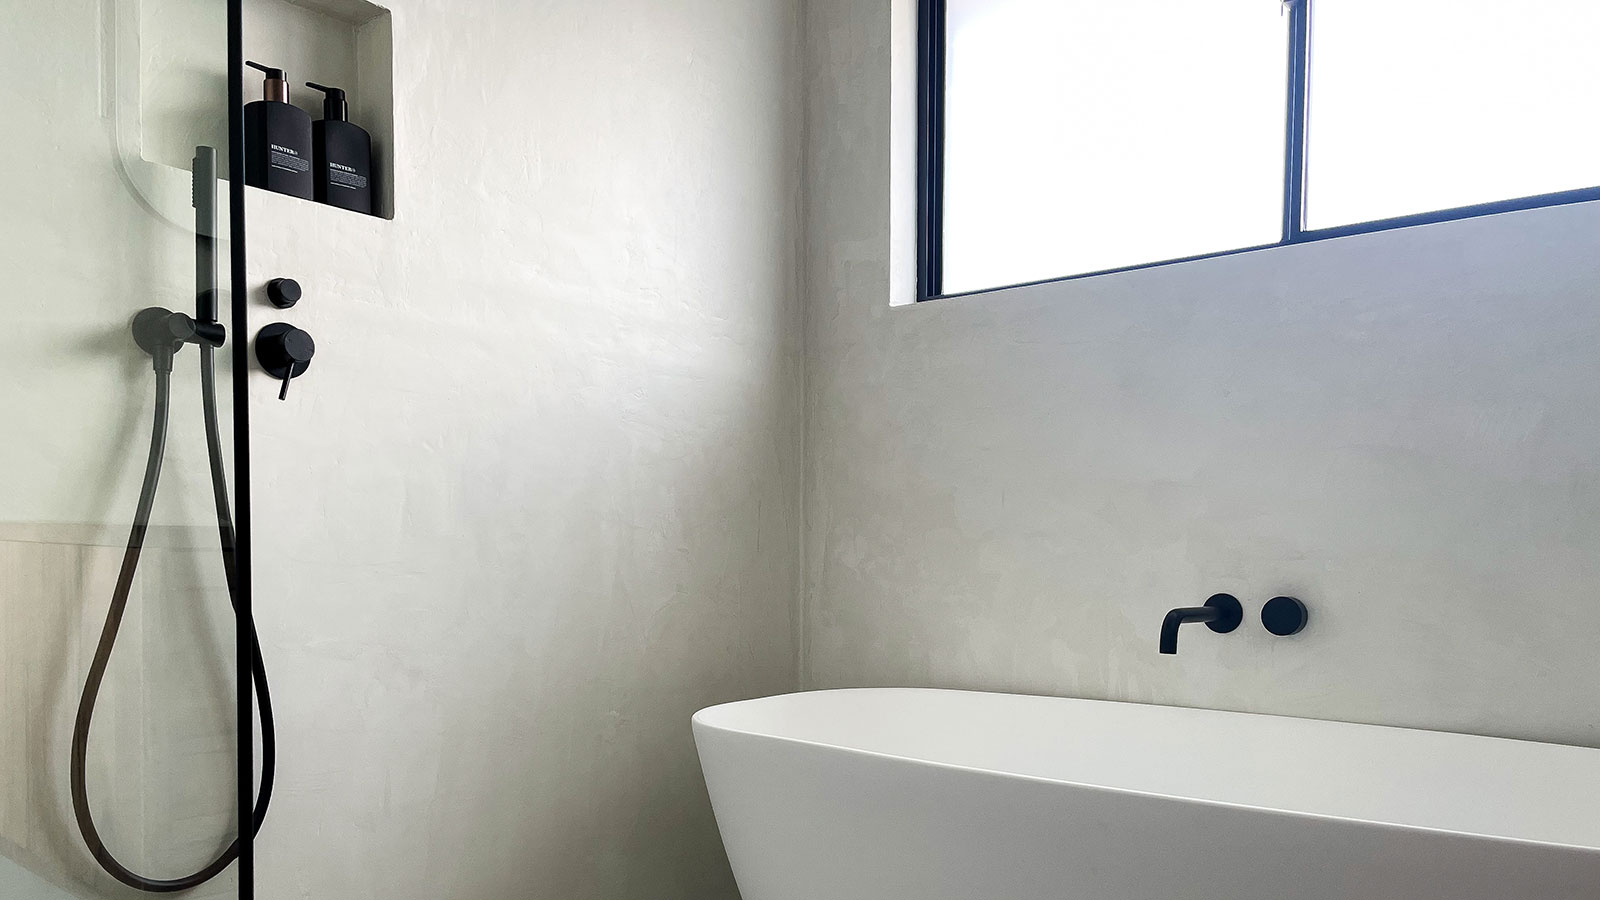
If you are looking at how to microcement a shower, you are definitely not alone.
The use of microcement in the home might be relatively new, but it is fast becoming one of the most popular ways of finishing off surfaces such as walls, floors, and even countertops and items of furniture. However, the use of microcement as a wall and floor finish within showering areas has to be one of our favorite ways of using it.
If your search for microcement ideas for the home has left you dreaming of a new shower, our guide is here to explain everything you need to know to carry out this project. From the materials you’ll need to top tips from experts and homeowners who have carried out the task in their own homes.
How to microcement a shower
Whether you are considering using microcement for your walk-in shower ideas or love the idea of a completely open wet room, this is a project often undertaken on a DIY basis by homeowners keen on the warm, textured finish that can be achieved using this material.
“Microcement is ideal for wet areas such as showers and kitchens (applied over a waterproofing membrane), and it’s stain and crack resistant,” explains DIY expert Jenna LeBlanc, of Jenna Sue Design Co who microcemented her entire bathroom. “It’s low maintenance, hypoallergenic, and zero VOC. It’s also extremely cost-effective per square foot, requires minimal tools and no experience or expertise.”
“Microcement (also called microconcrete) is a polymer-modified cement-based coating which can be applied thinly to almost any surface, both indoors and outdoors,” explains Jenna. “It bonds strongly to nearly everything, including drywall, wood, concrete, and tile. It can be applied to walls, floors, and countertops with minimal prep, and you can use different application techniques to achieve a wide variety of looks.”
Your microcementing toolkit
Before you begin, make sure you have the following materials and tools to hand:
- Microcement (some people choose to buy bags of powdered microcement, waterproofing agent or membrane, base coat, primer, and top coats separately, while others use a microcementing kit for wet areas which should contain everything you need). SureCrete SureSpray Microcement Concrete Overlay from Amazon comes highly recommended
- Flexible plastic trowel
- Foam rollers - this Multi-Function Paint Roller kit from Amazon makes it easy to reach high-level spots
- Drill with a paddle mixer
- Bucket
- Electric sander with 40-grit paper or, if sanding by hand, 80 grit sandpaper
1. Waterproof your walls and floors
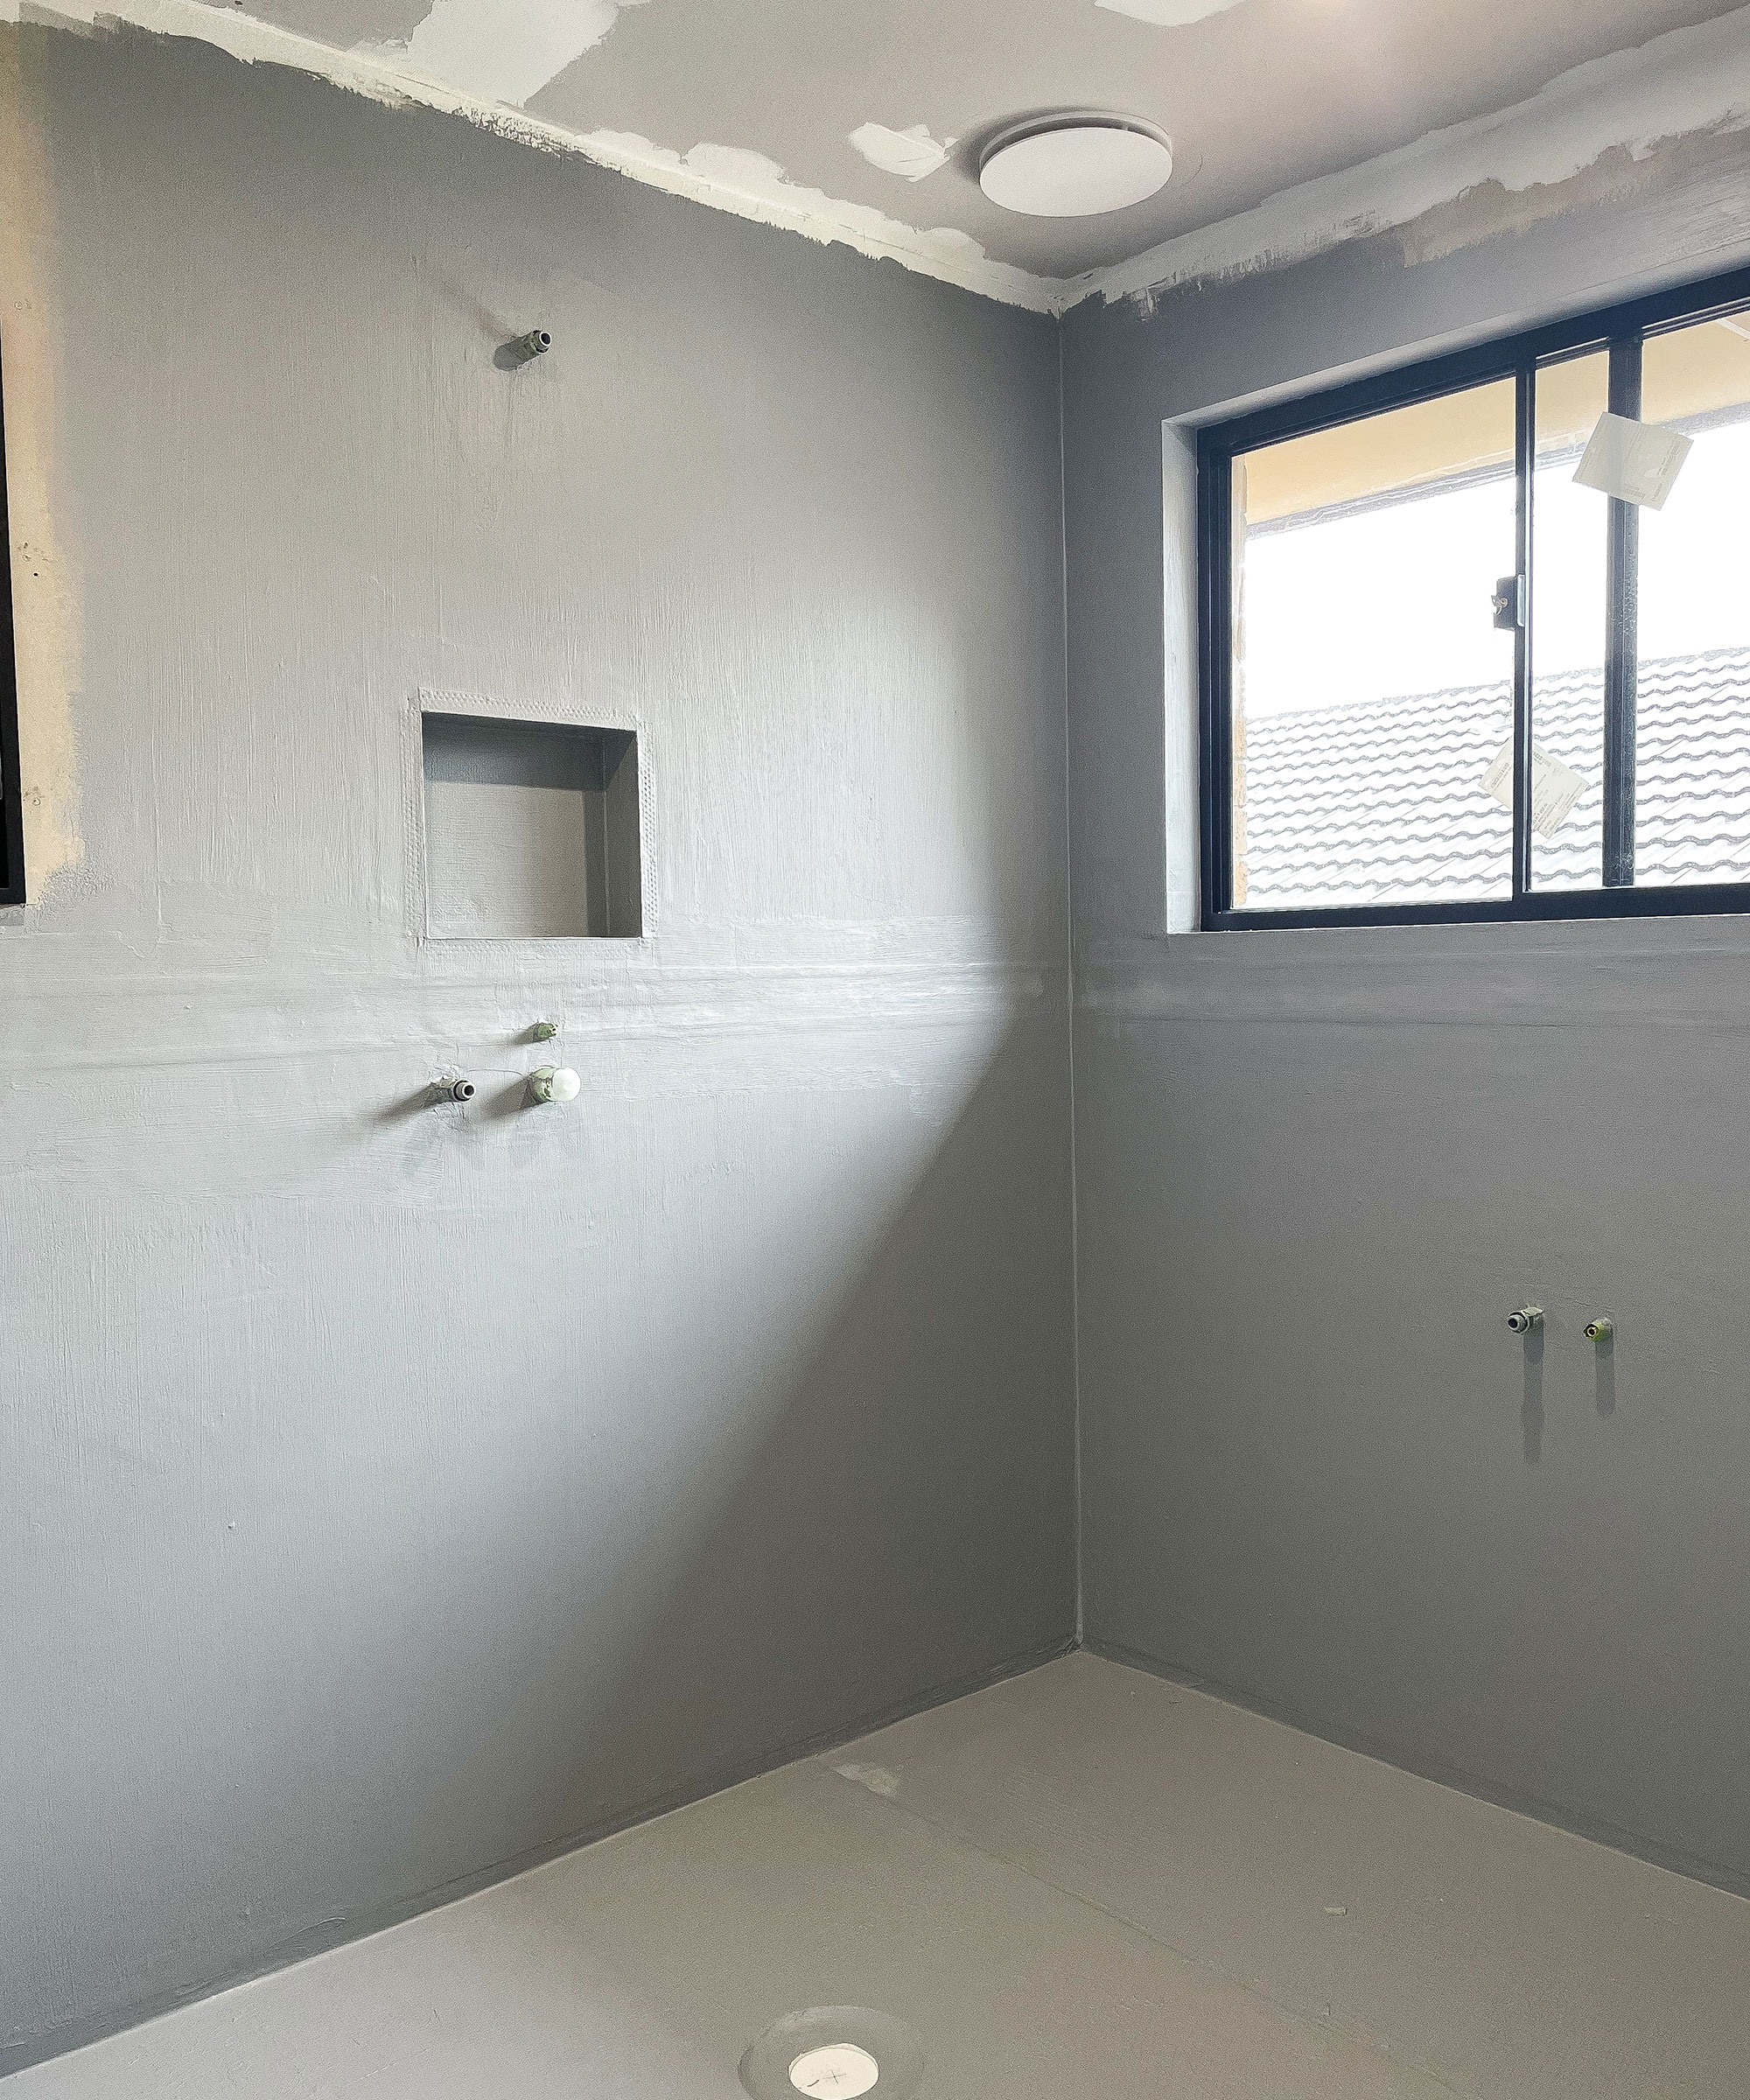
This step is really important and if you fail to do it properly you are likely to run into some serious problems that could ruin all your modern bathroom ideas.
“If you are applying microcement to a wet area, it’s essential that you properly waterproof the space first to avoid any issues down the line,” says Kellie Reidy, author of January Revival Home Renovation + Interior Styling, who microcemented her showering area as part of a bathroom renovation. “Pay particular attention to any corners and joins, as these are the most common places for leaks. We chose to use a gray waterproofing agent to reduce the chance of it altering the color of our microcement. We recommend you avoid using any silicone-based gap fillers, as the primer may not stick.”
Jenna LeBlanc used MAPEI Mapelastic Aquadefense 1-Gallon Liquid Indoor or Outdoor Membrane from Lowes to waterproof her walls.
2. Prime the walls
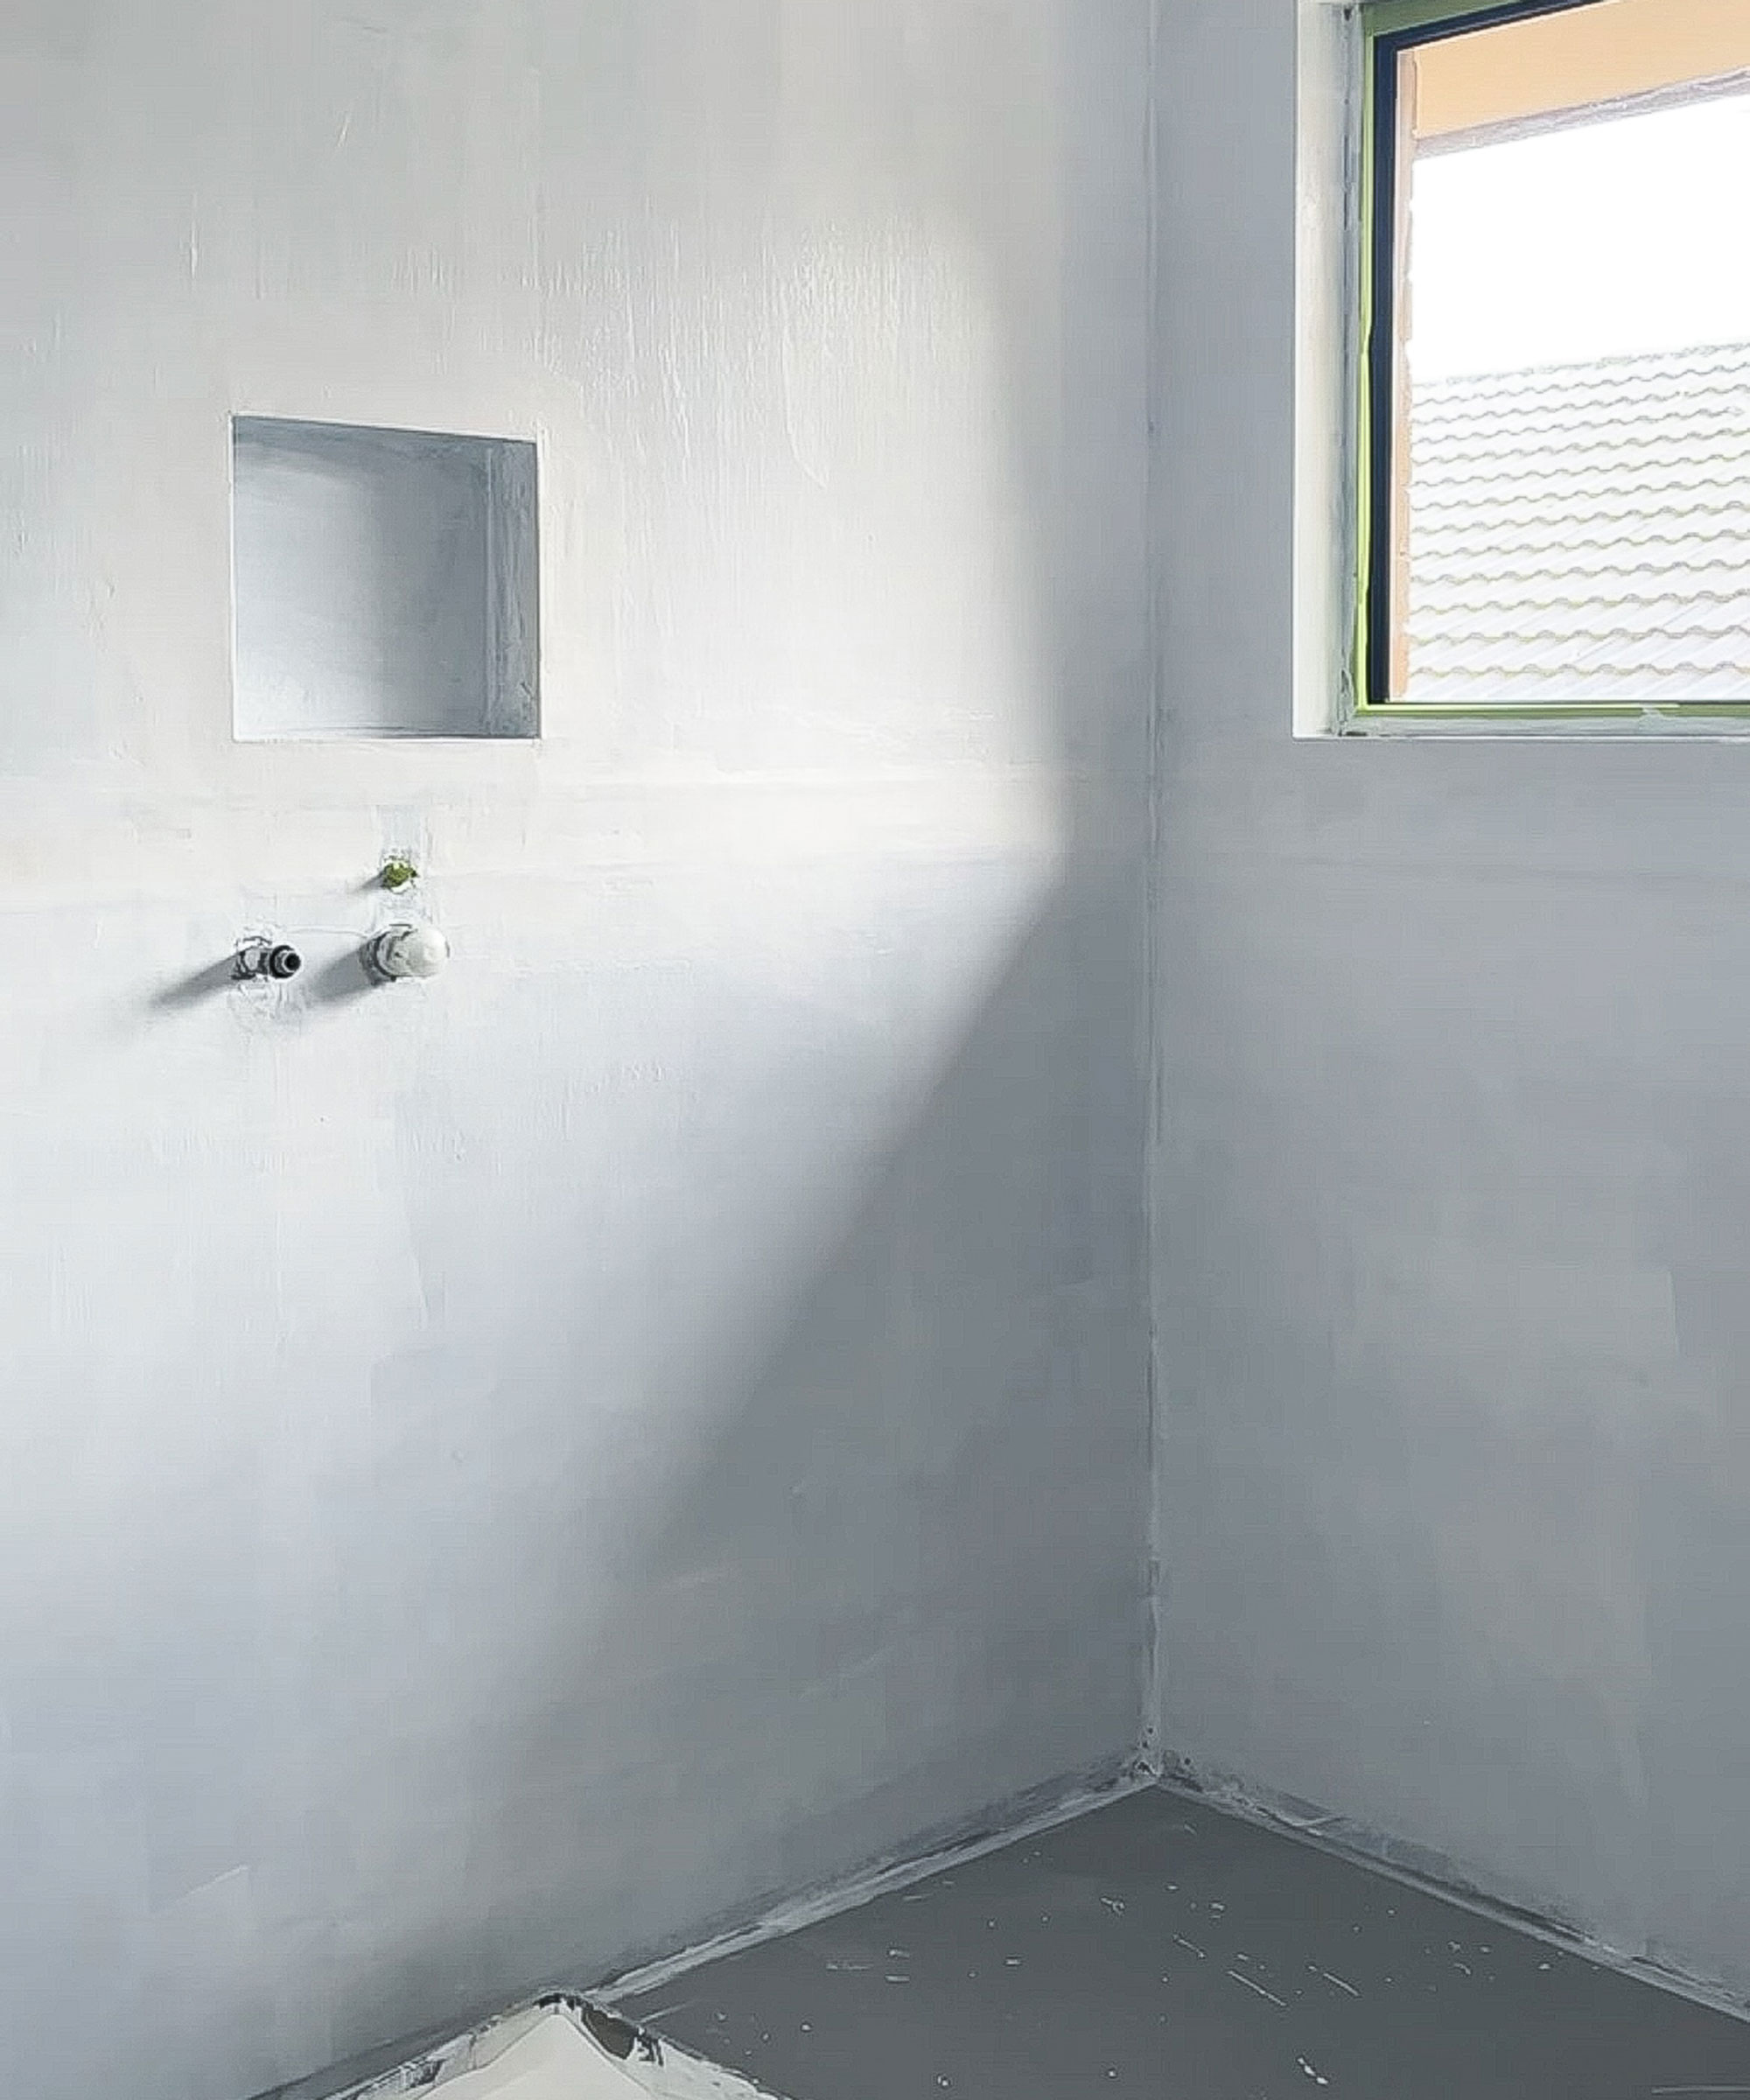
Just as when looking at how to microcement kitchen worktops, it is wise to apply a primer after waterproofing to ensure your microcement adheres to the wall well.
“The primer helps to even out the substrate and improves the adhesion of the product. And, if you are using a lighter color microcement over a darker waterproofing agent, it reduces the chance of any color showing through,” explains Kellie Reidy.
Try a product such as INSL-X Stix Acrylic Waterborne Bonding Primer from Amazon which works well on all kinds of surfaces.
3. Mix up your microcement
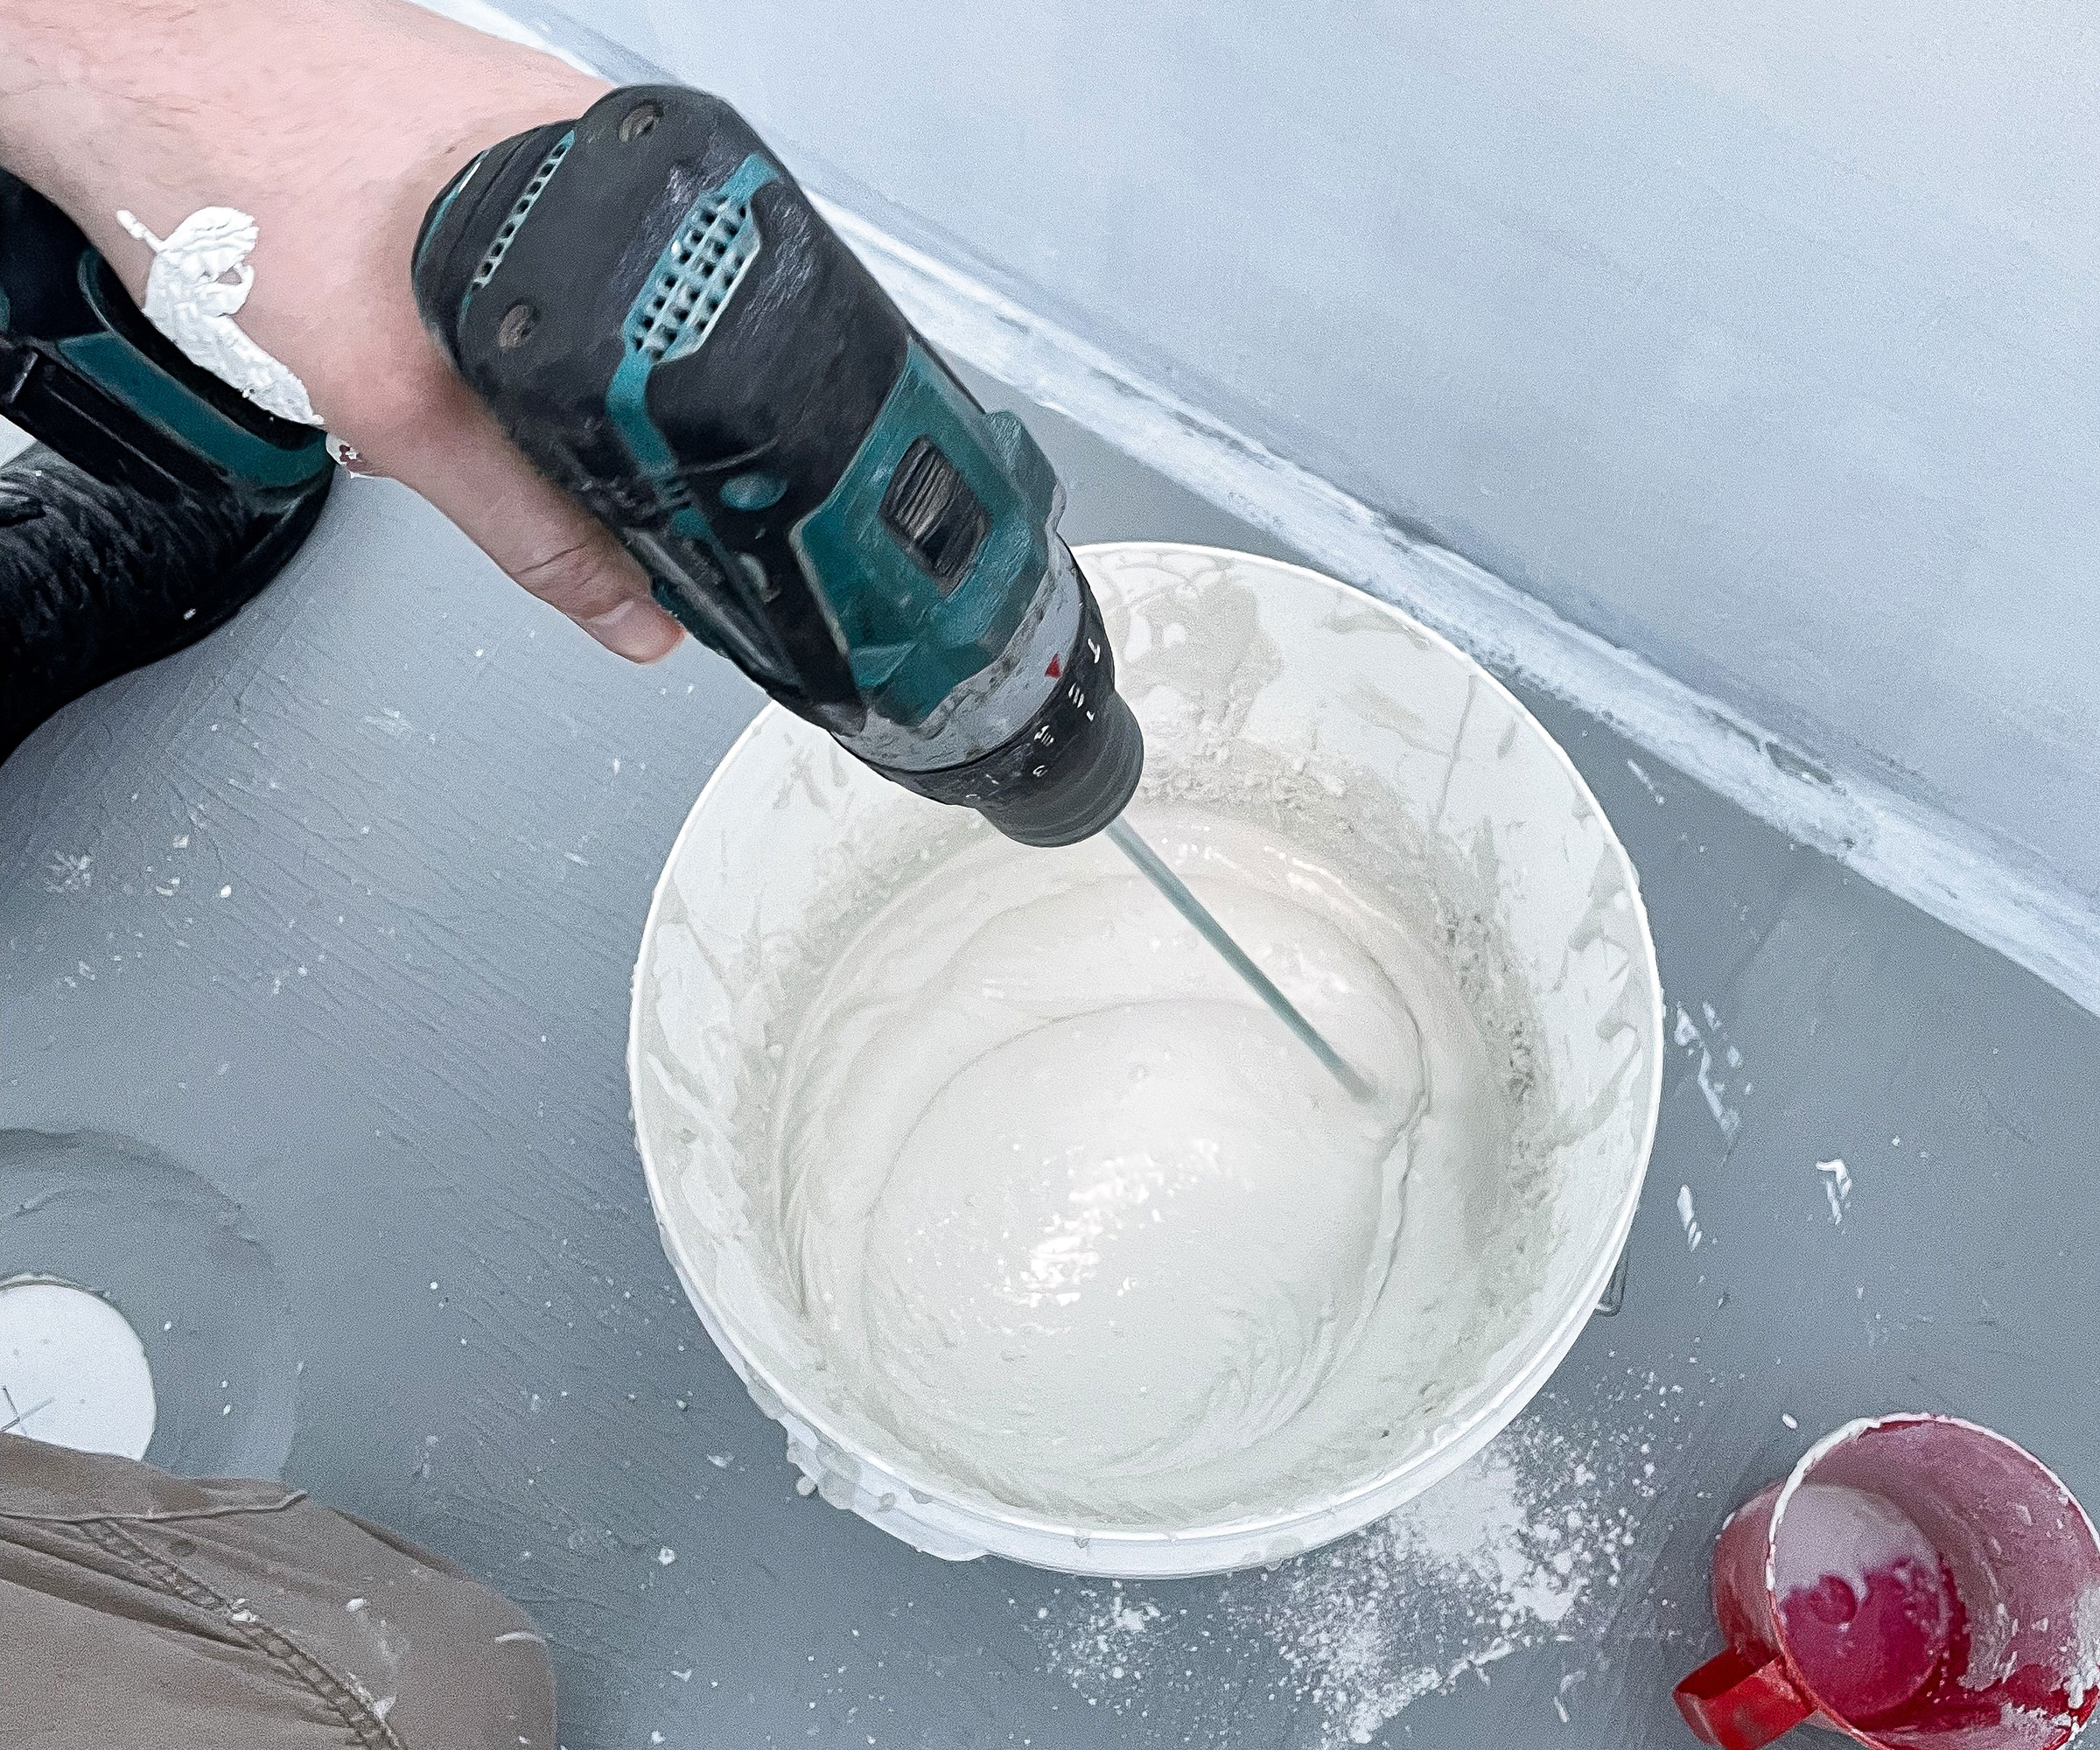
You should follow the instructions that come with your chosen microcement here as different products will require different cement-to-water ratios. Generally, the first coat needs to be a little thicker than the second.
If you are wanting a colored finish to your microcement, now is the time to mix in your color pack if you purchased one or if it came as part of your kit. If you have a compact space, take inspiration from the best paint colors for small bathrooms – light, neutral shades, such as Cool White from Lick, are commonly recommended and these tend to work well when it comes to microcement too.
4. Apply your first coat of microcement
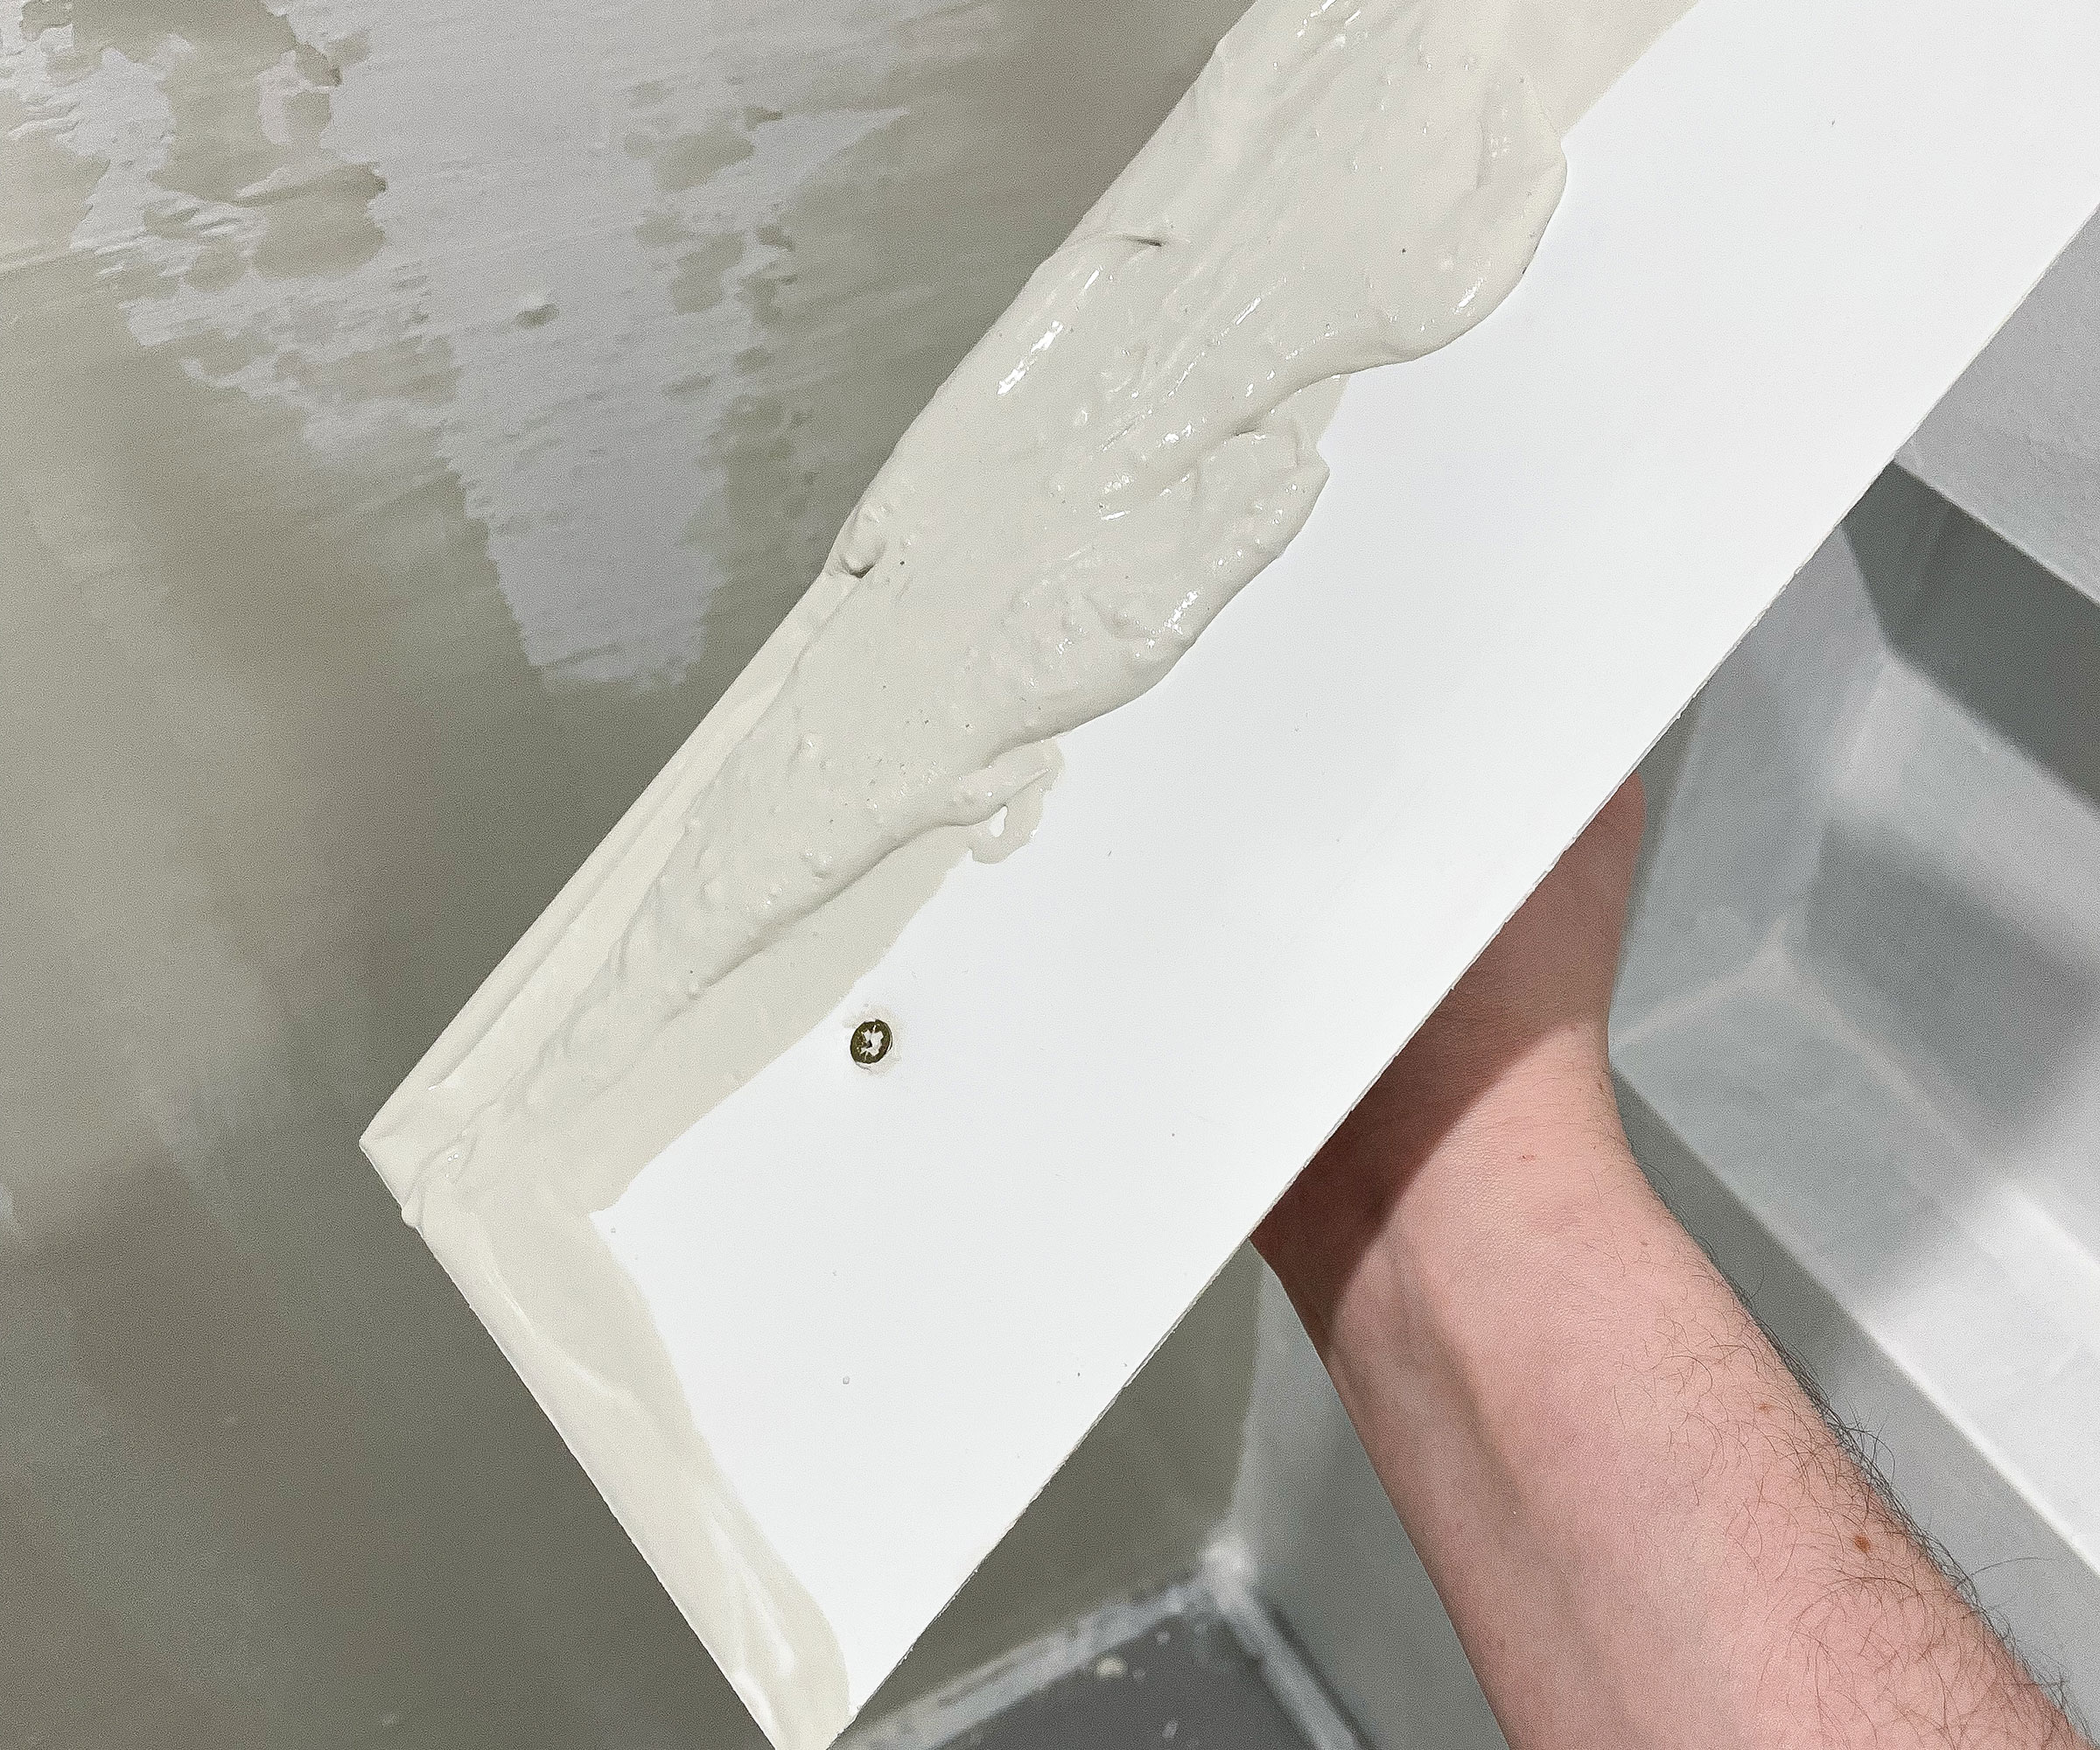
Time to get covering the walls using your flexible trowel – the Hanroy Plastic Trowel from Amazon would work well, just as it would for anyone wondering how to microcement a backsplash.
“We started by scooping some of the mixture onto a pool trowel, then spread it on the wall in an upward motion,” says Jenna LeBlanc.
“For this first coat, the appearance really doesn’t matter – you just want to make sure to cover the surface completely. If you want a smoother final coat, try to keep this first layer relatively smooth and even.”
“Avoid the temptation to go back and touch up any imperfections,” warns Kellie Reidy. “This can cause the product to lift and become tacky, so it’s best to fix it later.”
5. Lightly sand your first coat
Drying times vary, but you will generally need to allow at least six hours for your first coat to dry, although overnight is best.
“Allow the microcement to dry overnight, then sand back any drips or imperfections,” suggests Kellie Reidy. “We recommend using an electric sander to get through the job quickly, using 40-grit paper. If you are sanding manually, use 80-grit paper instead.”
Gator Multi-Surface Sanding Sheets from Amazon would be perfect for those sanding by hand.
Just as with many DIY small bathroom ideas, do remember to wear a dust mask and safety goggles when doing this as it is a messy business.
6. Apply a second coat
Repeat the same process you used for your first coat of microcement, but this time pay closer attention to the finish you are achieving as this coat will have more of an effect on your final bathroom wall decor ideas.
“The beauty of this product is that there’s no right or wrong way to do it,” reassures Jenna LeBlanc. “And you can even try various tools (like a squeegee) for different textures and effects.” The OXO Good Grips All-Purpose Squeegee from Amazon is really comfortable to hold.
7. Sand and finish
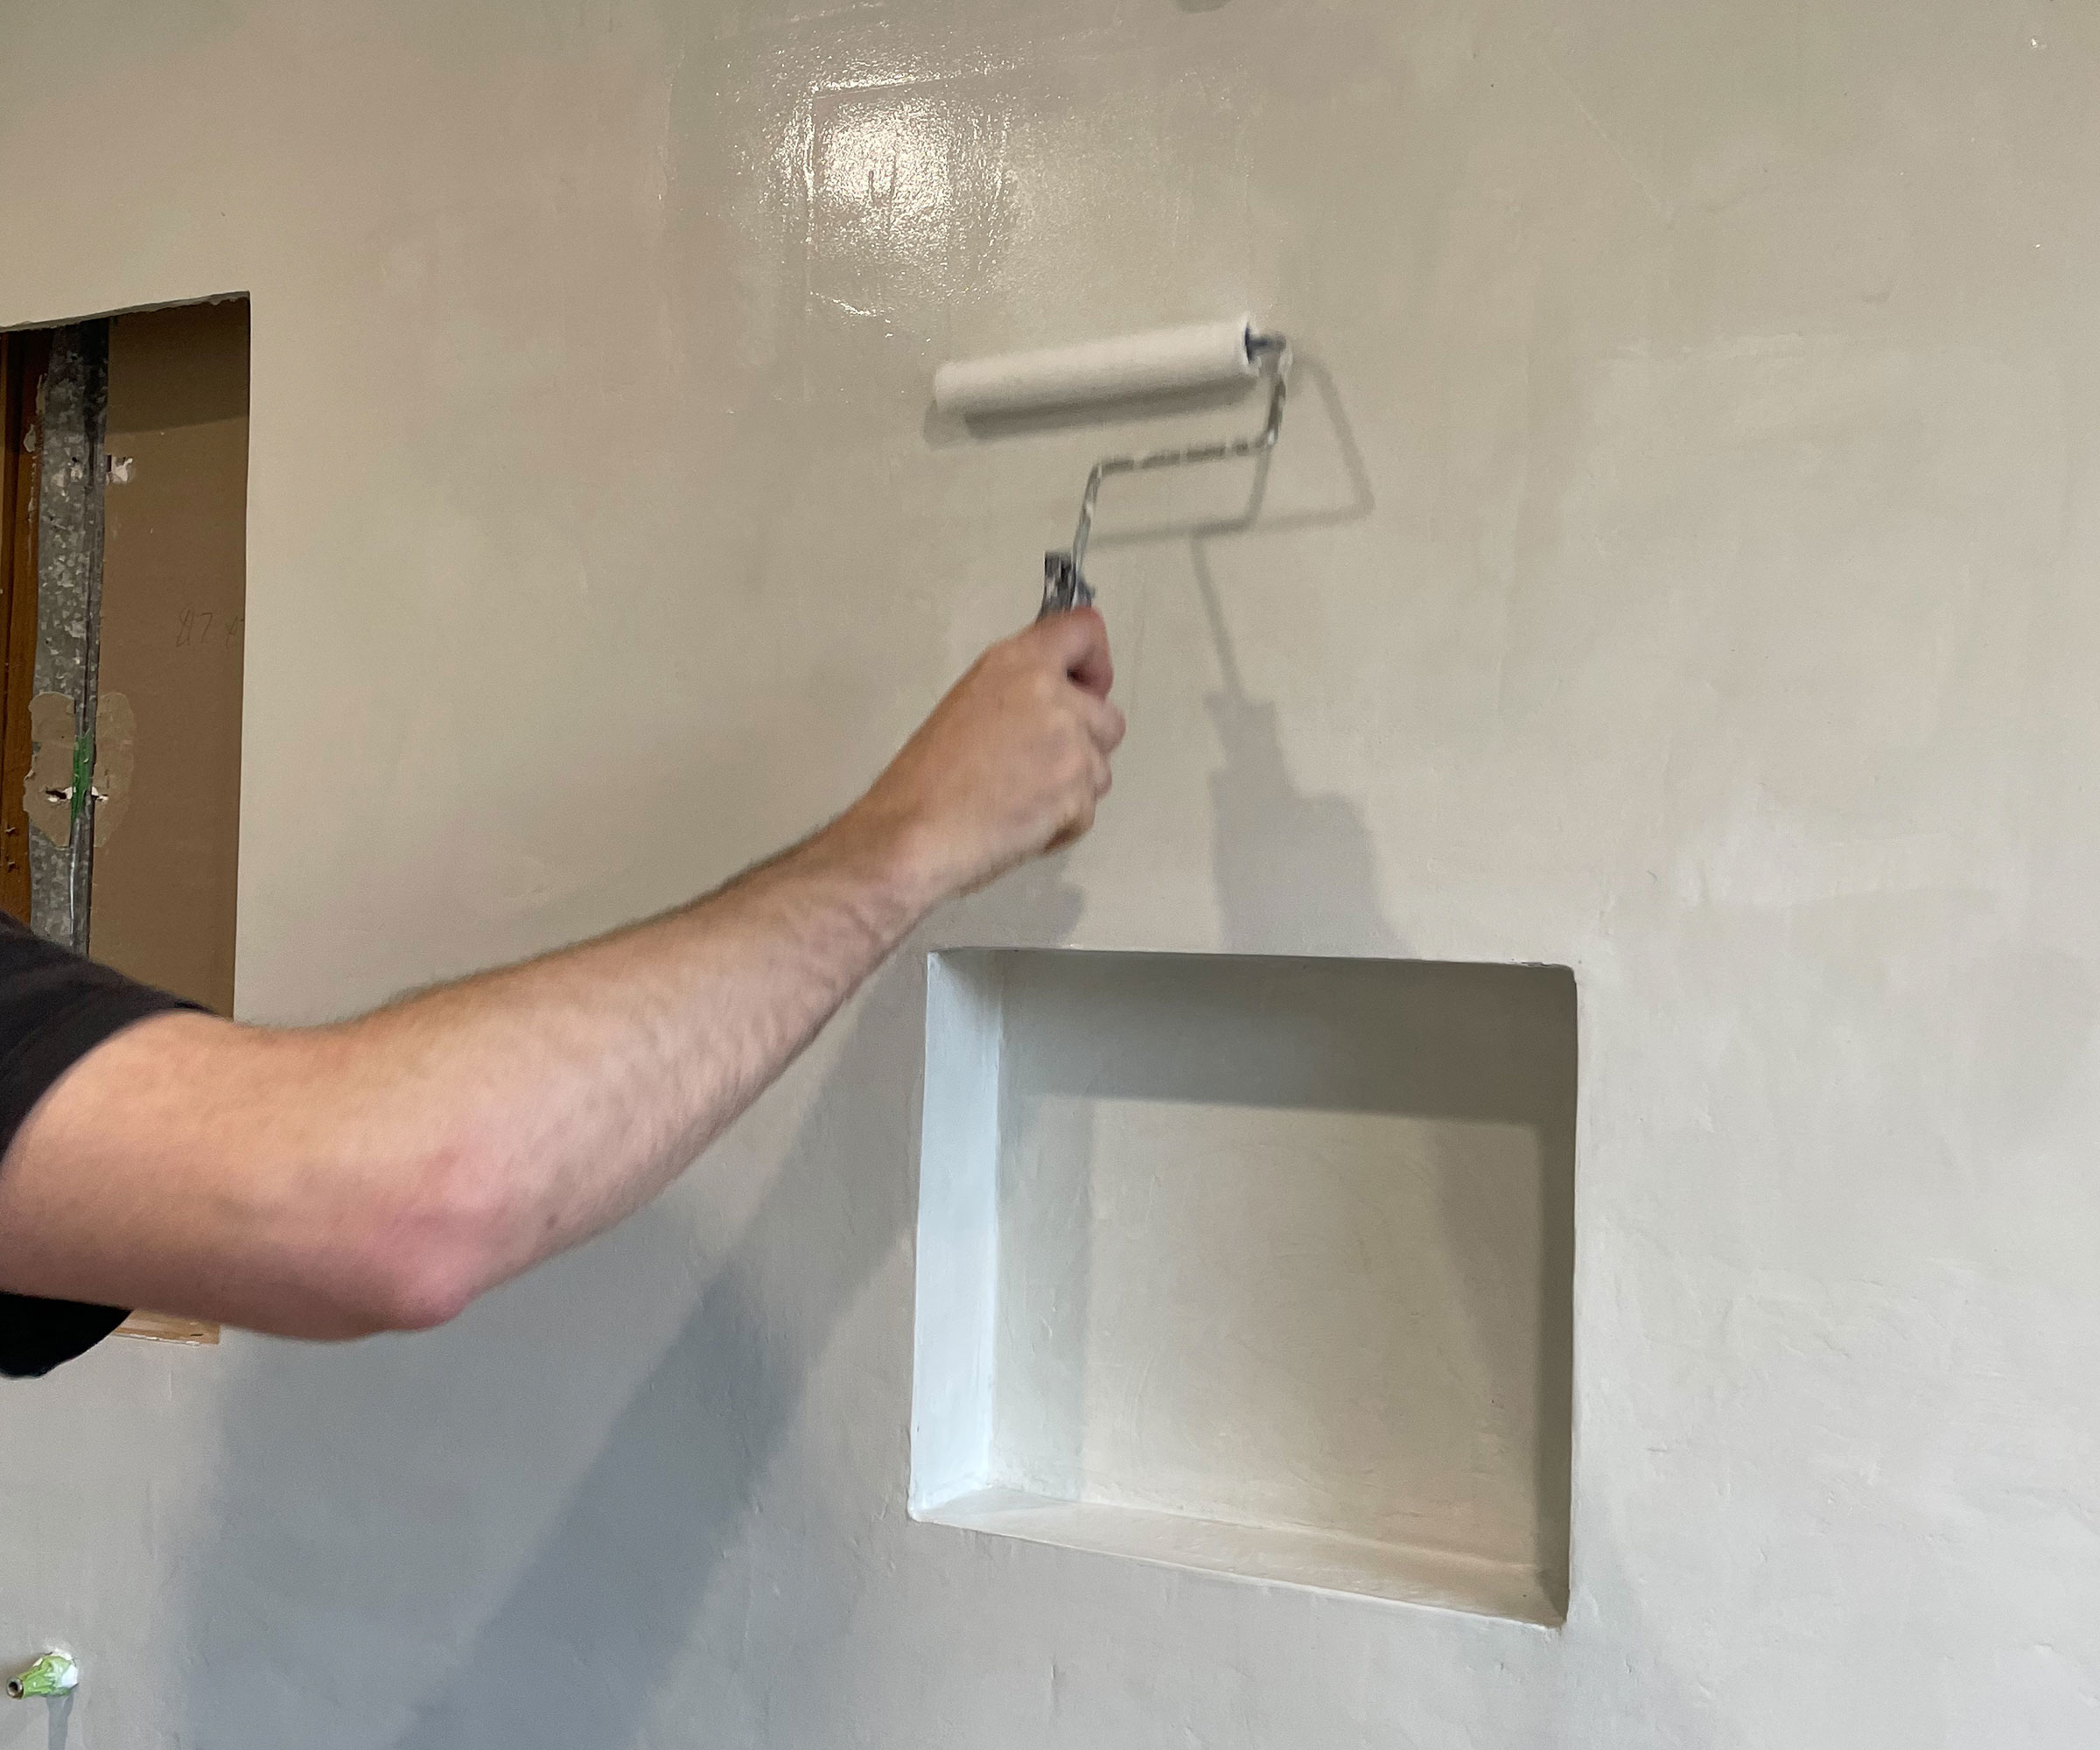
Once your second microcement coat is fully dry, you will need to lightly sand the area again before applying your finishing products. If you are using a kit, the sealing products will probably have been included.
“Using a paintbrush or roller, apply two coats of primer (we used Primacrete), which helps to penetrate and seal the microcement,” advises Kellie. “Allow for a 30-minute dry time in between coats and be careful to avoid any drips or tear marks.
“Once dry, mix together your two-part resin and hardener coating and apply with a roller. You may want to use a brush for corners and any hard-to-reach places. The resin we used dried to a beautiful low-sheen finish, and was ready for us to complete the rest of the bathroom fit-out within 24 hours.”
“A sealer is necessary to protect the finish and make the walls easy to clean,” explains Jenna. “SureCrete recommends a water-based acrylic sealer – specifically their SuperWB or XS327.”
You could also try Stampsheen H2O Medium Gloss, a Water-Based Acrylic Sealer from Amazon.
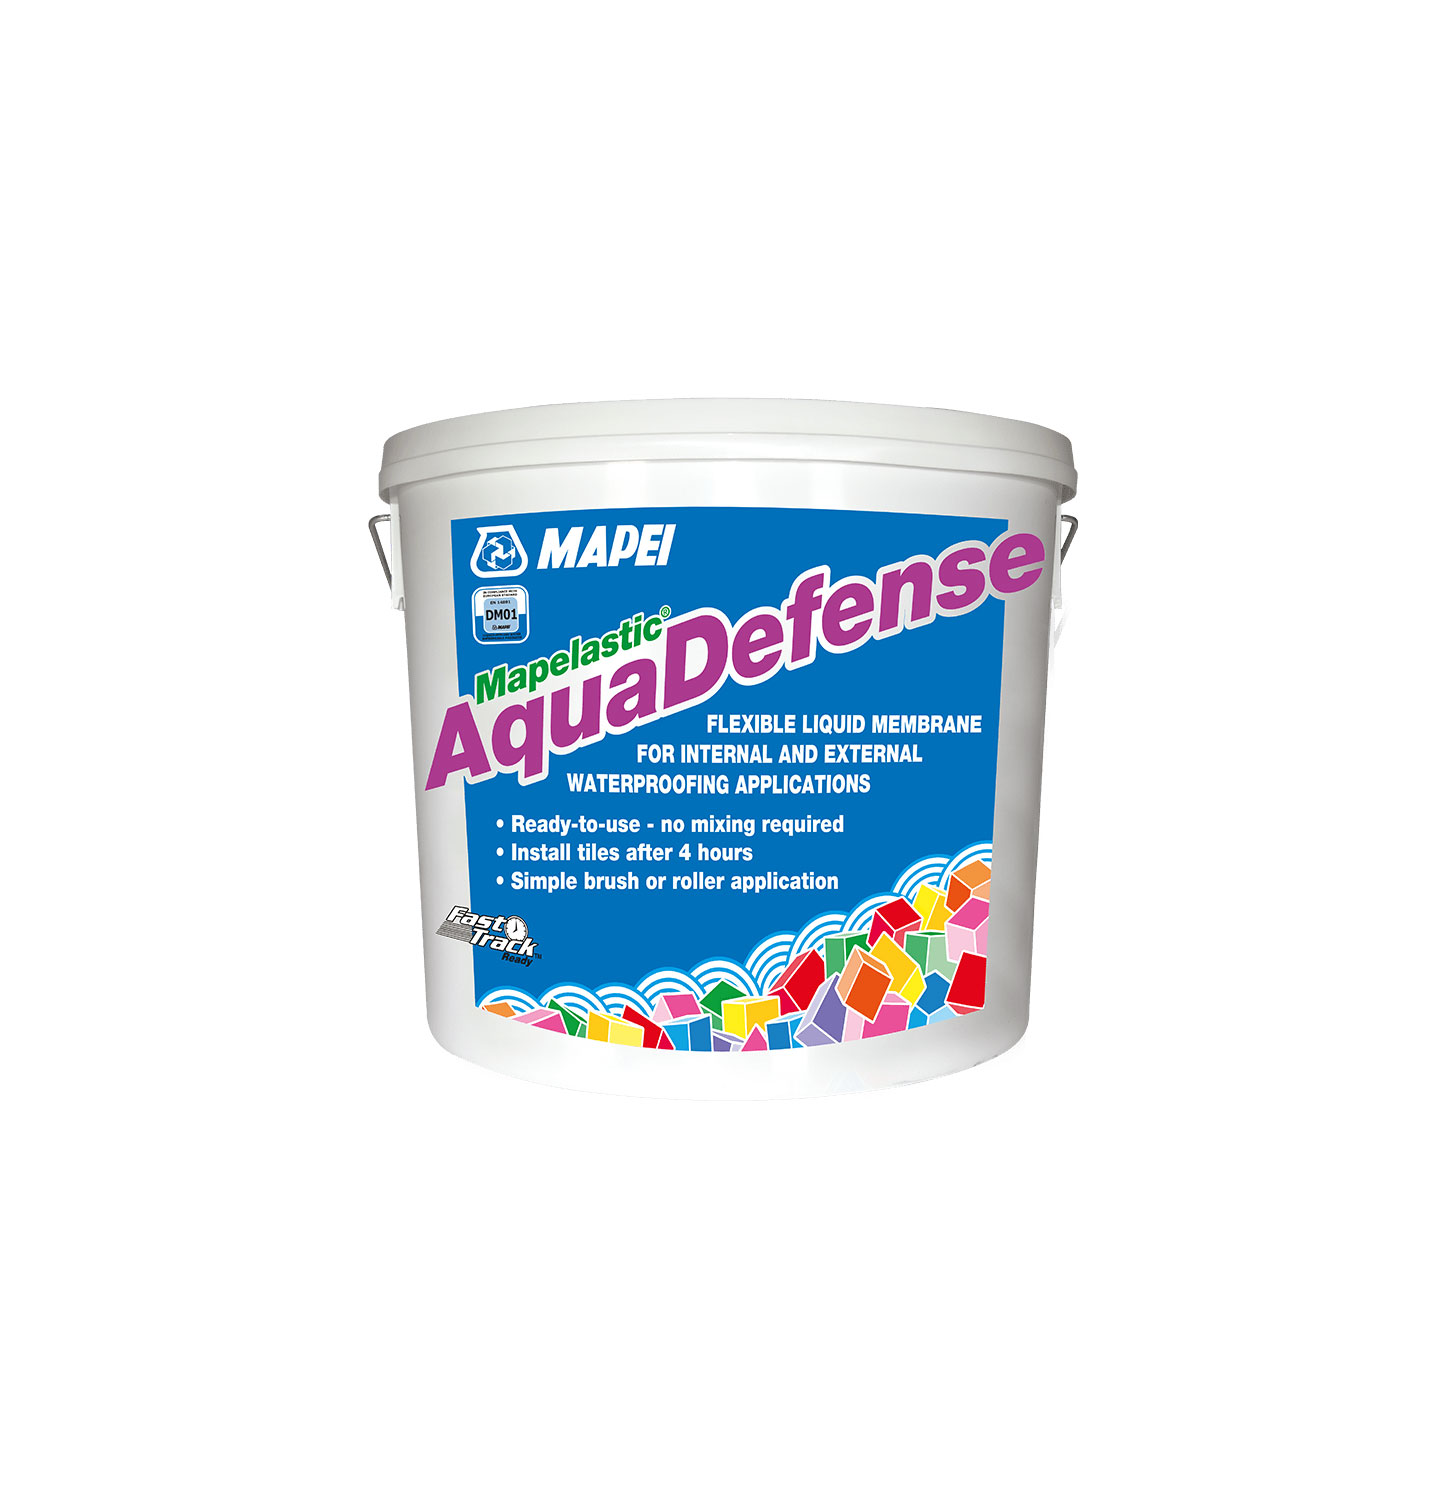
Price: $73.98
This waterproofing membrane acts as a barrier to protect walls and floors from water damage. It can be applied with a roller or a brush, is quick-drying, and is mold and mildew-resistant. This one-gallon bucket covers up to 60sqft.
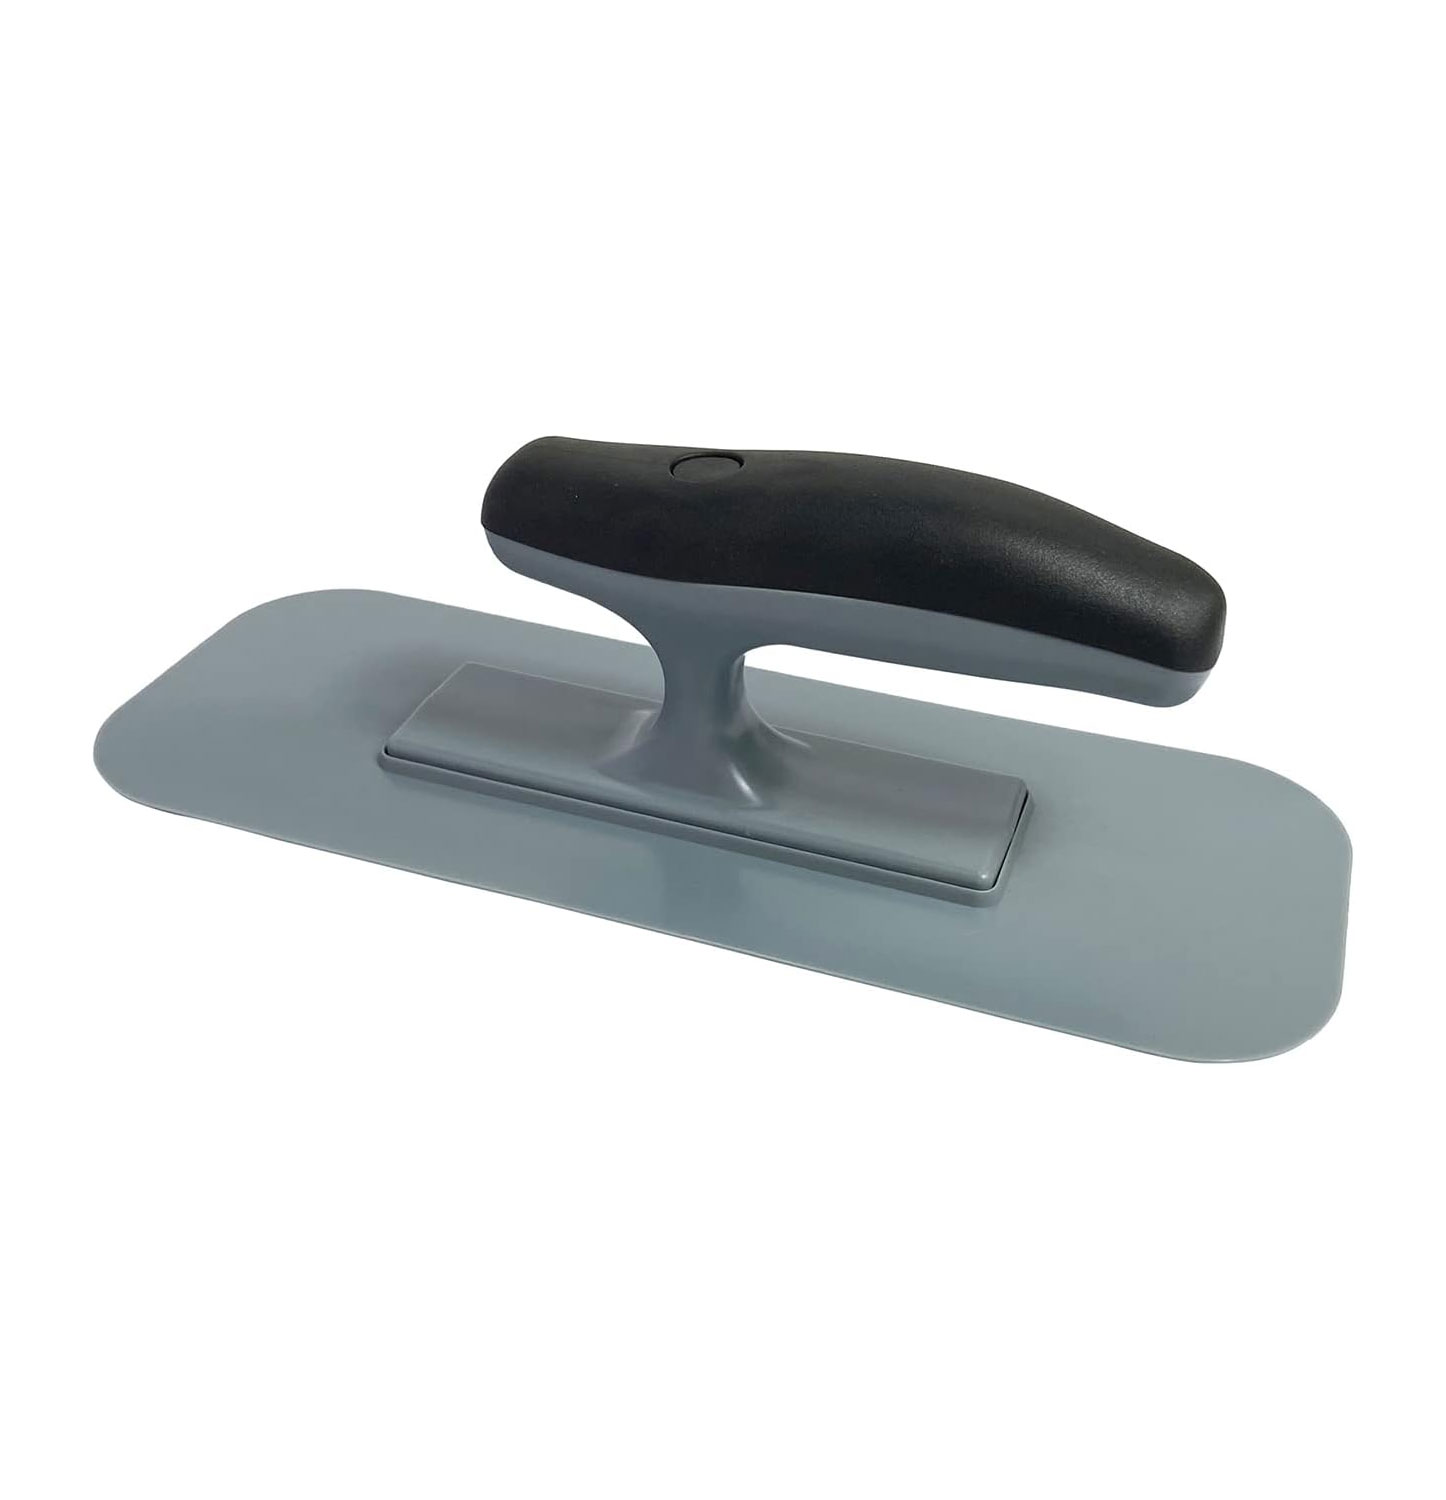
Price: $9.99
With a comfortable, ergonomic handle, this trowel is also really lightweight too, making it a great choice for anyone not experienced in applying microcement. It measures 3.5" x 9.5" and is easy to clean after use.
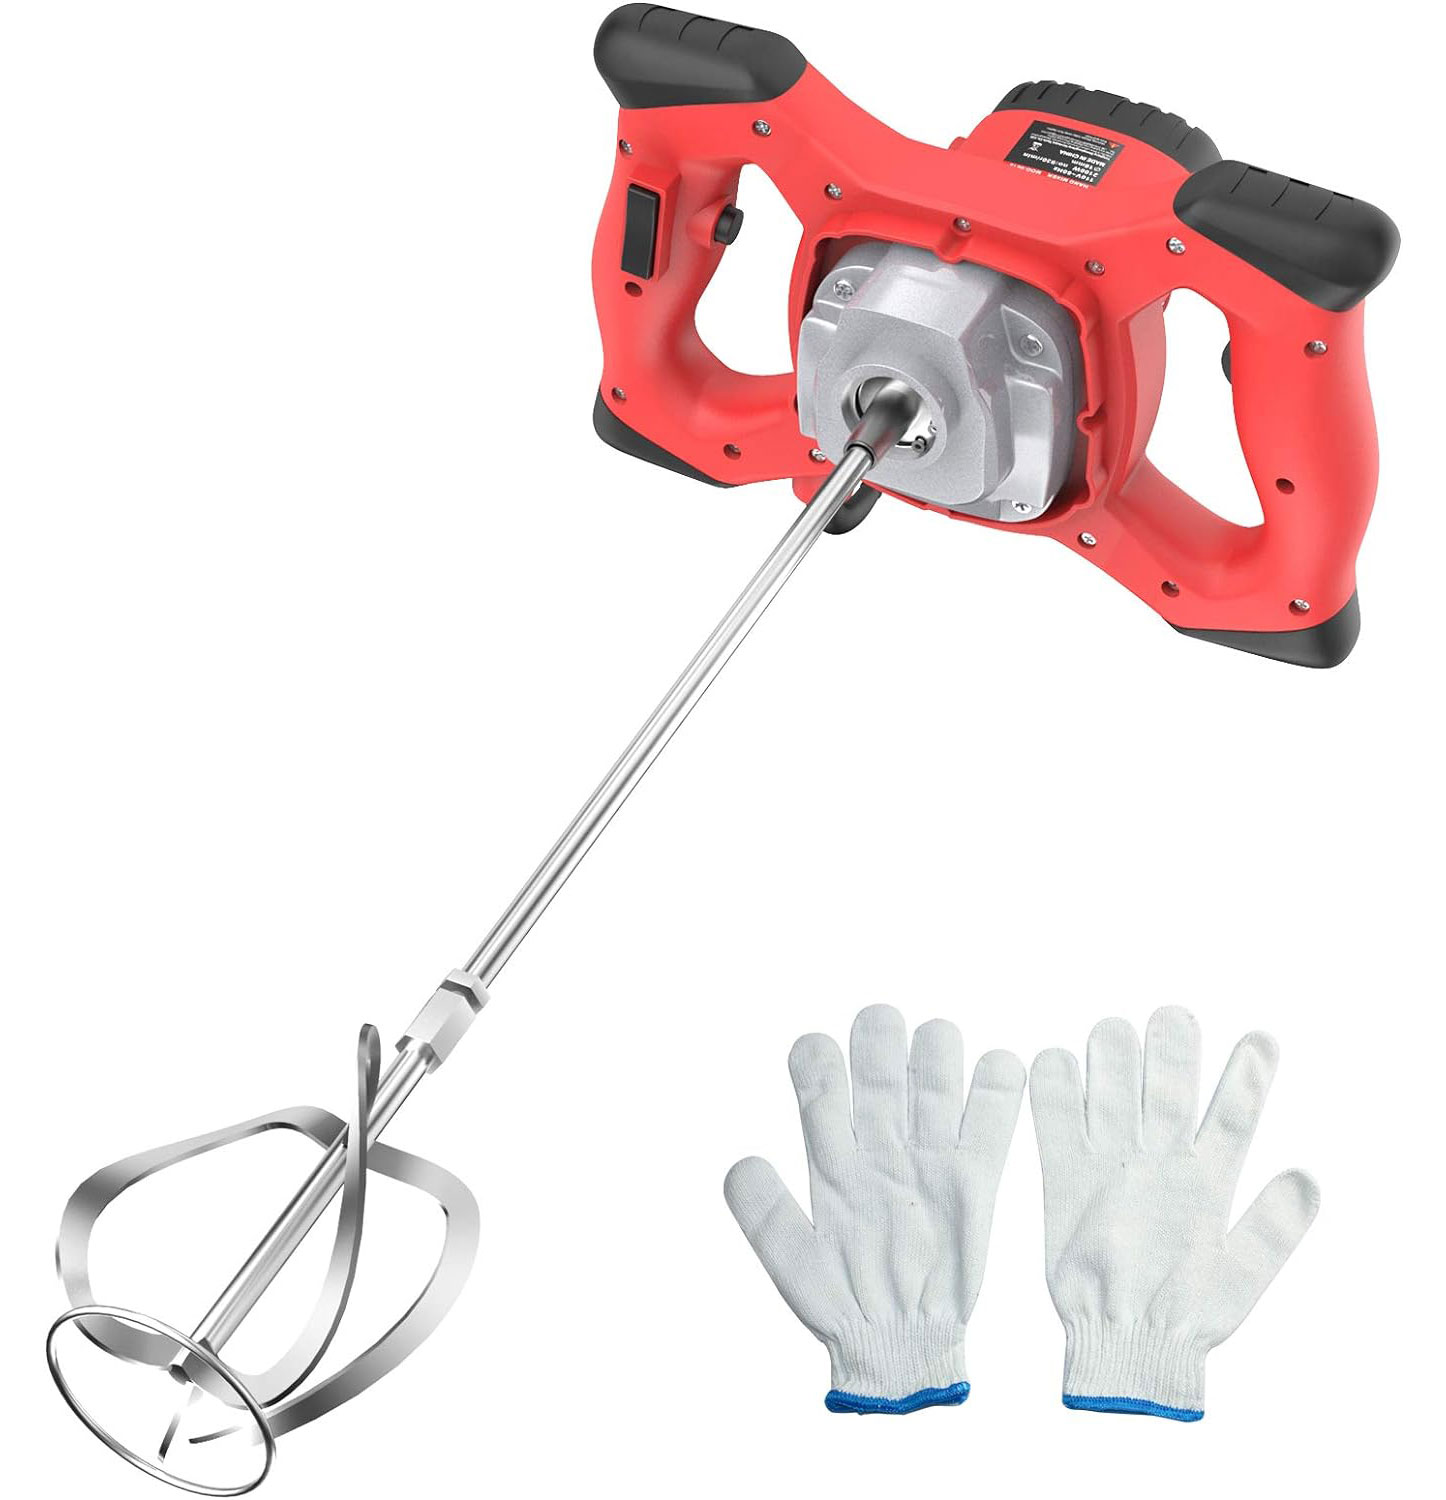
Price: $59.90
Whether you are going to be grouting, tiling, or microcementing, this hand-held cement mixer will be so useful. The mixer has six speeds and a screw-shaped dual-paddle for thorough mixing. The dual handle also reduces finger fatigue.
Meet our experts
FAQs
Is microcement cheaper than tiling?
In short, yes, microcement is, in general, cheaper than tile – although this obviously party depends on the bathroom tile ideas you choose.
“We paid $33 for each 50lb bag of microcement,” reveals Jenna LeBlanc. “Our project came to around 85 cents per square foot (for the cement mix). After the waterproofing membrane and sealer, it was still under $1.50/sf total. Significantly less than any tile!”
Is microcement easy to clean?
One of the main things about tile that tends to get on homeowners’ nerves is the need to learn how to clean tile grout. It can even need replacing entirely from time to time. So how does microcement compare maintenance-wise?
“I am happy to report that after two months, the microcement in our bathroom has been a dream to clean,” says Kellie Reidy. “Although we had read that it was one of the easiest coatings to clean, I didn’t want to speak on it too early until I had experienced it myself.
“I essentially just rinse it down with the shower hose. For areas it can’t reach, I simply wipe it over with a microfiber cloth. That’s it! Any soap residue, grime or dust just slides right off the surface.”
Lowes has a Rubbermaid 24-Pack of Microfiber Clothswhich would keep your microcement shower sparkling clean for ages.
If you love the look of a microcement finish and have been left feeling tempted to give it a go, take a look at our guide on how to plaster walls first – the process is remarkably similar.


