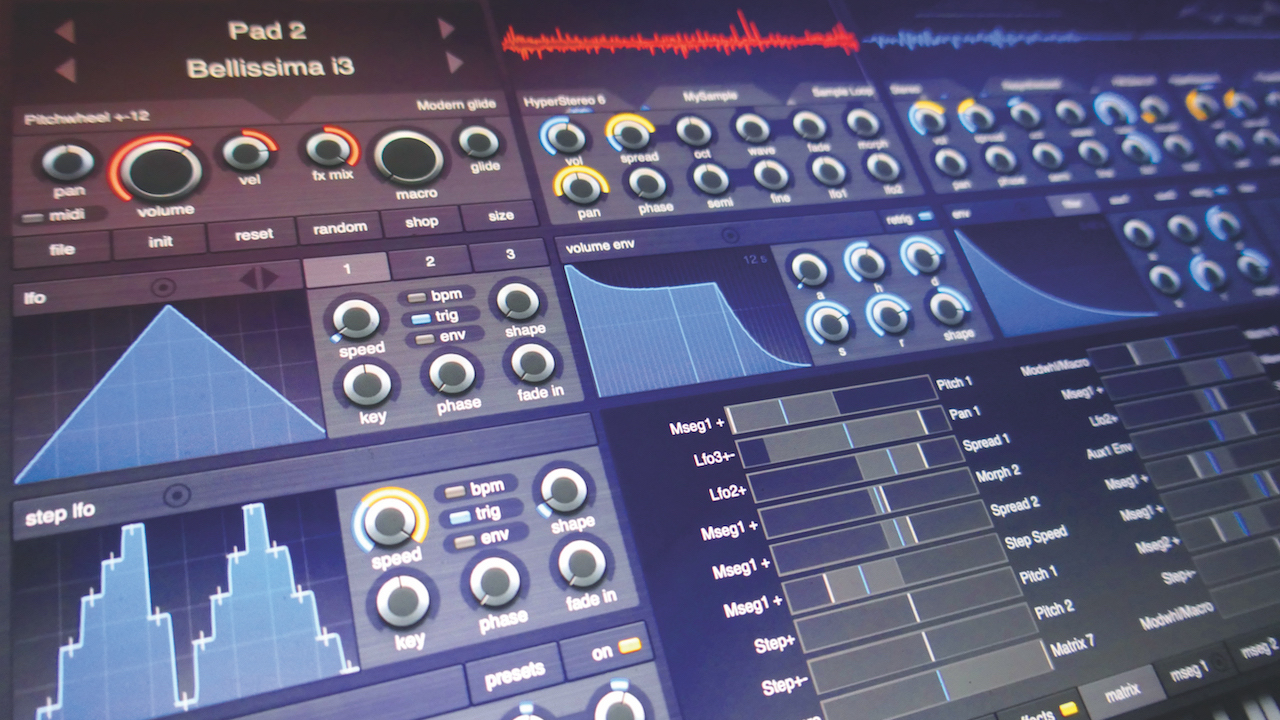
Where soft synths really start to come into their own is not so much by what each part of the synth does, but how they can interact with one another.
LFOs, or low-frequency oscillators, can ‘modulate’ other parameters on a synth and it’s this ‘modulation’ that really takes sound design up a layer. When you master this type of design, you can create sounds with movement, layering and drama that you won’t quite believe.
The might of modulation
One of the most common modulation examples is the aforementioned LFO, modulating the filter frequency or the oscillator pitch to result in a ‘wowow’ sound if the LFO is running at a fairly low rate. Increase the LFO rate and this might start sounding more like a vibrato effect. And the LFO is just the start…
In this instance, the LFO is the ‘source’ of the modulation and the oscillator pitch the ‘destination’. But most softsynths have many (many) other sources and destinations. In truth, you can often modulate anything with anything else, which is brilliant for sound design.
In Tone2’s latest Icarus synth (pictured left), for example, modulation sources include the synth’s three onboard LFOs, its four envelopes, and external sources like MIDI information (the velocity of an incoming MIDI note, for example), and the pitch/mod wheel from the controller keyboard you’re using. A lot of sources.
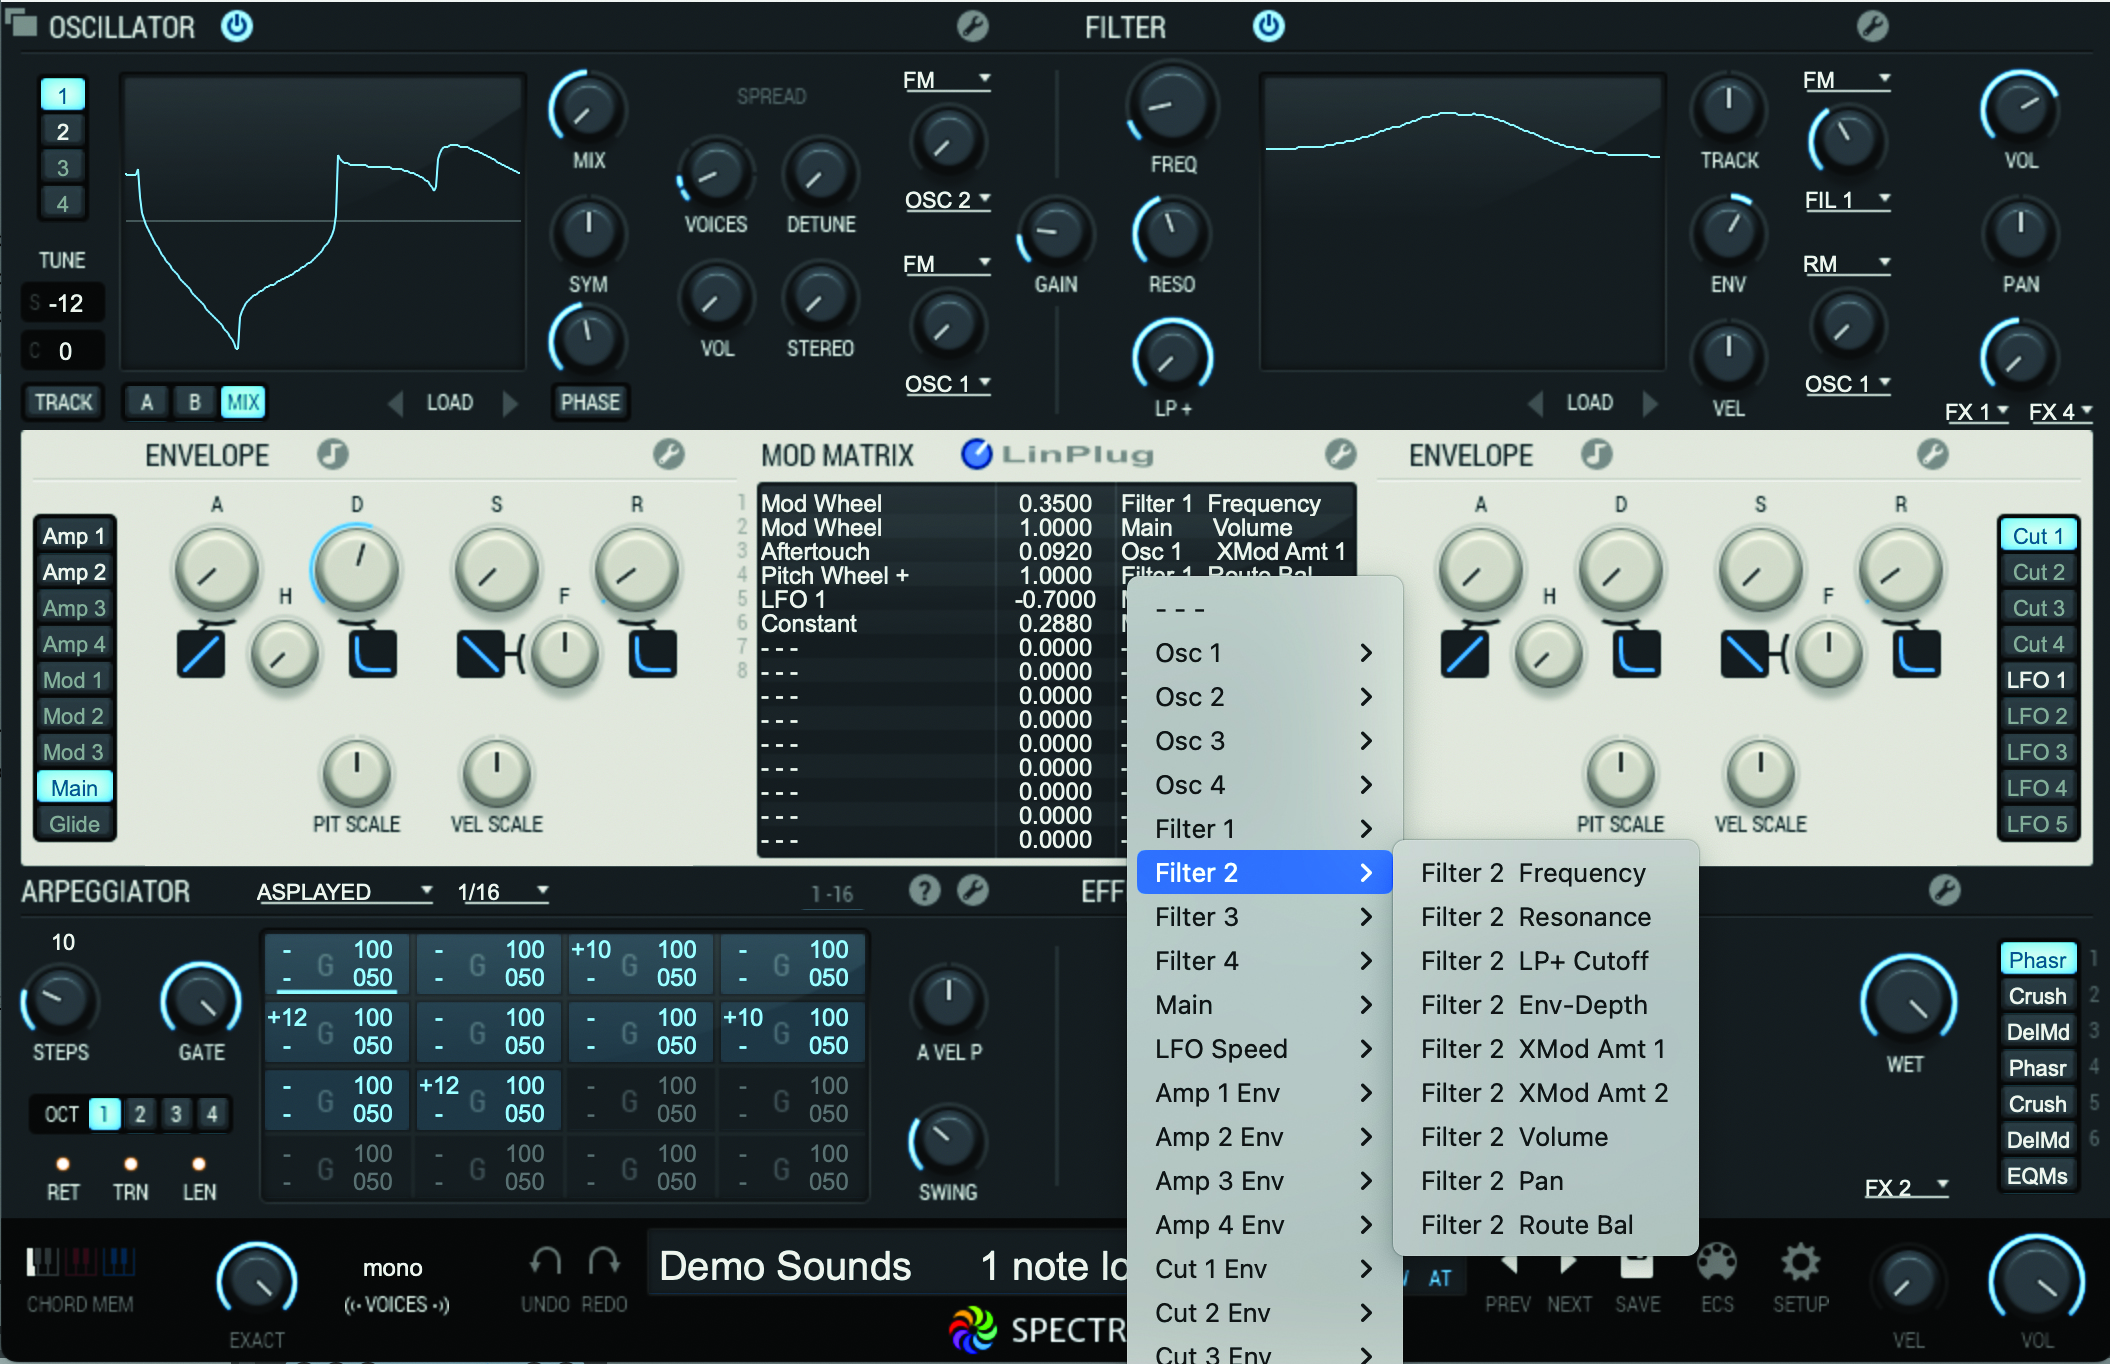
But wait until you see the number of destinations! In this case you can get all of those sources to modulate everything from a dozen different oscillator parameters through the on-board effects to the synth’s pan and volume levels. You can even get LFOs to modulate LFOs.
Clearly, this could get very complex, very quickly, and the measure of a good synth is how well its modulation features are implemented, so that you can get in there and create sounds with minimum fuss.
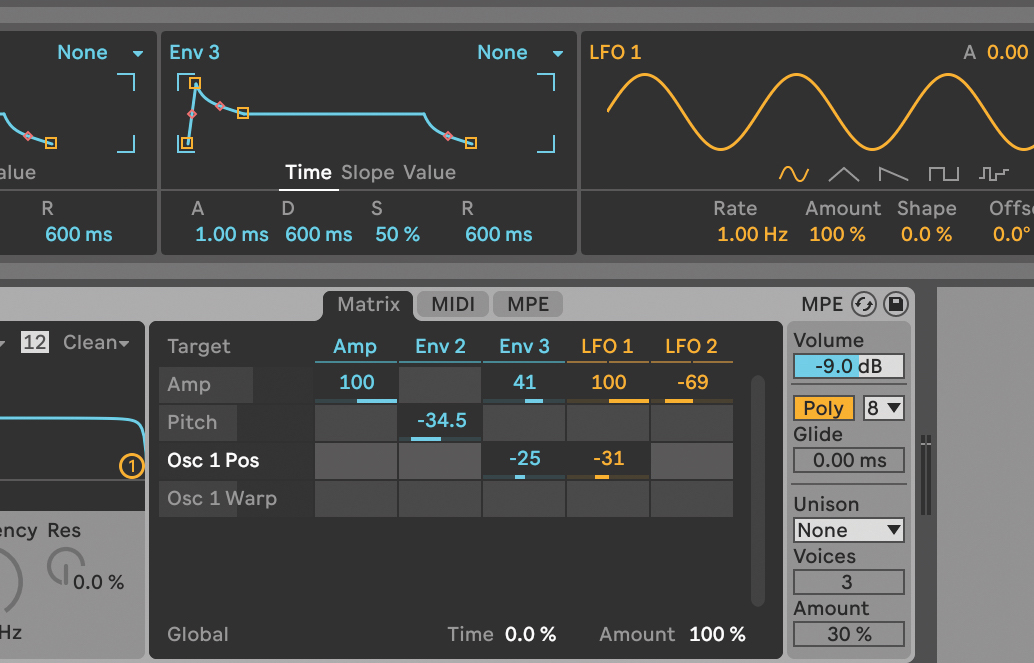
In many cases this comes via a modulation matrix where – and again Icarus is a good example – you have drop-down menus for sources which can easily be connected to destinations. Arturia’s Pigments demonstrates another brilliant way, where sources and destinations can be connected with a click.
Either way, modulation is the not-so-secret weapon for amazing sound design. There are no hard and fast rules, really, as the number of possibilities is enormous. But what you can expect is a complexity in the resulting sound which might surprise you. If you’re dreaming of evolving and dynamic sound creation, then modulation is something you should get involved with.
Yes, it can be complex. Bitwig Studio is an entire DAW that focuses on ‘everything modulation’. But really, as long as you get your head around the fact that one parameter is acting upon another with often brilliant results, you can go mad with modulation, and your sound design will only benefit.
The easy guide to modulation – the ultimate sound design tool
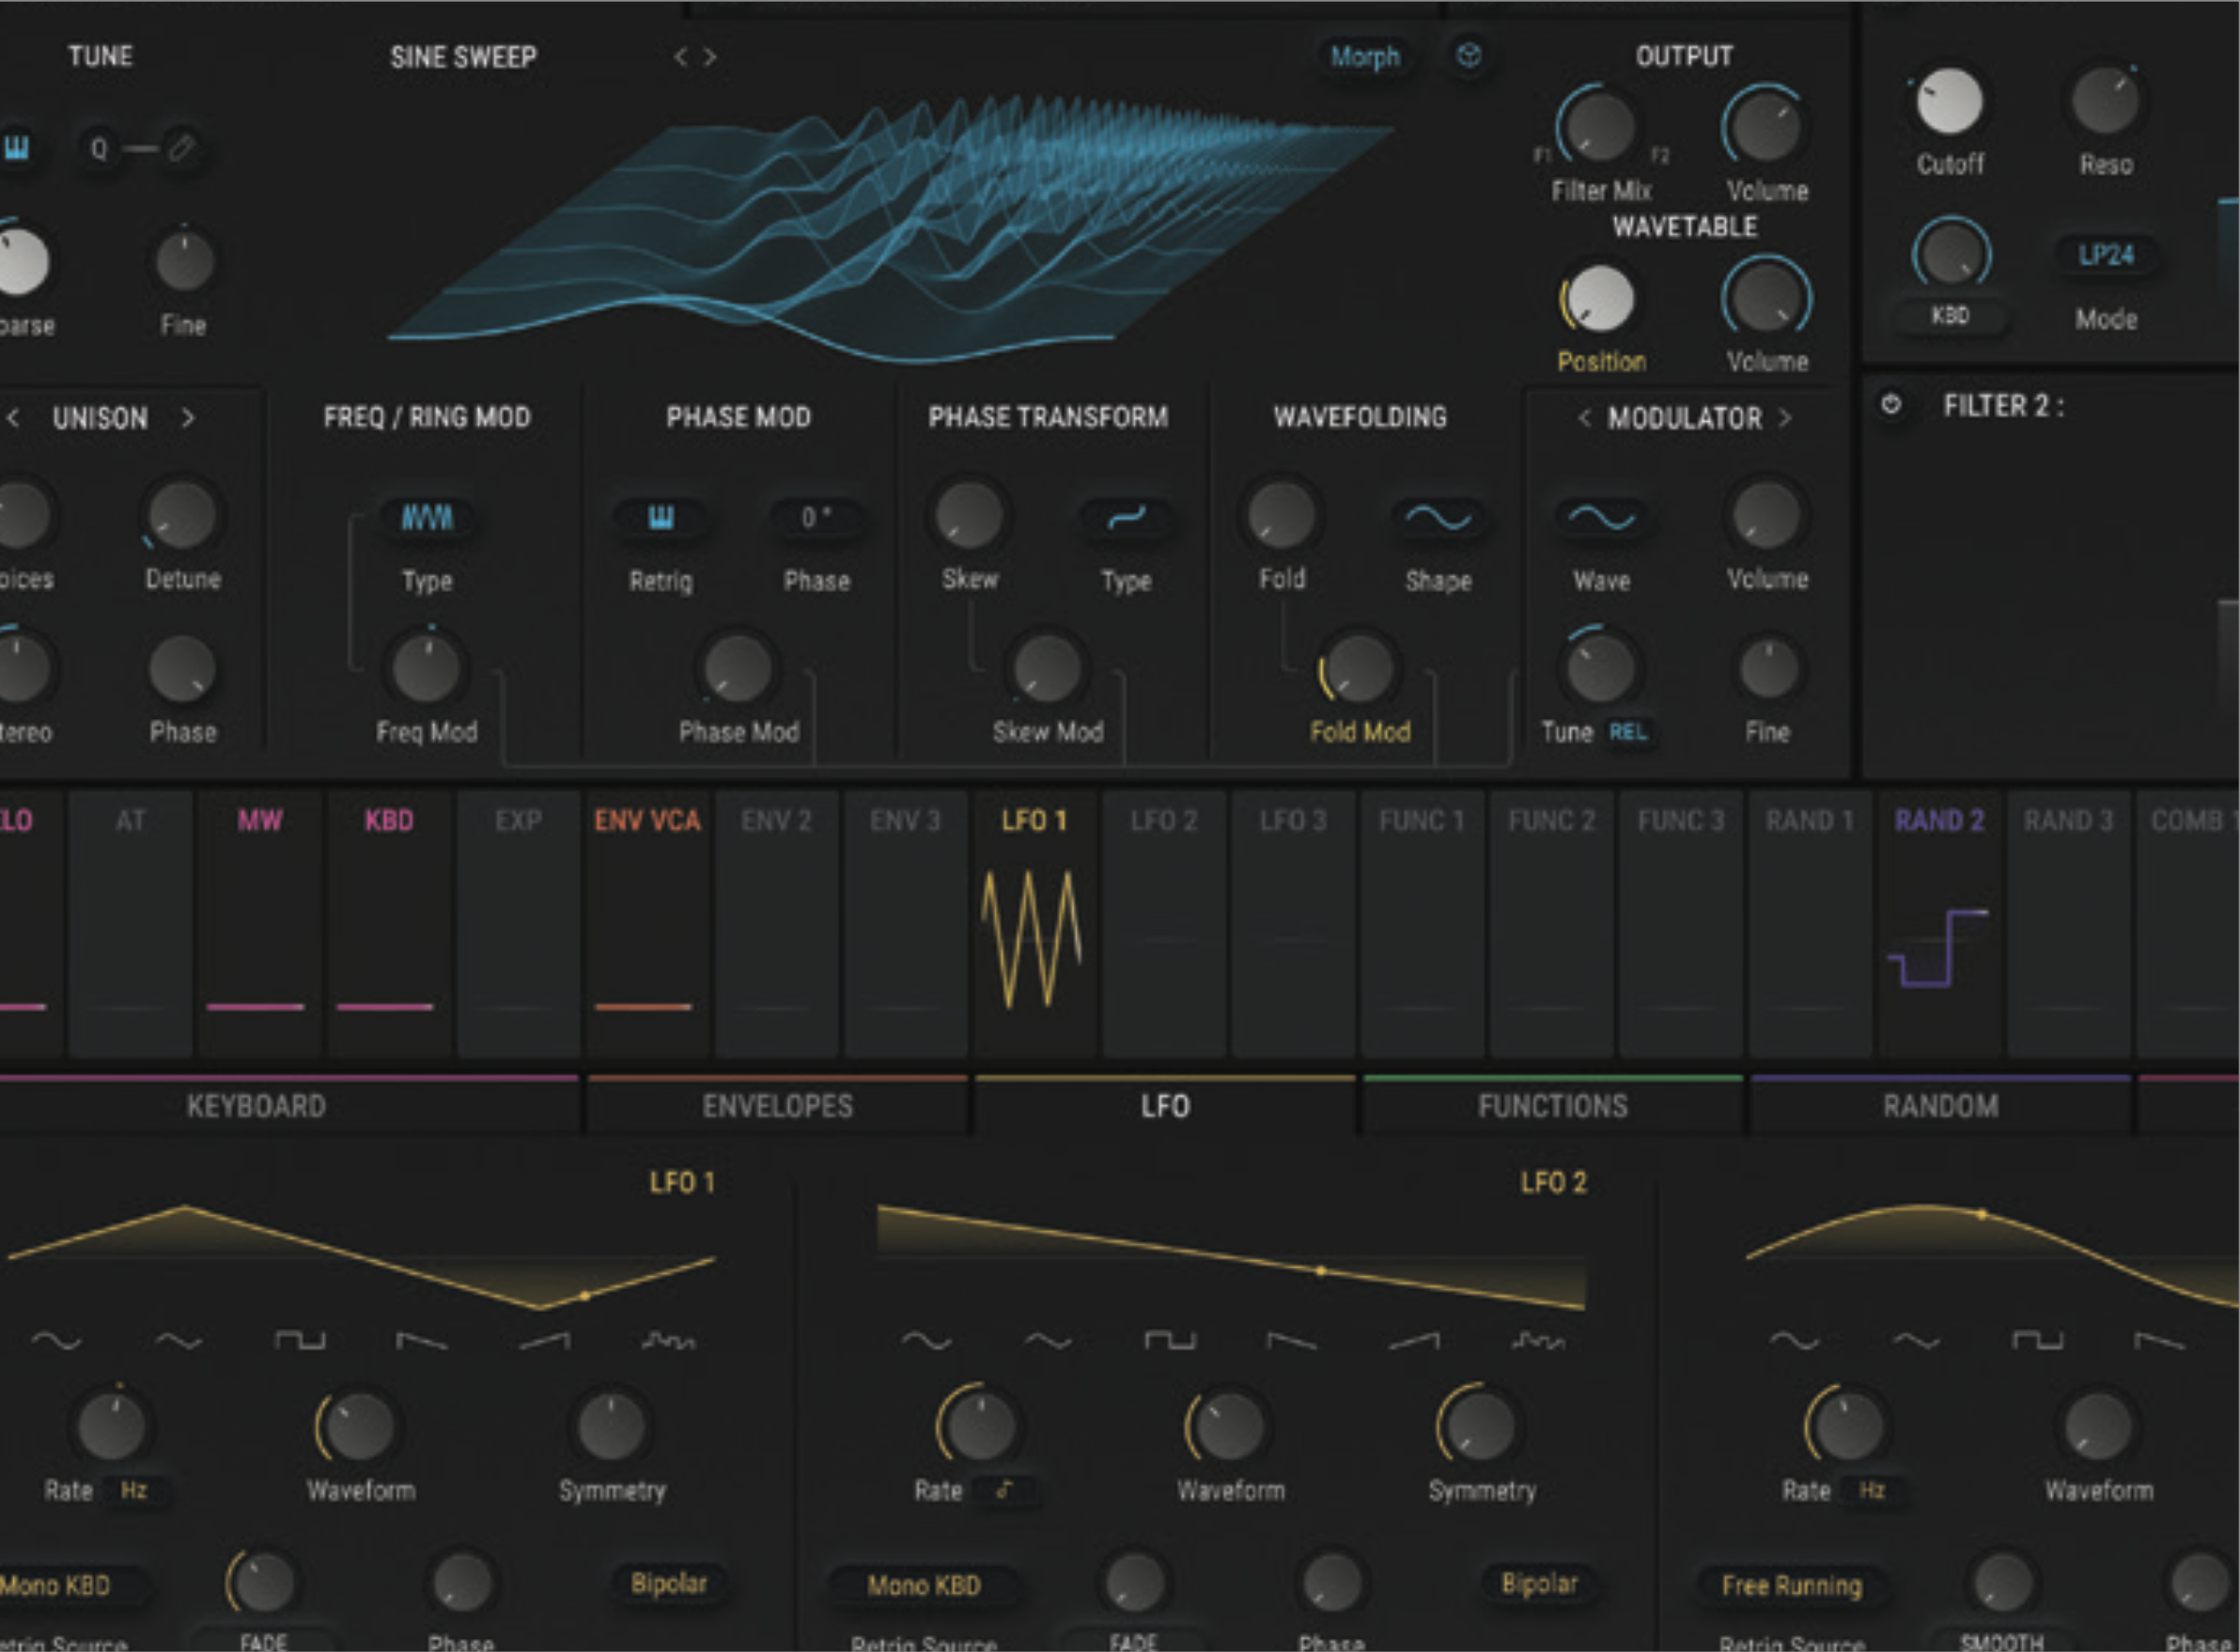
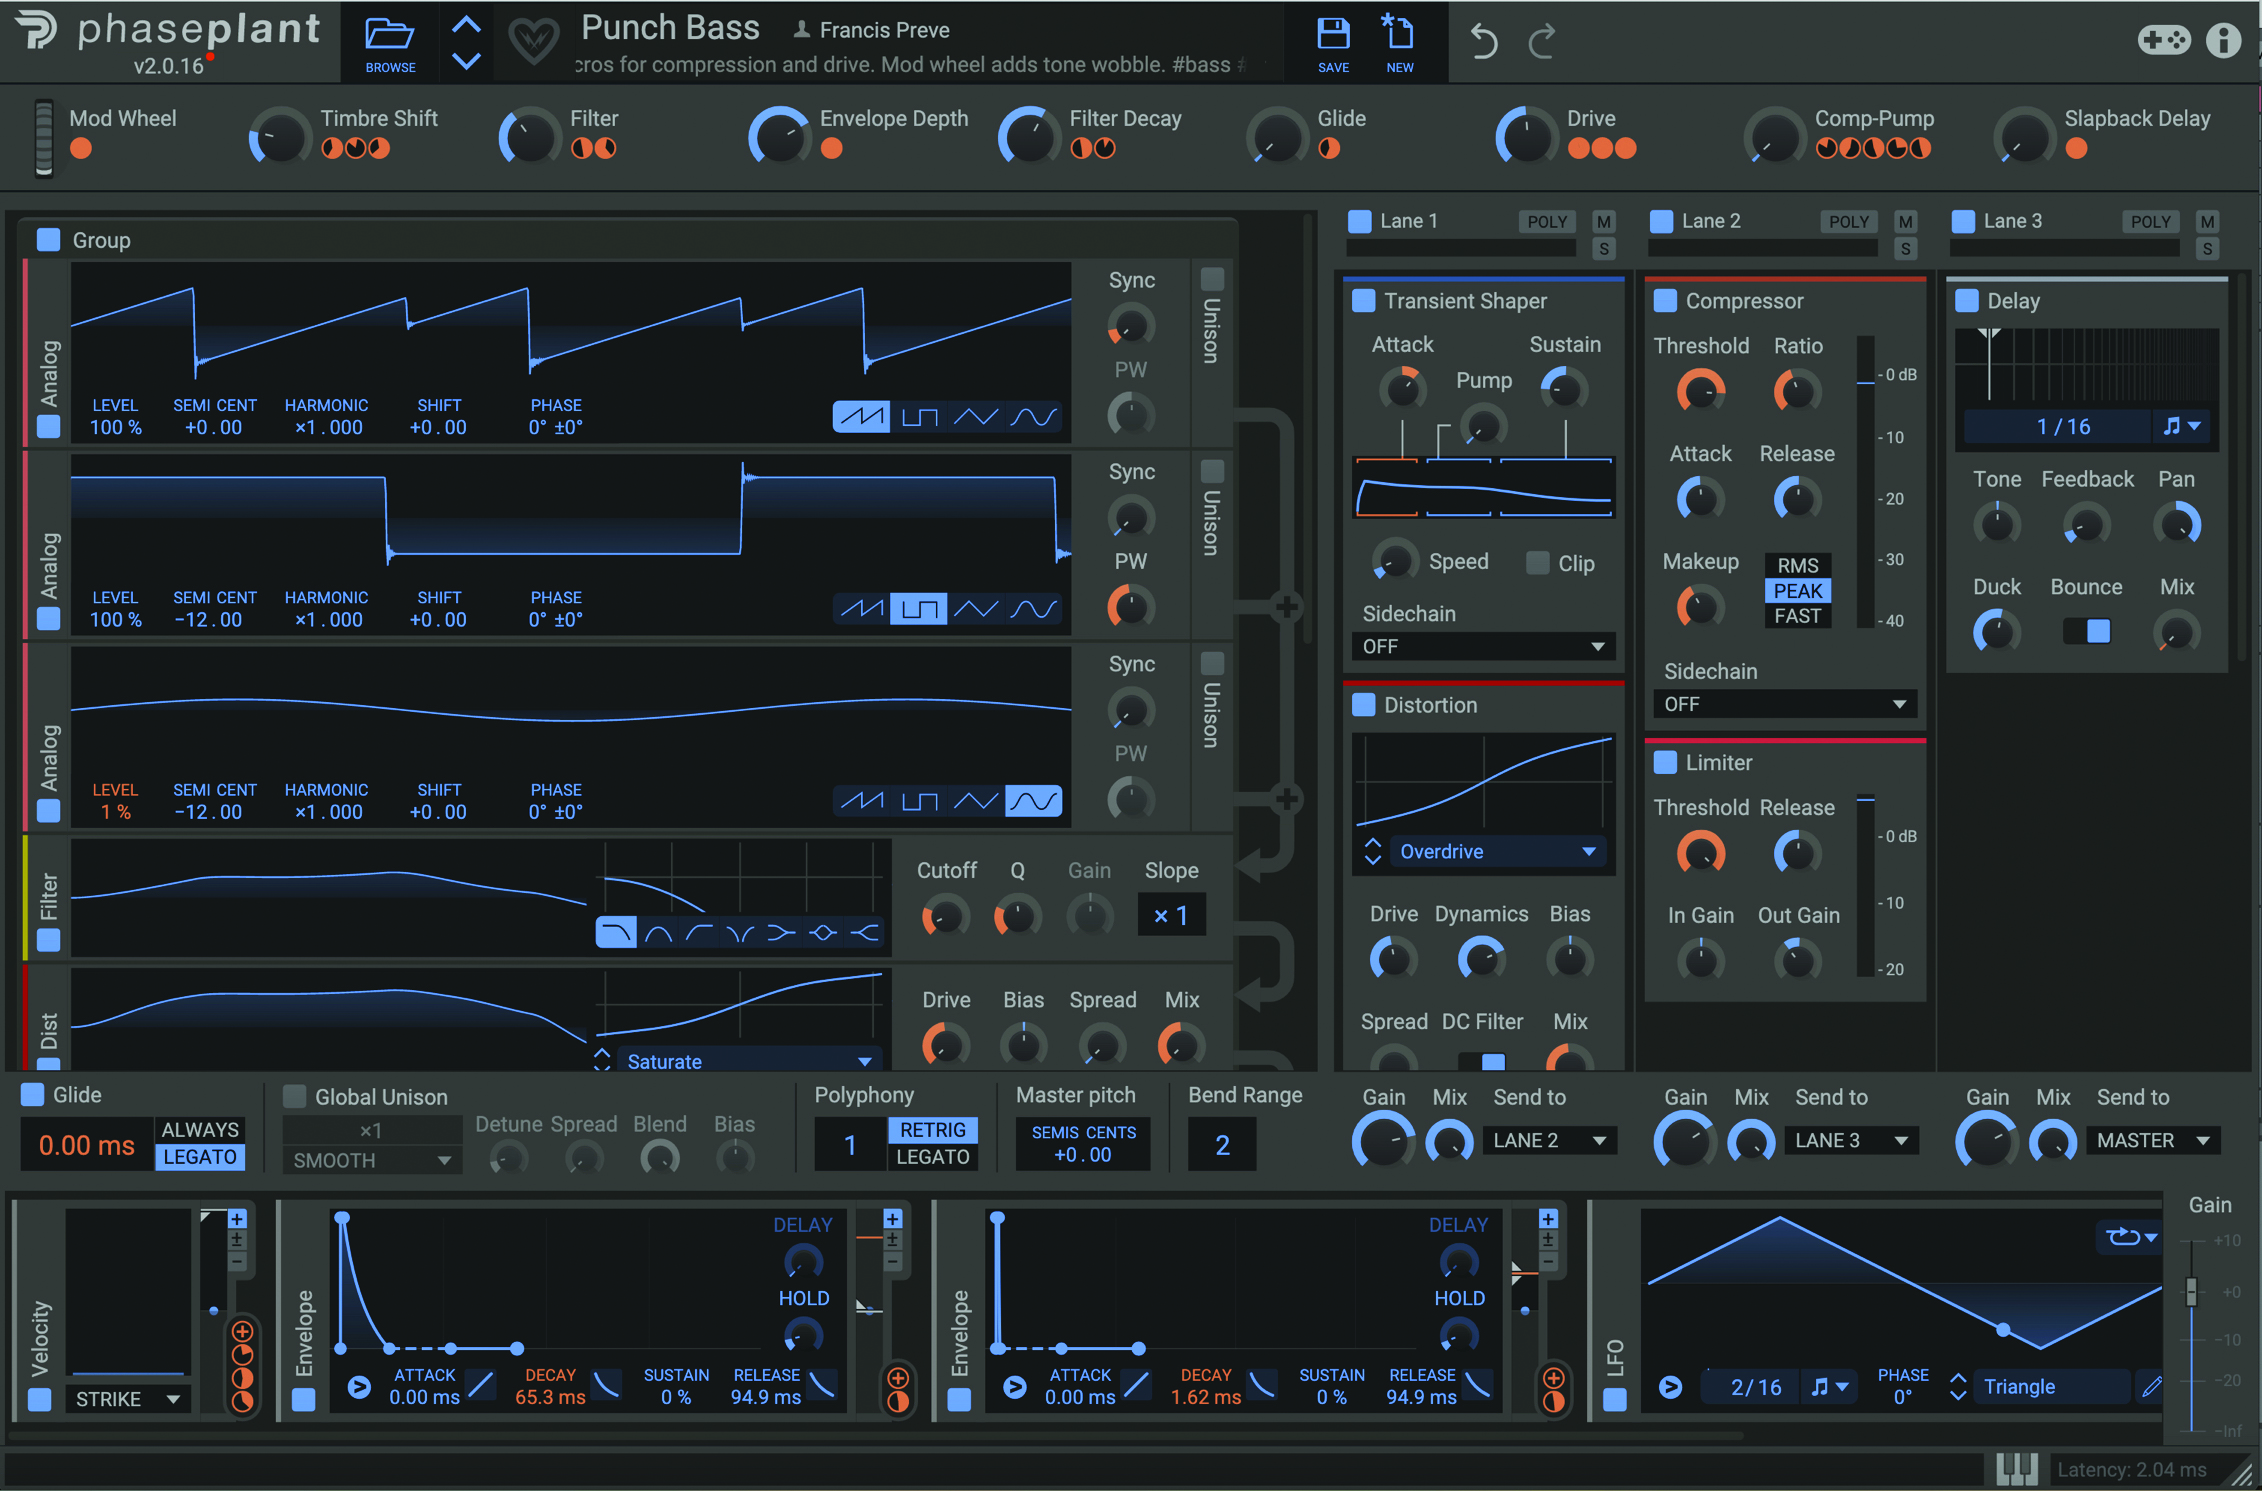
If you get into synth modulation, you’ll discover a world to help you with your sound design, one in which you can turn any dull or lifeless sound into a sonic masterpiece, or create vibrant sounds from scratch. Most, if not all synths come with modulation built in, one of the best being Arturia’s Pigments, above.
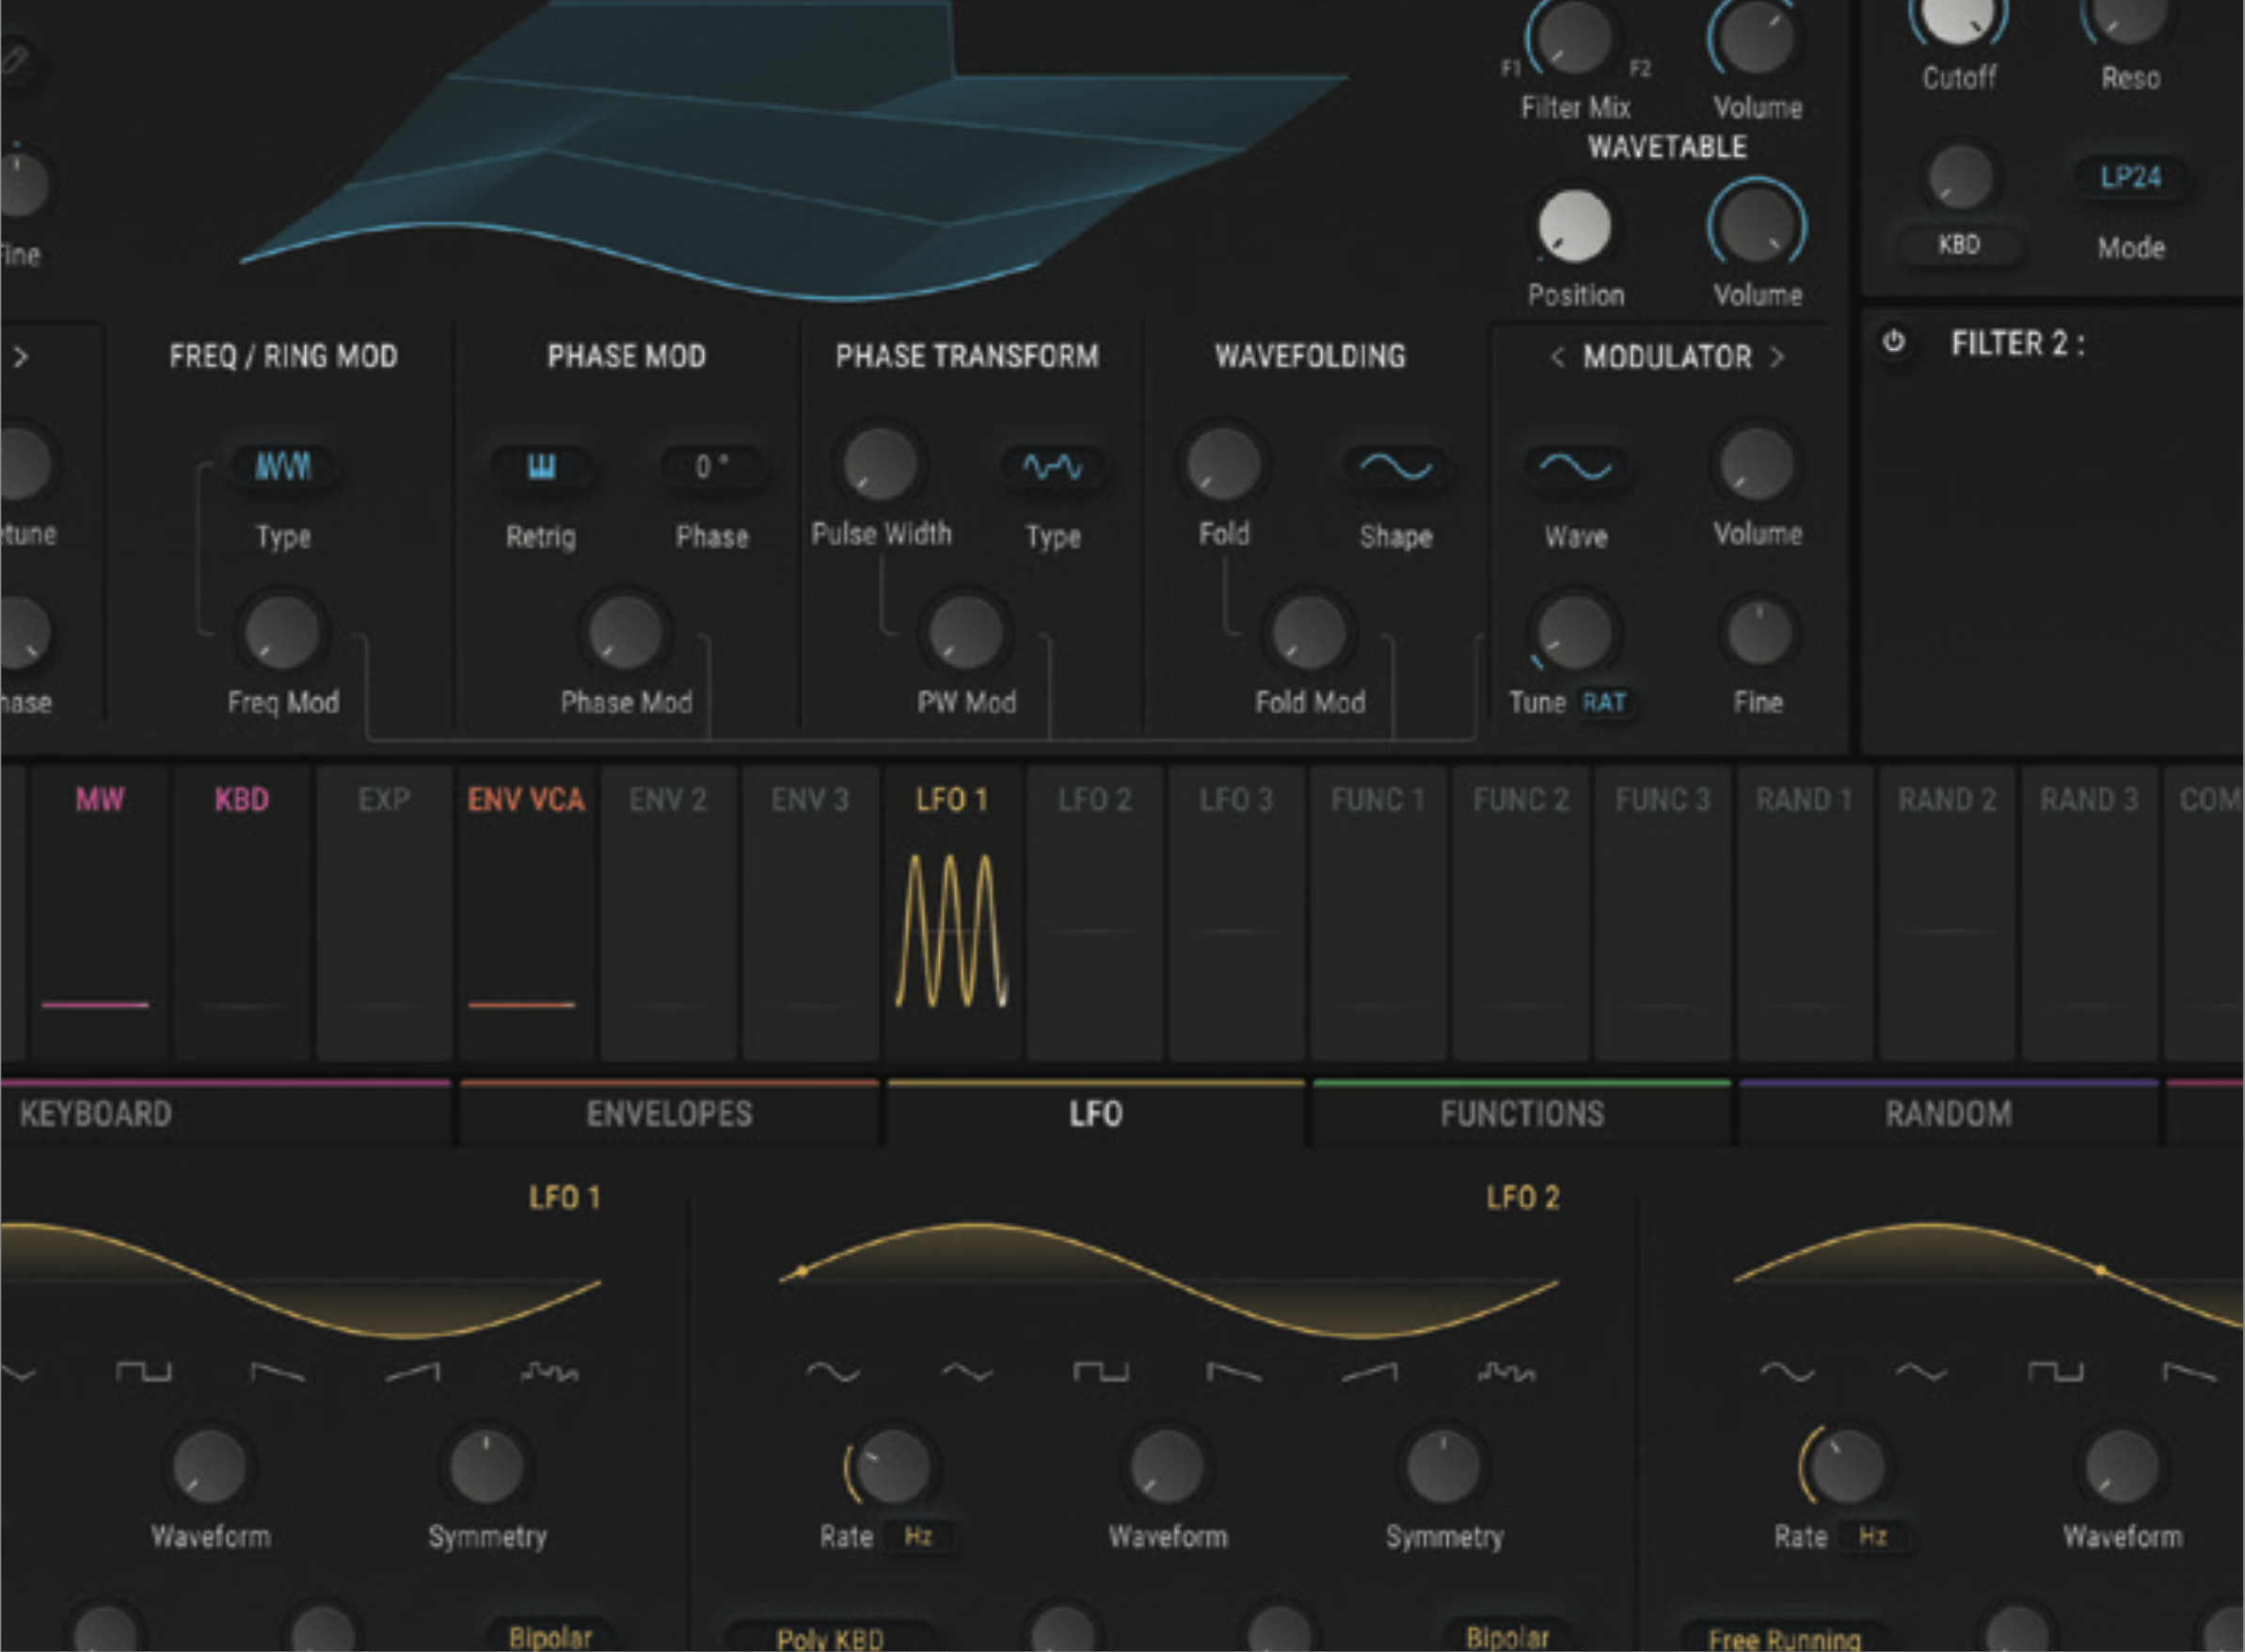
Modulation works by having sets of sources that can modulate destinations, a very common source being an LFO which can gently modulate a filter frequency (destination) to give you a ‘wowow’ sound. Pigments’ sources are shown in the centre of its UI.
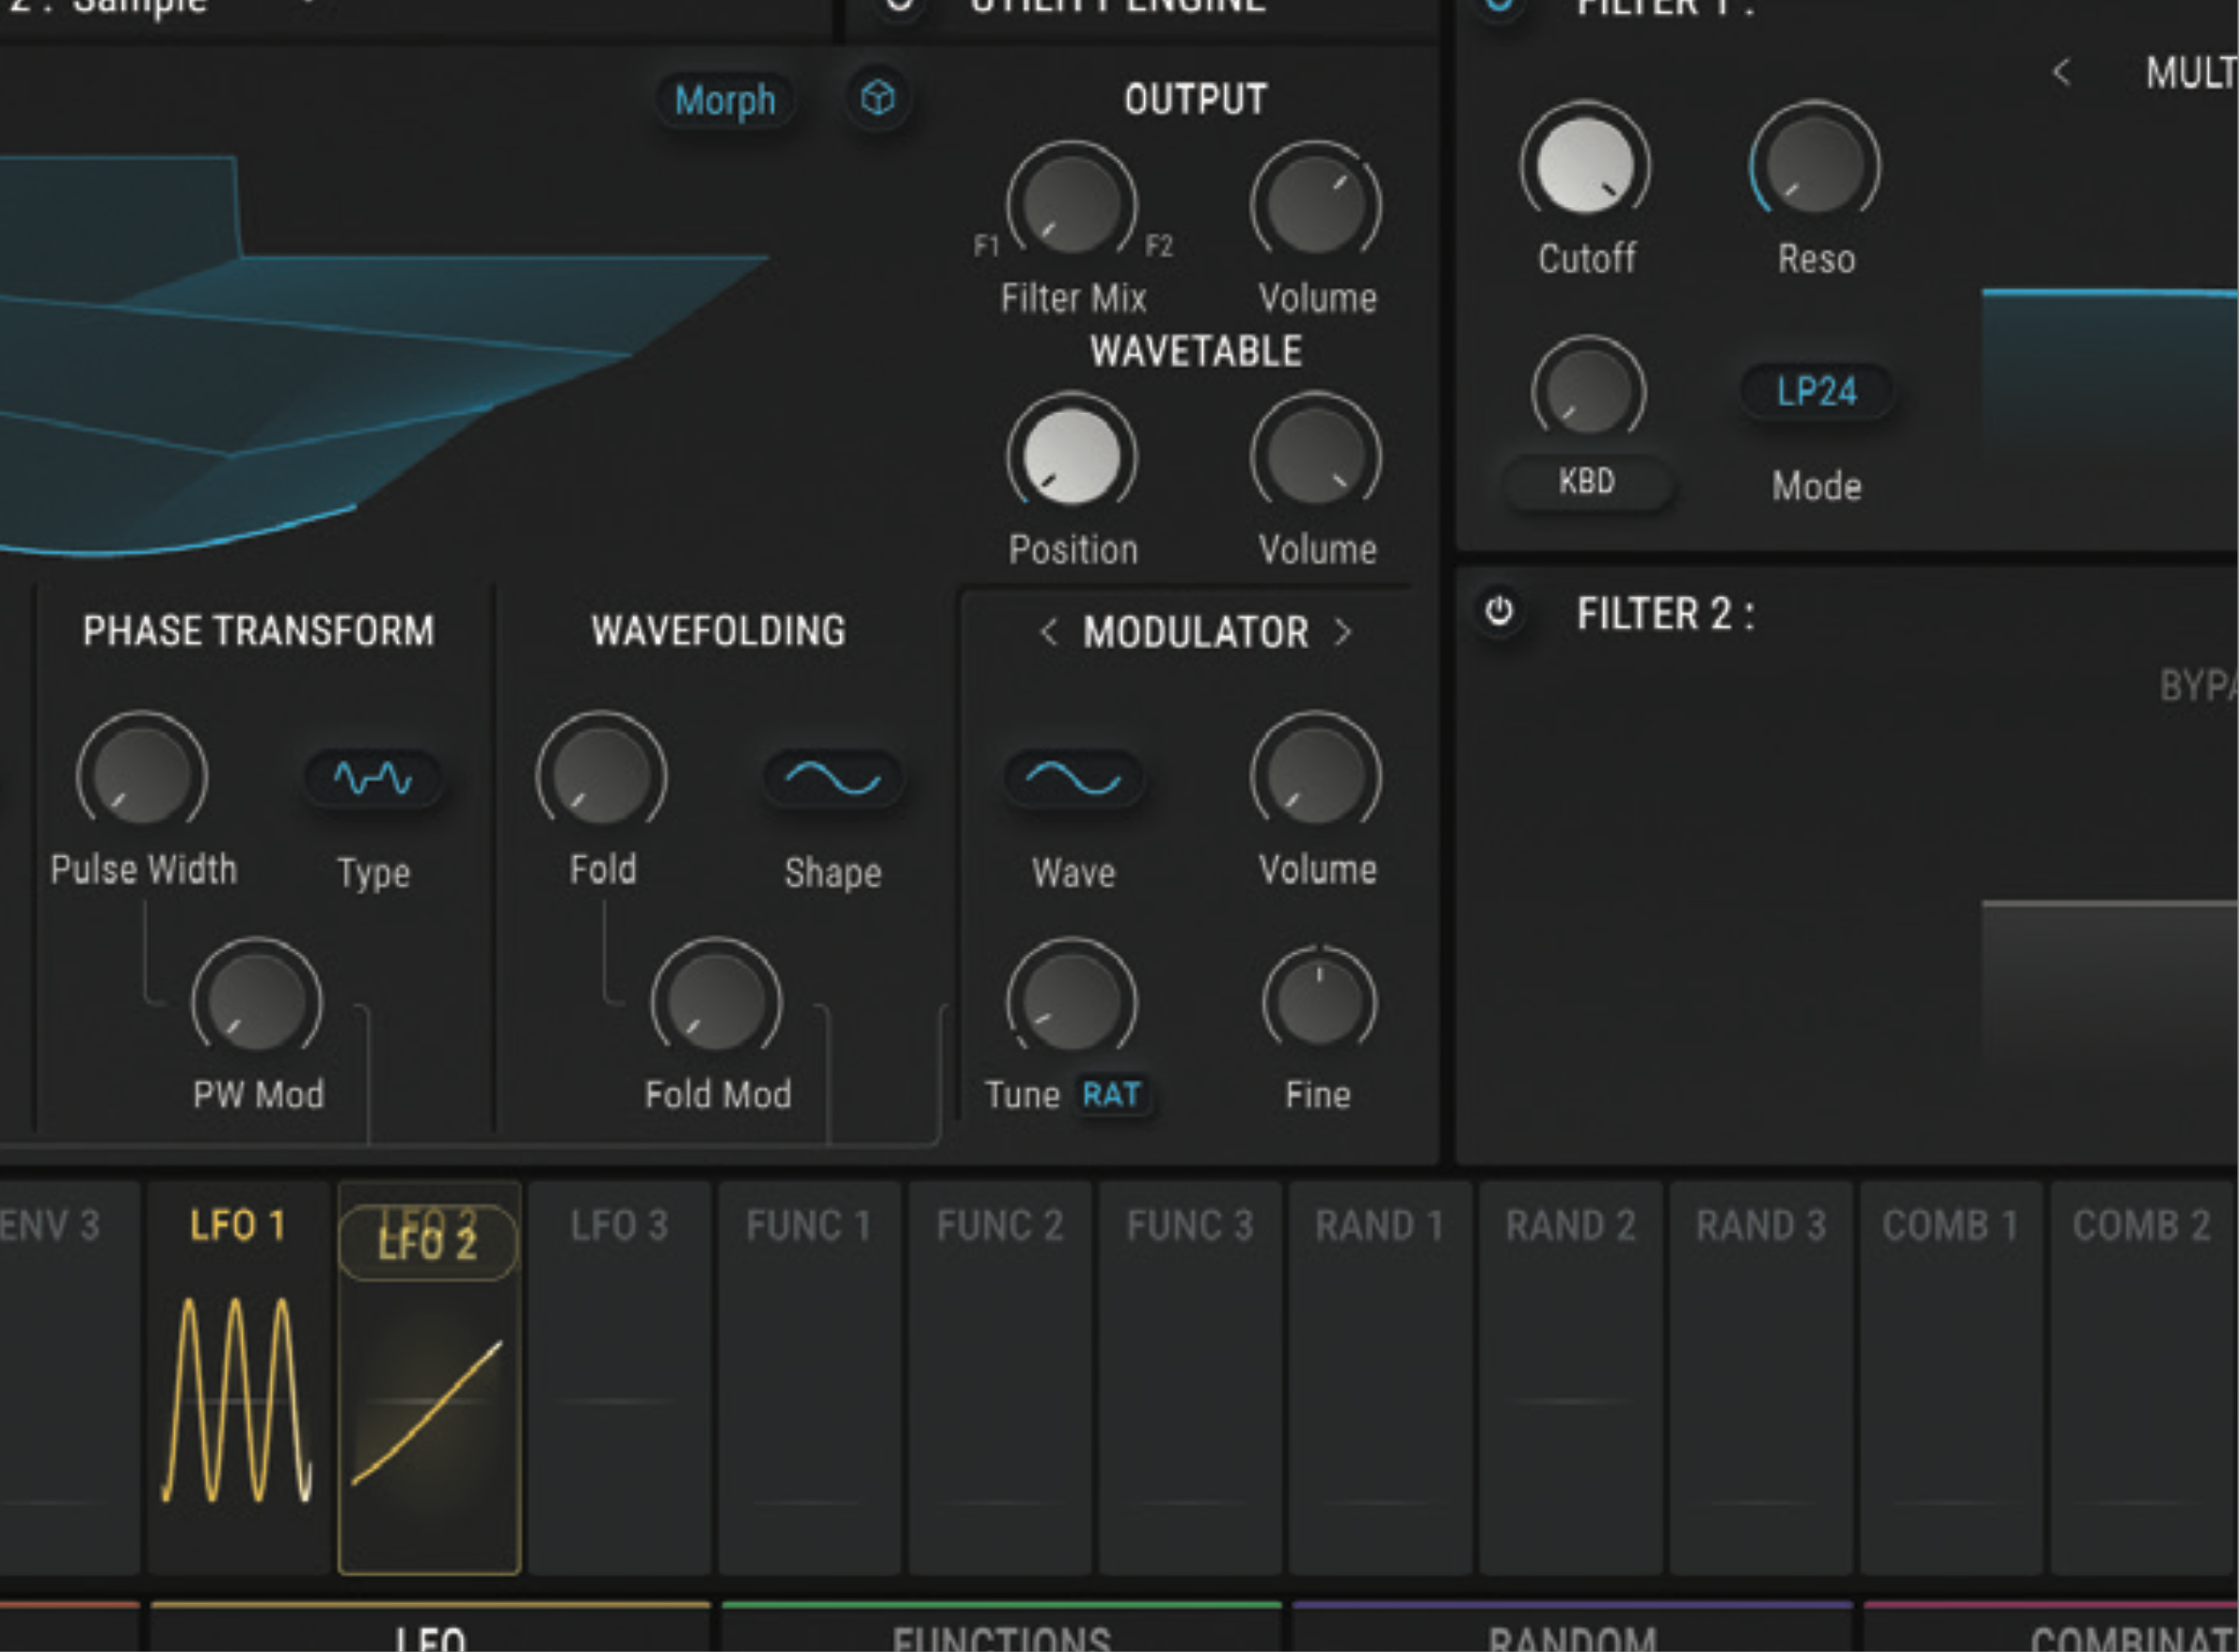
Click on a source – in this case LFO2 – and all possible destinations are then highlighted with white rings around them. Then simply drag the source to the destination. As good as Pigments is, we’ll be using our very own ZebraCM - a synth plugin that comes free with every issue of Computer Music magazine - for the rest of this modulation walkthrough.
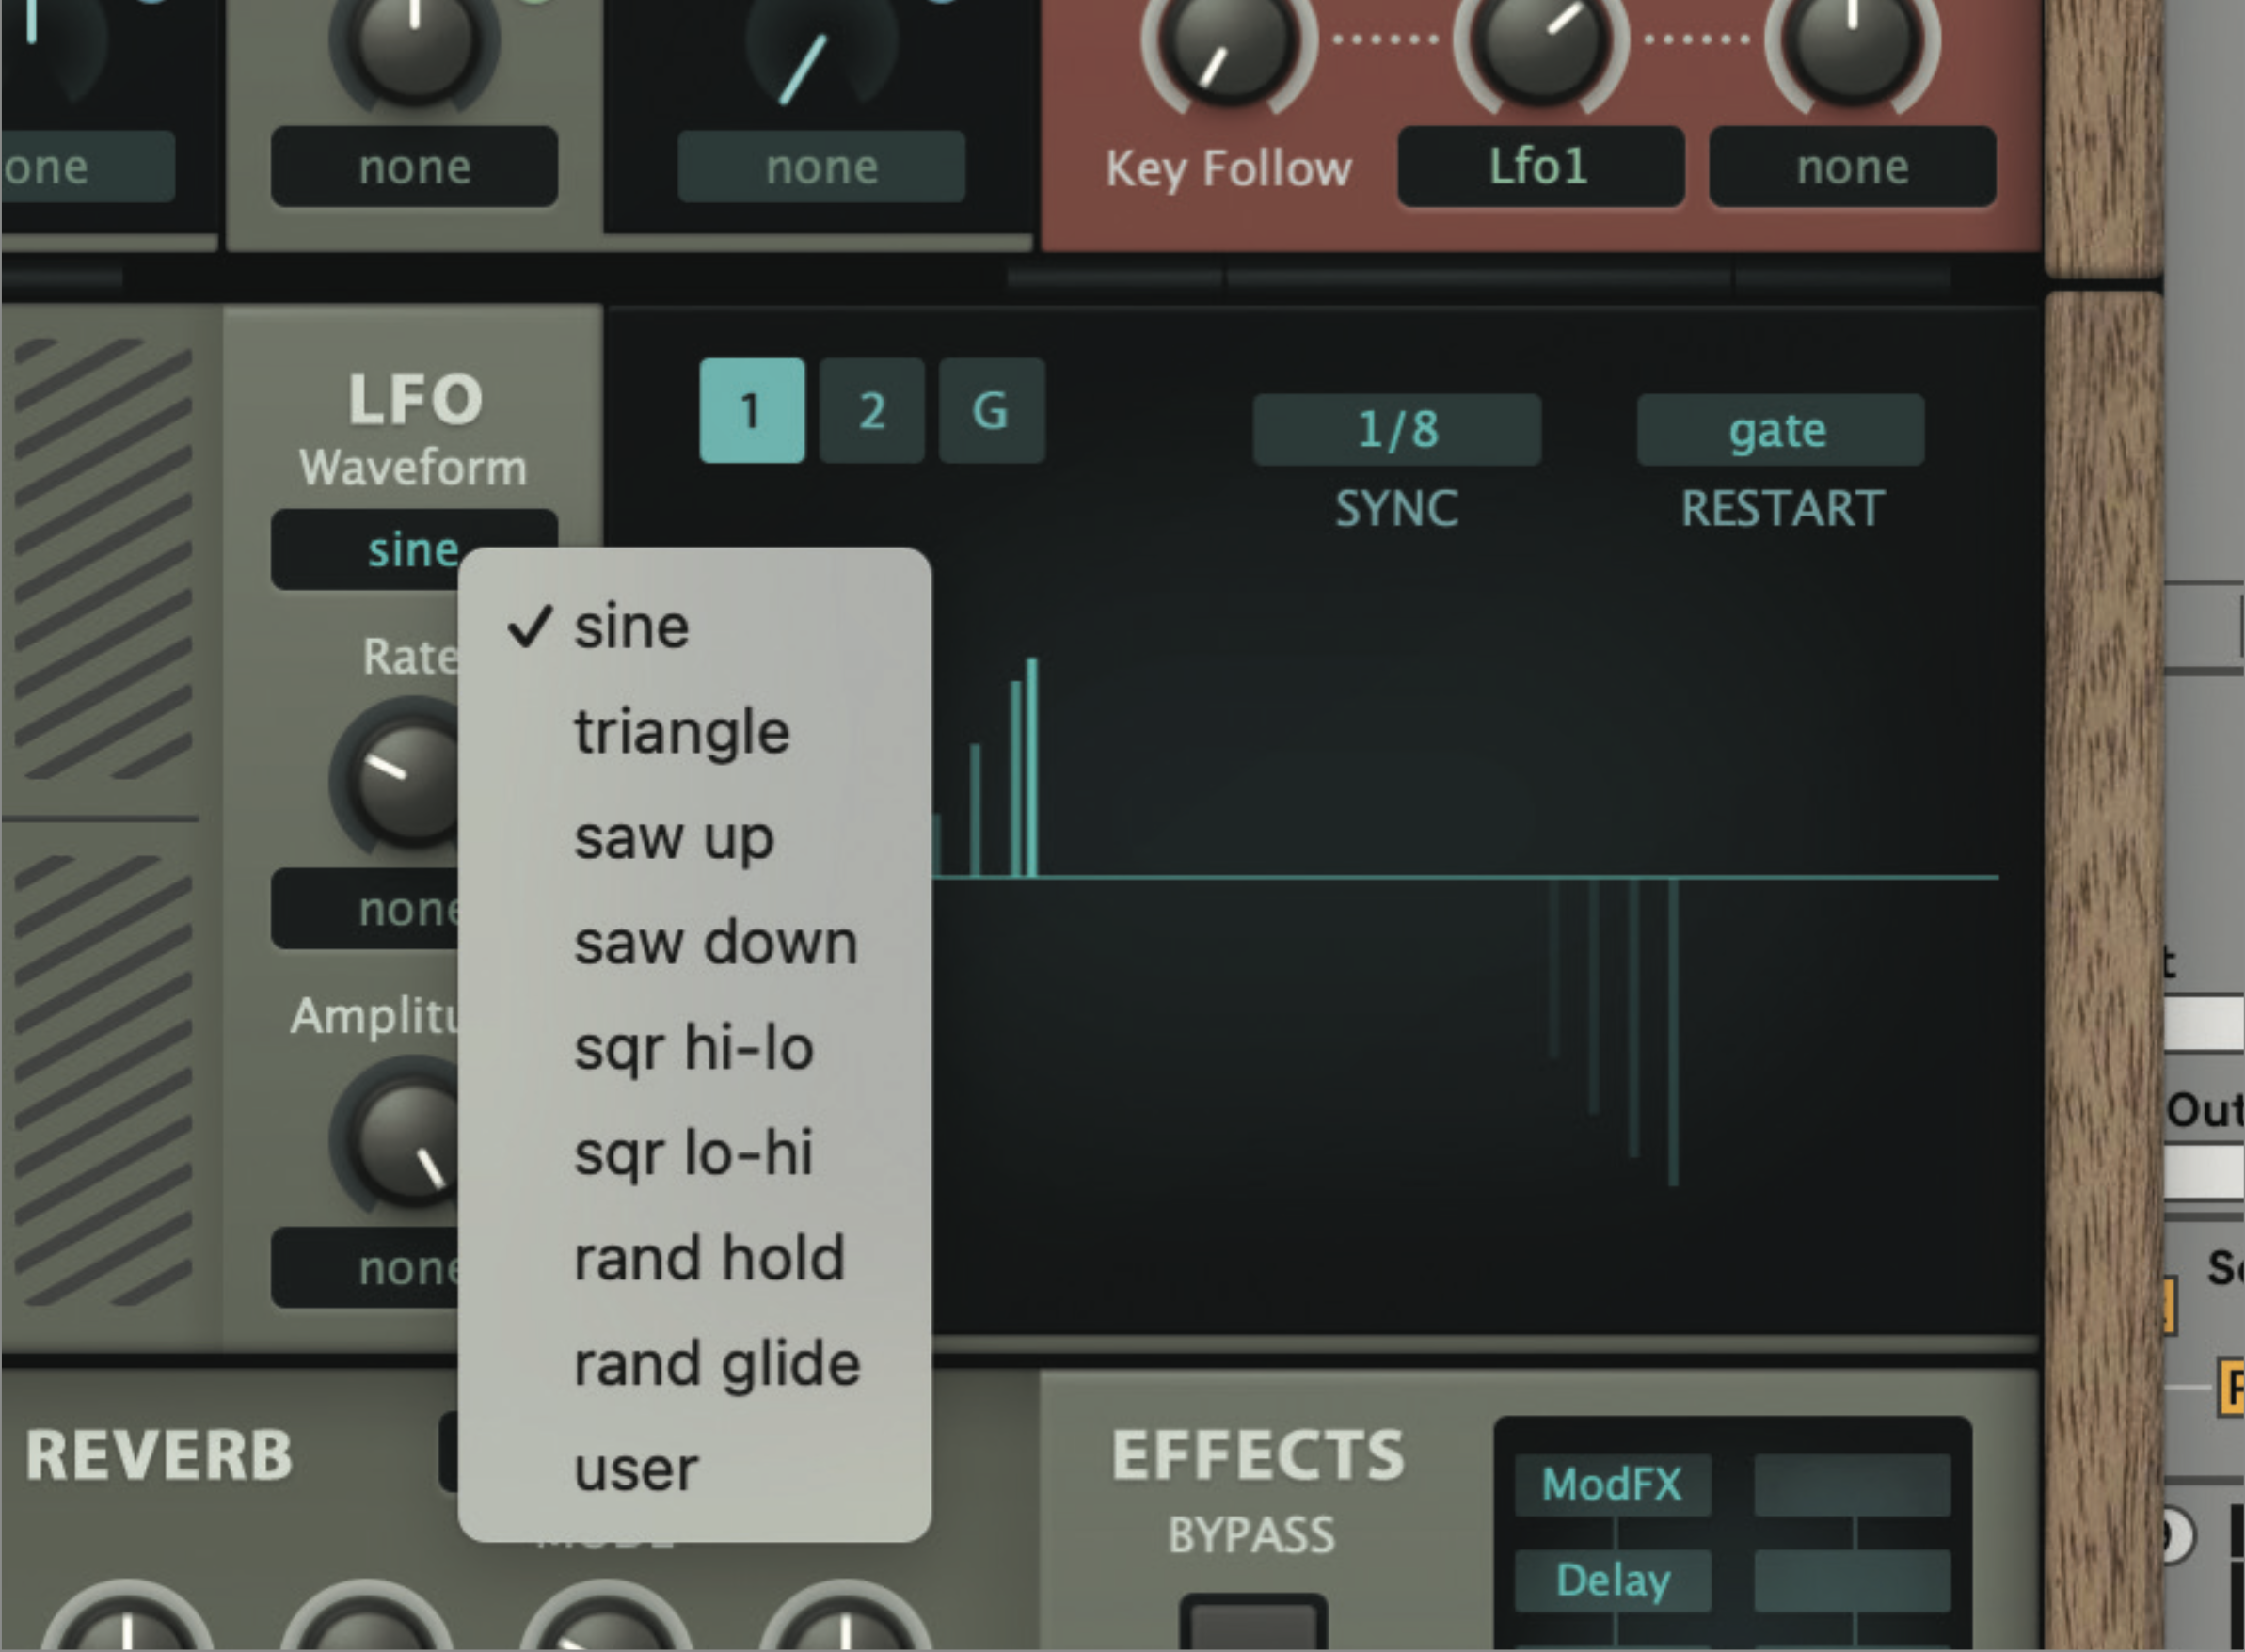
We’ll start by creating the above LFO-to-filter-frequency scenario. The LFOs in Zebra are at the middle right of the UI. Select each with the tab, 1 or 2, and then the waveform. This waveform sets the LFO shape, how it will rise and fall, and so how the chosen destination parameters rise and fall. You get different shapes including random options.
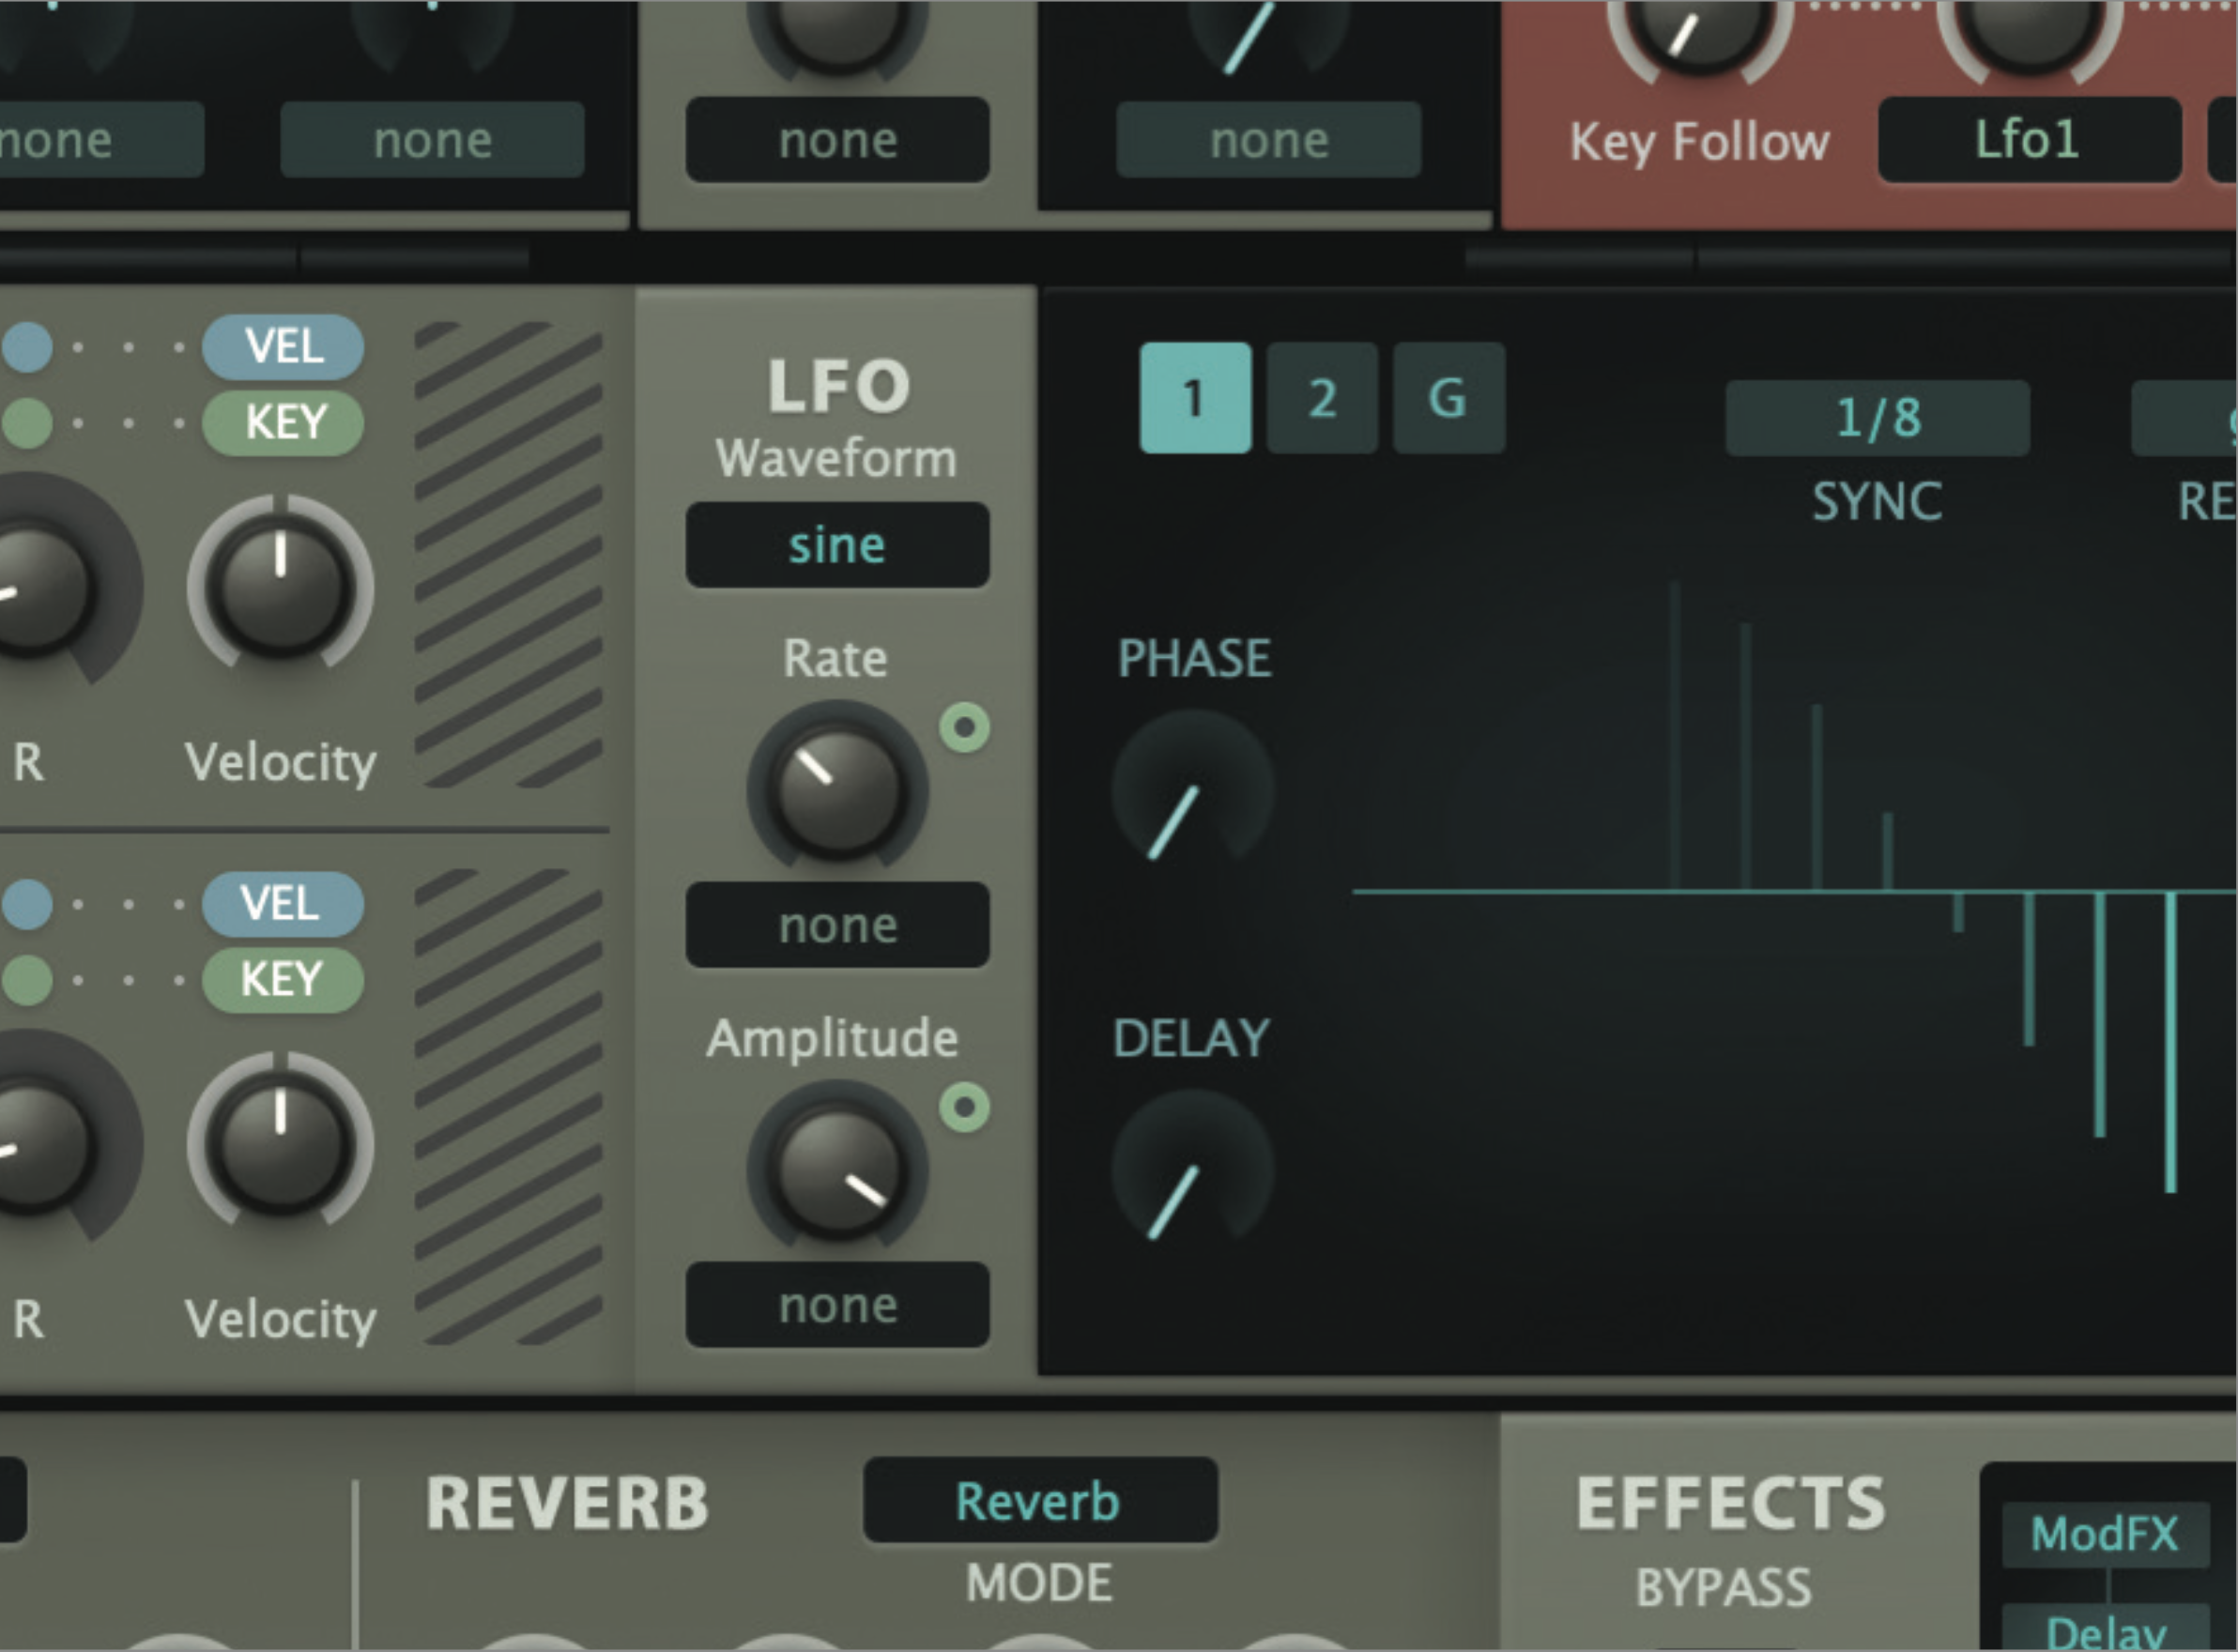
You also get Speed and Amplitude options for each LFO which simply control how quickly the LFO rise and fall will take place and how high or low it will go. Start by keeping it slow so you can hear the result.
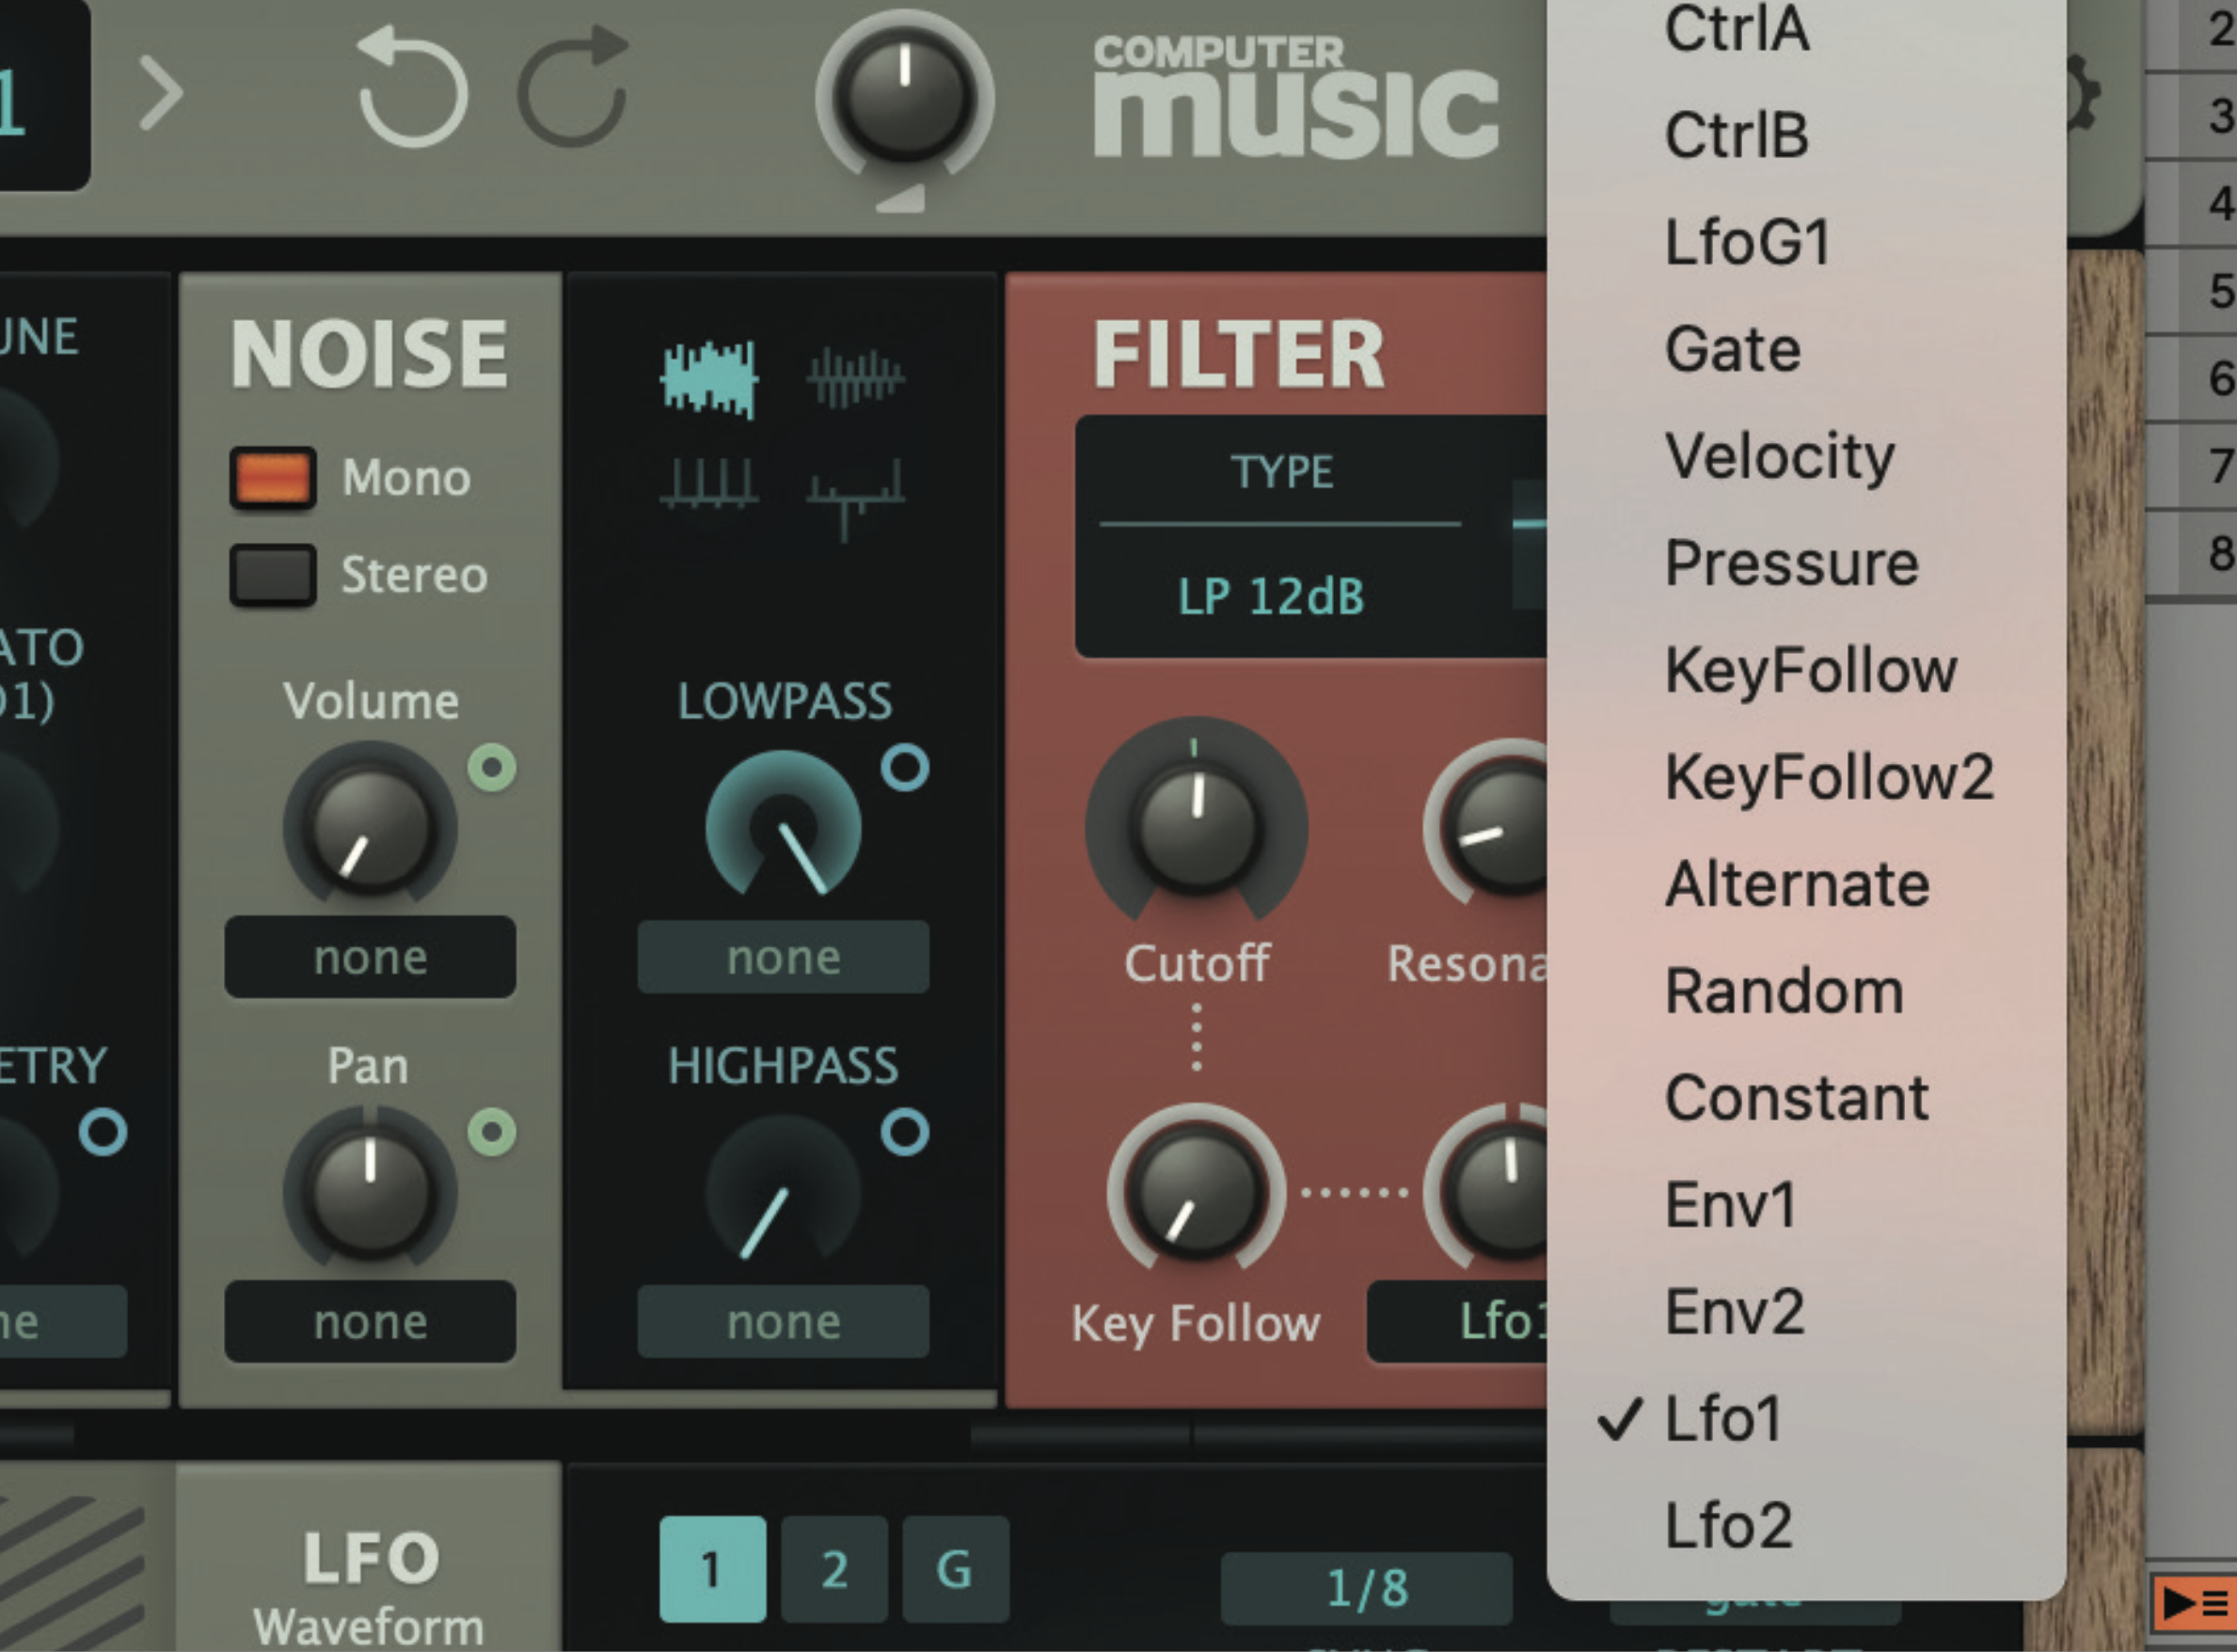
Now you need to select a destination, so in the Filter section above, select LFO1 from the first source slot. Click on it and all of the possible modulation sources appear in a drop-down menu. This gives you an idea of how many sources ZebraCM has – seems like a lot but some synths have many more.
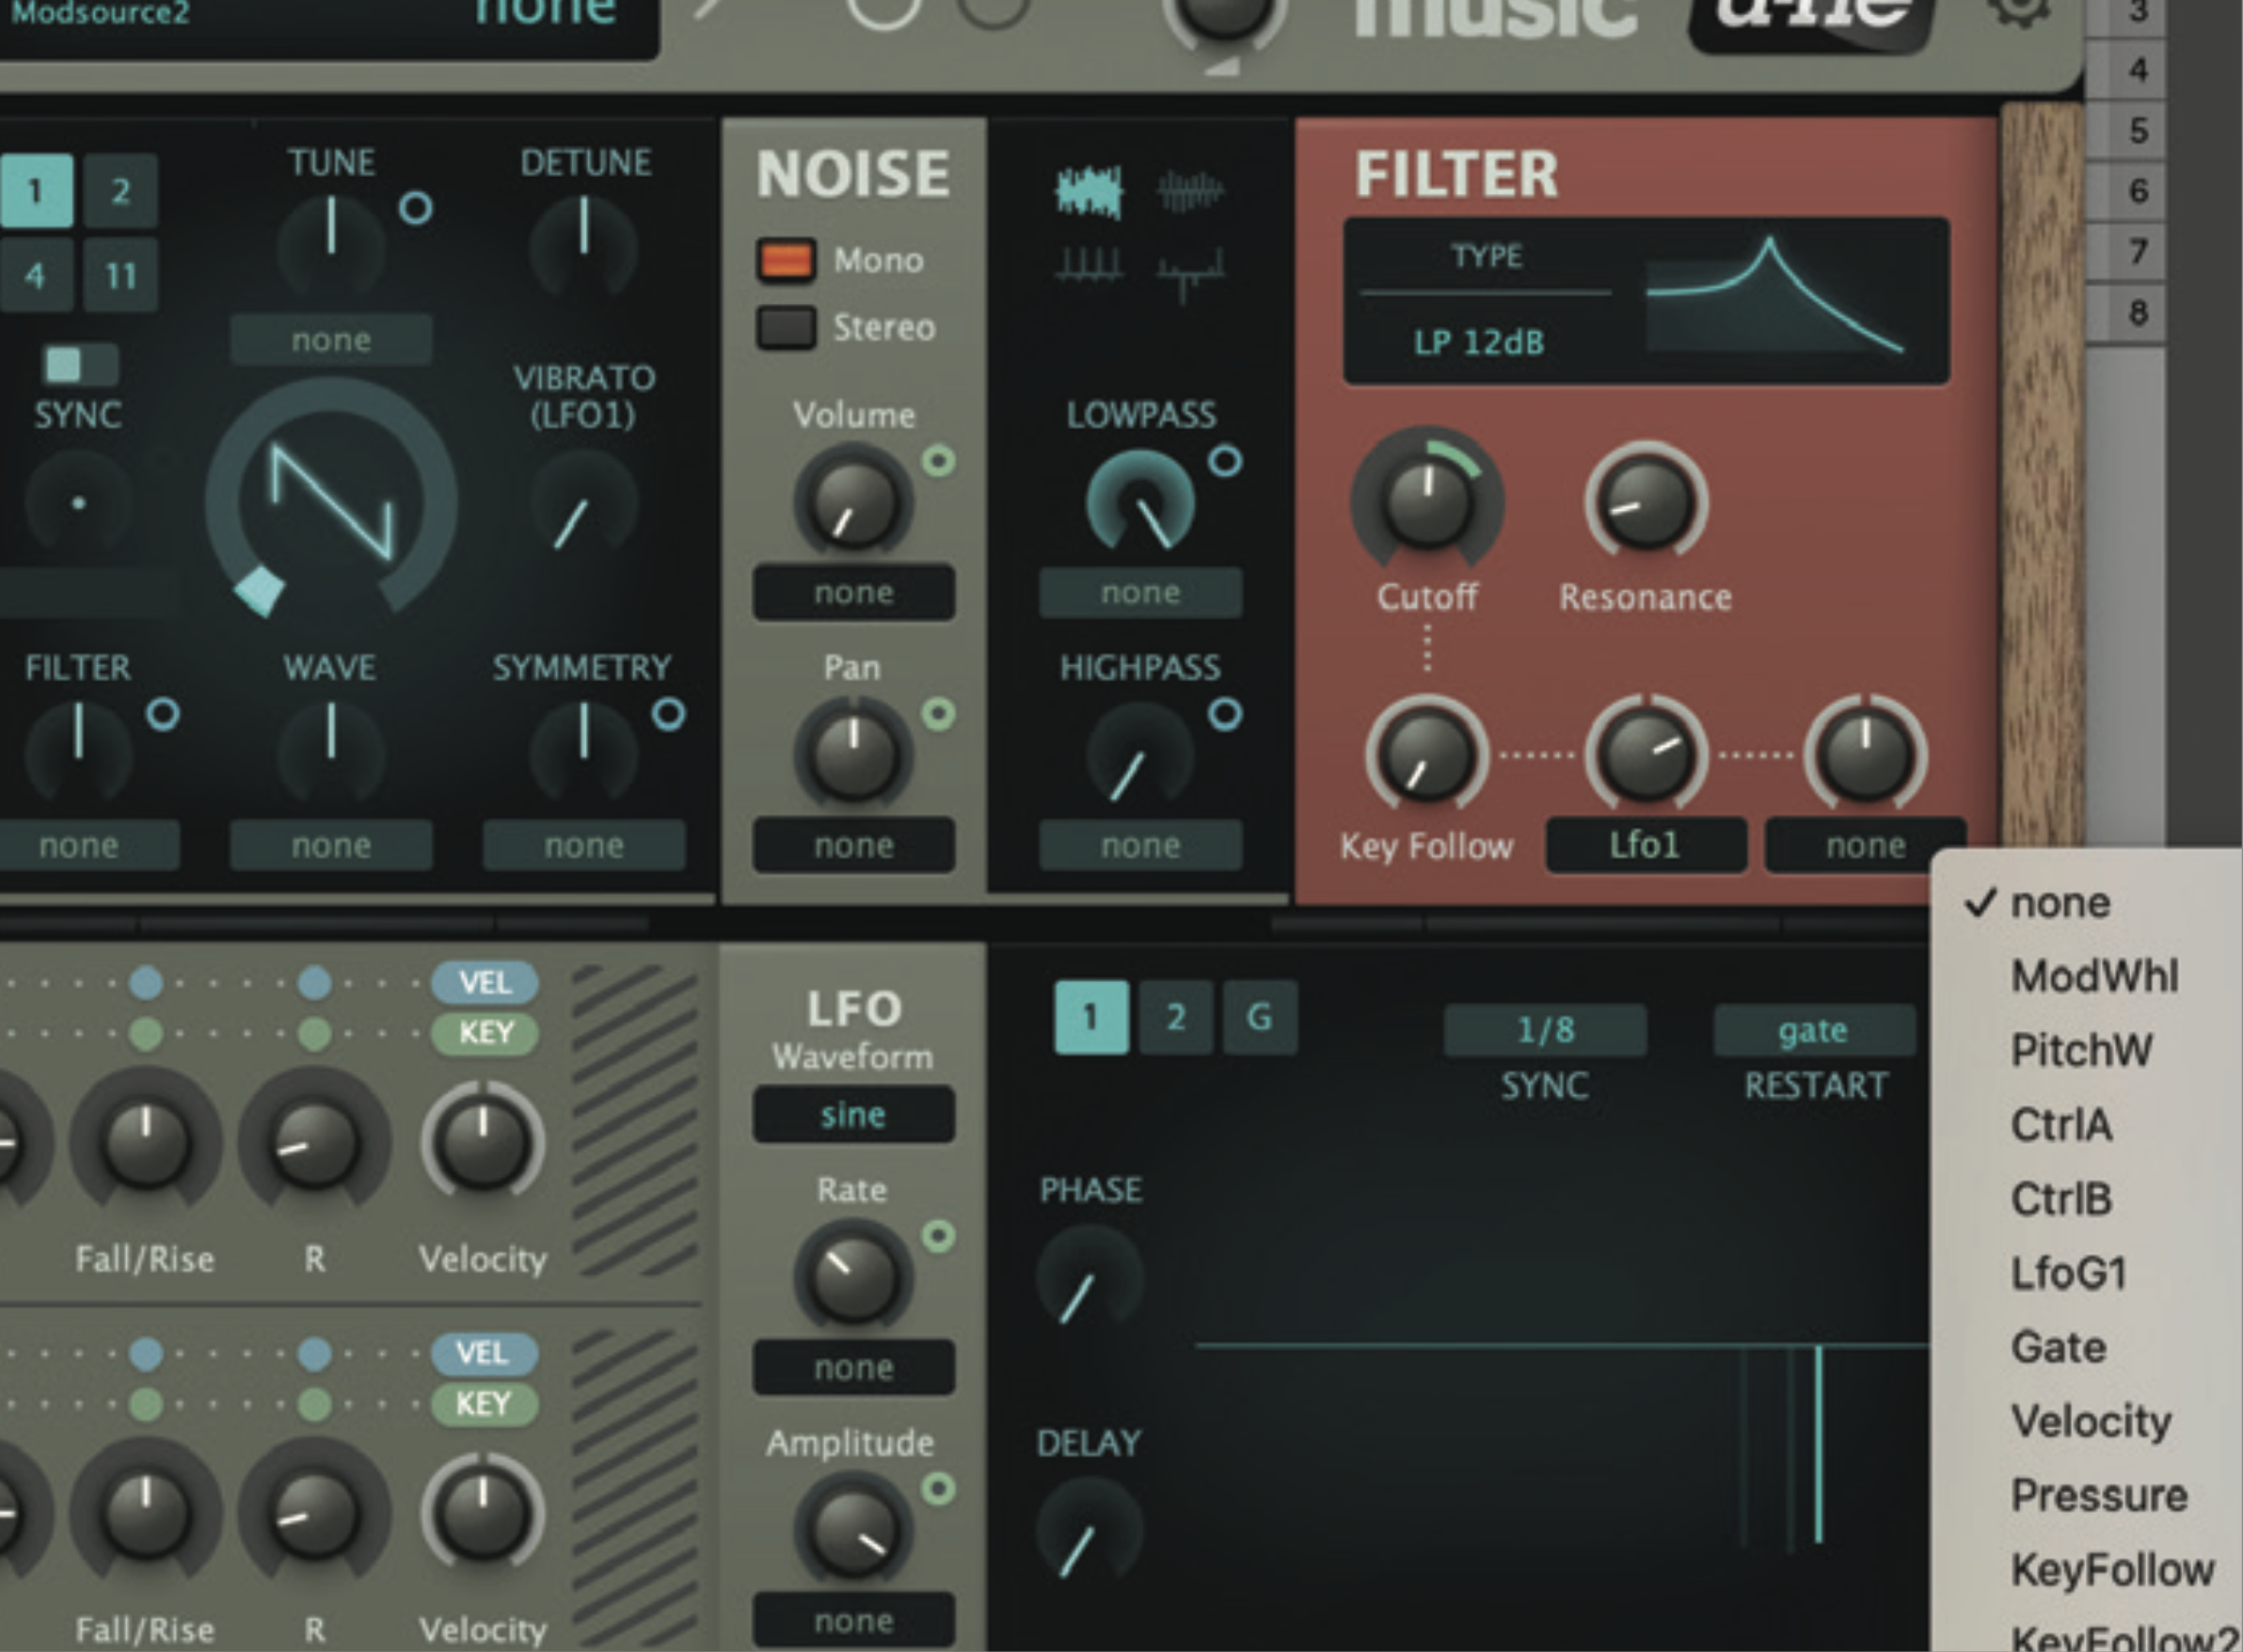
In this case, you’ll need to nudge the dial above the source up so you can hear LFO1 affect the filter frequency. You can get extra drama by adding another source to modulate the same frequency with the slot to the right.
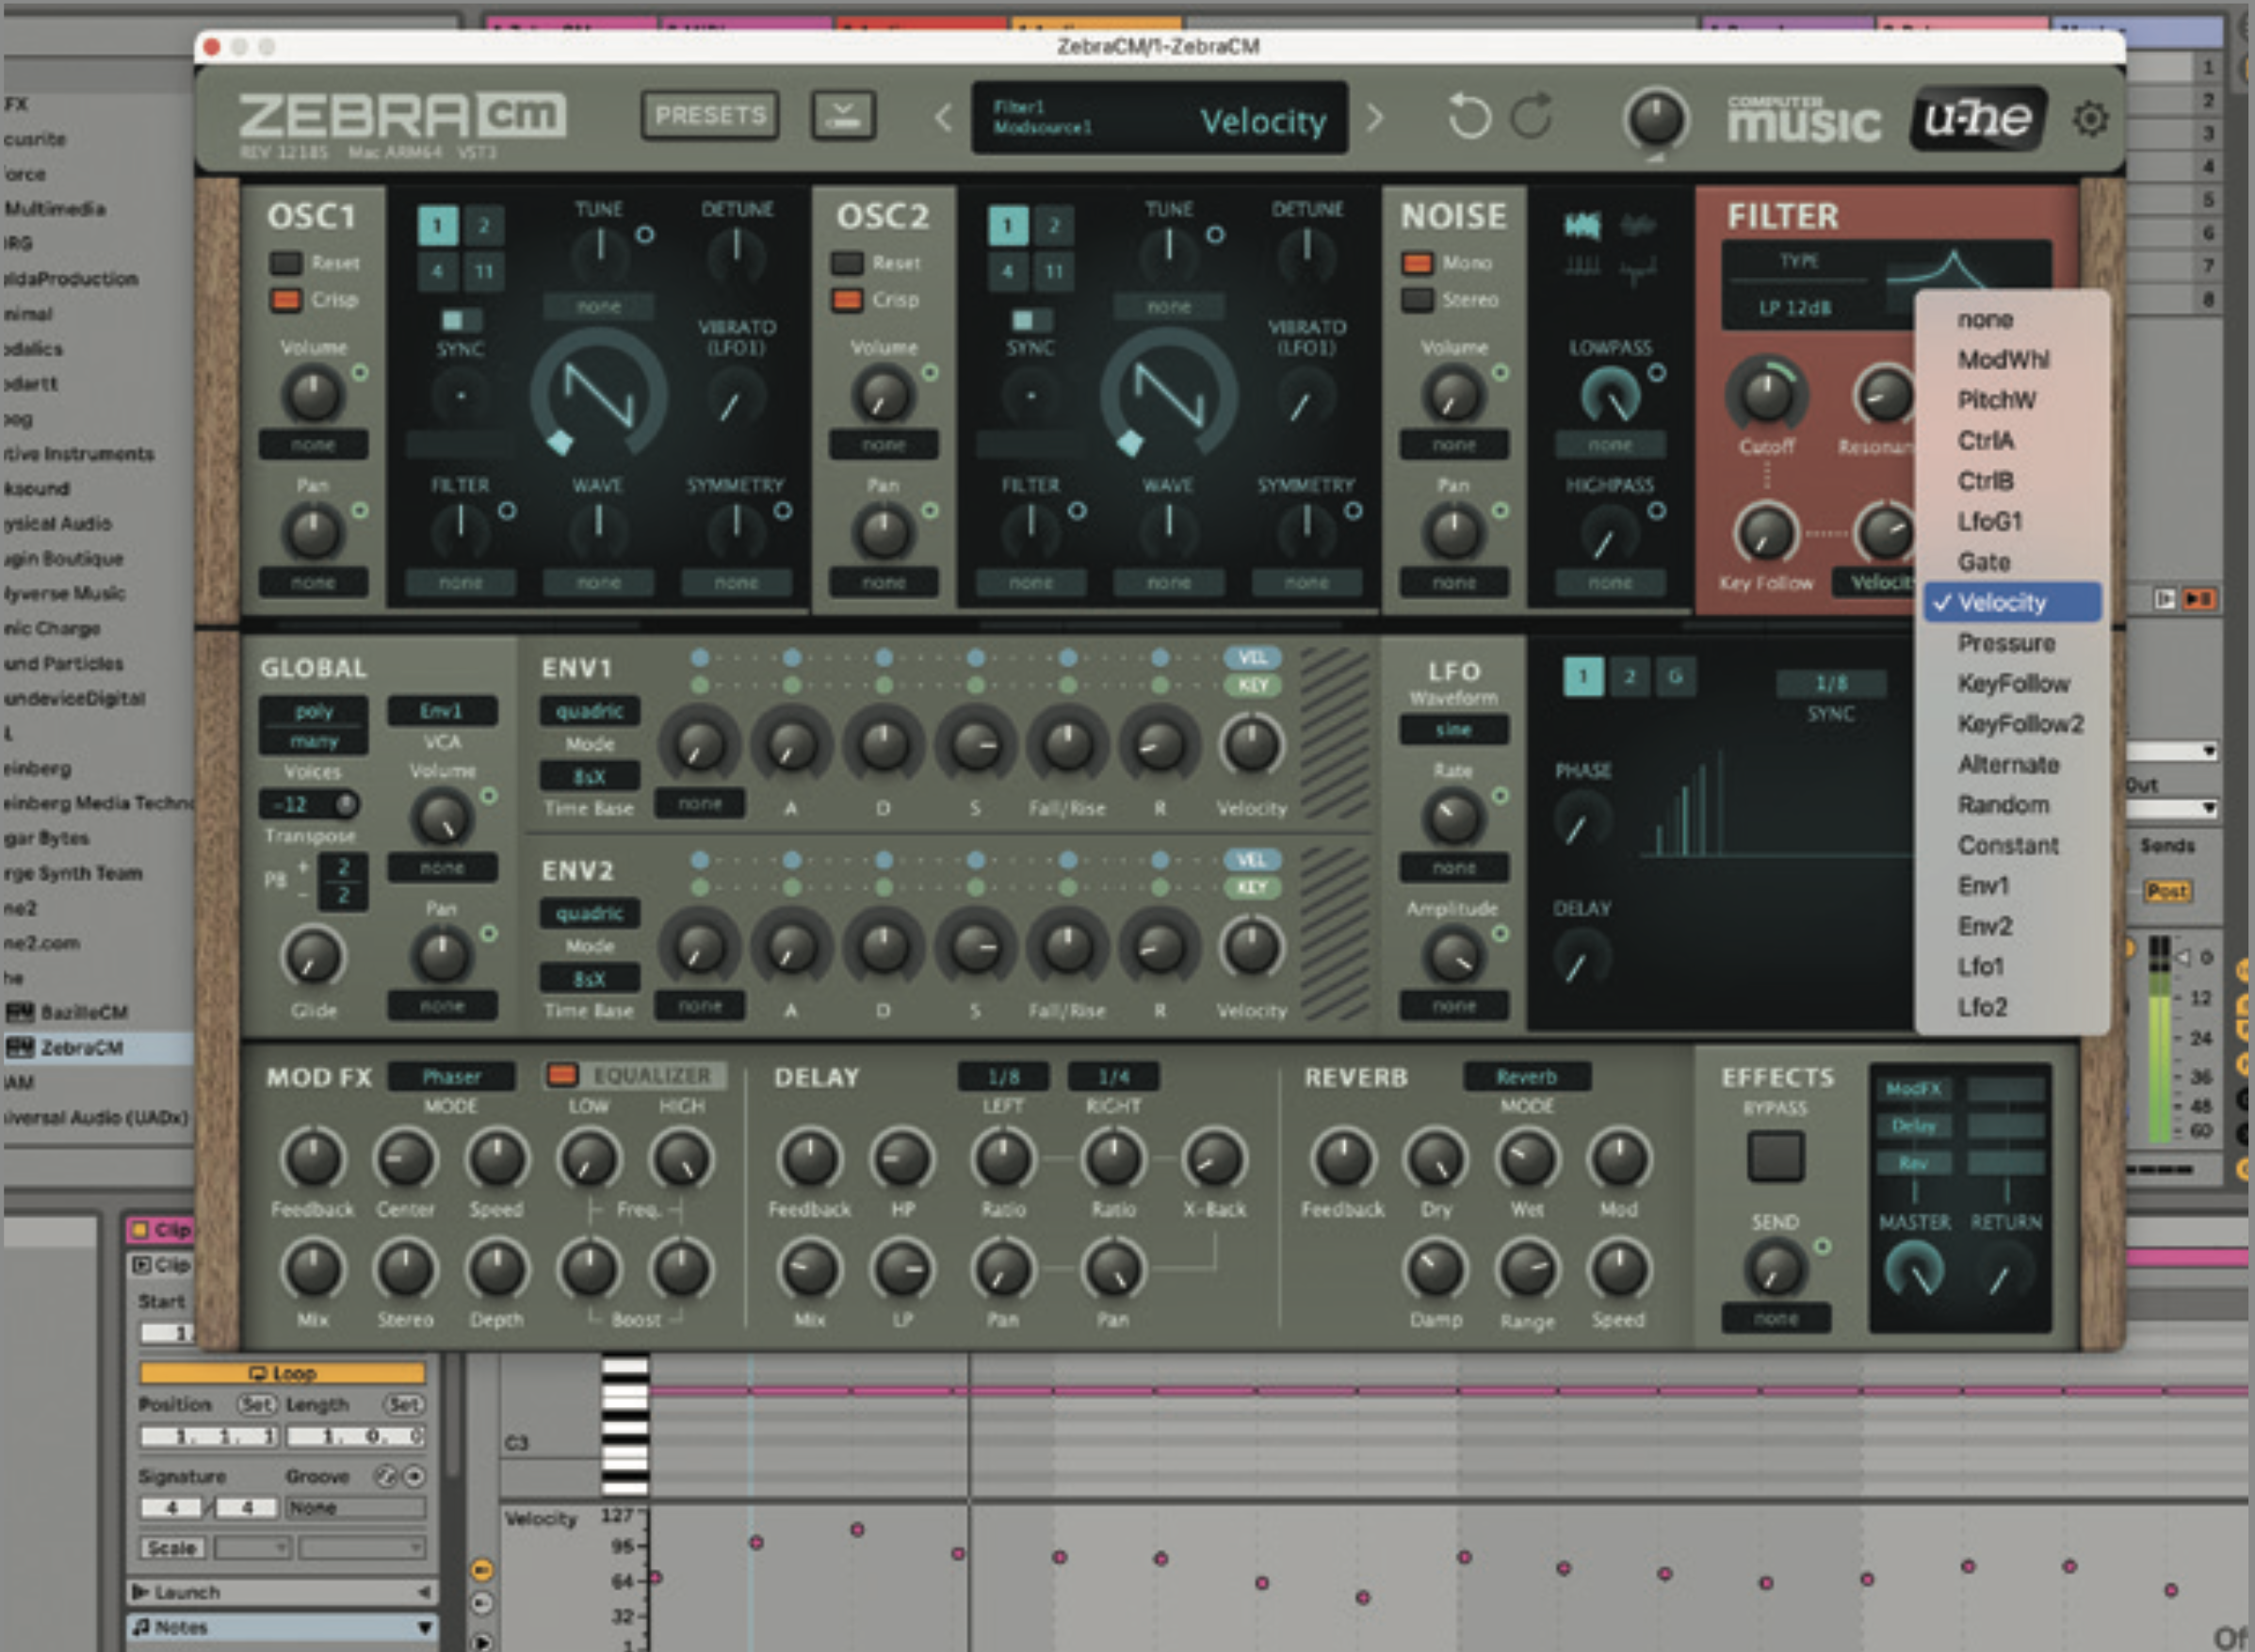
Other modulation sources include your keyboard’s pitch-bend and modulation stick, or why not set up the filter’s frequency to be controlled by your note velocity as we have here?

As you can see, modulation is a must for sound designers. There’s no end to what you can do. Here, we’ve applied the LFO to both the noise and filter frequency, and the envelope to the Tune and Filter parameters for Osc 1. Voilà: we’ve turned the Init preset into a growling vocal sound. We are designers of sound!


