Creating the right ambiance is key in any home, and the soft glow of a candle is unmatched. However, having candles lit isn't always safe or sanctioned. That's where LED candles come in.
While LED candles are a great alternative, these flameless and reusable options don't quite live up the the natural beauty of real candles. Luckily, there are a few ways to make your LED candles look more like the best candles money can buy.
Our experts have explained how to make your LED candles look more realistic in three easy DIY steps.
How to make LED candles look like real candles
Creating a realistic atmosphere with LED candles involves a combination of things: achieving a lifelike flicker, recreating a waxy texture, and styling each LED individually.
Here are some tips you can use to make your LED candles look like real ones:
1. Choose the right LED candle

'The first step in ensuring your LED candles look more natural is choosing a light with a shape and false flame that effectively mimics the real thing,' explains David Miloshev, electrician and home improvement expert at Fantastic Services. This is what he recommends:
- Choose LED candles that resemble the size and shape of real candles, as this will allow you to recreate them more accurately. Popular choices are taper and pillar candles, as well as votives.
- Select a 'warm' color temperature of around 2200K to 2700K because this will be best at mimicking the soft glow of real candles.
- Opt for LED candles with a realistic flicker effect that mimics the random flickering of a real flame.
- Consider investing in LED candles that offer adjustable flicker and brightness levels via remote control, simulating the natural dimming effect of burning candles. This is especially useful for creating a cozy ambiance.
We recommend this wavy edge candle with remote, from West Elm.
2. Style with wax

Avoid purchasing LED candles with hard plastic shells, as this is a dead giveaway that they are not real. Instead, opt for realistic varieties and style them with your own 'authentic' wax drips to make them indistinguishable from the real thing.
Here's what you will need:
- Realistic LED candles
- Paraffin wax or beeswax (ensure this matches the color of your LEDs)
- A double boiler or a heat-safe container
- Candle dye (optional)
- Fragrance oil (optional)
- Heat-resistant gloves
- Wax paper or parchment paper
1. Melt the wax
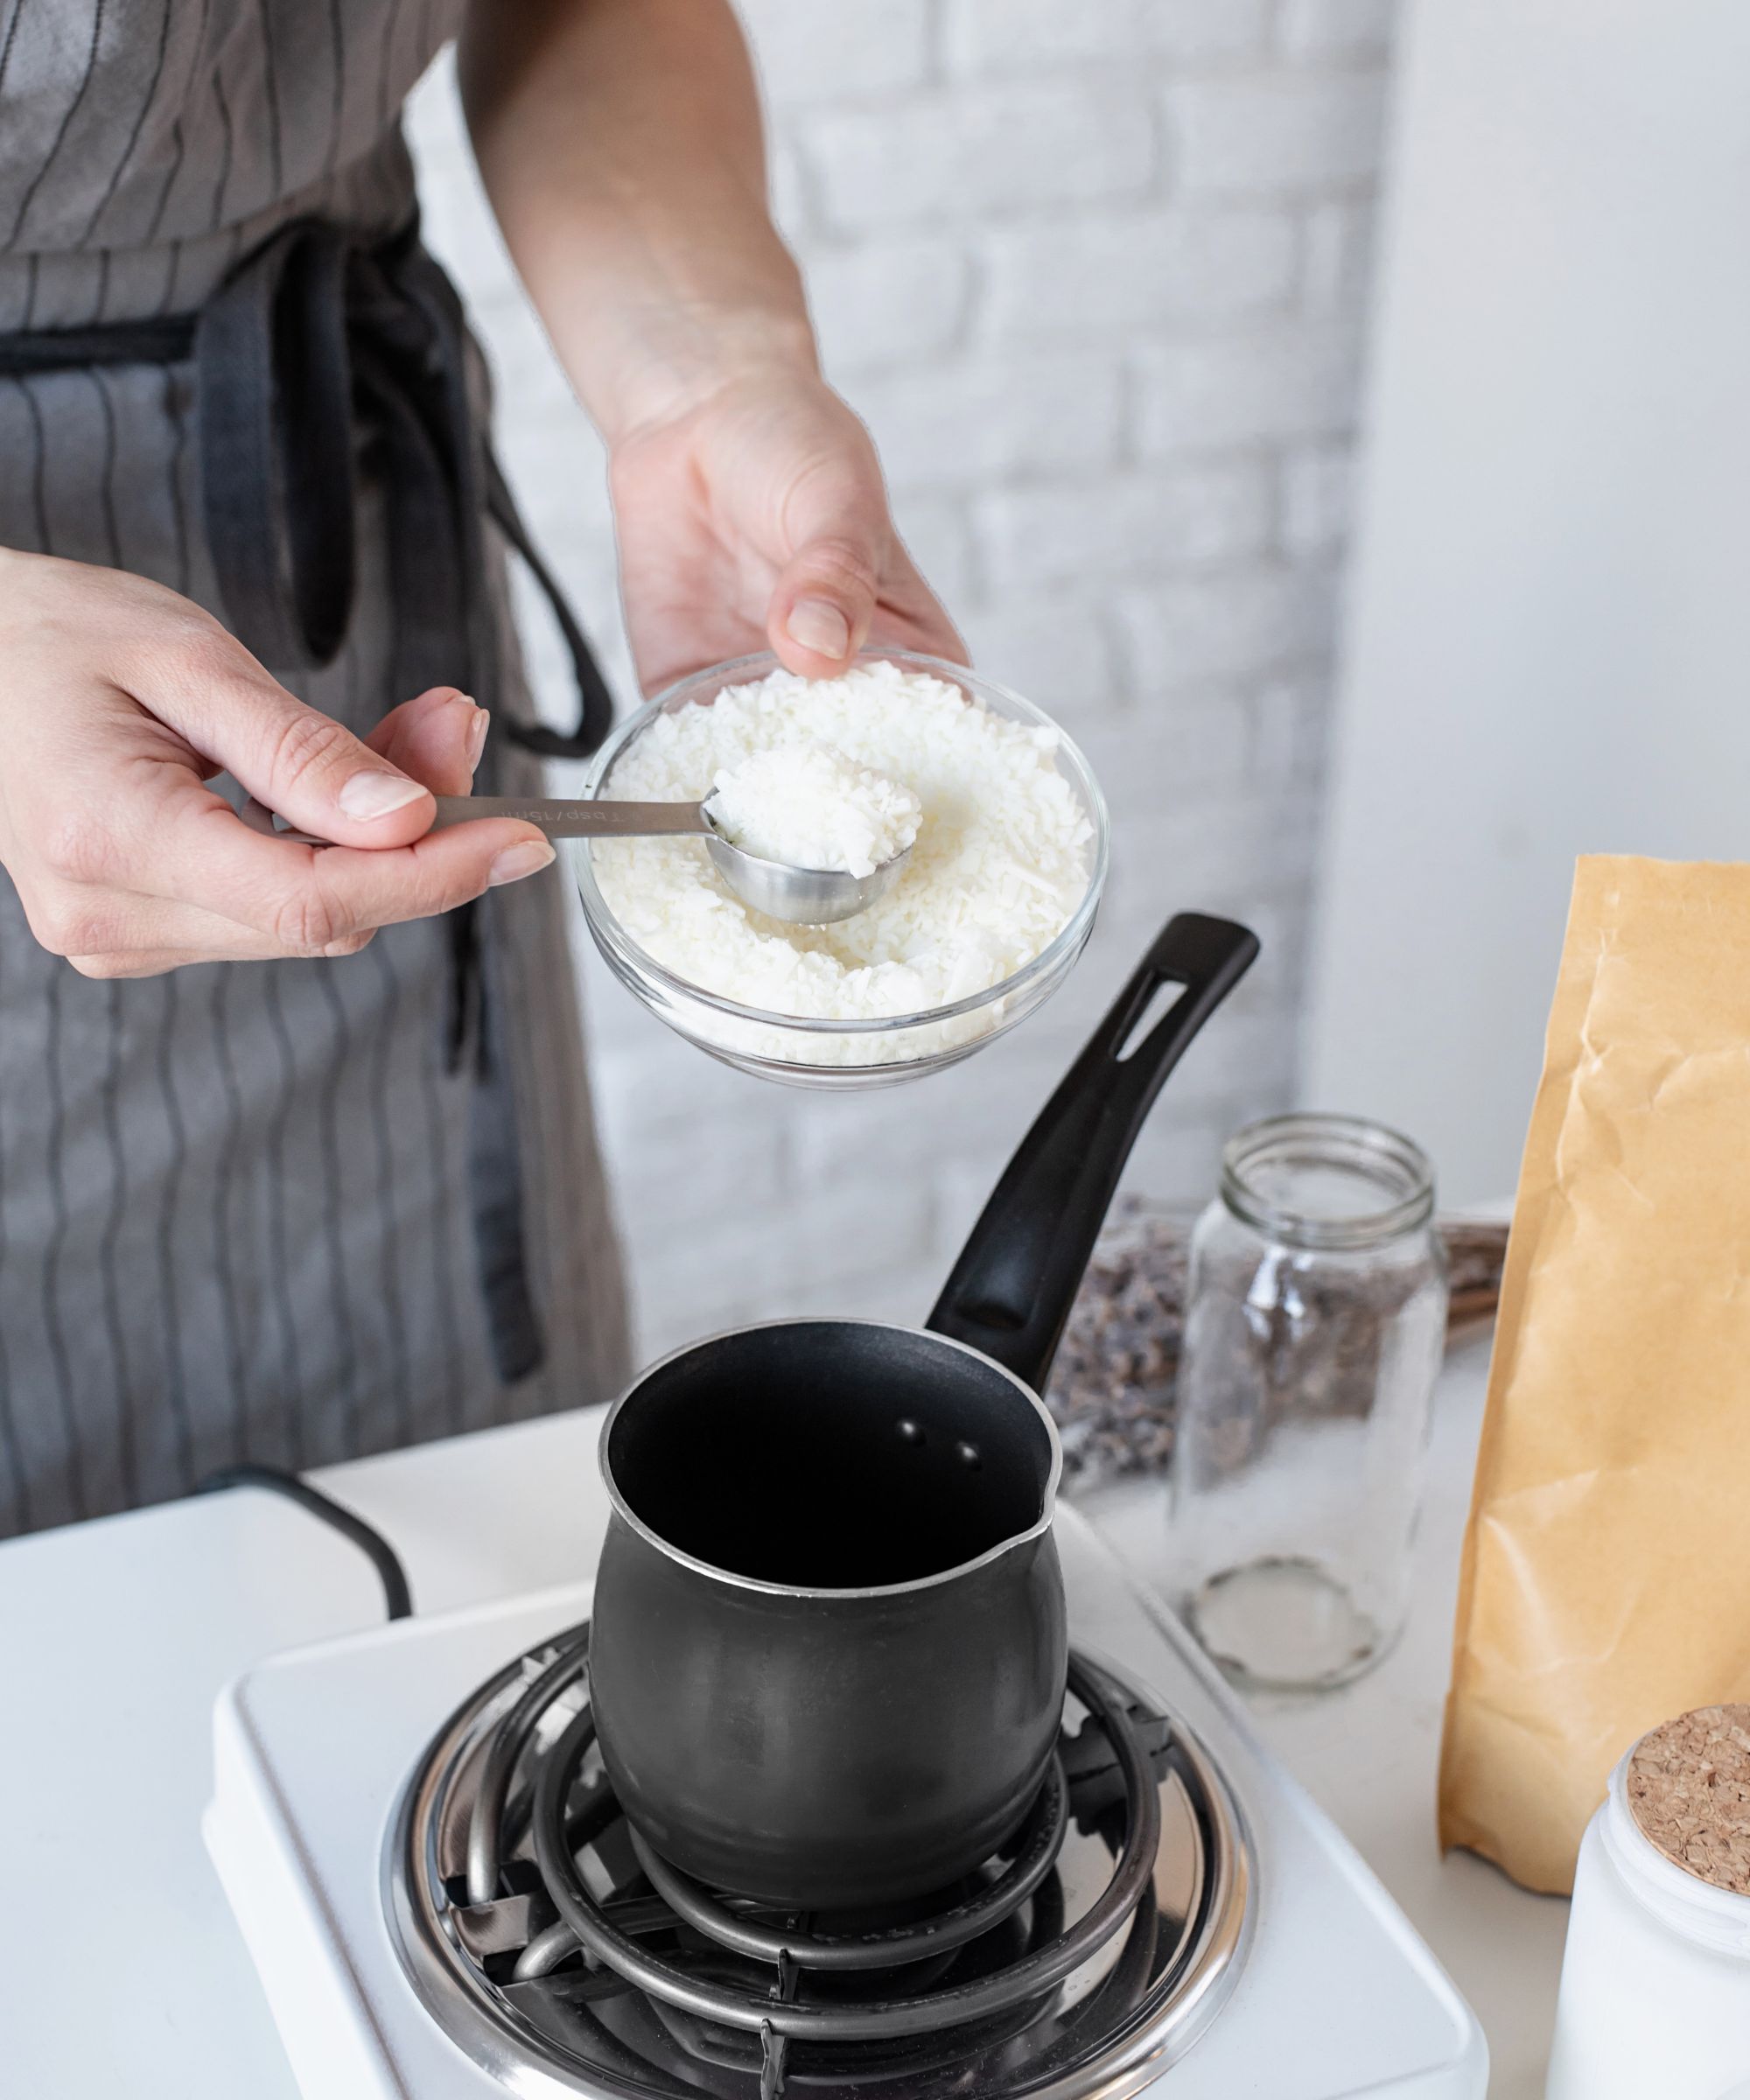
'First, use a double boiler or a heat-safe container to melt the paraffin wax or beeswax,' recommends Mark Fong, CEO and founder of Siltoll Hexagon Lighting. 'If you are using a double boiler, fill the bottom pot with water and place the wax in the top pot. Heat over medium heat until the wax is completely melted, stirring occasionally.'
If you don't want to buy new wax, you can gather old leftover candle stubs to melt.
2. Add color and fragrance (optional)
'For an extra level of realism, you can add candle dye and fragrance oil to the melted wax,' suggests Mark Fong. 'Stir this well to ensure the dye and fragrance are evenly distributed.'
3. Drip the melted wax onto your candles
Once the wax is melted, it's time to add realistic 'drips' to your LED candles. Before you start, it's a good idea to cover up any battery openings or switches with scotch tape, as melted wax can impair the function of your lights if it gets inside the mechanisms.
Use gloves to protect your hands and delicately pour the melted wax down the side of your LED candle. Take your time doing this and be careful not to overpour, as you don't want to risk melting the LED itself.
Candles usually melt in one direction, so you may find it helpful to look at some real half-used candles for inspiration as you style your LEDs. For added authenticity, you can create texture variations, such as ridges, using a skewer before the wax has dried properly. Or, for a more precise coating when creating textures, wax can also be applied with a brush.
4. Allow the wax to dry
'After dripping, place the wax-coated LED candles on a sheet of parchment paper to dry,' advises Mark Fong. 'Allow the wax to cool and harden completely before handling with bare hands.'
5. Repeat the dipping process
If you want a thicker wax coating on the LED candles, repeat the dripping process once the first layer has fully dried. This will create a more realistic appearance.
Repeat this cycle until you are happy with the results.
3. Stage them to make them look realistic

How you style and arrange your LED candles can also make a significant difference in how realistic they look.
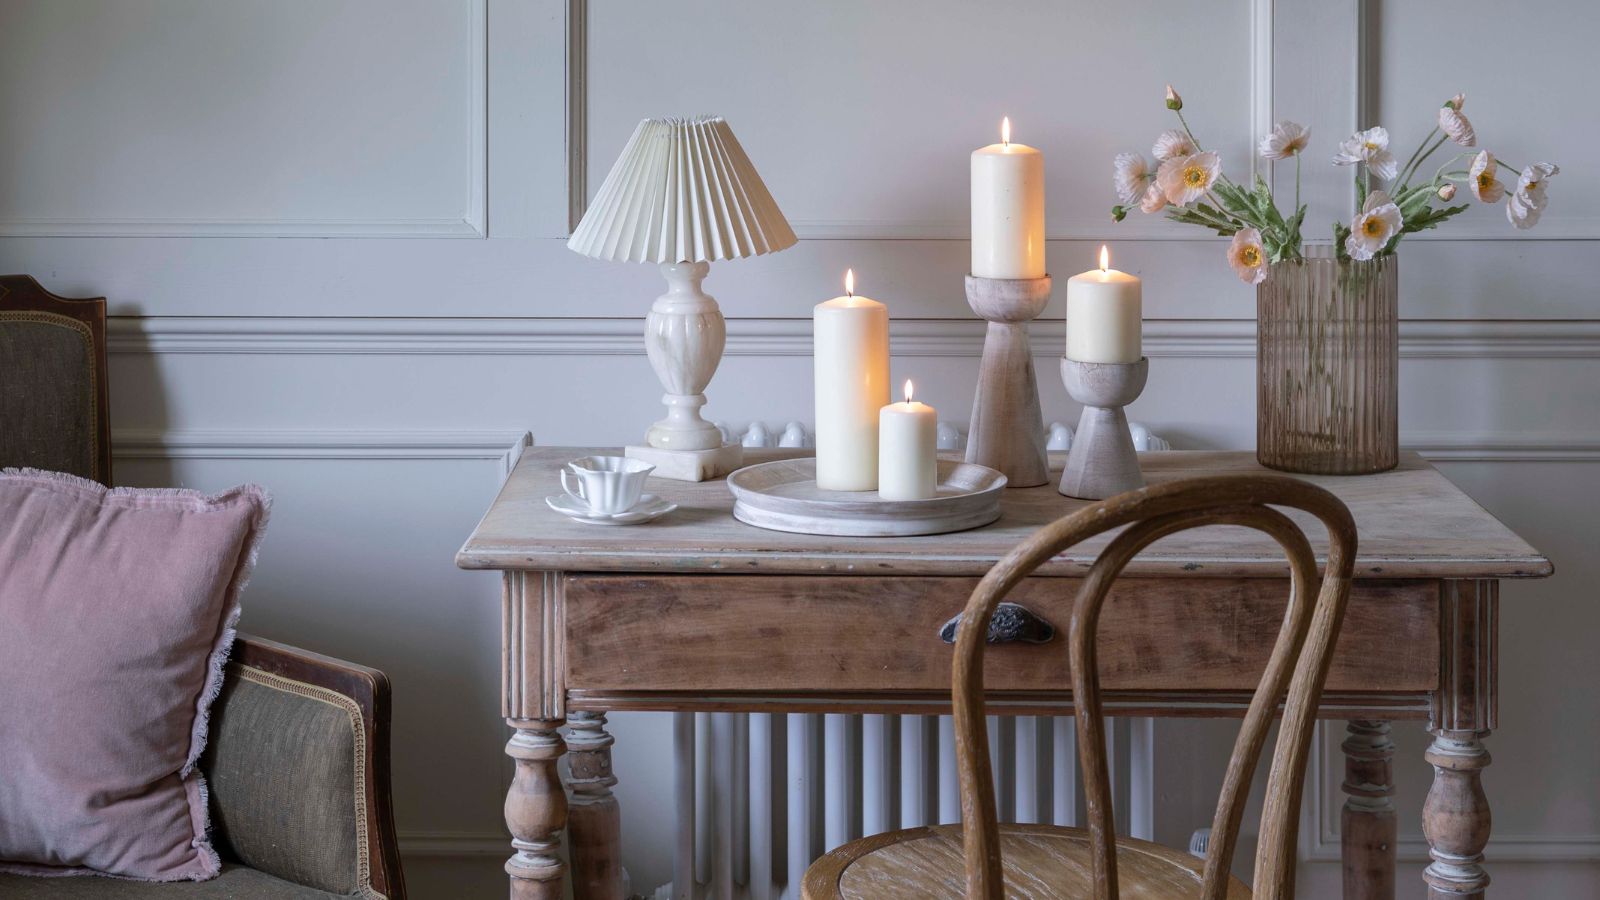
Arrange the 'candles' in groups or clusters, just as you would with real ones. Vary their height and size to achieve a more natural look.
Likewise, placing the LEDs on candle stands or inside decorative glass lanterns will instantly elevate them and enhance their realistic feel. We love these Kivu marble pillar candle holders, from West Elm.
With these steps, you can easily transform basic LED candles into ones that look like the real thing, without compromising safety when creating a cozy ambiance in your home. However, if you are not a fan of DIY, consider spending a little more on LED candles made from high-quality materials that mimic the texture of real wax (drips and all).


