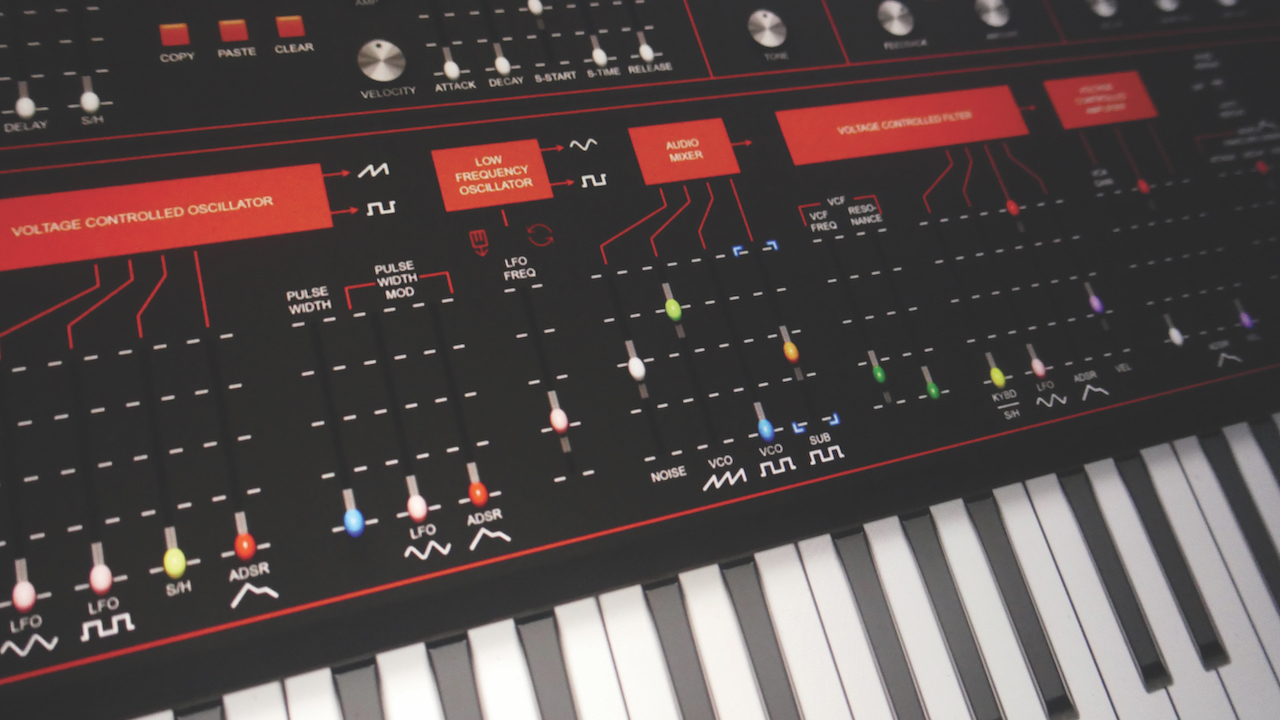
Many synths wear their branded colours with pride; Moog features a white legend on a black background, Oberheim employed highly identifiable cream panels, but one of the most enigmatic of all has to be the ARP generation of synths, resplendent with their orange blocks and white lettering.
Drawing inspiration from the original ARP Axxe, GForce Software has resurrected this classic in software form, with several operational additions along the way.
Let's get things underway by drawing musical inspiration from a musician who became known for his soaring ARP synth solos. Billy Currie was a notable ARP Odyssey performer, with a recognisable sound and playing style that influenced a generation of synthesists throughout the ’80s.
As part of the band Ultravox, he’d often provide lead-line synth solos during the bridge sections of songs, or interweave counter-melodies using his ARP Odyssey, at least when he wasn’t brandishing a viola, another one of his musical axes!
With the obvious connection between the Axxess in software and the original Odyssey hardware, this is the prefect time to create an ARP lead that Mr Currie himself would be proud of. Using the Axxess unison mode, we can create a similar effect to oscillator sync single. So don’t stand still, download Axxess and let’s explore!
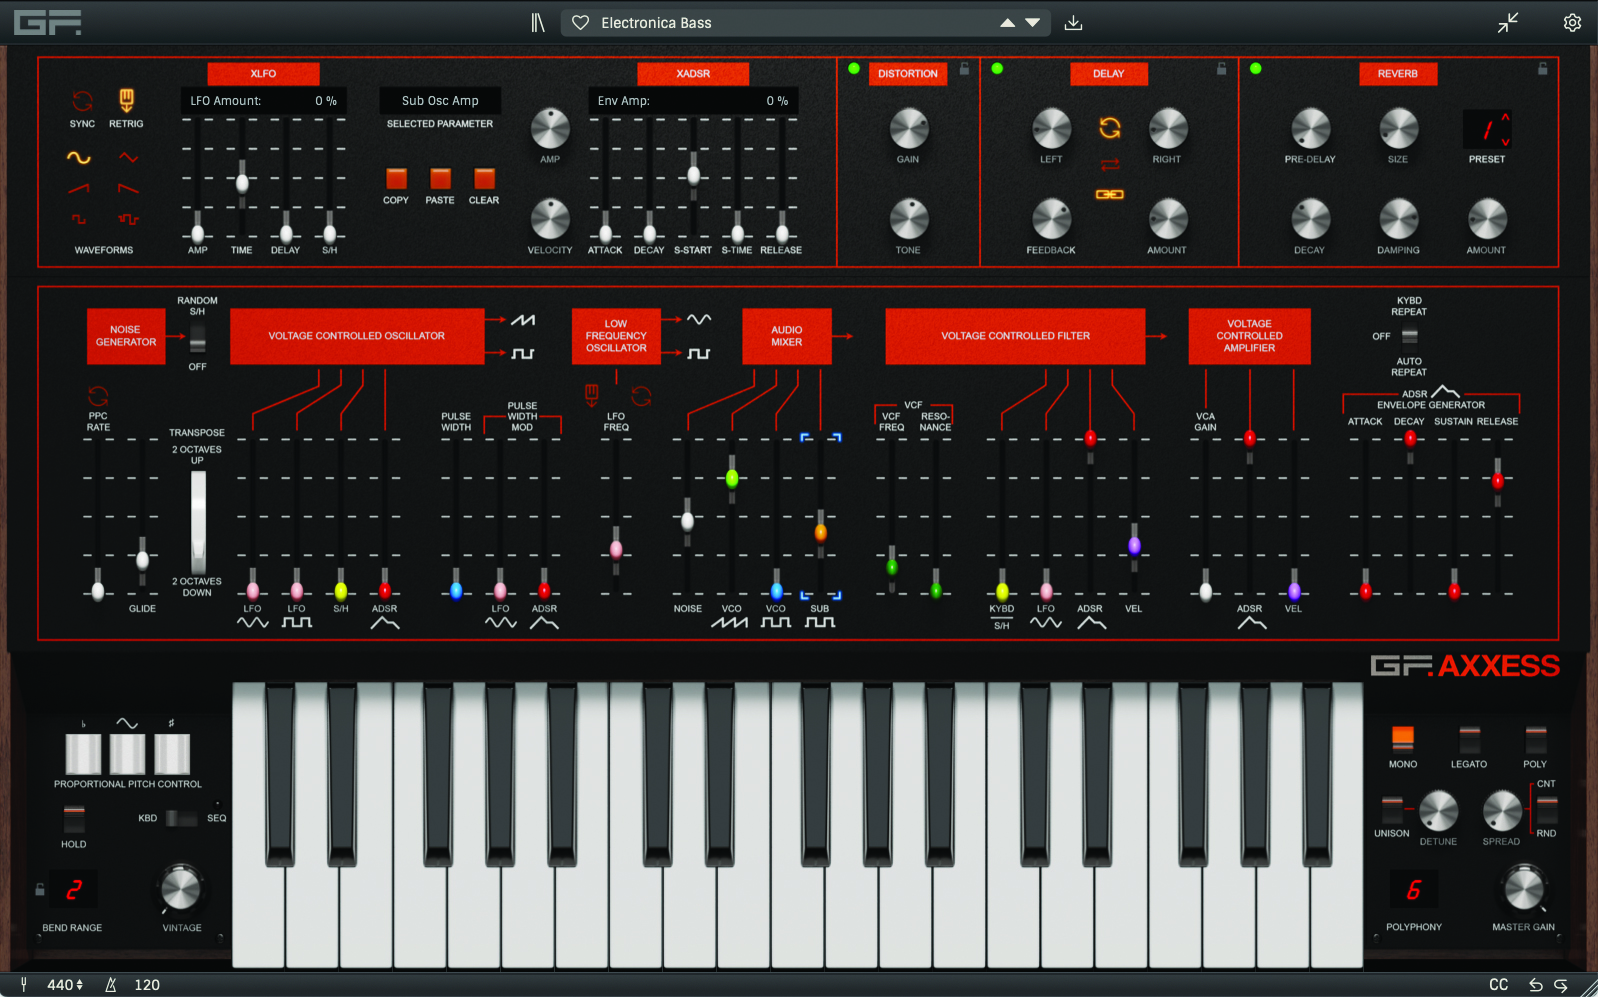
Make a spicy lead with GForce Axxess
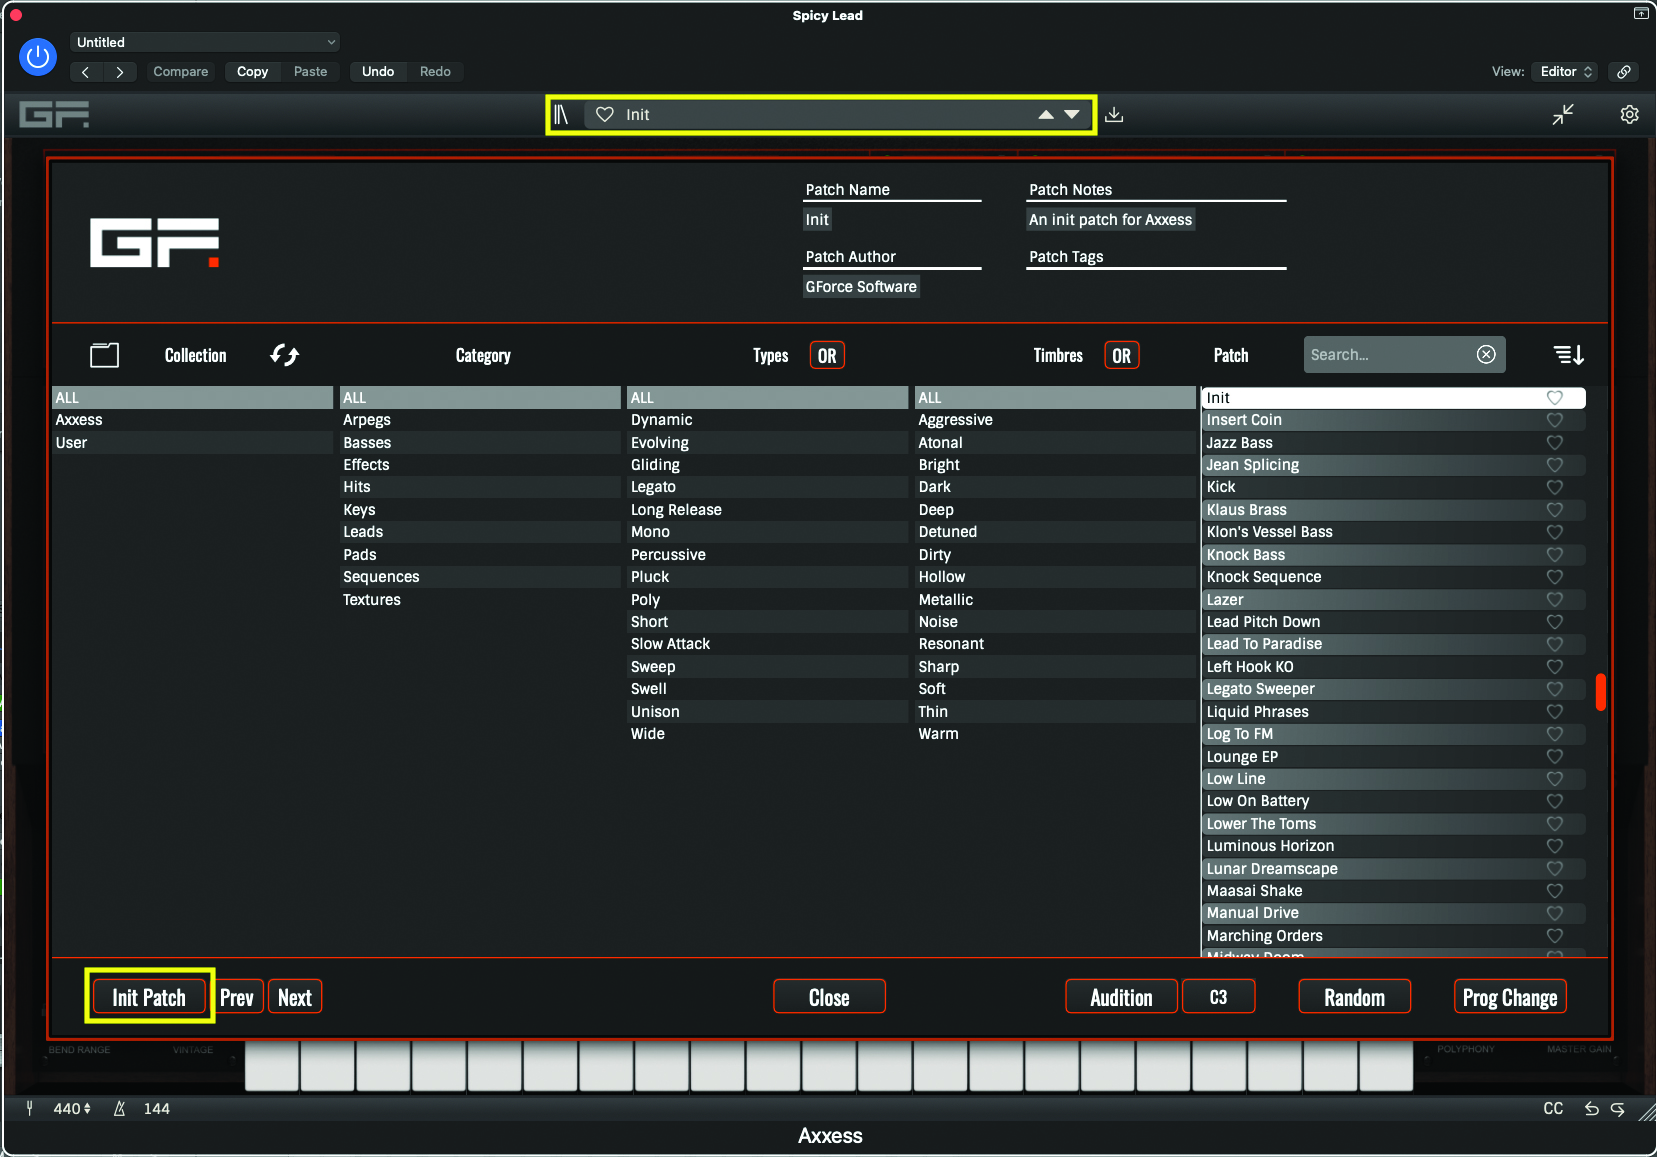
Once you've opened up GForce Axxess, open the preset browser from the top of the plugin window. To set up a default template, click on Init Patch on the bottom left-hand side of the window. This will initialise our sound to a single sawtooth, with a wide open filter.
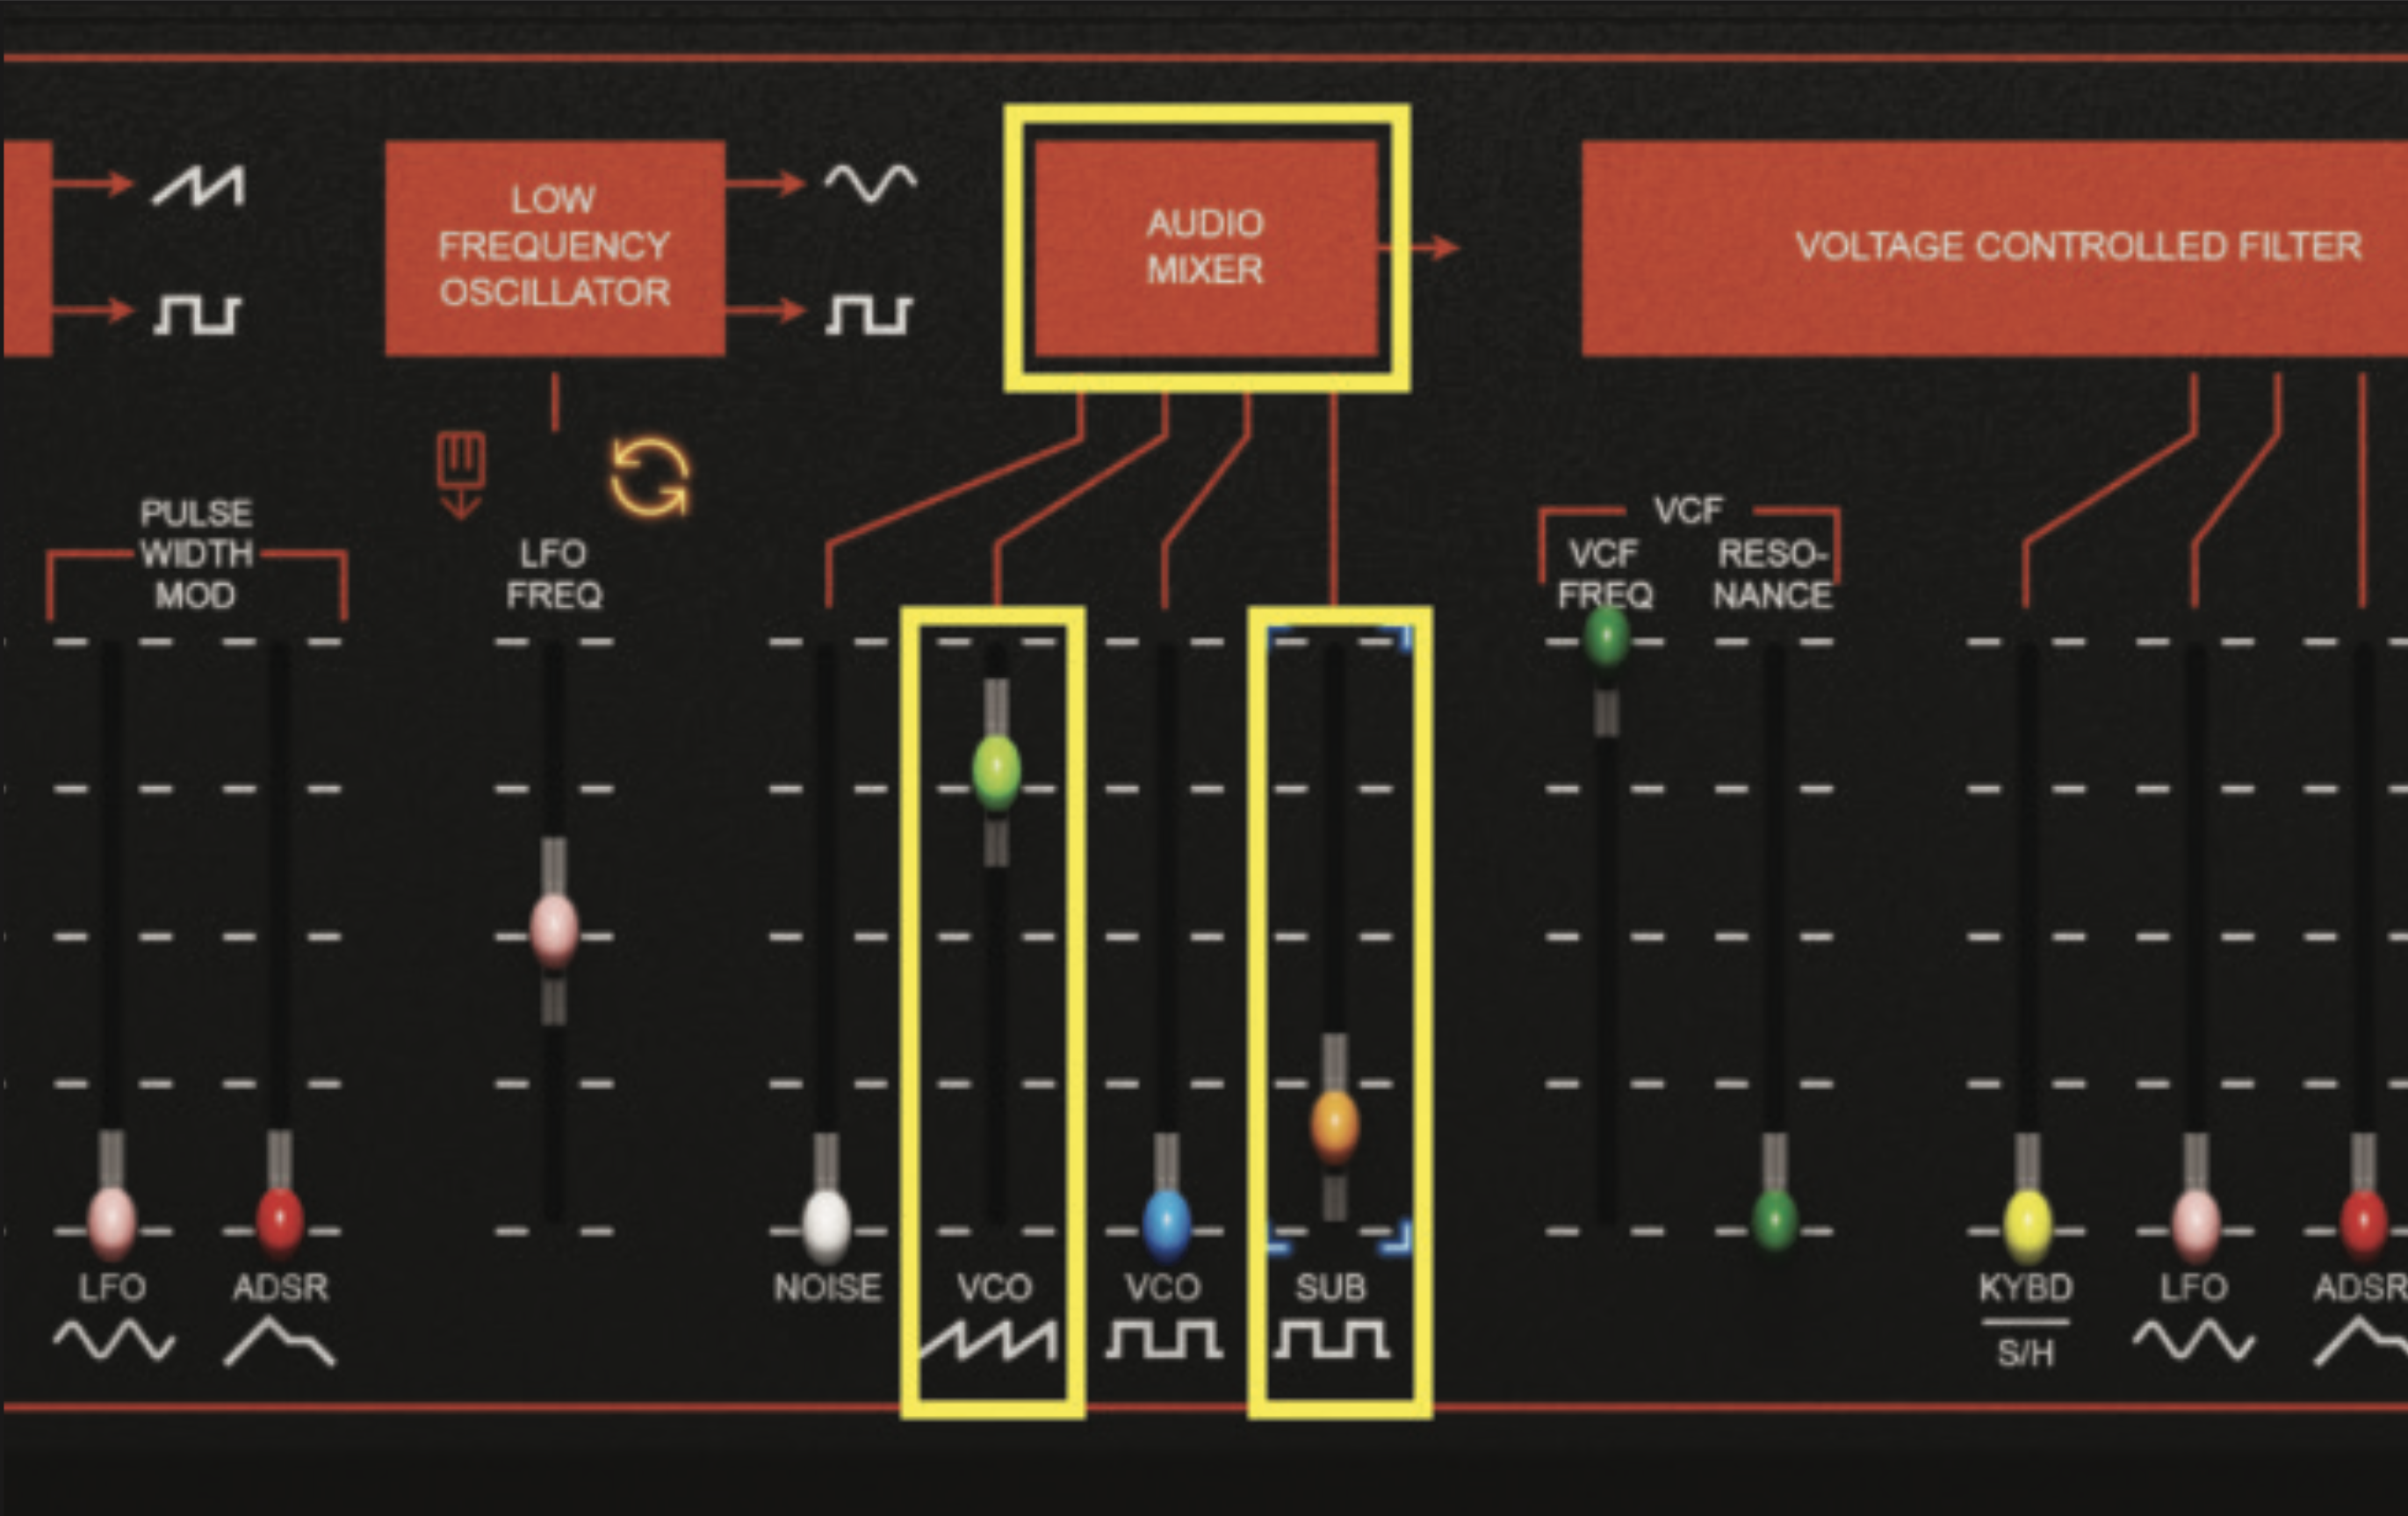
We’ll start building our sound by locating the audio mixer; this is where we can choose which waveforms to use. Leave the sawtooth fader in its current position, but increase the sub fader to a level of -28dB. Obtaining the exact fader value can be tricky, so don’t worry if you’re a few points adrift from our suggested numeric.
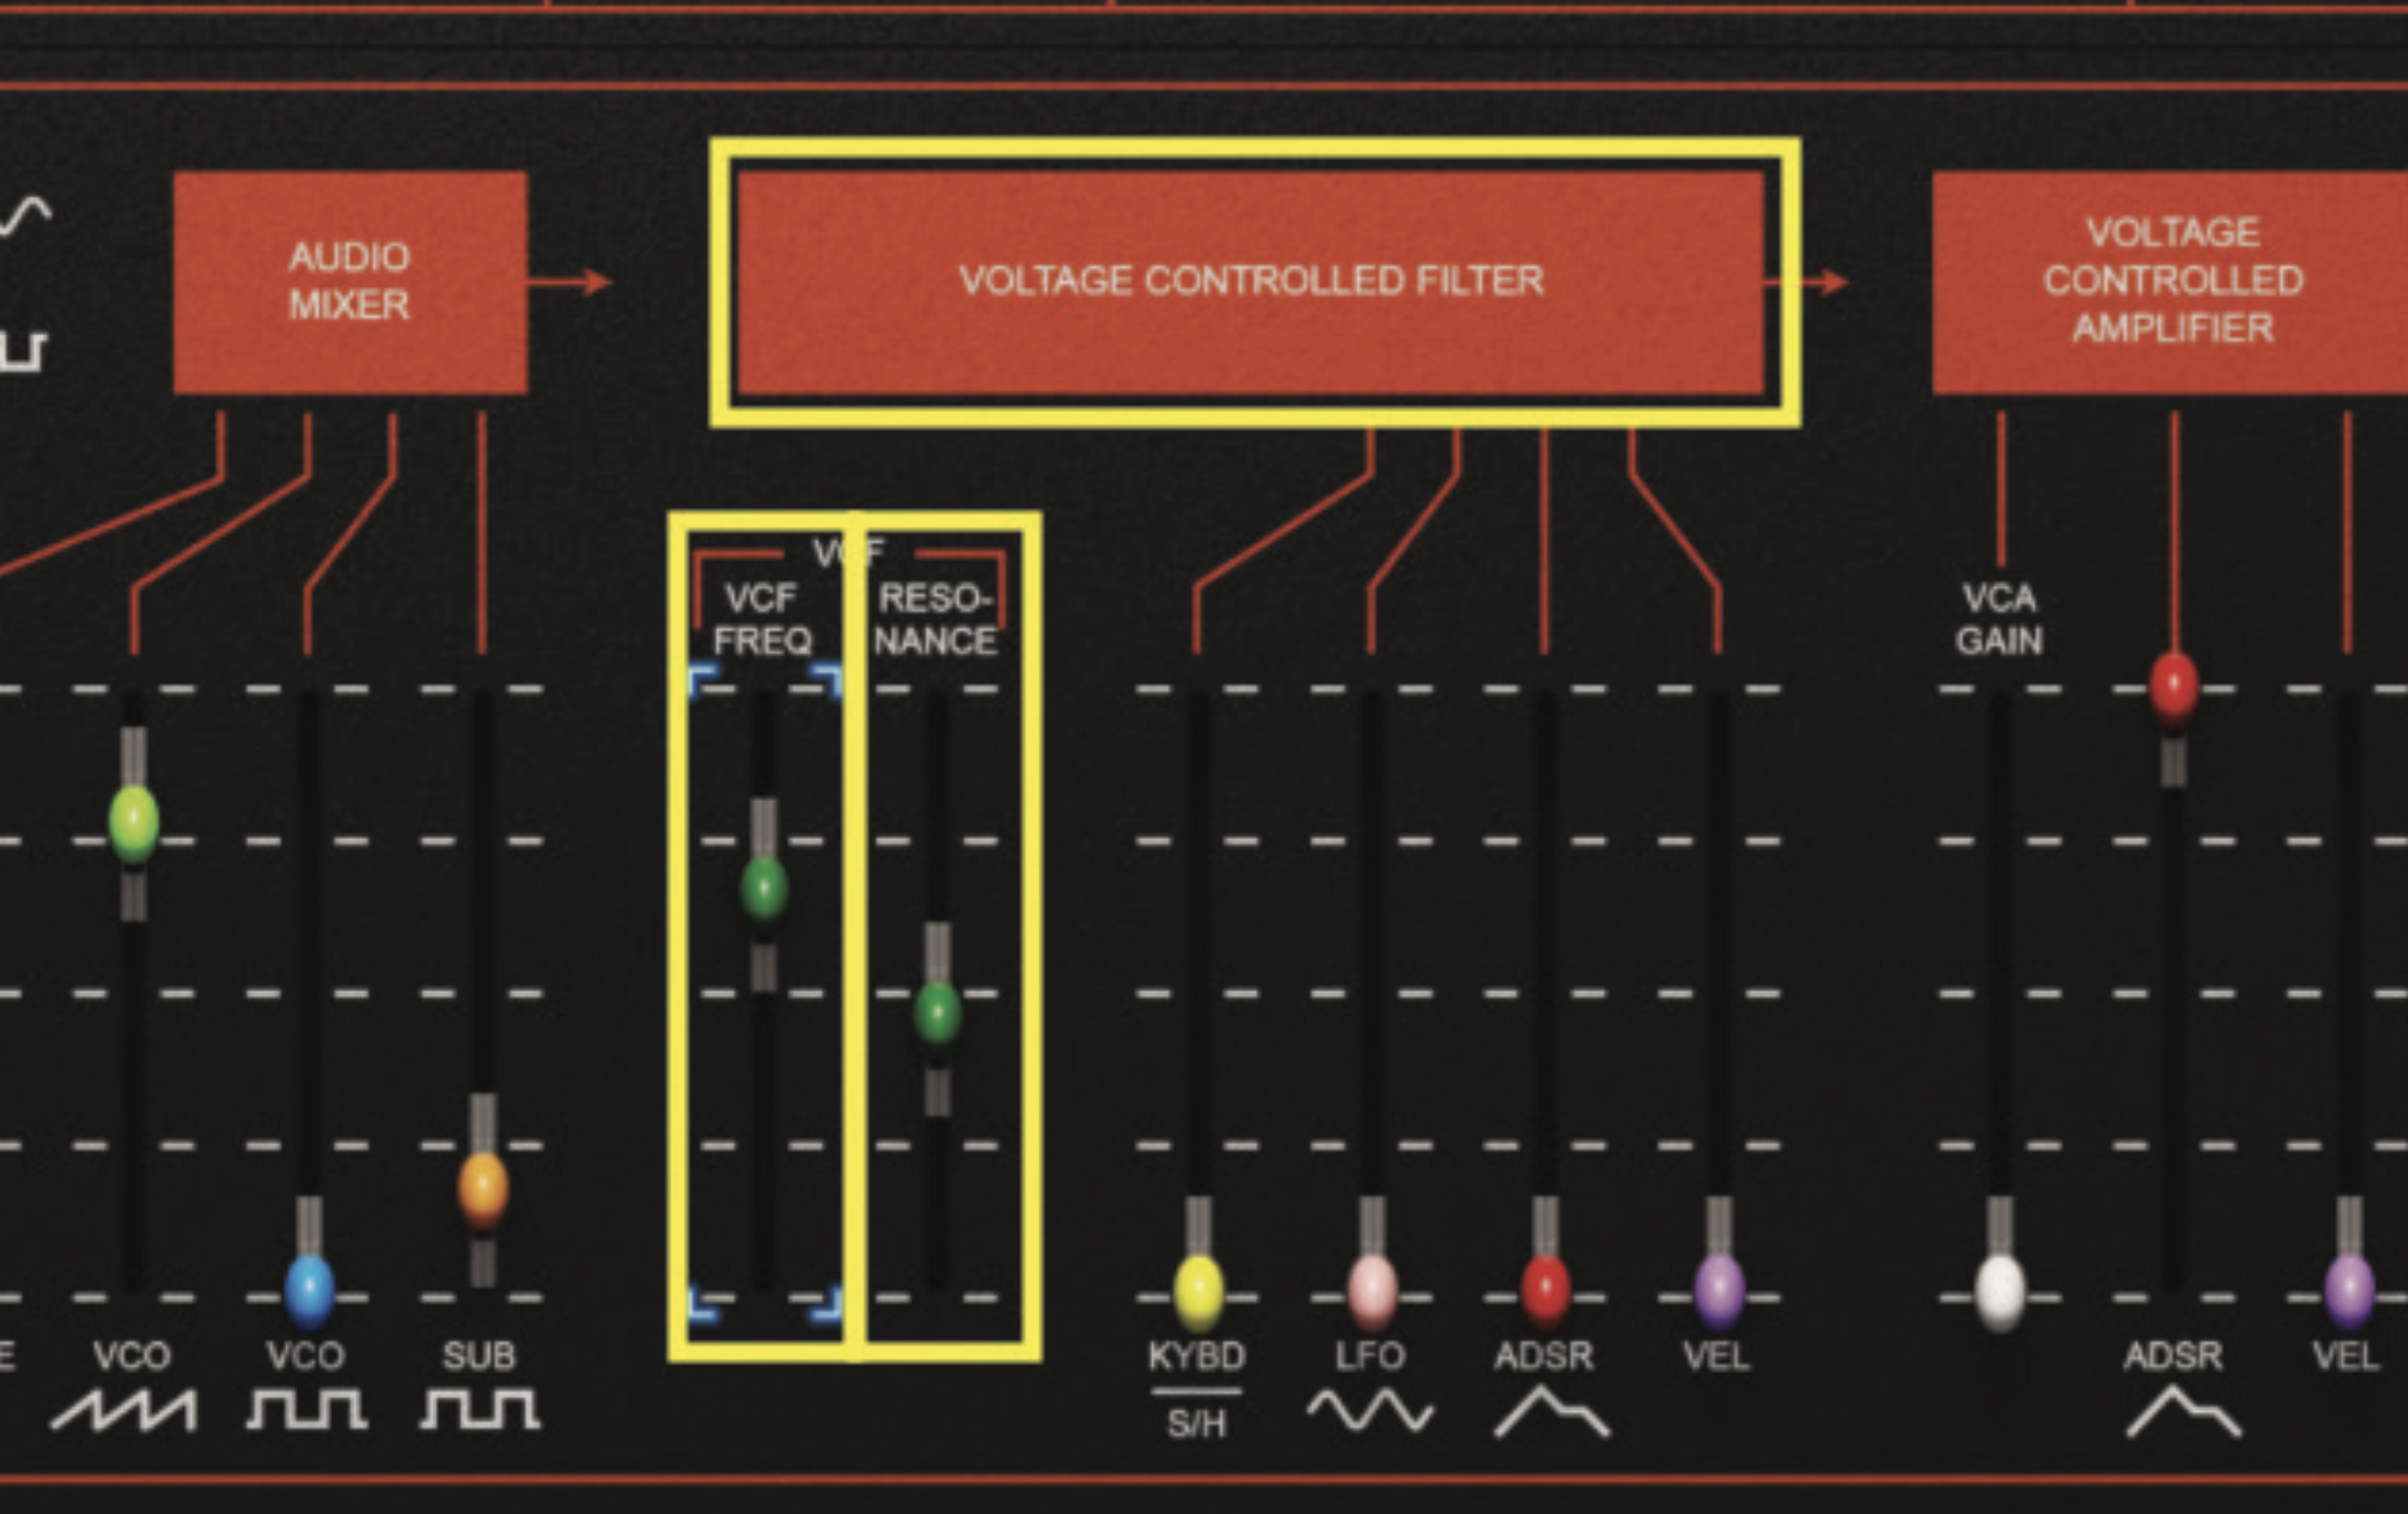
To the audio mixer section’s right, you see the voltage controlled filter (VCF). Adjust the VCF freq fader (commonly known as cutoff) to 1500Hz. Then adjust the resonance fader to 45%. Again, don’t panic if you can’t select these values identically, as being a few points adrift should not make any big difference.
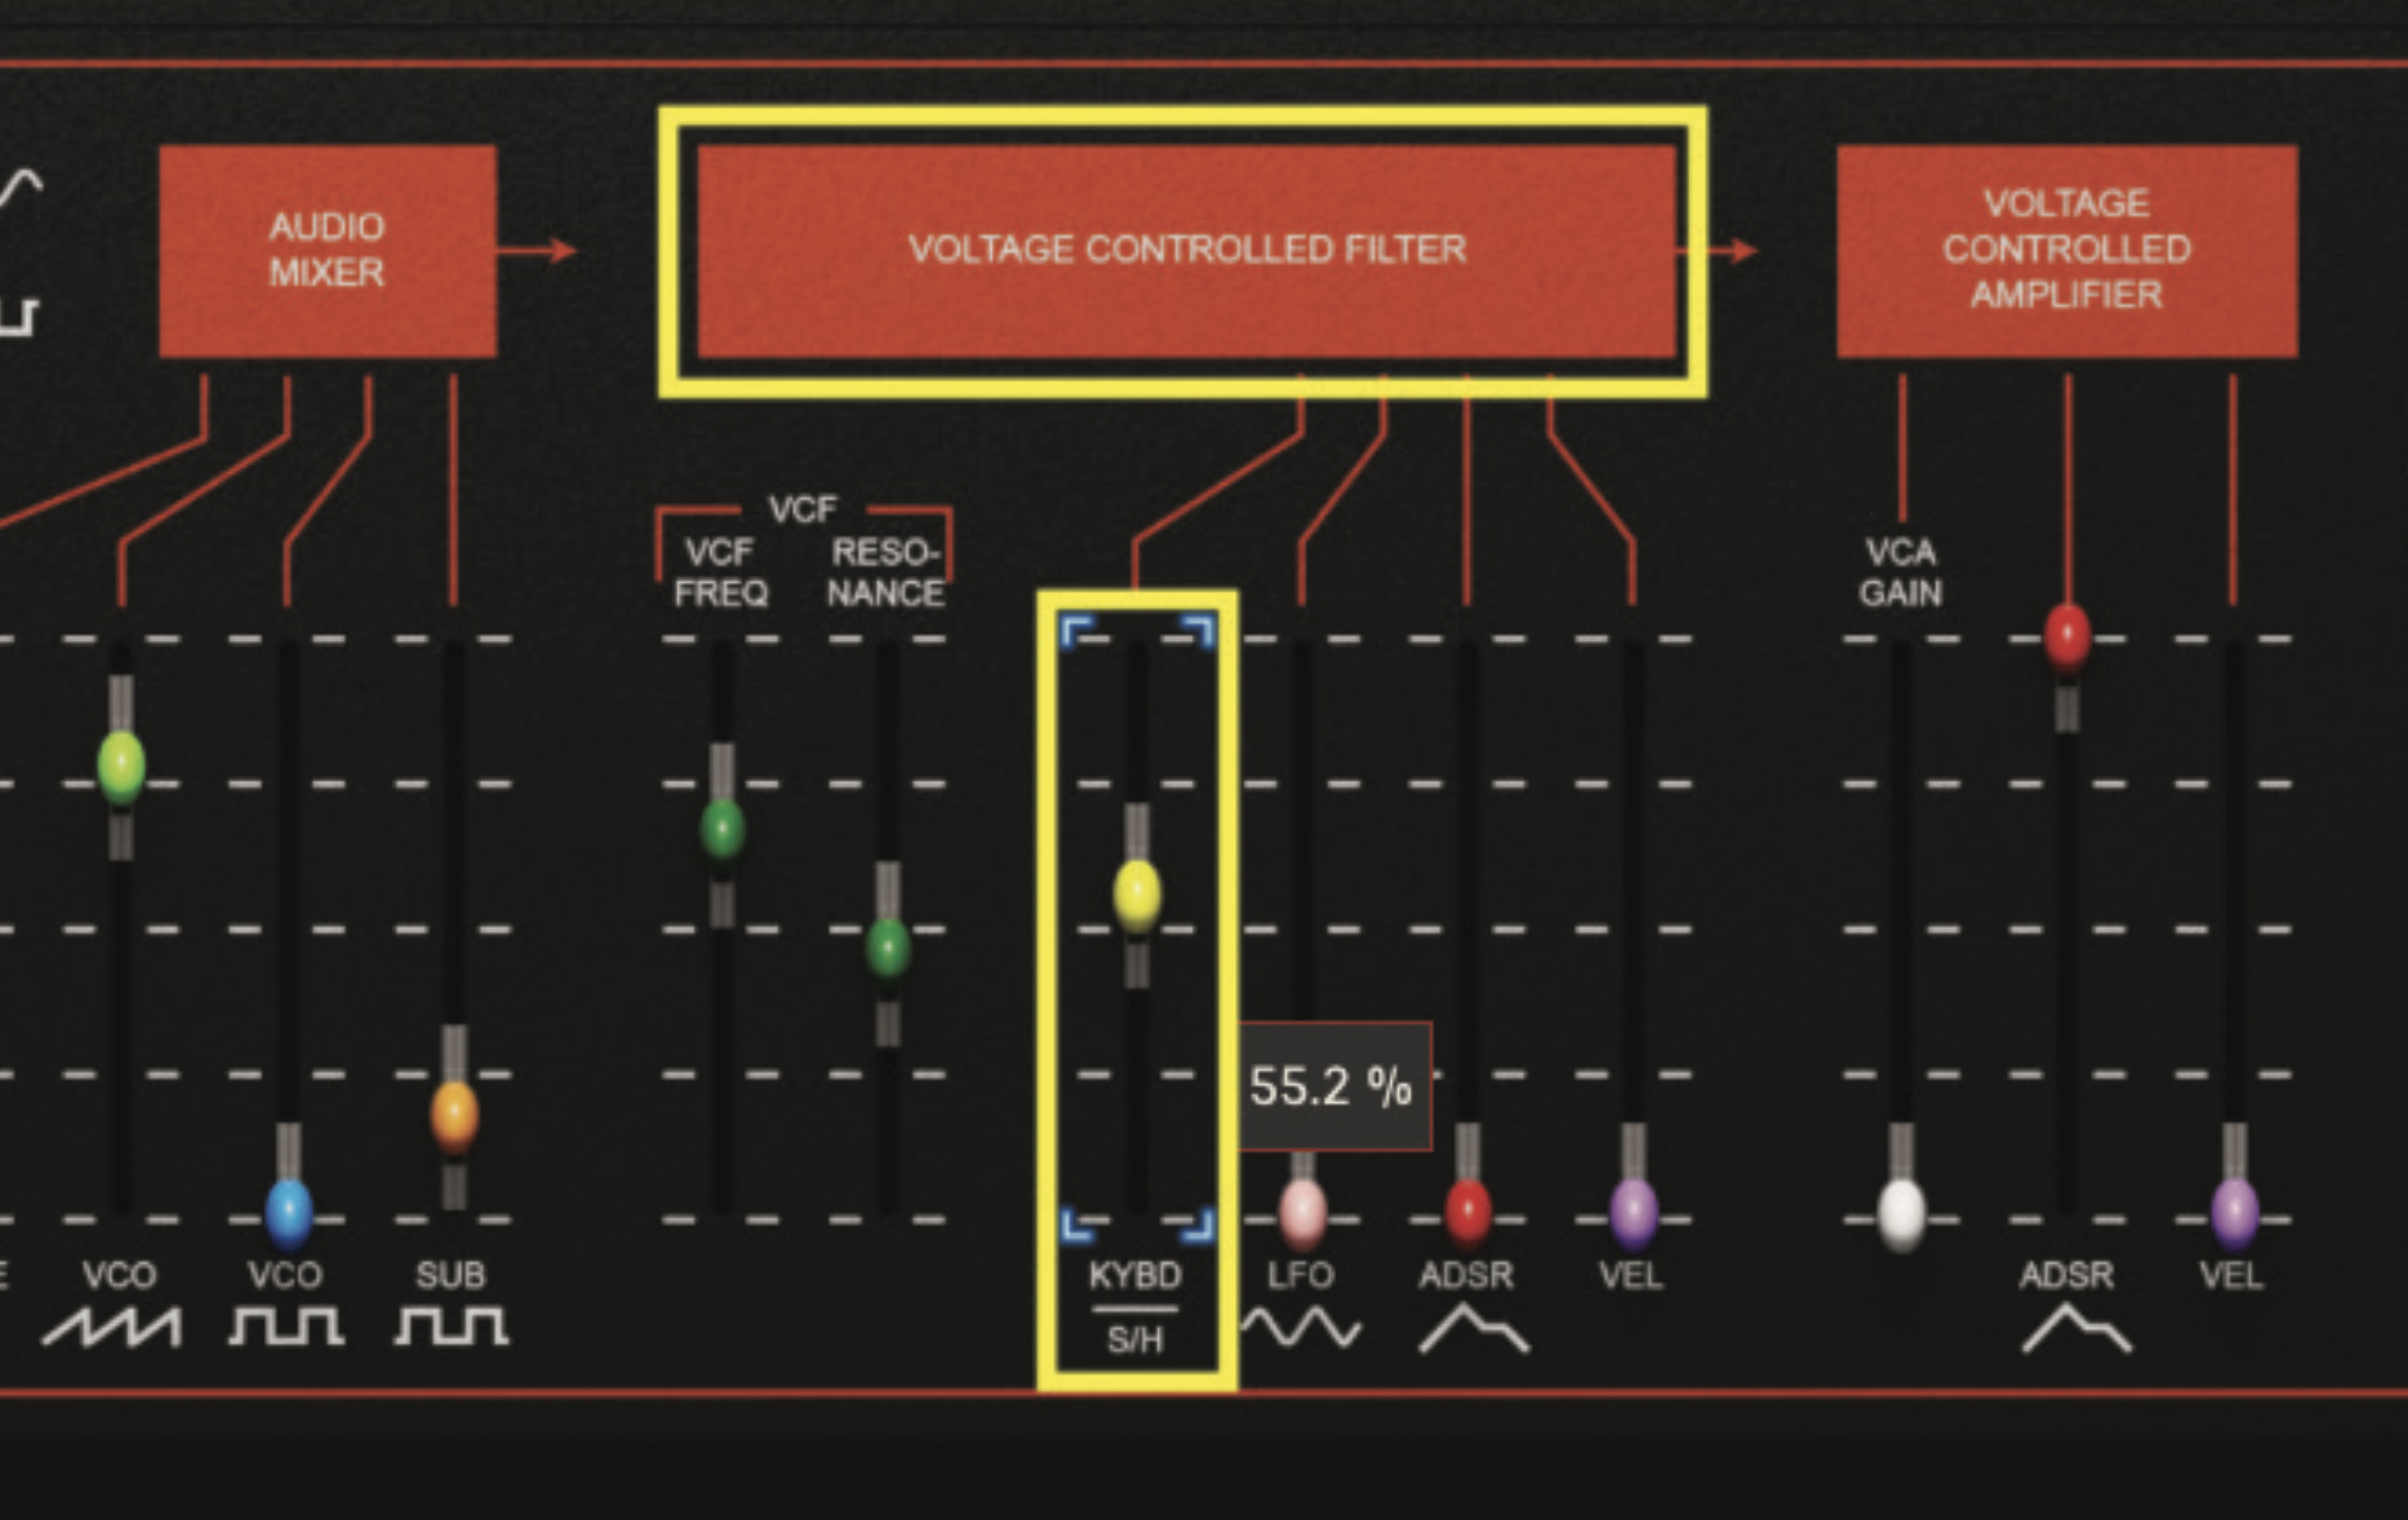
Staying within the VCF section, we’re going to get the cutoff frequency to track the keyboard as we play, which means that the filter resonance pitch will alter as we move up and down the keyboard. It should sound all-the-more musical as a consequence. Set the KYBD fader to a value of around 55%.
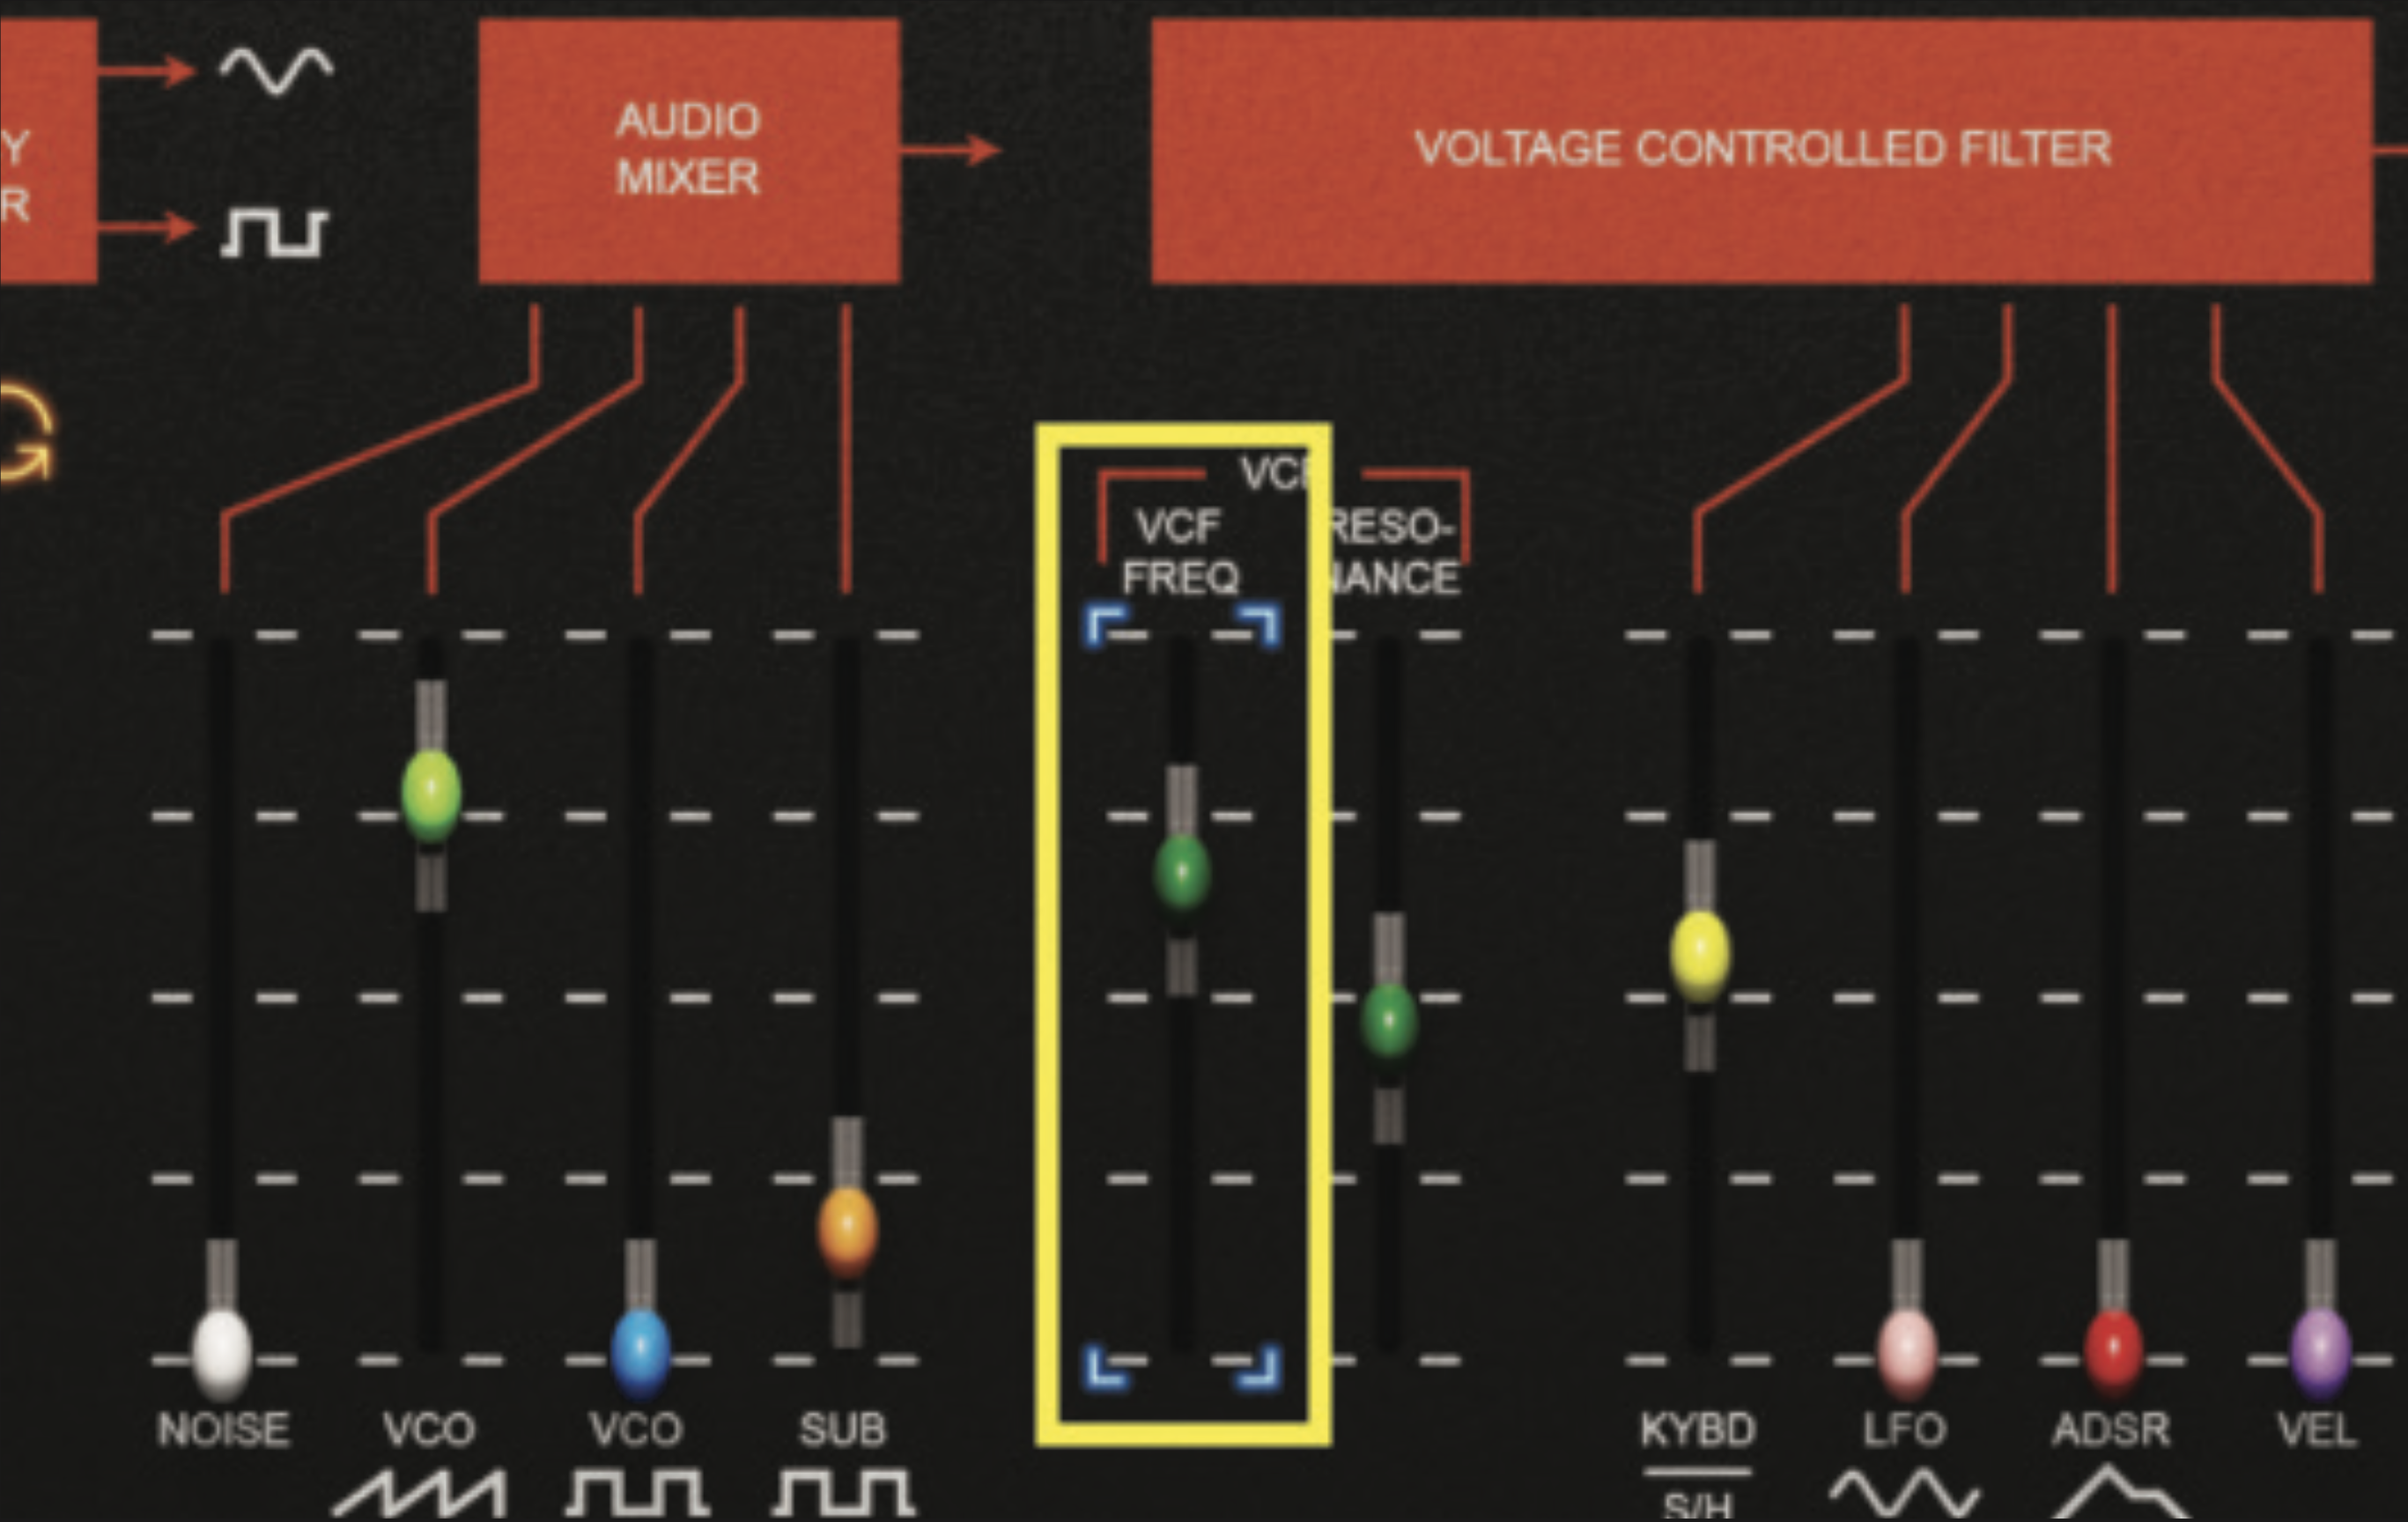
The primary ADSR envelope is assigned to the amplifier section. The default ADSR settings are appropriate for our patch, but we can also use the additional XADSR to engineer attack-based bite, via the VCF frequency cutoff fader and modulation. Route by clicking on the VCF freq fader. Blue brackets should appear around the fader.
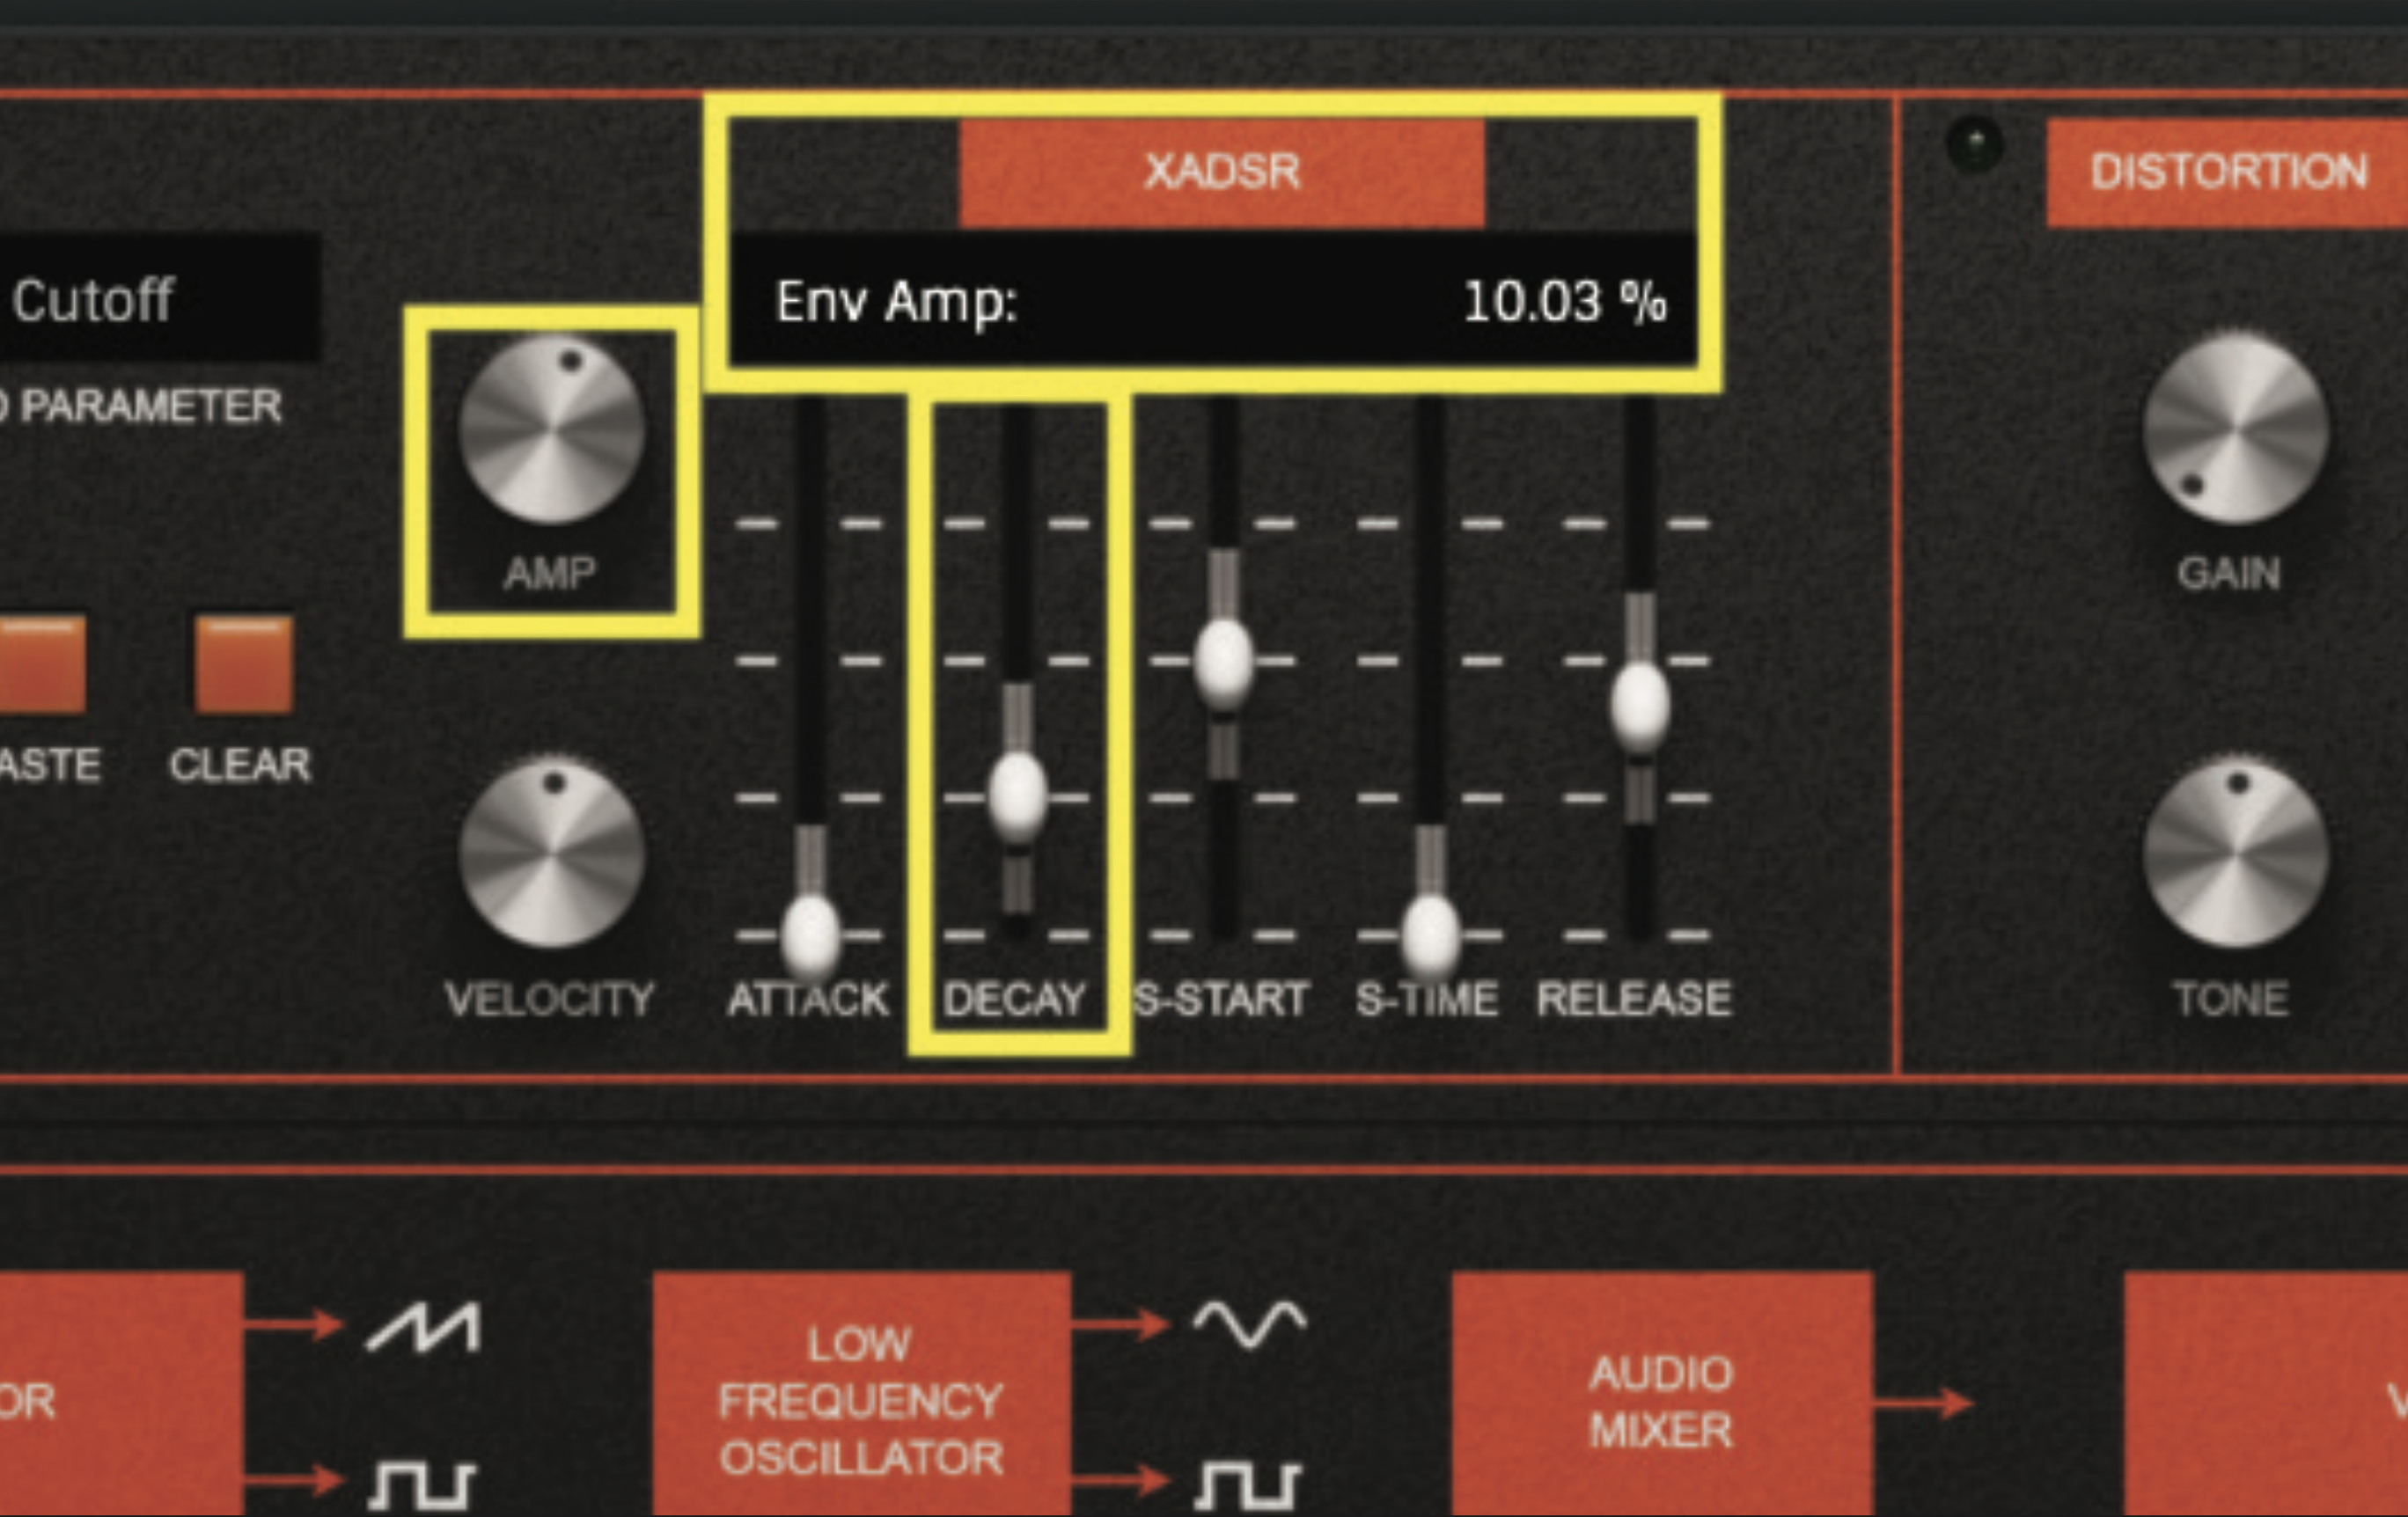
Locate the XADSR section, at the top of the plugin window. You’ll also see that the established routing to the VCF cutoff is displayed above the faders. We only need to adjust the decay fader, to a value of approximately 0.032S. We also need to pick an amount, which we do via the amp pot; set this pot to a value of approximately 10%.
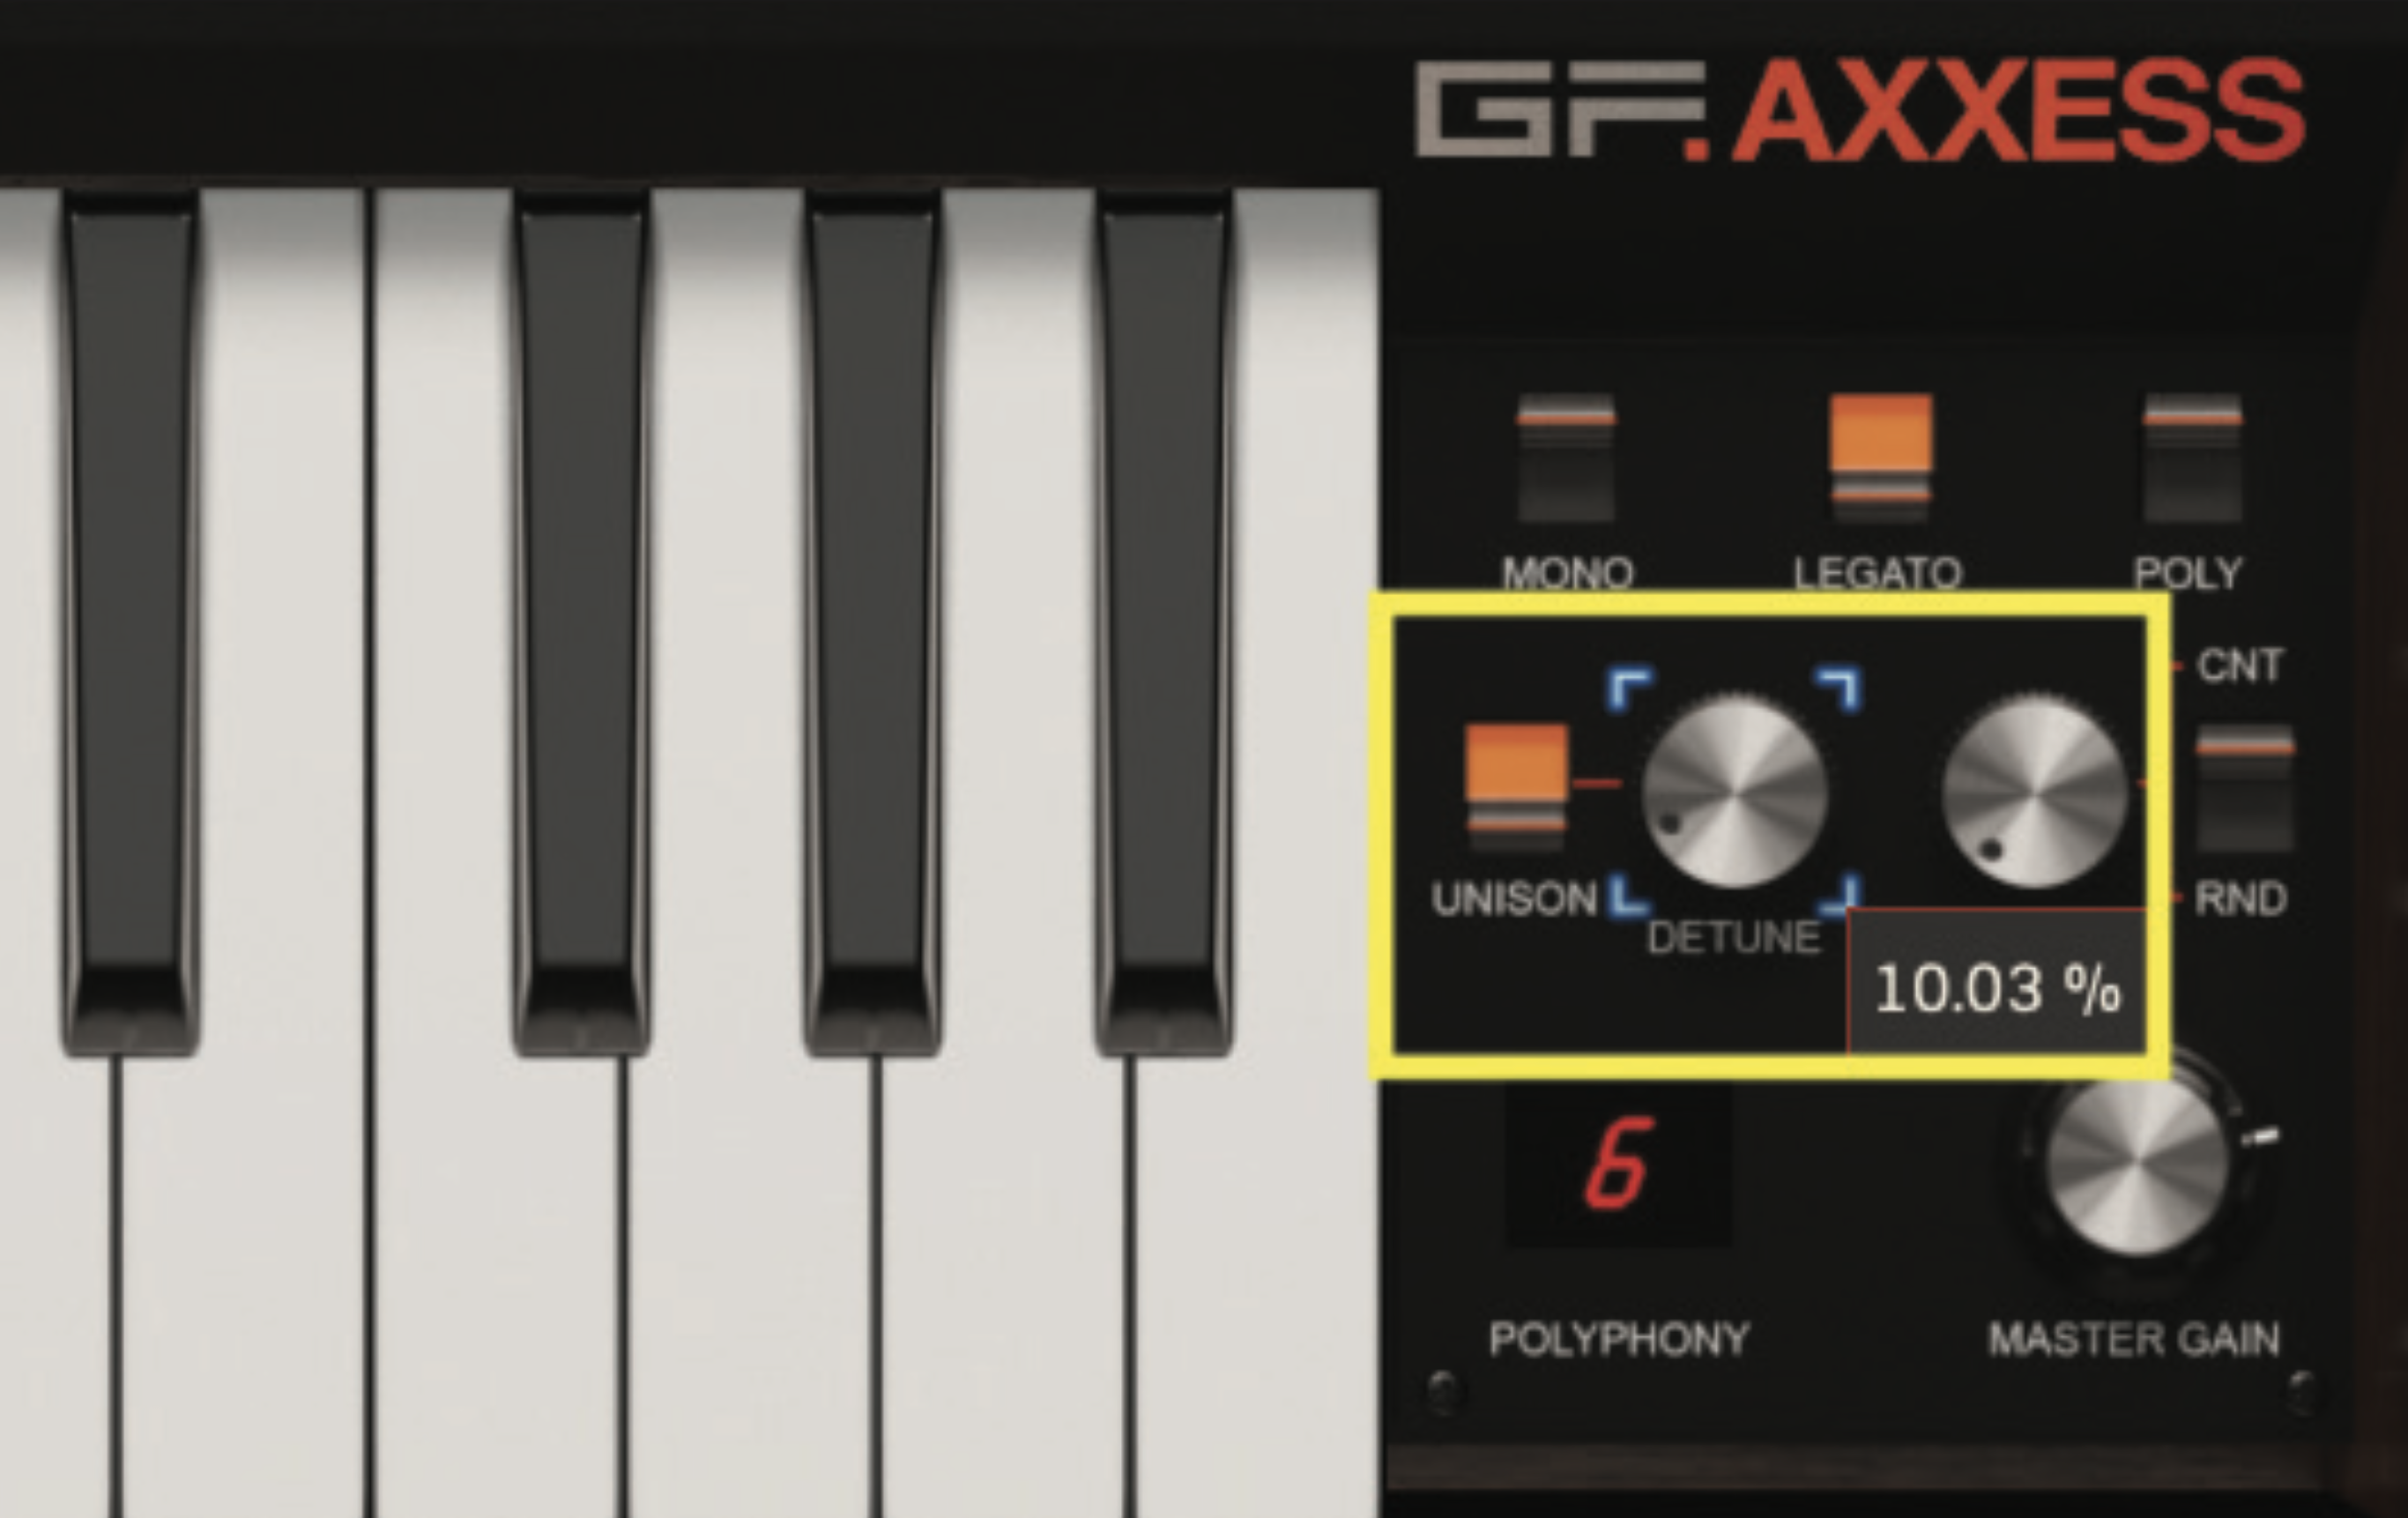
As the Axxess is only equipped with a single oscillator, we need to engineer multiple waves to mimic the effect of oscillator sync. We can do this by employing the unison feature, located on the bottom right hand side of the plugin. Activate the unison button and set the detune amount to 10%.
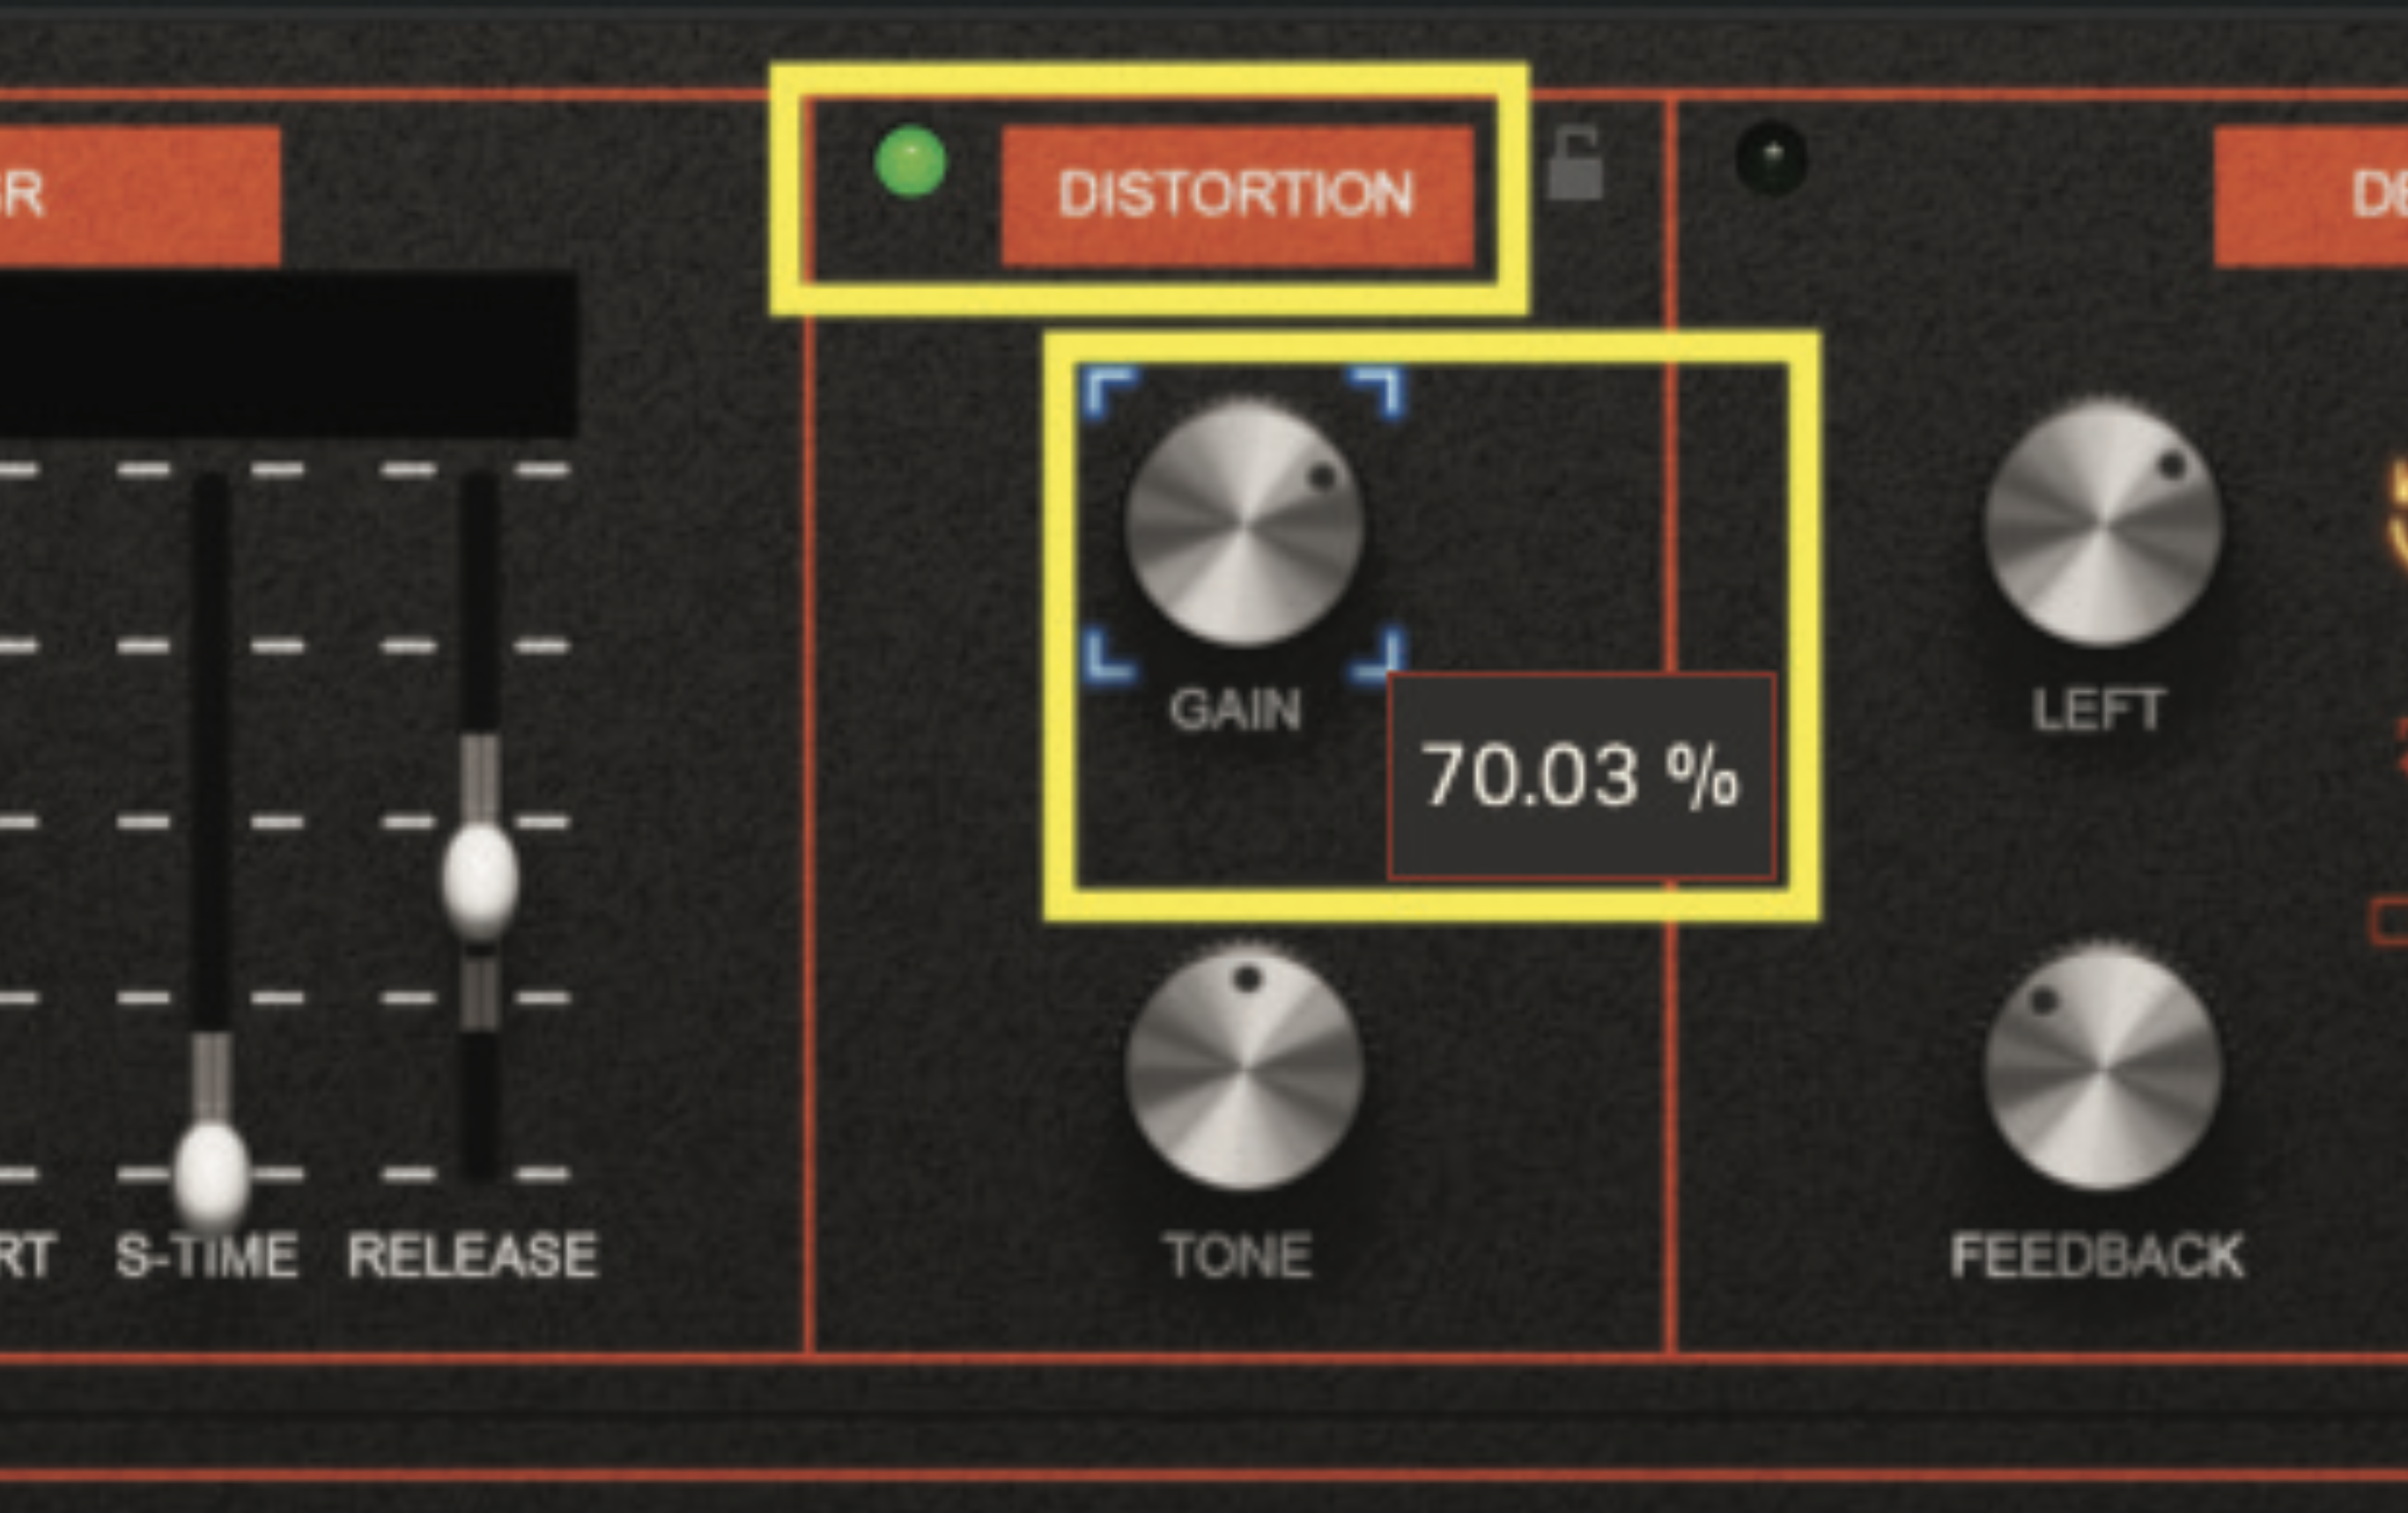
All of our synthesis elements are now in place, but we’ll use the Axxess onboard effects to highlight our patch even further. Start by locating the distortion section, at the top of the plugin window; click the dark dot, which turns in to a green light and activates the effect. Then increase the gain pot to approximately 70%.
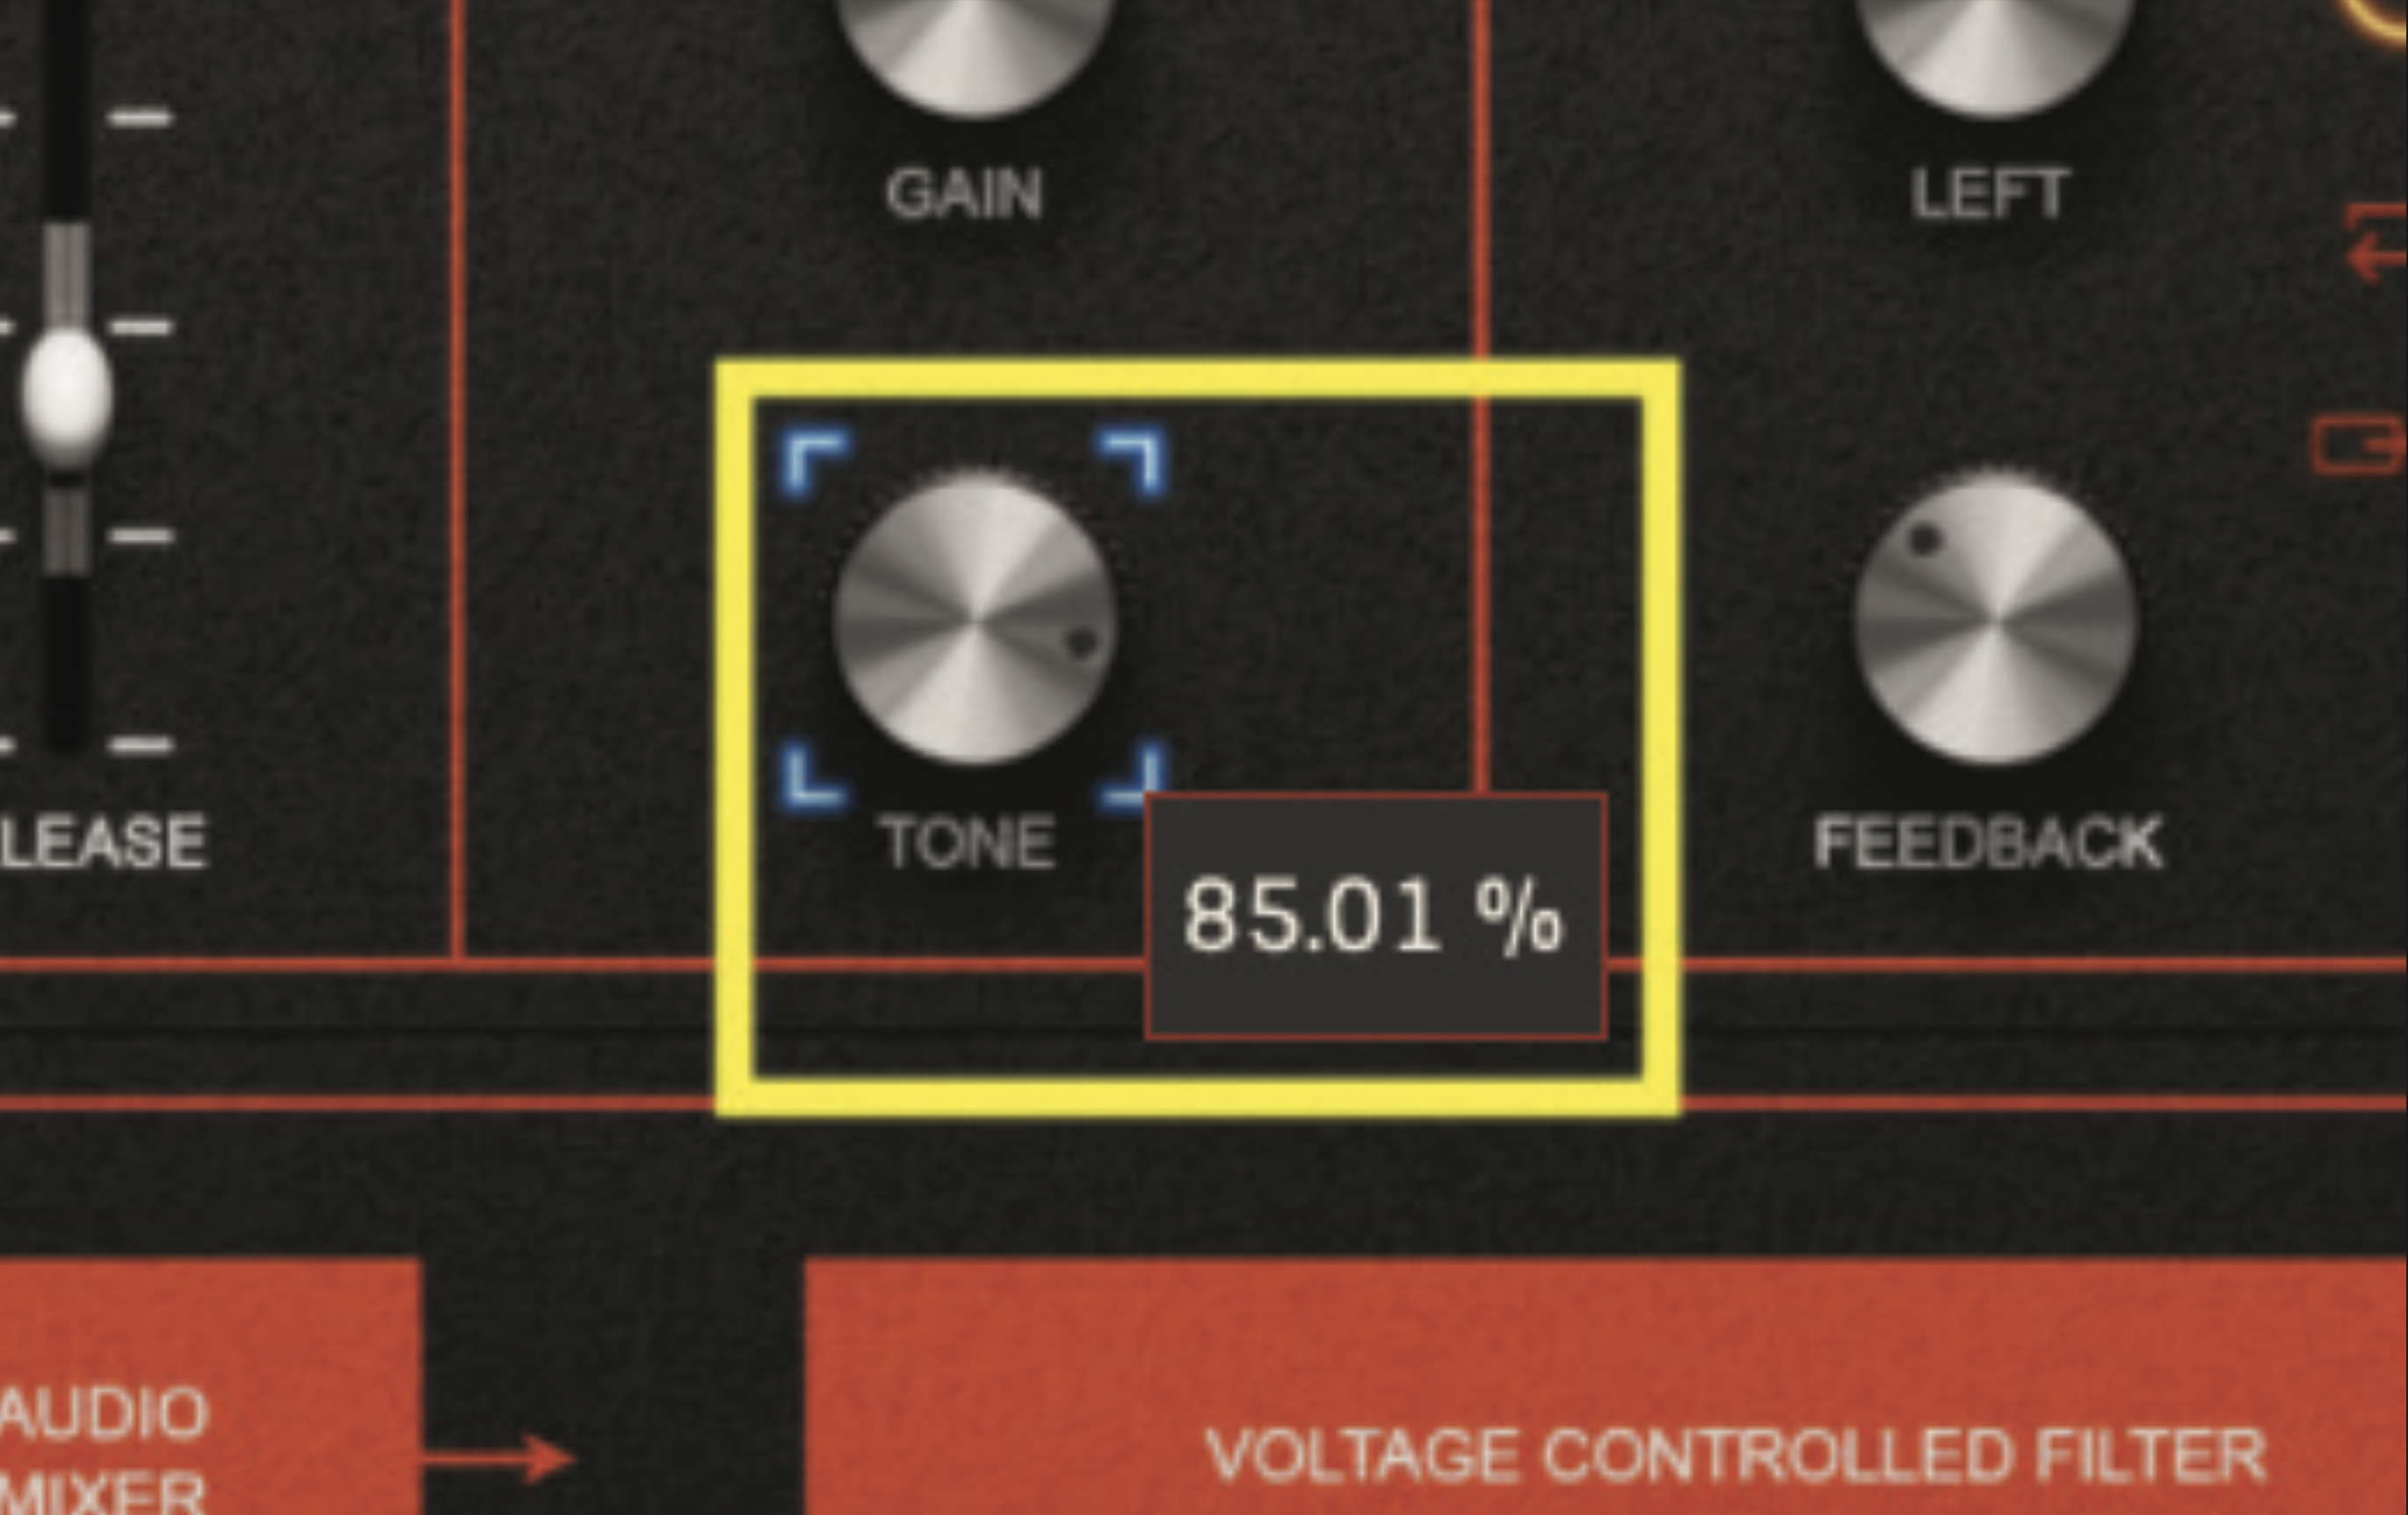
The distortion tone control lets us dictate the degree of light and dark in our saturation colour. Experiment with this, but we think exaggerating the brightness is the perfect ideal, so try a value of approximately 85% as a starting point. You may wish to decrease this for a darker sound, to fit in with your particular production style.
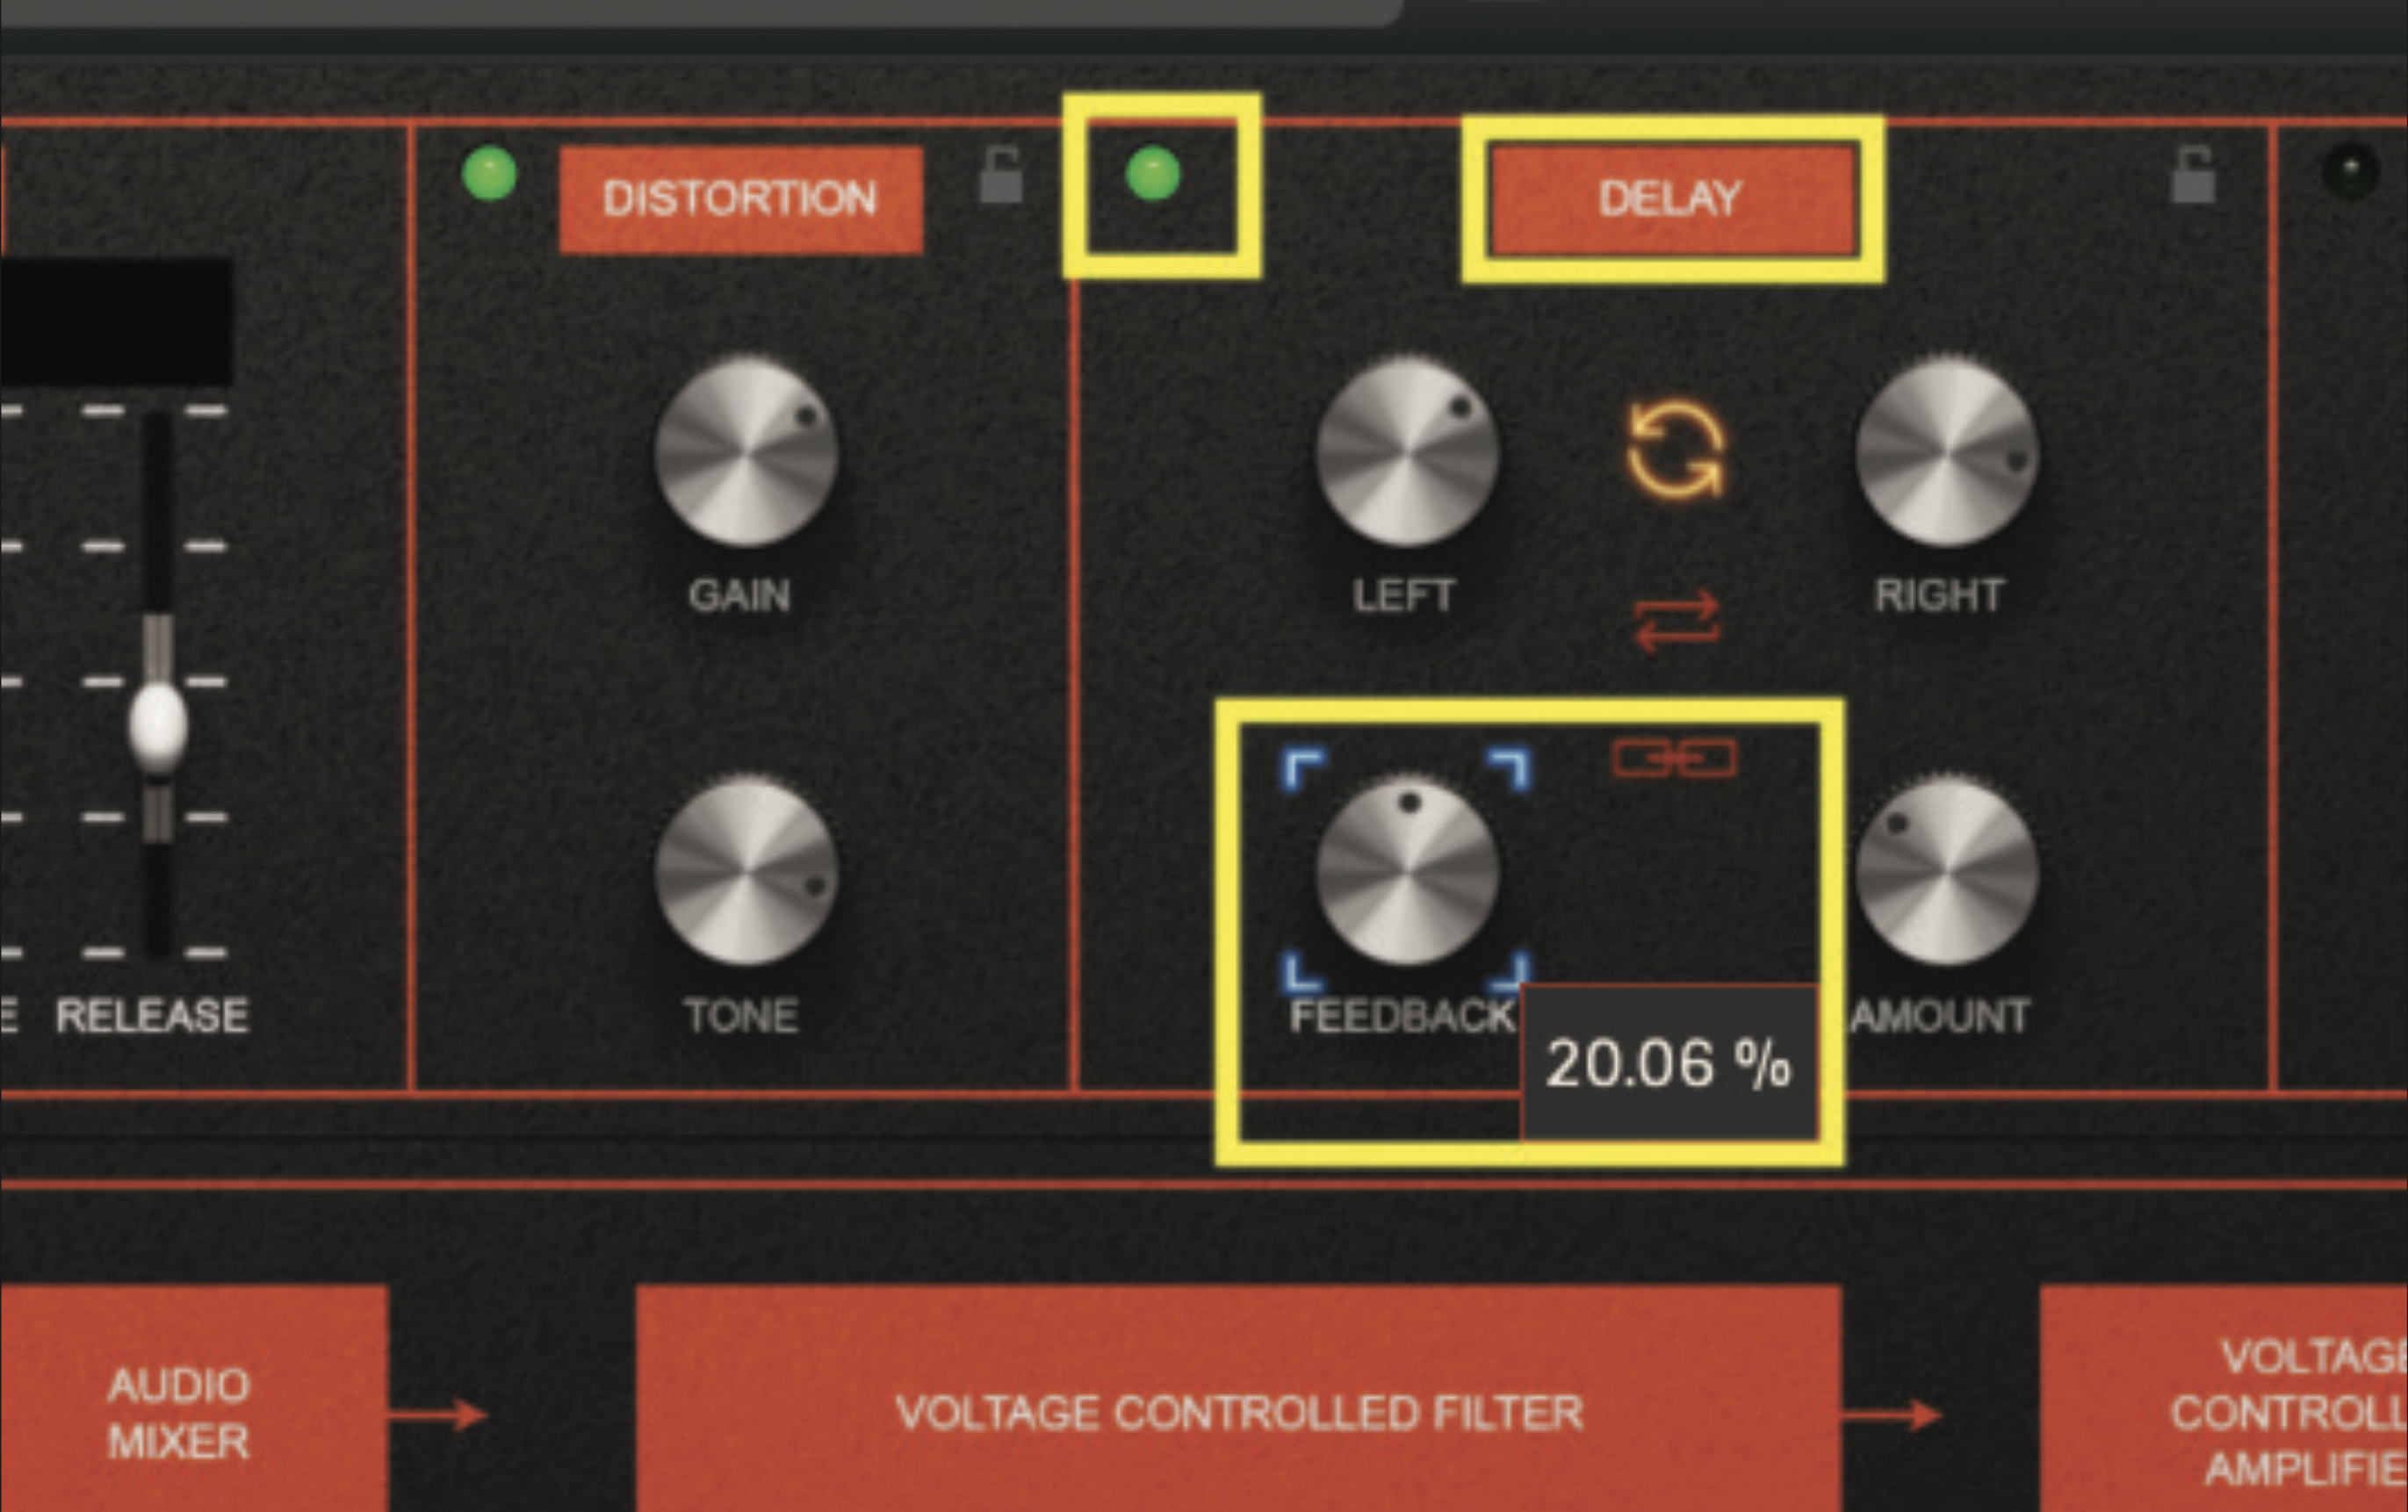
Right next door to the distortion section, you’ll see the delay section. Activate the delay by clicking on the green light, then adjust the feedback pot to a value of approximately 20%. Feedback will increase the length of the delay tail, so you may also want to experiment with this value.
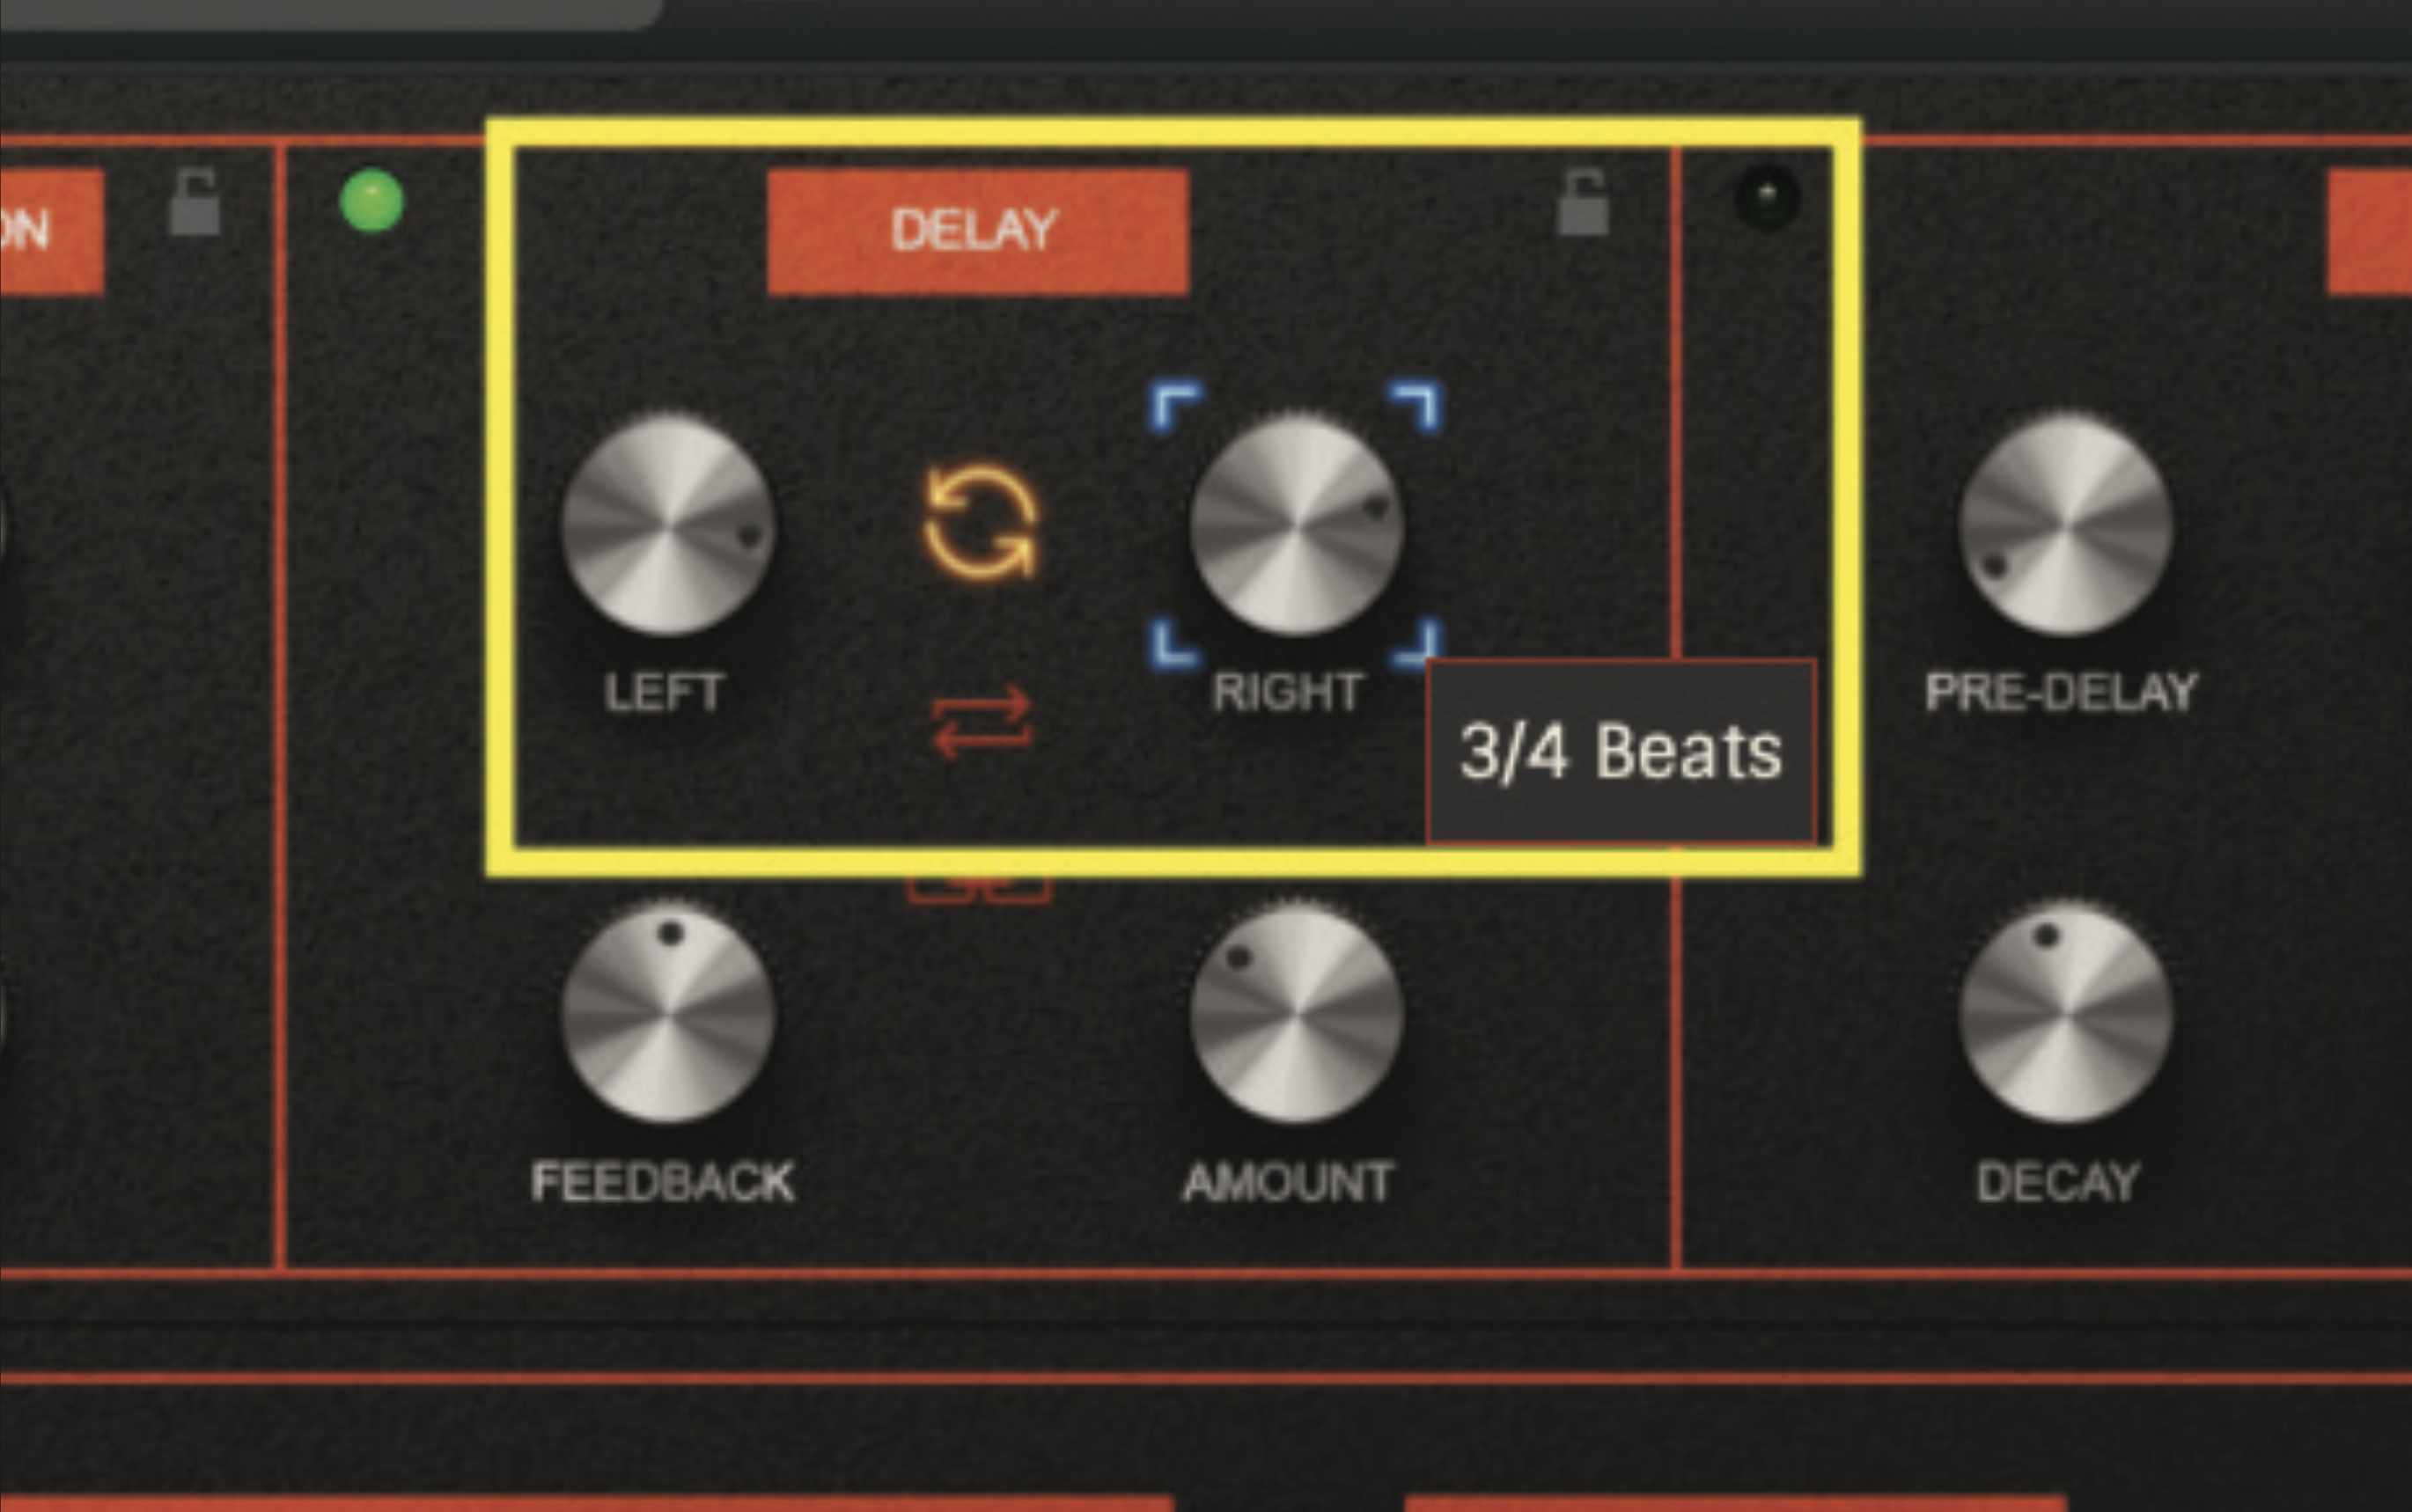
Keeping within the delay section, the left and right pots will dictate the delay’s timing. By default, these timings should be sync’d to your DAW. As a starting point, try setting the left pot to a value of ‘1 Beats’ and the right pot to a value of ‘3/4 Beats’. This should result in a nice stereo delay effect.
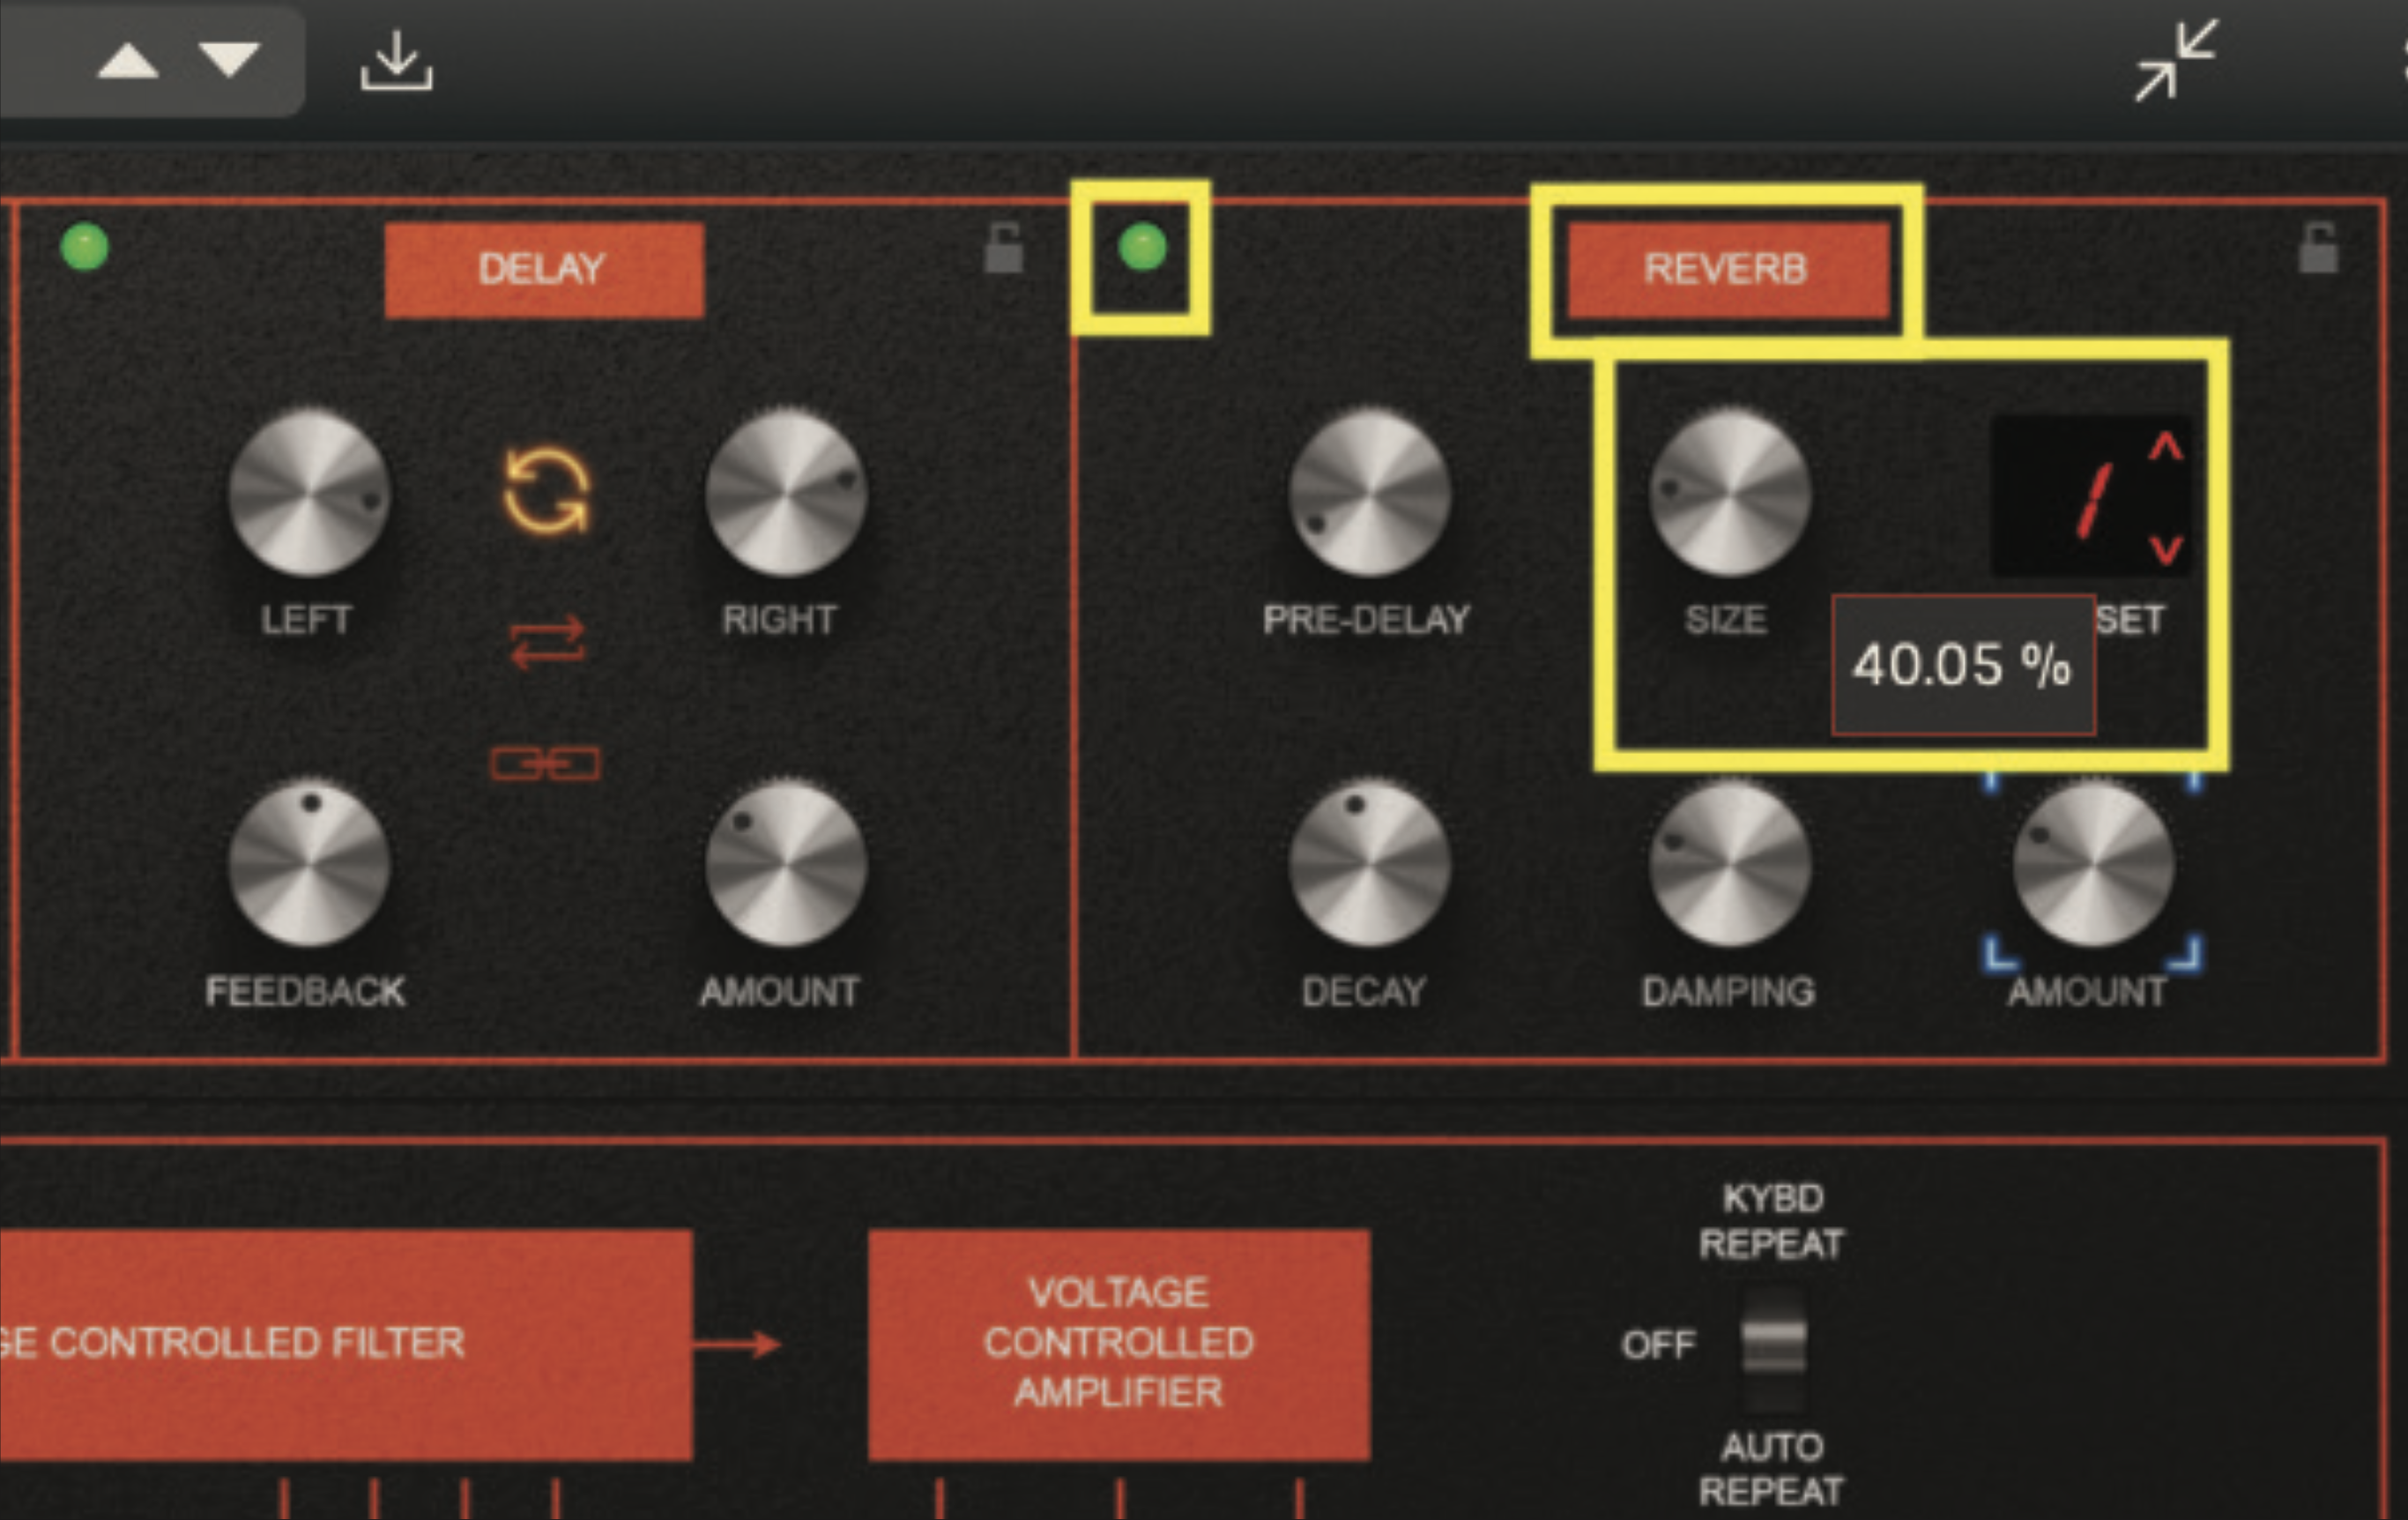
Finally, we can add some onboard reverb; switch on the reverb section by clicking the green light, and experiment with different reverb settings. As a start, we quite like preset 1, with the size pot set to 40%. You may also want to apply some compression within your DAW, as this will help keep this lead patch under dynamic control.
Pro tip: Perfomance LFO
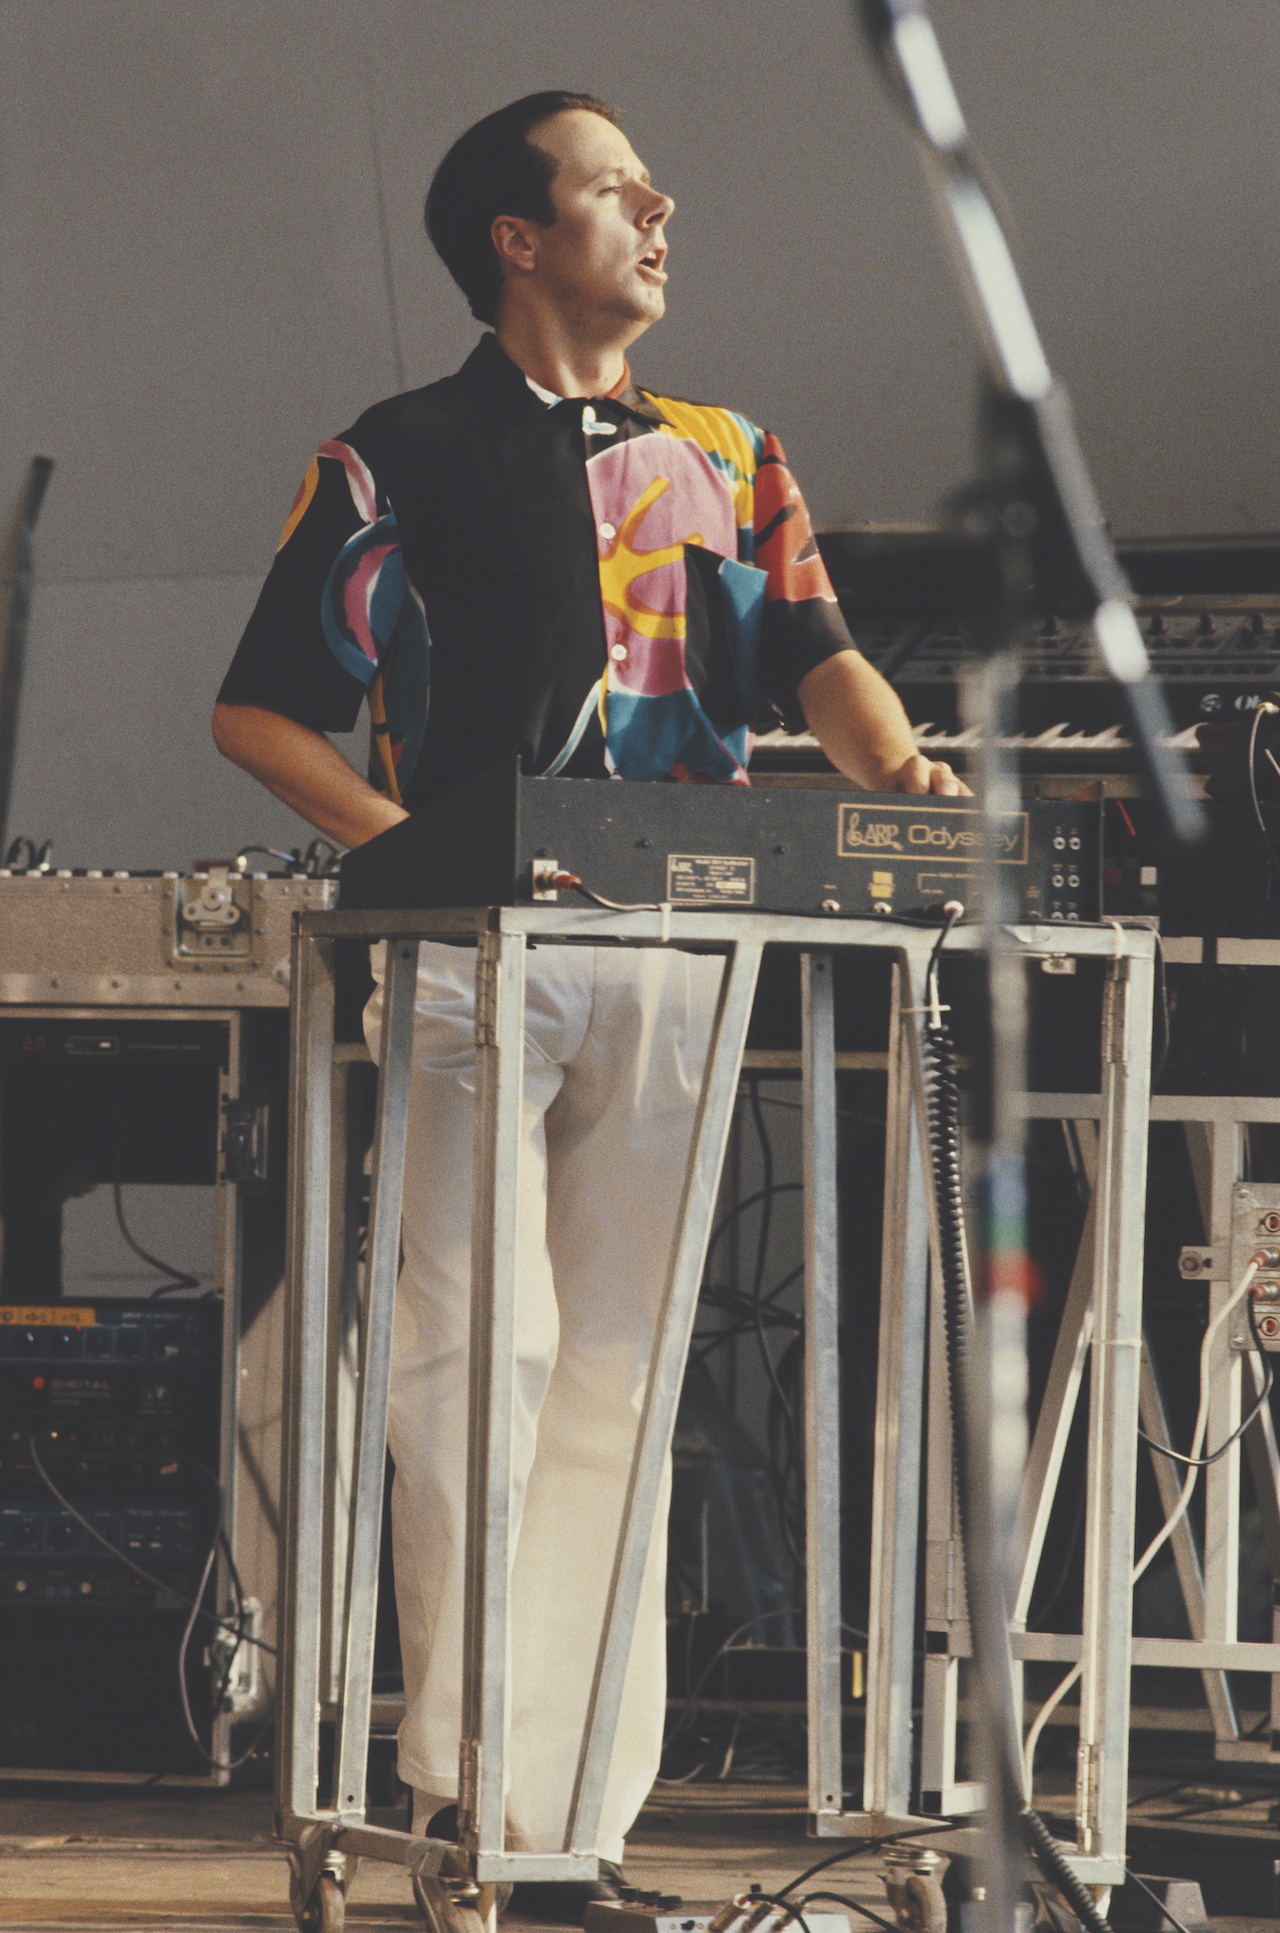
We cannot talk about Billy Currie without touching on how he’d play many of his soloistic lines, particularly with ARP synthesisers. One artistic trait, that very much became part of his sound, was the use of LFO and vibrato while soloing. Unlike many other examples of synth solo, which you may hear in prog-rock or jazz fusion, the vibrato created via the use of LFO seemed to creep in, in a slightly unnatural way, in part due to the physical make up of the ARP hardware at that time.
Unlike Moog synths, which used a combo of pitch and modulation wheel, or Roland synthesisers that used a combined joystick, ARP synthesisers employed a couple of different formats of performance and modulation control that altered over the years. None of these designs have endeared themselves particularly well.
The cumbersome nature of these controls, which concluded with the design of three rubberised pads (described as Proportional Performance Control) translated to a vibrato which was slightly unwieldy, lacking degrees of subtlety that we might have expected. Bizarrely, this became very much a part of Billy Currie’s sound, and an identifiable trait of ARP synthesisers.


