Discovering new ways to achieve the same result, with the aim of speeding up your workflow, is always helpful, whether you’re experimenting with the best 3D modelling software or pushing the limits of the best laptops for 3D modelling. Our sister magazine, ImagineFX, spoke to Erik R. Ramalho about his technique for lighting a 3D sculpt in a fast, effective way.
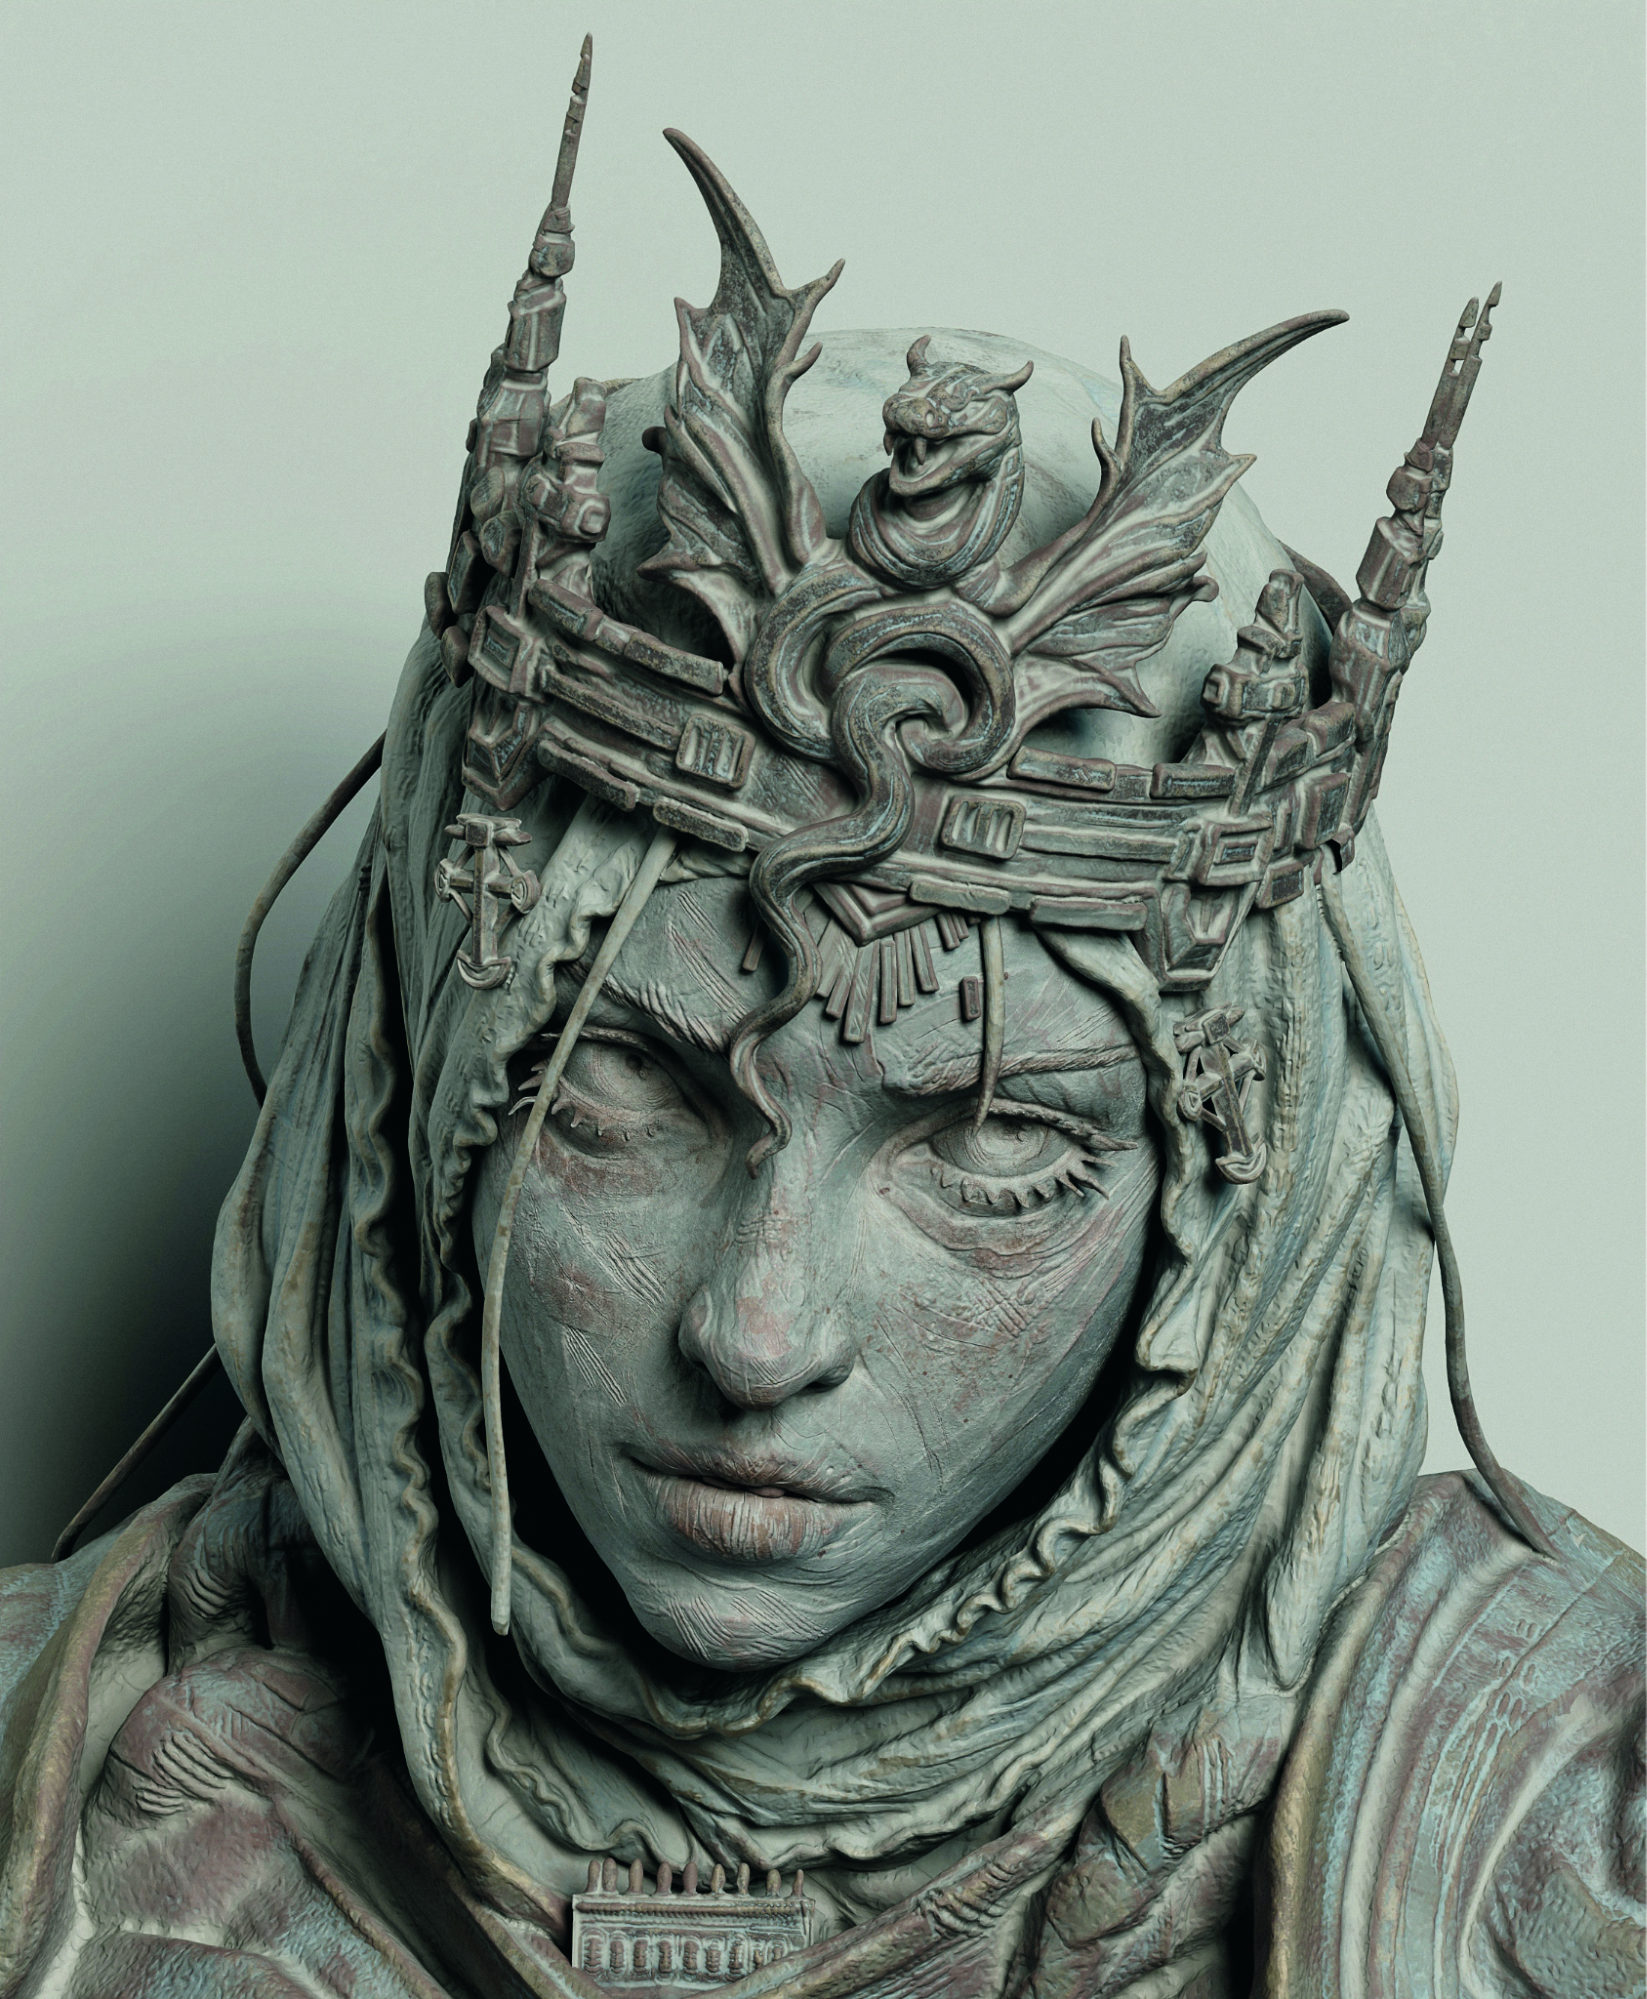
“This artwork began as a series of assignments in Glauco Longhi’s class, in which I completed a few each week. It’s inspired by a concept from Ruan Jia. I aimed for a rough sculpture feel that’s different from my previous, clean production work.
"One of my main goals was to make each piece presentable quickly. Lighting can slow you down when working in 3D, so I kept it simple using an HDRI texture called Studio Tomoco. If you get tangled in a complicated lighting setup that does not work, try that. It is a fast, effective solution – just don’t get too comfortable!”
Read Erik R. Ramalho advice below, and visit his ArtStation page for inspiration.
1. Blocking and sculpting the base form
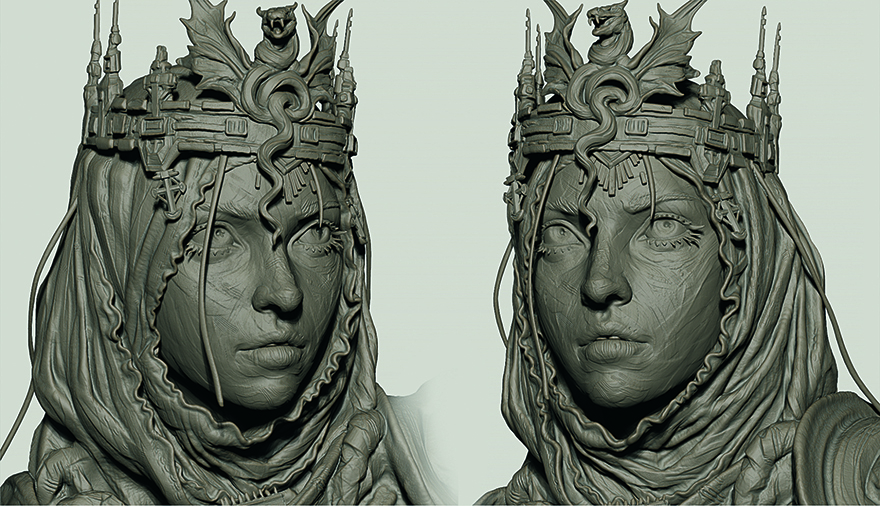
First, I start with a Dynamesh in ZBrush to establish the basic form. I like using the Clay Buildup brush with a Lazy step of 0.01 for cleaner strokes. Once the main shapes are set and unlikely to change drastically, I ZRemesh for secondary and tertiary passes. Along the way, I also experimented with Noise and Cavity masks for additional detail.
2. Decimation, UVs and texturing

After that, I decimate the model to create a low-poly version, then generate automatic UVs in Rizom. Now I have both a high-poly and low-poly mesh, ready for baking in Substance and starting the texturing process. While texturing, I focused on maintaining the rough-sculpture feel and experimented with combining cold and warm tones, using mostly cold tones in the cavities.
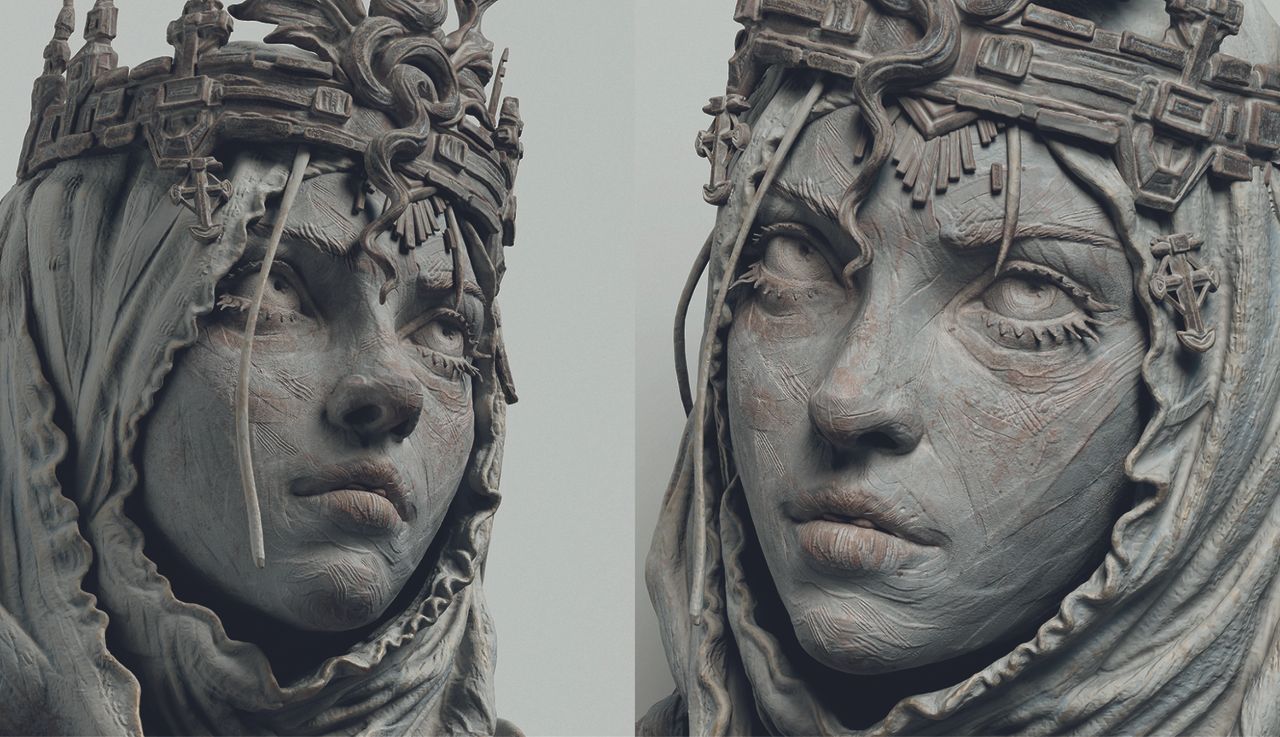
3. Lighting and final rendering
Once the textures are complete, I export the maps to Maya and render in Arnold (read about the best rendering software). The setup is simple, using the Tomoco Studio HDRI as a skydome with no additional lights. I place a white wall in the background instead of adding it in post, helping the figure to integrate into the environment.