Python 3 is the latest version of the widely used, high-level programming language known for its versatility and readability. Installing Python 3 on your Windows computer is a straightforward process, enabling you to quickly begin coding and building projects in this powerful language.
In this guide, we will walk you through the process of installing Python 3 on Windows. Whether this is your first time installing Python or you just need a little refresher, we’ll have you up and running with Python 3 on Windows in no time.
How to install Python 3 on Windows
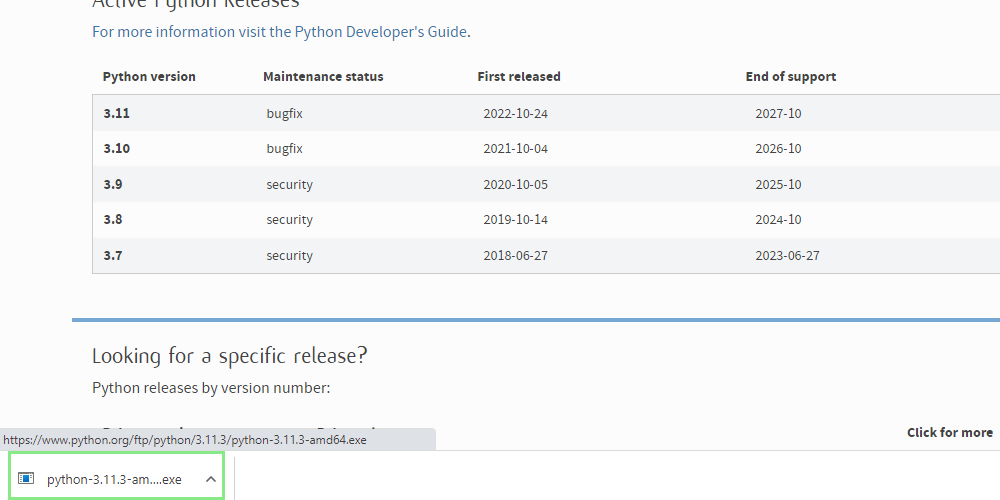
Step 1, Download the Python 3 installer: Visit the official Python website and click on the "Download Python" button for the latest Python 3 version. This will automatically download the installer for your Windows operating system.
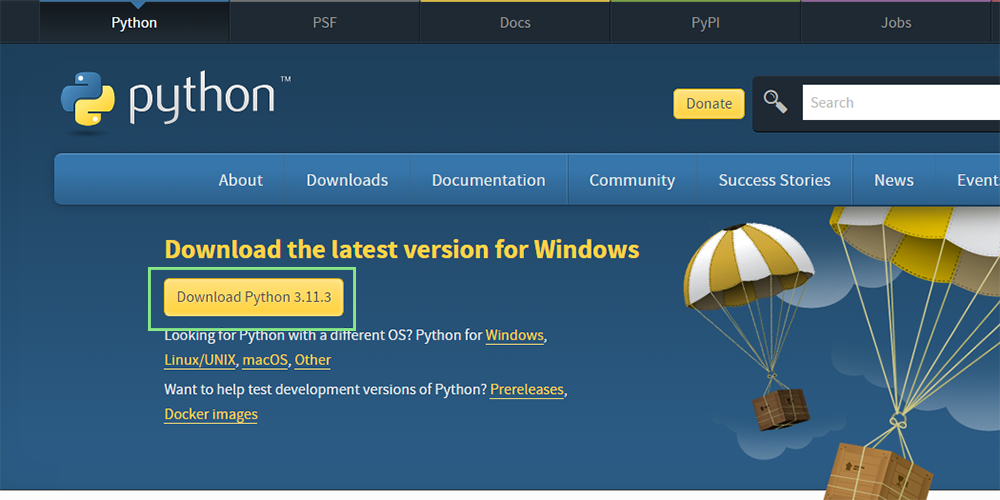
Step 2, Run the Python 3 installer: Locate the downloaded installer file (usually in your "Downloads" folder) and double-click it to run the installation process.
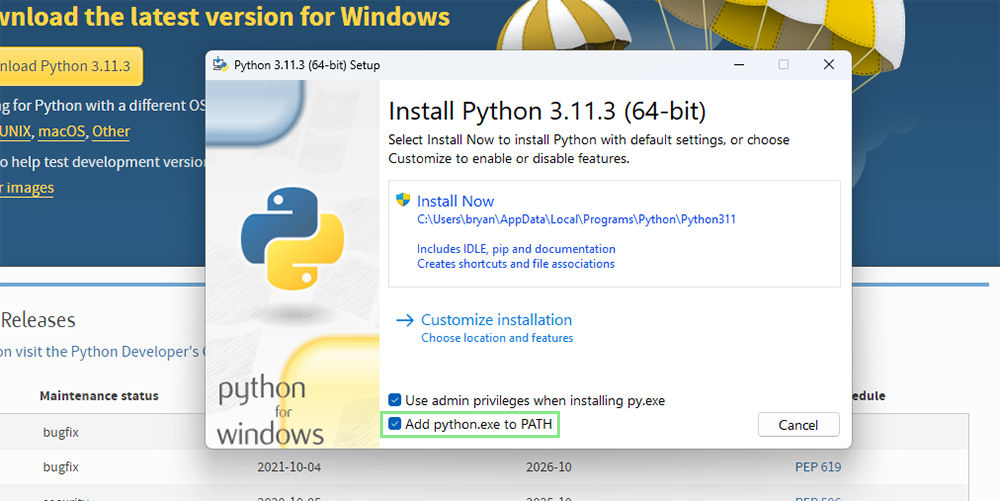
Step 3, Choose the installation options: In the installer window, you can select the installation options that suit your needs. We recommend checking the box next to "Add Python to PATH" to ensure that Python is accessible from anywhere in the command prompt. You can also choose to customize the installation by clicking on the "Customize installation" button.
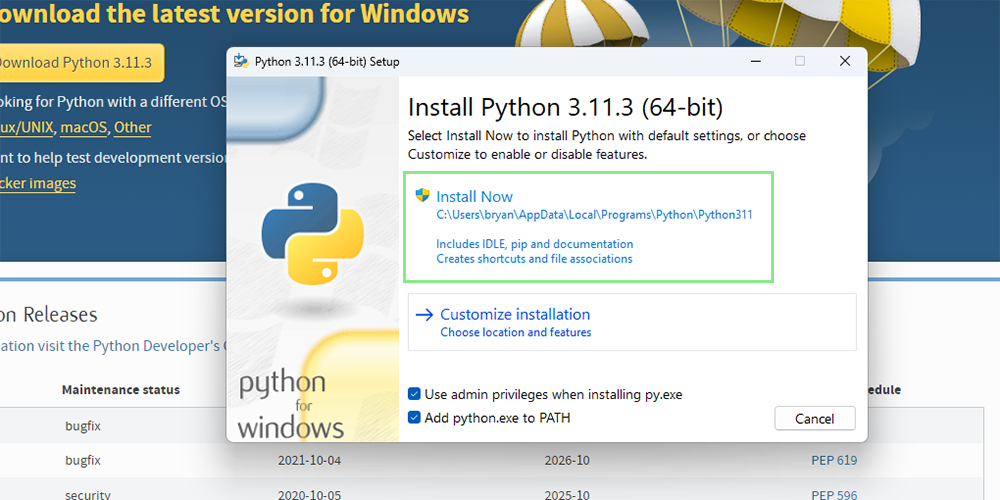
Step 4, Start the installation: Click on the "Install Now" button to start the installation process with the default settings or the settings you have customized.
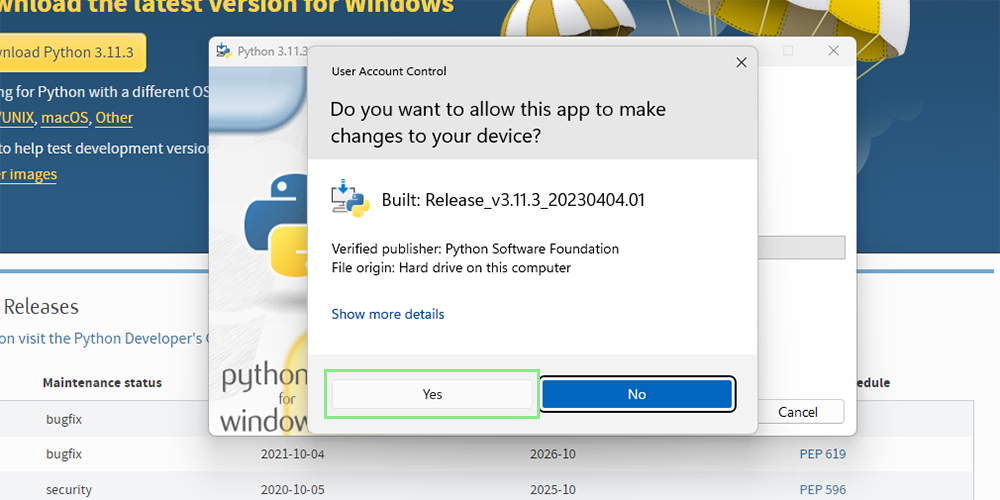
Step 5, Confirmation: Click “Yes” to allow the app to make changes to your device.
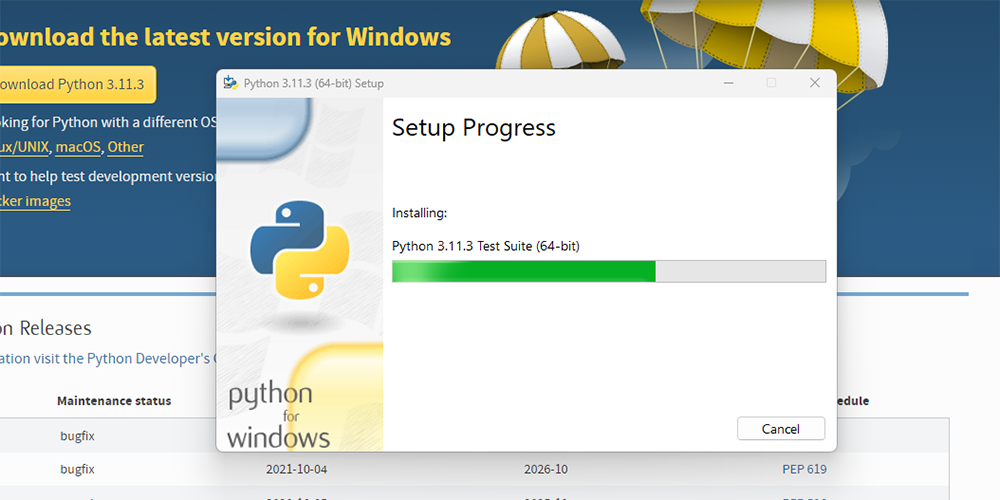
Step 6, Wait for the installation to complete: The installer will display the progress of the installation. This process may take a few minutes, depending on your computer's performance.
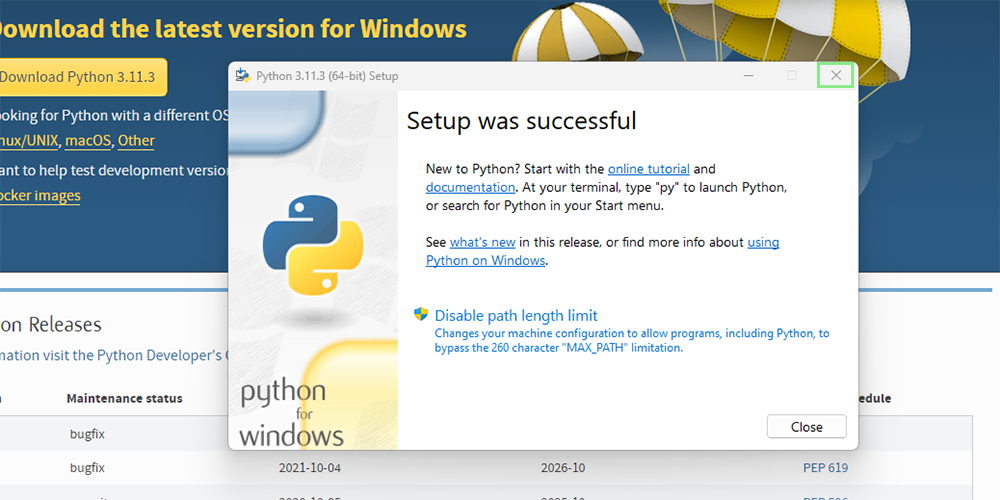
Step 7, Close the installer: Once the installation is complete, the installer will display a "Setup was successful" message. Click on the "Close" button to exit the installer.
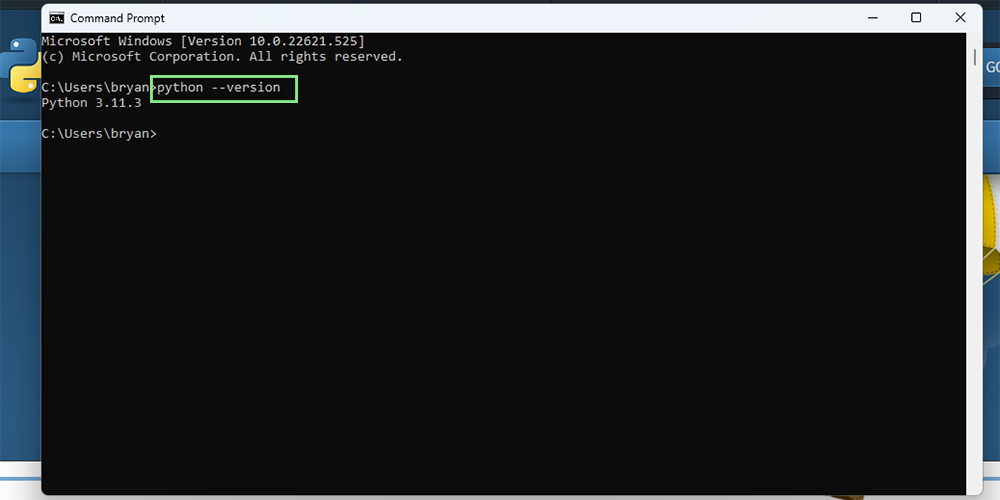
Step 8, Verify the installation: Open the command prompt by pressing the Windows key + R, typing "cmd" (without quotes), and pressing Enter. In the command prompt, type "python --version" (without quotes) and press Enter. This should display the installed Python version.
