
Ollama is a small but important jewel amidst all the hoo-ha currently circling the AI world. This open source software tool gives ordinary humans the power to run useful AI models on their home computer, eliminating the need for expensive cloud subscriptions, or computers the size of a small truck.
Privacy concerns also make Ollama significant. Not everyone is comfortable with their personal data being collected by AI, and some of us prefer to keep our interactions more personal and private.
If you're not familiar with the genesis of Ollama, the breakthrough moment came with the release of highly optimized yet powerful open source models like Meta's LLaMa. Suddenly, the world had a small yet powerful AI they could use locally on their computers — and which worked almost as well as the models from the major companies. Hallelujah!
These new models are small enough to install on a laptop, are free, and come with an enthusiastic community of developers who constantly create new tools to make them even more useful and accessible. One of the most successful tools is Ollama. As the name suggests, it was initially launched to support LLaMa but has since grown to support many more open source models.
Ollama runs on macOS, Linux, and Windows, and is very simple to install. Lets get started.
Step 1.
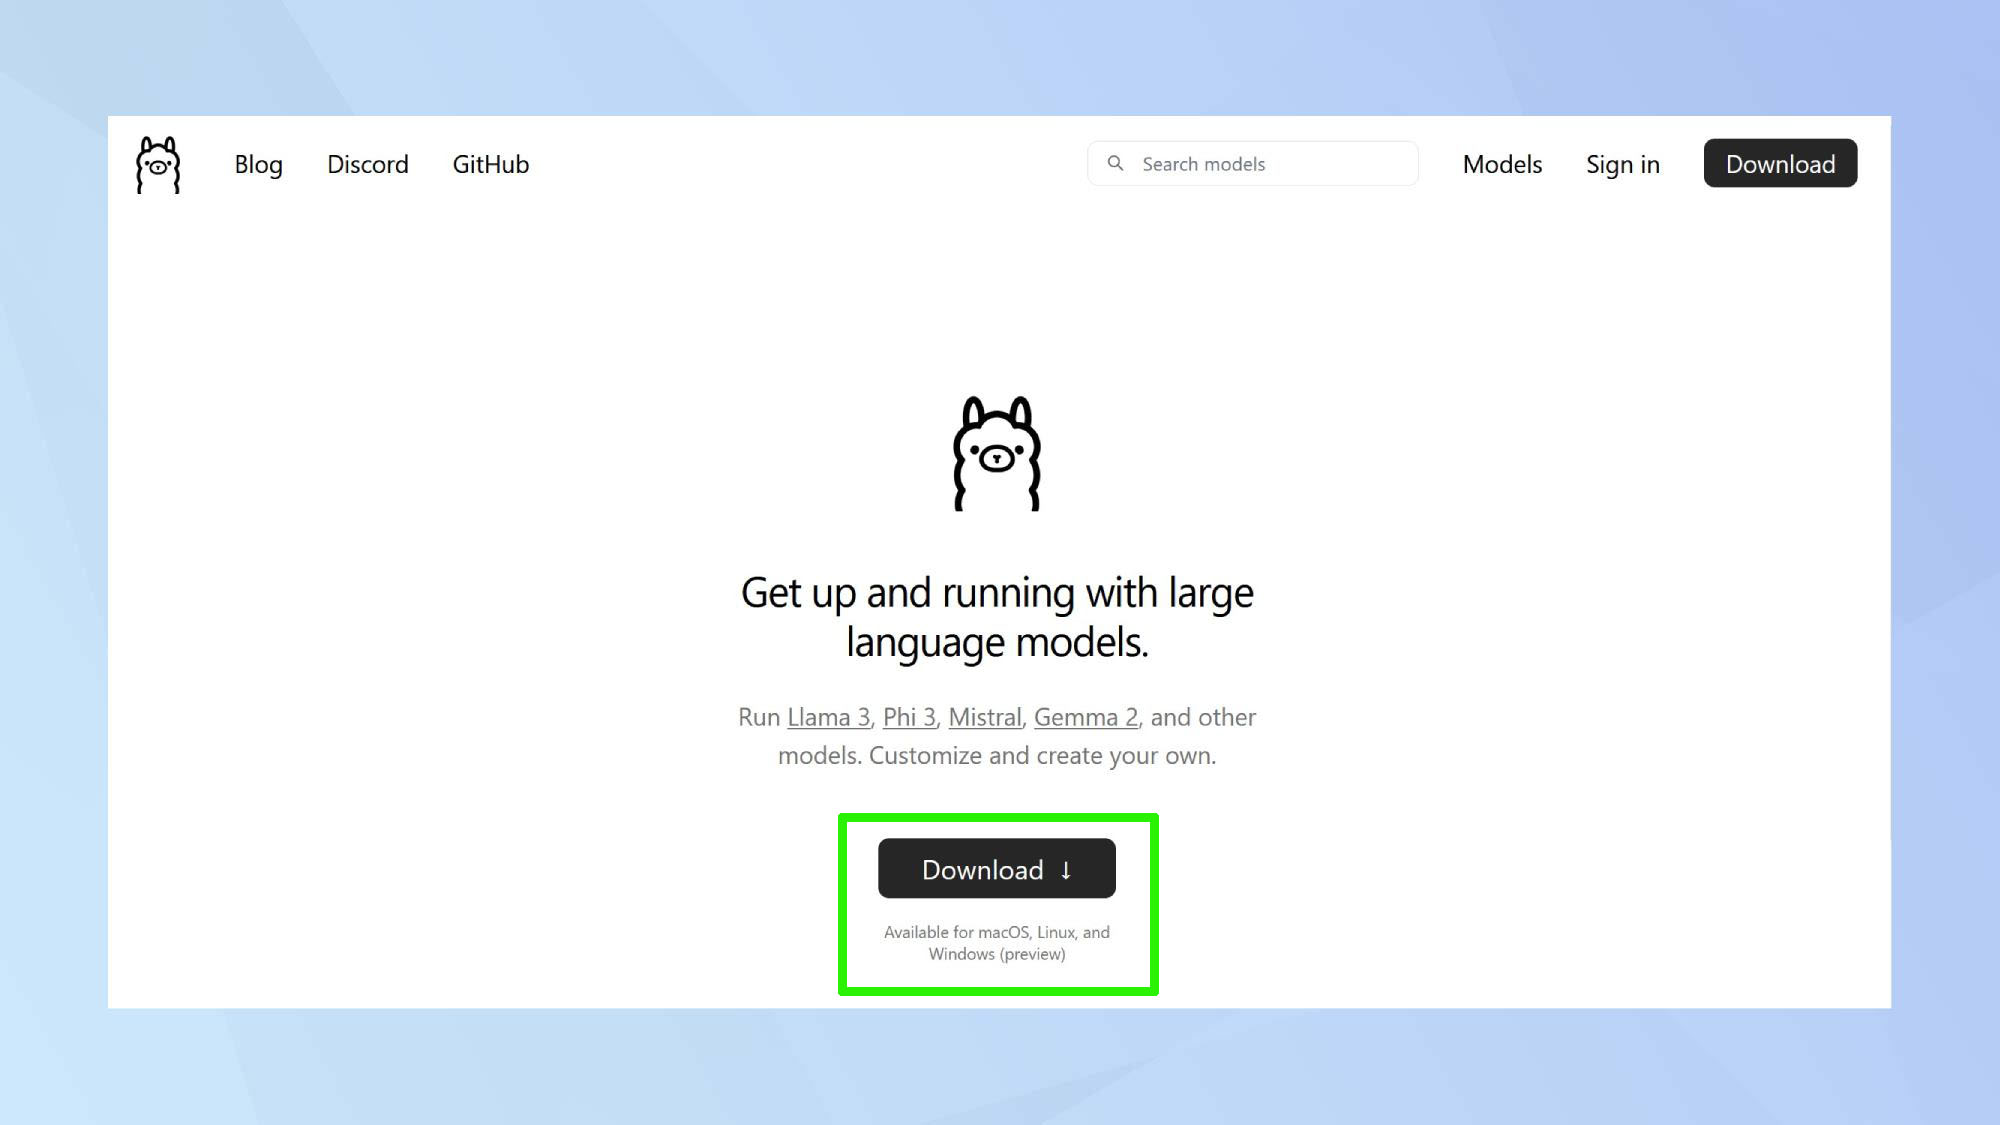
Head to the Ollama website, where you'll find a simple yet informative homepage with a big and friendly Download button.
Step 2.
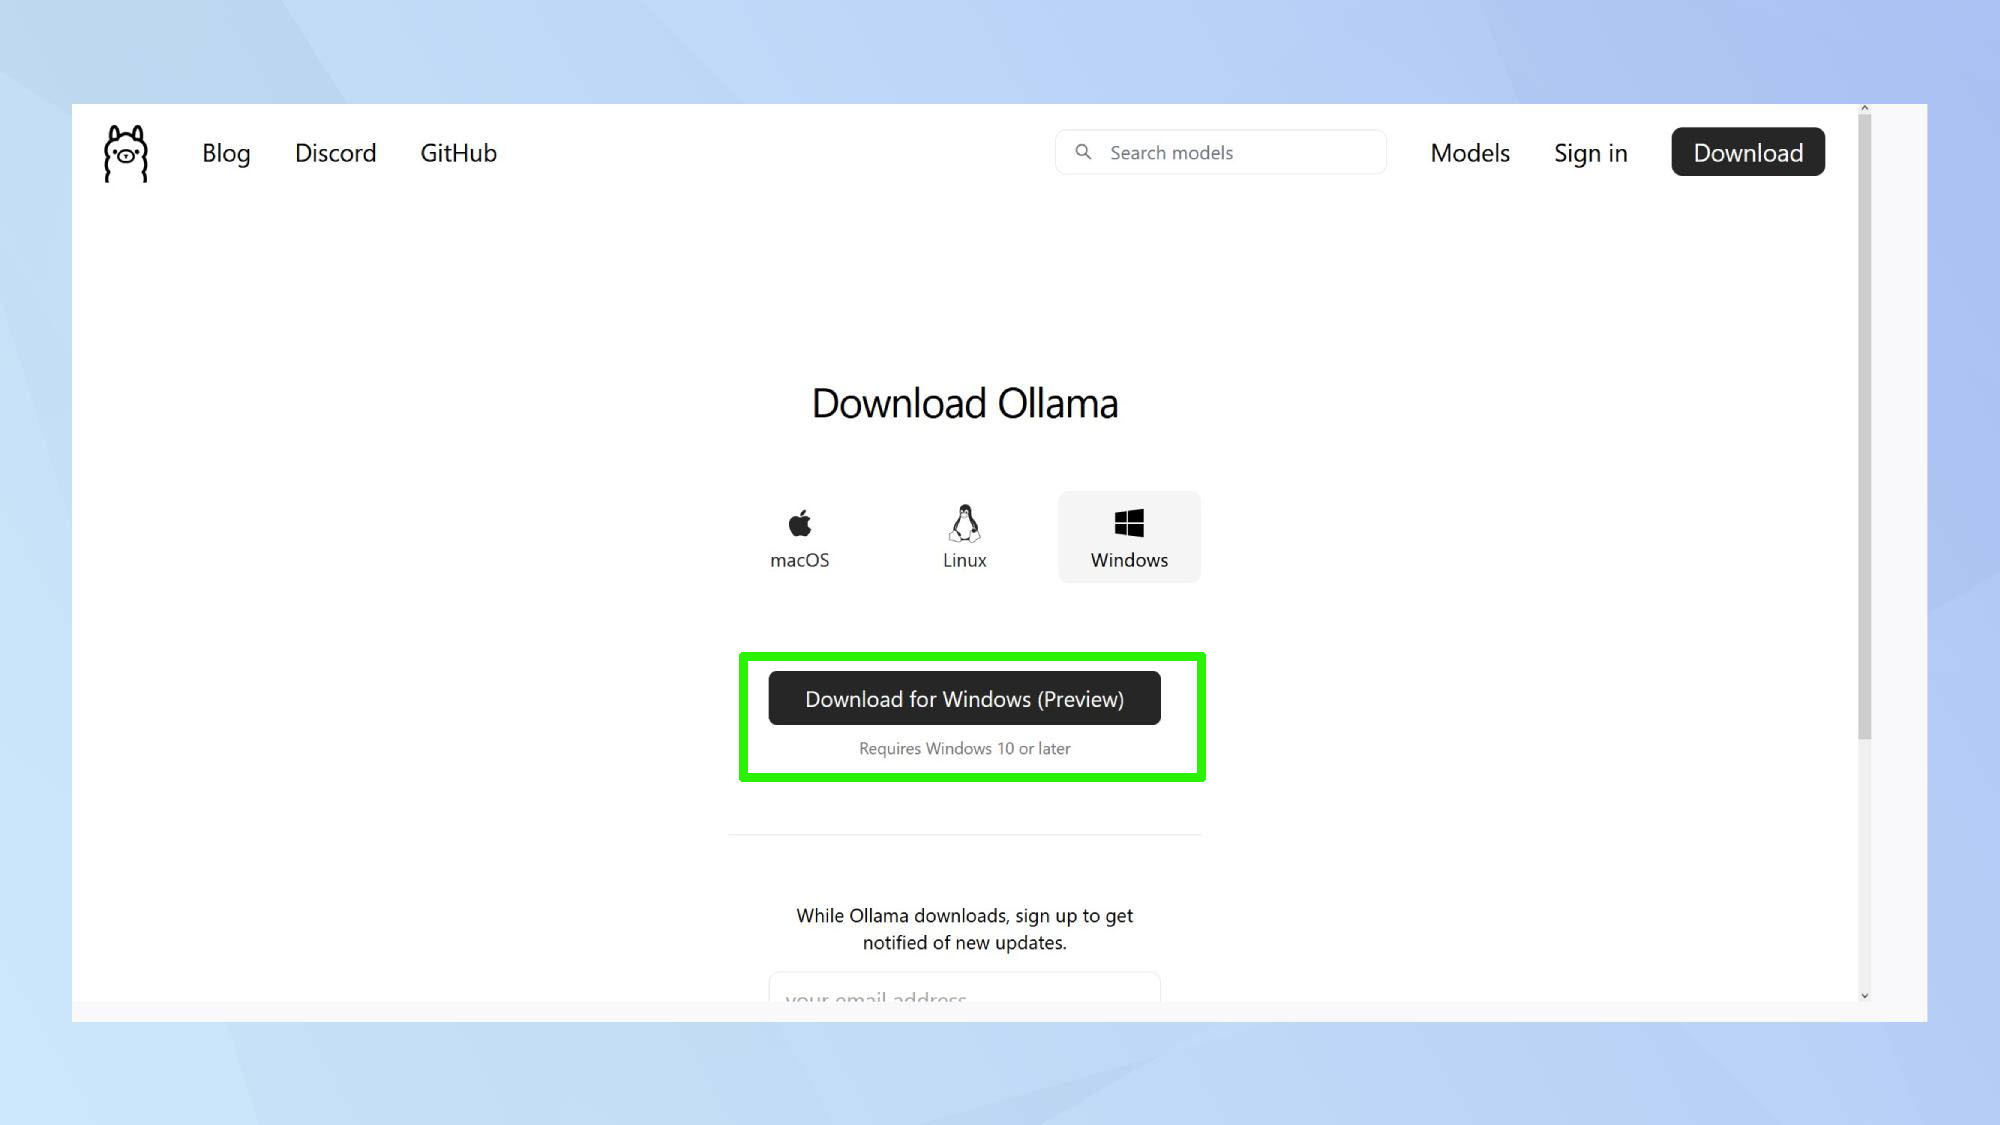
Click the Download button to choose your platform: Linux, Mac, or Windows. The Ollama setup file will be downloaded to your computer. For Mac and Windows, it will be in a .exe or .zip format; Linux users will need to run a curl command.
This is a good time to sign up for the newsletter or join the Discord community to stay updated with developments and access future support.
Clicking on the Models menu option at the top of the screen will display the wide range of open-source models you can use with Ollama. Selecting one will also show the command needed to install and run the new model. But more on that later.
Step 3.
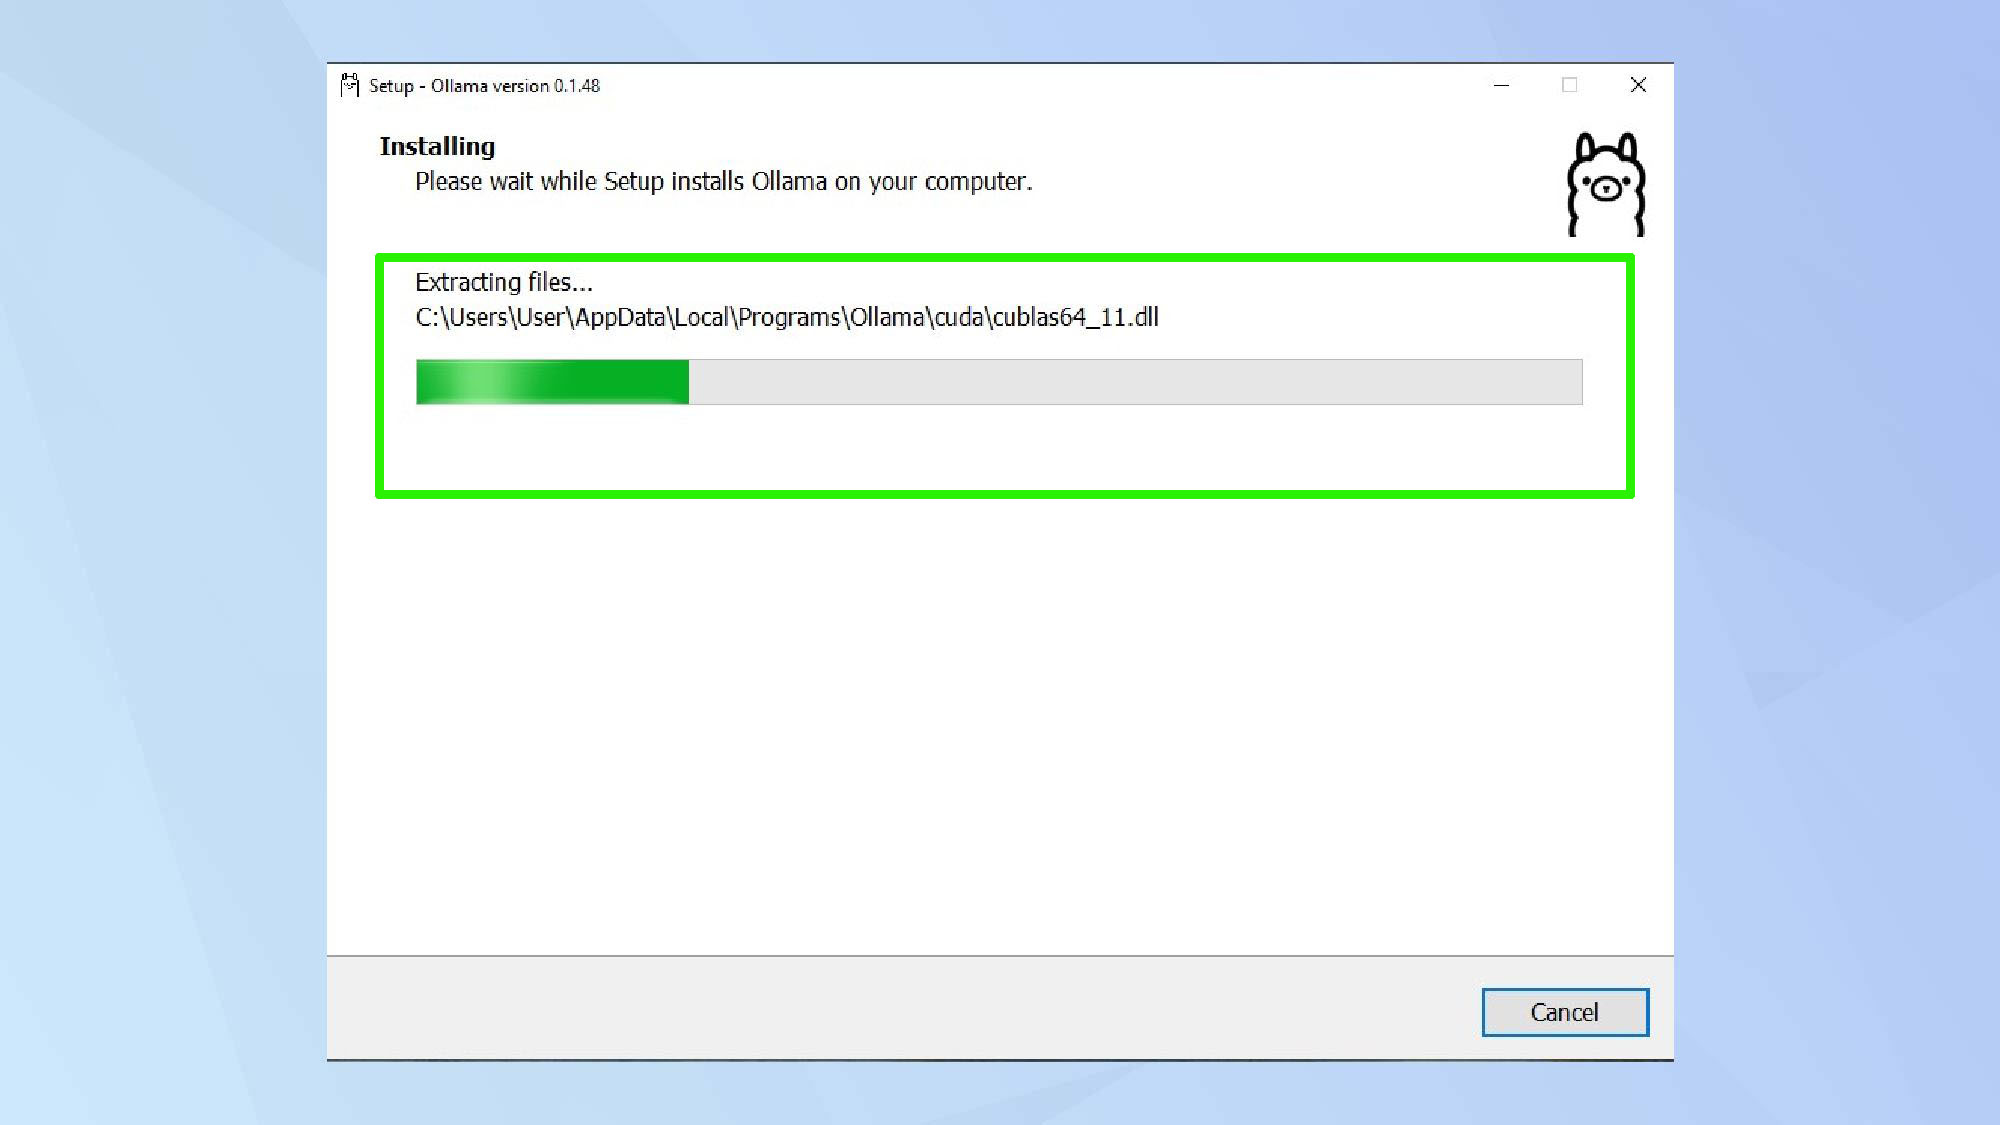
Now, run the installer.
Step 4.
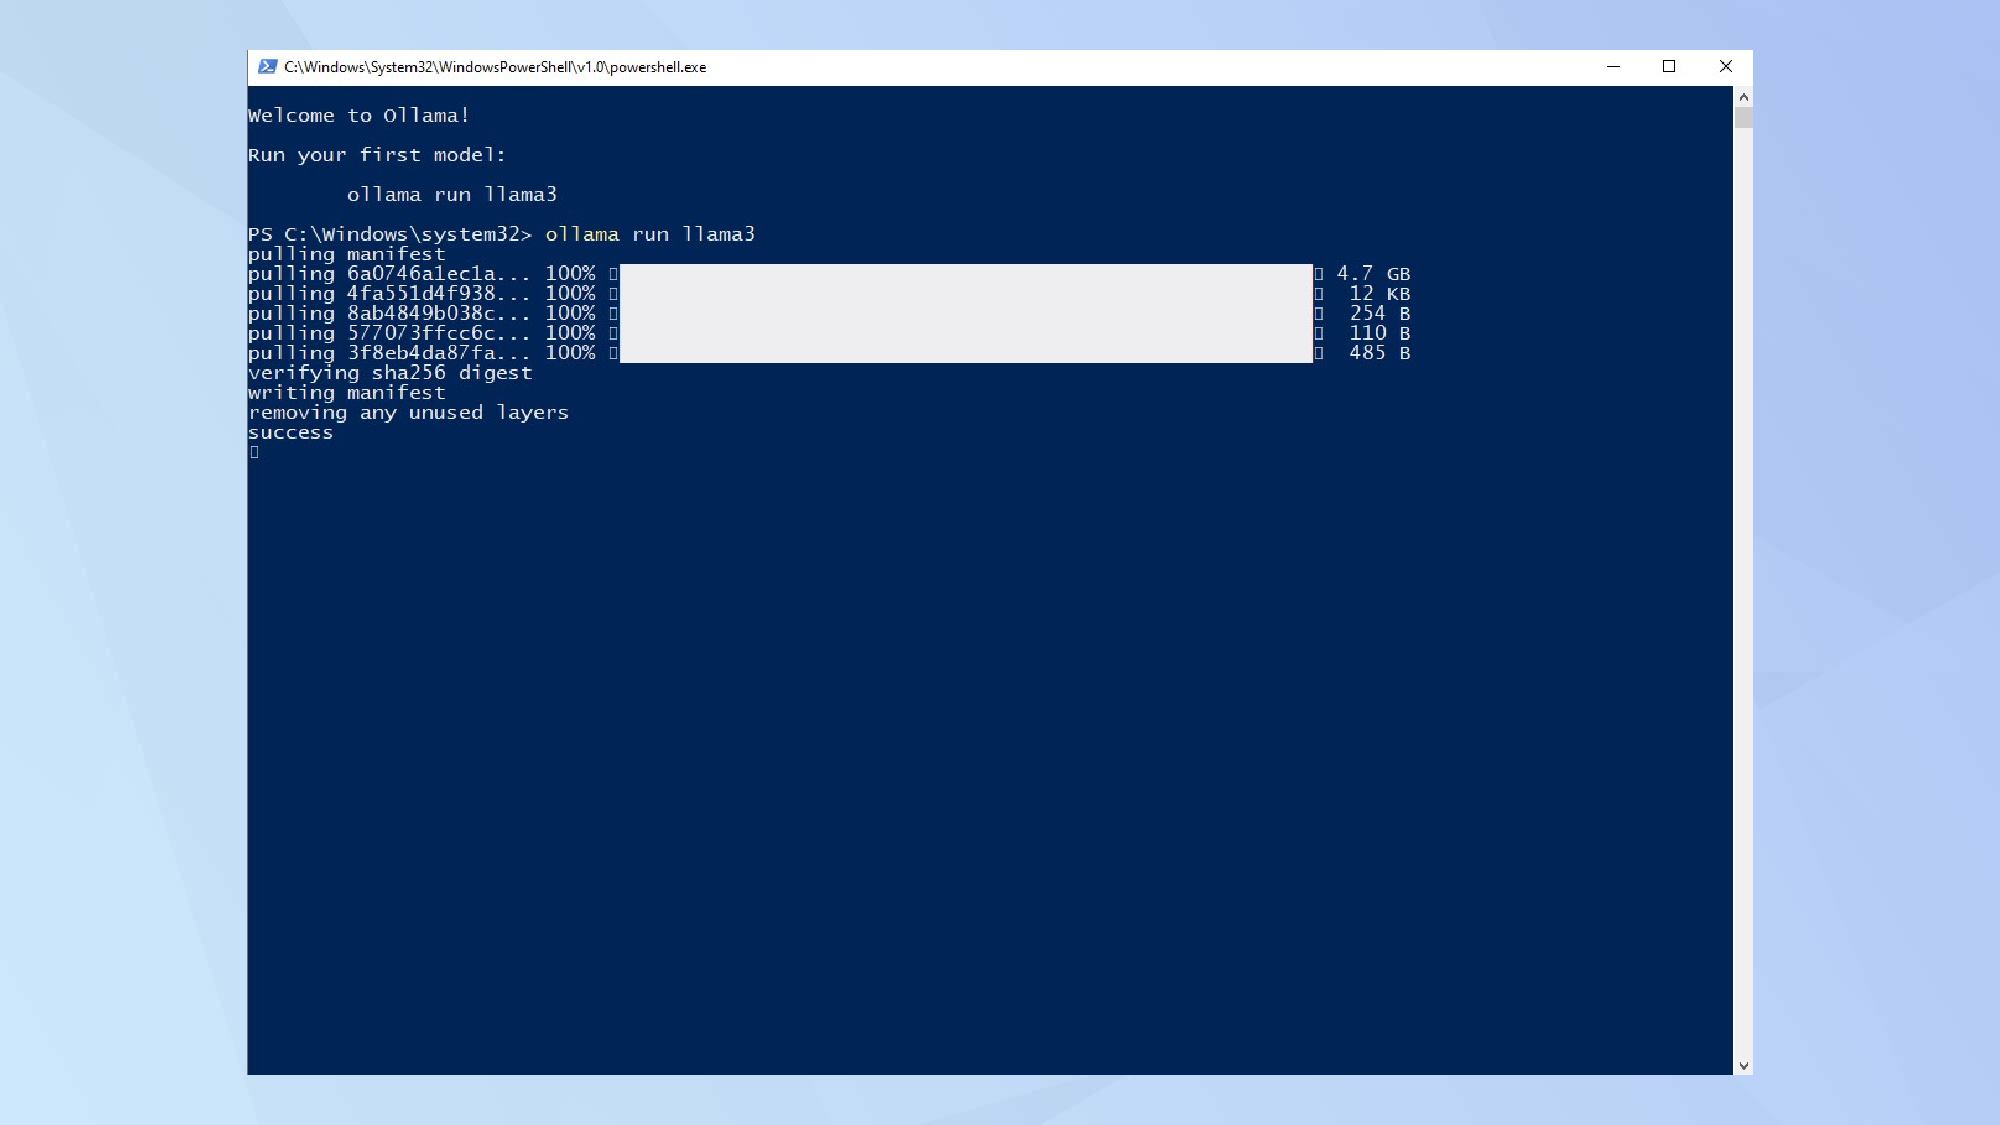
On Windows, the installation will conclude with an open PowerShell CMD window. You'll be prompted to install a starting model, which is LLaMa 3 at the time of writing.
At this point, I recommend right-clicking the active CMD icon in the taskbar and selecting Pin to Taskbar to keep PowerShell readily accessible for future Ollama use.
Step 5.
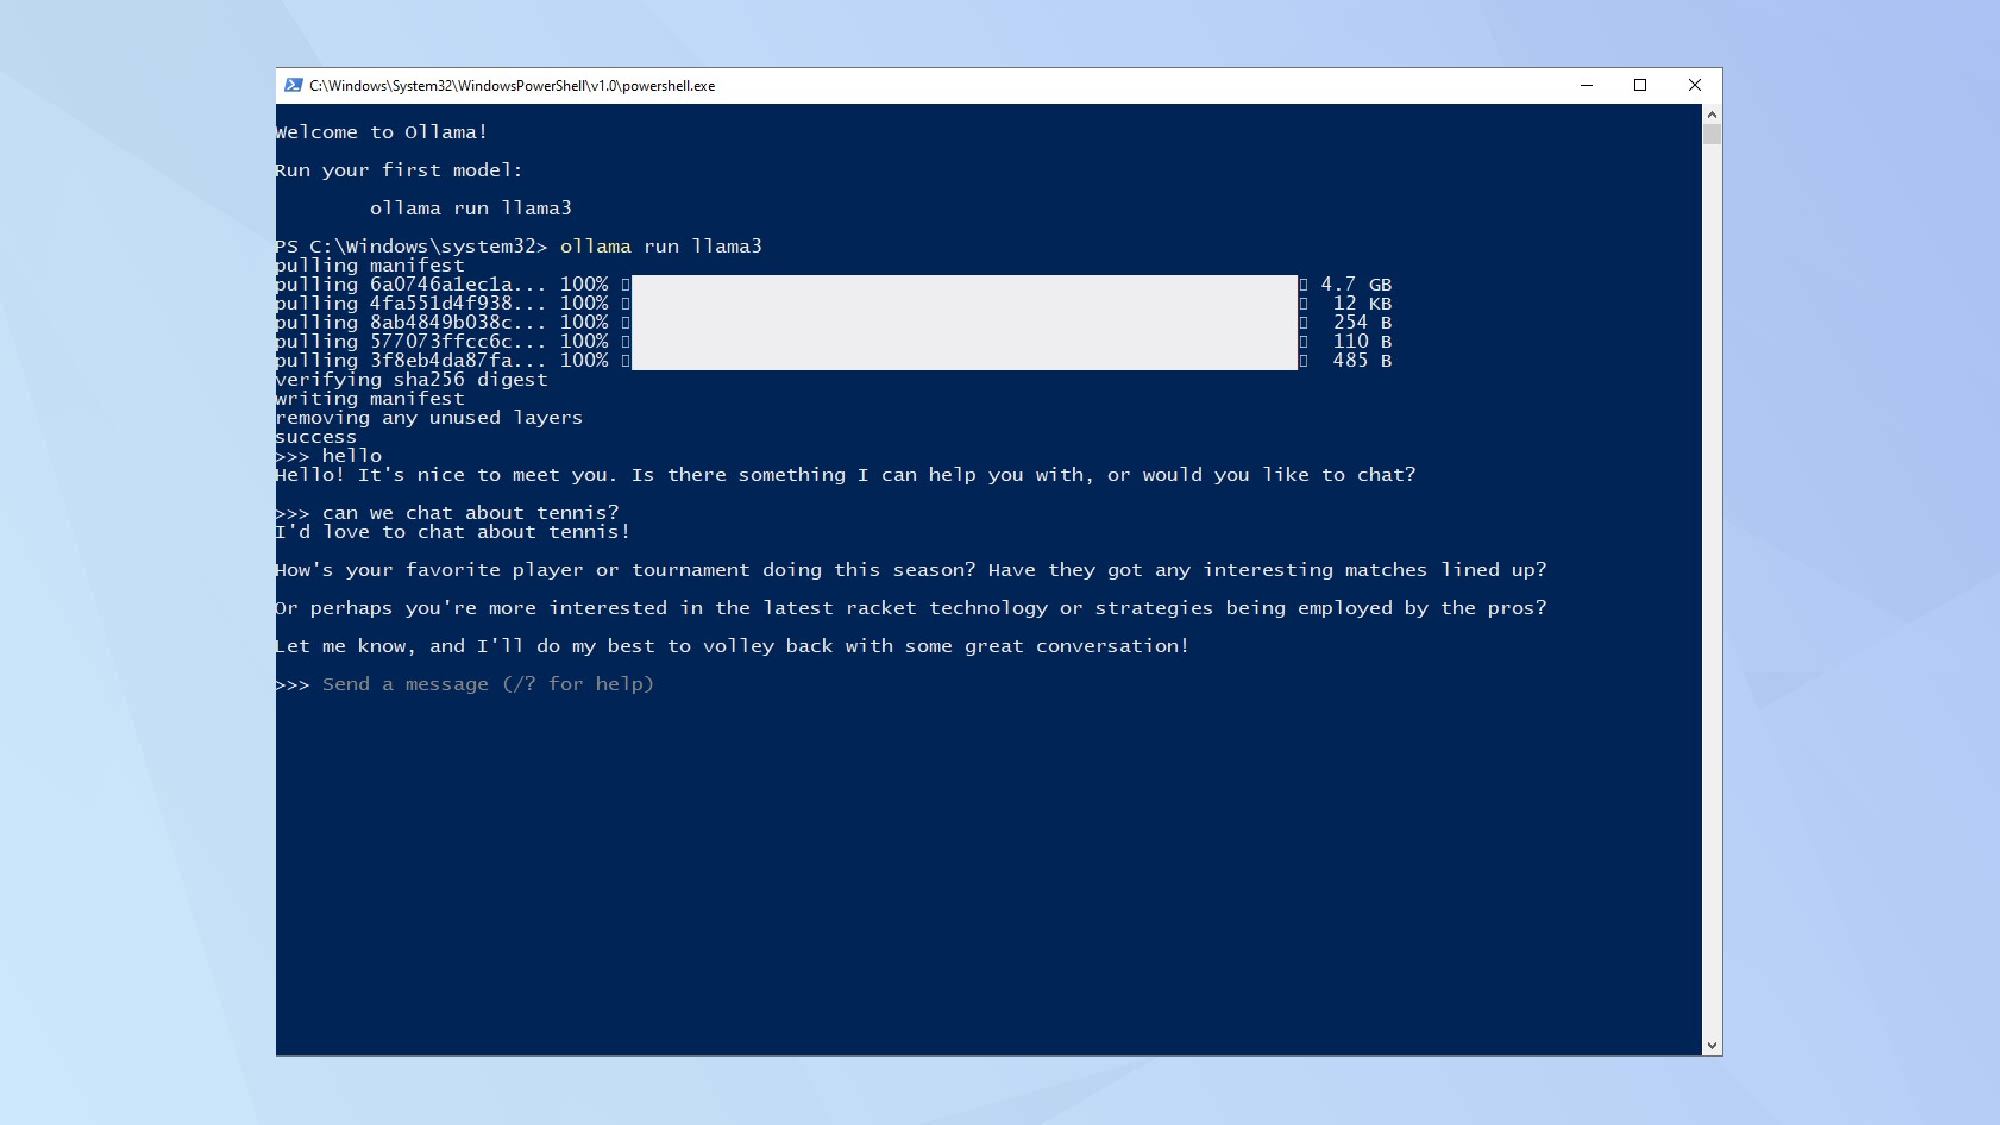
Start chatting by entering your text and enjoy interacting with your private AI. You can save and load chat sessions, and use /? to get a list of available commands.
At all times, Ollama run [model] is your start chat command. For example, Ollama run llama3 will start a chat session with the LLaMa 3 model.
Step 6.
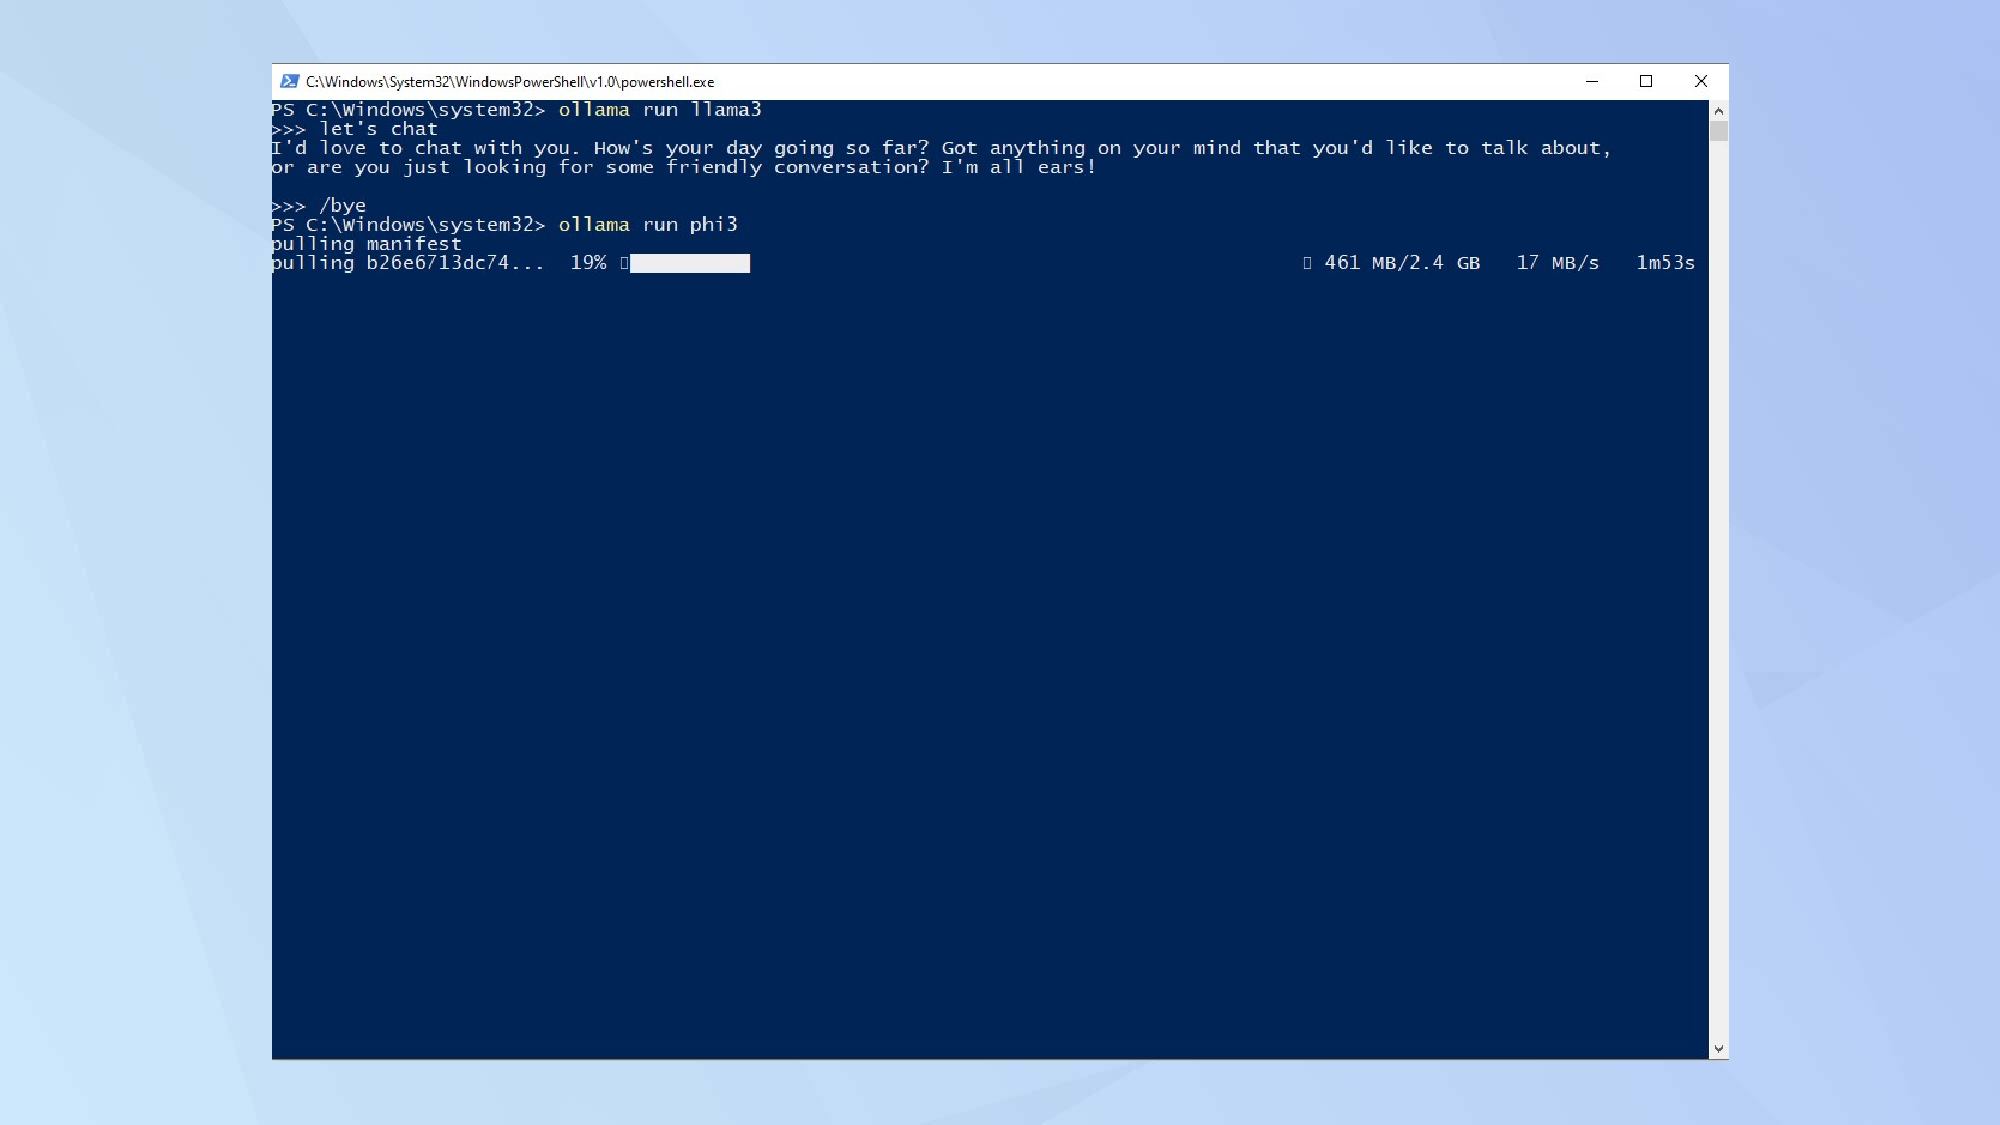
To change or install a new model, use the command Ollama run [new model]. The new model will then be automatically loaded (or downloaded and then loaded), and the prompt will be ready for your new chat session. It doesn't get any easier than that.
For example, Ollama run phi3 will download, install, and run the Phi3 model automatically, even if you're currently using LLaMa 3. It's a quick and fun way to try out new models as they arrive on the scene.
To further enhance your AI experience, don’t miss our guide on the best AI-powered apps to use on your Mac. Plus, You can now talk to 1000s of AI models on Mac or Windows, opening up a world of possibilities for advanced AI interactions.
If you’re keen on diving deeper, find out how to use Meta AI effectively in your projects. Stay ahead and make the most of your AI capabilities.


