Two hands. Ten fingers. Sometimes it just doesn’t feel like enough, does it?! It’s easy to argue that foot control is underused in live electronic performance, but it’s really not that tough — or expensive — to take your sets to the next level with the help of an extra limb or two.
Let’s take a look at some of the options for foot control devices and some ways you can incorporate them into your live set.
The Gear
Sustain pedals
The humble sustain pedal is the simplest and cheapest way to add foot control to a set. Sustain pedals are passive devices that plug into most MIDI keyboards with a 1/4” jack, and they’re traditionally used to sustain notes played on the keyboard when your hands leave the keys. But they don’t have to be! The sustain pedal message is by default MIDI CC 64, and providing your DAW or hardware allows you to assign CCs to controls… well it’s as simple as that really.
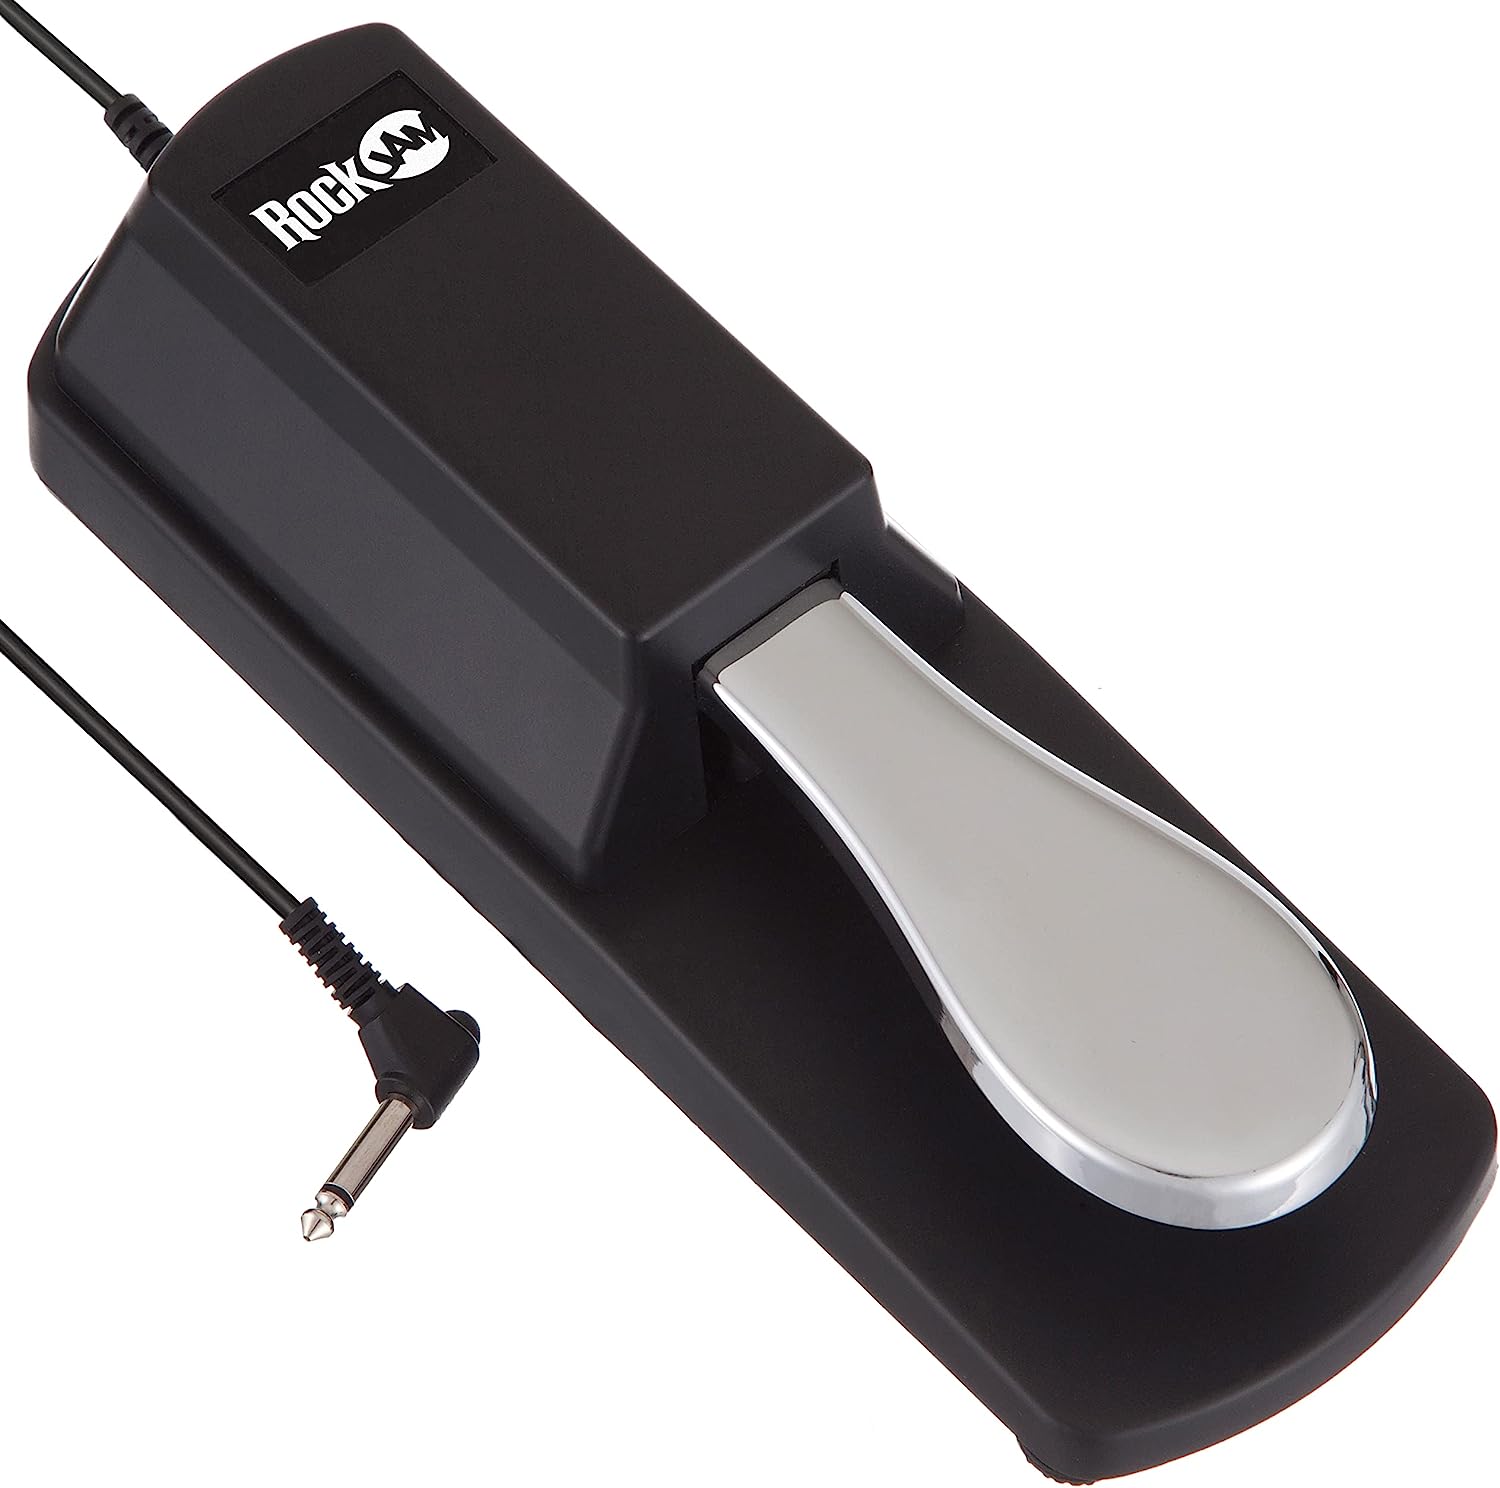
Sustain pedals are easily found for under $20 in both traditional piano styles and flatter, wider ‘foot switch’ implementations, and their simple on/off control is useful for any switch or press and hold control. It’s worth confirming that a foot switch you buy has a reversible polarity switch — most do — because there’s a surprising lack of consensus amongst manufacturers over which way is up and which is down.
Expression pedals
One step up from a sustain pedal is an expression pedal, requiring a compatible input (many devices’ 1/4” inputs for foot switches are limited to sustain pedal signal, so it’s good to check).
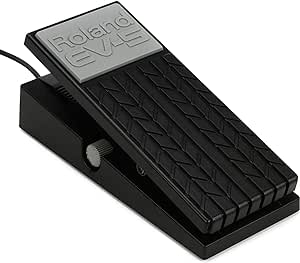
Rather than just on or off, these pedals operate on a see-saw rocker and have a full range of 0-127 on their MIDI CC — which by default is CC 11 and controls the percentage of volume on a channel. It tends to get used to bring in accompaniment tracks while playing and control their volume, but as a fully capable control change message any aspect of your rig that needs granular control could benefit.
MIDI foot controllers
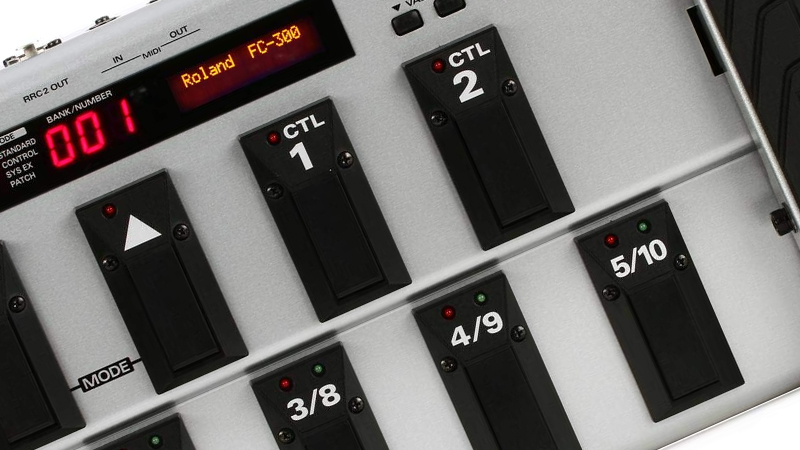
For more control, it’s time to look into MIDI foot controllers. These devices typically have a number of switches on then that’ll each send a separate MIDI CC, giving you a whole world of control under the desk. The Roland FC-300 is a classic, and for around £350 it’ll give you nine switches and two expression pedals in a stage quality box with inputs for more pedals — but traditional MIDI DIN connection only.
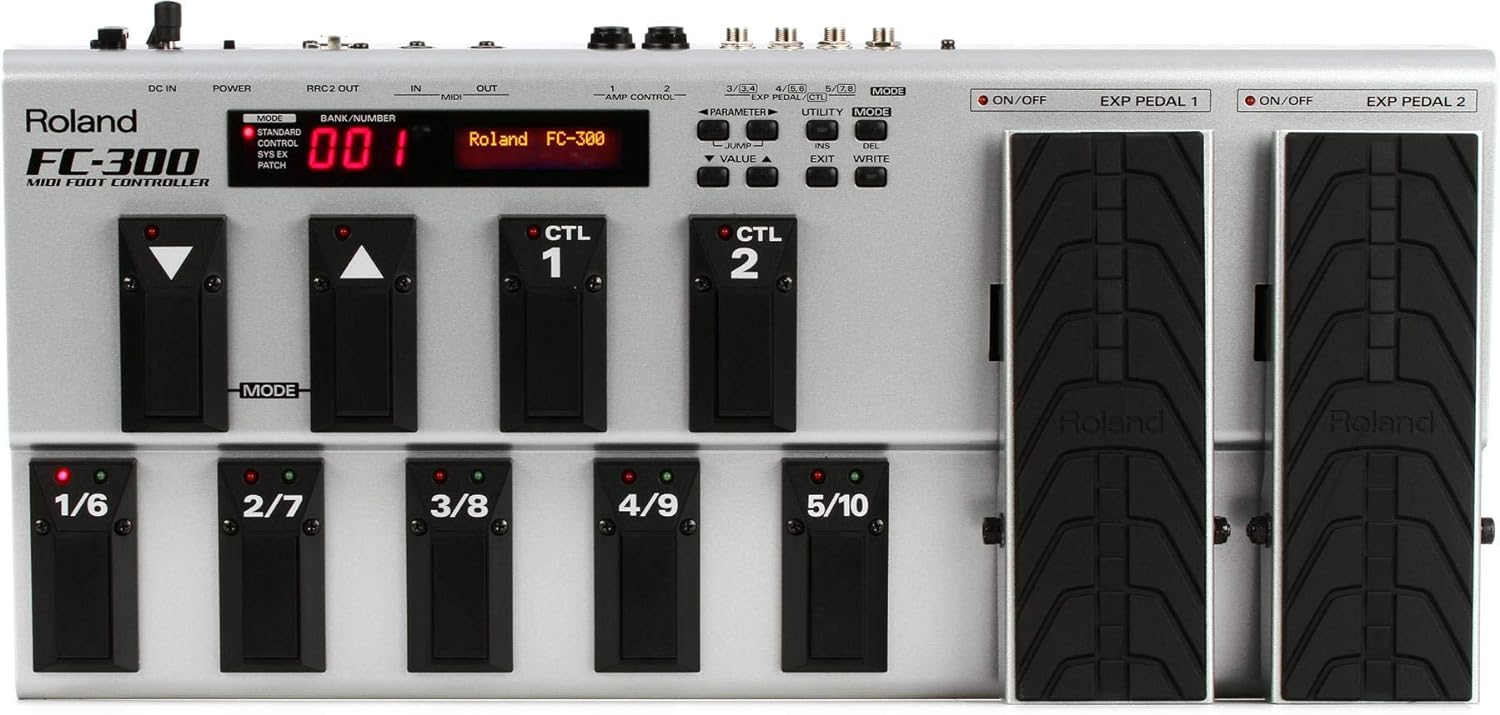
There are an array of less (and indeed more) expensive options, including the Nektar Pacer, which does feature USB connectivity but omits the built-in expression pedals, and prices go right down to around £30 where you can find simple devices with four metal stomp box style switches. You can even find Bluetooth connectivity, if you can stomach the anxiety of using wireless connections during a live performance!
Worthy of note are the Keith McMillen SoftStep and 12 Step, two MIDI foot controllers that feature both velocity and two dimensions of pressure sensitivity on their pad based switches. For the ultimate in expressive control, it’s hard to beat these devices — although if you’re playing somewhere carpeted it’s important to bring some kind of base board to avoid the pressure from your feet being soaked up.

The Techniques
Here are some solid, usable tips for implementing foot control in your performances.
Transport
Okay this one’s a bit of a no-brainer, but it’s hard to convey just how much easier it is to keep things flowing when you’ve got play, stop, and record on the floor. If you use a pattern focused sequencer like Ableton Live or various hardware groove boxes, having control to jump between ‘scenes’ is a blessing too.
Suddenly, you can move seamlessly from an intro fill to capturing a loop on your keys or pads and immediately carry on with your set. Simple but incredibly effective.
Instrument switching
Another one that might seem obvious, but can seriously step up (sorry) your performances is the use of a foot controller to switch instruments that are being controlled by a keyboard.
Maybe you set your foot controller to record arm different tracks, maybe you have a multi-timbral instrument that you can switch layers with via MIDI, or perhaps there’s a software-specific trick that you can make work, like assigning instrument macros in Ableton Live.
Maybe you set your foot controller to record arm different tracks, maybe you have a multi-timbral instrument that you can switch layers with via MIDI
Either way, the seamlessness with which you can move from controlling one instrument to the next in a performance can really trim the fat out of a set. You might have otherwise disguised a track switch by triggering a long sample or some kind of alternative segment; foot controllers mean you won’t have to introduce elements like this just to free up your hands, leaving you to focus on the music.
An interesting alternative to having different switches switch between instruments is to have the different switches mute and unmute tracks. Controlling the layers of a stack of instruments - especially if those layers have been pre-considered with smart use of key splits - makes your feet the conductors while your hands control the entire orchestra.
Instrument control
Perhaps the most important facet of any musical performance is expression. Being able to control not just the on and off but also the level of an instrument layer with an expression pedal creates an organic sound, whether it’s the gradual crescendo of a string section backing up an electric piano or a super saw accompanying that trance arp.
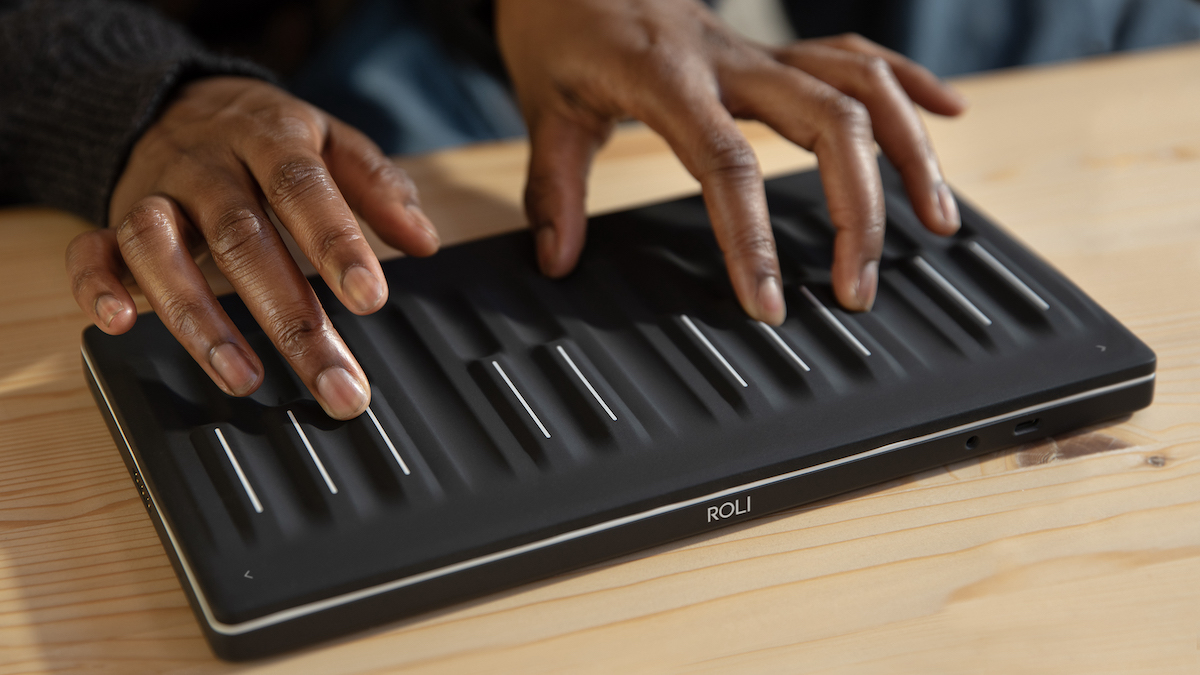
We can think in more than just volume, of course. Adjusting parameters like the cutoff of a synth’s filter or its amp envelope’s decay time can drastically change its character. Different instruments have their own strengths and weaknesses when it comes to the way we express ourselves through them, and virtual instrument designers are increasingly keen to enable us to simulate other instrumental techniques through the medium of keys and pads.
Key switches are common in sampled instruments, allowing (for instance) strings to switch from legato to pizzicato, or marcato to vibrato. Instead of losing a hand to these key switches, delegating them to our feet gives us the opportunity to create captivatingly fluid, expressive performances.
Combine this with the aforementioned stacked control of our instruments and we can switch from staccato strings to pizzicato, mute the DX7 brass accompaniment, and continue playing our poly synth line in a simple couple of shuffles without ever losing the performative flow.
Effects
Foot control of effects is a time-honoured tradition in the guitar world, and even though it’s increasingly common to see a synth head promote an effect pedal to the desktop for fingertip use, there’s room for all sorts of extra possibilities when we alter the limb-to-performance ratio in our favour.
A key consideration for foot-operated effects control is whether we’re interested in on/off control (and do we want toggle or press and hold) like a massive reverb freeze or a buffer shuffle-style loop roll, or do we need expressive control — think wah-wah pedal-styled filtering or delay balance.
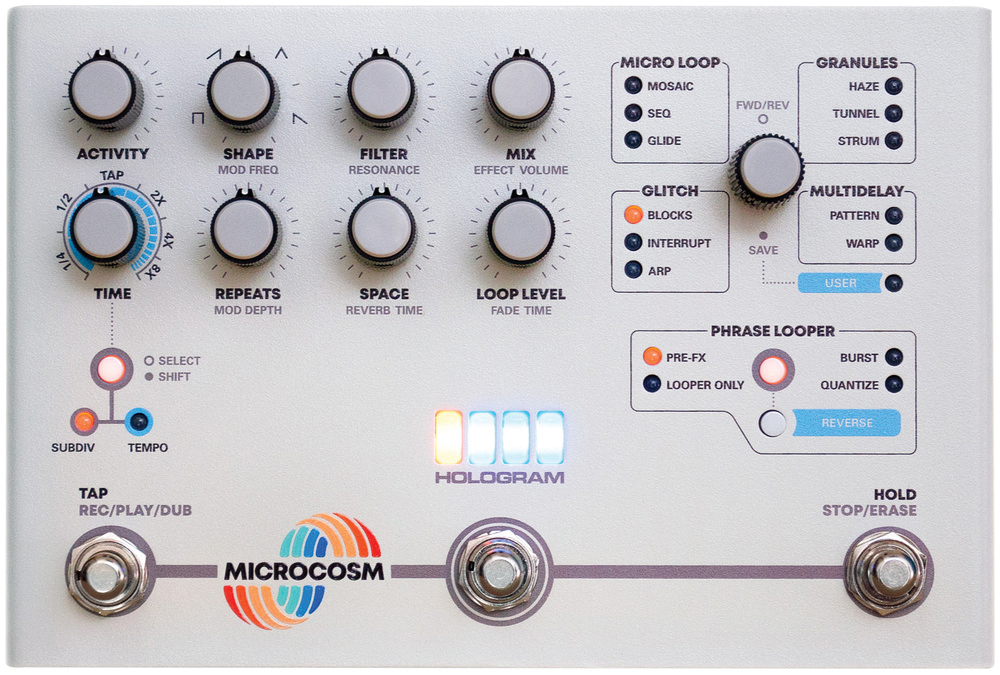
It’s also worth thinking about the overall setup we’re going for and the visual effect we’re looking to achieve in a set. Twiddling knobs for filter cutoff and resonance is one of those things that never ages, immediately recognisable to a crowd and understandable in its effect on some level by the layman. Not only that, but they also benefit from manual dexterity.
Maybe leaving these on the desktop and complementing them with an increasingly prominent delay balance or a stamp that drowns things in reverb is for the best, but if your gear allows more than one controller to be assigned to the same control then there’s no need to lose out on your filter swell just because it’s time to jump to that compelling finger drumming solo.
Looping
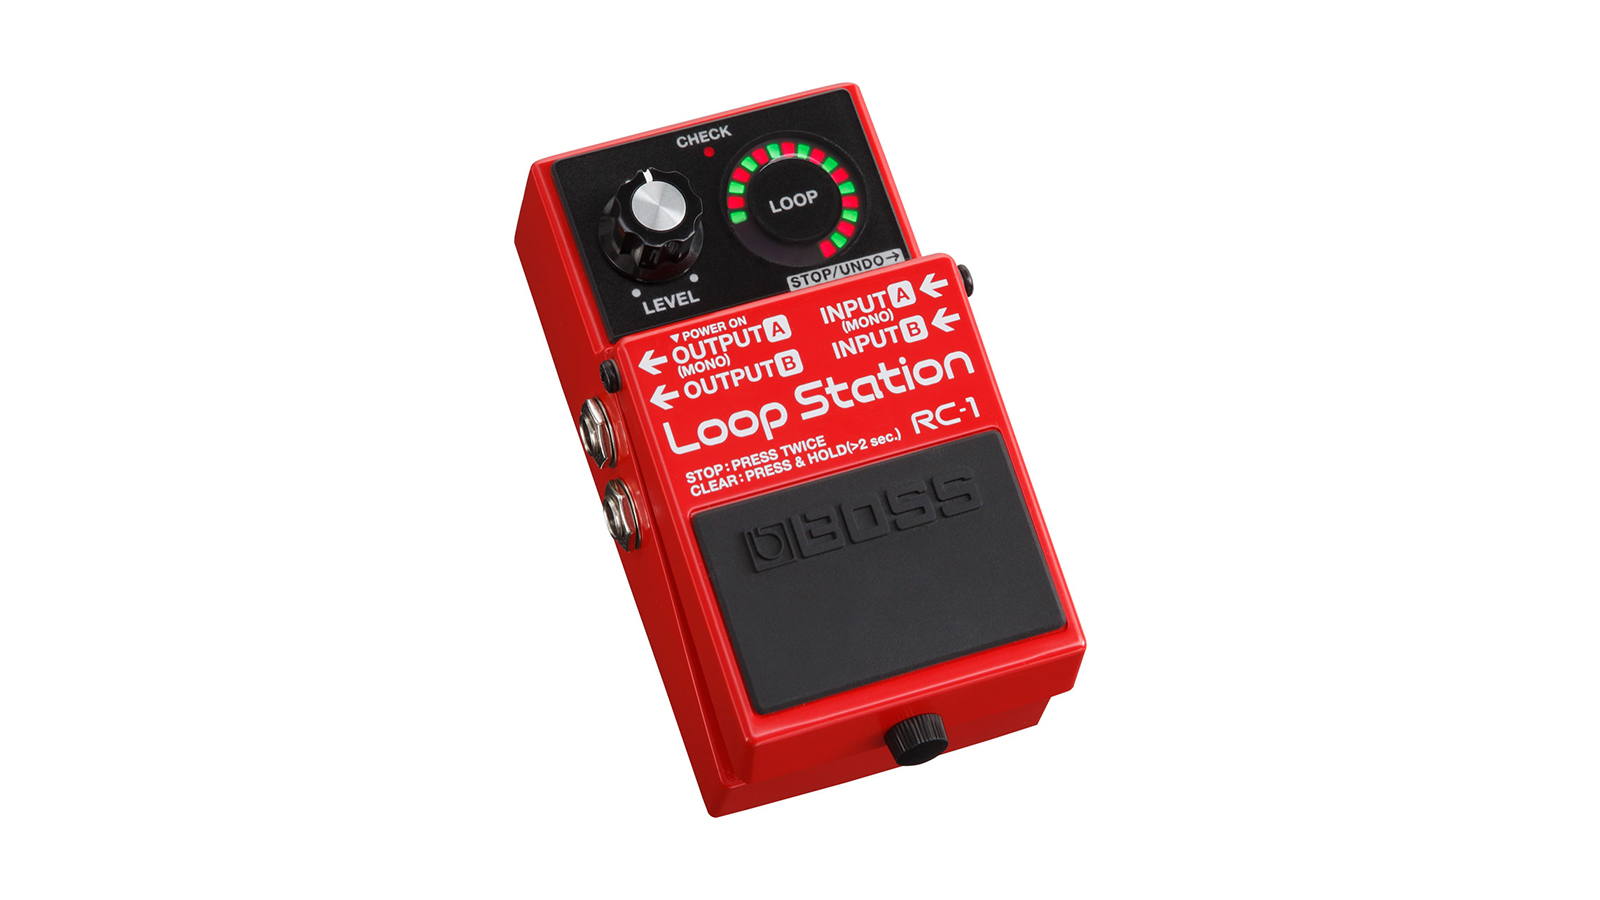
Live looping is a topic unto itself, and for every Marc Rebillet or Beardyman with a tabletop looper there’s an equal number of people doing their thing with foot-controlled loopers, from guitarists to turntablists, keyboardists to beatboxers.
The Boss Loop Station series is perhaps the most iconic product line for looping, with years of making pedals and tabletop loopers that have enabled musicians to build songs on the fly, but it’s by no means the only way. With so many modern DAWs having pattern sequencing built-in, the ability to record both MIDI and audio into an immediately looping, easily changeable collection of phrases is an amazing opportunity. There’s something immediately captivating about seeing and hearing an artist loop a phrase and instantly iterate on it.
There are lots of ways you can set up your DAW (or groovebox - something like the foot pedal-compatible MPC Live II is a great way to get into looping) for foot pedal looping.
With so many modern DAWs having pattern sequencing built-in, the ability to record both MIDI and audio into an immediately looping, easily changeable collection of phrases is an amazing opportunity
Maybe you have all tracks record-armed, using different controllers for different instruments, and set the switches on your foot pedal to each record a pattern into a different track. Maybe you set up each switch on your foot controller to both arm a track for recording and set it to record, allowing you to switch to an instrument and instantly record a loop of a certain number of bars.
Maybe it’s somewhere in the middle, and you have switches to select the armed instrument and a separate switch to enable and disable recording. Perhaps you like things the old fashioned way of iterated single track loops, and want to route your instruments through a track with Ableton Live’s Looper device — or maybe a few of them to give you multitrack capabilities. If you don’t use Ableton Live, then a plugin like Melda Productions’ MSuperLooper will give you what you need!
There are a thousand ways to use a foot pedal to take your electronic music performance to the next level
There are a thousand ways to use a foot pedal to take your electronic music performance to the next level, but just like anything: don’t do it just because you can. Whether it’s having clip switching and resetting on a desktop controller and saving the foot control for when your hands are tied up, or figuring out whether a stomp or a knob-twiddle is going to be more visually immersive for an audience, as long as the foot controller is helping you achieve your performative potential, you’re on the right path.
