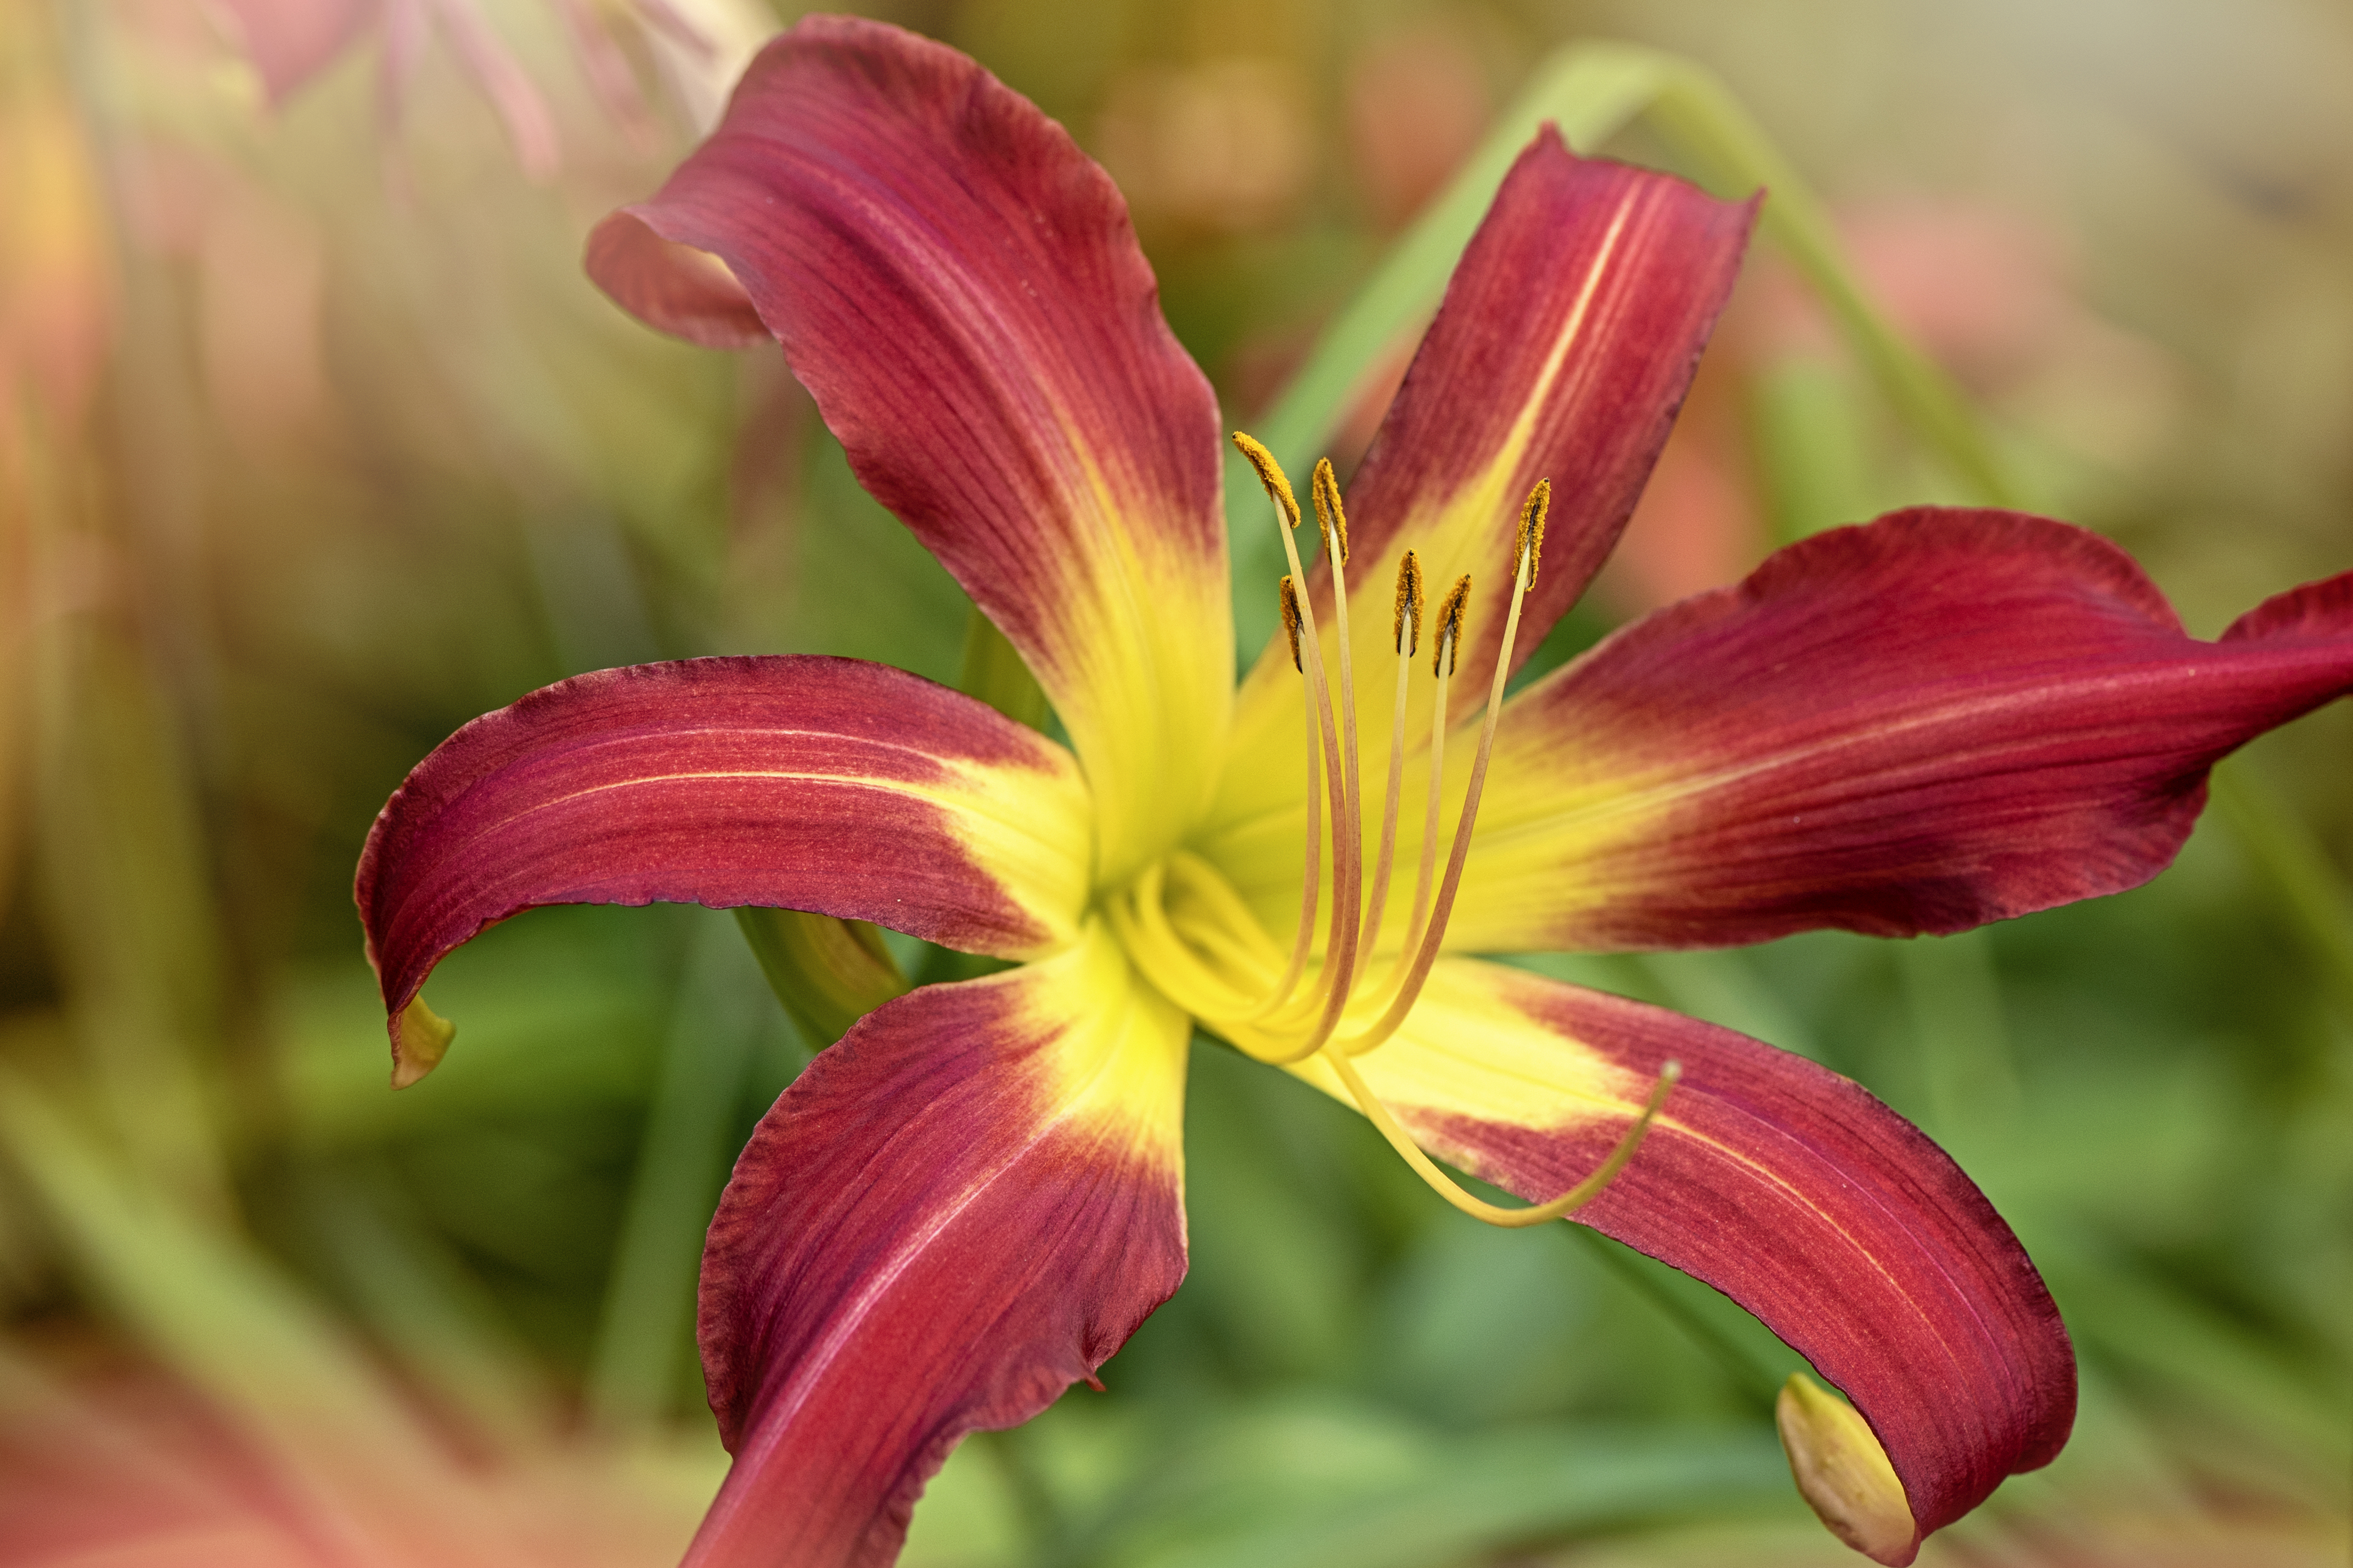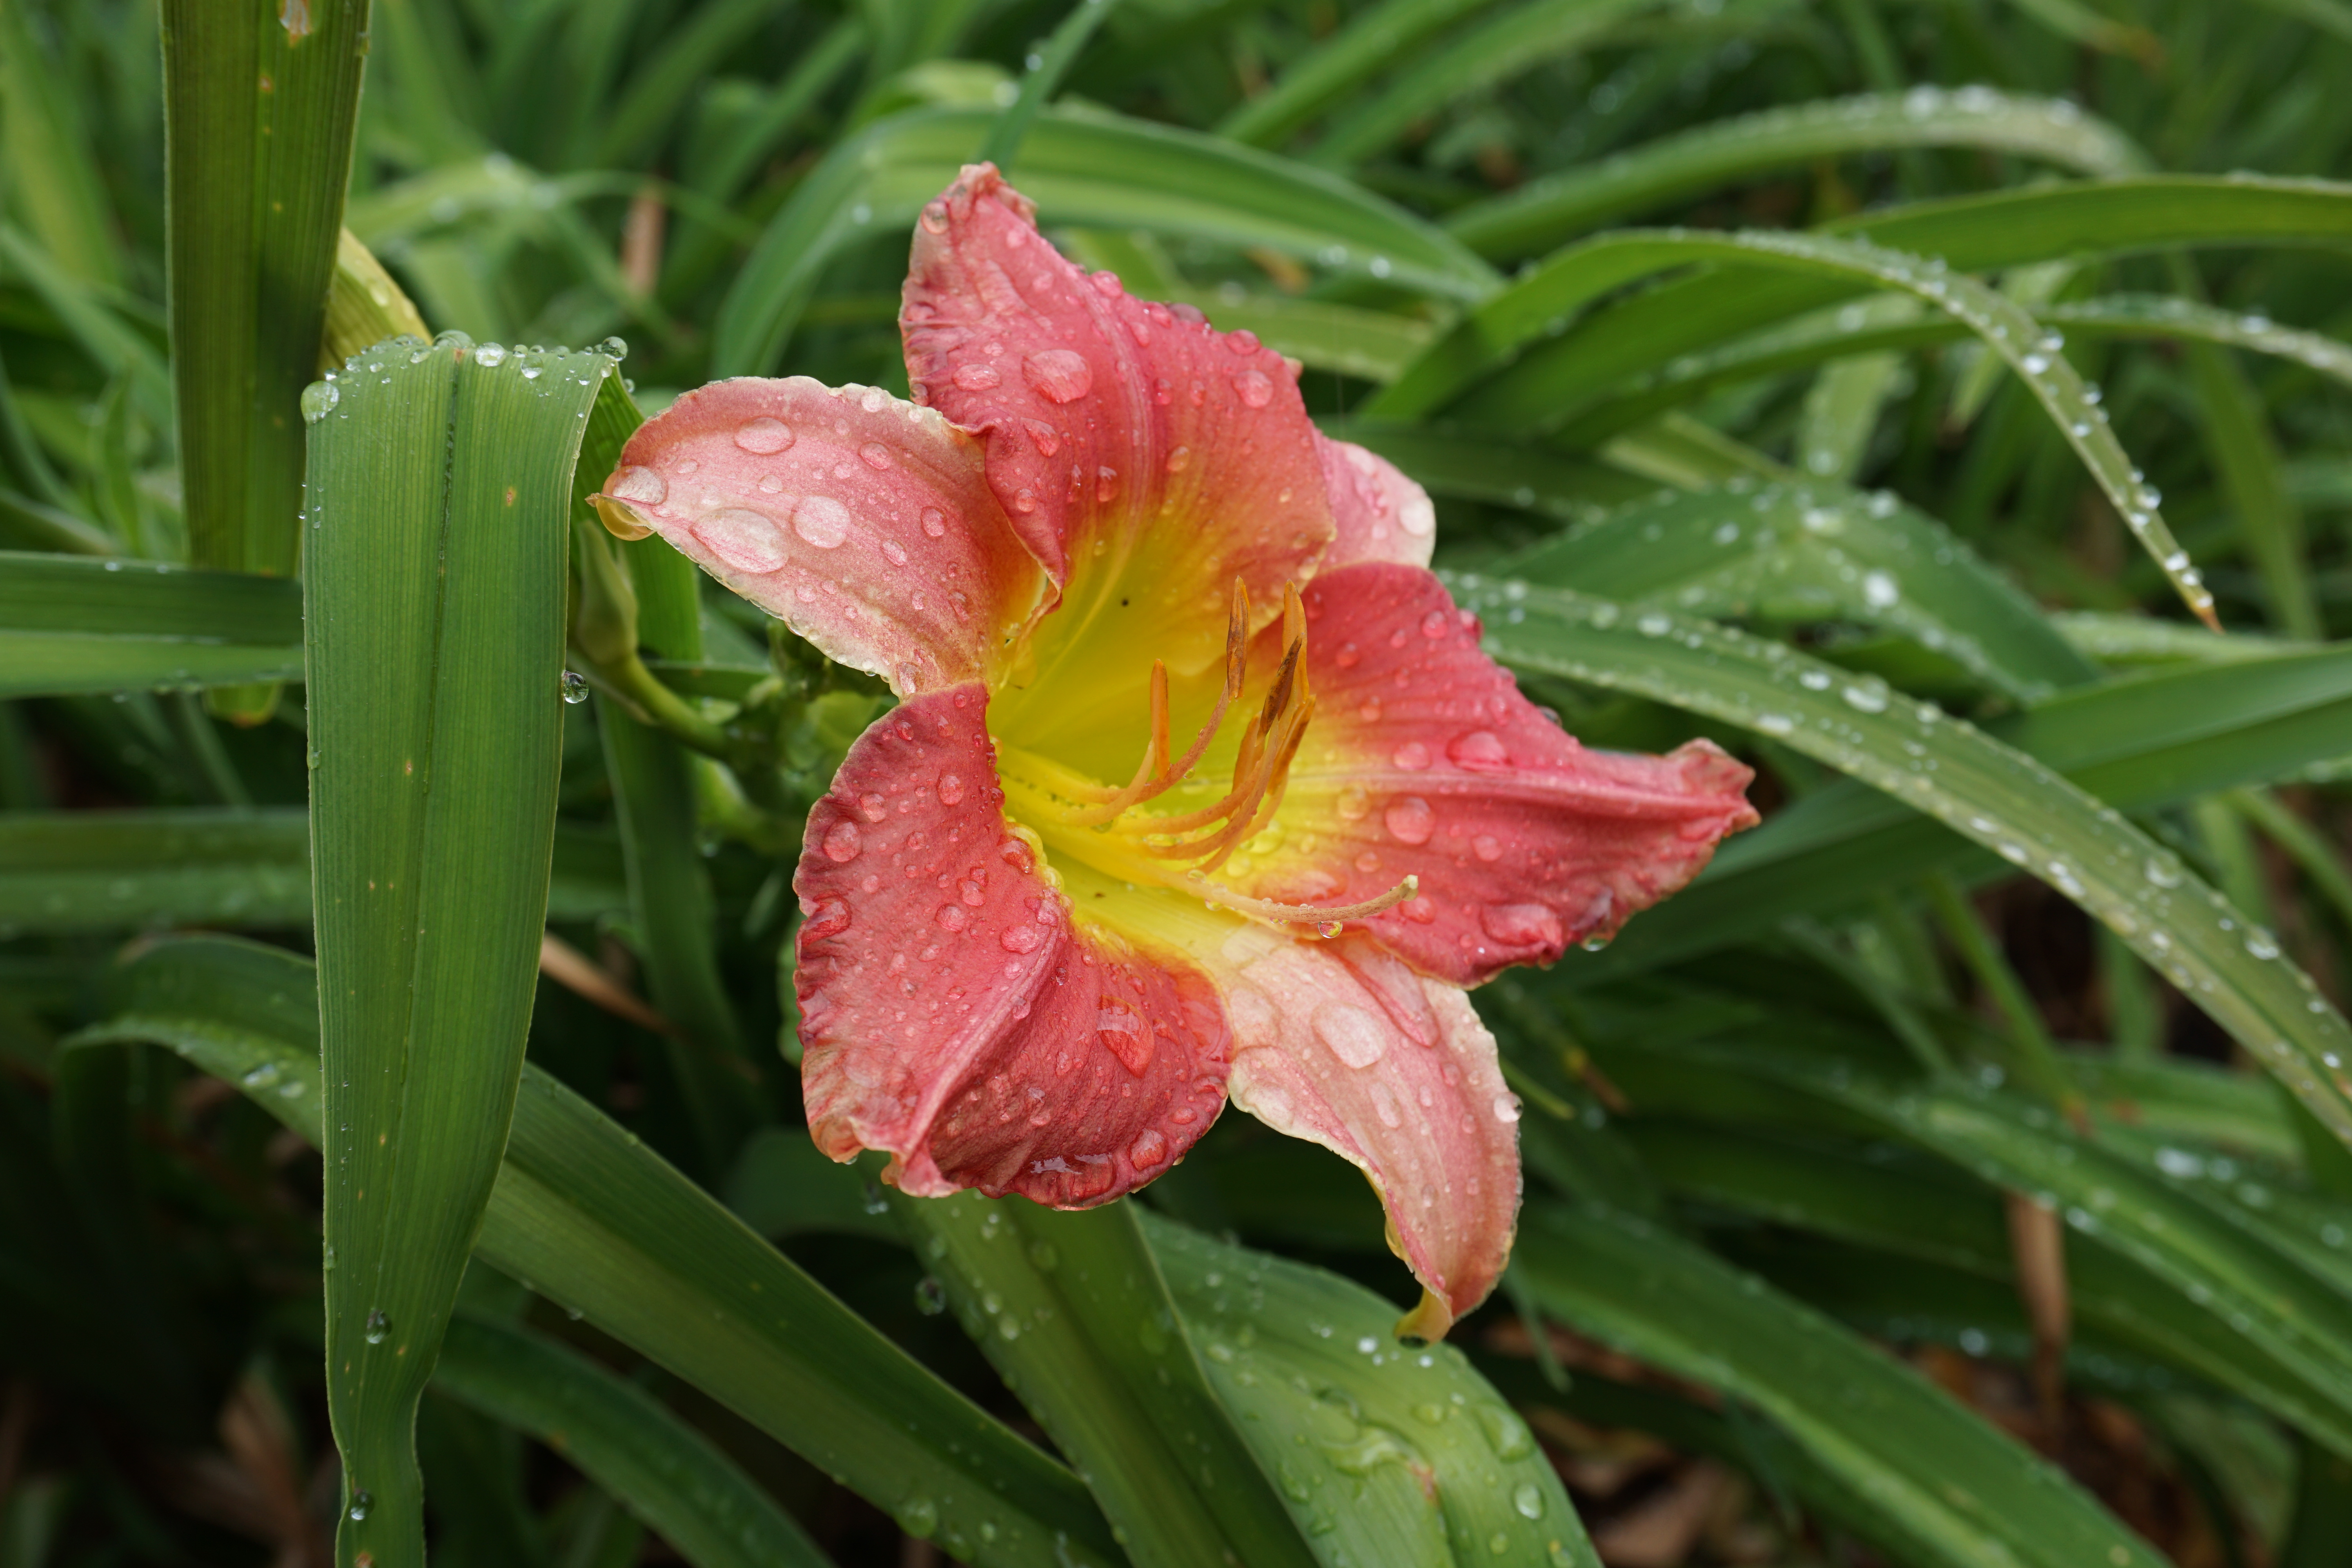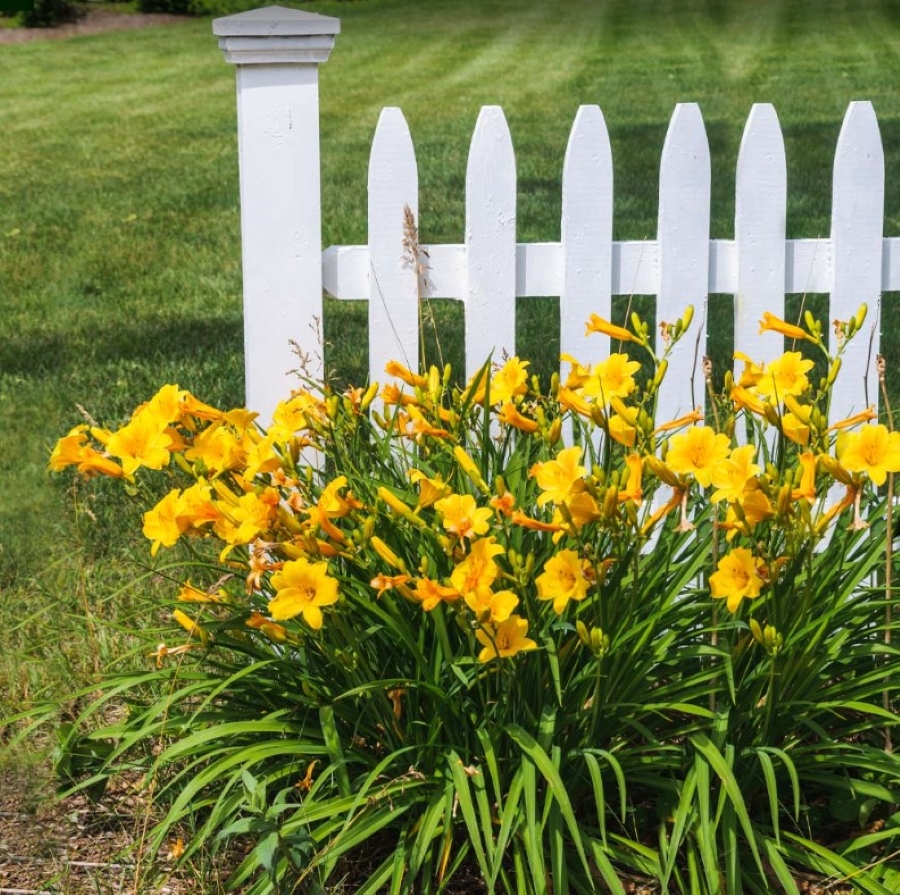
Daylilies, also known as hemerocallis in the plant world, are colorful, delicate and charming perennials that find their petals during the summer season. Aside from their wonderous beauty, daylilies are adaptable, vigorous blooms that can last for many years, even with limited care.
'I've found that daylilies are remarkably resilient and low-maintenance, making them perfect for both novice and experienced gardeners,' says Tony O'Neill, a Gardening Expert from Simplify Gardening. 'One of my favorite varieties, the 'Stella de Oro', blooms profusely throughout the summer, adding vibrant color to my garden. Regular deadheading and proper soil preparation have been key to keeping my daylilies thriving year after year'.
Known to be low maintenance, these flowers that bloom in summer make a great addition to any garden. But what is the best way to grow and take care of daylilies? Here's everything you need to know — according to the experts.
How to grow daylilies

If you're looking to add these blooms to add some color and vibrancy into your backyard ideas, then you've made the right choice.
You can often find daylilies as bare root or potted plants. If you are looking to plant bare-root daylilies the best time to plant them would be in the early fall. If you're wondering how to do just that, here are a few steps you can follow by gardening expert Tony O'Neill.
Step 1: Make sure you choose the right location - Tony says its best to choose a space with lots of sunlight and well-draining soil as 'daylilies thrive in full sun but can tolerate partial shade'.
Step 2: It's time to prepare your soil - Now it's time to 'loosen the soil to a depth of about 12 inches and mix in compost or well-rotted manure to improve fertility and drainage'.
Step 3: Dig a hole - Ideally Tony say a hole that is slightly larger than the root ball. You can then 'place the daylily in the hole with the crown (where the roots meet the stem) about an inch below the soil surface'.
Step 4: It's time to plant - The gardening expert says the next step is to fill in the hole with soil. 'Gently firming it around the roots and water thoroughly to settle the soil'.
Step 5: Mulching - Last but not least 'apply a layer of mulch around the base of the plant to retain moisture and suppress weeds'.
What are the different types of daylilies

These flourishing blooms come in many forms and according to experts at the American Daylily Society, as of May 2018, there are nearly 89,000 registered cultivars of daylilies — pretty incredible right? Here are 3 popular daylilies you can plant to brighten up you backyard.
'Stella de Oro' Daylily- This daylily is known to be quite popular, with its bright golden blooms and yellow petals which can create a rather lively and colorful design in your backyard. They're best grown in hardiness zones 3-9 and love to grow under full sun.
'All American Chief' Daylily - Yellow on the inside with bright scarlet-red tips on the outside, these daylilies are quite the showstopper. These blooms thrive in zones 3-9 and are sun loving perennials.
‘Apricot Sparkles’ Daylily - A delicate apricot color, these blooms has an wonderful ruffling design on its petals with smooth sepals. They grow well in hardiness zones 3-9 and love all bright sunlight.
Price: $5
Colors: Yellow, Orange, White, Red, Pink, & Purple
Quantity: 10 Seeds
How to take care of daylilies

Like most blooms, your precious daylilies will need some tender love and care. Although they are quite easy to care for, if you want to get the best out of them, be sure to give them your best.
Check on the amount of sunlight - Eric Preston Stout, Gardening expert and Landscaper with TeachMe.To tells us: 'Daylilies should be planted in full sun or partial shade that receives 4-6 hours of sun per day'. And Tony agree as he says this will enable them to 'bloom more profusely in full sun'.
Make sure they are planted in the right soil -Eric says when it comes to soil, 'like most plants, daylilies should be planted in a loose sandy or loamy soil. Heavy clay, sand or gravel soils need to be supplemented with organic matter such as mulch and compost'.
Don't forget to water your blooms - Tony says you should 'water daylilies regularly, especially during dry periods. Aim to keep the soil consistently moist but not waterlogged'.
Understanding temperature - Daylilies are stronger than you might think. These blooms 'are hardy and can tolerate a wide range of temperatures. They thrive in USDA hardiness zones 3-9'.
Fertilization - 'Apply a balanced, slow-release fertilizer in early spring and again after the first bloom cycle to promote healthy growth and flowering,' Tony adds.
FAQS

What are the common problems with daylilies?
Eric Preston Stout, Gardening expert and Landscaper with TeachMe.To says: 'Pests are very rare when grown in the right amount of sun and soil profile. If pests are an issue, they will most likely be slugs, snails or worms. If these pests are present, the cause is most likely due to the watering. Too much water invites these types of pests'.
If you do have pets at home, Eric tells us: 'daylilies are very poisonous to cats. If you have a pet cat that goes outside, do not plant any Lily family plant. Small dogs can also be sick, but it’s not deadly'.
Gardening Expert Tony O'Neill says we should also watch out for the following problems with daylilies:
Rust: He says 'a fungal disease that causes orange spots on leaves. To manage, remove and destroy affected foliage and apply a fungicide if necessary'.
Crown Rot: This is caused by overly wet conditions, which can 'lead to rotting at the base of the plant. Ensure proper drainage and avoid overwatering'.
Pests: The pests to look out for according to Tony include: Aphids, spider mites, and thrips. If this occurs, he suggests using insecticidal soap or neem oil to control these pests.
Leaf Streak: 'A fungal infection that causes yellow streaks on leaves. Remove and dispose of infected leaves and ensure good air circulation around plants,' Tony adds.
When do you deadhead daylilies?
First off, you'll need the right pruning tools to make tidying up your plants a whole lot easier. But the simplest way of pruning your daylilies would be to remove dead leaves or leaves that have turned yellow by hand. You can then begin deadheading your daylilies. Tony says: 'Remove spent flowers daily to encourage new blooms. Simply snap off the flower heads with your fingers'.
After the first bloom cycle, the gardening expert suggests you 'cut back the flower stalks to the base. In late fall, trim back the foliage to about 6-8 inches above the ground to tidy up the plant and prevent pests'.


