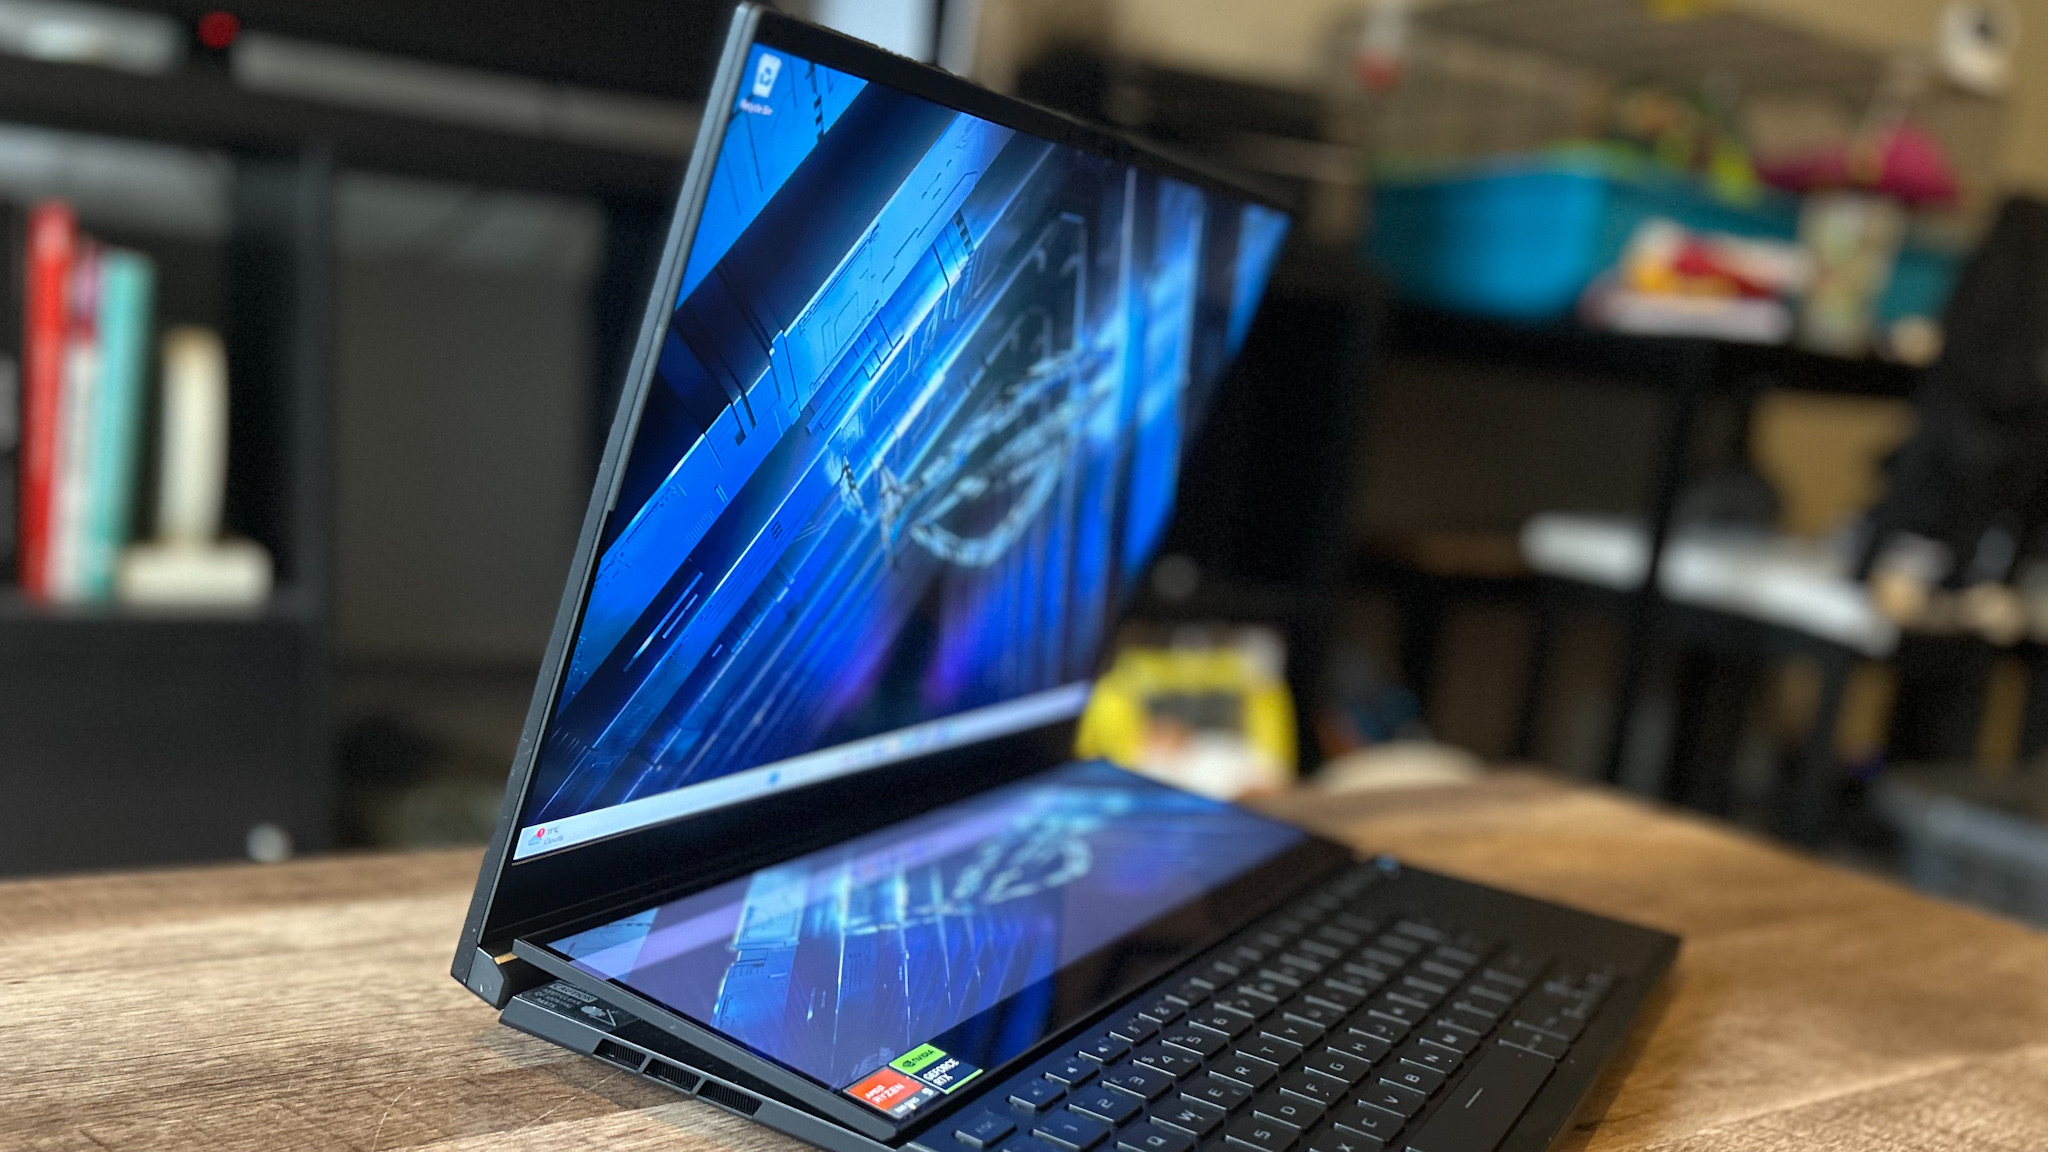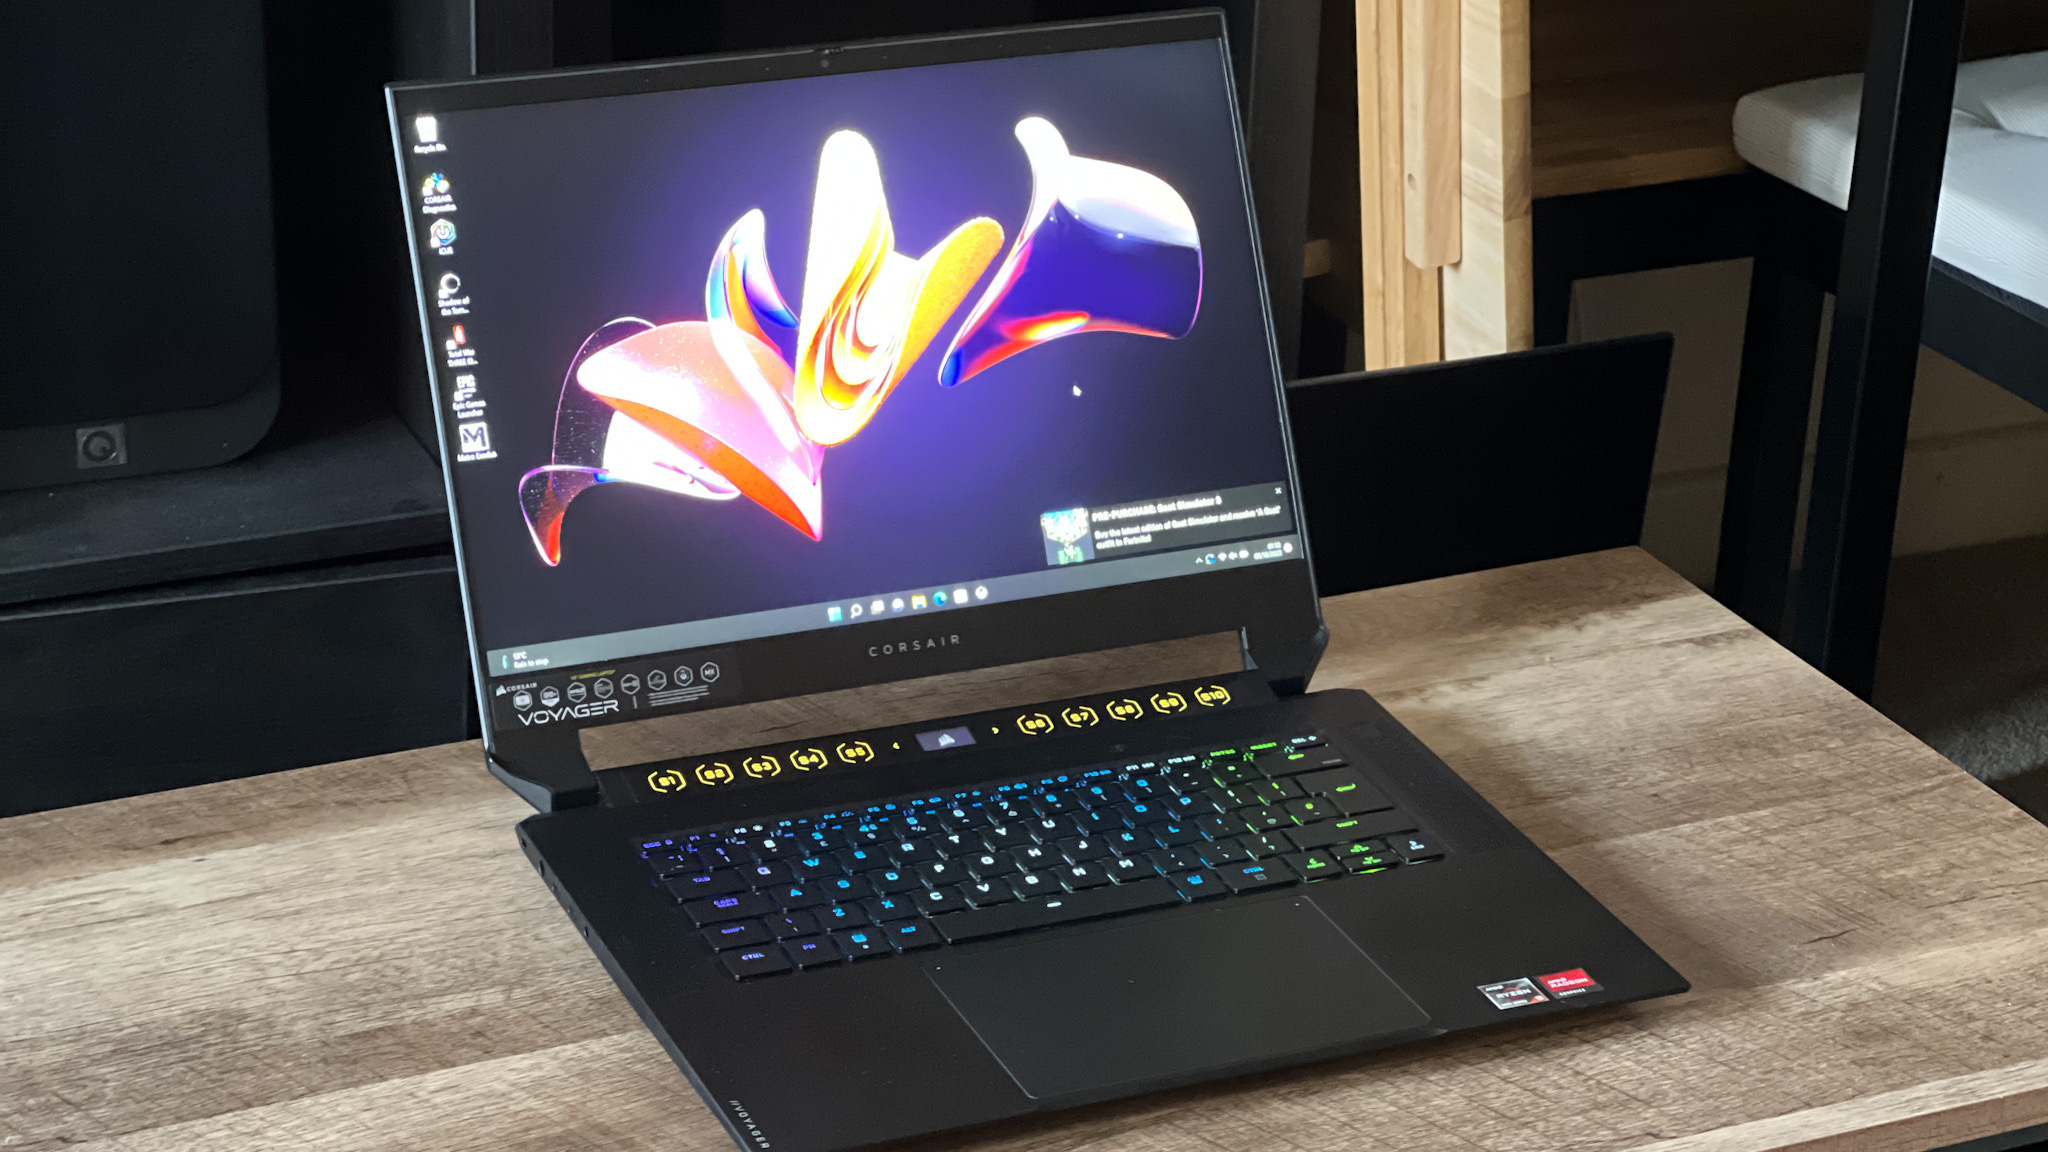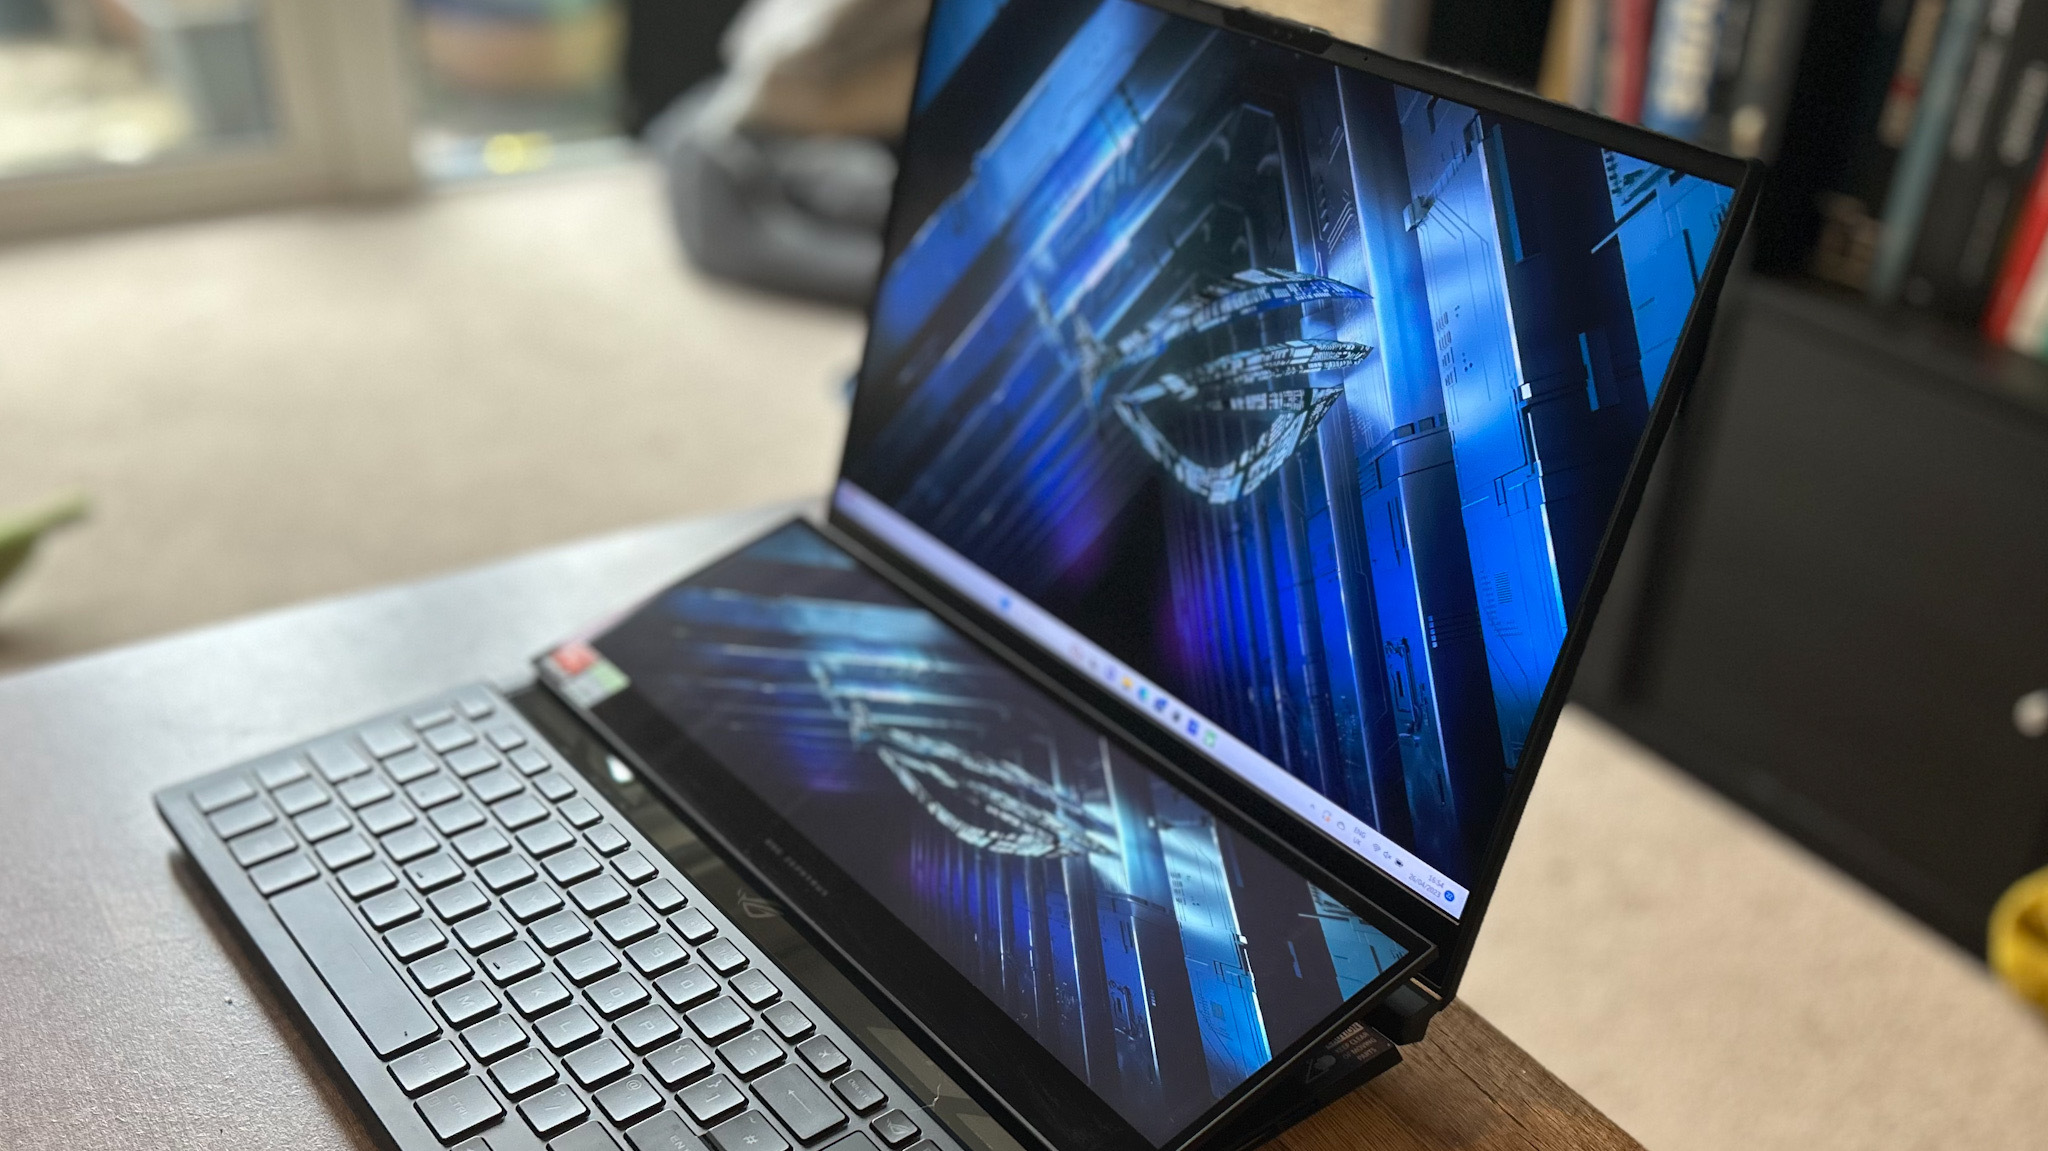
Perhaps the most obvious quality the best gaming laptops share is portability. Gaming on the road, or simply away from a desk, can be a joy on a machine that's lighter, but no less powerful, than the best gaming PCs on the market today. Our roundup of the best gaming laptops showcases the most desirable models out there, with Asus ROG Strix Scar 16 topping the list – packing an RTX 4090 GPU under the hood, and complemented by up to 32GB of RAM, and an 13th Gen Intel Core processors (HX Series).
But, whether you're running a high-end machine like that, or even if you're working with hardware a little less impressive, getting the most out of your CPU is paramount to performance. From the most simple to the most sophisticated, here are five ways to get the most out of your gaming laptop CPU.

Play games with the charger plugged in
Okay, so a really simple one to kick things off, but it really is the best place to start. It's not always possible to have your laptop plugged into a power supply at all times – after all, one obvious perk gaming laptops have over desktops is the fact you can more easily take them on the road – but whenever you can, you should. Anything that allows your CPU and GPU to work as freely as possible is worth doing, and relying on battery power often throttles performance, causing frame rate drops and unwelcome lag. Even if you're gaming on a 13th Gen Intel Core processors (HX Series) and GeForce RTX 4090 GPU, plugging in, switching on, and allowing your gaming laptop to work at its fullest and fastest is recommended on all occasions.
Optimize power settings
Since we're talking power, optimizing your power settings is important for the smoothest gaming experiences, and not all laptops are configured to play the most resource-hungry games by default. The good thing is, it's easy to check this out and adjust as required. It's worth noting that changing your settings to High Performance will drain your battery faster, but it should boost your CPU performance. And, if you're following the step above whenever possible, this should be less of an issue.
To optimize your performance settings you should:
- Hit the 'Start' button and go to 'Settings'
- Hit the 'System' menu, and once there hit 'Power & sleep'
- Under 'Related Settings' hit 'Additional power settings'
- Hit 'High Performance' and confirm your new settings

Beat the heat
Overheating can be a nightmare for gaming laptops, and a sure-fire way to send frame rates plummeting, and cause lag to skyrocket. The first port of call here may sound simple, but by ensuring your laptop is always used on an even surface ensures its vents remain clear of obstruction, thus allowing heat to escape as designed. After that, you might consider manually adjusting your laptop's fan speed – setting your hardware's fan to maximum speed (rotations-per-minute, or RPM) will help keep your machine cool, even when playing the most demanding high-end games.
Firing on all cores
It's not always obvious why, but some games and/or applications fail to use the CPUs that power them to their fullest potential. Even if you're packing an octa-core processor, your game may decide it only wants to utilize some of those cores and not all – leaving you with poor performance at your end. You'll be pleased to know, though, that the workaround for this is straightforward. First, you'll want to fire up the game in question, and then press Ctrl Alt Delete to activate Windows Task Manager. Once there, locate and right-click on the game you're playing, select the 'Details' tab, hit 'Set Affinity', and select '

Disable unnecessary background services
A whole host of background services run on Windows laptops in default settings, many of which can be switched off as a means of boosting performance, in turn putting less strain on your RAM usage and CPU. Services such as 'Bluetooth Support Service', 'Downloaded Maps Manager', 'Internet Connection Sharing', 'Windows Biometric Service', and 'Windows Media Player Network Sharing Service', can all be toggled off, alongside many others.
Disabling background services is easy – you should:
- Search "services" in the Windows search bar, and hit the 'Services' app
- Right click on the service you want to disable, and select 'Properties'
- Below where it says "Service status: Running", hit 'Stop'
- Below that again, hit 'Apply' – move onto the next service and repeat all of the above


