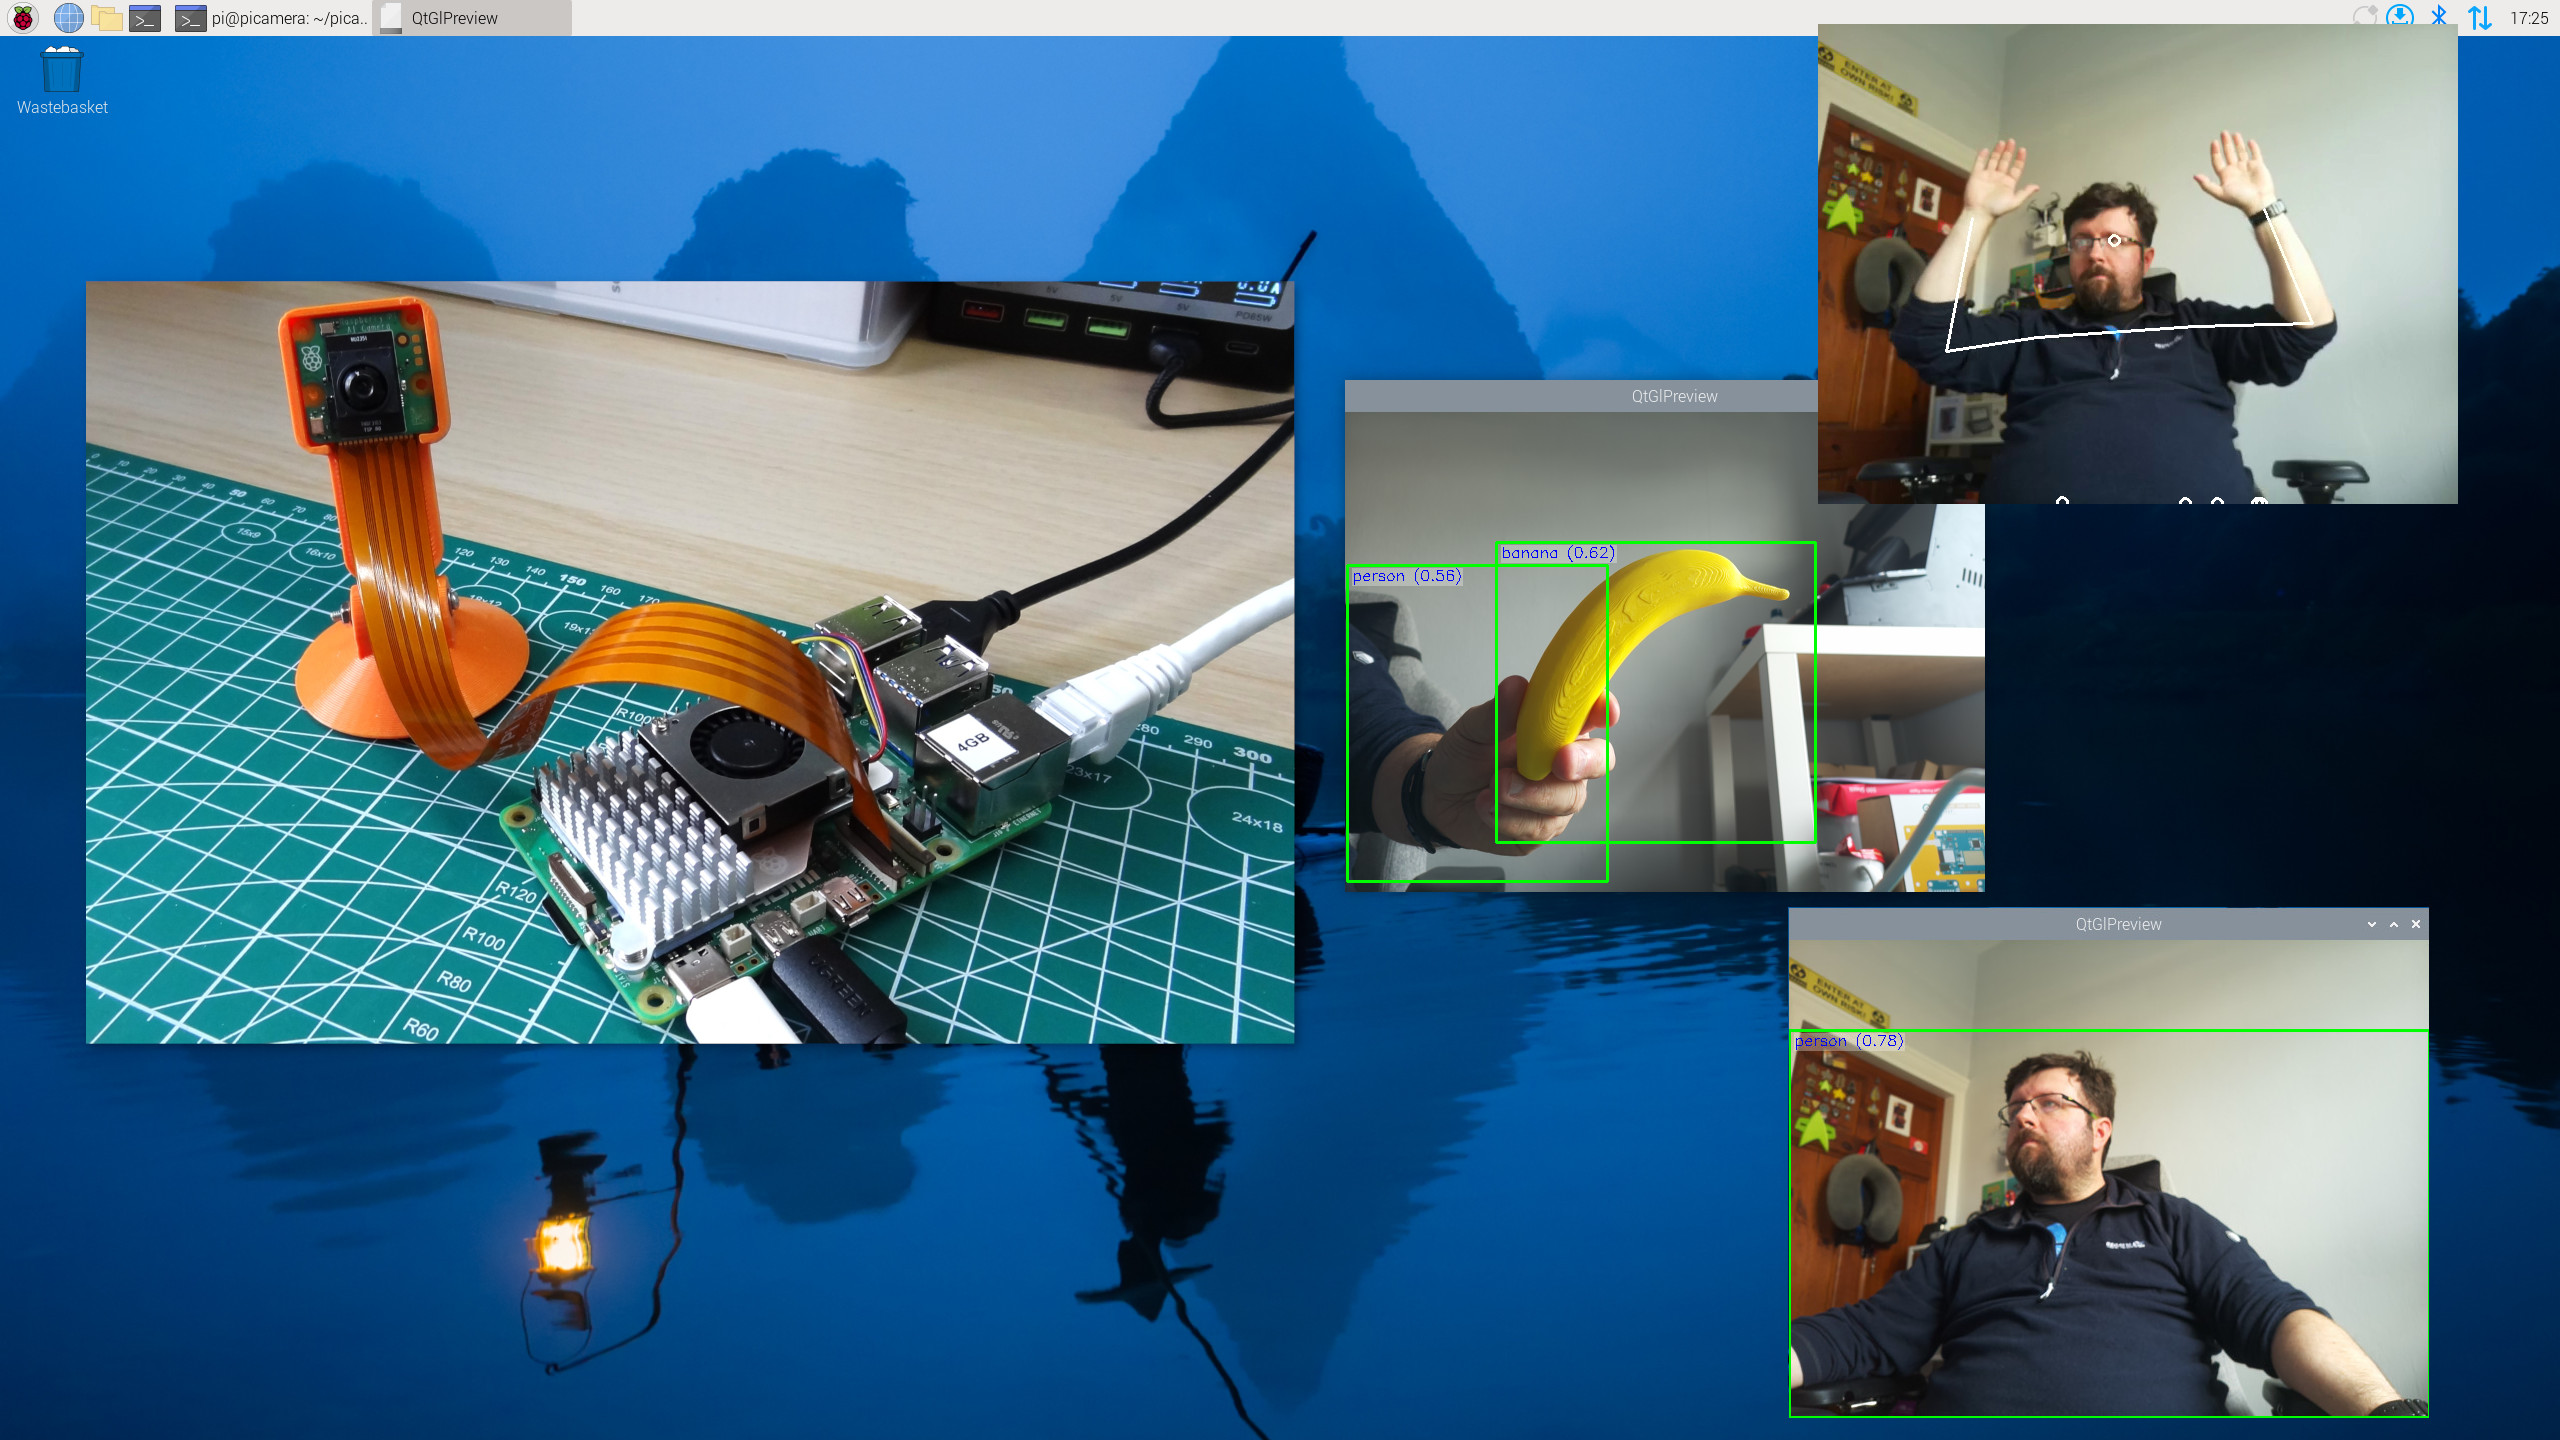
Raspberry Pi’s new AI Camera Kit takes the strain of processing neural network models from the CPU; instead the Sony IMX500 does all of the hard work. Yes, the $70 Raspberry Pi AI Camera Kit has just been released and we had early access to a unit for our review, but we wanted to show you how to get started with the kit, and this will be the first in a short series of how tos, covering getting started and how to generate your own neural network models for use with the kit.
In this part, we get things up and running, learn how to use the software from the terminal, and via Python. We’ll be using a Raspberry Pi 5 for the how to, but the process can be repeated on a Raspberry Pi 4 or Zero 2 W. Note that other models of Pi may need a few tweaks to work.
For this project you will need
- A Raspberry Pi 5 or 4
- Raspberry Pi AI Camera
Installing the Raspberry Pi AI Camera
Our first step is to get the hardware installed, luckily this is really easy to do.
- Carefully unlock the camera’s plastic clips and insert the wider end of the camera cable so that the metal “teeth” are visible from the front of the camera.
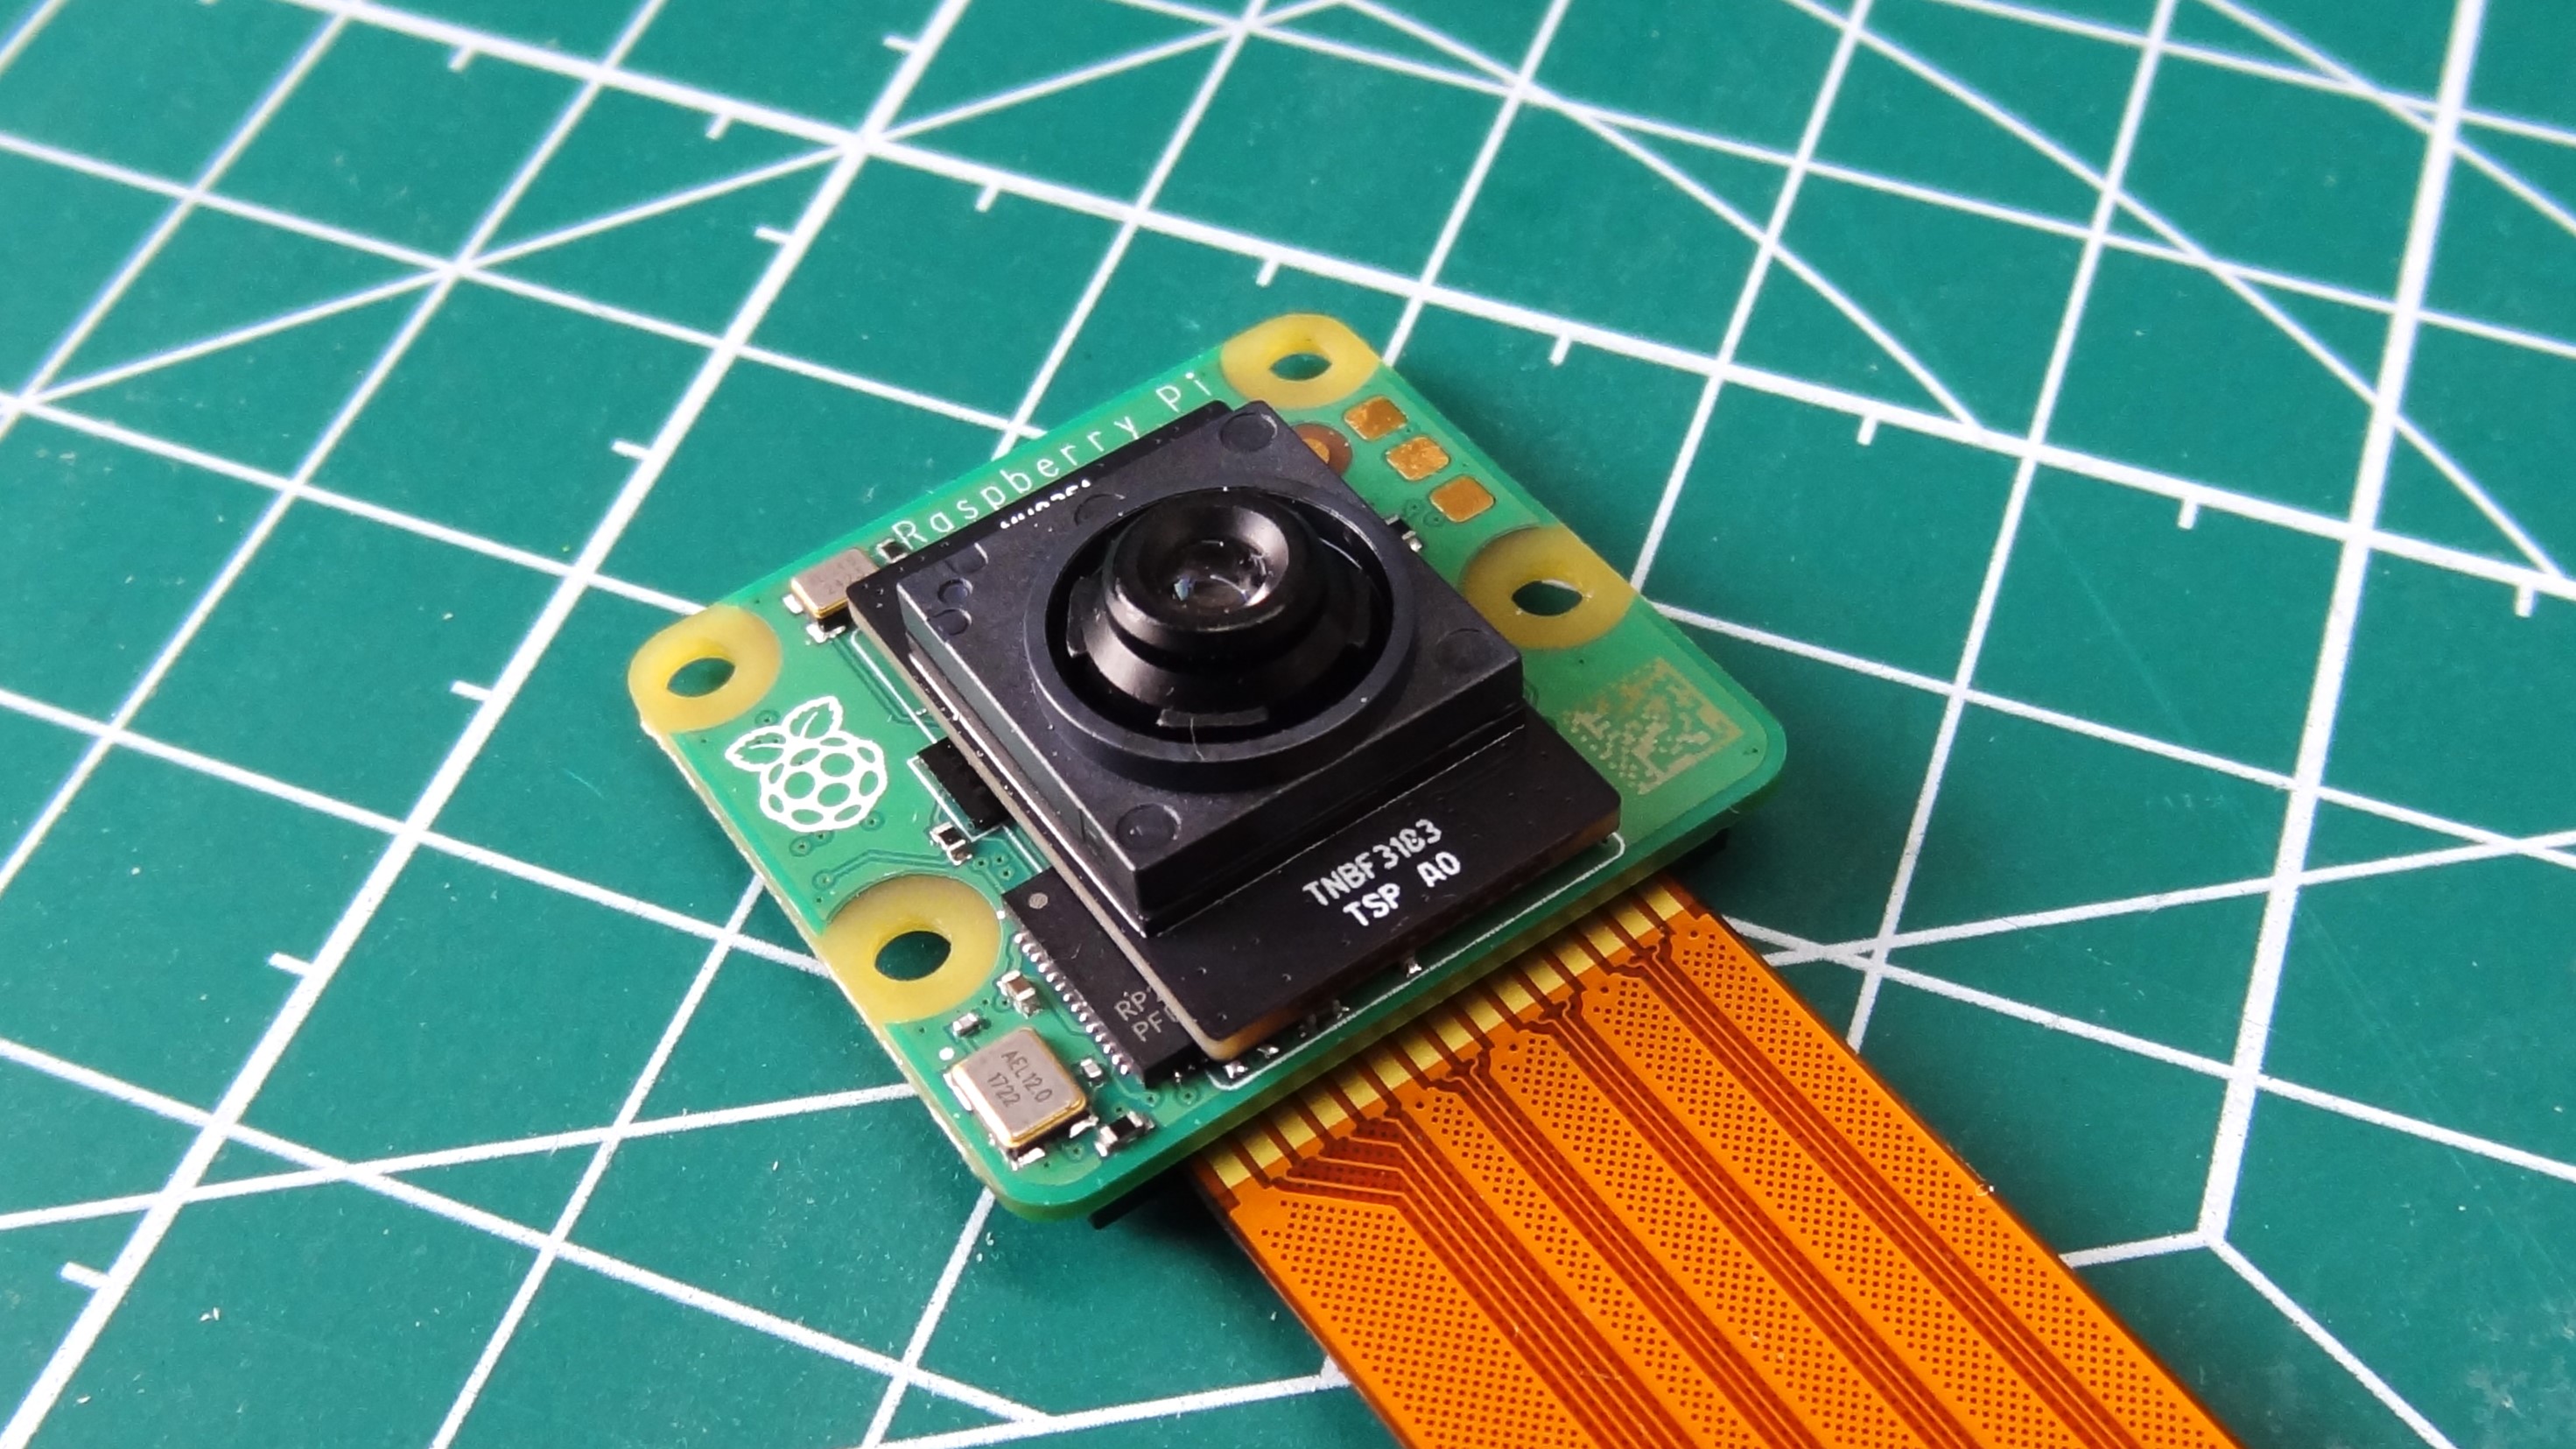
- Lock the cable into place.
- With the power turned off, unlock the plastic clip on CAM1 (CAMERA on Pi4) connector. Yes, CAM1 is the connector to use. We tried CAM0, and even after a firmware update, the camera was not detected by the Pi 5.
- Insert the other end of the camera cable into the connector with the metal pins facing the USB / Ethernet port on the Pi.
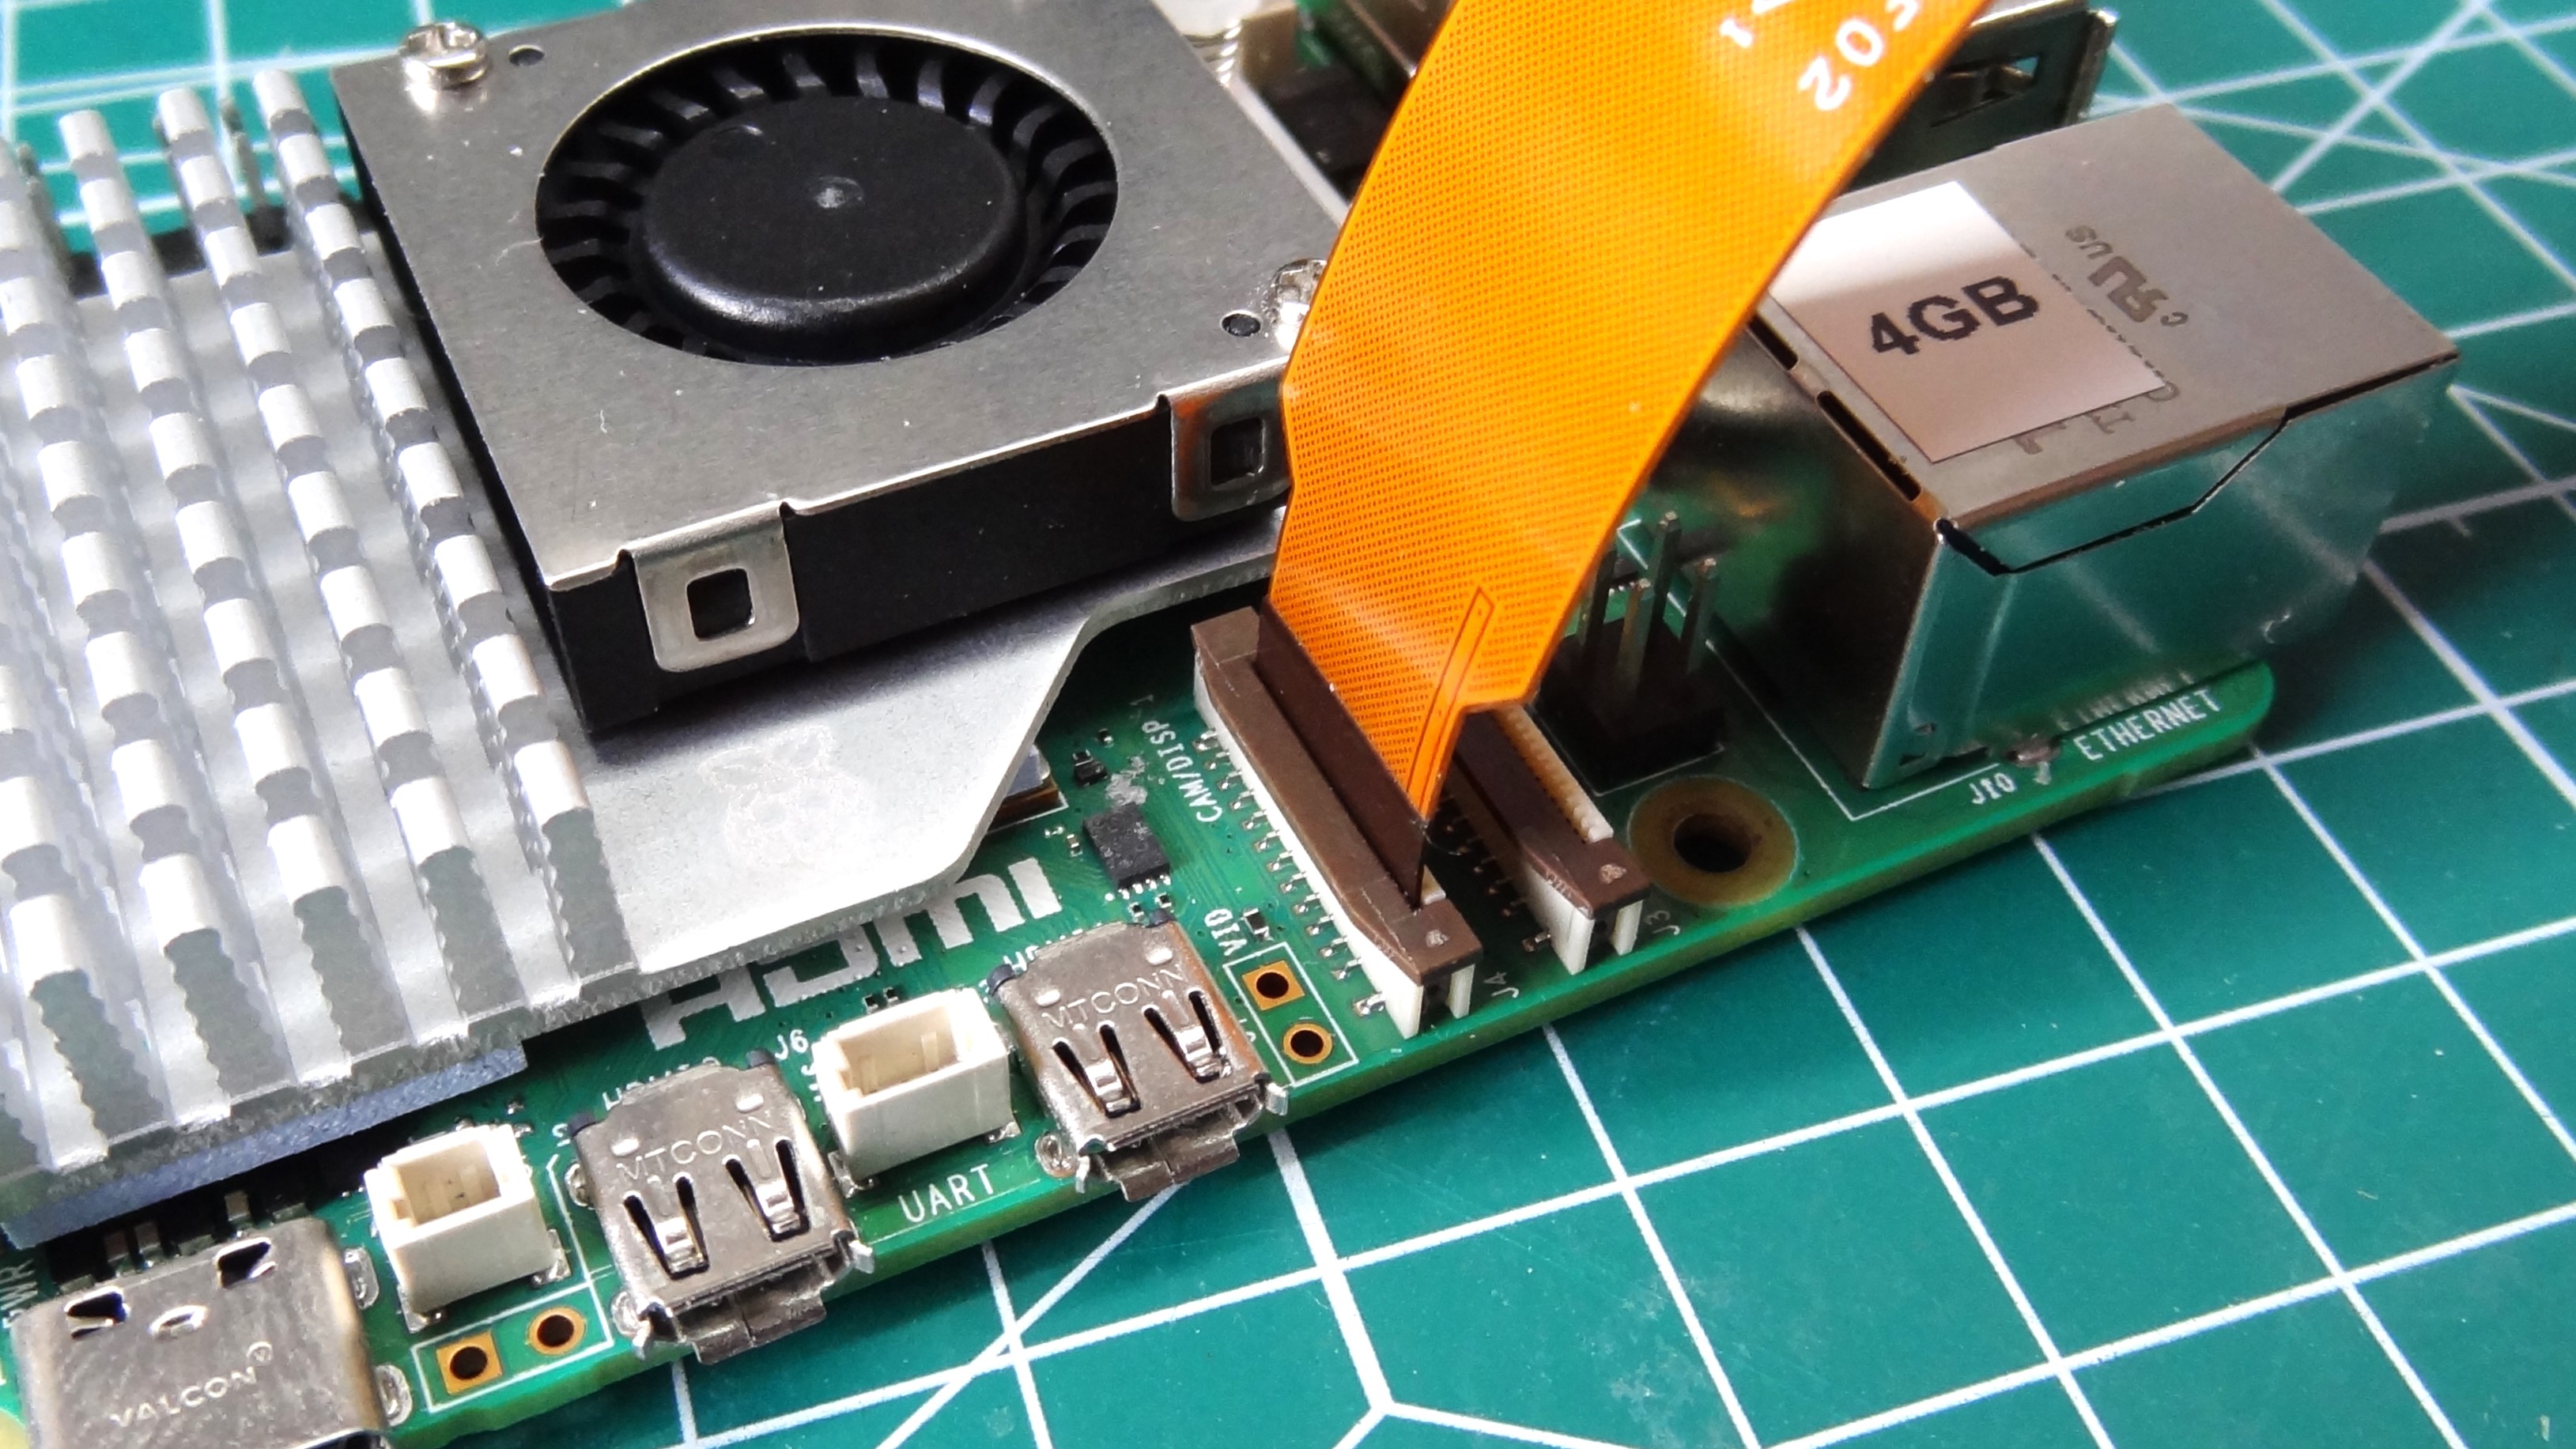
- Check that the cable is level, and carefully lock into place.
- Power up the Raspberry Pi to the Raspberry Pi desktop.
- Open a terminal and first update the software repository list, then perform a full upgrade.
sudo apt update && sudo apt full-upgrade- Install the software package for the Sony IMX500 used in the Raspberry Pi AI Camera. This will install firmware files necessary for the Sony IMX500 to work. It will also install neural network models in /usr/share/imx500-models/ and update rpicam-apps for use with the IMX500.
sudo apt install imx500-all- Reboot the Raspberry Pi
Running the demo applications
Raspberry Pi OS has a series of camera applications that can be used for quick camera projects, or in this case, to test that the camera is working properly. The first is raspi-hello, the “hello world” of camera testing. We’re going to use it with a never-ending timer (-t 0s) and the mobilenet object detection model.
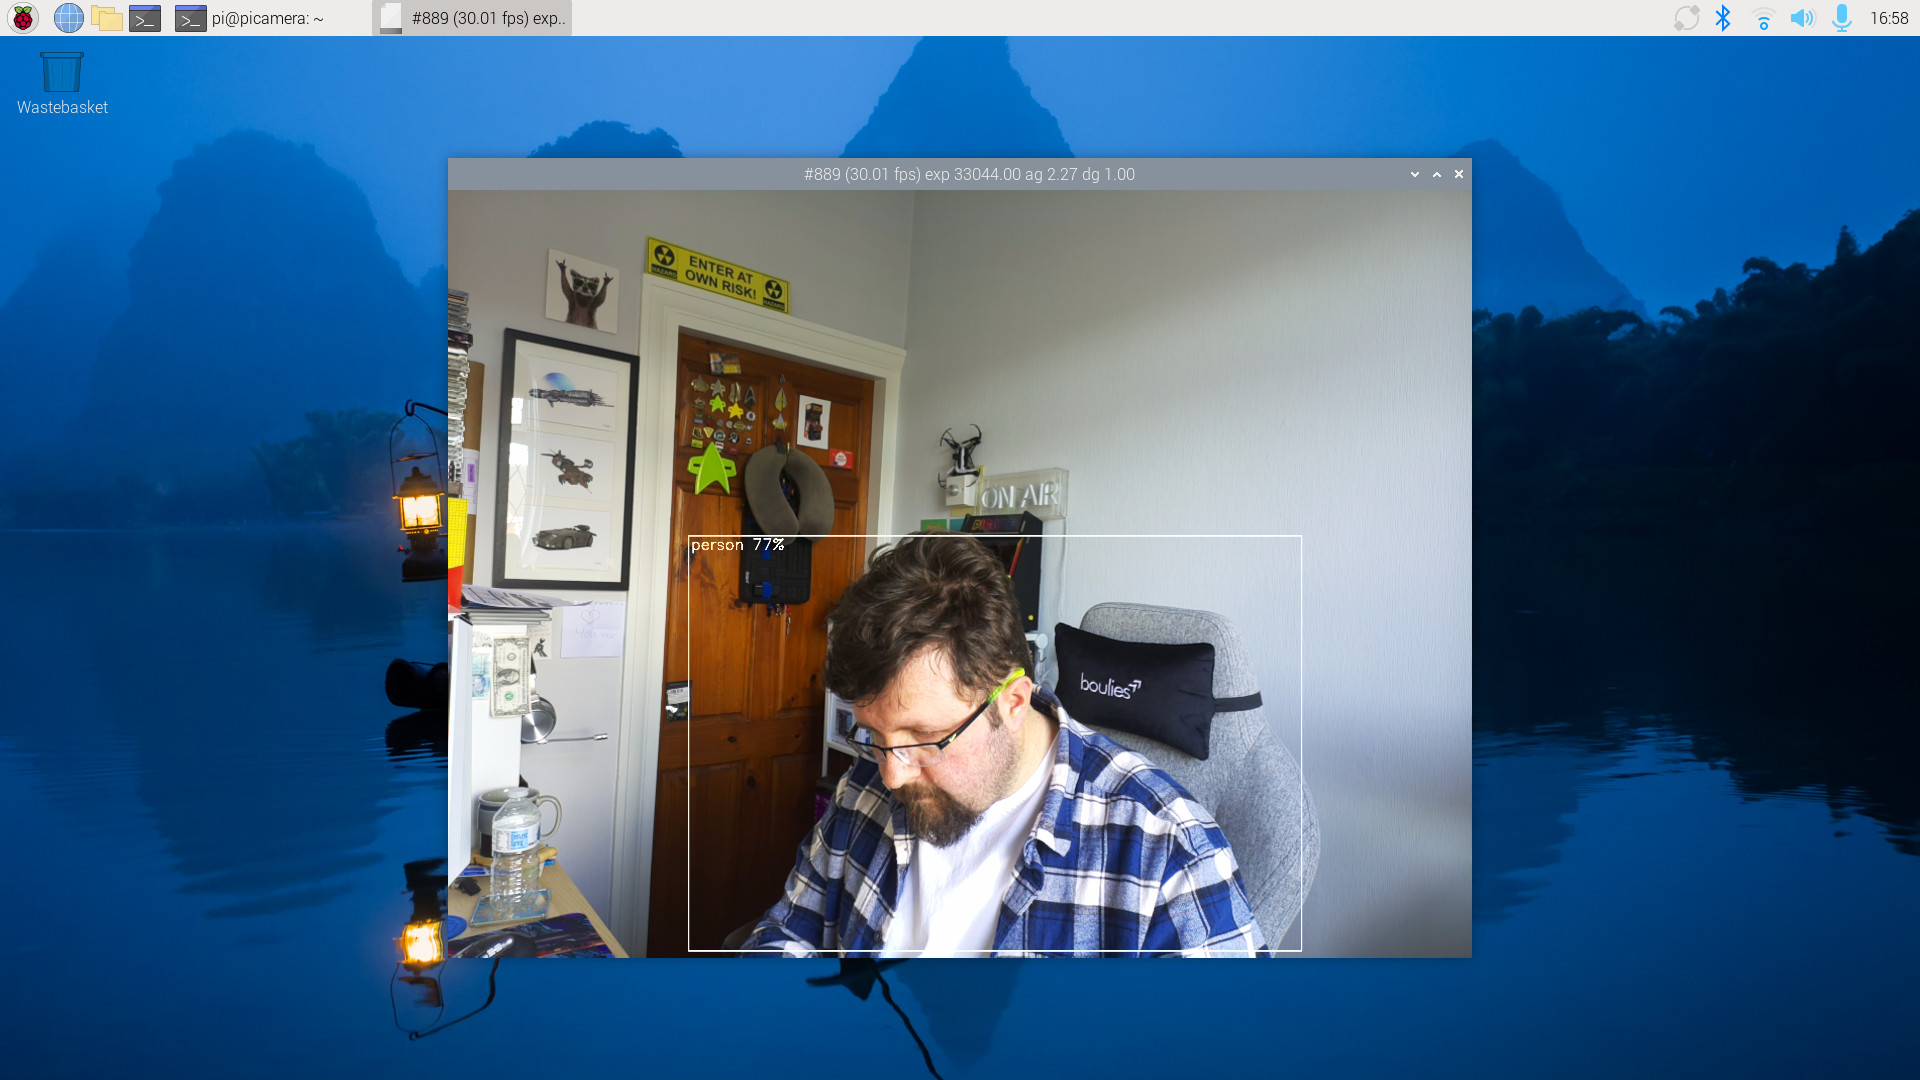
- Open a terminal and enter this command, followed by the Enter key.
rpicam-hello -t 0s --post-process-file /usr/share/rpi-camera-assets/imx500_mobilenet_ssd.json- Hold objects to the camera to test. In the viewfinder you will see the camera identify objects (and people).
- If the focus is off, either move the object into focus, or, adjust the focus using the included adjustment tool rotate the lens counterclockwise for near, clockwise for far focus. The minimum focus is 20 CM.
- When you are done testing, close the window to end.
If we would like to use pose estimation, then we need to modify the command to use the posenet model.

- Open a terminal and enter this command, followed by the Enter key.
rpicam-hello -t 0s --post-process-file /usr/share/rpi-camera-assets/imx500_posenet.json- Stand in front of the camera, notice that a wireframe appears over your arms, legs and torso. Move around! Change the focus if necessary.
- Close the window to end.
To record the session as a ten-second video, use raspicam-vid to output an MP4 file. This will save the video, along with the bounding boxes and recognized objects.
- Open a terminal window and use this command to record the video to a file called output.mp4. The command can also take parameters to set the resolution and FPS, --width 1920 --height 1080 --framerate 30. We can also swap in the posenet model and record the output of that.
rpicam-vid -t 10s -o output.mp4 --post-process-file /usr/share/rpi-camera-assets/imx500_mobilenet_ssd.json- Press Enter to run the code. In a moment the stream will appear. Show objects to the camera and watch as they are identified with varying levels of certainty. When the preview window closes, the recording will end.
- Via the File Manager, navigate to the file and open using VLC. This should be the default, if not you can right-click and select VLC.
Using the Raspberry Pi AI Camera with Picamera2
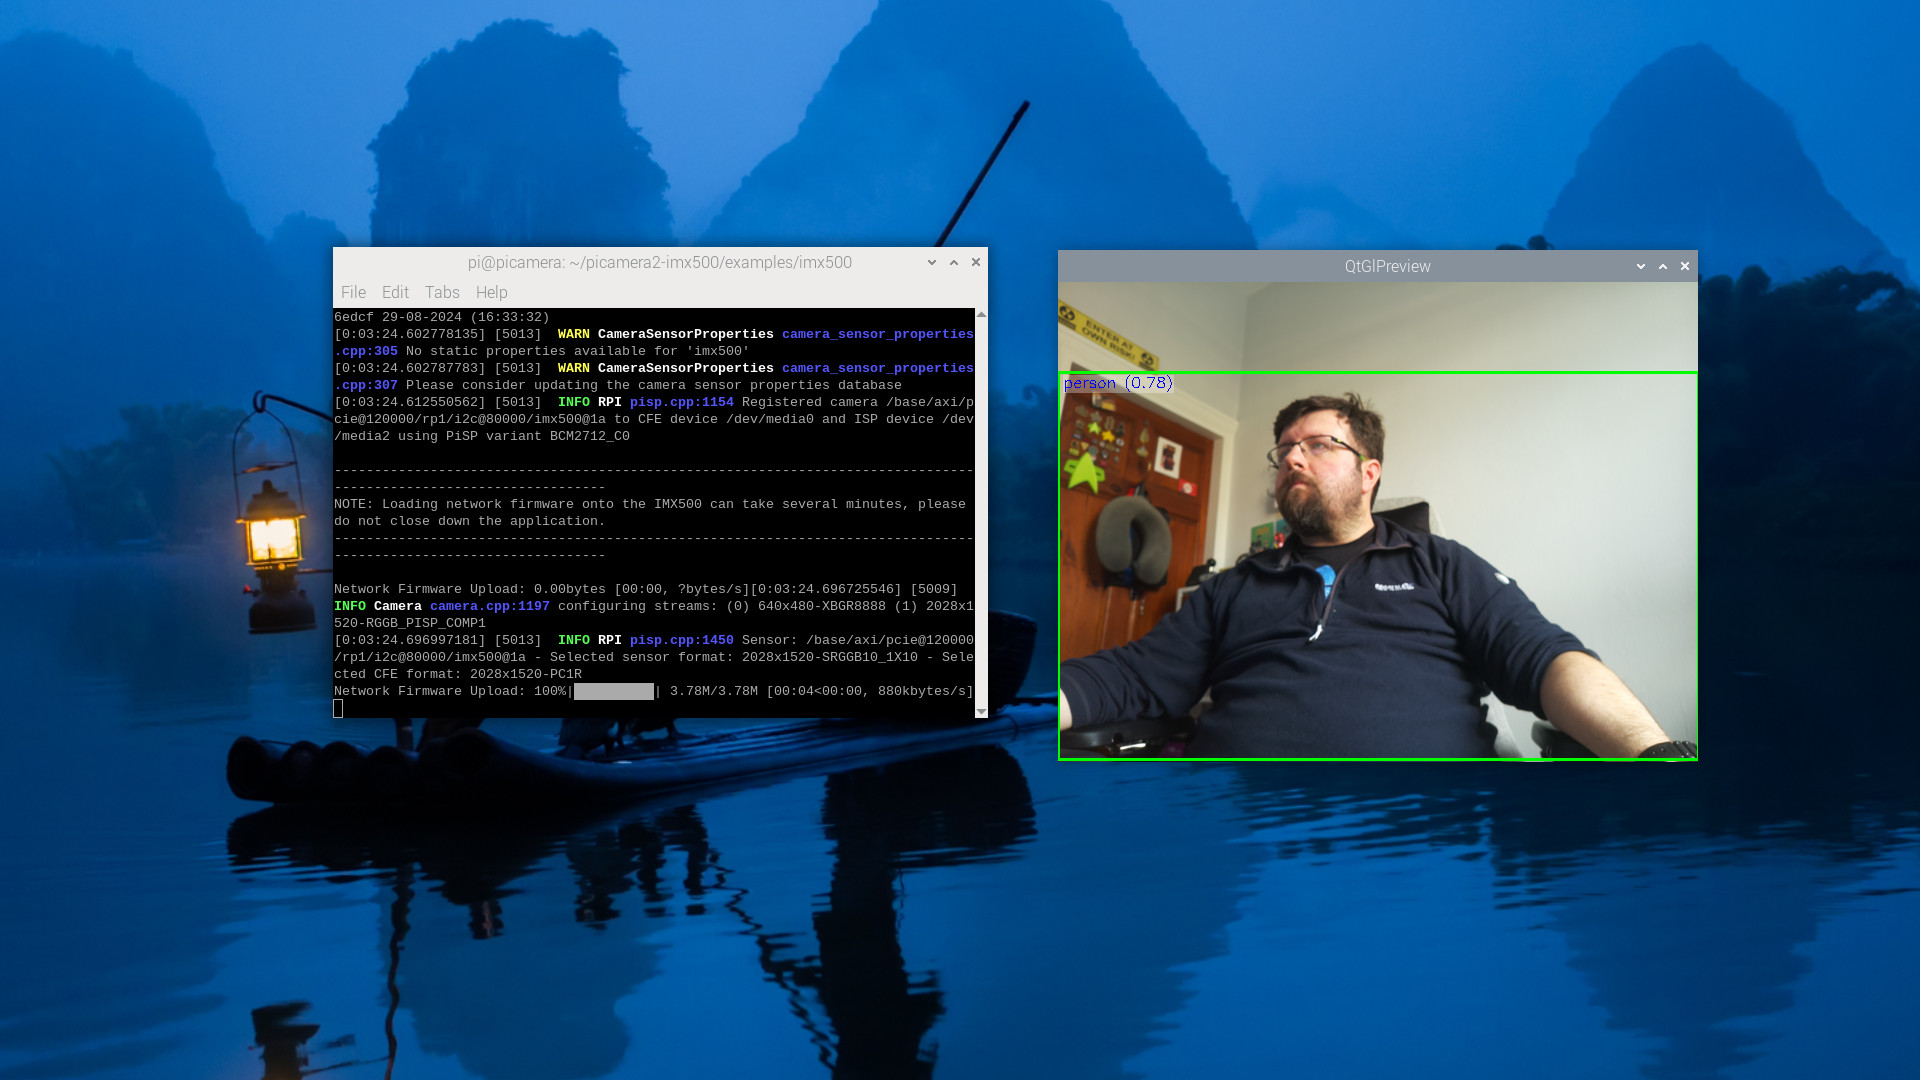
Picamera2 is the Python module that can be used to control the plethora of Raspberry Pi cameras, and now it has support for the new AI Camera. But before we can use it, we need to install some software dependencies.
- Open a terminal and run this command.
sudo apt update && sudo apt install python3-opencv python3-munkres- Download the Picamera2 GitHub repository to the home directory of your Raspberry Pi. You can either clone the repository or download the archive and extra to your home directory.
#To clone
git clone https://github.com/raspberrypi/picamera2.git- Navigate to picamera2/examples/imx500.
- Using Python, open imx500_object_detection_demo.py
python imx500_object_detection_demo.py- In the preview window, watch as the AI camera attempts to identify objects presented to the camera.
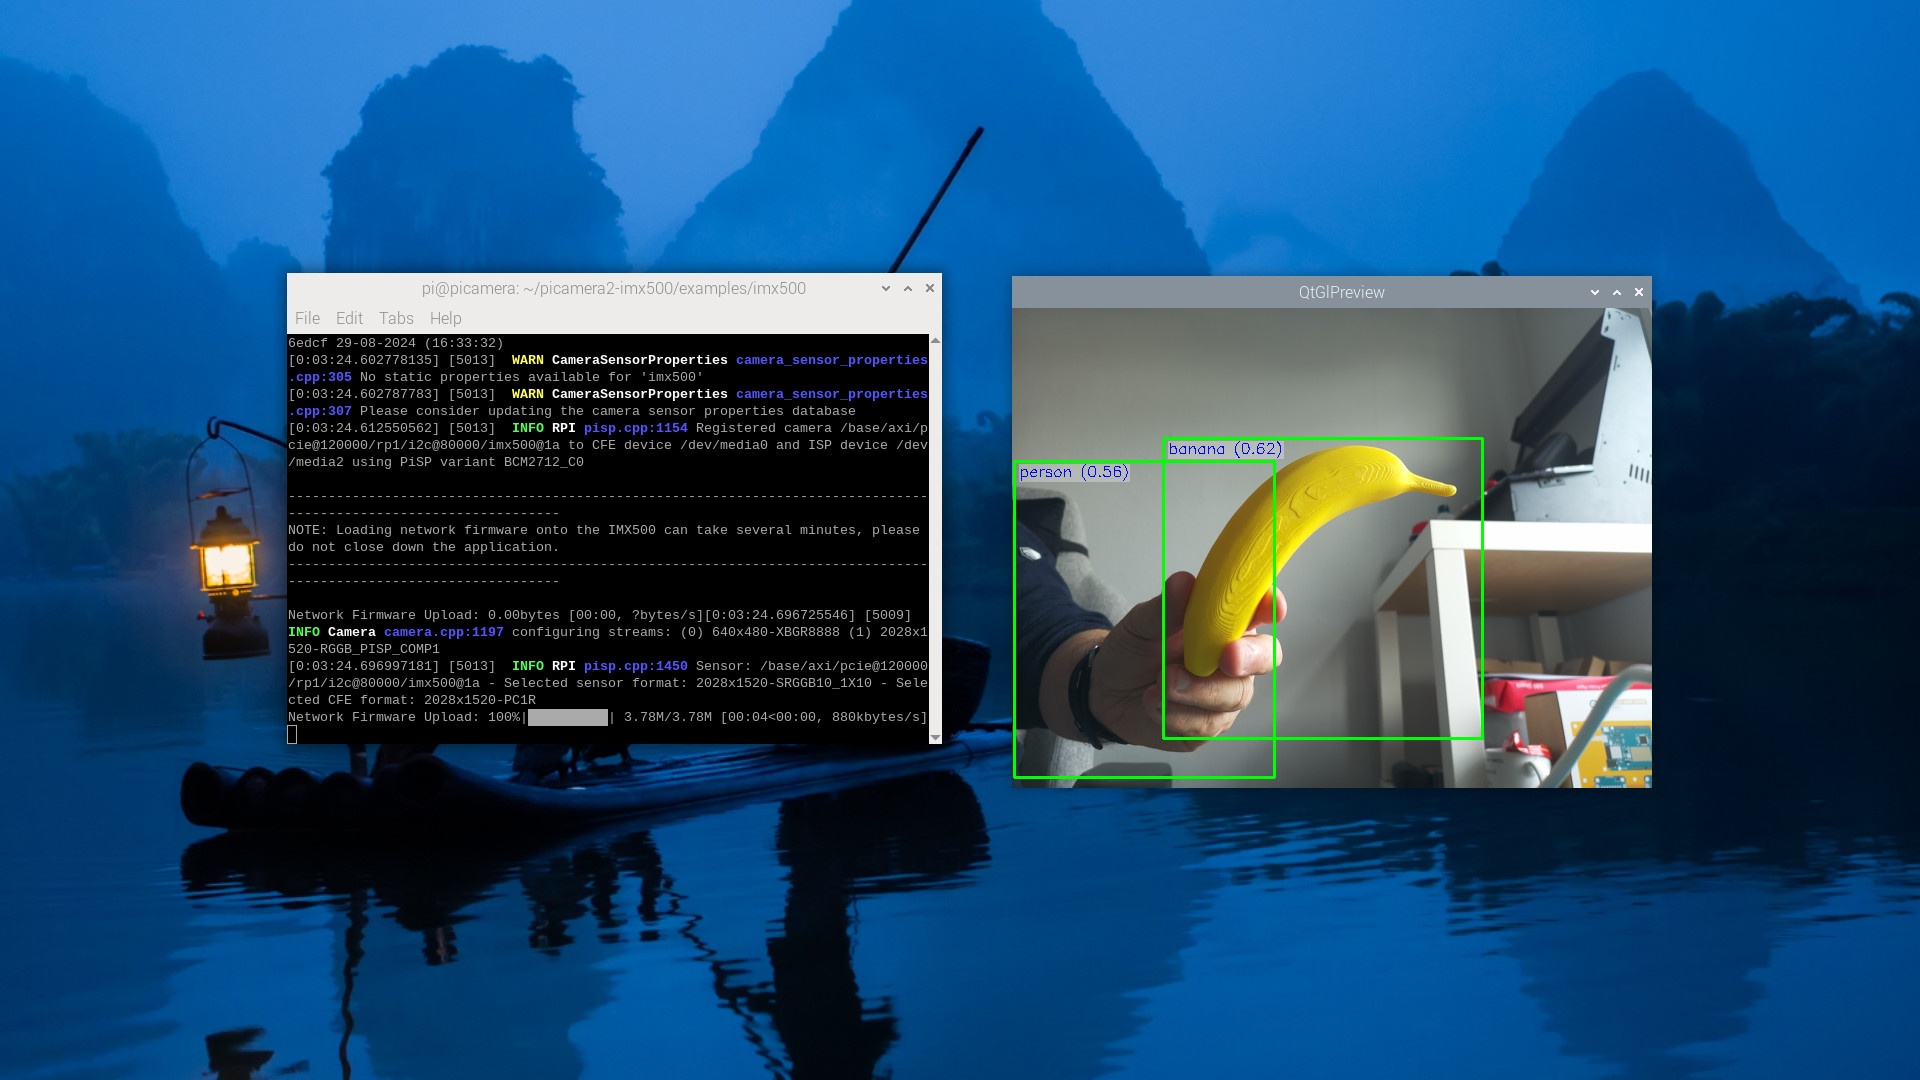
- Close the window to exit.
We can also use the pose estimation demo to check that Python can detect a human pose.
- Navigate to picamera2/examples/imx500.
- Using Python, open imx500_pose_estimation_higherhrnet_demo.py.
python imx500_pose_estimation_higherhrnet_demo.py- Pose for the camera.
- Close the window to exit.
What about creating our own neural network models?
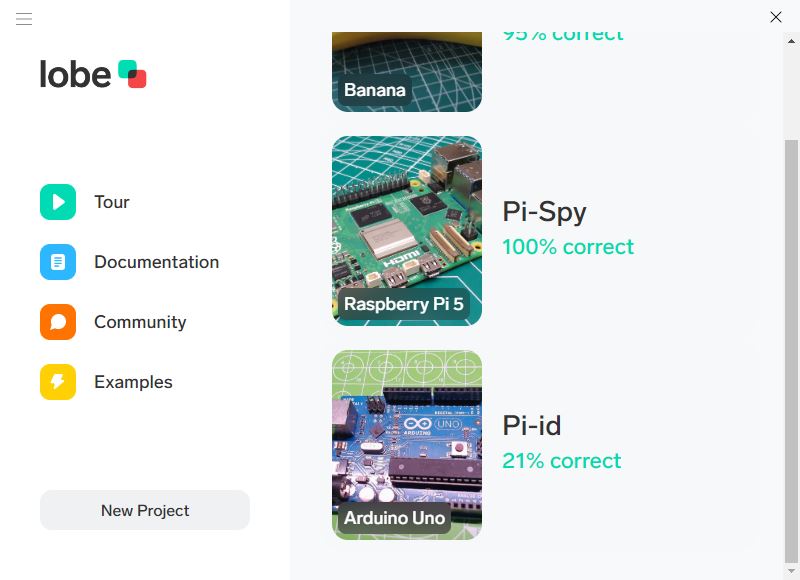
The documentation does reference creating your own neural network models, but Sony’s Brain Builder for AITRIOS is not ready yet, and we were unable to convert a Tensorflow model created in Microsoft Lobe, for use in the imx500 converter suite of tools. We’ll be keeping an eye on this, and once the tool is ready, an additional how to will cover how to train your own neural network model for use with the Raspberry Pi AI Camera.


