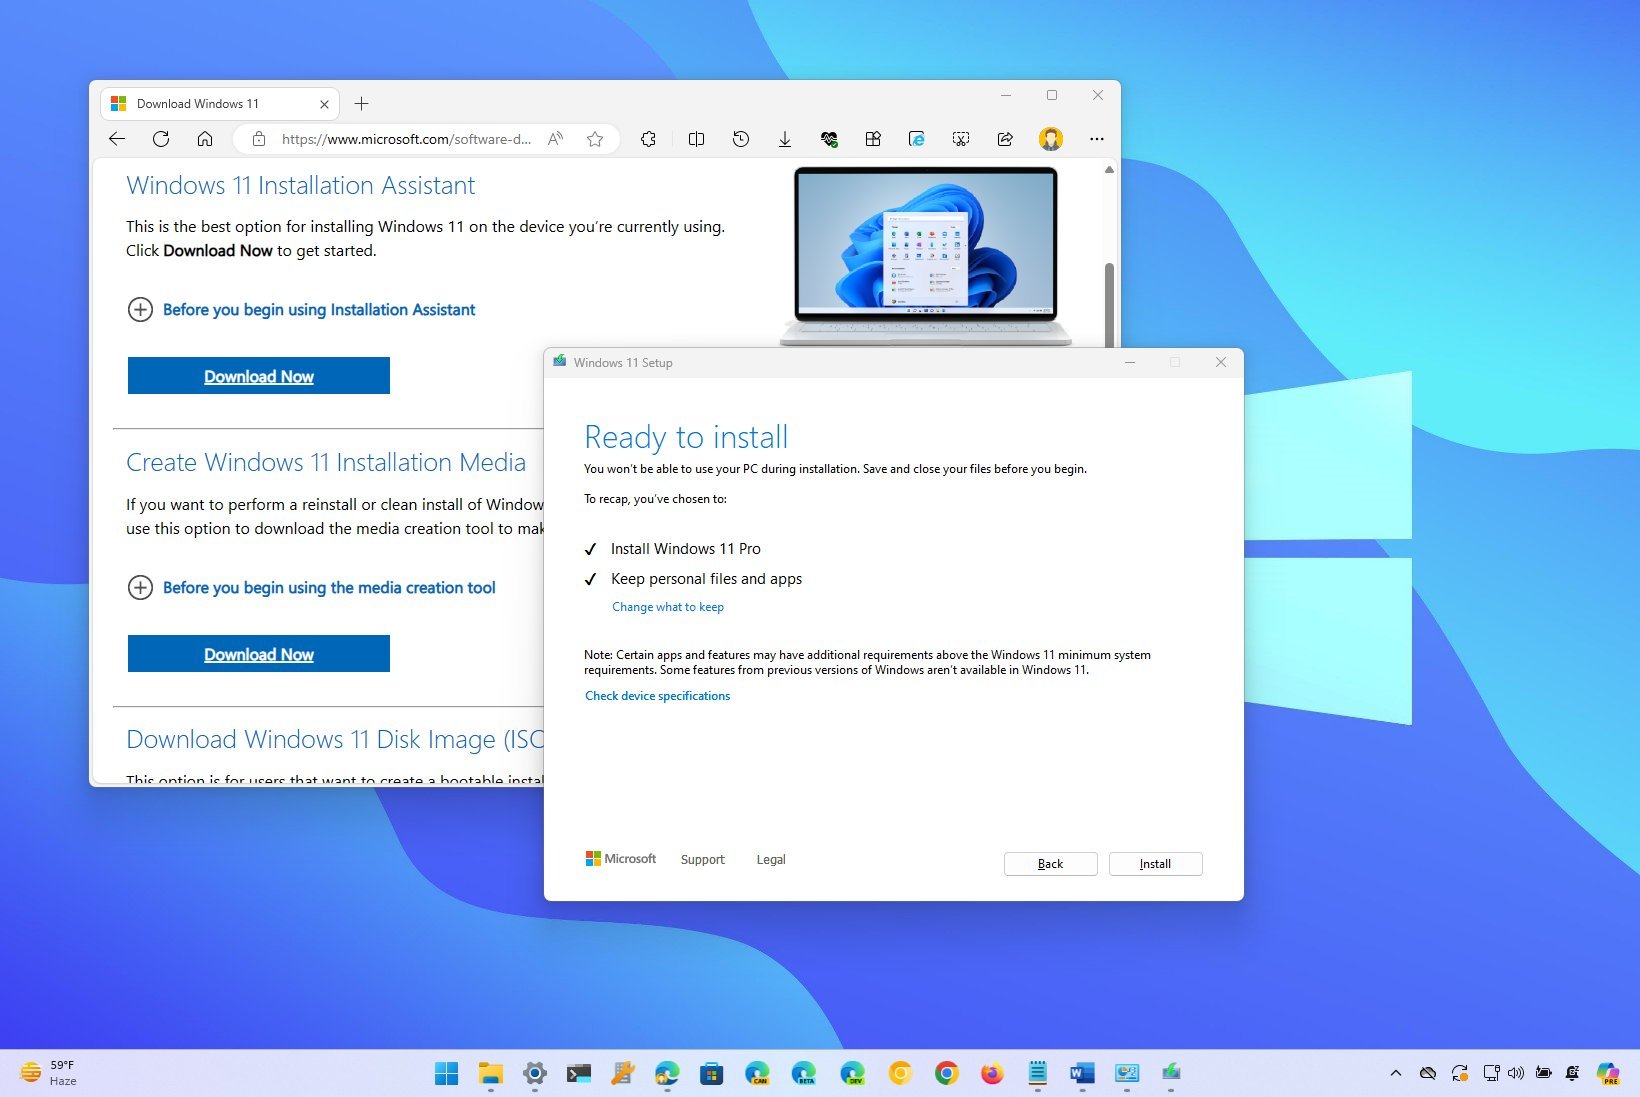
The Windows 11 2024 Update (version 24H2) is slowly rolling out for compatible devices, and if you want to install it as soon as possible, Microsoft offers different methods to proceed with the upgrade process.
It's important to note that since this is technically a new version of the operating system, this upgrade requires complete reinstallation. However, the setup should preserve your files, settings, and applications.
Currently, the company is gradually making available the new version of Windows 11 to devices known to have a good upgrade experience. Once the feature update is proven to be more reliable, the rollout will be more broadly available.
Typically, computers without compatibility issues will receive the installation notification almost immediately after the official release date, but it always takes time to reach every hardware and software configuration.
If you want to upgrade without waiting, you can force the installation through the Windows Update settings, the Installation Assistant tool, the Media Creation Tool, or the ISO file.
In this how-to guide, I'll outline the steps to get the Windows 11 2024 Update installed on your computer.
How to install Windows 11 2024 Update via the Settings app
To force version 24H2 on your computer running version 23H2 or 22H2 through Settings, use these steps:
- Open Settings.
- Click on Windows Update.
- Turn on the "Get the latest updates as soon as they're available" toggle switch.
- Click the Check for updates button.
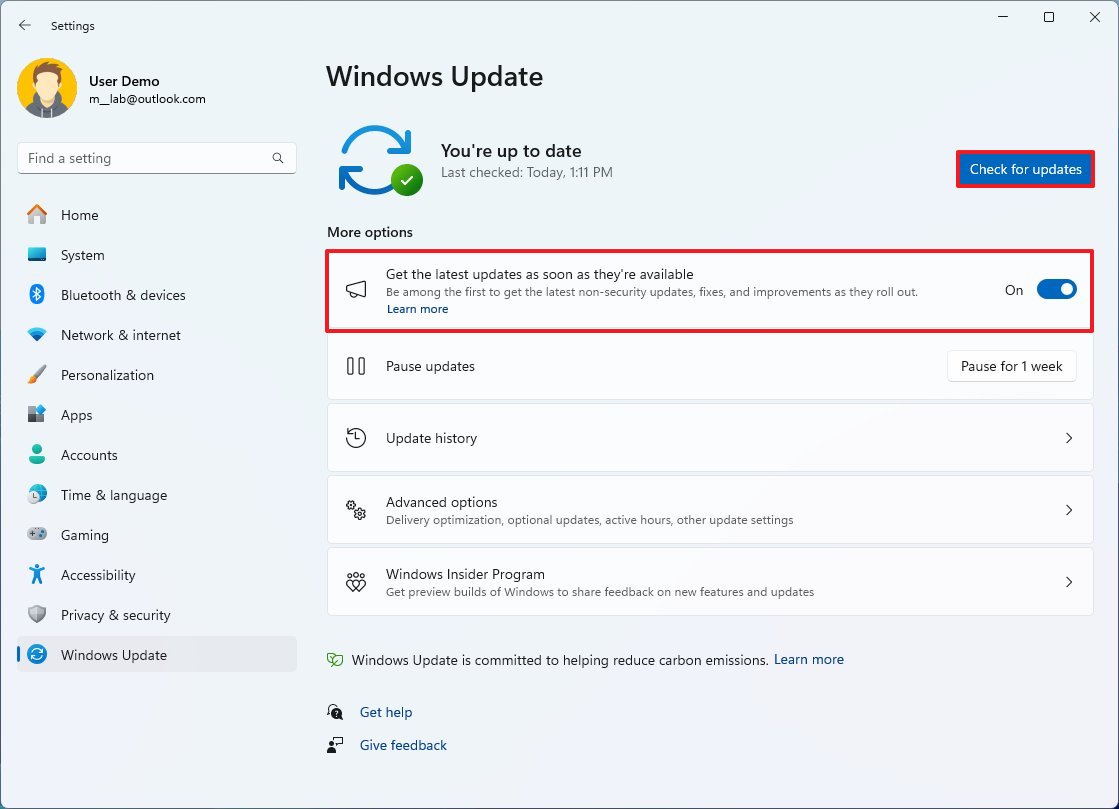
- Click the "Download & install" button (if applicable).
- Click the Restart now button.
Once you complete the steps, the setup will continue with the installation, and the computer will need to restart to apply the feature update.
If, after checking for updates, the new version isn't available, it's likely that the operating system is still not ready for your hardware and software configuration.
How to install Windows 11 2024 Update via the Installation Assistant
To get Windows 11 version 24H2 with the Installation Assistant (when available), use these steps:
- Open Microsoft support website.
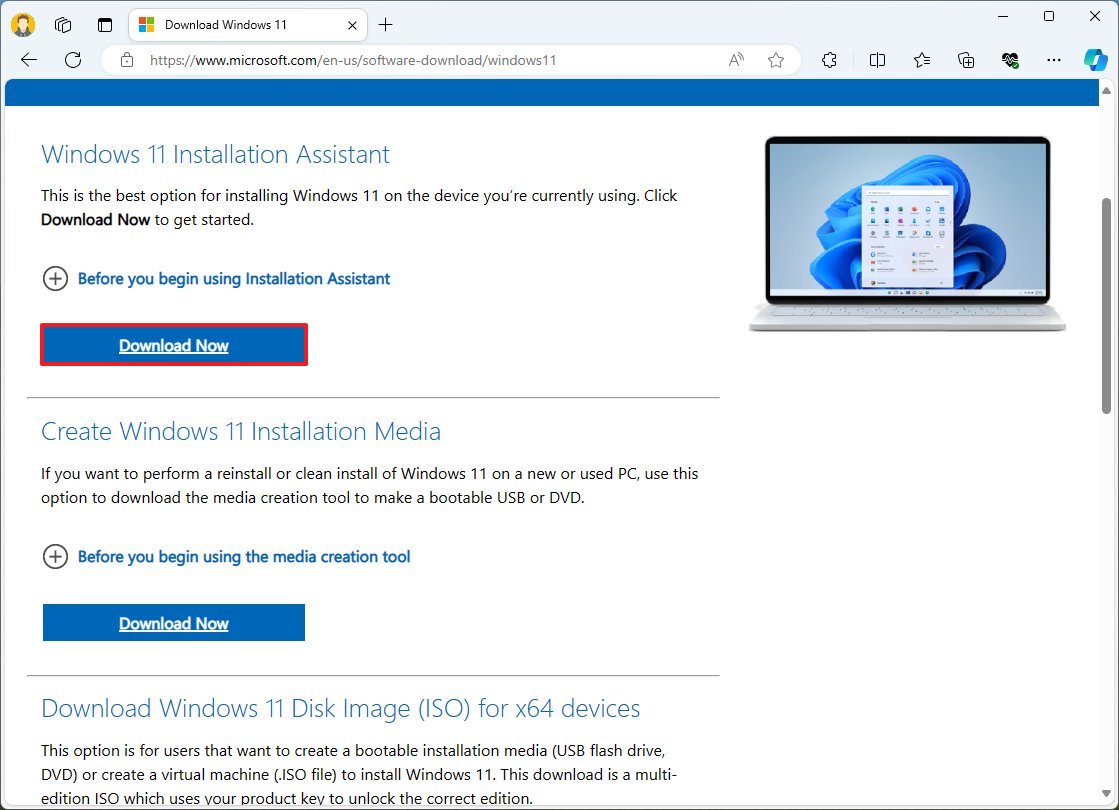
- Click the Download Now button under the "Windows 11 Installation Assistant" section.
- Double-click the Windows11InstallationAssistant.exe file to launch the tool.
- Click the Accept and install button.
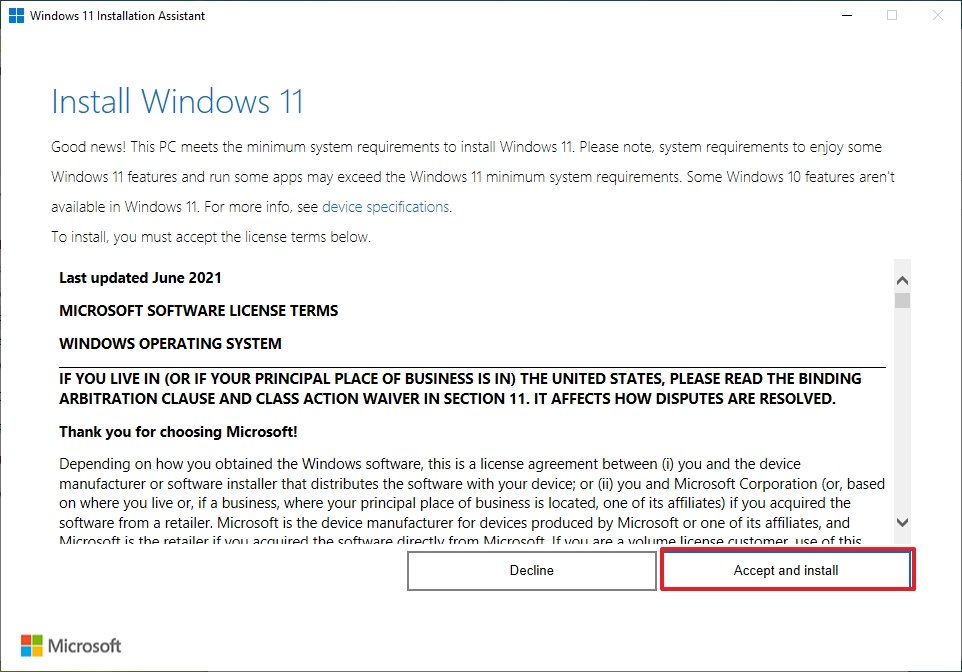
After you complete the steps, the assistant will download the system files and install the new version of Windows 11, preserving your apps, settings, and files.
How to install Windows 11 2024 Update via the Media Creation Tool
Although you can't use the Media Creation Tool to upgrade your computer, you can use it to create a USB bootable media that you can use to launch the setup from the desktop experience.
To install the 2024 Update on your device with the Media Creation Tool (when available), use these steps:
- Open Microsoft support website.
- Click the Download Now button under the "Create Windows 11 installation media" section.
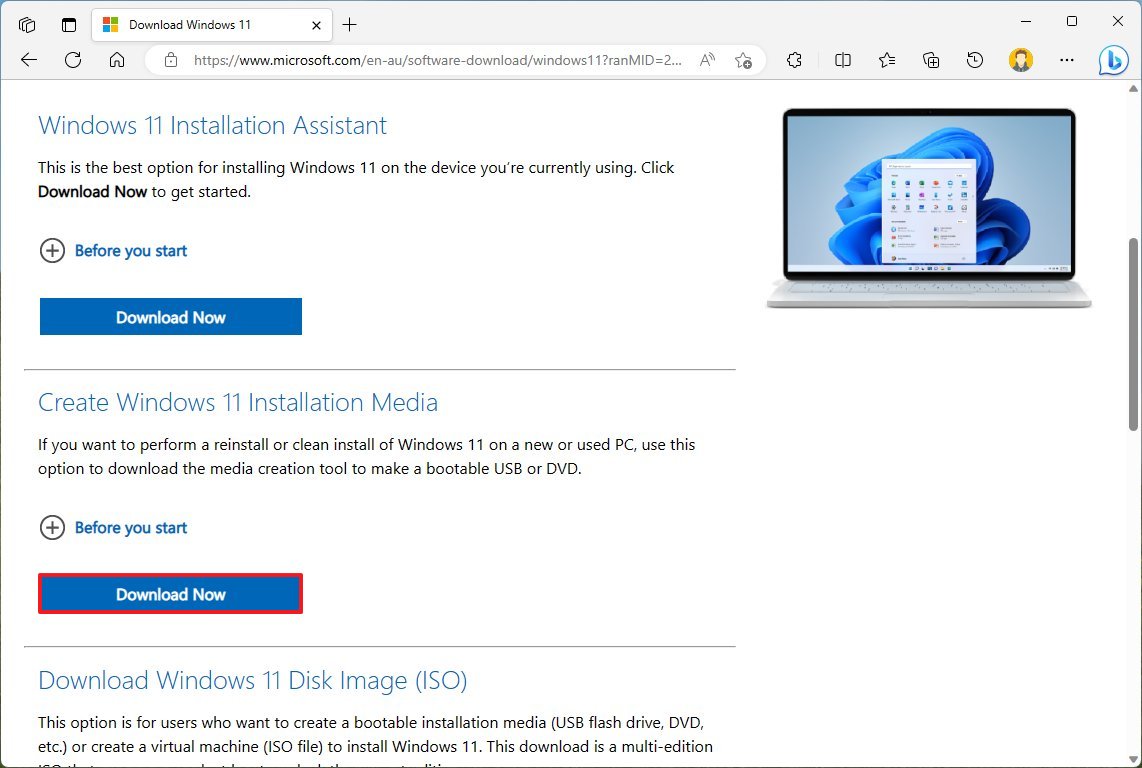
- Double-click the MediaCrationToolW11.exe file to launch the tool.
- Click the Accept button.
- Click the Next button.
- Select the installation language and edition (if applicable).
- Click the Next button.
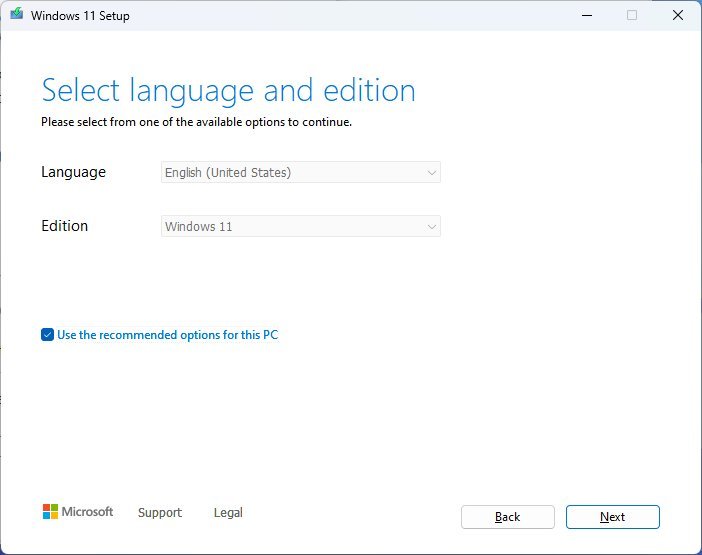
- Quick note: You will need to connect a USB flash drive with at least 8GB of storage. Any data in the flash drive will be erased through this process, as such make sure to back up any important information on it.
- Select the "USB flash drive" option.
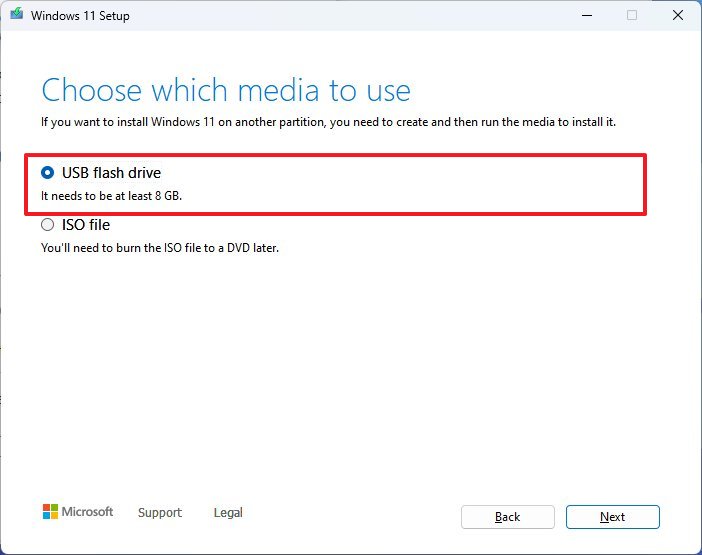
- Click the Next button.
- Select the flash drive from the list.
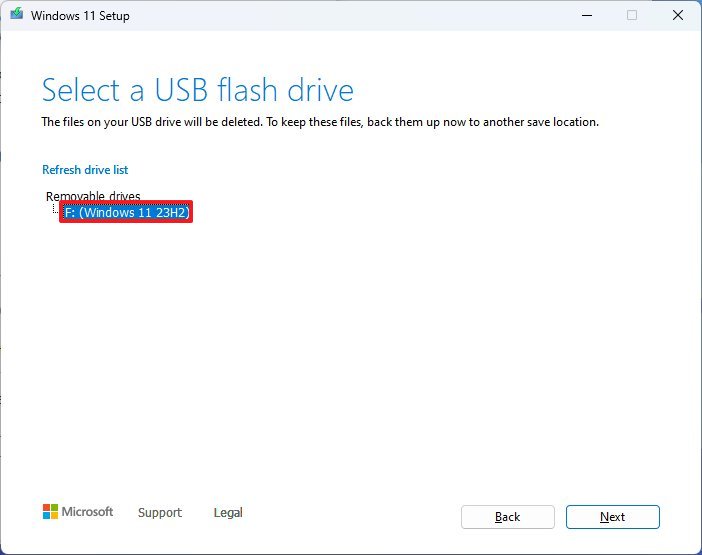
- Click the Next button.
- Click the Finish button.
- Open File Explorer.
- Click on This PC from the left pane.
- Open the USB drive with the Windows 11 2024 Update setup.
- Double-click the setup.exe file to launch the setup.
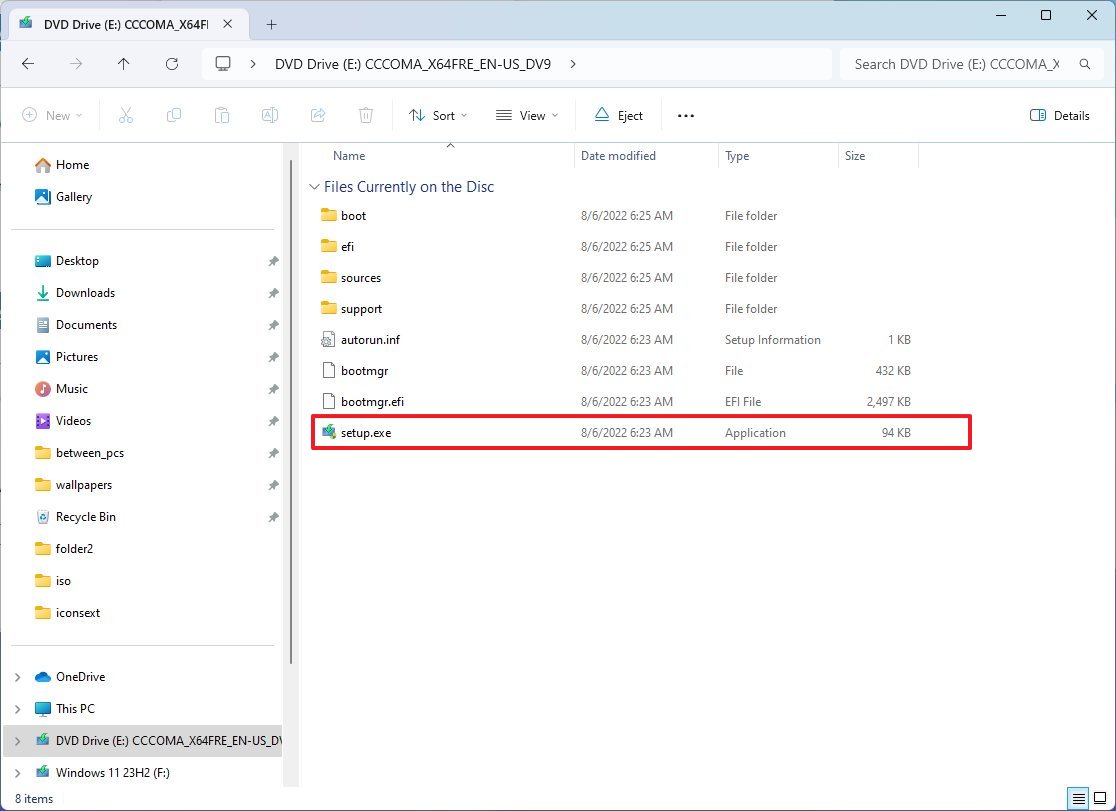
- Click the Next button.
- Click the Accept button to agree to the terms.
- Click the Install button.
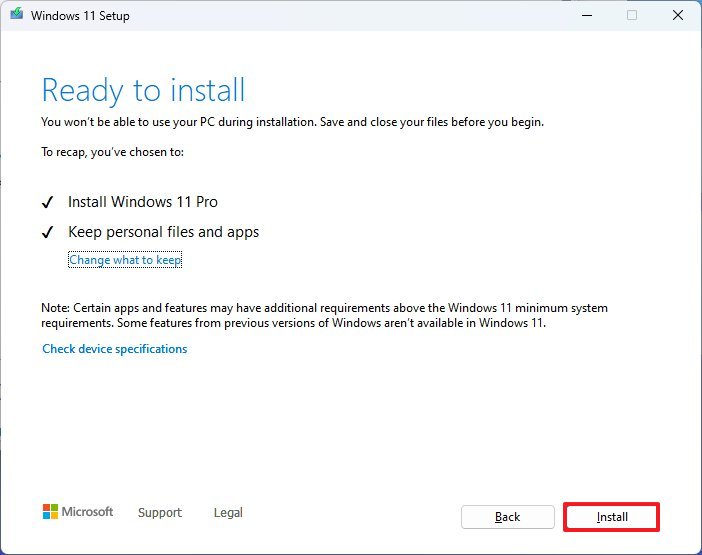
Once you complete the steps, the setup will continue with the feature update installation.
How to install Windows 11 2024 Update via ISO file
If you don't want to download the Media Creation Tool, you can download the ISO file directly to upgrade to the Windows 11 2024 Update.
To use the official ISO file to install version 24H2 on your computer (when available), use these steps:
- Open Microsoft support website.
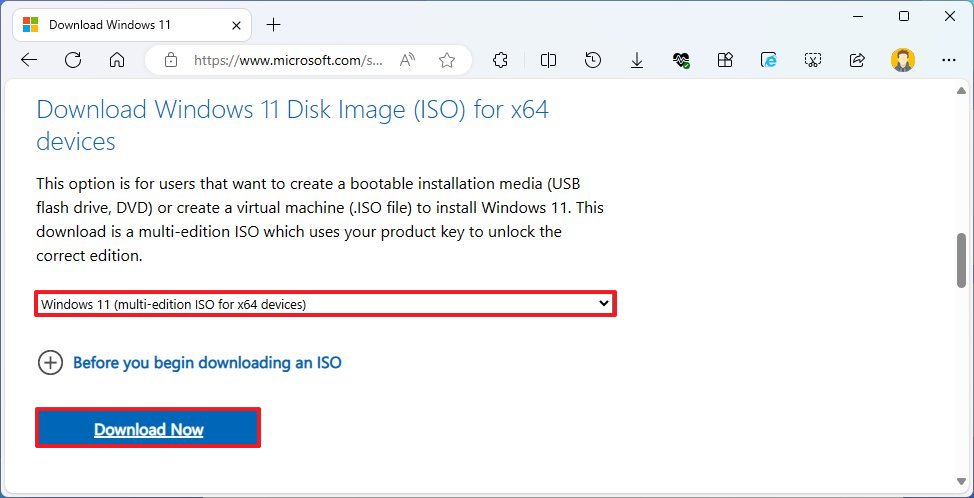
- Select the Windows 11 option under the "Download Windows 11 Disk Image (ISO)" section
- Click the Download button.
- Select the ISO language.
- Click the Confirm button.
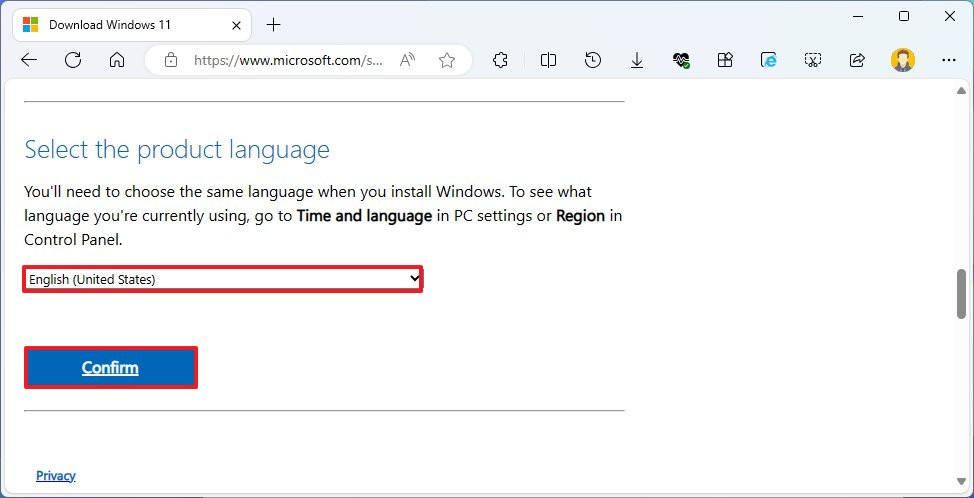
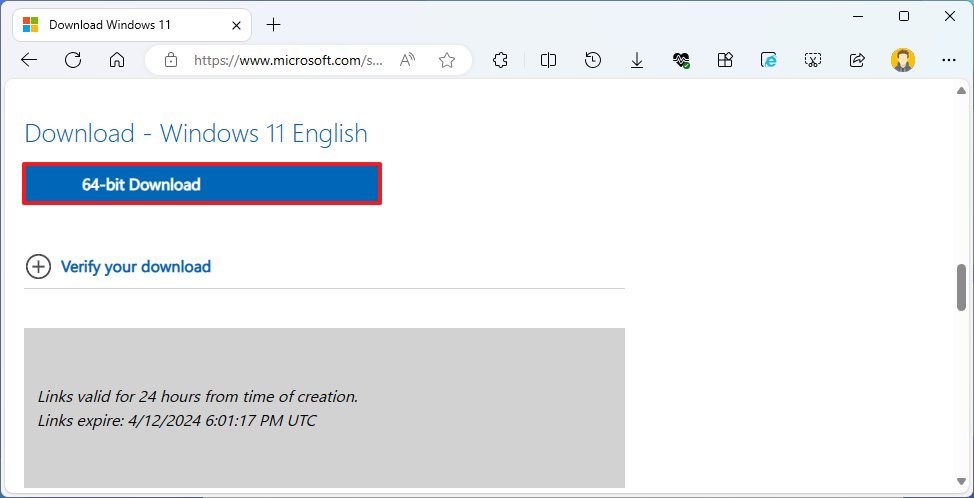
- Click the 64-bit Download button to save the ISO file to the computer.
- Right-click the image file and select the Mount option.
- Select the virtual drive from the left navigation pane (if applicable).
- Double-click the setup.exe file to launch the setup manually.

- Click the Next button.
- Click the Accept button to agree to the terms.
- Click the Install button.

After you complete the steps, the setup will apply the Windows 11 version 24H2 on your laptop or desktop computer.
More resources
For more helpful articles, coverage, and answers to common questions about Windows 10 and Windows 11, visit the following resources:


