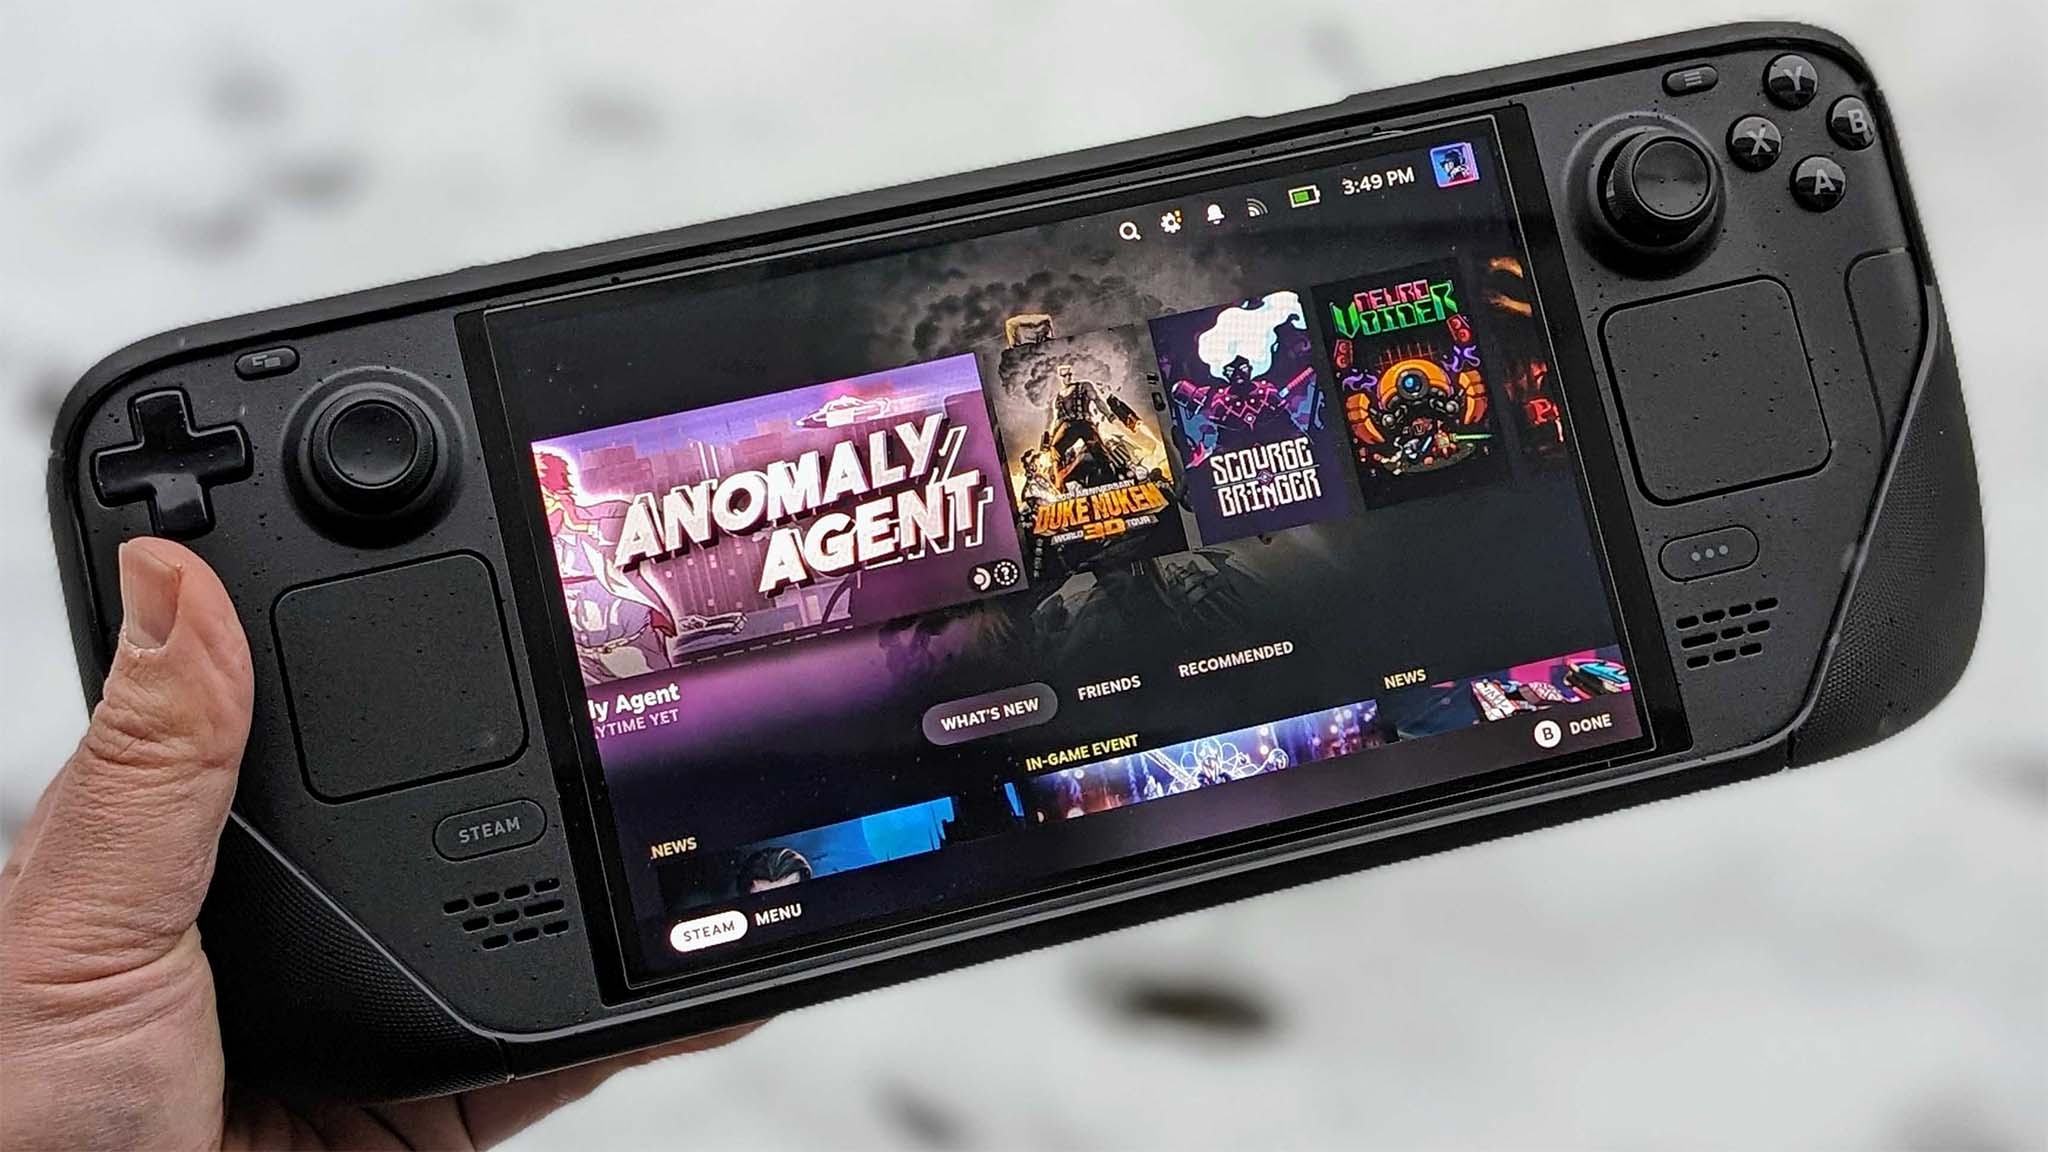
One of the biggest problems plaguing Steam Deck is its tendency to develop drifting joysticks, since the ones it comes with don't feature Hall Effect sensors. Steam Deck stick drift, or simply Steam Deck drift, makes it so the joysticks sense input without anyone actually touching the thumbsticks. If you're experiencing this, you know how frustrating it can be to control your character or the camera when your joystick seems to be wandering on its own.
Thankfully, there are a few simple things you can do to fix Steam Deck drift. I'll go over everything from the recalibrating thumbsticks to replacing them so you can hopefully get right back to playing the best Steam Deck games.
Why does stick drift happen?
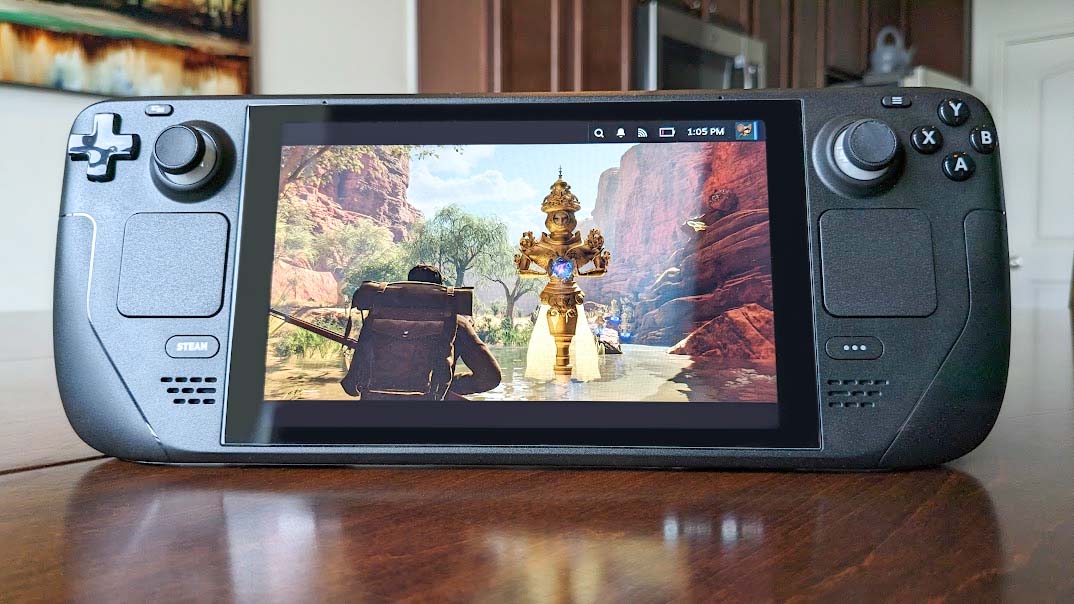
There are a few reasons why your Steam Deck could be experiencing joystick drift.
- Software problem: The system might be out of sync with the joysticks or could be experiencing another program issue.
- Physical obstruction: Grime, crumbs, or dust could be messing with the joystick(s).
- Damaged parts: Your joystick(s) could be damaged and in need of replacement.
No worries. I'll go over the fixes for each of these problems so you can get playing again.
Check for system updates
If your Steam Deck drift is being caused by a system issue, then a simple system update could fix the problem. Here's how to manually perform a Steam Deck update:
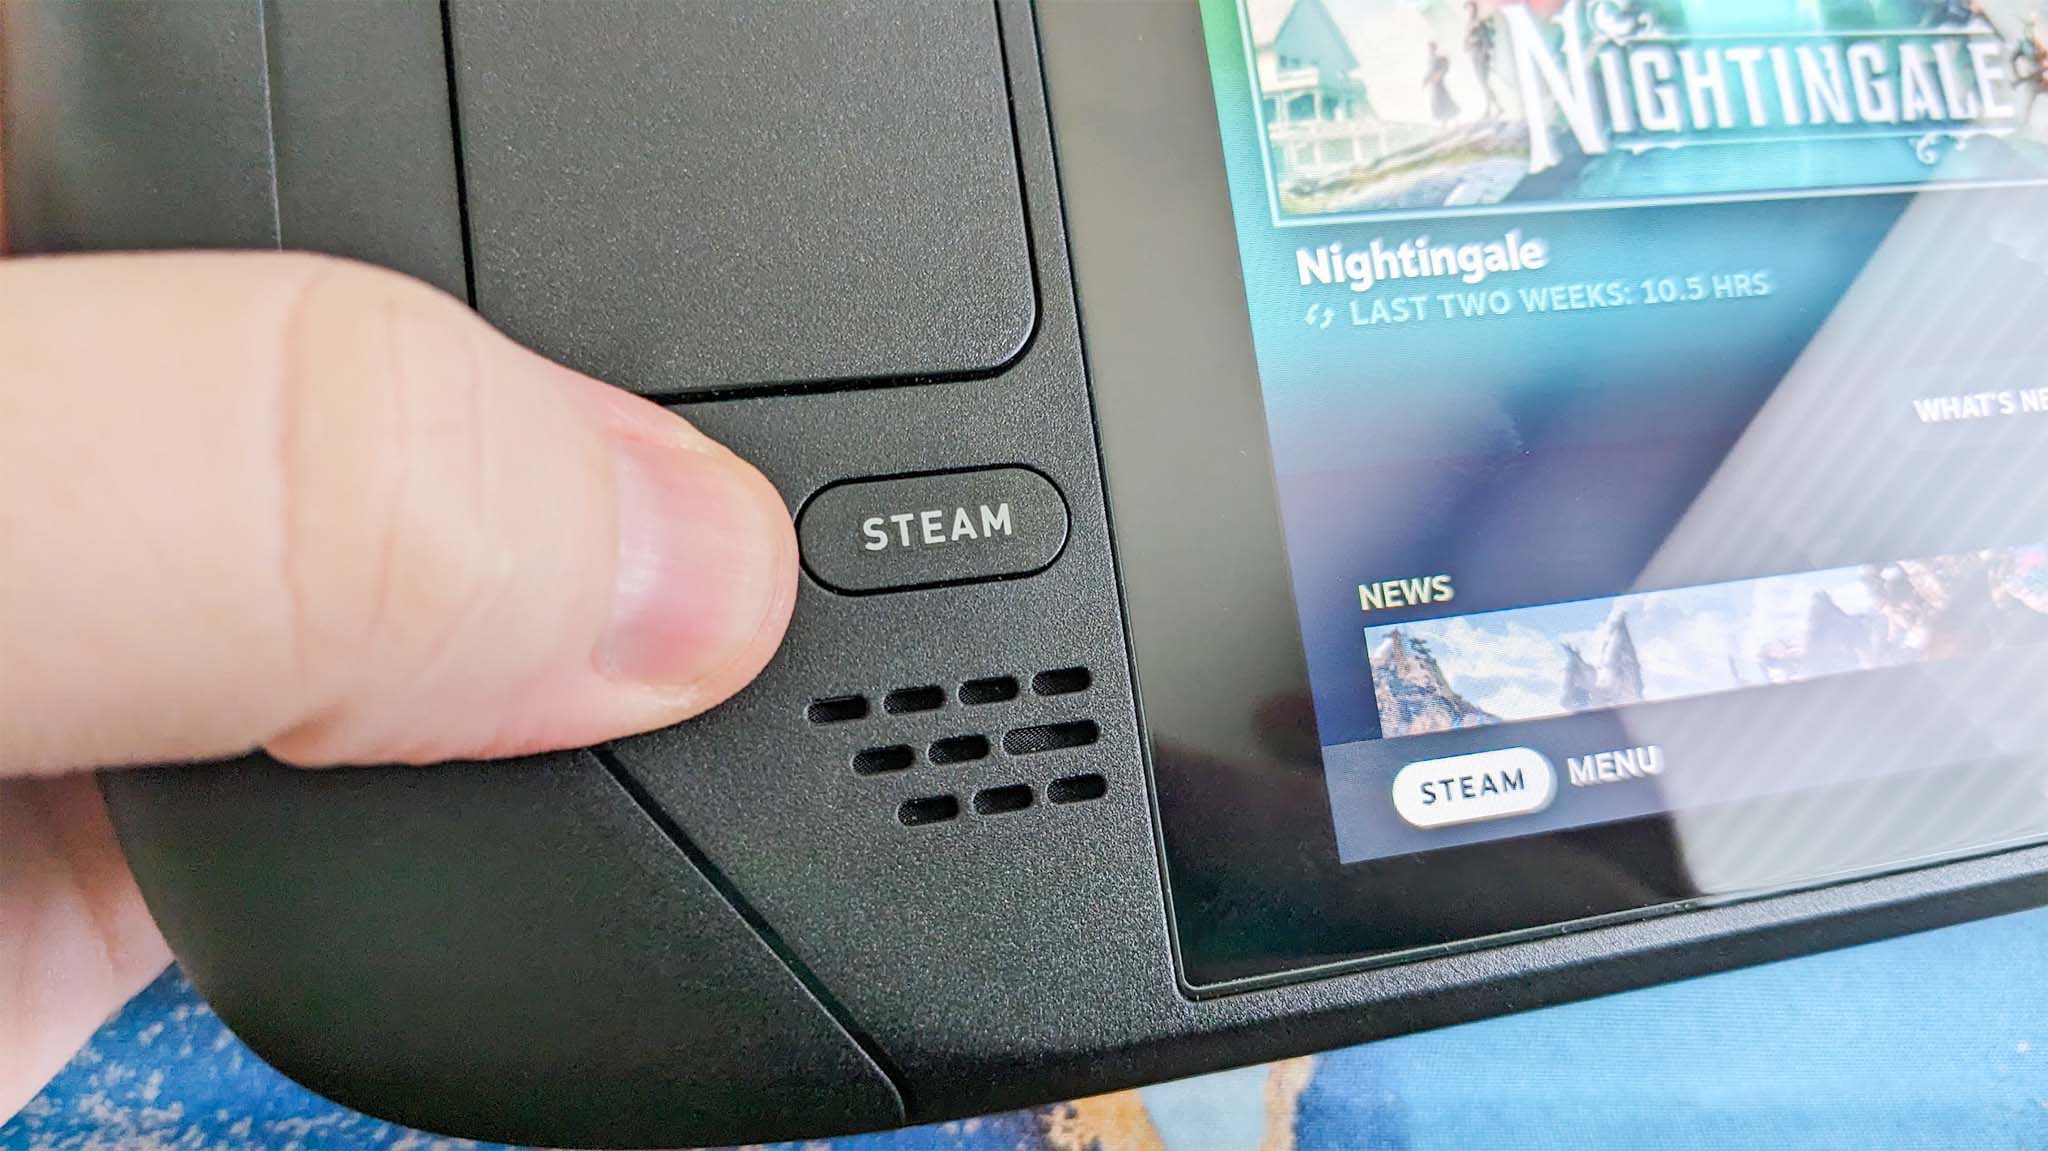
- Press the Steam button.
- Go to Settings.
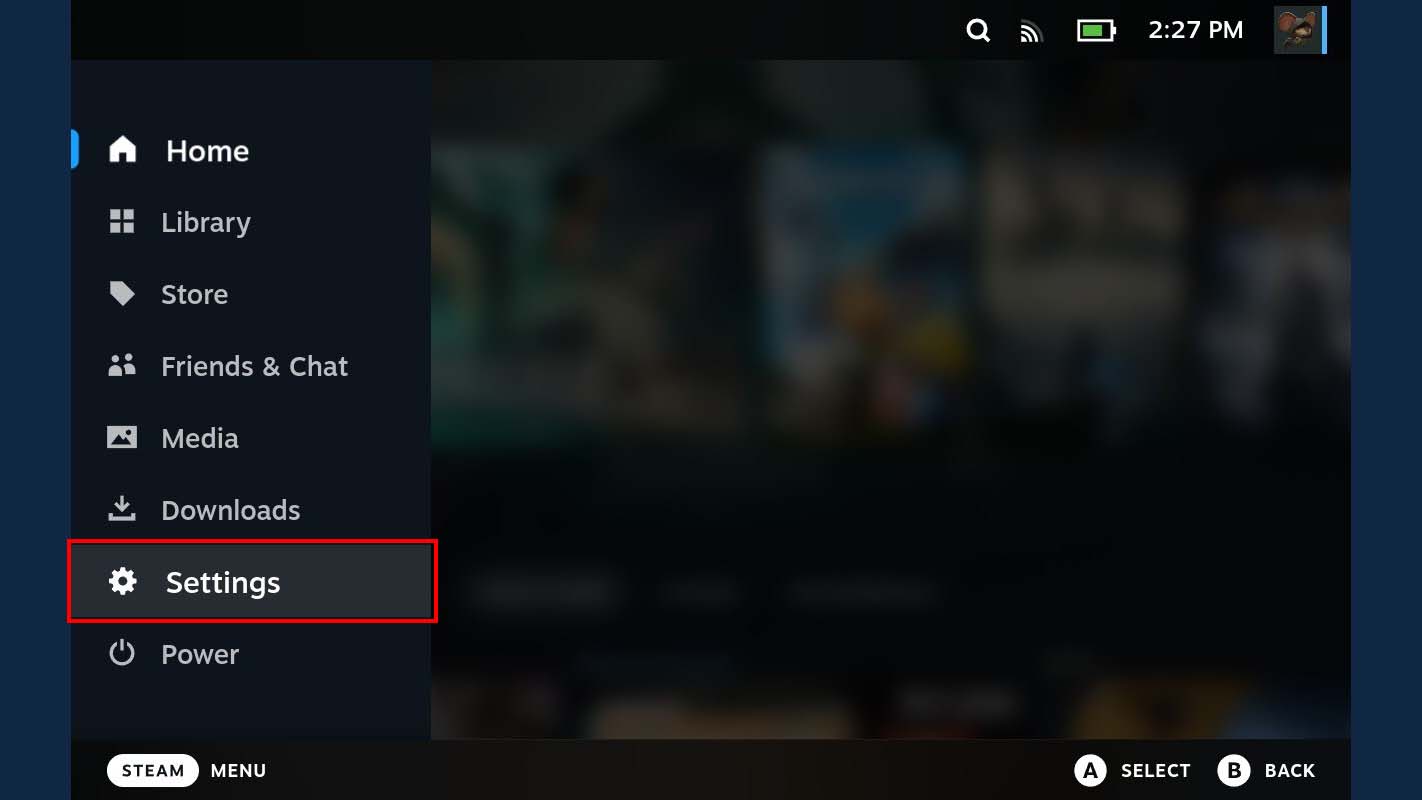
- Scroll down to System.
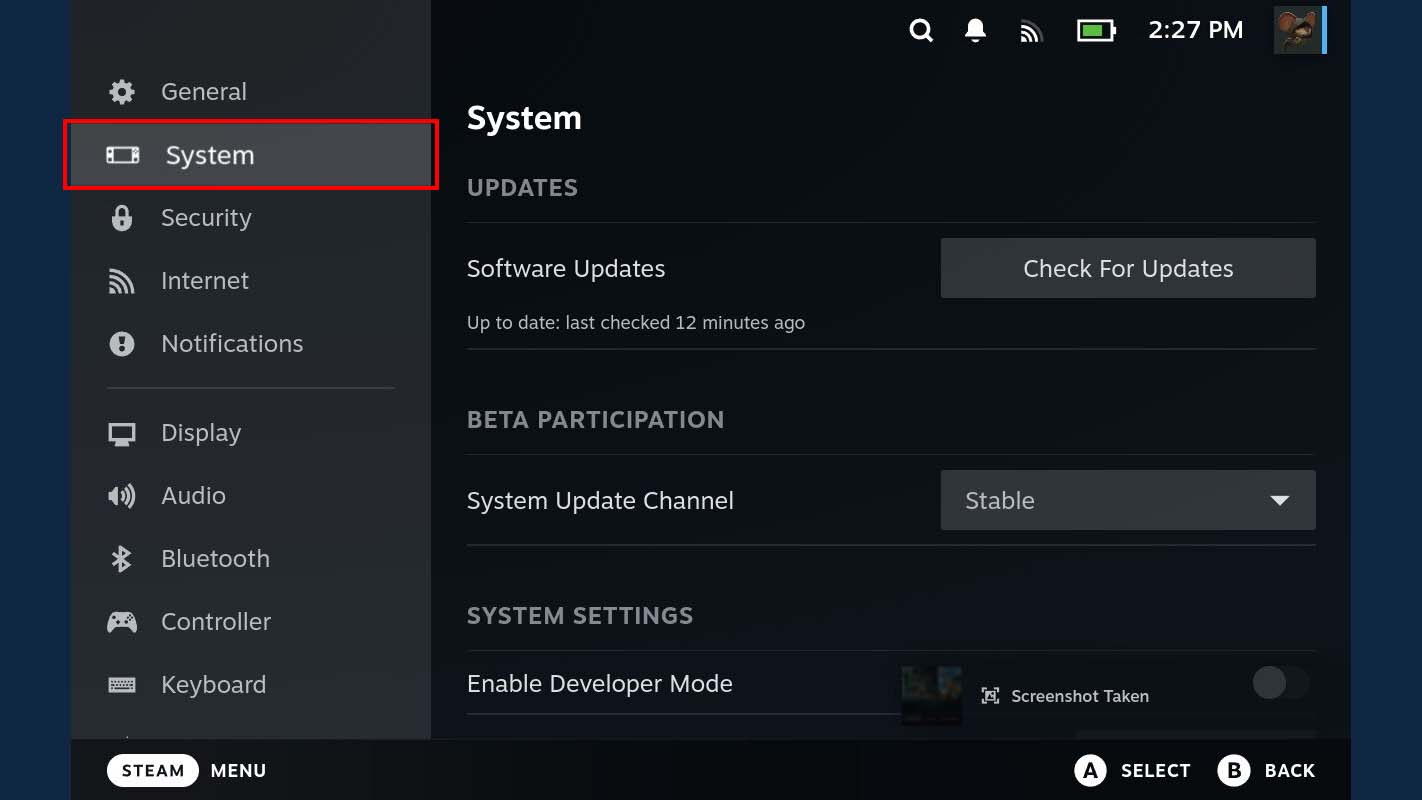
- Click Check for Updates.
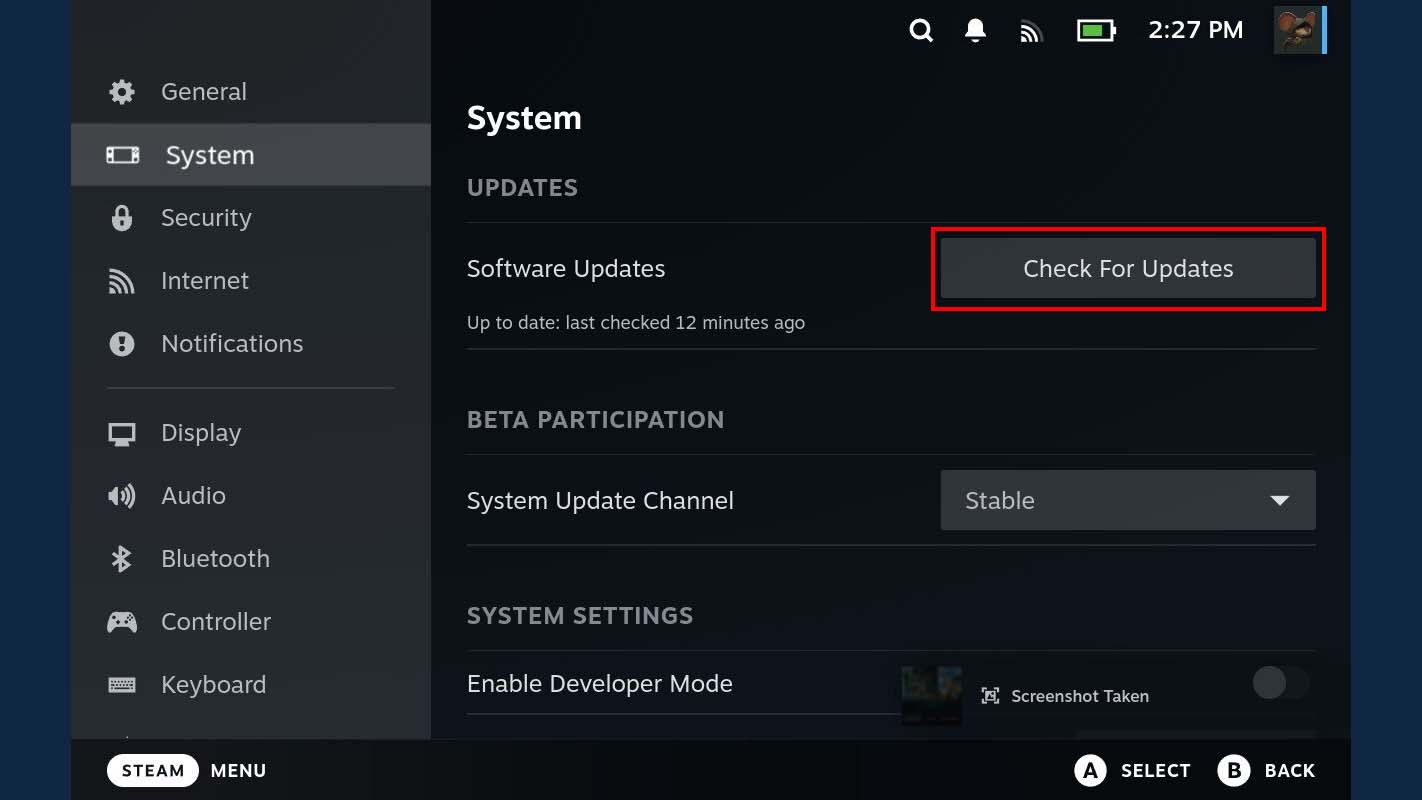
- If an update is found, click Apply.
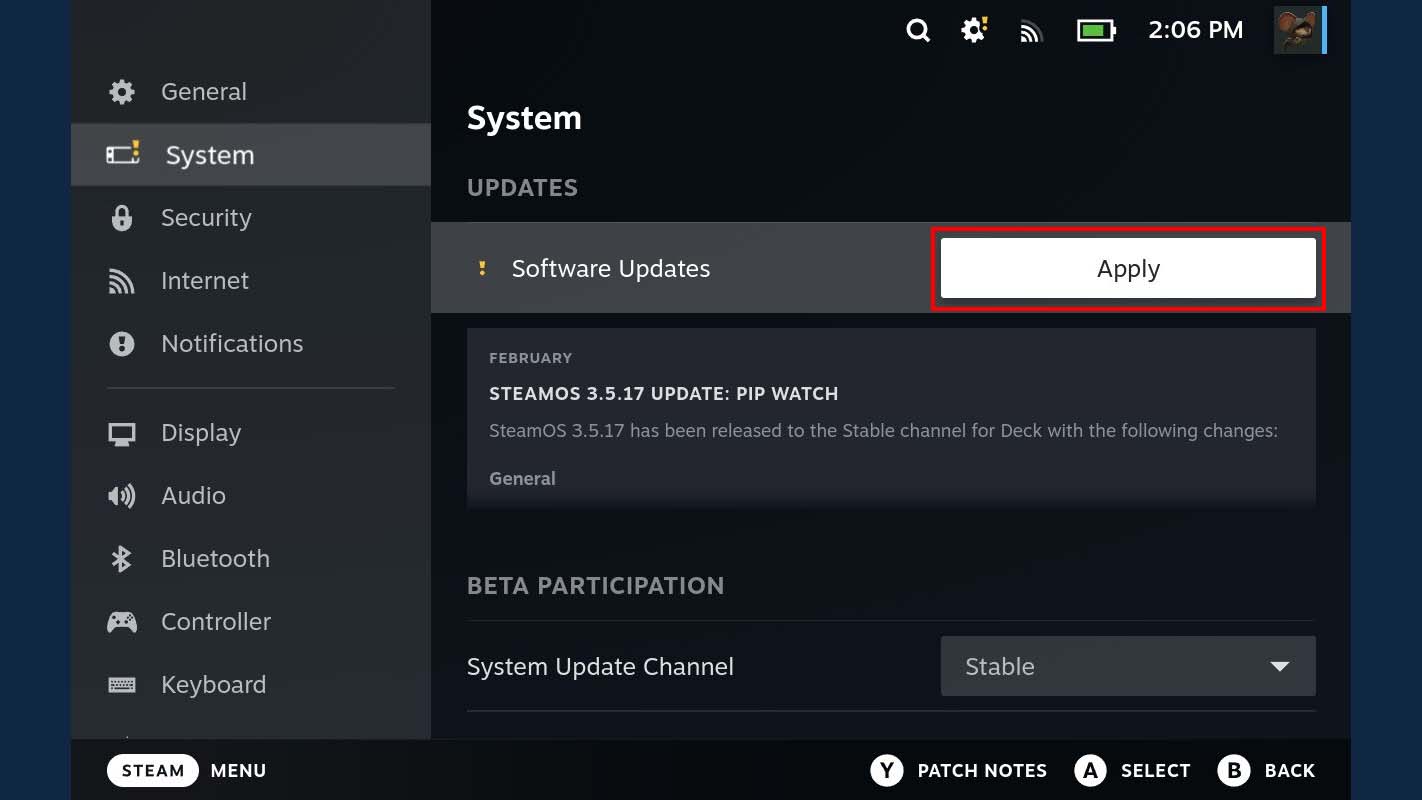
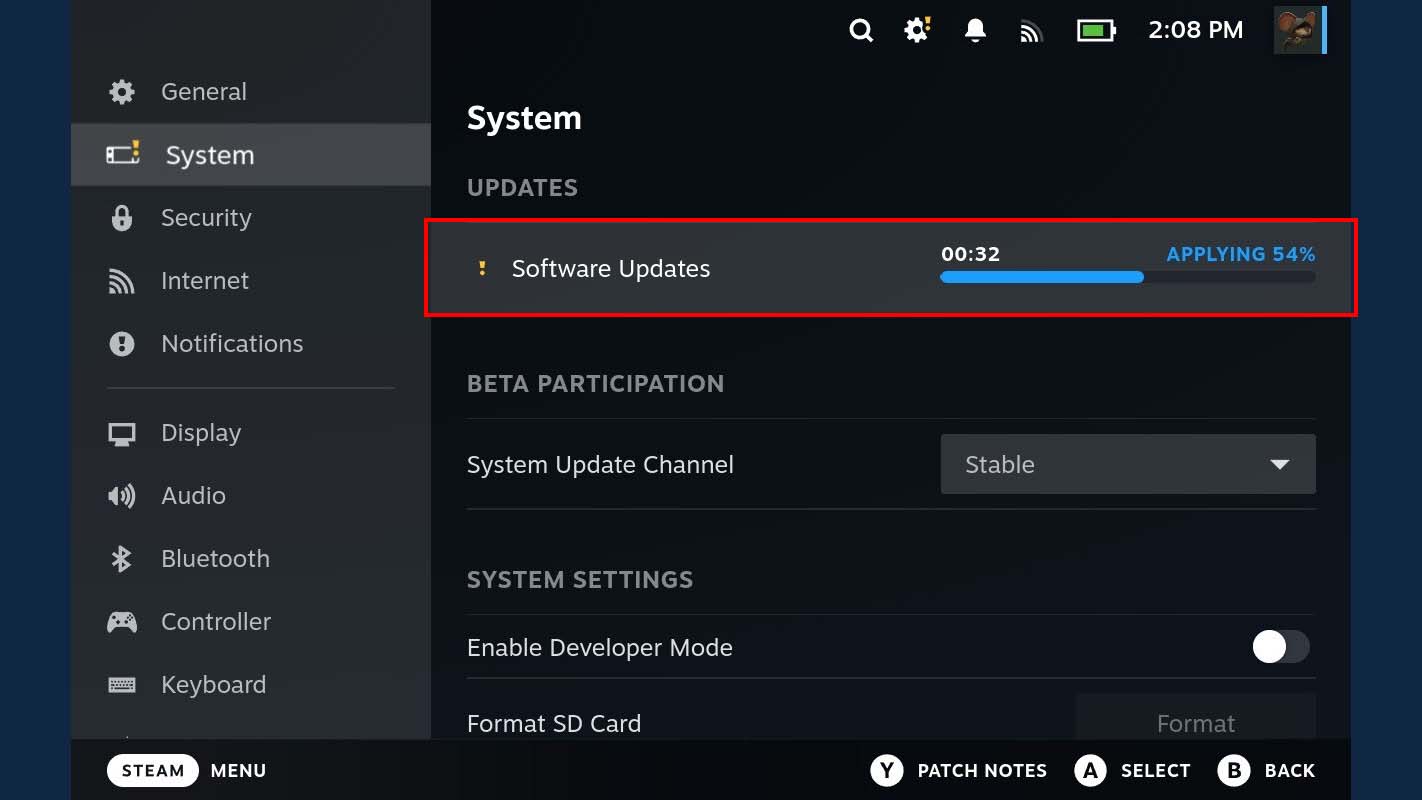
- Wait for the update to apply. This can take a few minutes. Select Restart to finish the system update process.
Once your Steam Deck comes back up, open a game and test to see if this fixed your problem. If it didn't, you should recalibrate the joysticks. We'll go over the two methods for doing that next.
Recalibrate the joysticks
The Steam Deck makes it very easy to get to the deadzone reconfiguring page, where you can manually adjust deadzones for either joystick. Additionally, a more complex route allows you to force the Steam Deck to recalibrate its joysticks. I'll go over both of these methods below.
How to manually adjust joystick deadzones on Steam Deck
- Press the Steam button on the left of the Steam Deck.

- Scroll down and select Controller.
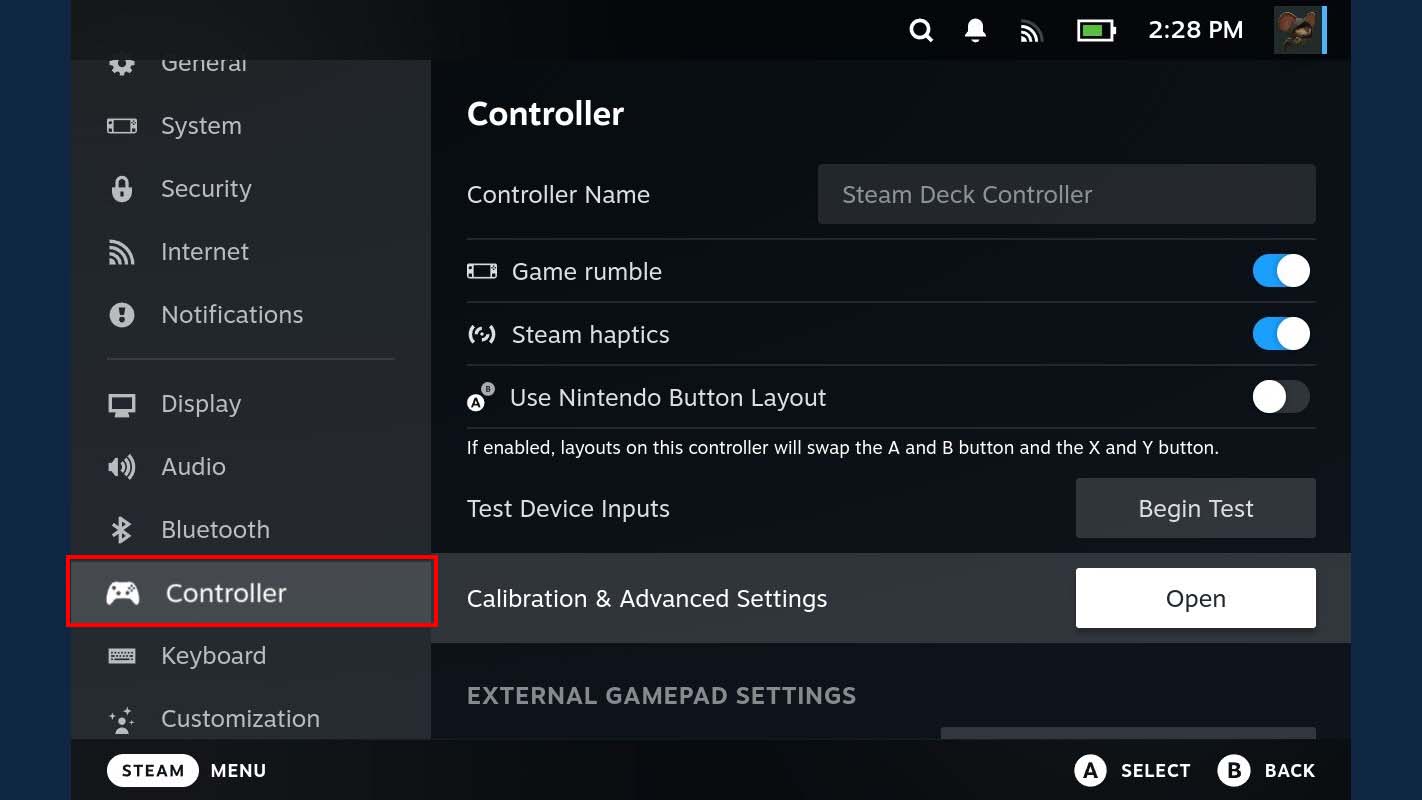
- On the right, scroll down to Calibration & Advanced Settings and click Open.
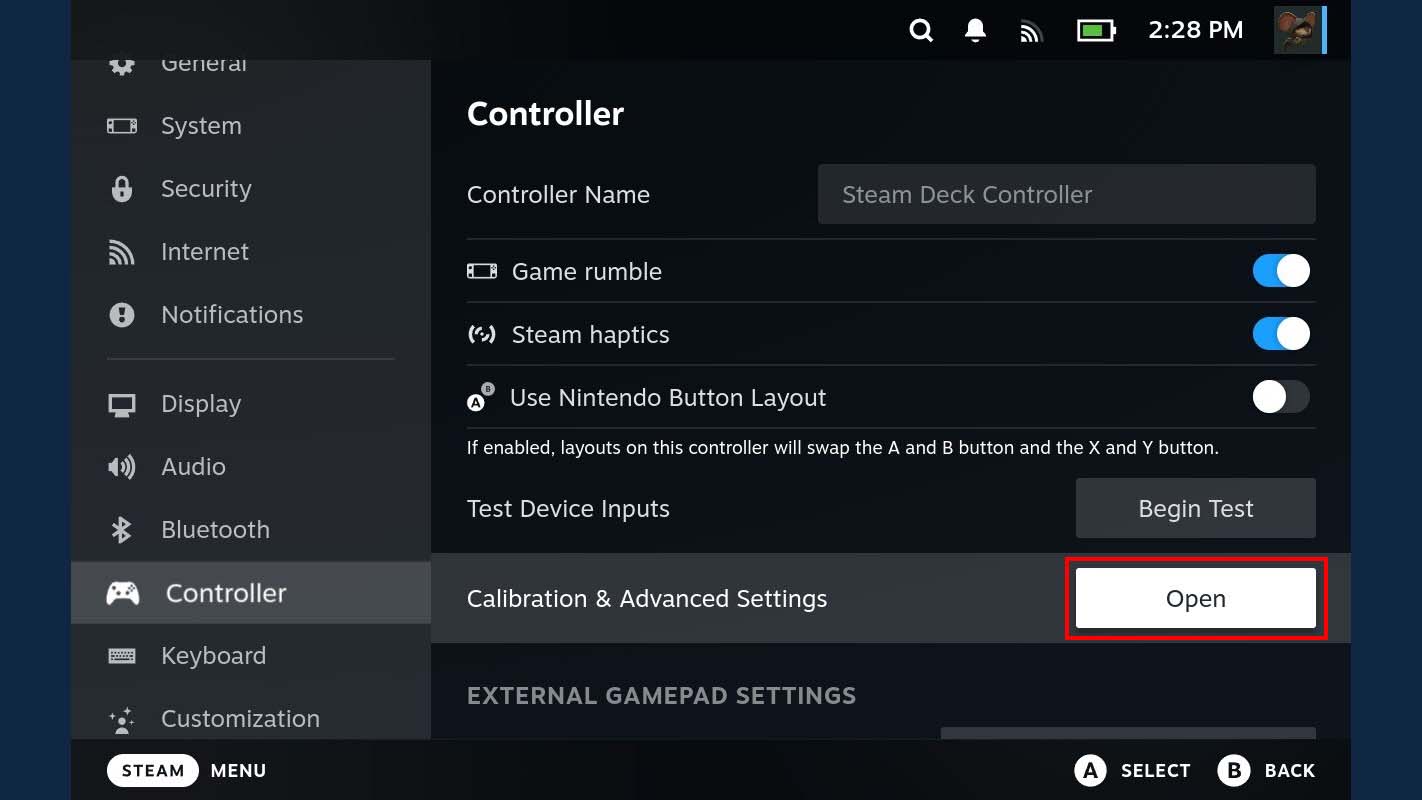
- Select the Joystick you want to work on and make adjustments by sliding the dial.
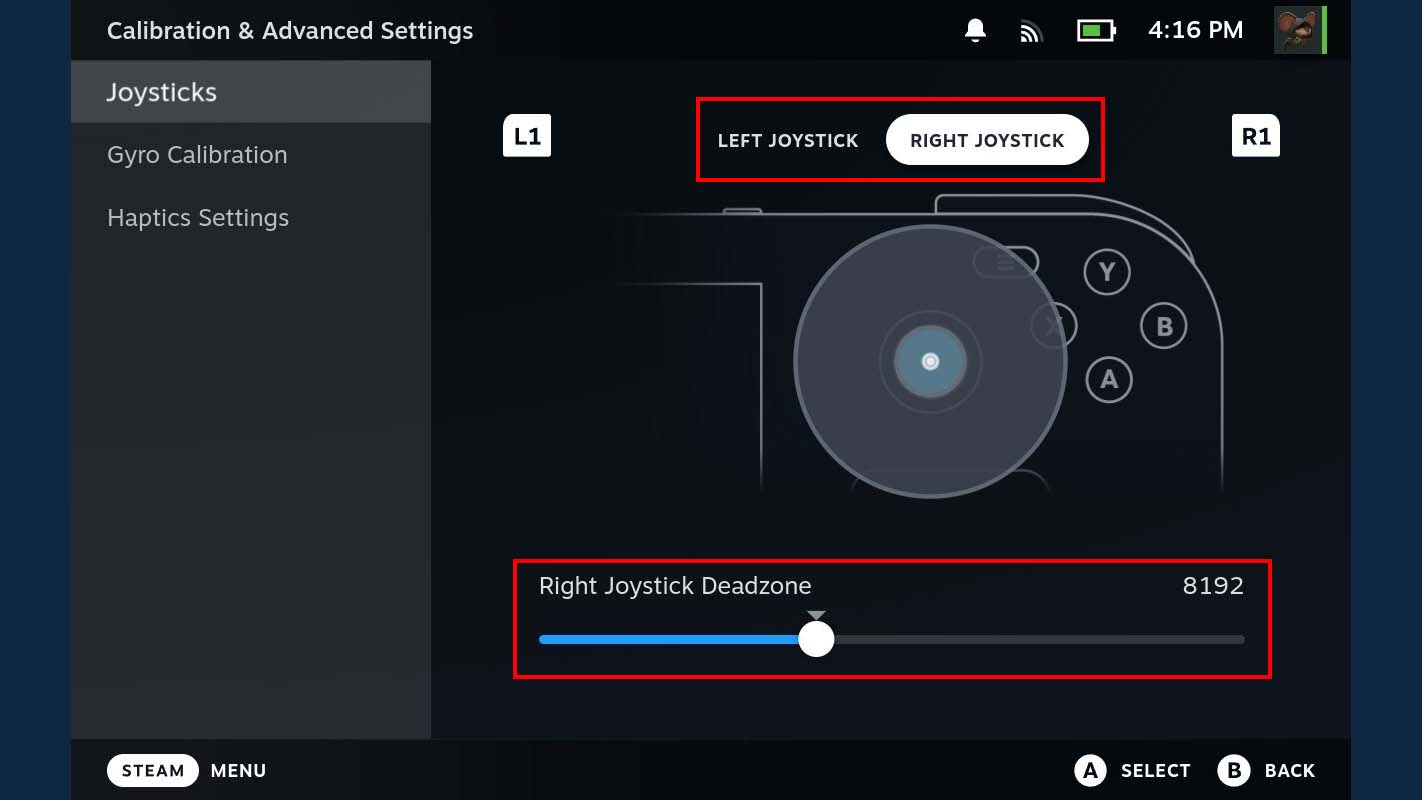
When you're satisfied with the changes, back out and open a game to see if it fixed the issue.
How to do a full Steam Deck joystick recalibration
If adjusting joystick deadzones didn't fix the problem, then it's time to do a joystick recalibration. Here's how to do that.
- Press the Steam button.

- Scroll down and select Power.
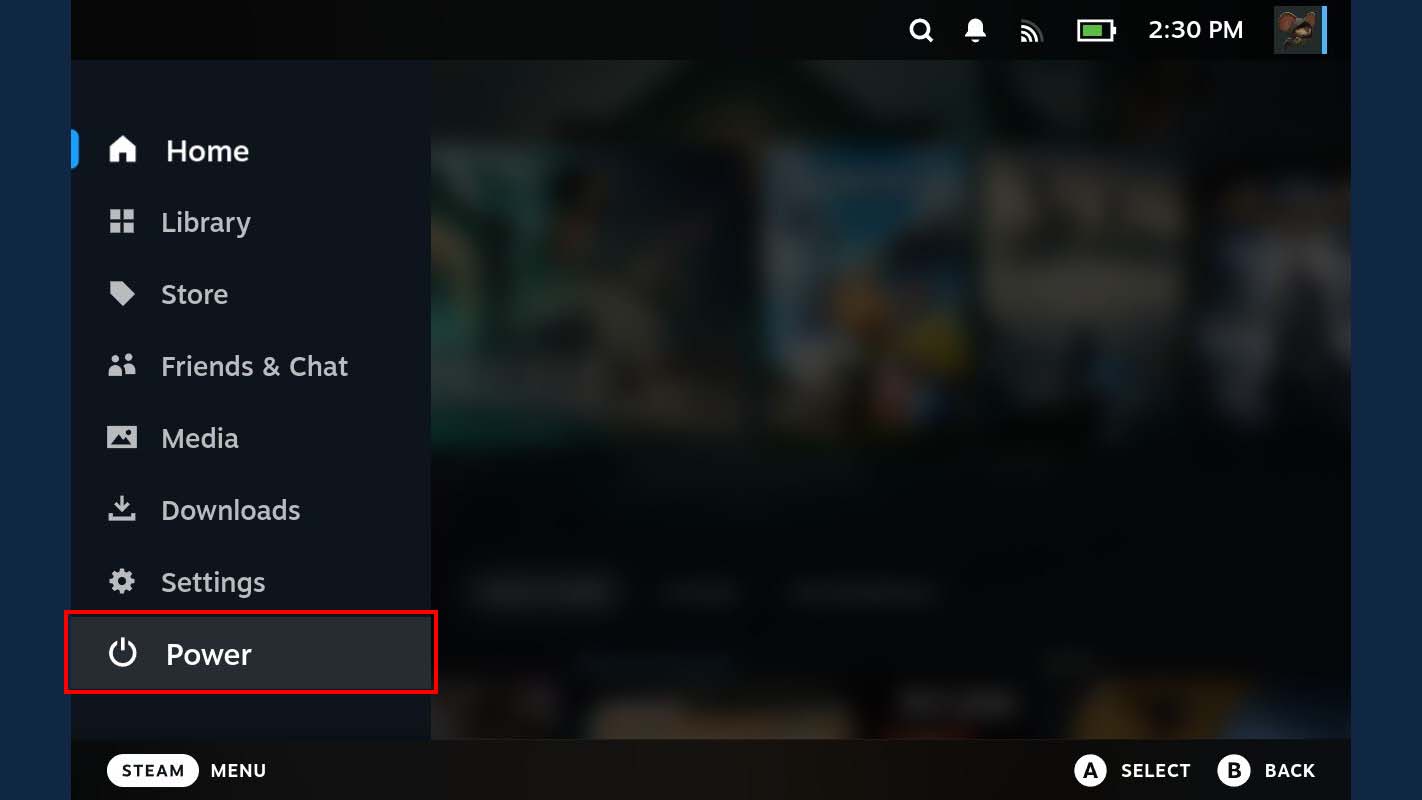
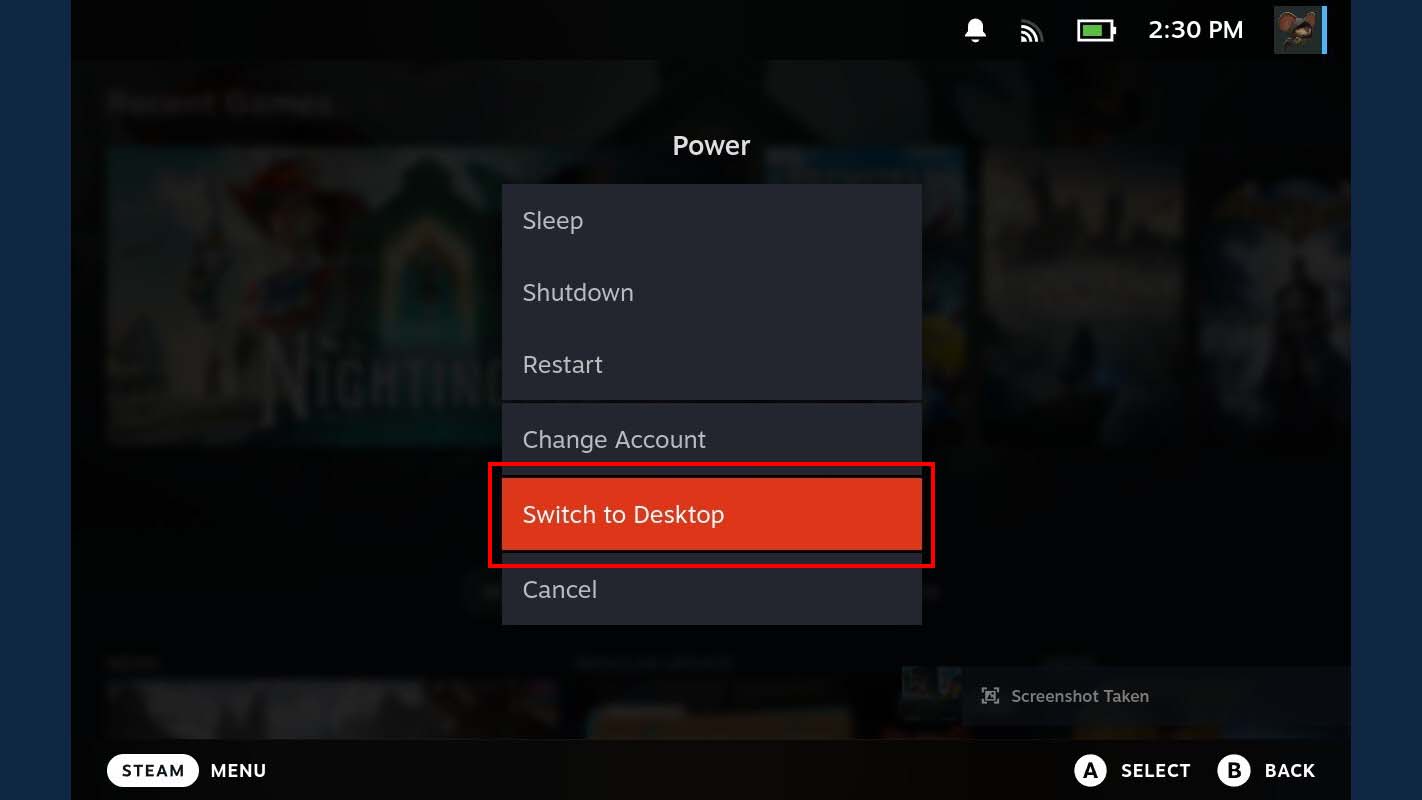
- Select Switch to Desktop.
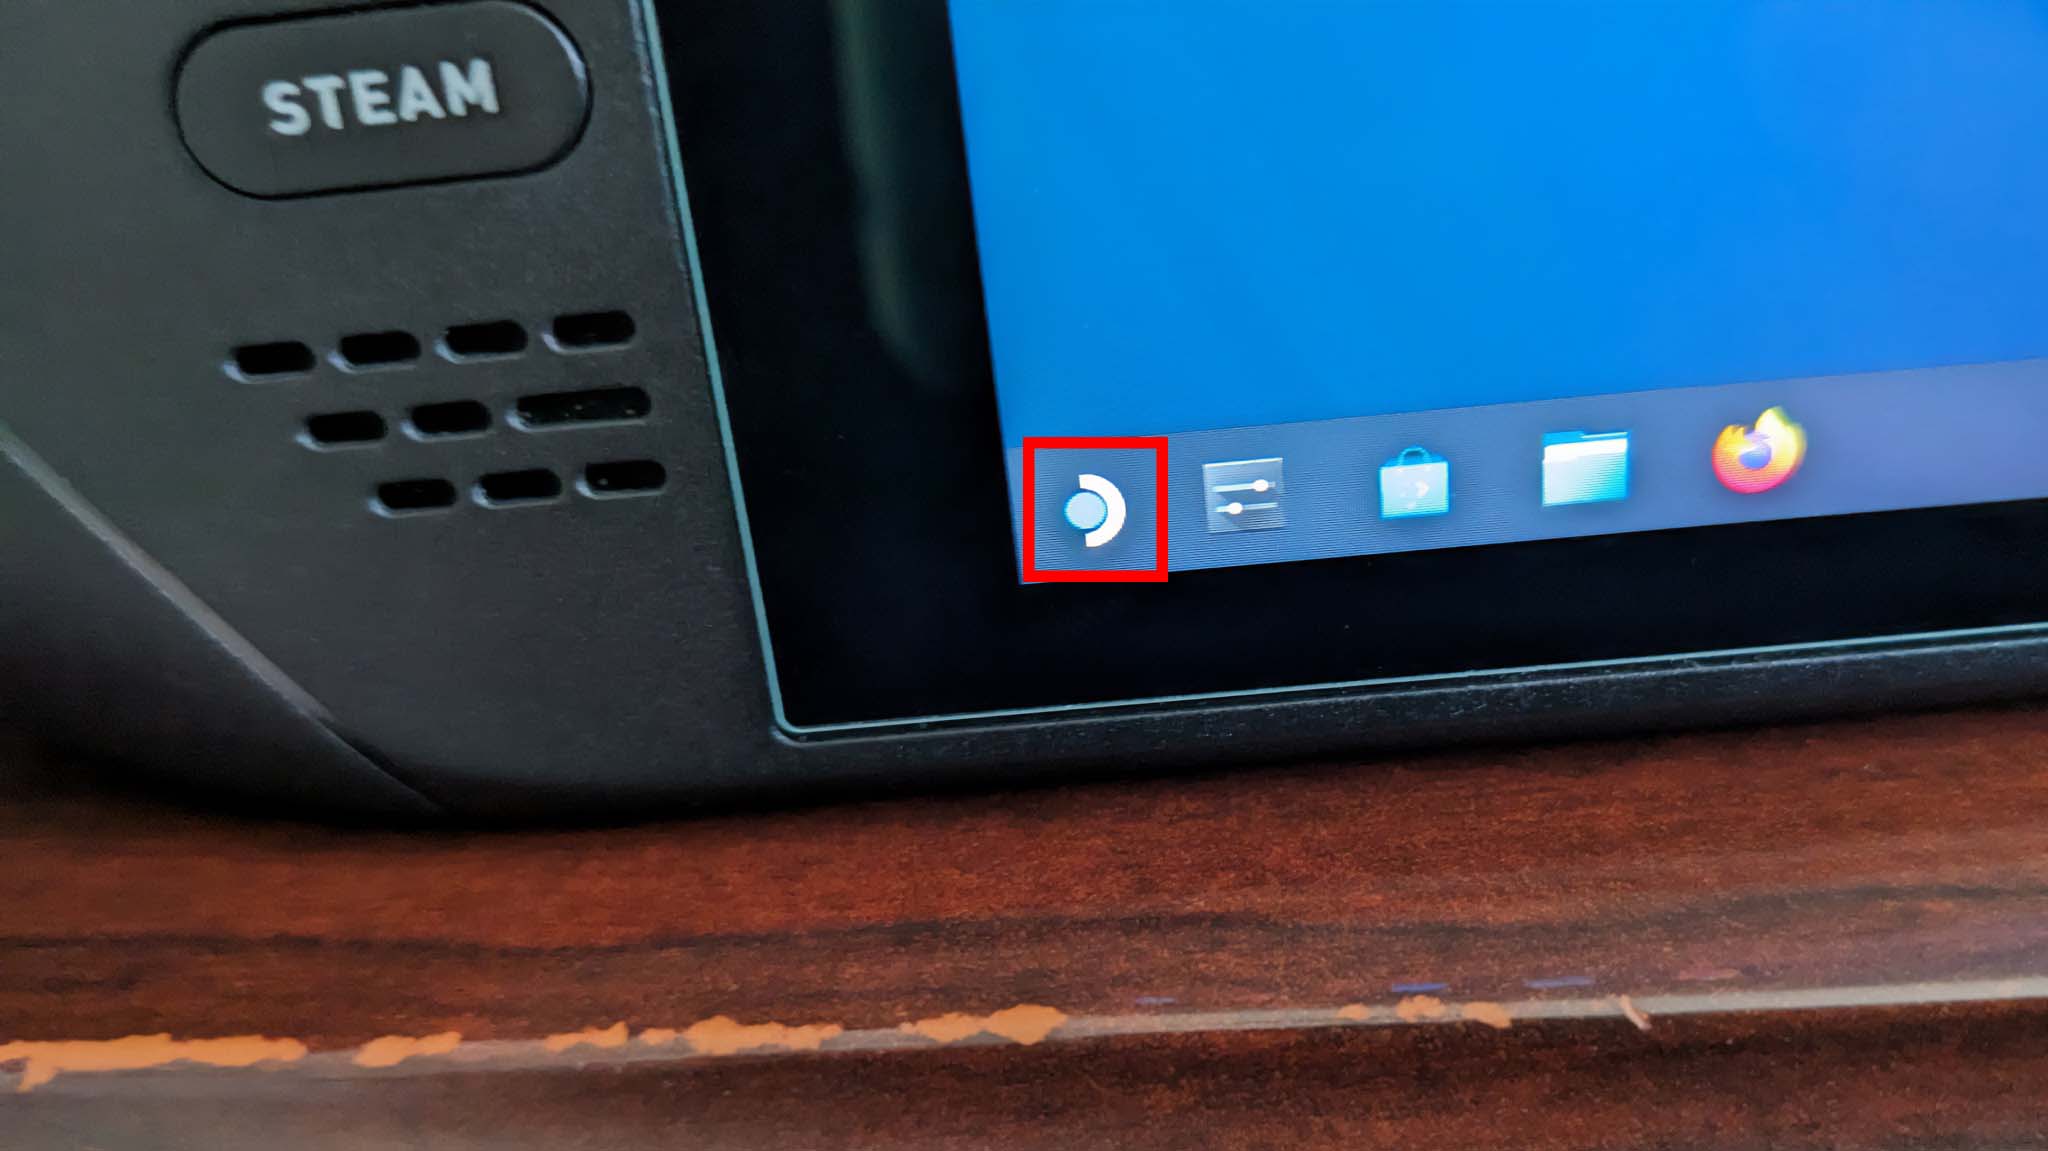
- After a few seconds, you'll see a desktop screen. Click the Steam Deck icon in the bottom left of the screen to bring up a menu.
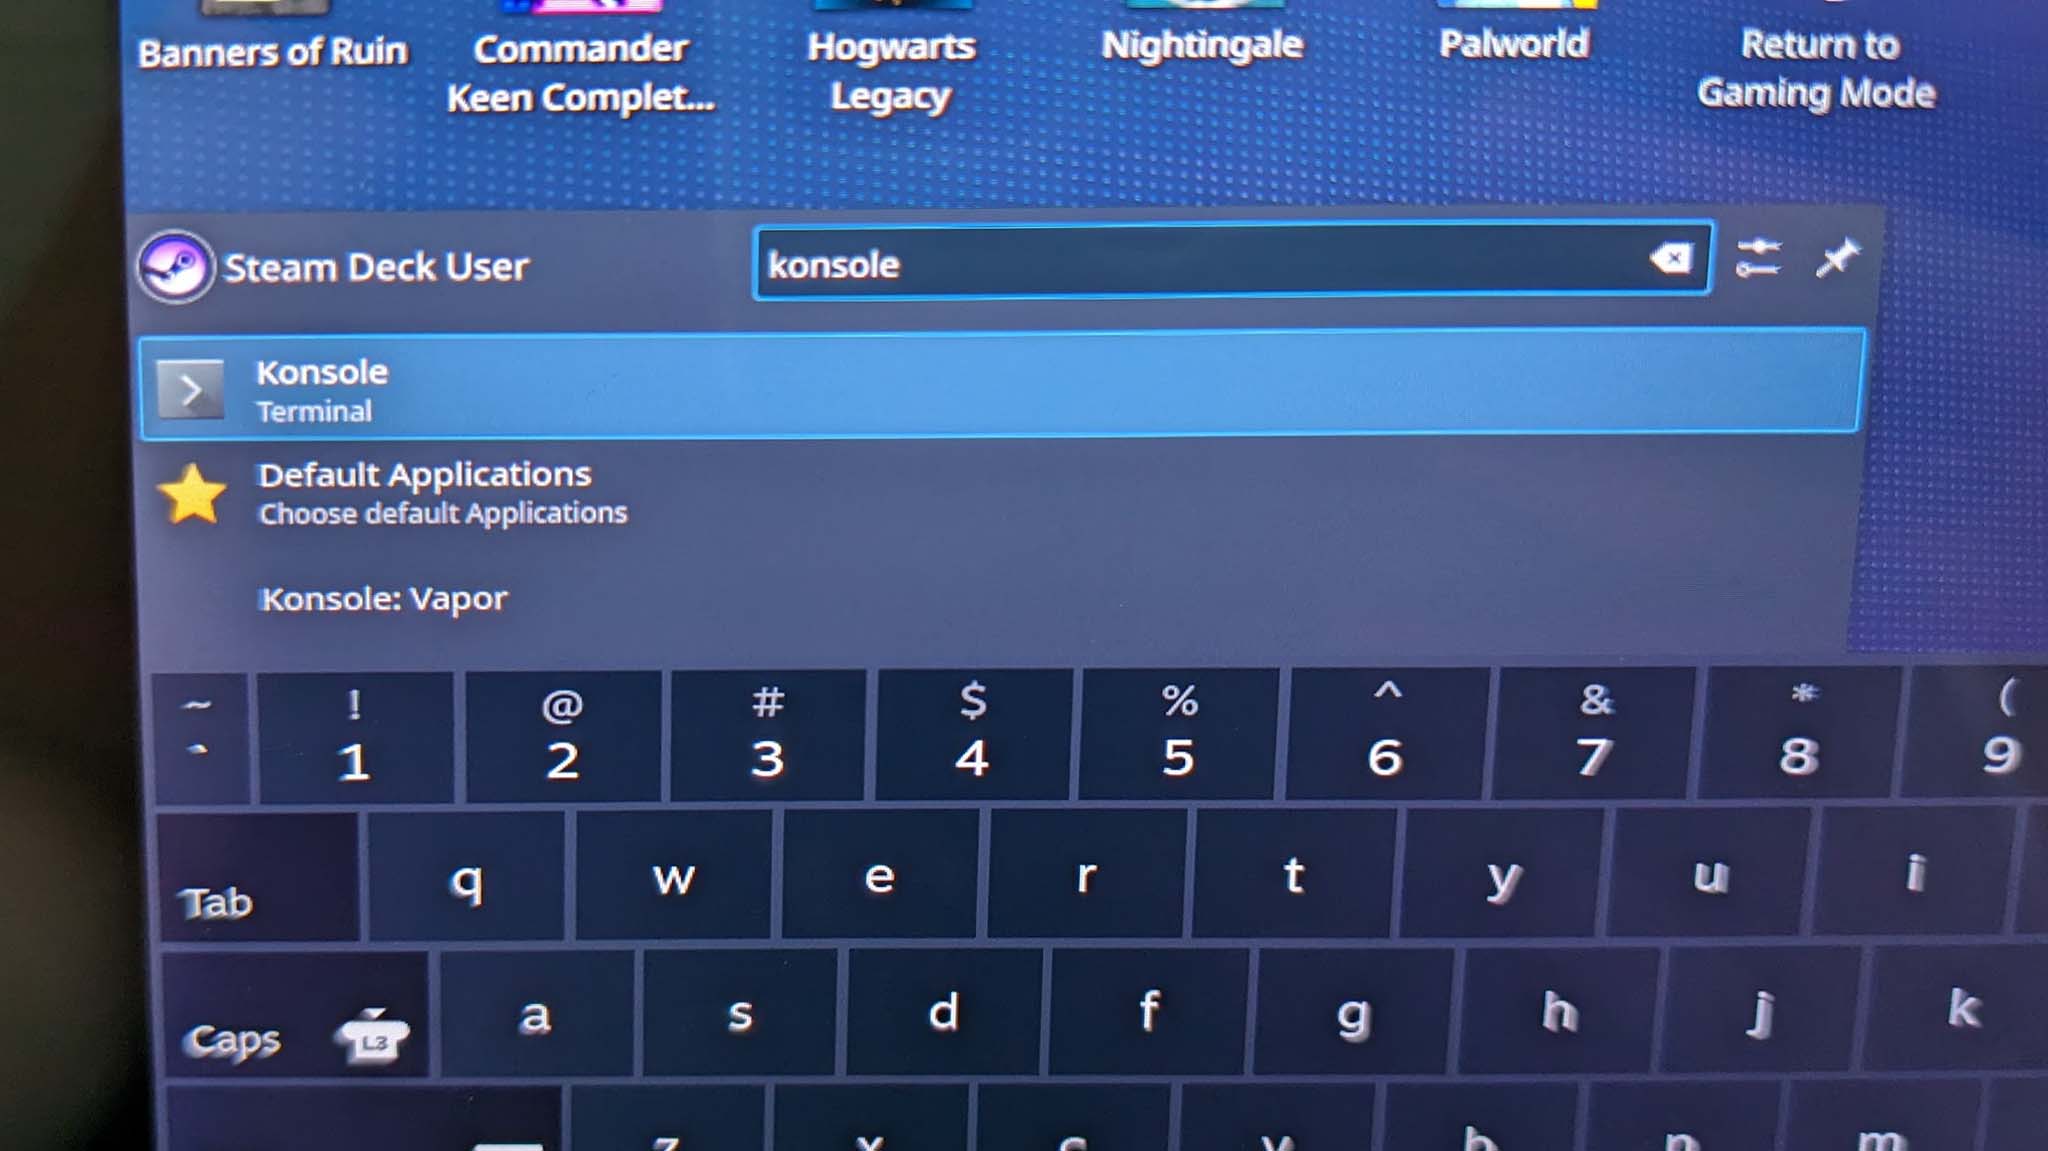
- Tap on the search bar and type in Konsole. Note that pressing Steam button + X brings up an on-screen keyboard for you to use so you can type things in.
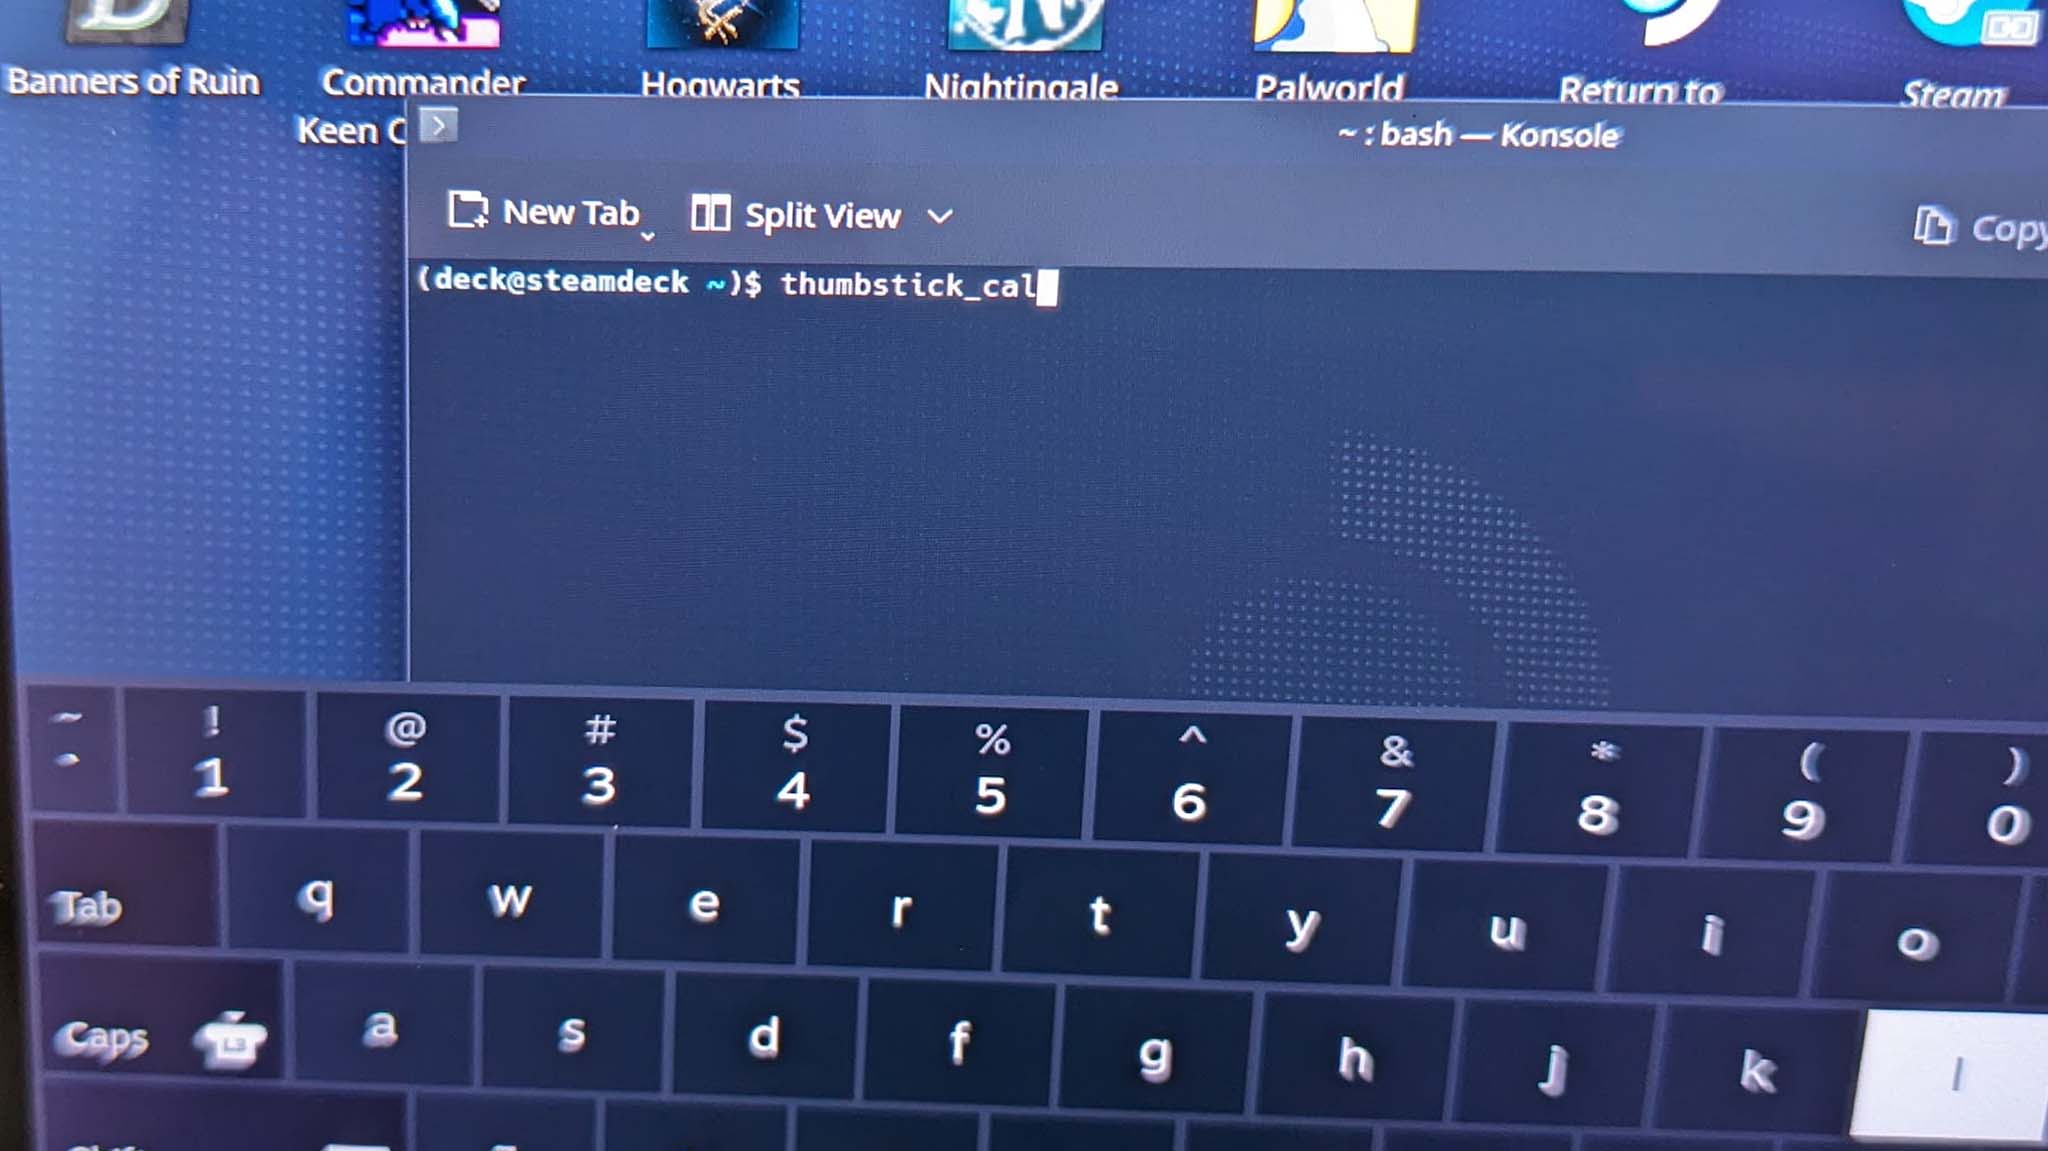
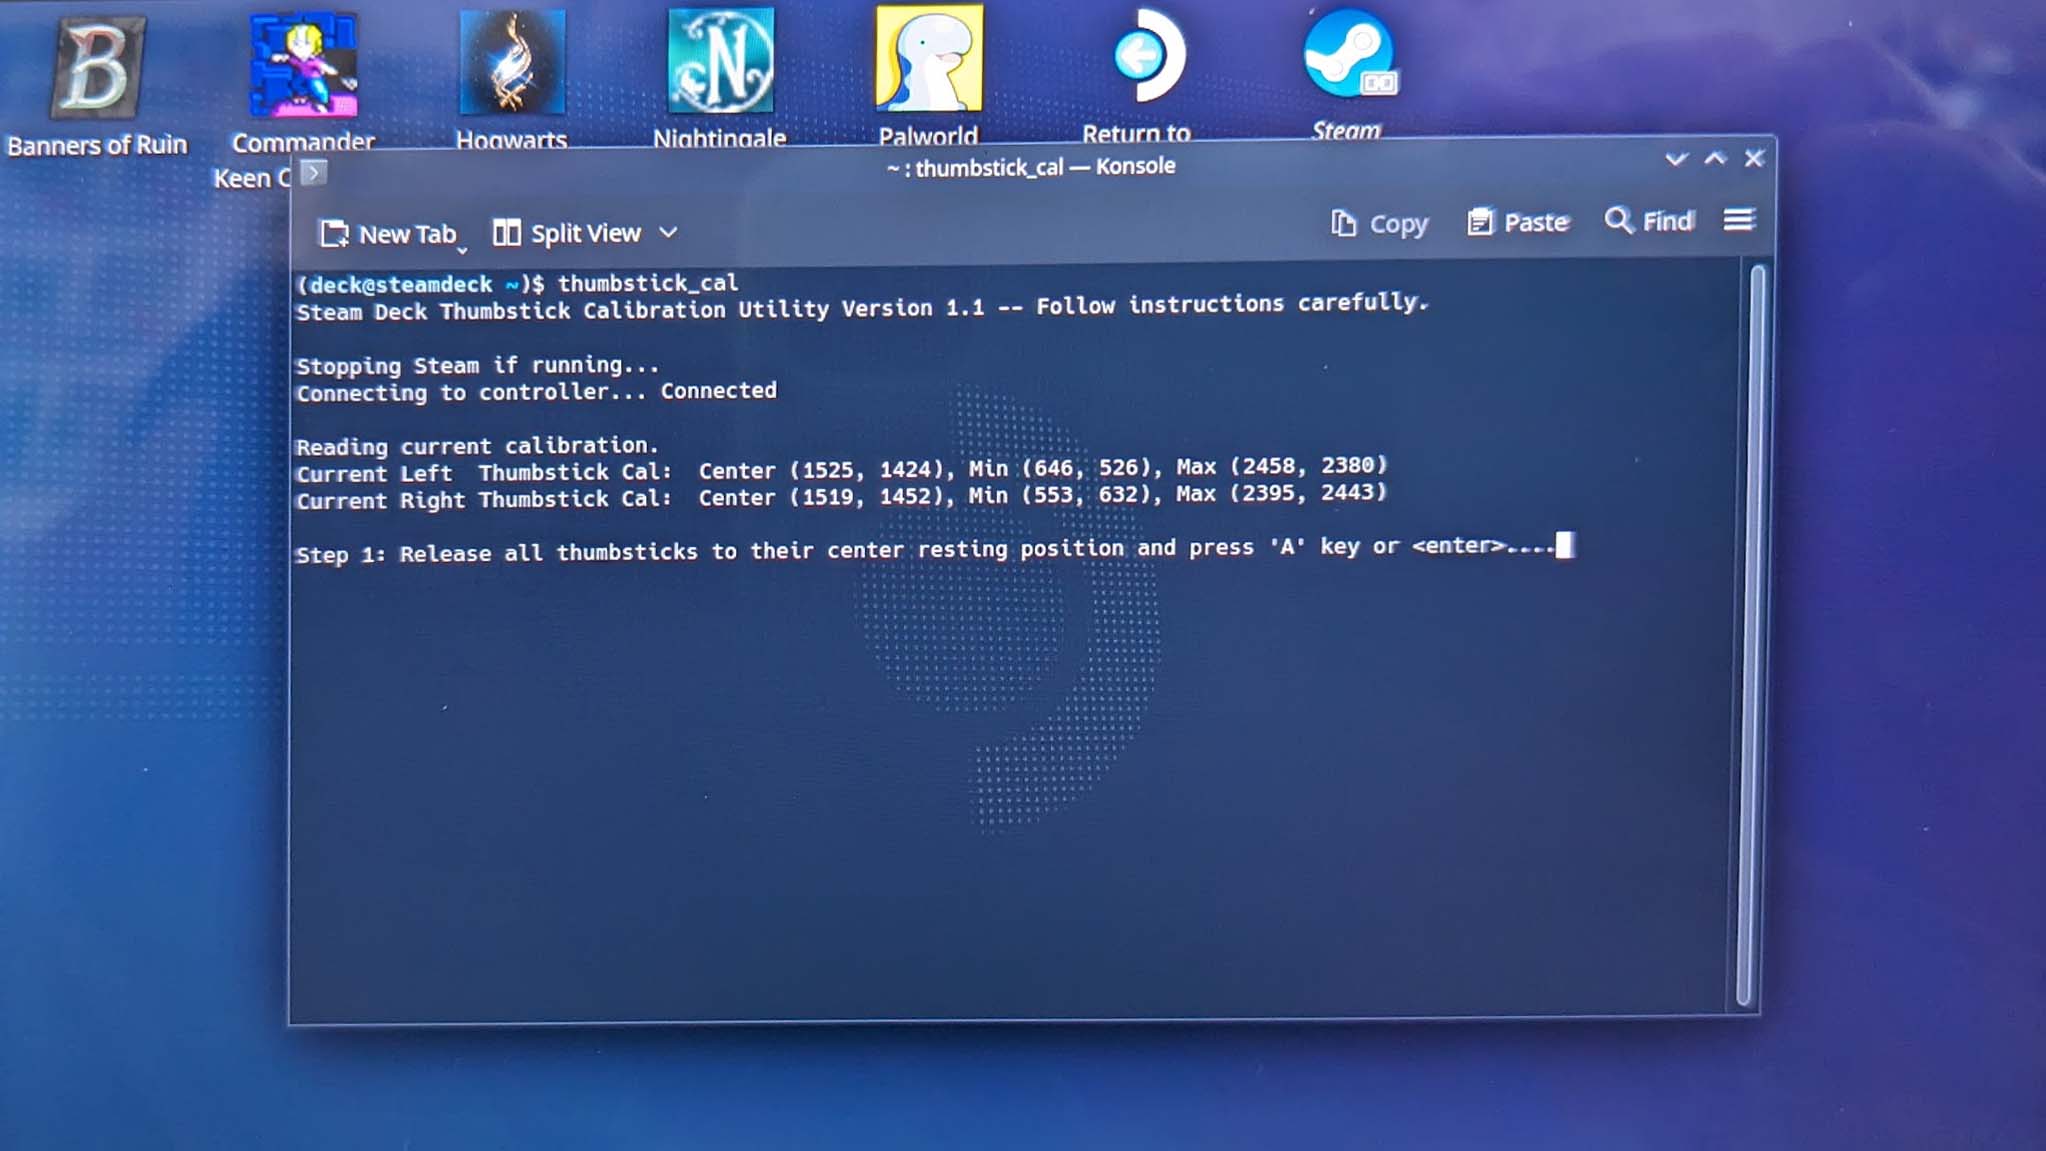
- Type in "thumbstick_cal" (without the quotations) and then press Enter.
- Press A to notify the software that the joysticks are at the resting position.
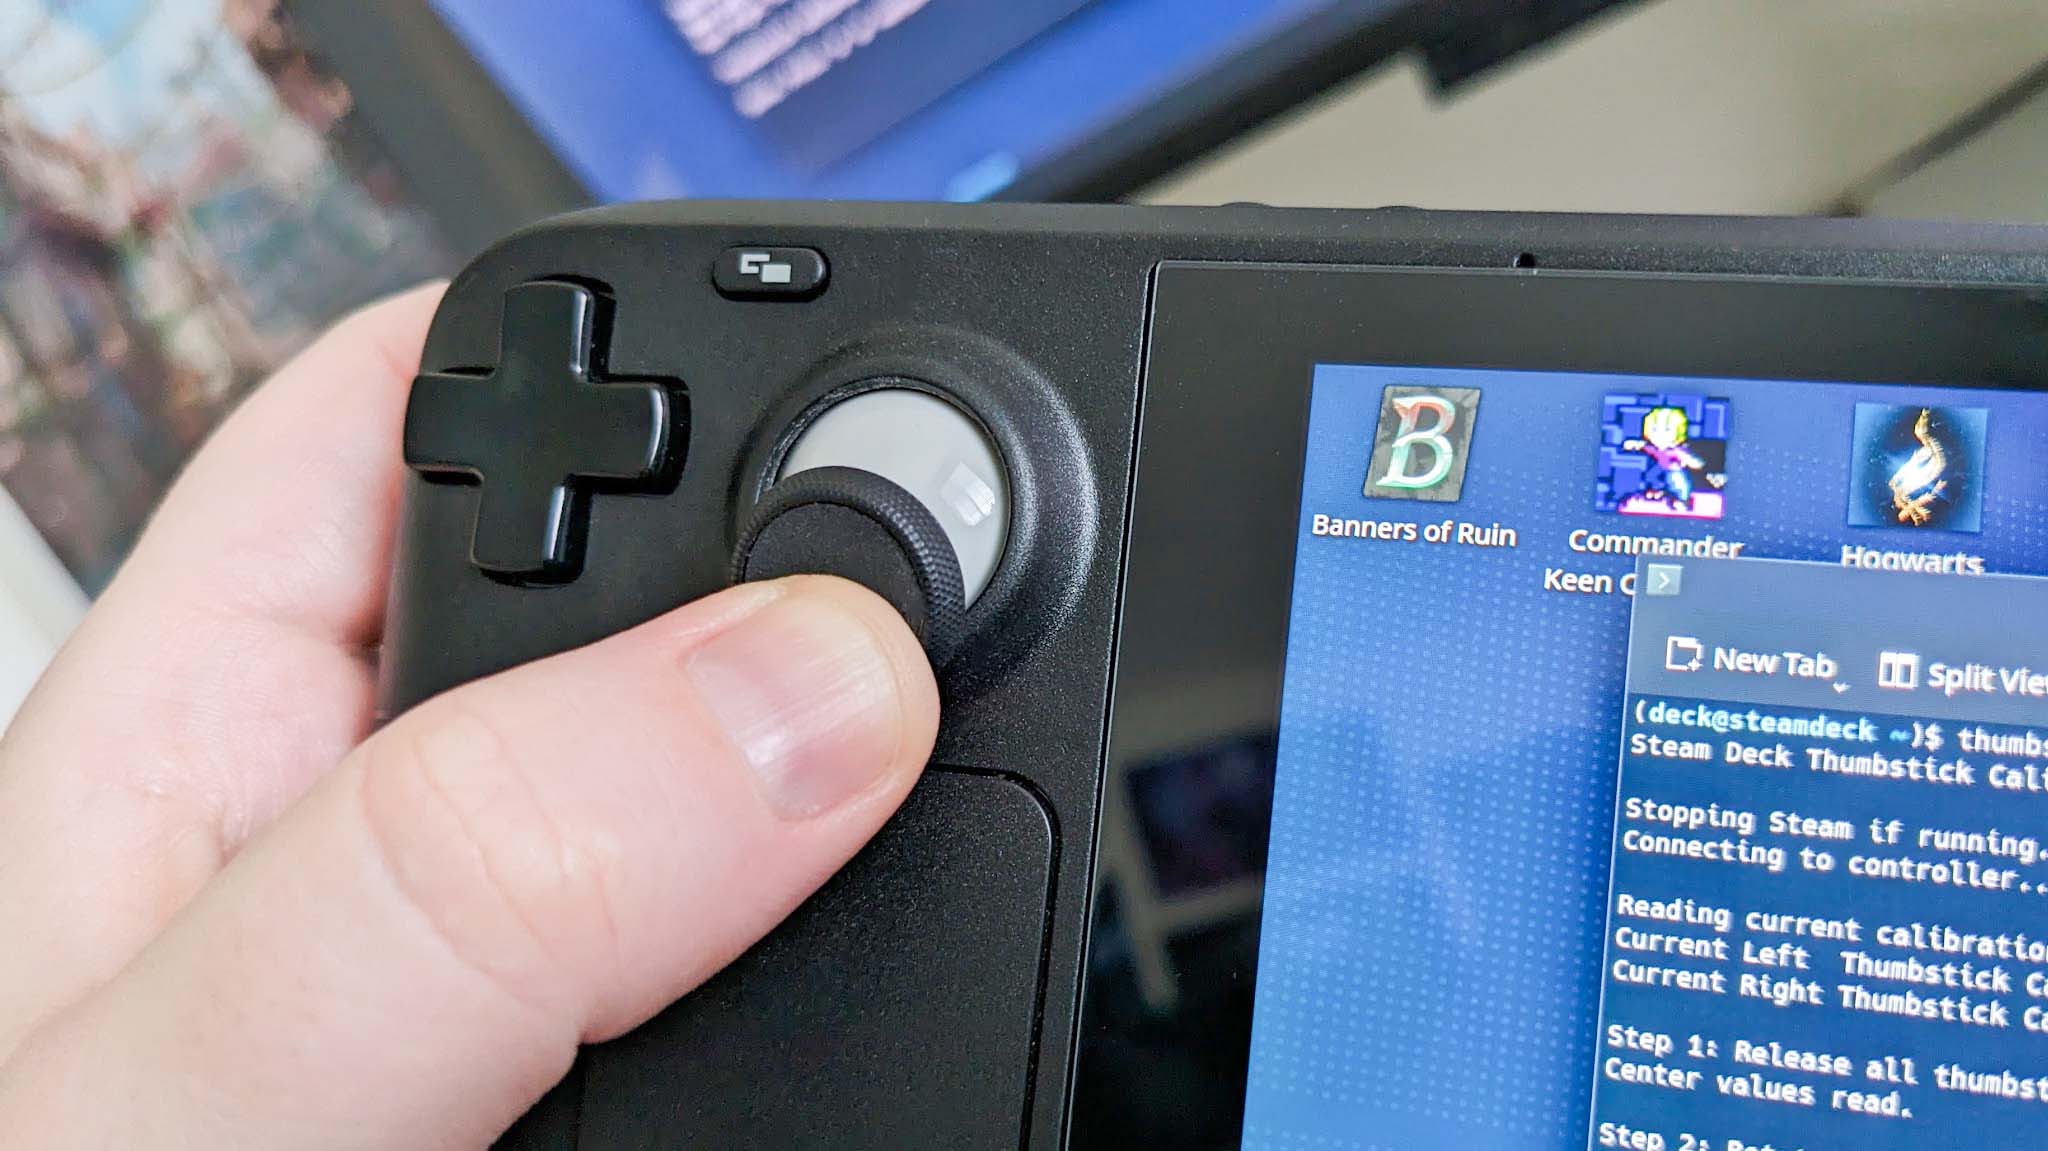
- Next, rotate both joysticks 360 degrees. I suggest starting by making both joysticks point to the bottom and then making a full rotation until they are both back at the bottom again. When done press A.
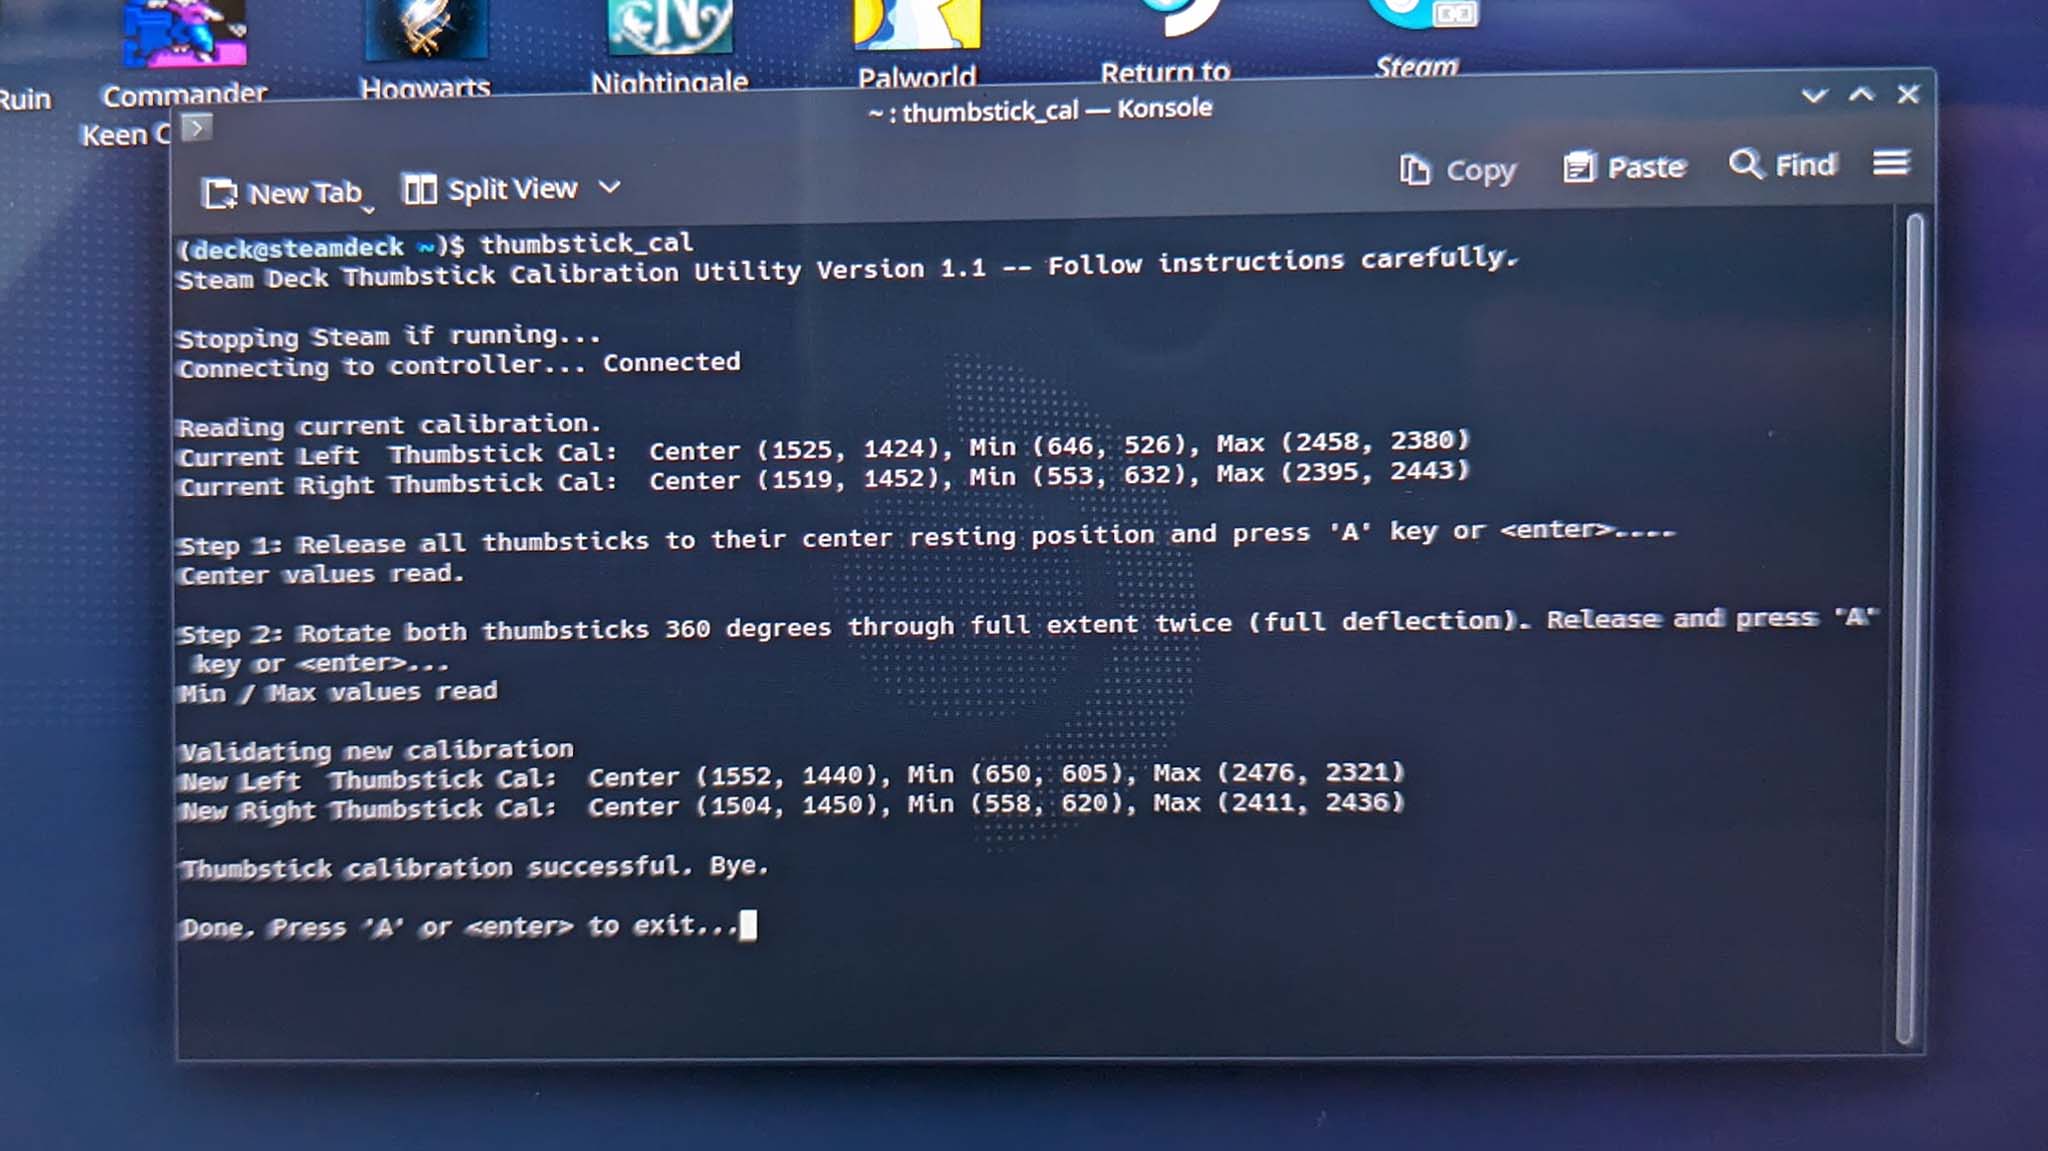
- The recalibration process will wrap up. To exit recalibration press A. You can then tap the X in the top right corner to close the window.
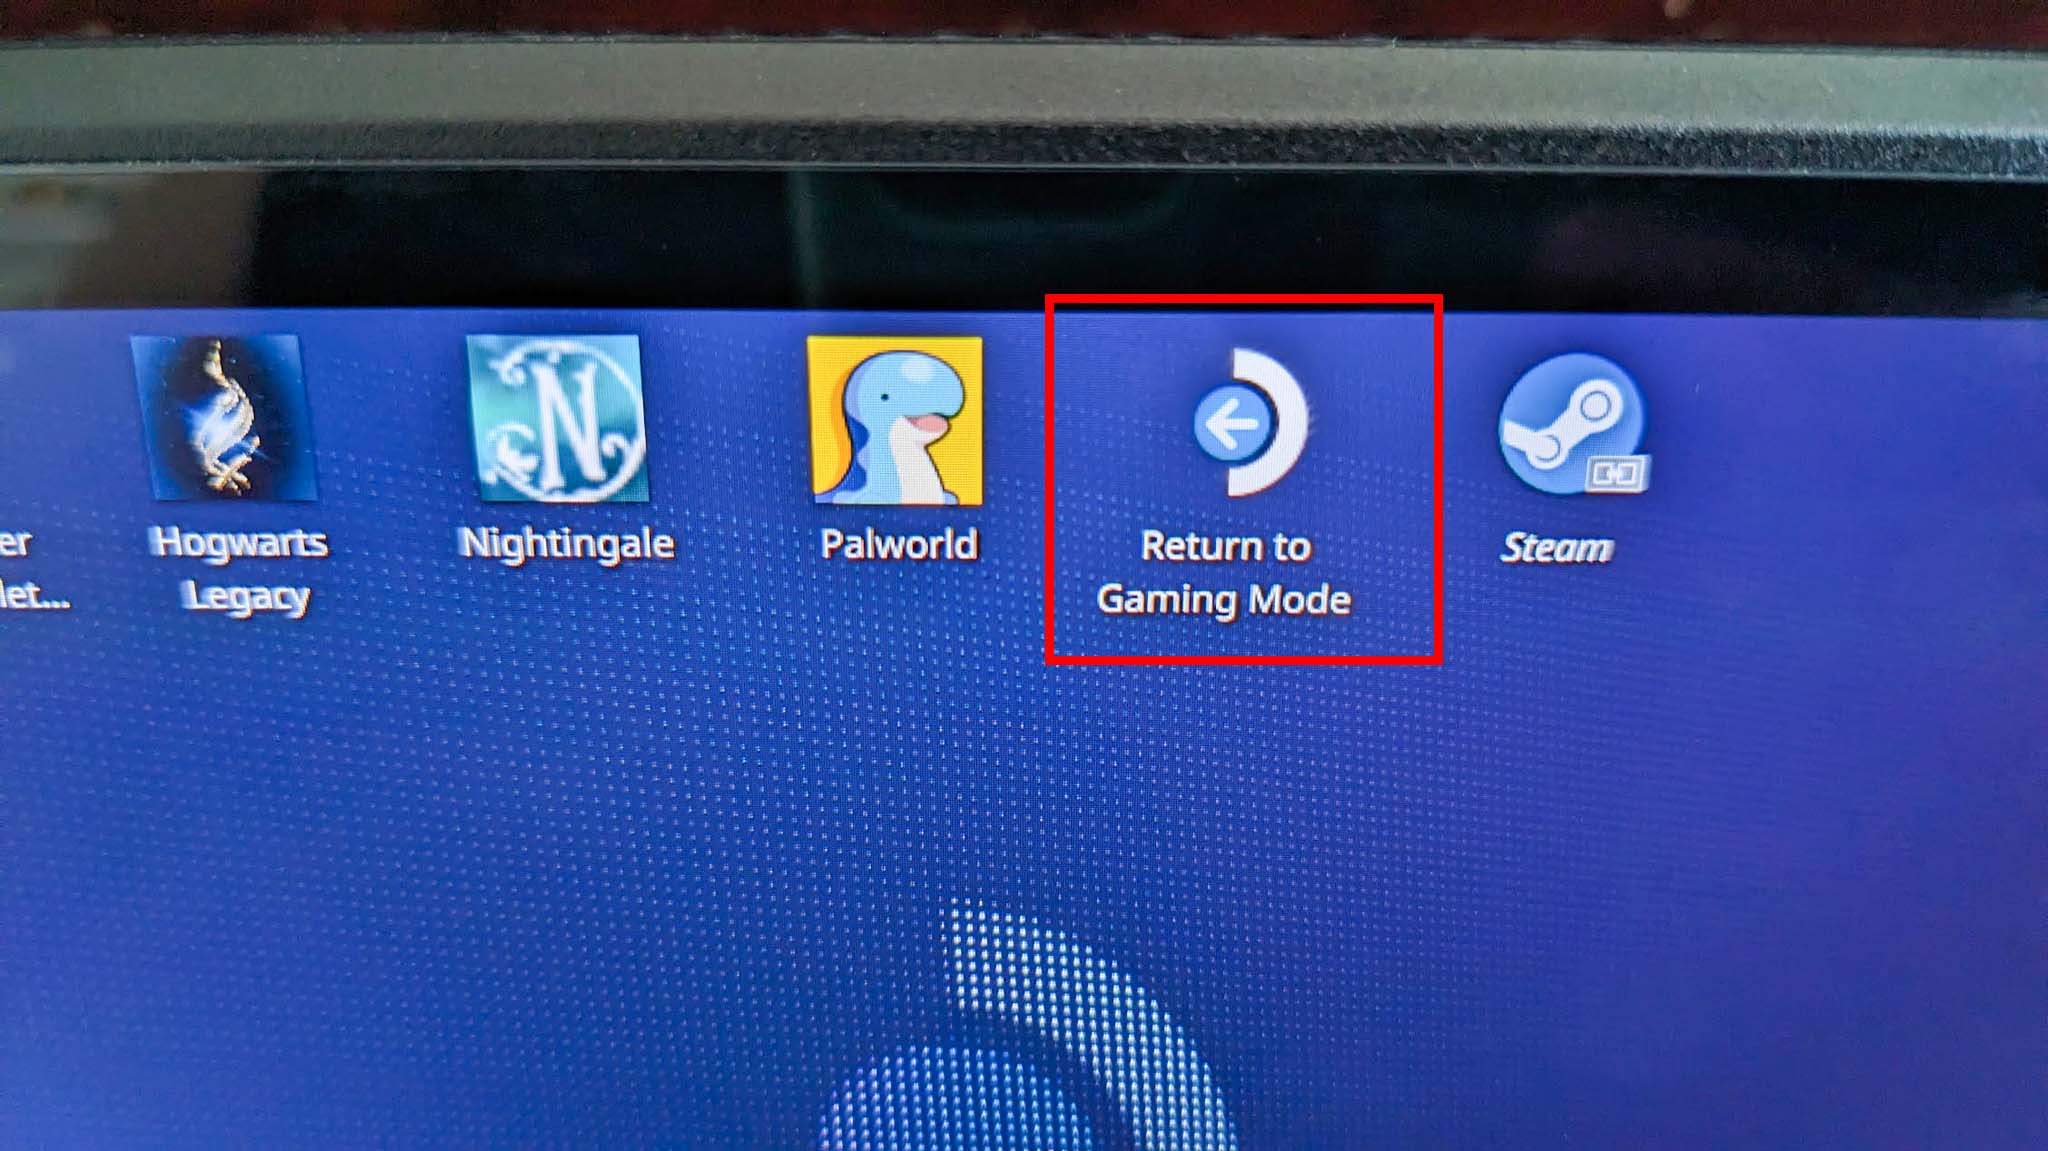
- Click on the Return to Gaming Mode icon on the desktop to return to the usual display. This icon is the Steam Deck symbol with an arrow on it.
Now you're back to the usual Steam Deck layout with freshly recalibrated joysticks. Play a game to see if this fixed your issue. If it didn't then it's time to look into some physical fixes.
Carefully clean the joysticks
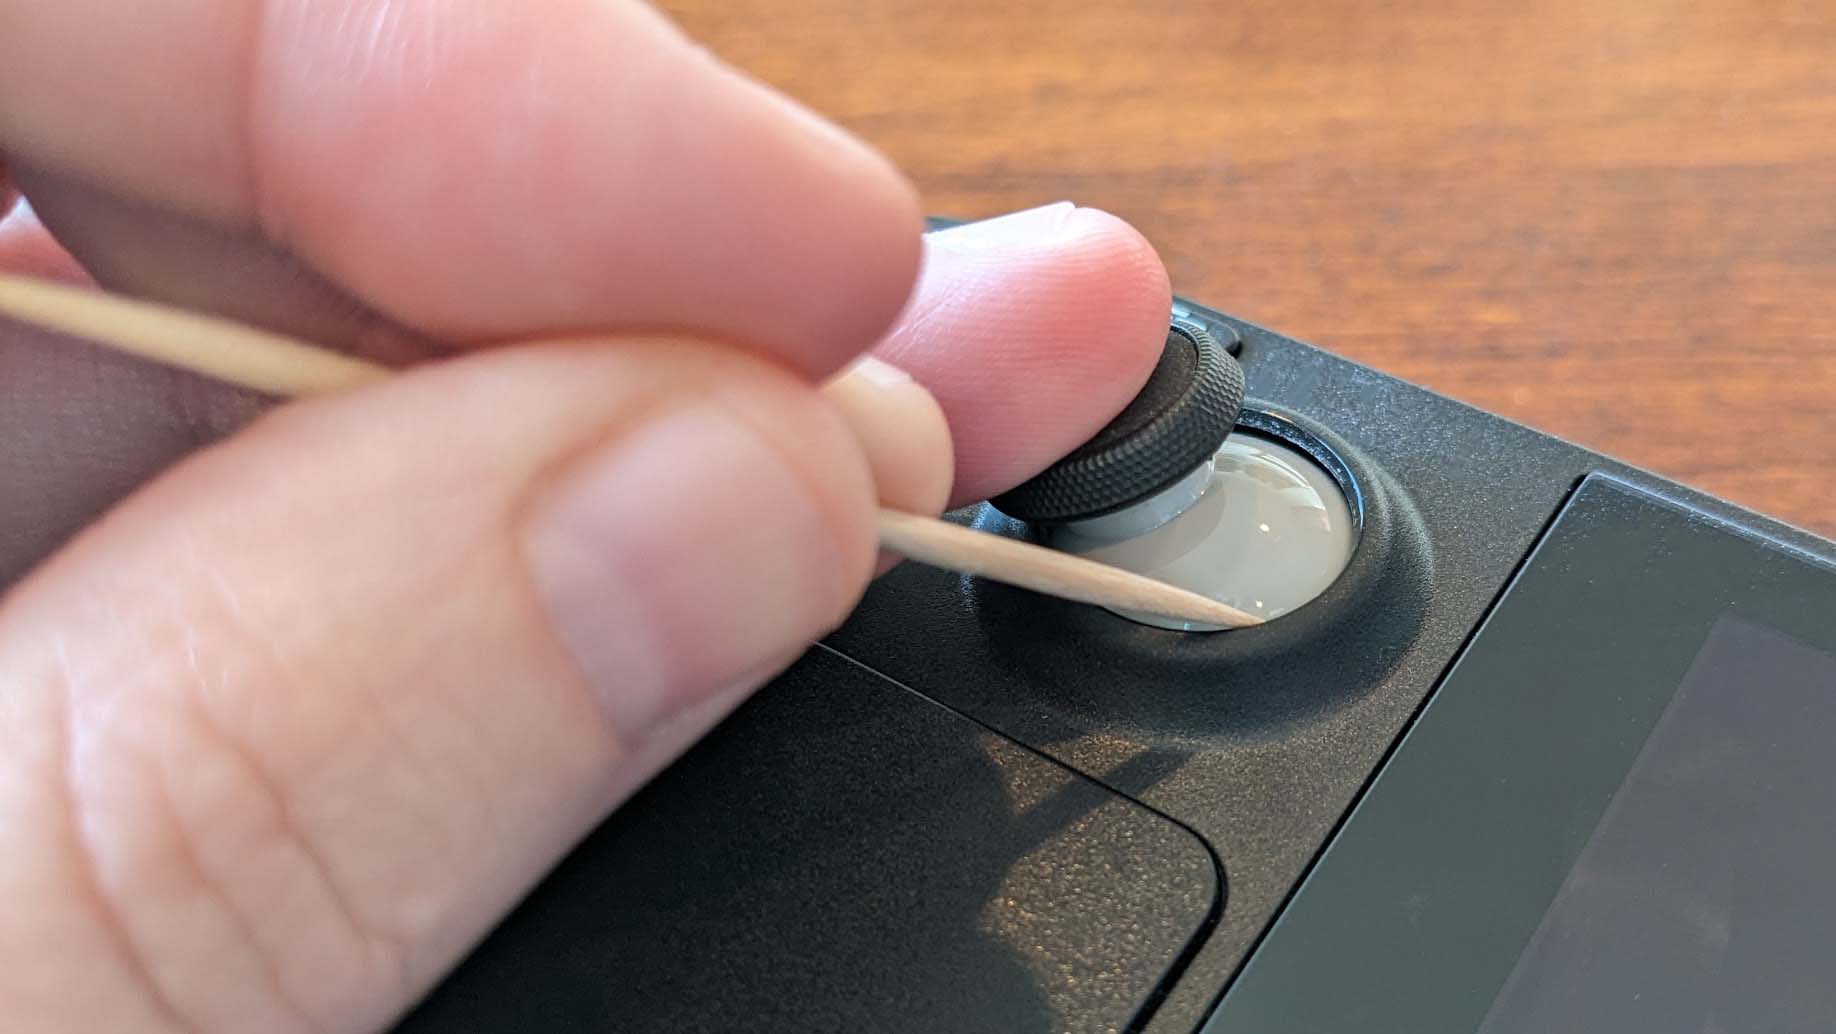
Dust, dirt, crumbs, and other grime can easily muck up a gaming handheld's joysticks. As such, it's possible that cleaning the joysticks could make them work better. Here are a few things to try if your joysticks are dirty.
- Gently use a toothpick to remove debris: You should be very careful while doing this. I suggest gently using a toothpick to clear out any debris that seems to be floating around in the joystick area. Do not press too hard and avoid breaking parts of the toothpick off in the joystick area, or you could develop additional problems.
- Use a very lightly dampened rag to remove gunk: If the joystick area is gunky, then lightly dampen a washcloth with water and then dab away the mess. Avoid using a sopping wet rag as this could get electrical components wet and permanently damage them.
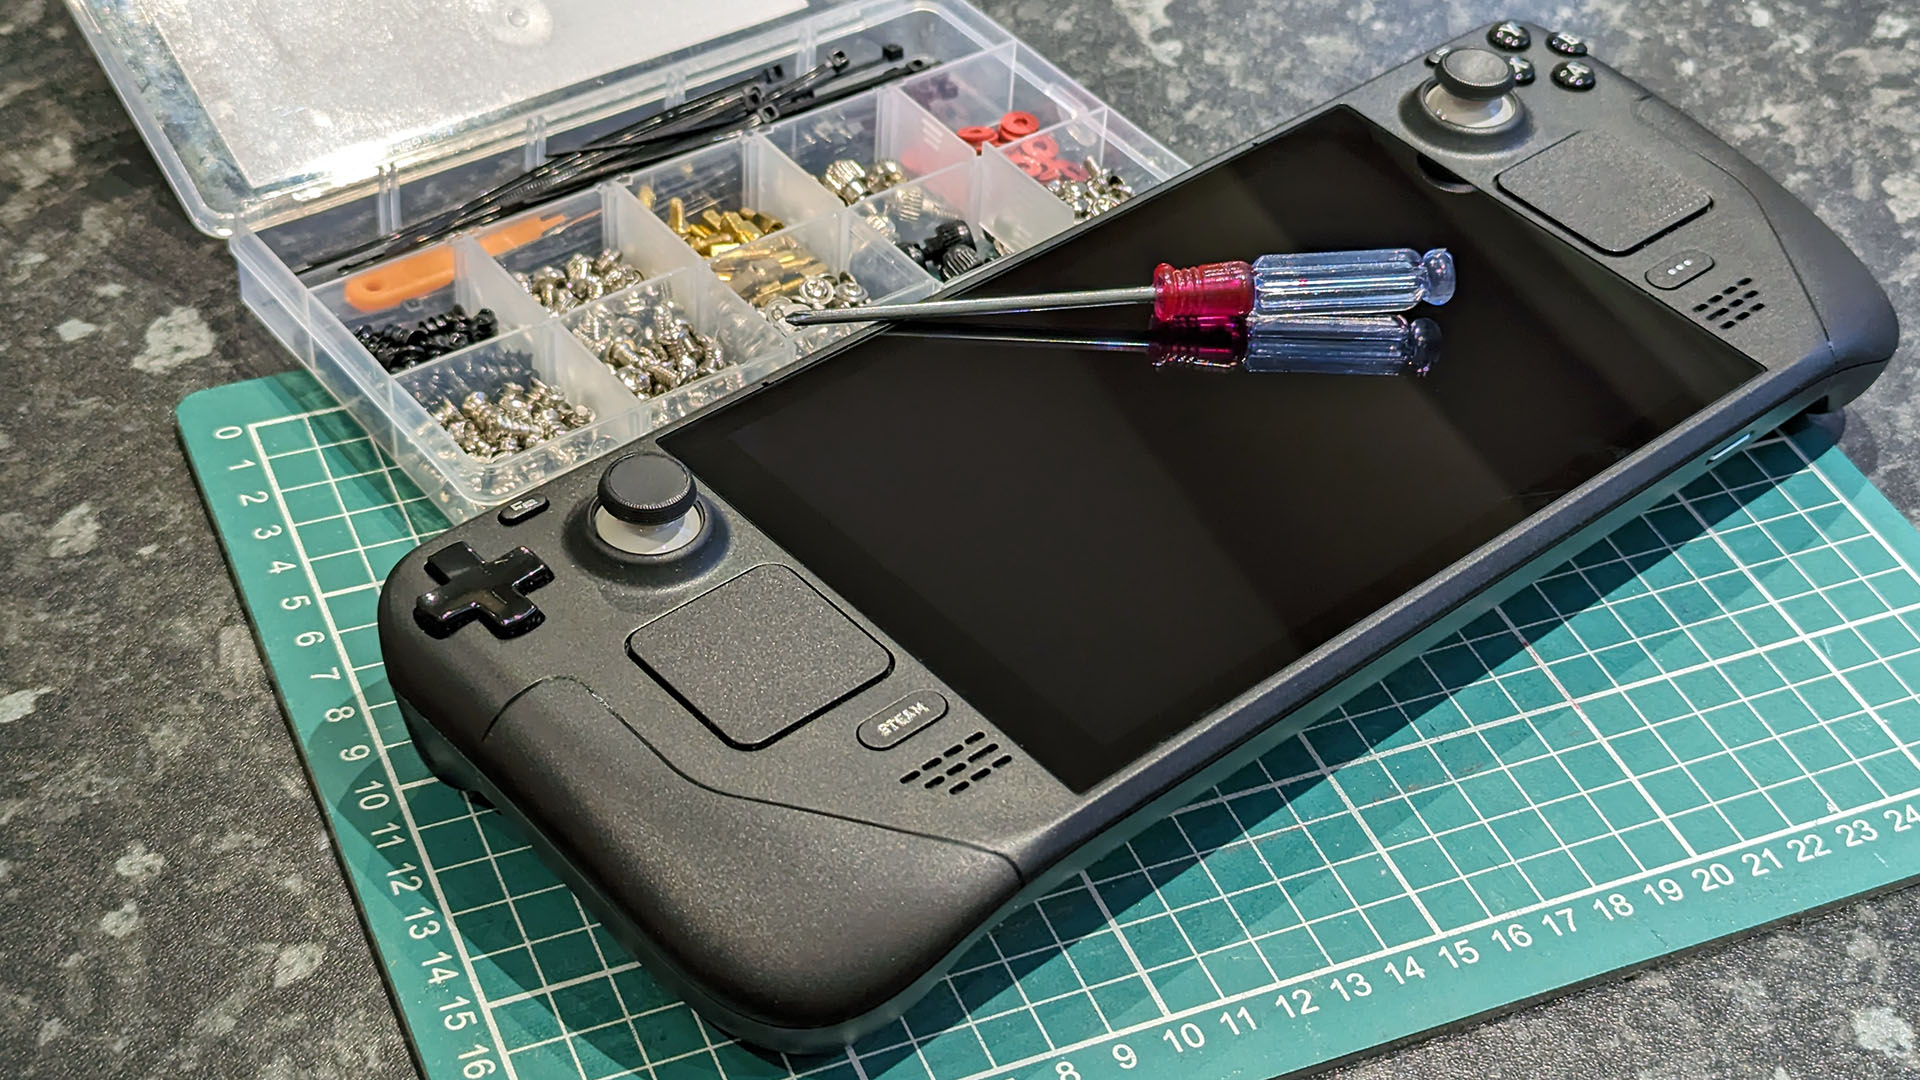
- Open the Steam Deck and remove any debris that might have gotten inside: It's also possible that debris could have found its way inside your Steam Deck. You should only open your Steam Deck if you feel comfortable doing so. Note that this could void any warranty you might have. Additionally, if you aren't careful, you can cause permanent damage. Do not use water at all on internal components. Instead, carefully use a non-static soft brush to remove dust and crumbs. You can find all of the tools you need in the Antistatic Brush Mainboard Cleaning Took Kit below.
Communicate with Valve if your Steam Deck is still under warranty
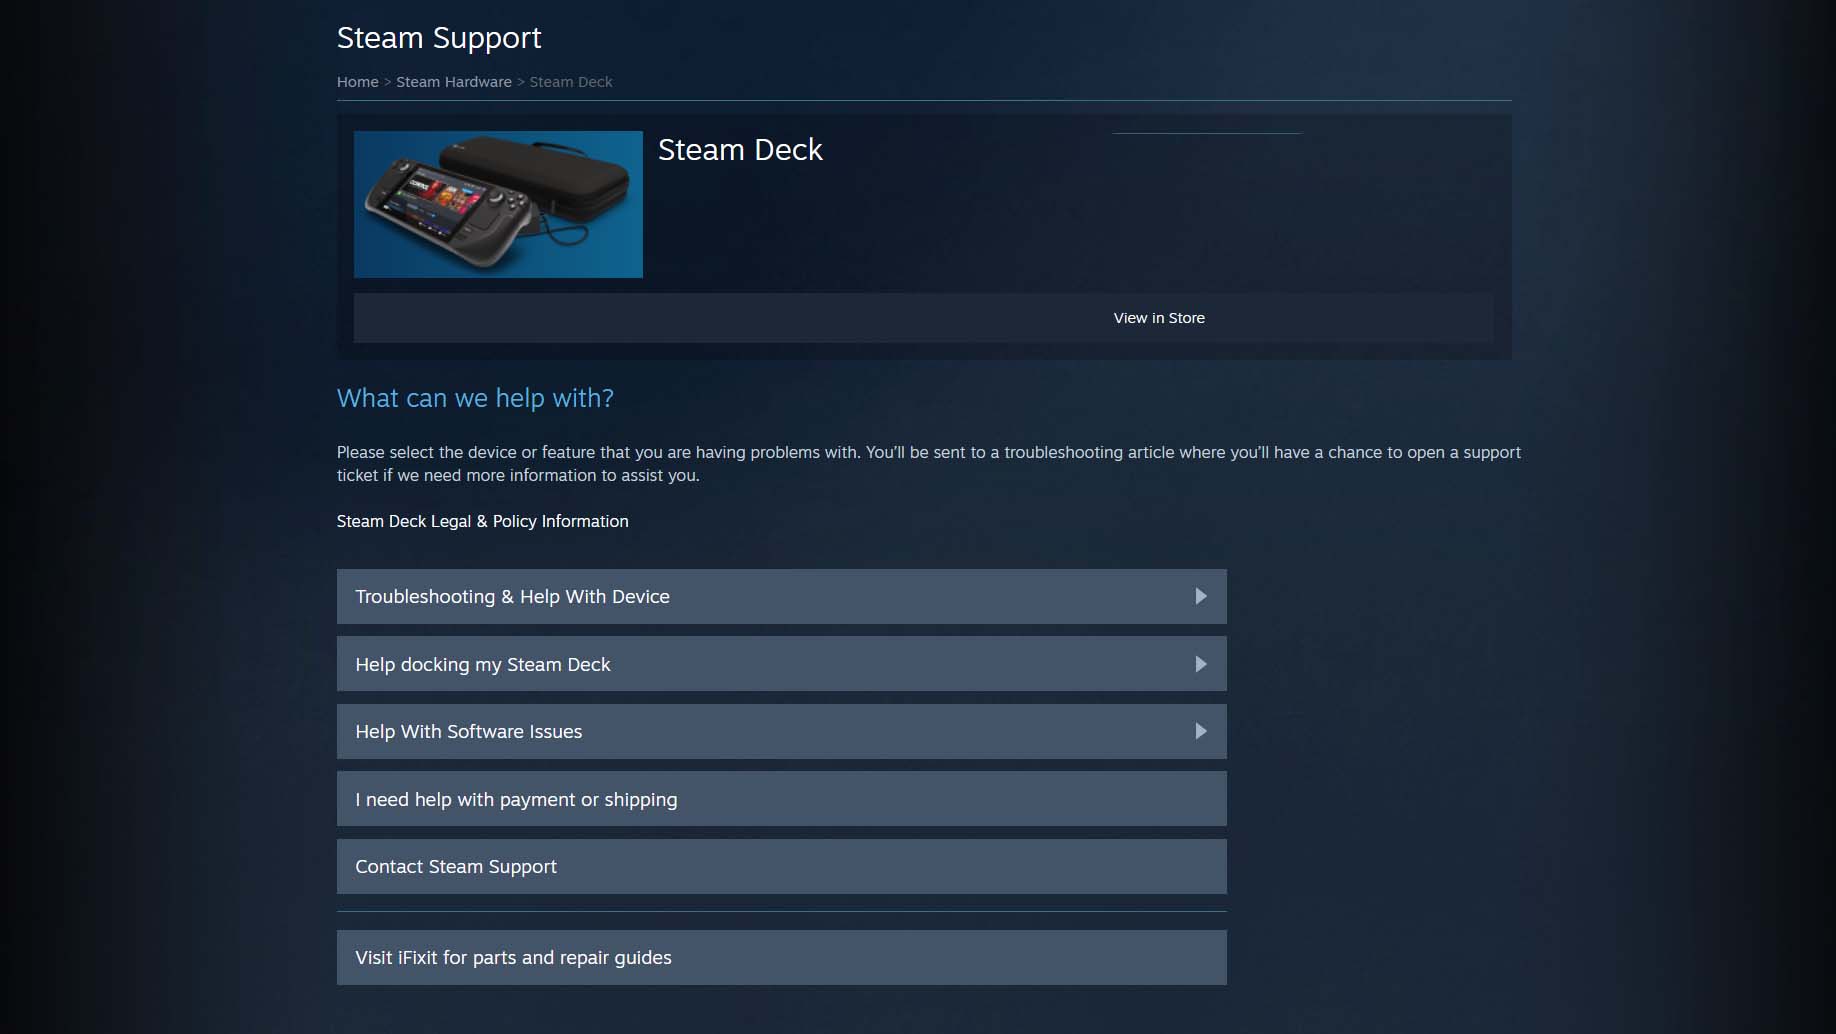
Valve's standard warranty time for its Steam Deck gaming handhelds is 12-months. If you purchased your Steam Deck within the last 12 months, reach out to Valve Steam Deck support, and they might be able to fix your system or replace it.
Consider replacing with Hall Effect joysticks
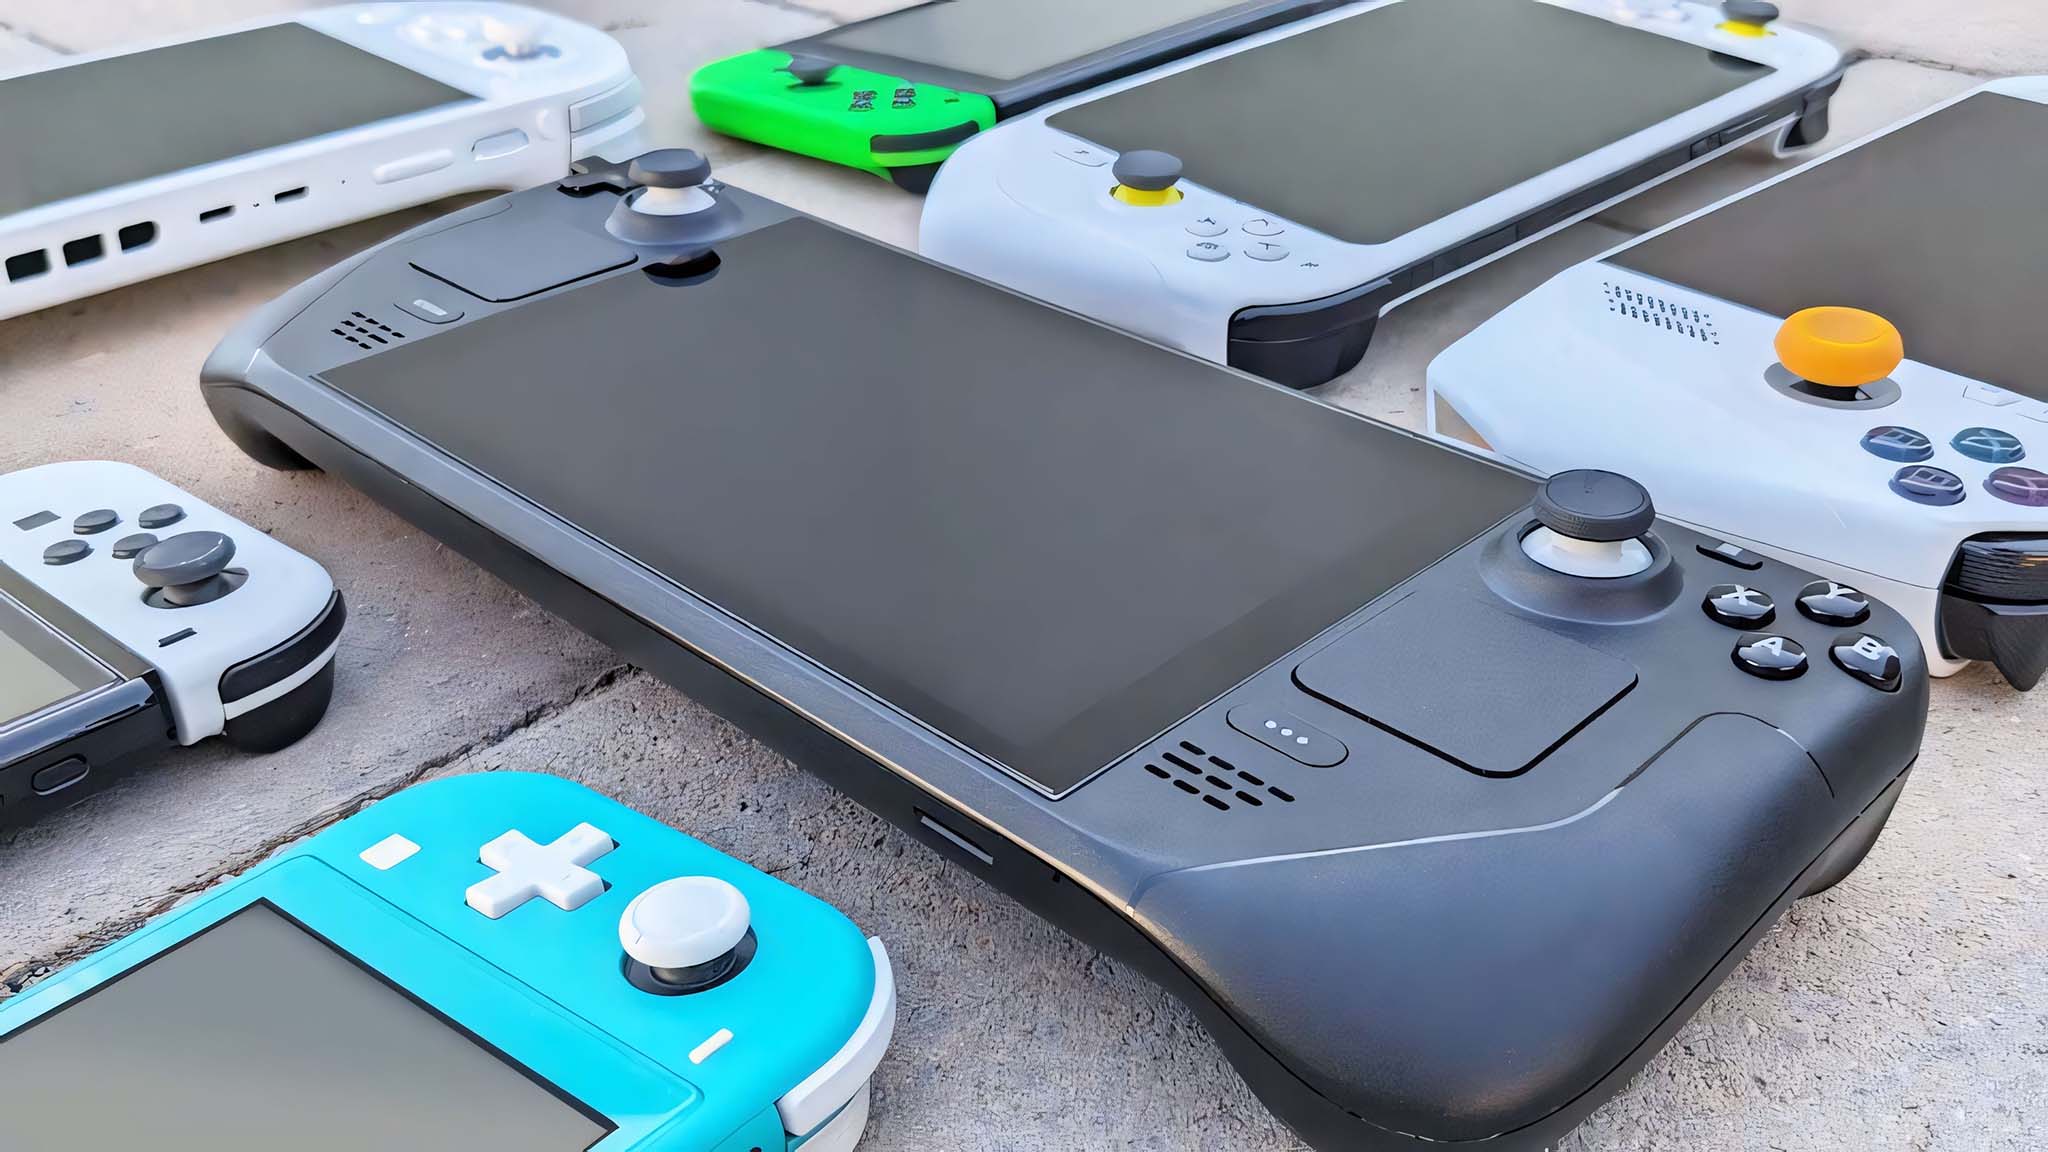
- Best gaming handhelds
- Best Steam Deck accessories
- Best ROG Ally accessories
- Best ROG Ally power banks
- Best Legion Go accessories
If you've tried everything else and the Steam Deck joysticks still aren't behaving properly, then you should consider replacing them. There are a few options to choose from out there, but the one I recommend most is the GuliKit Hall Effect Joysticks. Since these are specifically Hall Effect replacements, this means that they should never develop any drift issues, so you won't have to worry about going through this process all over again.
As always, I only recommend opening your Steam Deck if you feel confident opening electronic devices and swapping parts. For one thing, opening the Steam Deck will void the warranty if there's one still in place. Secondly, you could cause long-lasting damage to the system if you do something wrong. Of course, you might be able to take your handheld into a device repair shop and pay them to do the work for you. It's cheaper than buying a completely new Steam Deck. They might just want you to supply the joysticks yourself.
Once the joysticks have been properly replaced, you'll gain the benefit of having much better joysticks than initially came with your Steam Deck.
How to prevent Steam Deck drift from happening
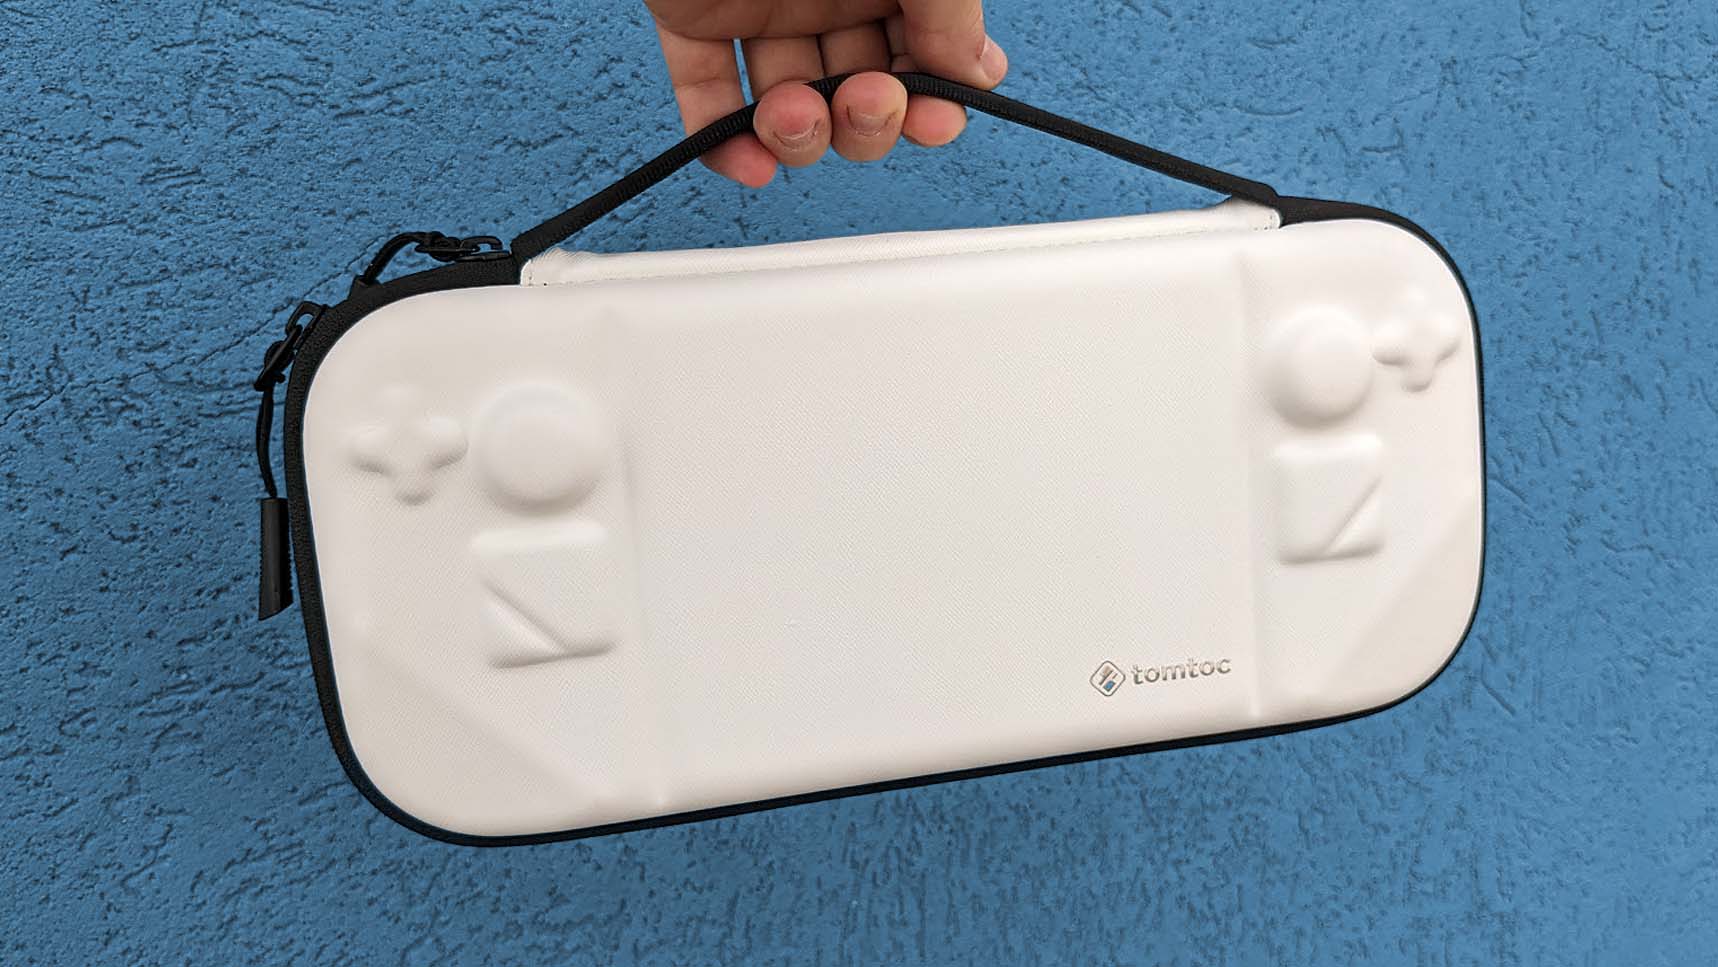
- Keep food, dust, and crumbs far away from the handheld: Don't eat while playing the Steam Deck, and make sure that your fingers (or the fingers of those playing your system) are clean and gunk-free.
- Always use a protective carrying case when traveling with the Steam Deck: If pressure is placed on the joysticks too often or at odd angles, it can lead to the thumbsticks wearing out prematurely. You can protect them in transit by using a good carrying case such as the hard shell Tomtoc Steam Deck Carrying Case, which specifically has raised indented areas to ensure the joysticks won't be pressed.
Fix Steam Deck drift and keep playing
Experiencing Steam Deck drift is one of the most frustrating things. Depending on how bad it is, it can simply be a slight annoyance or can completely debilitate your playing sessions. Thankfully, there are plenty of things you can do to try and fix the problem.
Before resorting to contacting Valve or replacing the joysticks, try to see if a system update or a joystick recalibration fixes the problem. It's also possible that physical debris could be getting in the way and preventing the thumbsticks from behaving properly, so carefully take the time to clean the gaming handheld. If the simple fixes don't do it, then consider sending the device in for repairs or replacing the joysticks yourself. Hopefully, you'll be playing your favorite games again in no time.


