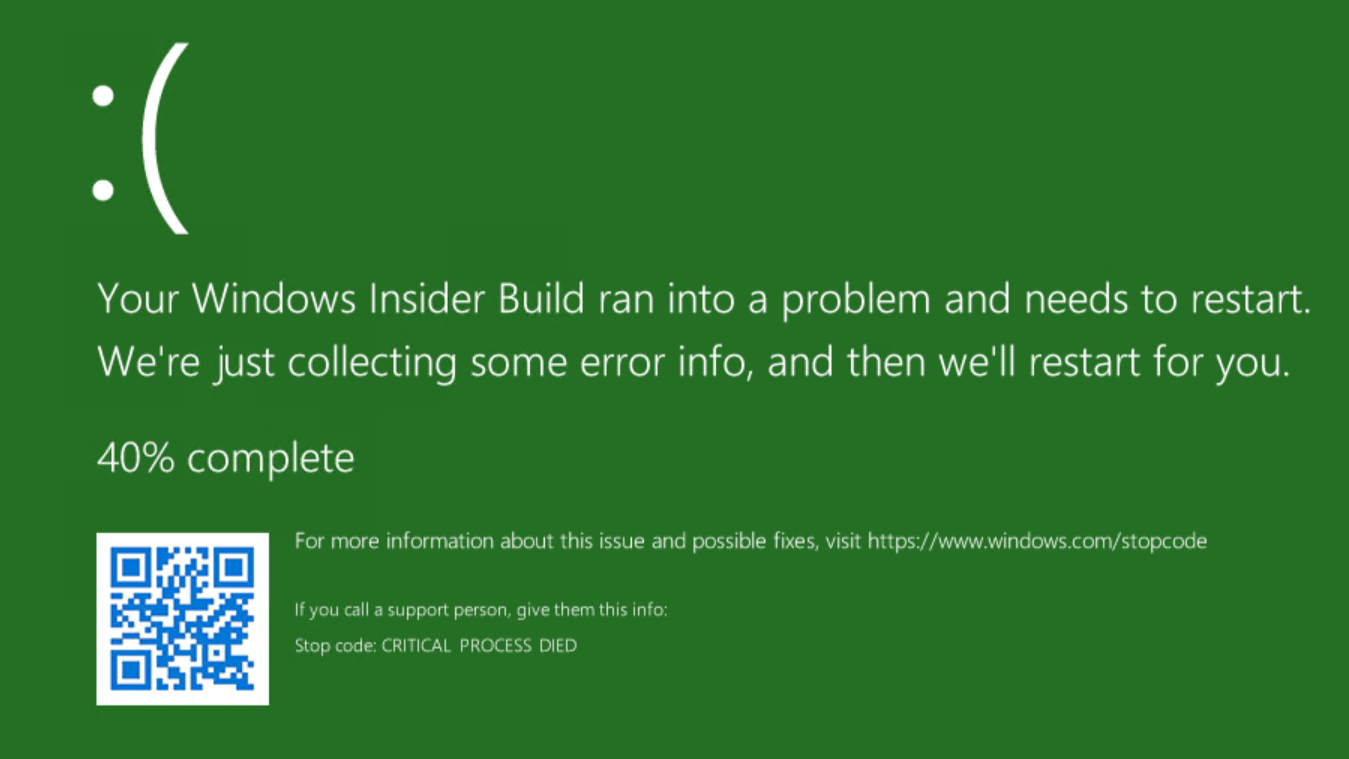
Here’s a fun fact: CRITICAL_PROCESS_DIED is one of the few Windows BSODs (Blue Screens of Death) that anyone can provoke at will – on Windows 10, anyway. If you kill the process named svchost.exe in Windows 10 (right-click in Task Manager, and pick “End process tree” from the pop-up menu), it asks for confirmation before showing an error screen (see above for error screen, below for confirmation window).
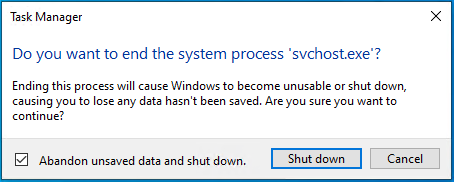
Among other things, that means Windows won’t run unless the generic system process that hooks Windows services up with dynamic link libraries (DLLs) is operating. Because this is a fundamental part of how the Windows 10 operates, that OS won’t work unless one (usually more) instance of this service is running (at least one for each DLL in use, in fact).
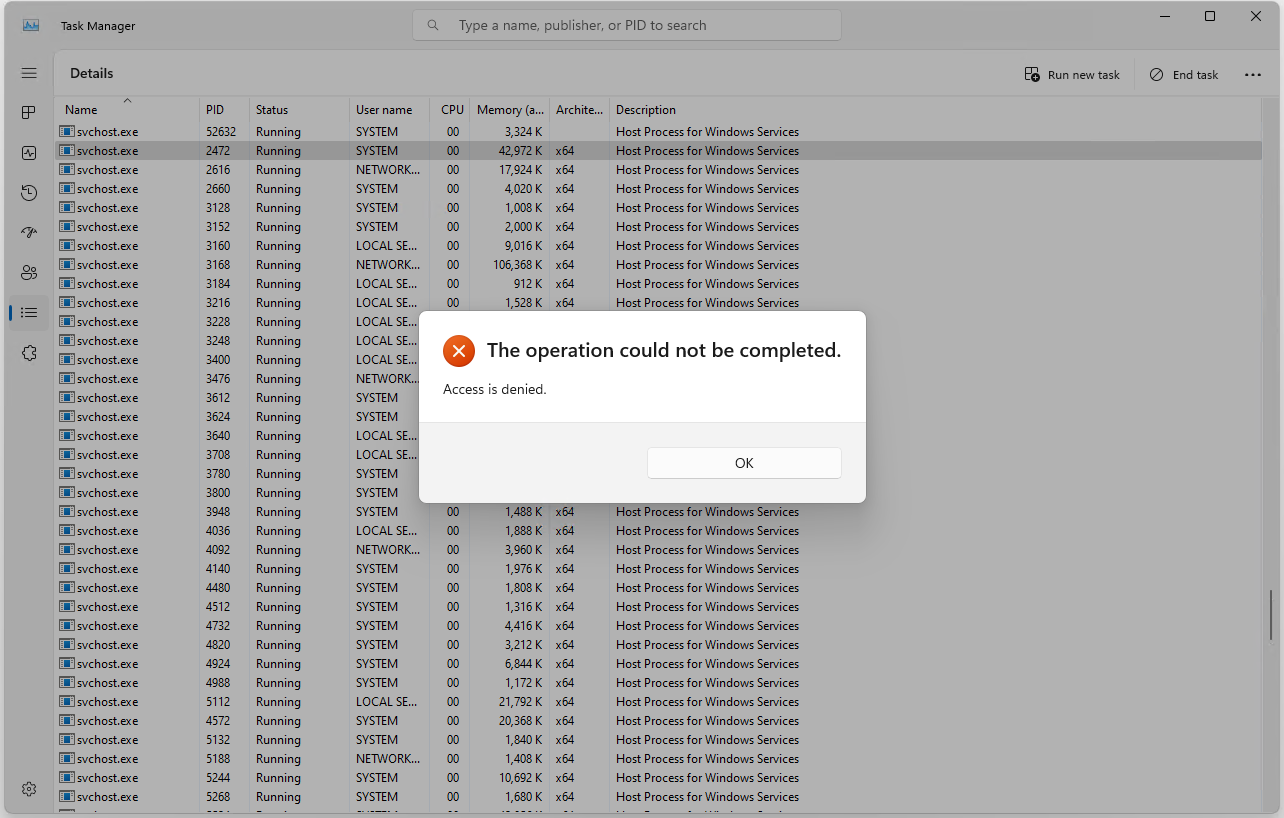
Windows 11 is more resilient: I wasn’t able to force it to crash by killing svchost.exe. Instead, I got a denial from the OS that said “The operation could not be completed.” Further detail, as shown in the next screencap reads “Access is denied.”
But for both Windows 10 and 11 when it happens for real, CRITICAL_PROCESS_DIED signals that some process necessary to Windows’ proper operation has ended abruptly and unexpectedly (to the OS, anyway). I don’t recommend that users try killing svchost.exe in Windows 10 anyway. And if you must try, save all work, close all open applications, and get ready for your PC to restart after the BSOD appears and post-crash dump files get saved. Don’t say I didn’t warn you!
Most Common Causes for CRITICAL_PROCESS_DIED Error
When this error pops up, numerous potential causes are worth checking into. As with most BSODs, your clearest guide such an investigation is to consider what changed on your PC recently. Statistically, the most frequent cause of this stop code is a rogue update, followed by system file corruption that causes the executable for some critical system process (of which svchost.exe is a great example) to die. A list of potential causes includes:
-
Rogue update: this term describes a (usually recent) Windows update such as a Cumulative Update, a security update, or some other update, that causes unwanted side effects on some PCs. If you can identify the update involved – there will usually be helpful notes in the update release notes from Microsoft. To that end, please check the update’s Knowledge Base number and read what you can find from Microsoft about that string.
Thus, for example, you could use Google to find useful information for KB5003173 with the string: “site:Microsoft.com KB5003173” where its Microsoft Support note offers a focus for follow-up. It includes a section heading that reads “Known issues in this update” where you’ll find information about known issues and potential or actual resolutions or workarounds. Third-party sources are also sometimes of interest, because they may document fixes or workarounds that Microsoft has not yet vetted or published (Susan Bradley’s DefCon column in the AskWoody.com newsletter is a good source for such intelligence).
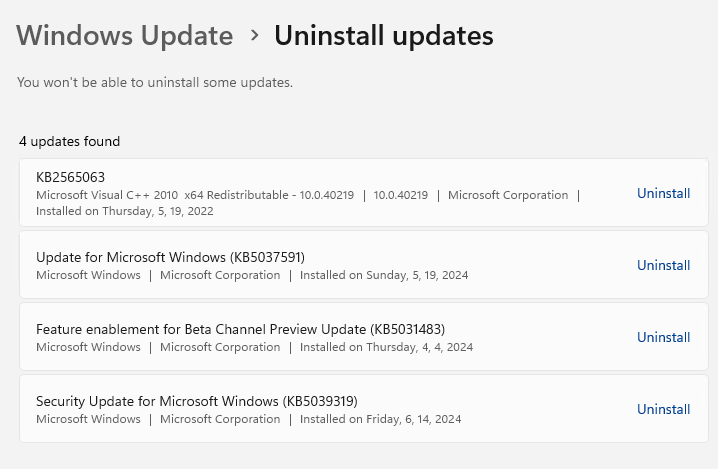
To see what updates you've installed recently, go to the old Windows control panel, launch Programs and Features and click “View installed updates.” This works in Windows 11 also, but you can shortcut by typing “uninstall updates” in Settings. This shows you a list of all updates you can uninstall. If you need to uninstall one, right click it and select "uninstall" (Windows 10) or click the “Uninstall” button (Windows 11, as shown below).
If that doesn’t work, you can boot from the Windows Recovery environment and use the DISM command to uninstall an offline image at the command line. That’s a fairly complex operation that’s documented in Option 6 of Shawn Brink’s excellent TenForums tutorial Uninstall Windows Update in Windows 10 (this also works for Windows 11 as well). It is also the best known method for removing a rogue Windows 10 or 11 update.
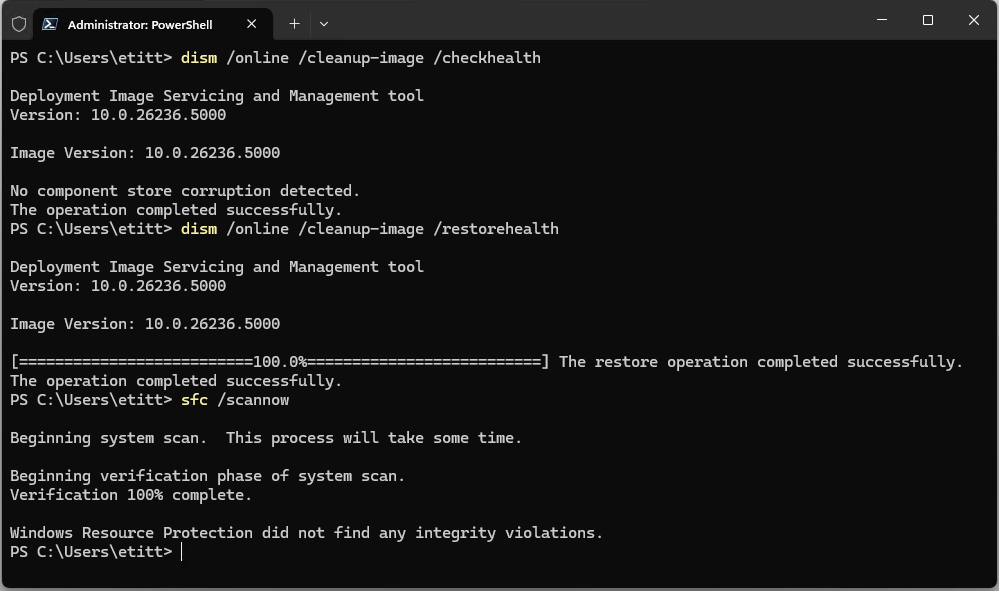
- Corrupt system files: These are best addressed using the DISM /Online /Cleanup-Image /CheckHealth command (run at an administrative command prompt or in an administrative PowerShell session). If this command finds anything to report, run DISM /Online /Cleanup-Image /RestoreHealth to clean things up. Next, run the system file checker until it reports nothing found or fixed (this sometimes takes 2 or 3 iterations): SFC /SCANNOW. If it works, this will often fix the BSOD error as well. All three commands are depicted in the following screncap:
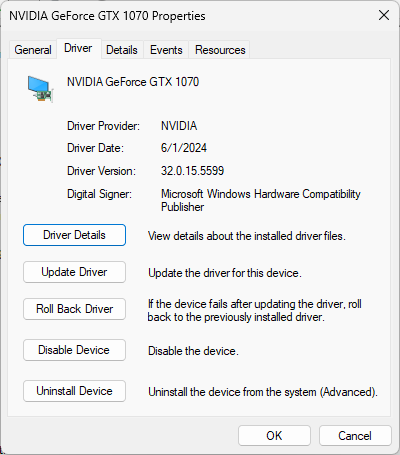
- Incompatible or nonfunctional device drivers: If you’ve recently updated a driver, you should probably use the “Roll Back Driver” option on that device’s Driver tab in Device Manager. If the tab is greyed out, you may have to uninstall the current driver and install the previous version manually.
Try a Clean Boot to Resolve CRITICAL_PROCESS_DIED Errors
If you still can’t figure out what is causing your CRITICAL_PROCESS_DIED errors, a Windows 10 clean boot (also works for Windows 11) should be your next step. A clean boot starts Windows 10 or 11 with the barest minimum set of drivers and startup programs. It seeks to eliminate possible causes of trouble that have been added to the startup environment over time. See our article on how to perform a clean boot in Windows 10 for instructions.
Make Use of Recent Reporting to Solve CRITICAL_PROCESS_DIED Errors
If you visit TenForums.com, BleepingComputer.com, Answers.Microsoft.com or the Tom’s Hardware Forums and search for the CRTICIAL_PROCESS_DIED error string you will see how often the error has been reported lately.
You will also get some excellent insight on how others have approached diagnosis of the underlying cause, and what fixes they’ve applied. It’s especially helpful to read through fixes that claim success because these might work for you, too. On the other hand, unsuccessful fixes can be informative, too, because they tell you which repairs to try later rather than sooner (or not at all).


