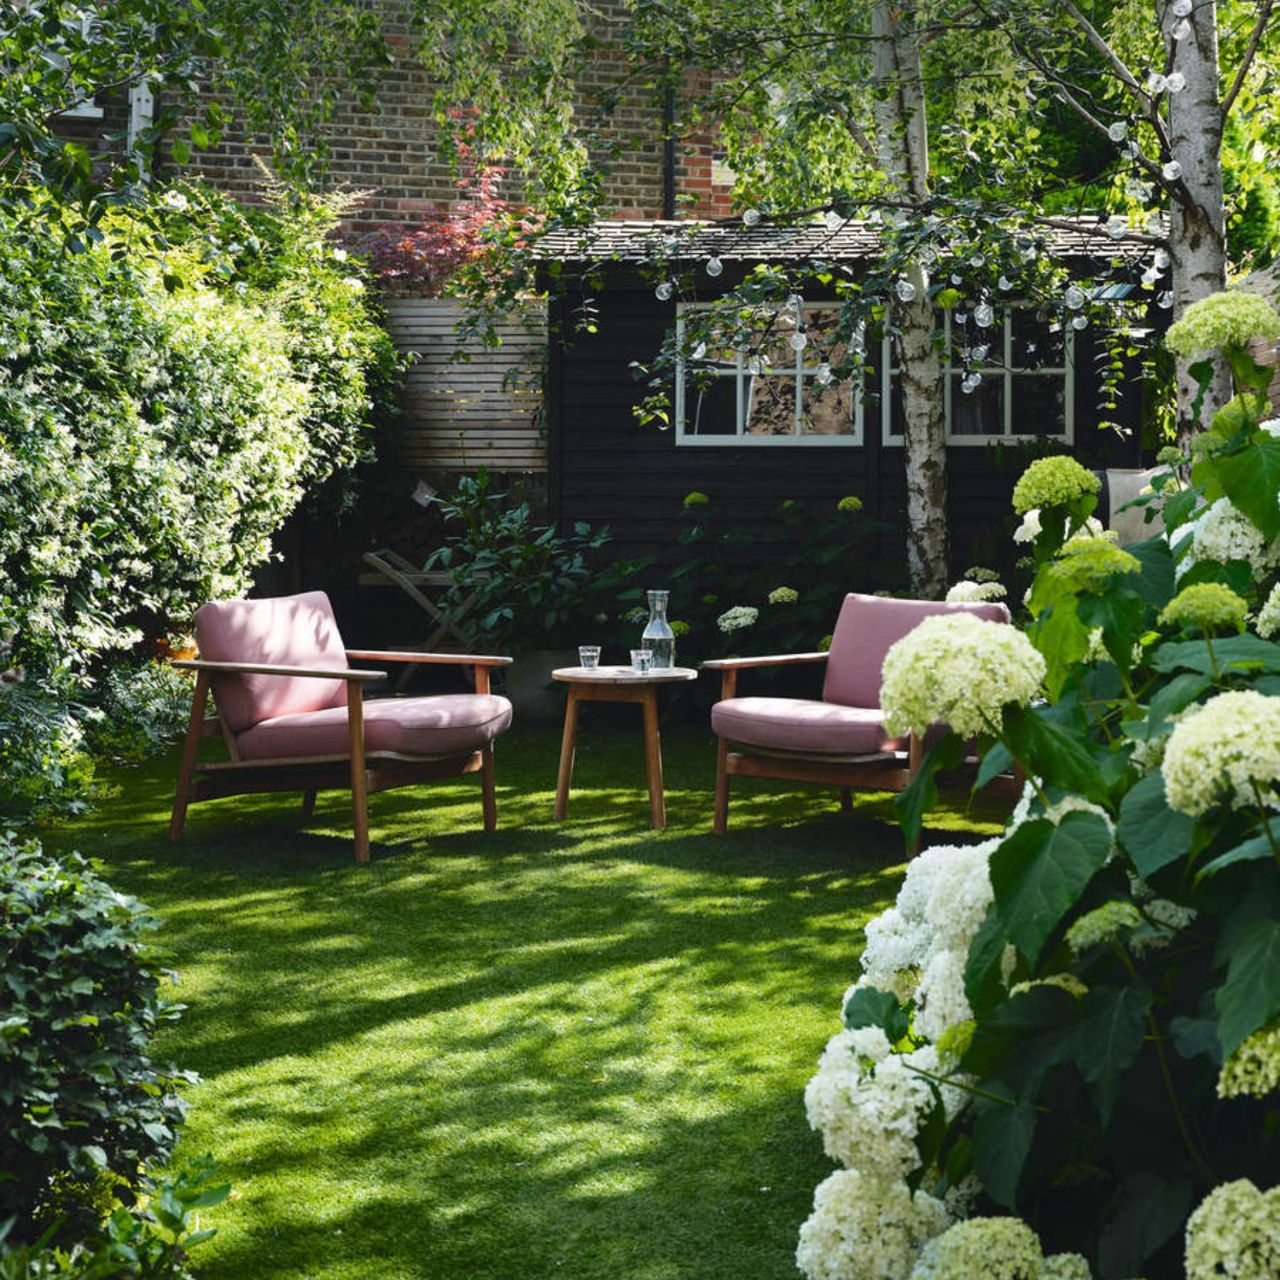
Wondering how to deadhead hydrangeas? Or, if you really need to? Well, it's the right time of year to be thinking about it.
Whether you're growing hydrangeas in pots or borders, these popular shrubs are an absolute staple in the garden. They don't strictly need deadheading, but removing the spent flowers can be beneficial to the plant's appearance and health.
We've thrown together a guide on how to deadhead hydrangeas, how important the task is, and a few tool recommendations and expert tips to help you along the way.
Should you deadhead hydrangeas?
While hydrangeas famously offer their impressive flowerheads throughout mid-to-late summer, there comes a time when their colour starts to fade, their petals turn crispy, and they look a little worse for wear. And when this happens, you could deadhead them.
'Deadheading hydrangeas can be very beneficial for the health and appearance of these plants,' explains Peter Ivanov, gardening and plant expert at Fantastic Gardeners.
'It helps them put their energy towards the root, stems and leaves instead of producing more seeds, which will help for future growth.'
It depends on the type of hydrangea you have, though - and if you know anything about pruning hydrangeas, you'll know that there are a lot of different types.
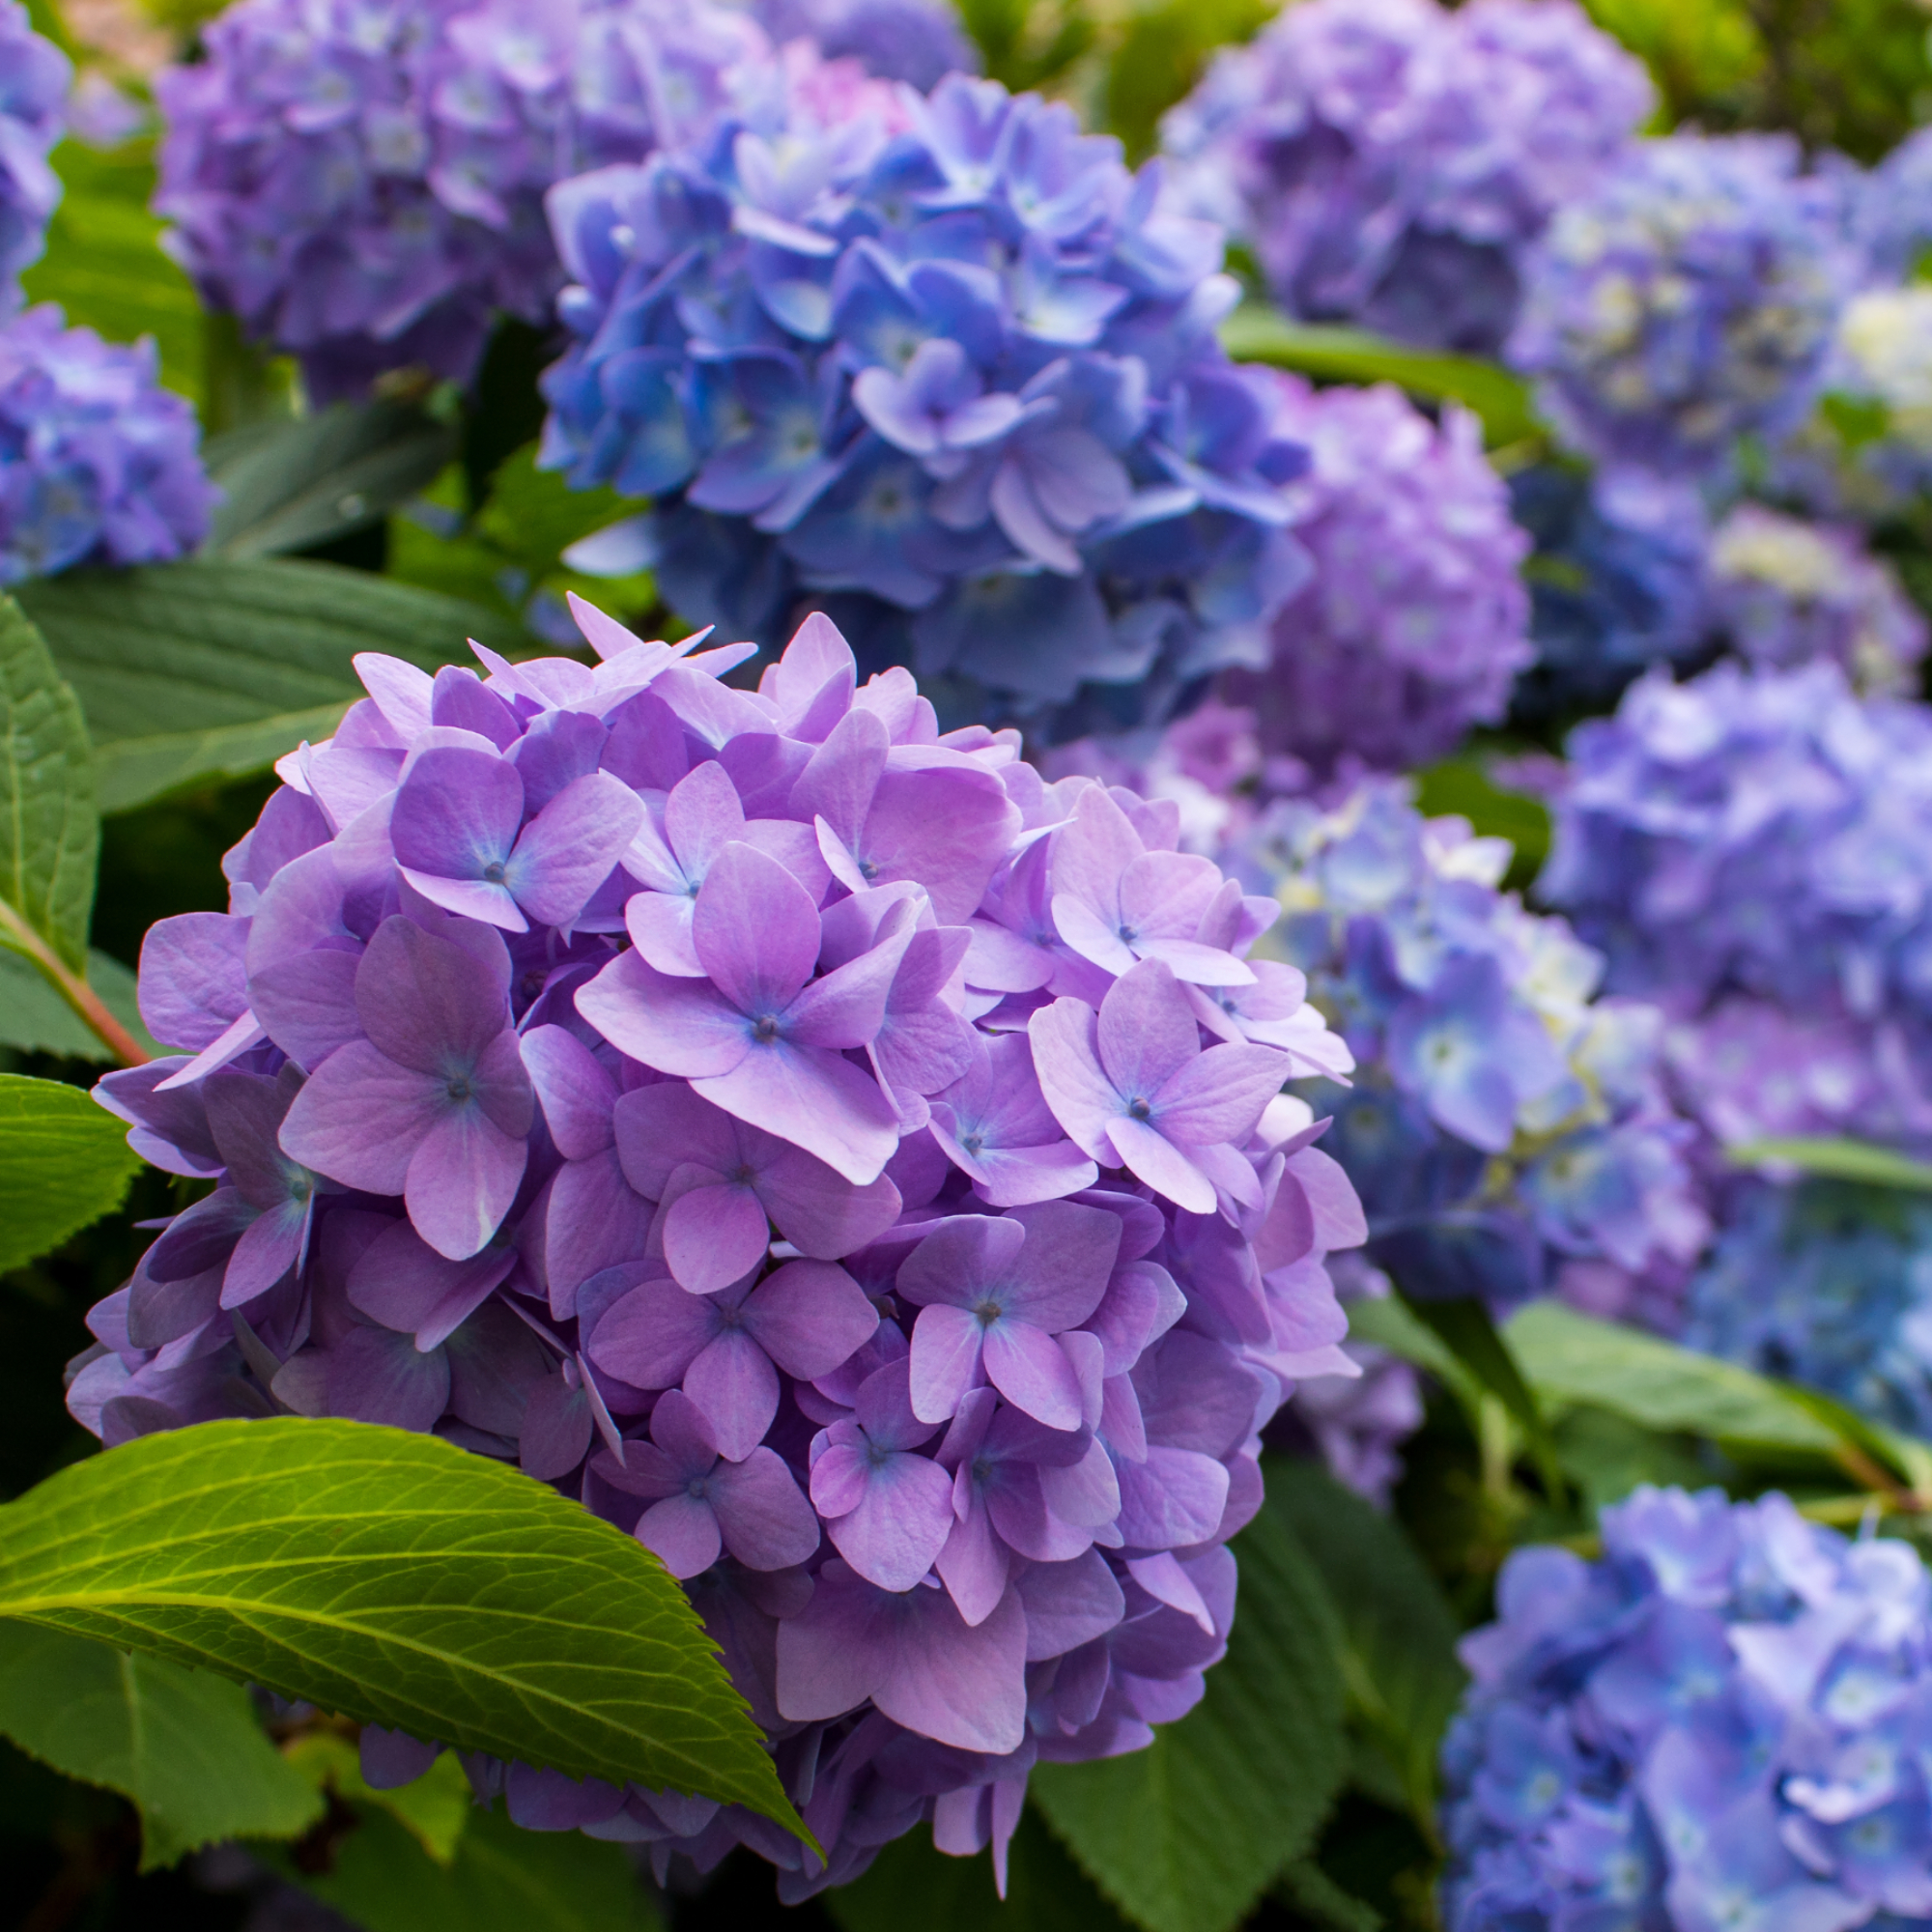
'For hydrangea species that bloom on new wood, deadheading can stimulate the production of new flower buds, leading to more blooms in the current growing season,' explains Petar.
Although you may assume that forgetting to deadhead your hydrangeas is a massive deadheading mistake, it isn’t the end of the world. It won’t kill your plant, and it might not even affect it at all.
Of course, there are some plants you don't need to deadhead, and many species of hydrangea fall into that category, especially if you're looking to increase architectural interest in the garden.
‘I use Hydrangea arborescens ‘Annabelle’ in many of my designs,' says Harriet Worsley of Worsley Design & Consultancy. ‘It’s great to leave the fluffy flower heads on through the winter to add a bit of form and structure. They will have turned brown, but they provide structure and interest.’
You could even learn how to dry hydrangeas for indoor displays (mophead varieties like Hydrangea macrophylla 'Pimpernel' from Gardening Express are great for this).
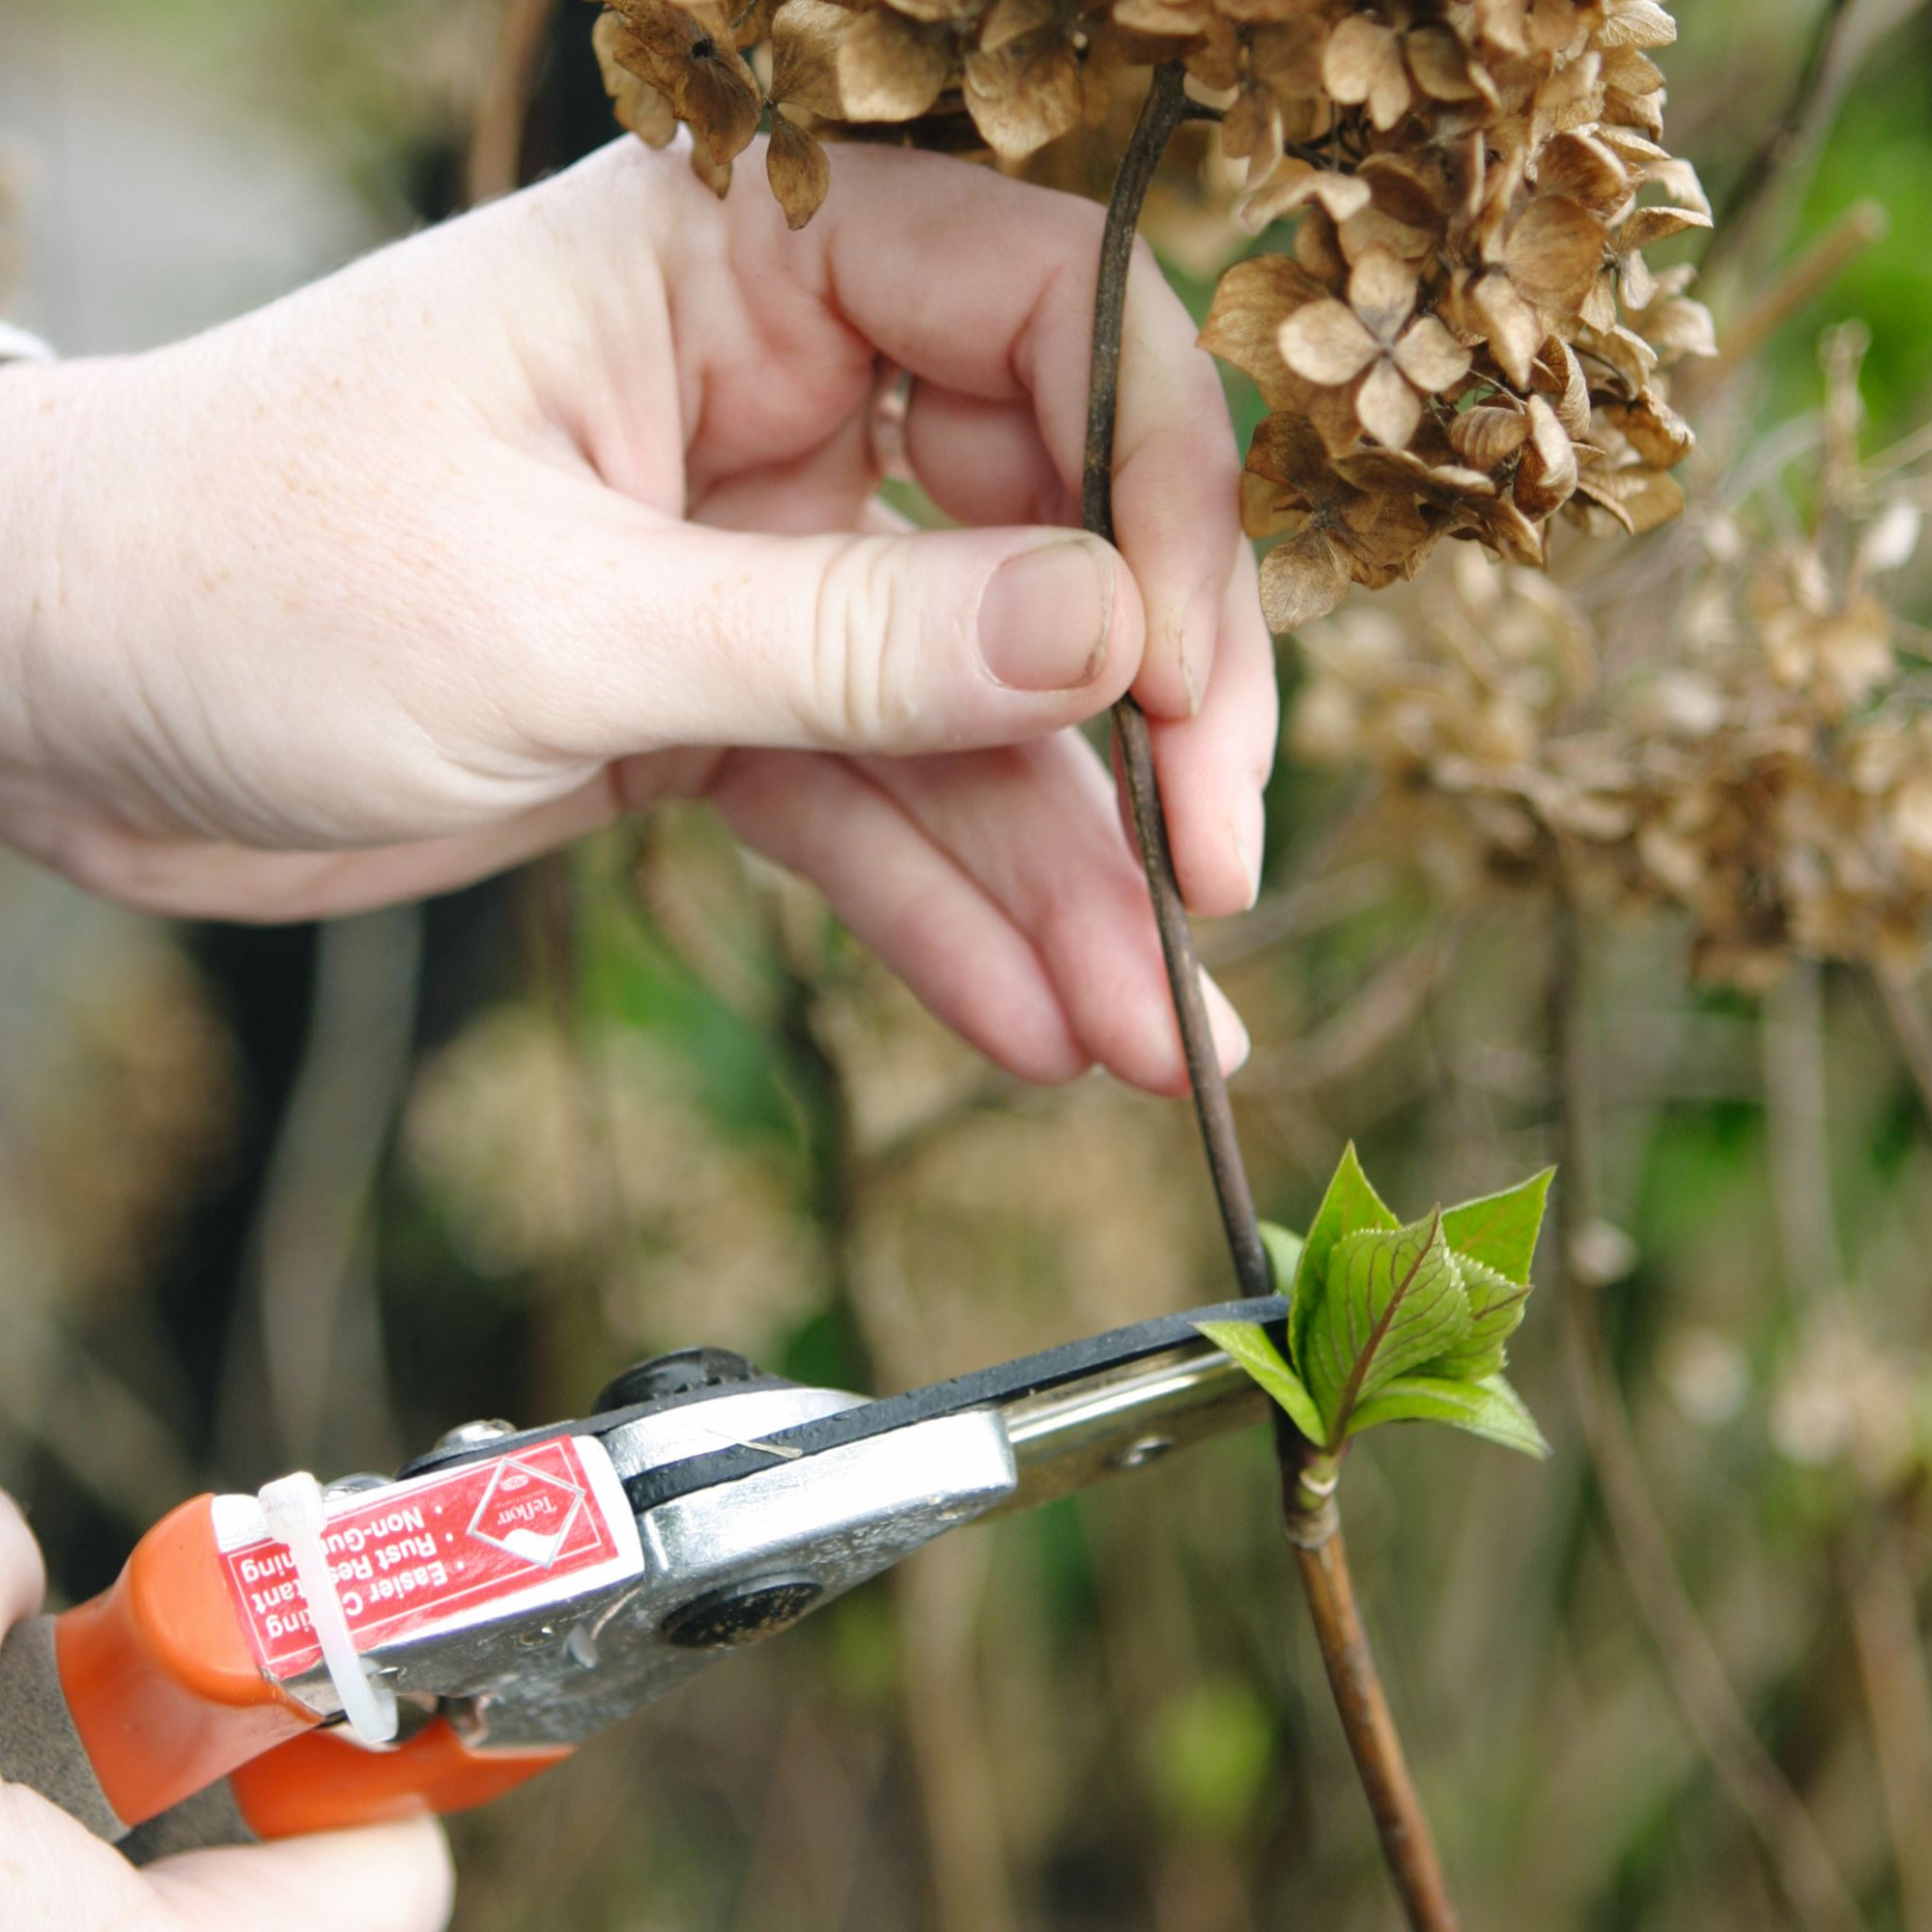
If you do decide you want to learn how to deadhead hydrangeas, the process is pretty simple...
What you’ll need
This set allows you to choose your snippers based on the size of your hydrangea. Plus, it's always handy to have an extra pair around the garden.
This disinfectant is ready to use and ideal for cleaning your tools before deadheading your hydrangeas.
When deadheading anything in your garden, it's always a good idea to wear some gardening gloves. We love this pair.
How to deadhead hydrangeas : Step-by-step guide
1. Choose the right time
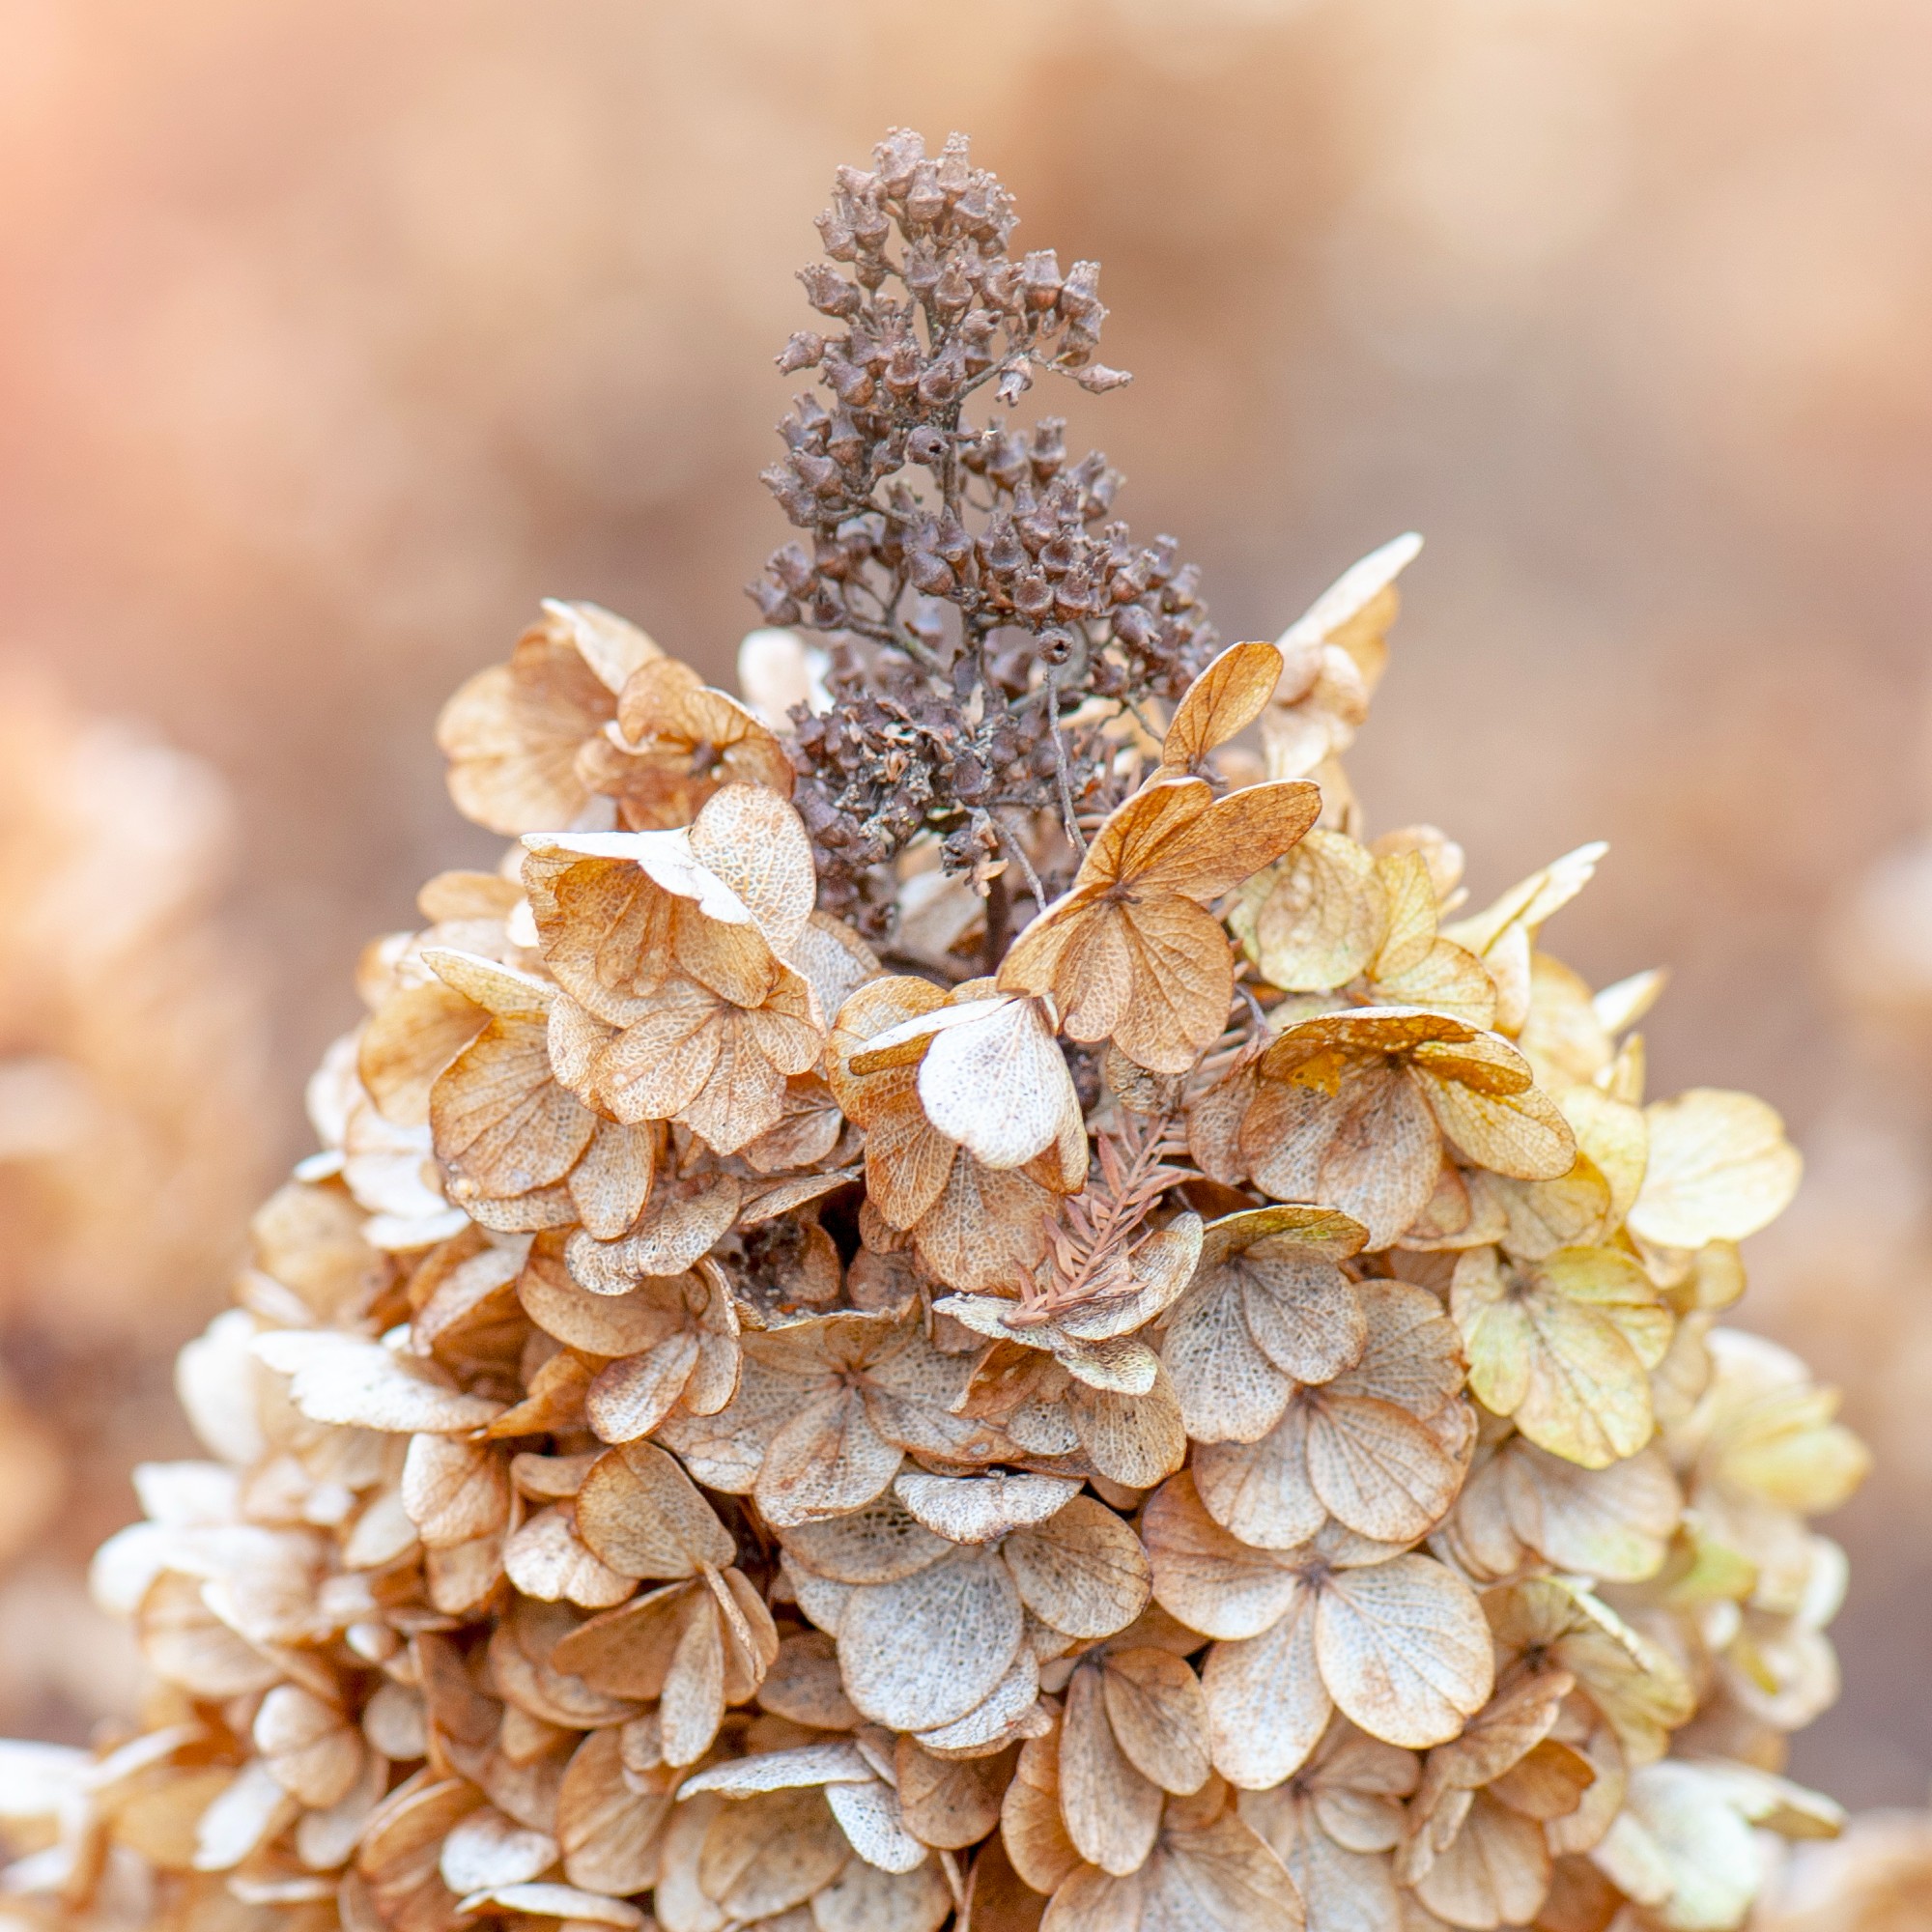
Timing is everything in gardening, and this is especially true when it comes to deadheading hydrangeas.
Morris Hankinson, director of Hopes Grove Nurseries, says, ‘Cutting blooms too early can inadvertently remove developing buds that would have produced flowers later in the season. This can reduce the number of blooms and limit the plants' flowering potential the following year.’
It's best to start deadheading as soon as the flowers begin to fade and lose their colour, usually in late summer or early autumn.
'Remember not to deadhead too late in the season, too, especially for varieties that bloom on old wood, as this could remove next year's buds and result in little to no blooms,’ Morris adds.
2. Prepare yourself and your tools

If you know it’s the right time to deadhead your hydrangea, you may feel inclined to jump straight in and remove the spent flowerheads. But it’s best to hold your horses and prepare yourself and your tools first.
'To keep your plants healthy, it’s important to clean and sterilise the shears between uses,' says David Denyer, flower expert at Eflorist. 'This will help you avoid accidentally spreading diseases from one plant to another.’
After all, it’s always important to clean your garden tools, no matter what you’re doing in the garden. You can either do this with a mixture of soap and warm water or with a dedicated disinfectant like Agralan Citrox from Amazon.
3. Identify and cut the spent flowers

Next, you can move on to the actual deadheading. This requires some precision, though, so you might want to grab your glasses.
‘Examine the hydrangea plant and locate the spent flowers that have faded or withered,' says Petar from Fantastic Gardeners. 'They're usually easy to spot because they will have lost their vibrant colour and may look wilted.'
‘Take your sharp pruners or gardening shears and position them just above the first set of healthy leaves or leaf nodes below the spent flower head.'
Avoid making any straight cuts, though. Instead, Peter suggests making an angled cut, being sure to steer clear of the plant's main stem.
4. Collect and dispose of the waste
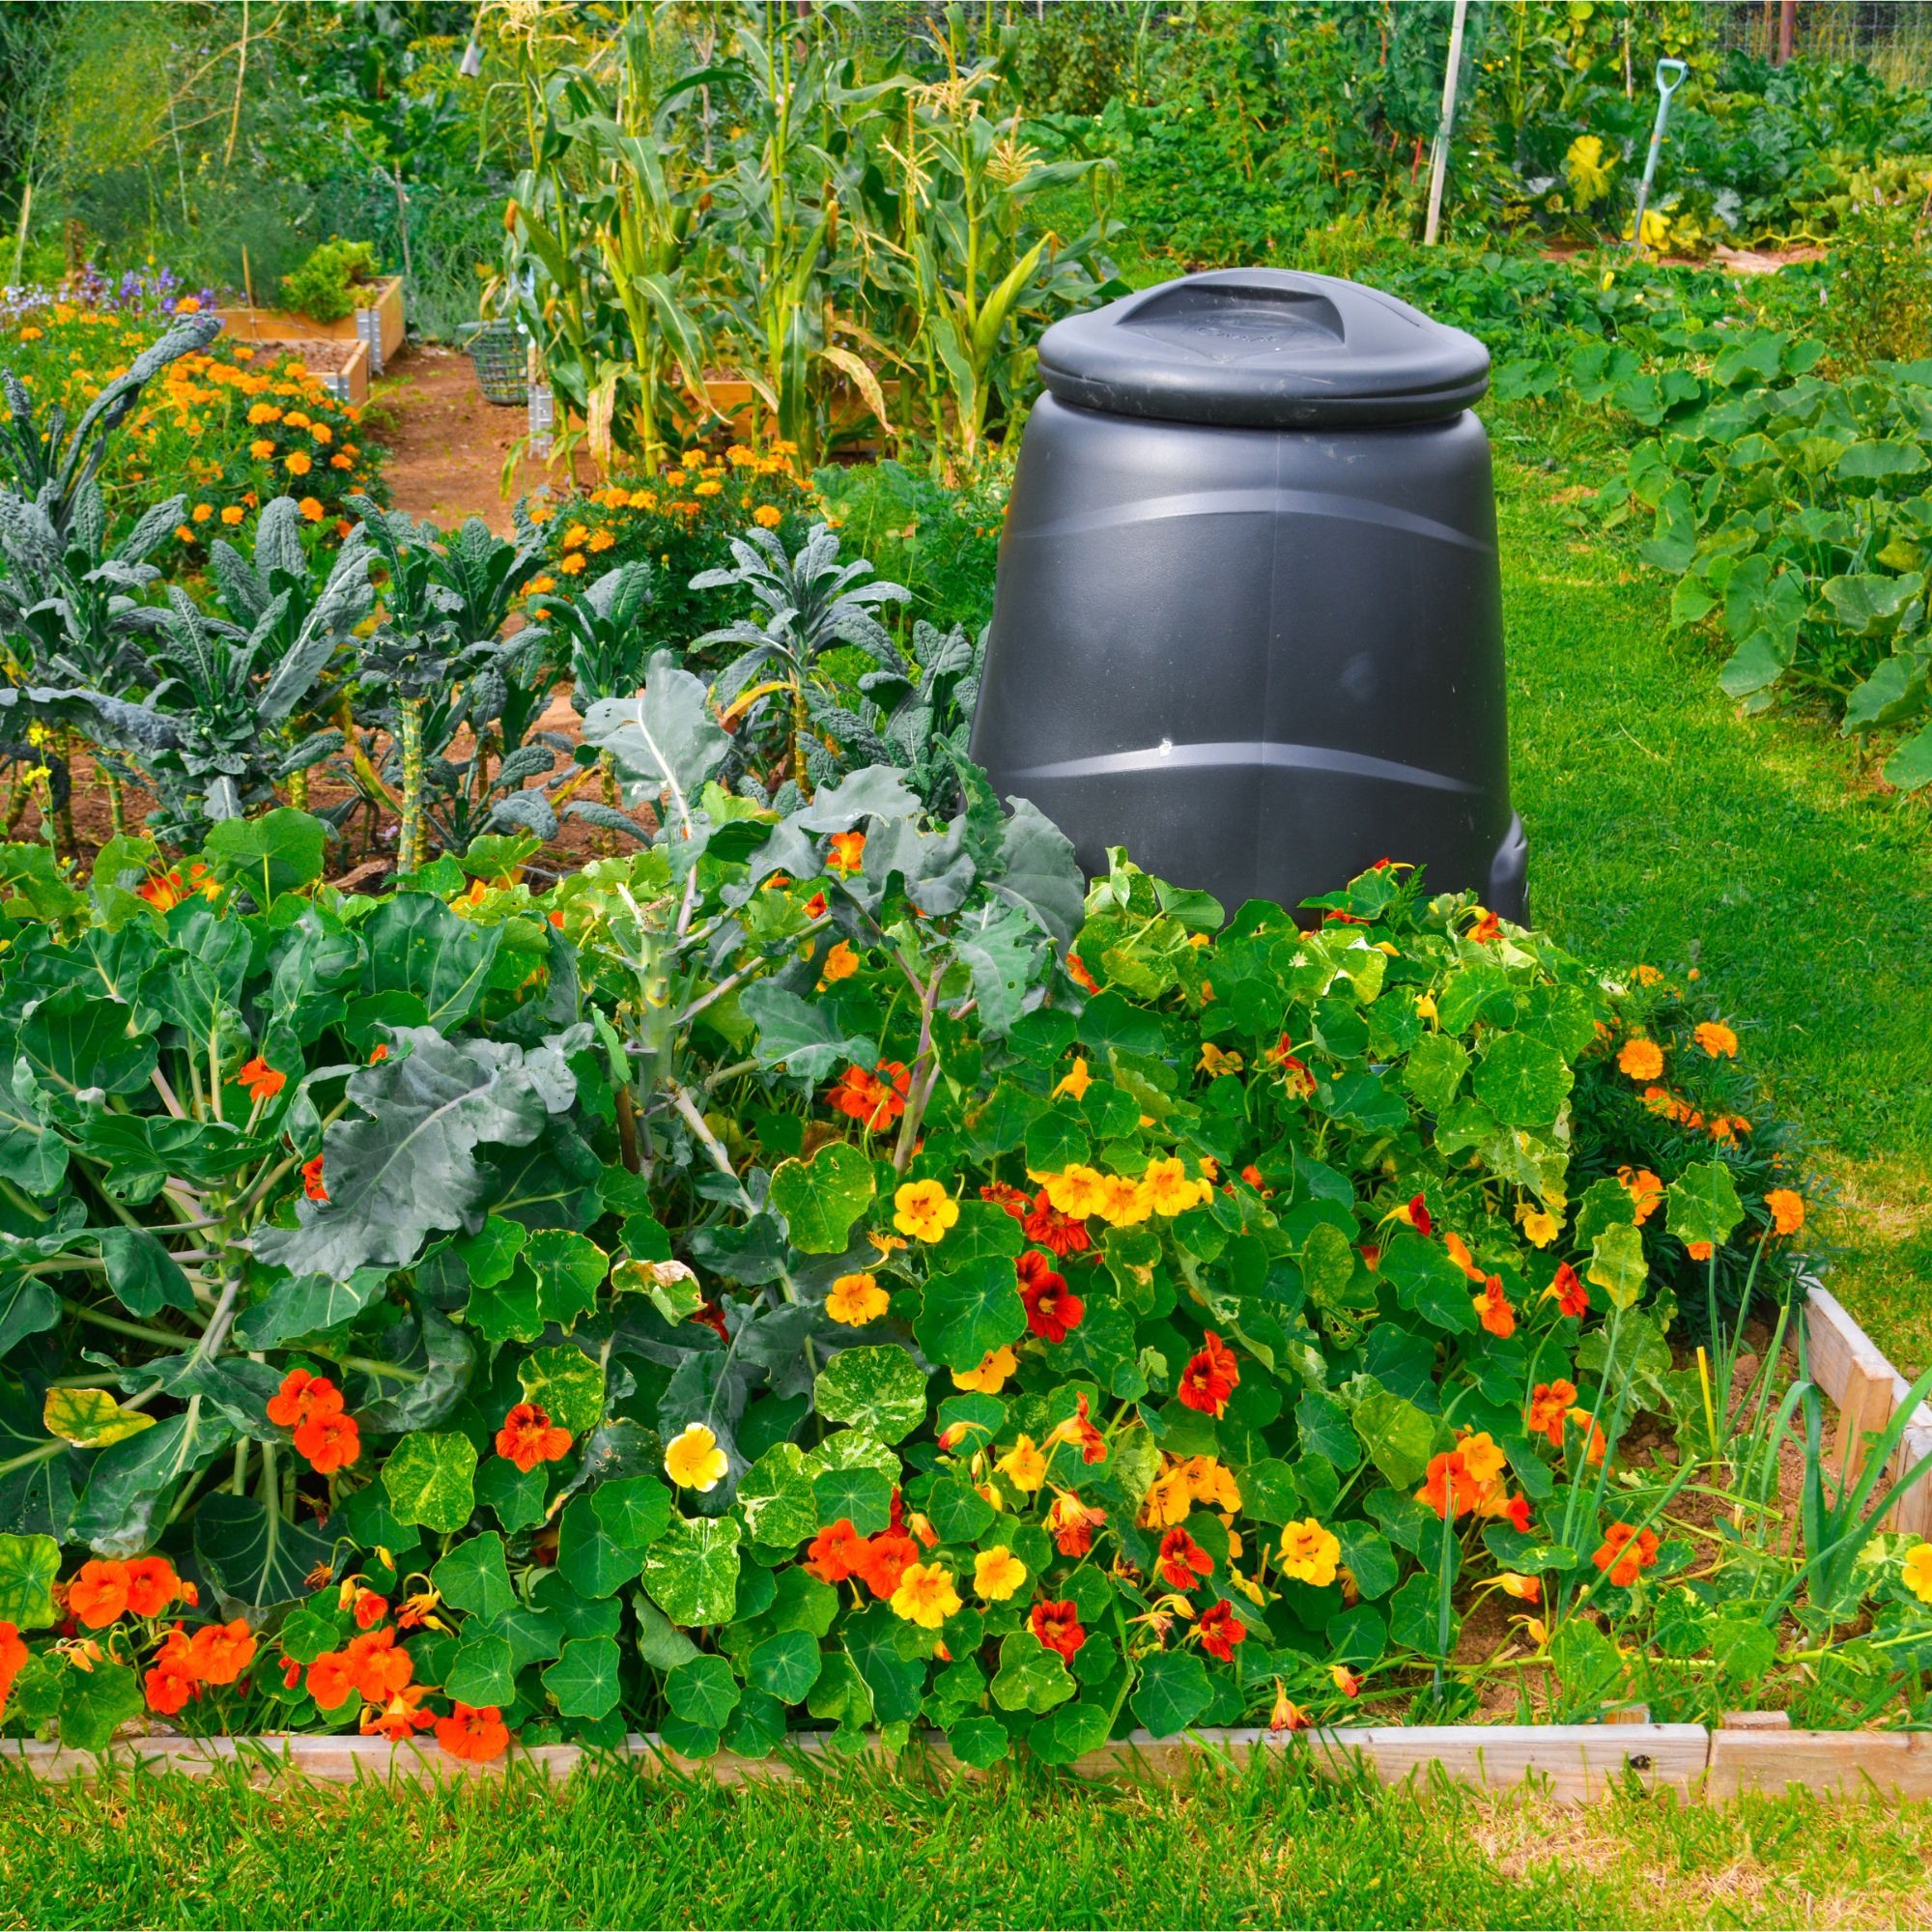
Once you’ve successfully deadheaded your hydrangeas, you can collect and dispose of the waste. The best way to keep your garden tidy and prevent self-seeding is to collect the removed flower heads in a container or bucket.
Then, ensure you dispose of the collected flower heads properly, either by composting them to feed your garden for free or disposing of them as green waste.
5. Water and mulch the plants

Deadheading can be a stressful experience for hydrangeas, which is why it’s always a good idea to give them some TLC when you’ve finished.
'After deadheading, water the hydrangea as needed to maintain adequate moisture levels,' advises Peter. 'Consider also adding a layer of organic mulch around the plant to help retain moisture and suppress weeds.'
Now you've successfully completed the deadheading process, which is a garden job that your hydrangeas will thank you for, especially if you're trying to keep them looking up to scratch for your garden border or front garden ideas for longer.
FAQs
What month do you deadhead hydrangeas?
Ultimately, this all depends on your variety of hydrangea. Most hydrangeas flower during the summer months, but it all comes down to when the flowers begin to fade.
'If you decide to deadhead your hydrangeas, the best time to do it is right after the flowers have faded, but before they have a chance to form seeds,' explains Peter from Fantastic Gardeners. 'This is usually in late summer or early autumn for panicle hydrangeas and smooth hydrangeas.'
'For bigleaf and oakleaf hydrangeas, it's highly recommended to avoid deadheading unless you are removing dead or diseased wood.'
Well, there you have it. Now you know how to deadhead hydrangeas!


