There are some things you always tweak when editing landscape photos. Sure, you’ve straightened the horizon and cropped that dodgy looking bloke out of the corner of the photo, but the color, contrast and sharpening adjustments tend to be very similar, making them ideal to implement as macros. That’s just the start though, because whatever ideas you can come up with, you can create and save a macro of it to use later. That’s what we’re doing here, starting with those basic landscape edits, which are all created as adjustment layers so they can be tweaked for each individual image.
1 Work it out
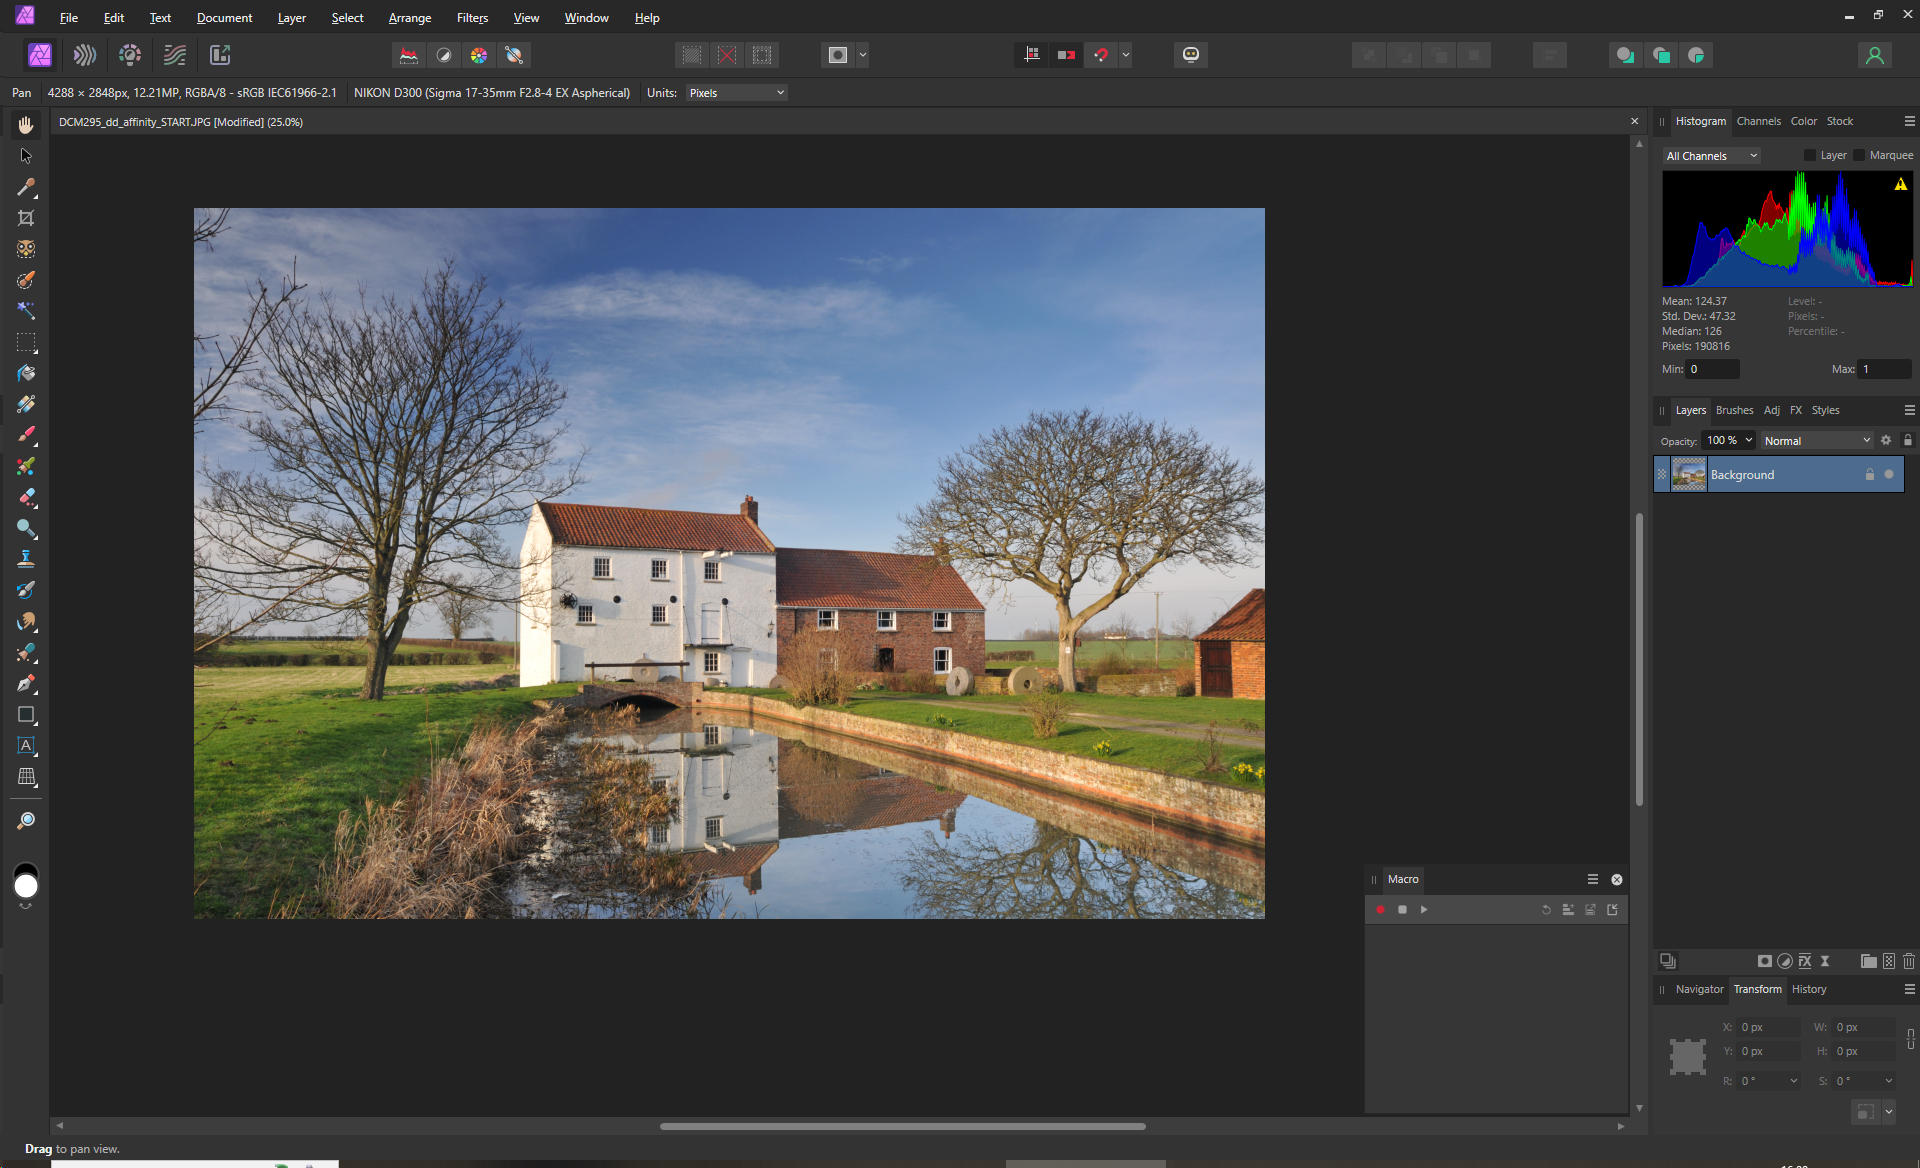
Rather than loading a photo, correcting things and then deciding you want to create a macro halfway through, it’s best to have a clear plan of what filters or adjustment layers you’re going to use and write down the settings used. Then go to Window> Macro and move it from the left side to a more useful size.
2 Begin recording

Click on the red button in the Macro panel to start recording then go to Layer> New Live Filter Layer> Sharpen> Unsharp Mask. Enter values of Radius: 30px, Factor: 0.5, Threshold: 1%. Then click on the X in the corner of the palette to close. Next is colour so go to Layer> New Adjustment Layer> Vibrance.
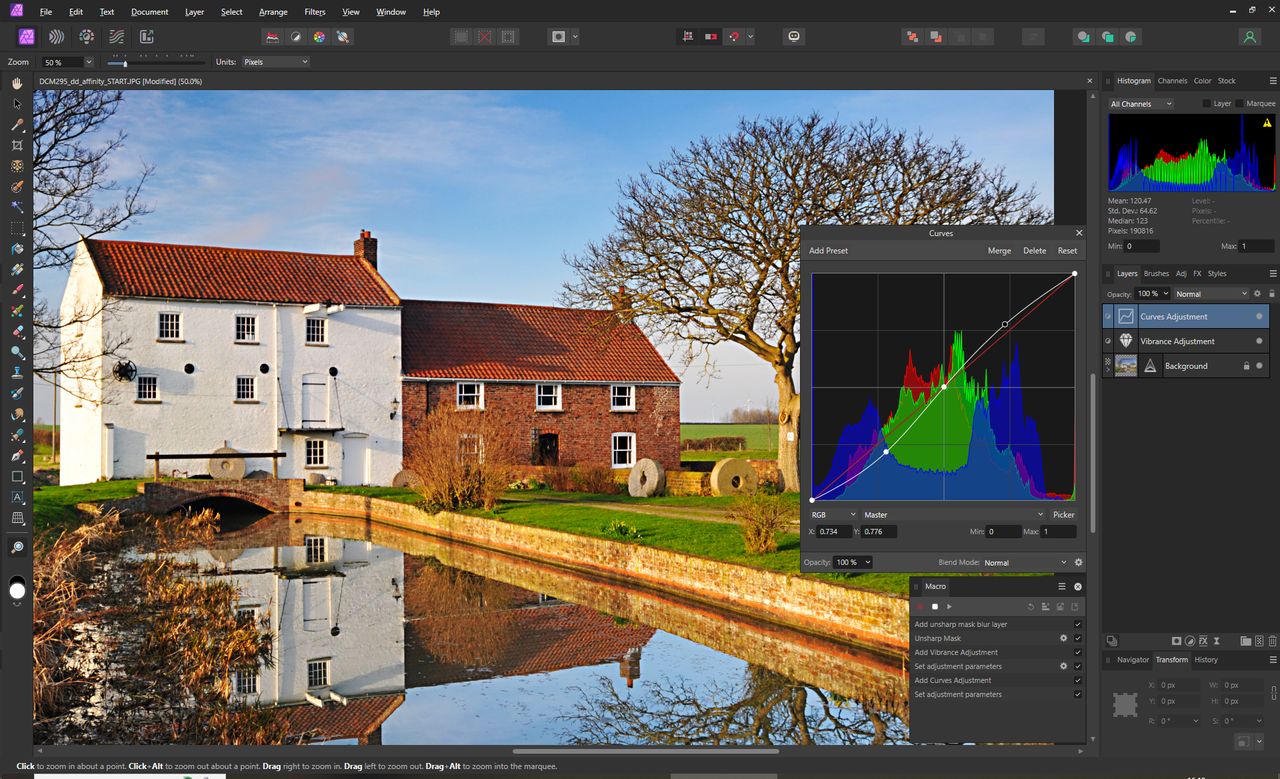
3 Finish the edits

Enter value of Vibrance: 40% and Saturation: 20%. Close and then go to Layer> New Adjustment Layer> Curves. Put in three control points and create an S-shape to boost the contrast. You should now have three basic adjustments that can be edited later. Click on the Stop Recording icon.
4 Save your macro
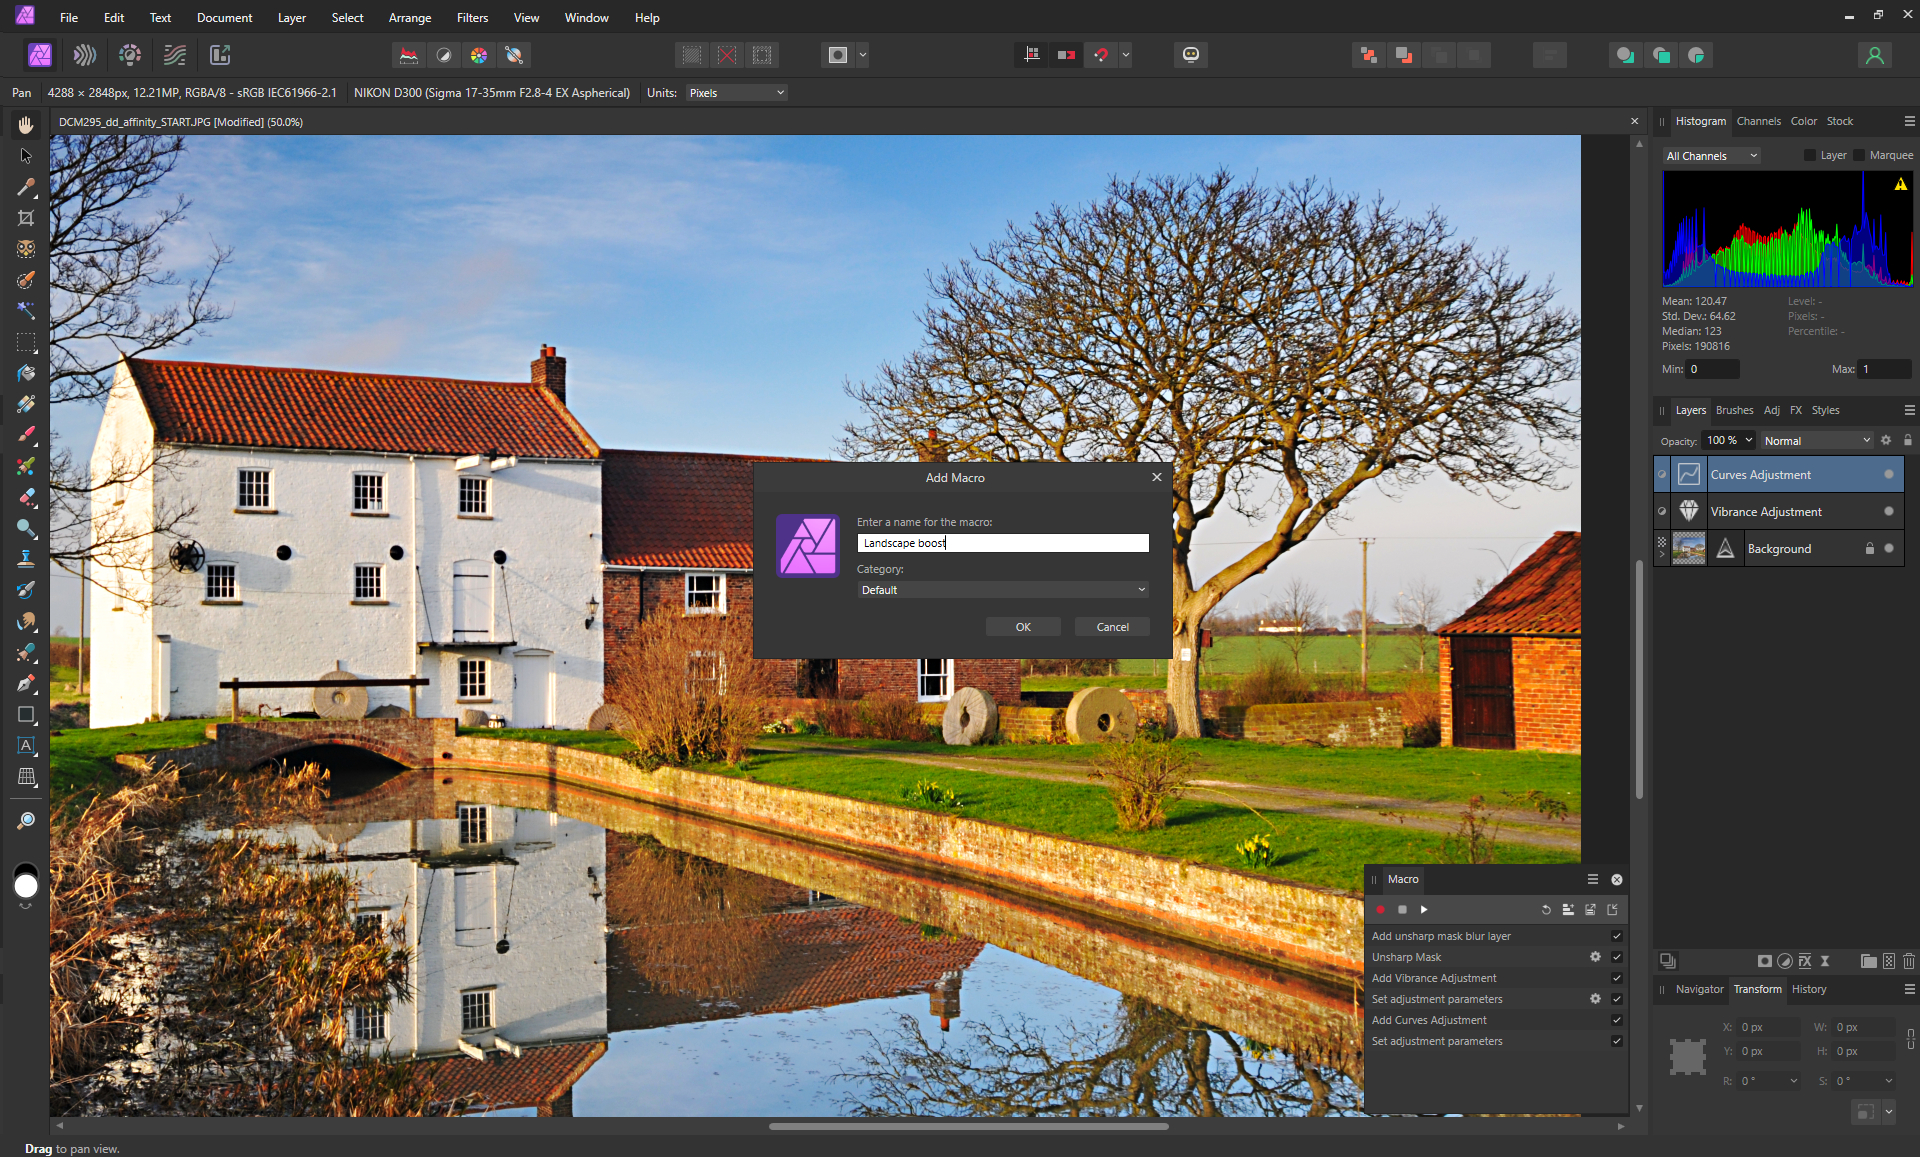
In the Macro palette, click on the Add to Library icon. Enter a name for the action that reflects what it does then click on OK. It will now appear in the Library where it can be activated with one click. The adjustment layers can all have their parameters tweaked so if something causes highlight clipping you can reduce the effect.
Loading and saving macros
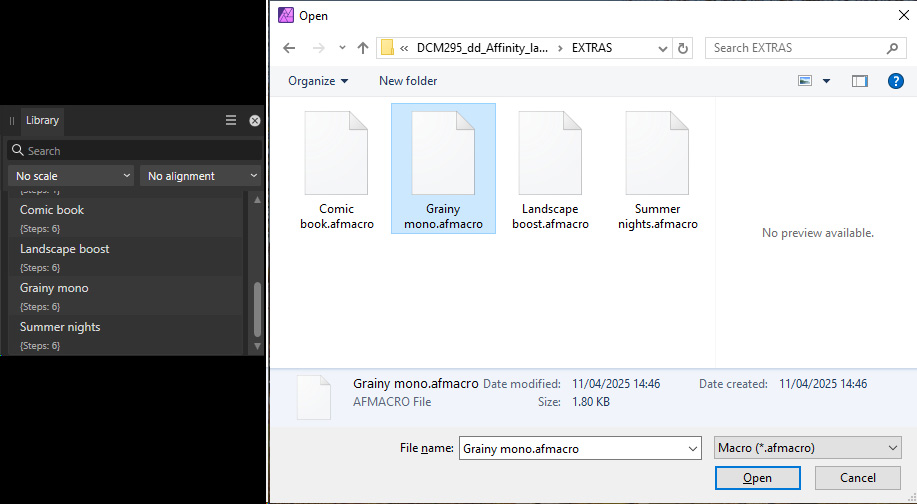
To export the macro that you’ve created, click on the Export Macro icon which is next to the Add to Library icon. In the file browser that appears, give the macro a descriptive name and save in a notable location. Next to this is the Load Macro icon. Click on this, navigate to the macro you want to load and click on it and then on Open.
See more Affinity Photo tutorials