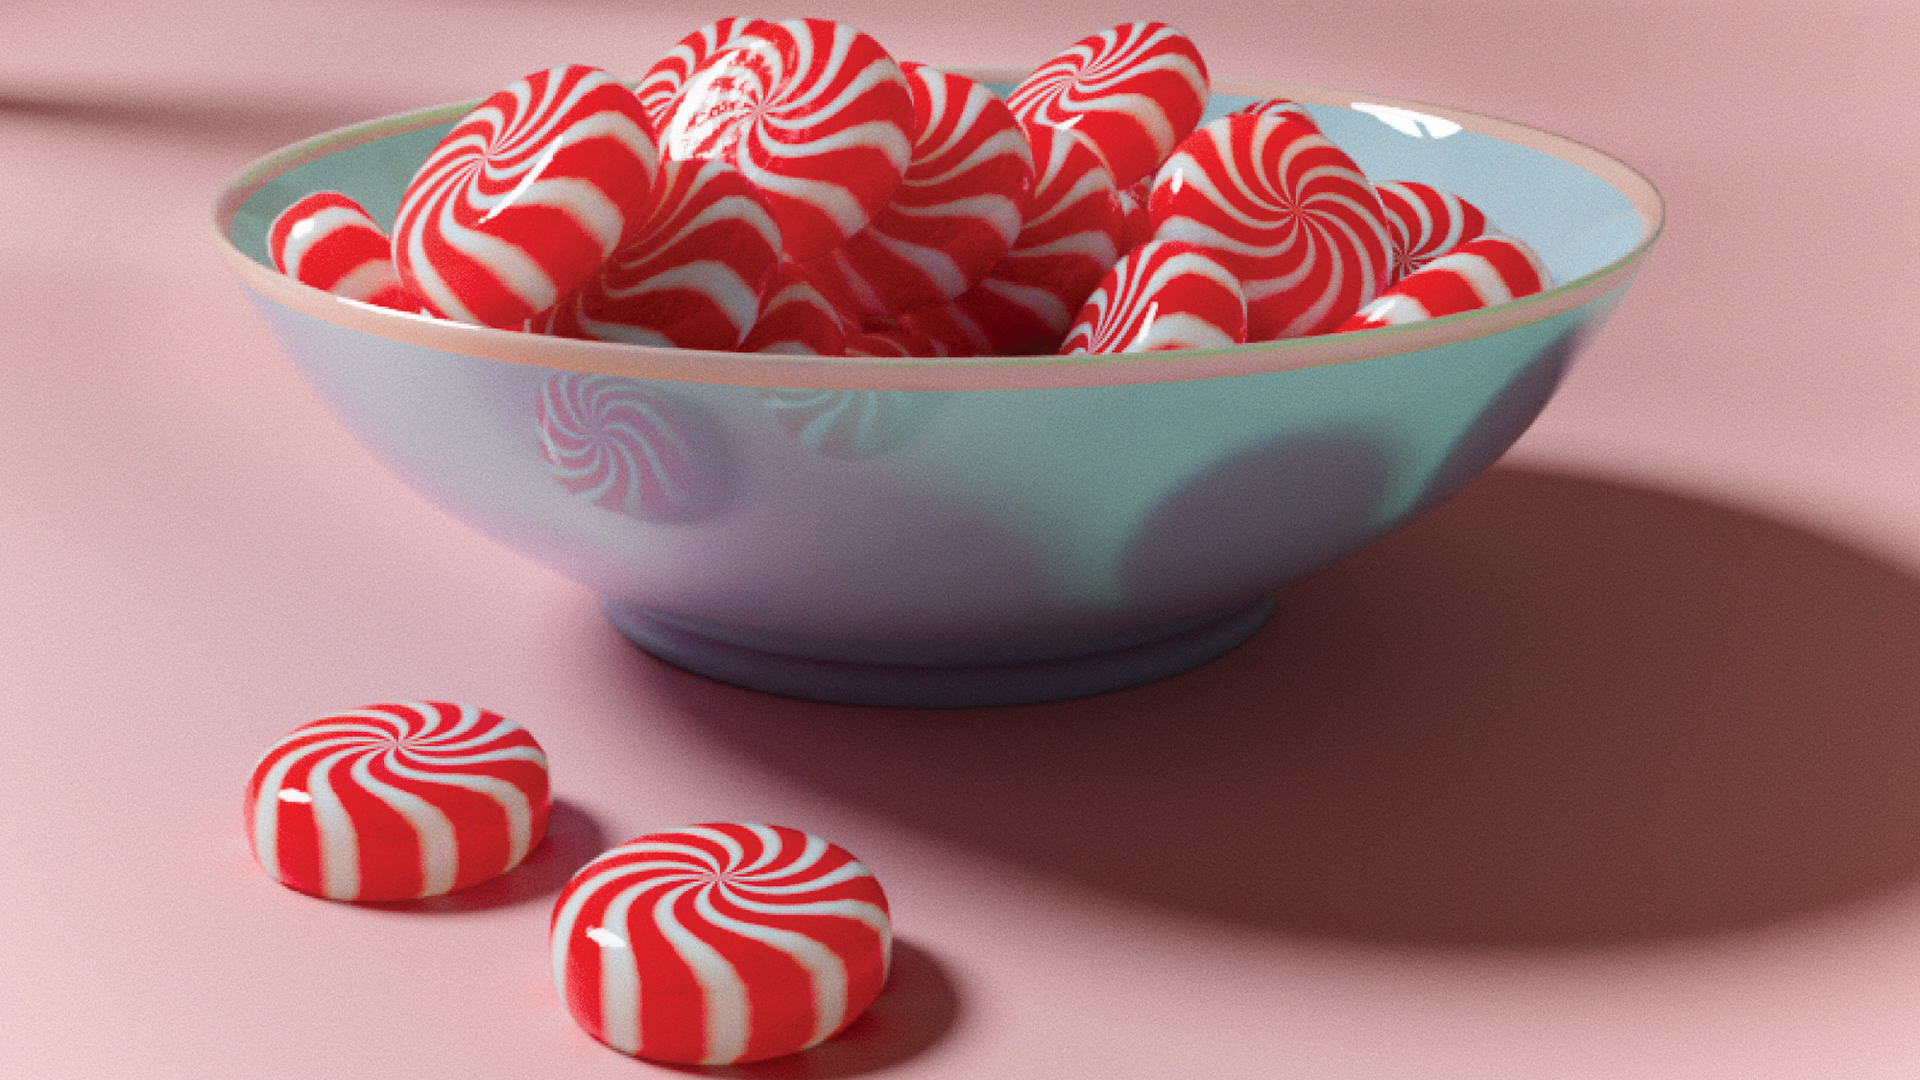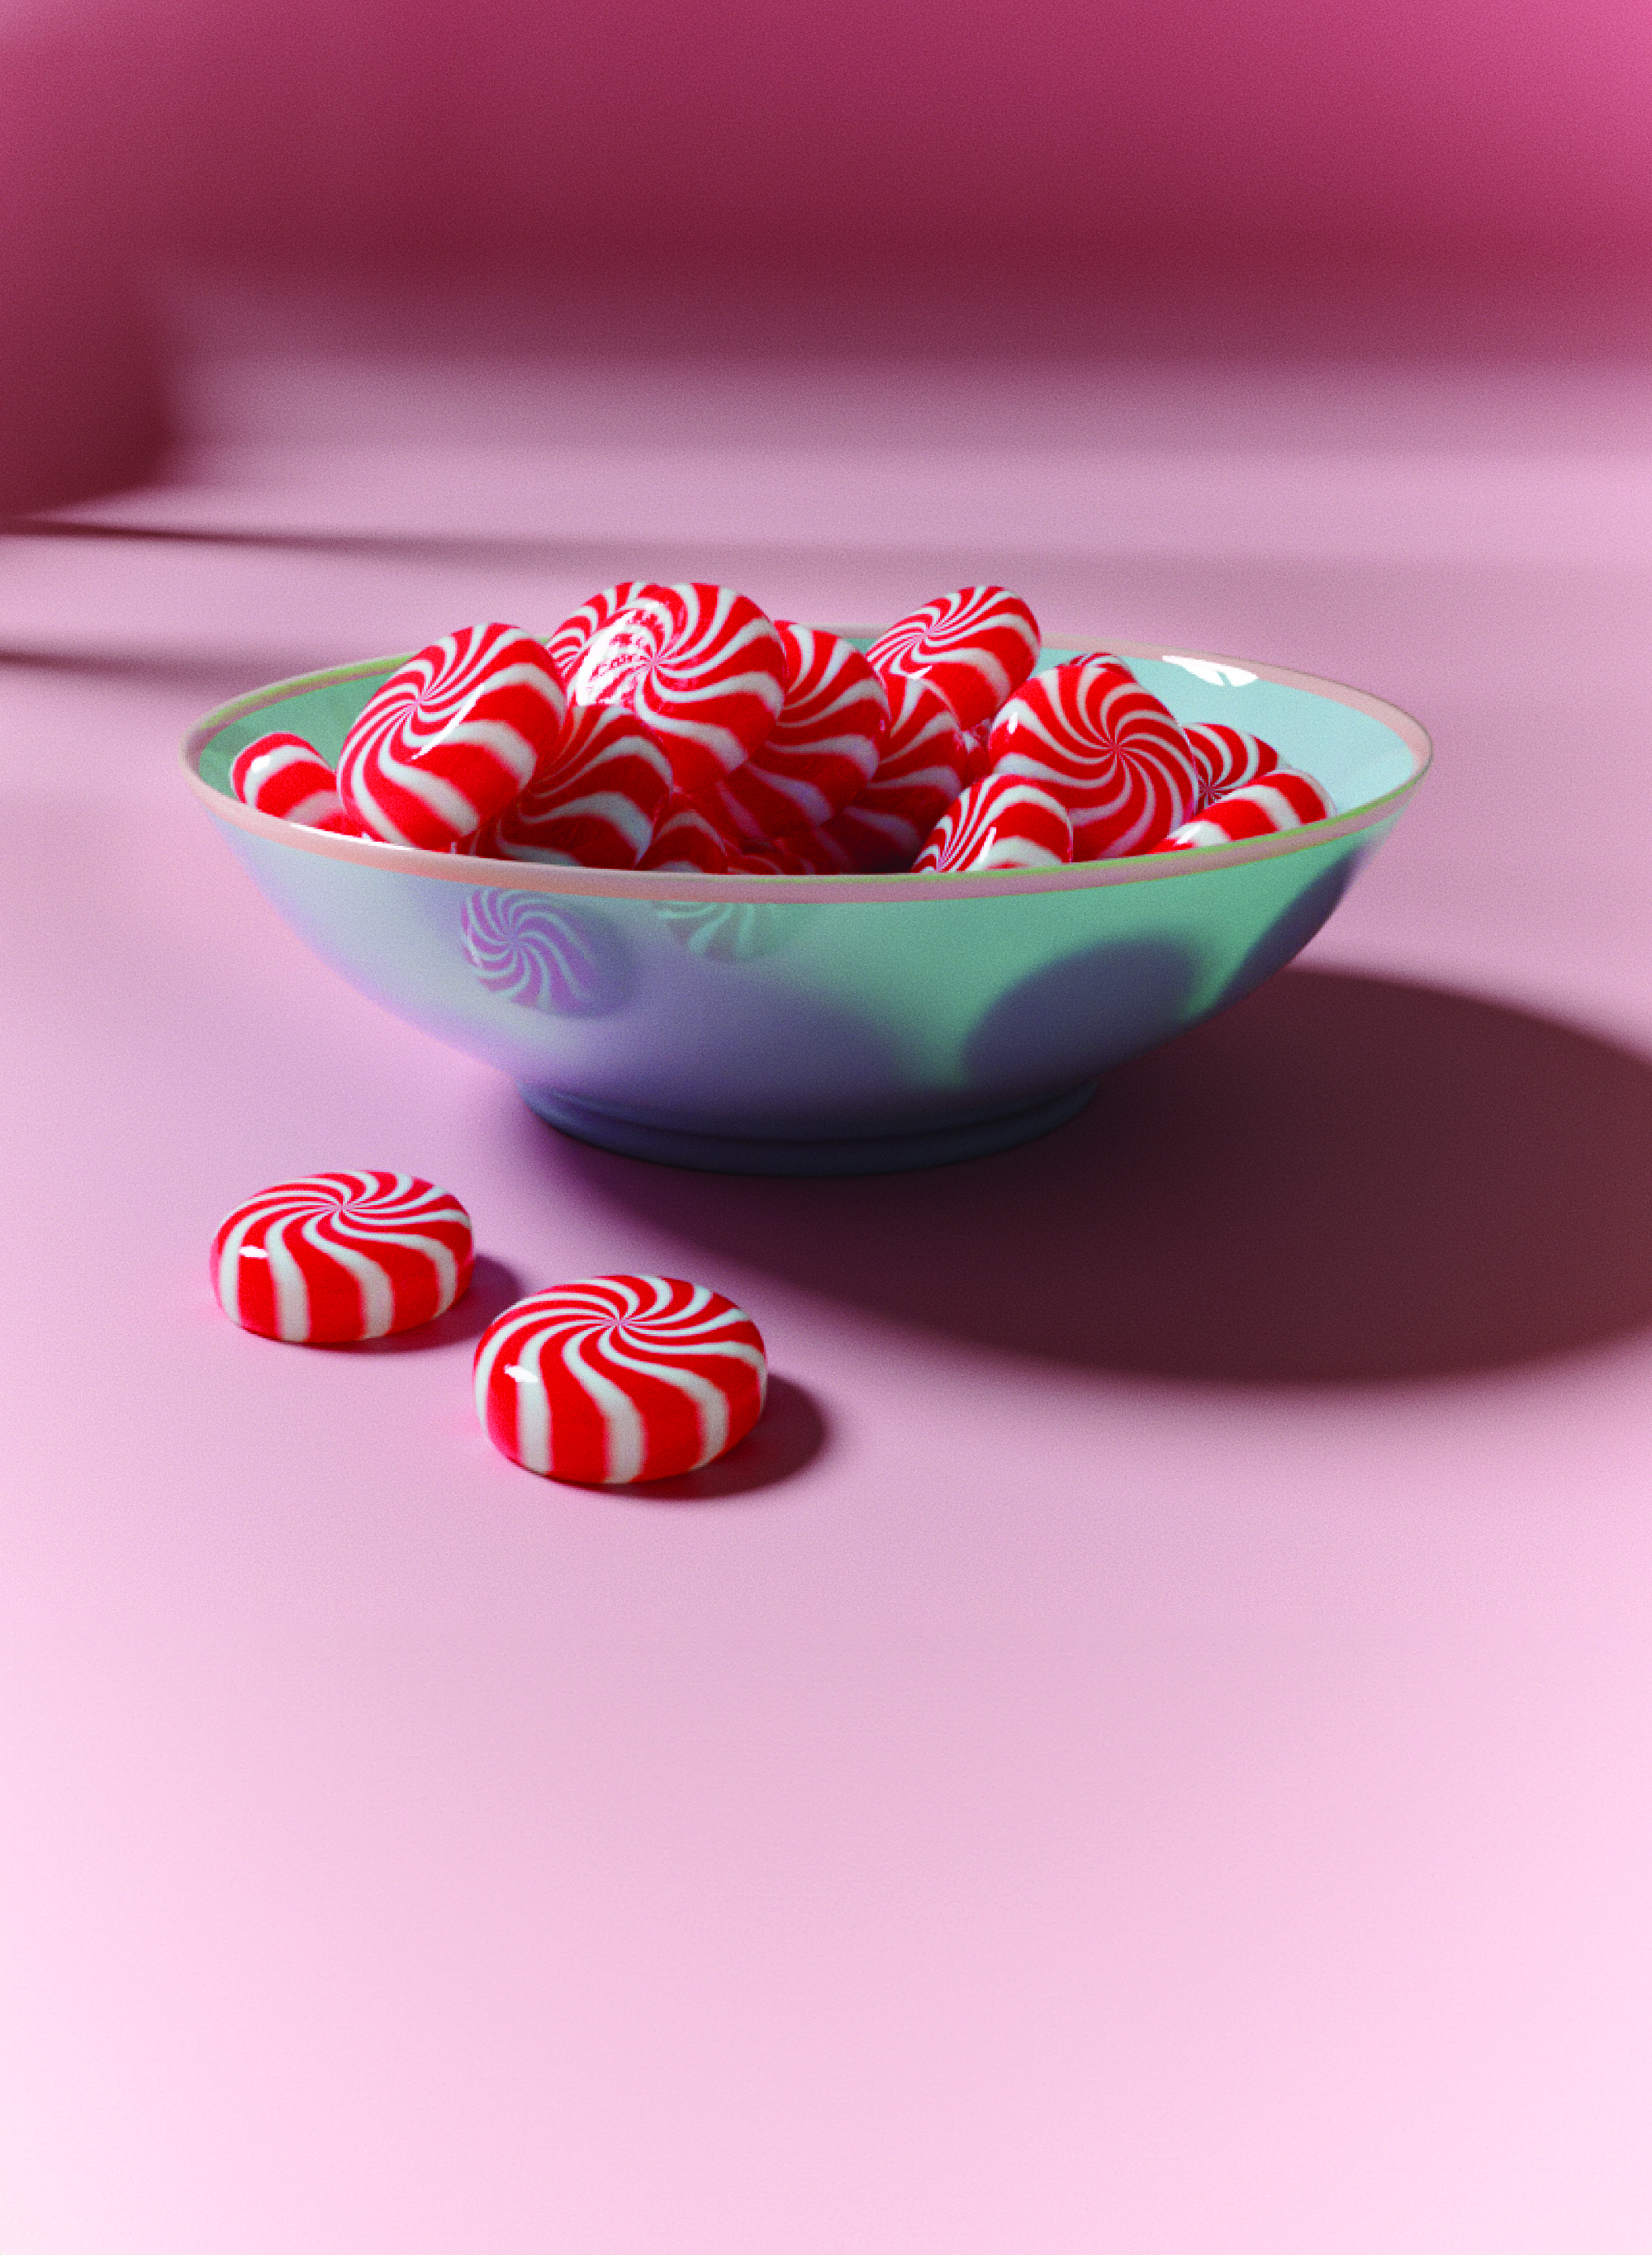
Last issue I showed you how to make a realistic jelly material, and the sweet theme continues here with an introduction to creating procedural peppermint candy, with no external textures or photos required.
First of all, let’s create the peppermint. You can use any shape you want as the material will work regardless, but in this case I just added a cylinder the size of the peppermint and applied a Subdivision Surface modifier to bevel the edges. After that add a material called ‘M_Peppermint’ and check the Use Node box on the Shader panel. At this point we’re good to go for the material set-up.
For this, we need the following nodes in this order: Texture Coordinate, two Gradient Textures, two Math nodes set to Multiply, a Combine XYZ, Mapping and another Math node set to Fraction.
To make your candies more realistic, add Blender’s default Noise Texture and connect it to a Bump node, which in turn links to the Normal input of the Principled BSDF. Use the Object UV coordinate for the Noise Texture’s Vector and set the Bump node’s Strength to about 0.020.
Now we can start connecting them. Working from left to right, start by linking the Object output of the Texture Coordinate node to the Gradient Texture, setting the Type to Spherical in the latter. This then connects to the first Multiply Math node, with the second Value field set to 2.000. Next hook this into the Combine XYZ node, and link that Vector output to the Rotation input of the Mapping node. In turn the Mapping node’s Vector input connects to the Object output of the Texture Coordinate.
The Vector output of the Mapping node is linked to the second Gradient Texture, with the Type set to Radial this time, then connect the output to the second Multiply Math node and make the second Value field 10.000, which will define the number of spirals in the pattern. Hook this into the Fraction Math node, which then connects to the Color Map, where we create a white-red-white curve. With this, you should have the red in the middle and the white at the extremes in your Color Ramp. Link this to the Base Material of the Principled BSDF.
If we render right now we already have the peppermint candy look, but we can still improve it. Reduce the Roughness to 0.050-0.150 for a shiny appearance; I used 0.080. With that we’re done, so let’s hit Render and enjoy our creation.

If you're new to 3D art, then read up on the best laptops for 3D modelling as a start, and read our guide to the best 3D modelling software and best render software.
This content originally appeared in 3D World magazine, the world's leading CG art magazine. 3D World is on sale in the UK, Europe, United States, Canada, Australia and more. Limited numbers of 3D World print editions are available for delivery from our online store (the shipping costs are included in all prices). Subscribe to 3D World at Magazines Direct.


