
Knowing how to connect a laptop to your TV is a useful and straightforward little piece of info, and there's very little you need to do to enjoy your favorite content on the big screen - helpful if you don't have a smart TV for streaming content, want to watch videos saved locally on your laptop, or simply need a second display to work.
As great as the best laptops are, they simply can't compete with the best TVs in terms of picture and display size. Laptop speakers are rarely impressive too, (though there are rare exceptions, like the recent Asus Vivobook S 15).
Thankfully, connecting a laptop to your TV is quick and easy, although the process might vary a little depending on what type of laptop you use and what inputs your TV offers. I'll walk you through the process and you'll be watching your favorite content on the big screen in no time.
Steps for how to connect your laptop to a TV
- Take a video throughput cable
- Connect one end to your laptop
- Connect the other end to your TV
- Adjust video output on laptop if necessary
Tools and Requirements
- Laptop of your choice
- An appropriate cable (see below)
- TV or smart TV
Step by step guide for wired connections
1. Verify which type of cable you need
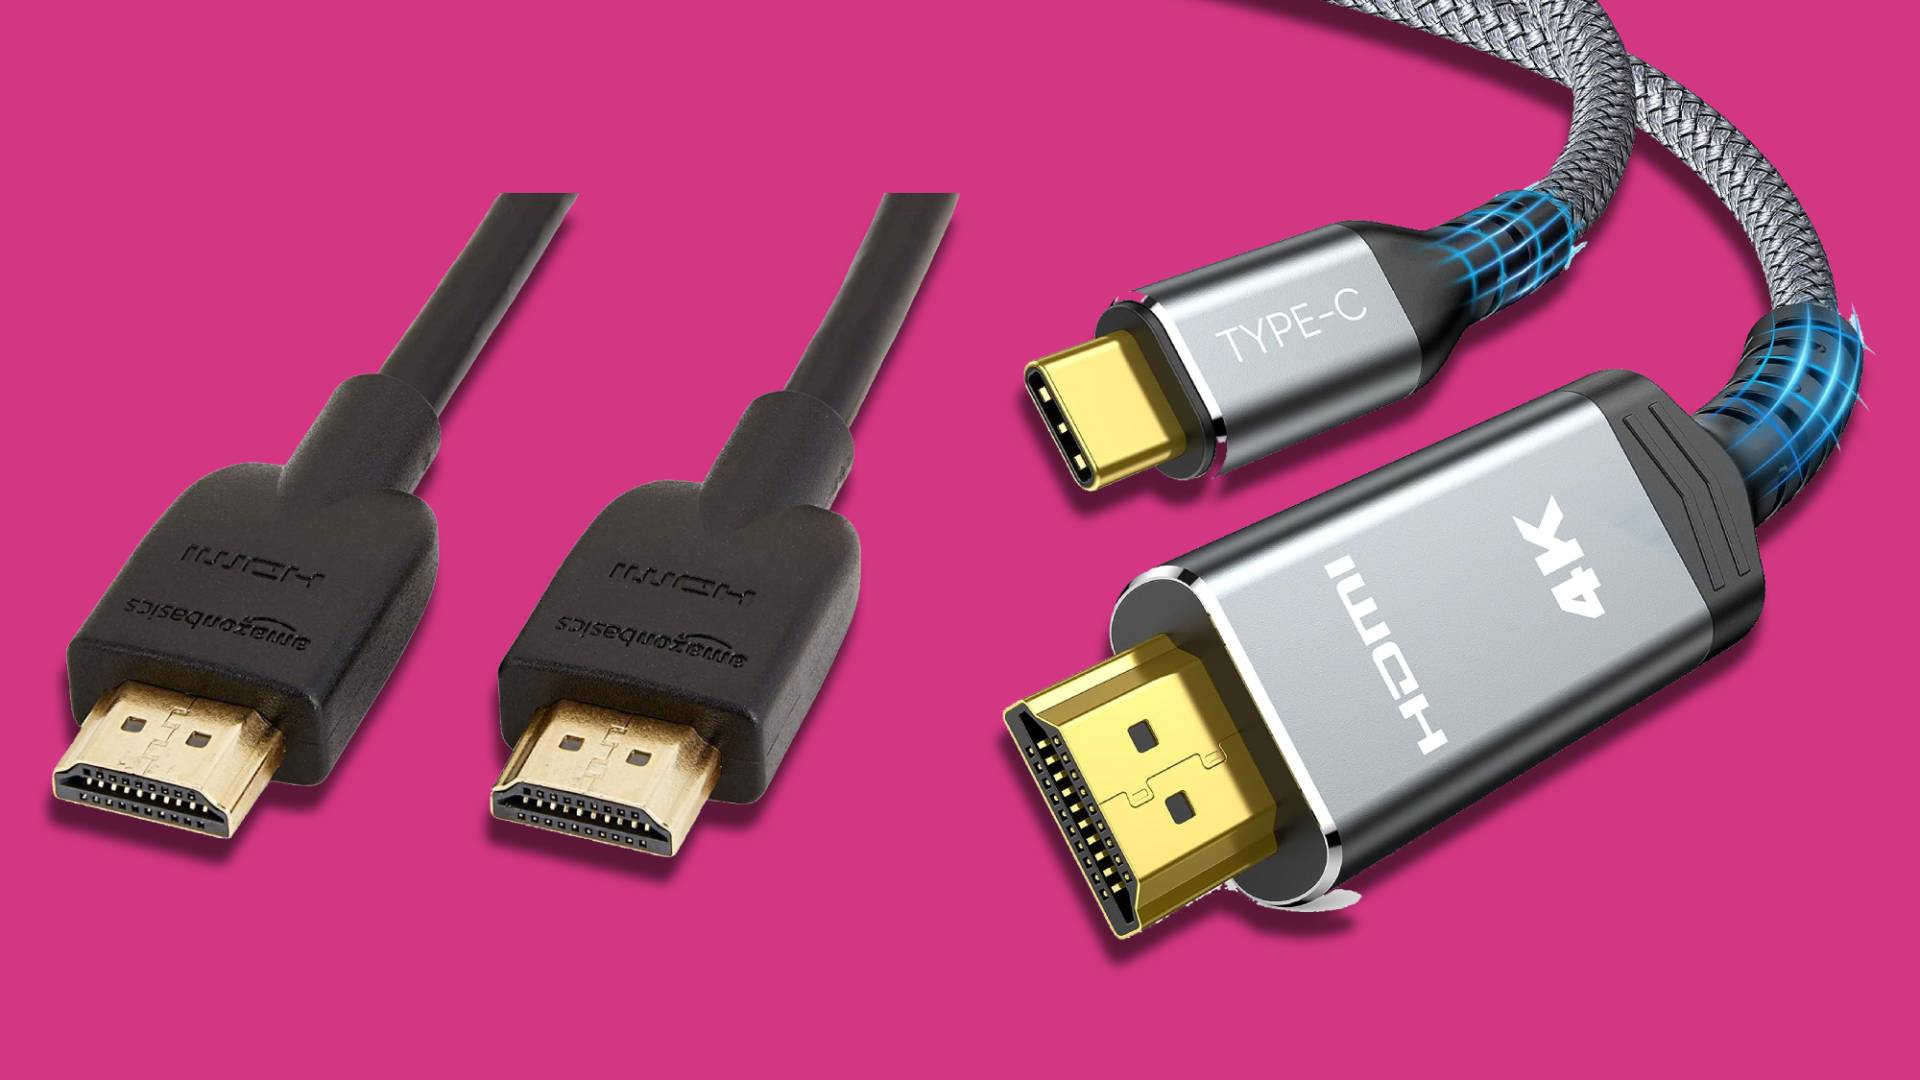
There are many different kinds of cables with different outputs to match your laptop of choice. If your laptop has a full-sized HDMI port, then a standard one is fine, or a mini or micro-HDMI cable if that's what your machine has instead. You can also use a DisplayPort, Mini DisplayPort, or Mini DisplayPort-to-HDMI cable if it's a Windows laptop that supports it.
Various USB Type-C cables can work as adapters if your laptop doesn't have an HDMI port, like the best MacBooks. In that case, you would use a USB-C to HDMI adapter, a USB-C hub that has an HDMI port built into it, or a direct HDMI to USB-C cable.
2. Connect the cable to the laptop
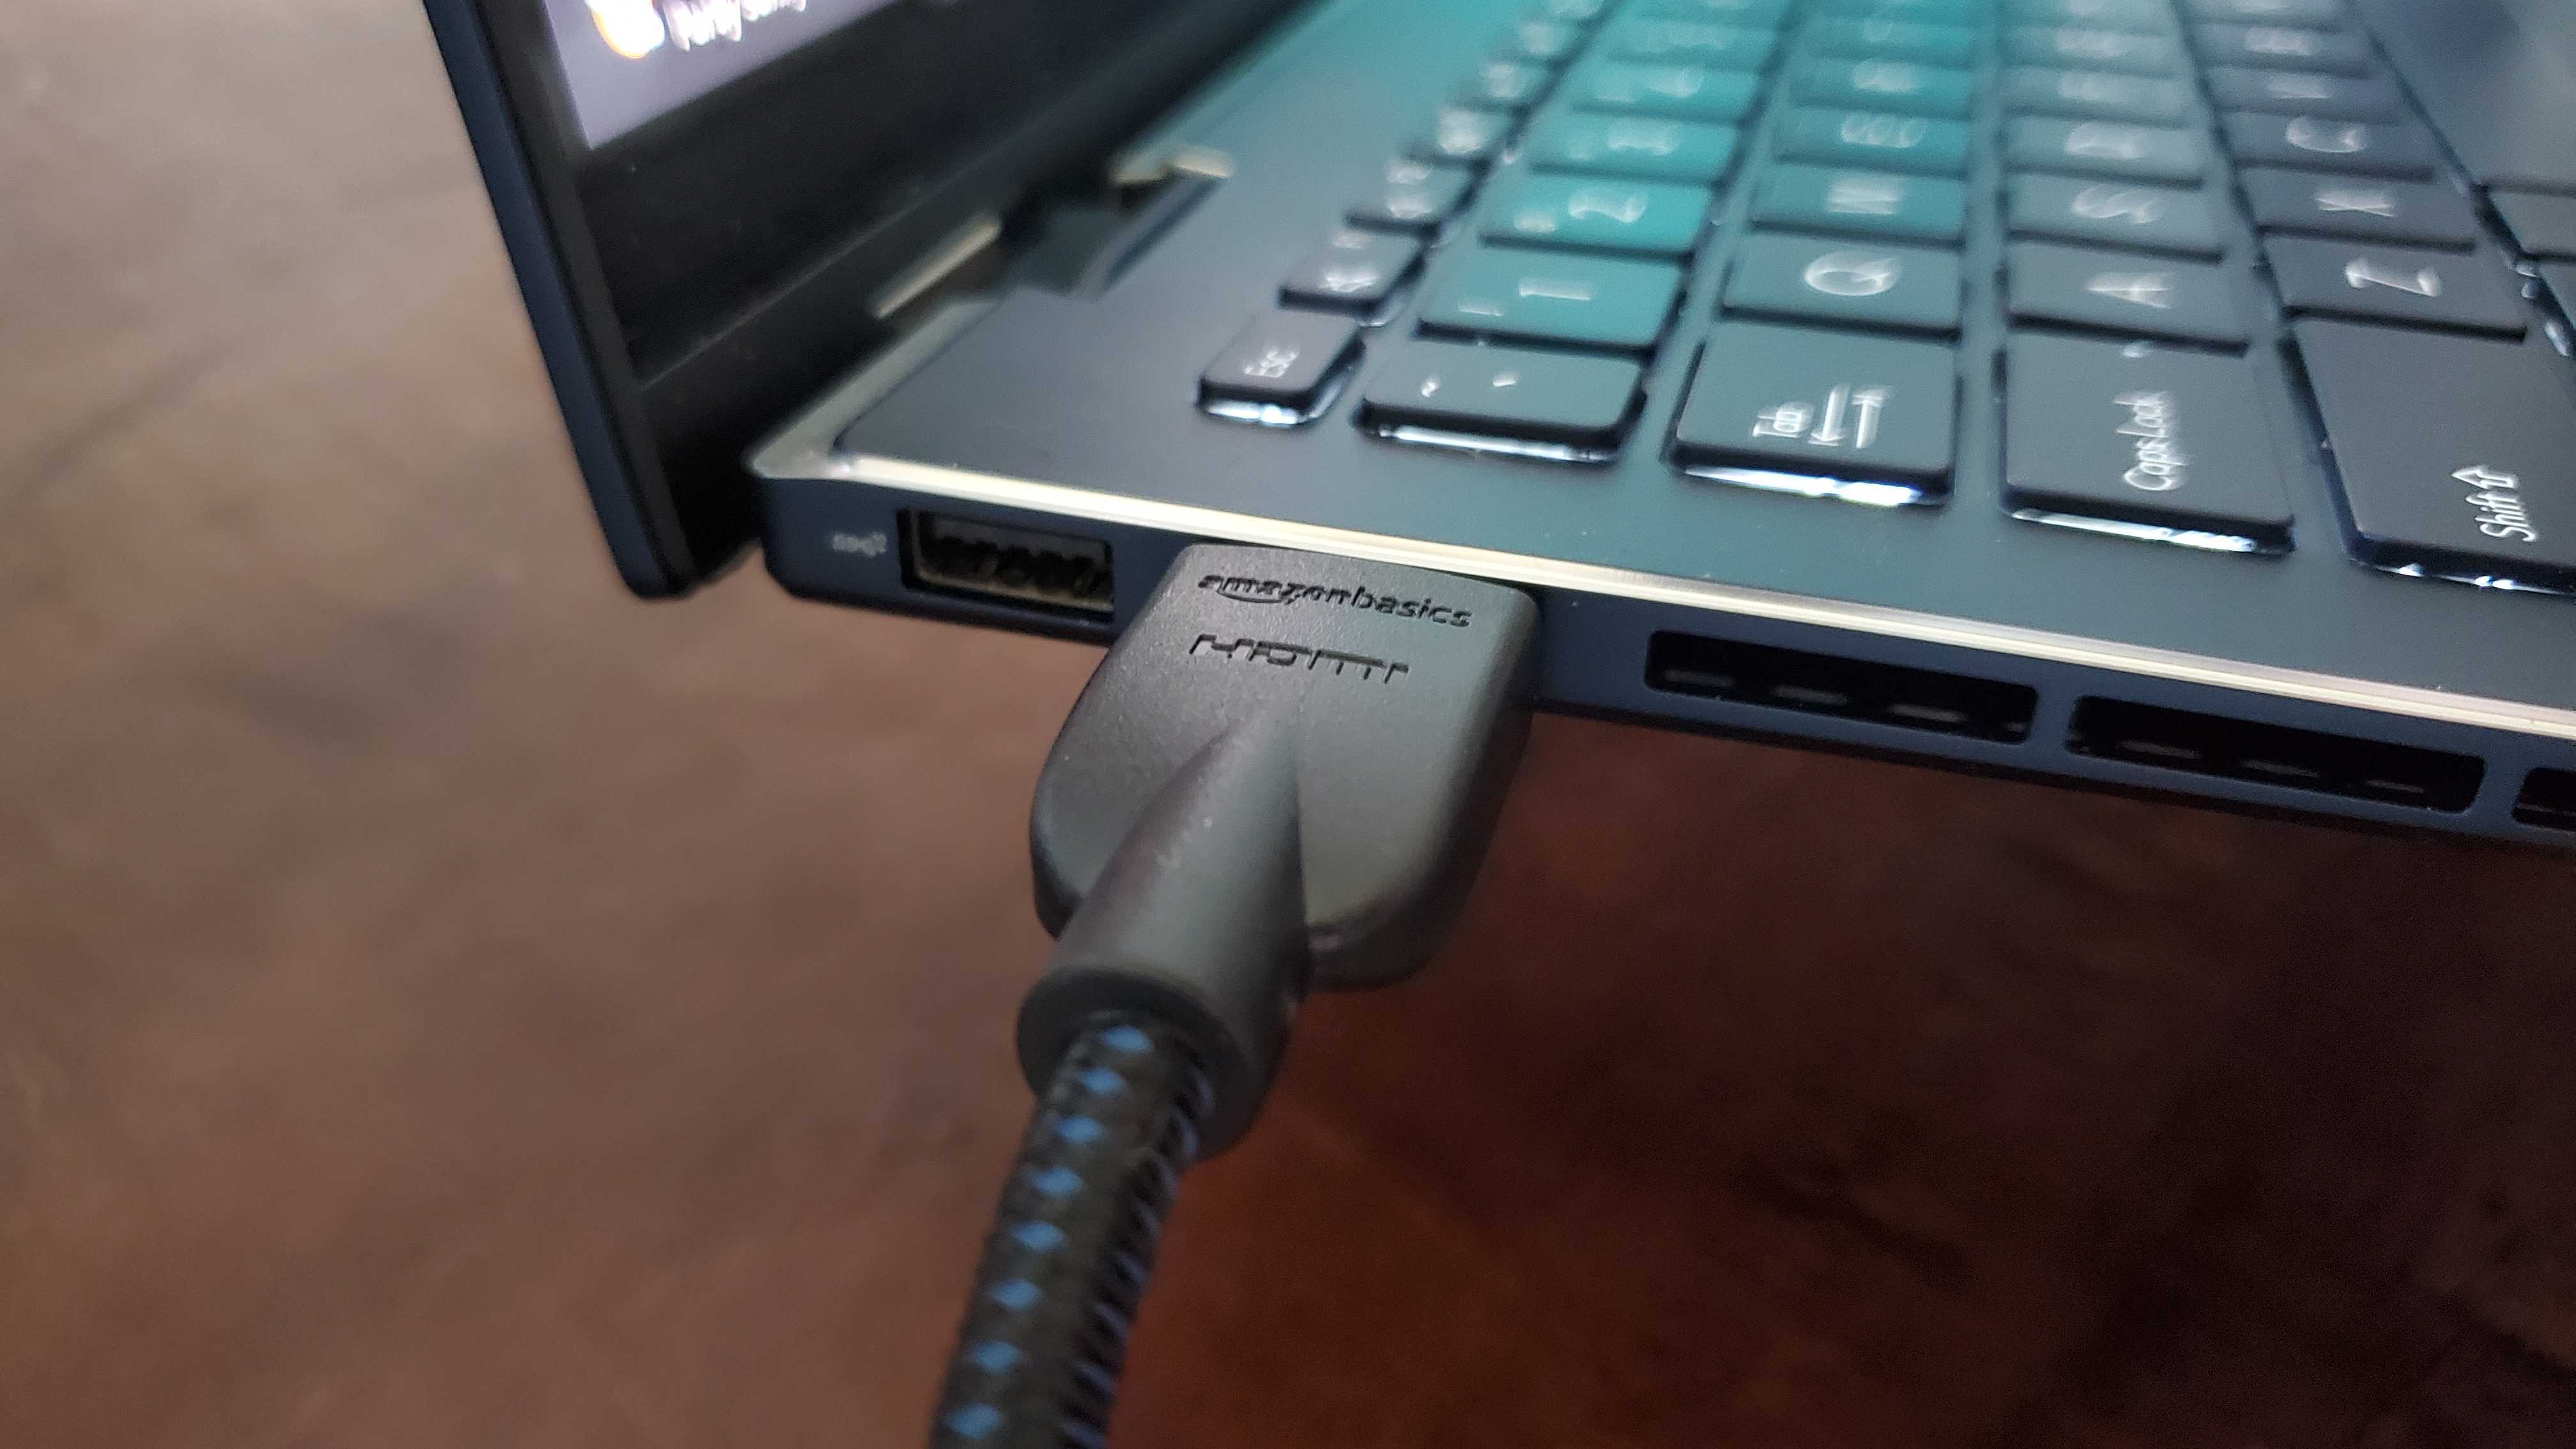
Once you have the proper cable, connect the compatible side to your laptop, whether that's an HDMI or another format, simply connect it to your laptop and turn on your device.
You'll also want to ensure that you have to correct channel for HDMI input on your TV. This will usually be 'HDMI 1', but check the numbering on the ports if your TV has multiple HDMI inputs.
3. Connect the other end to your TV
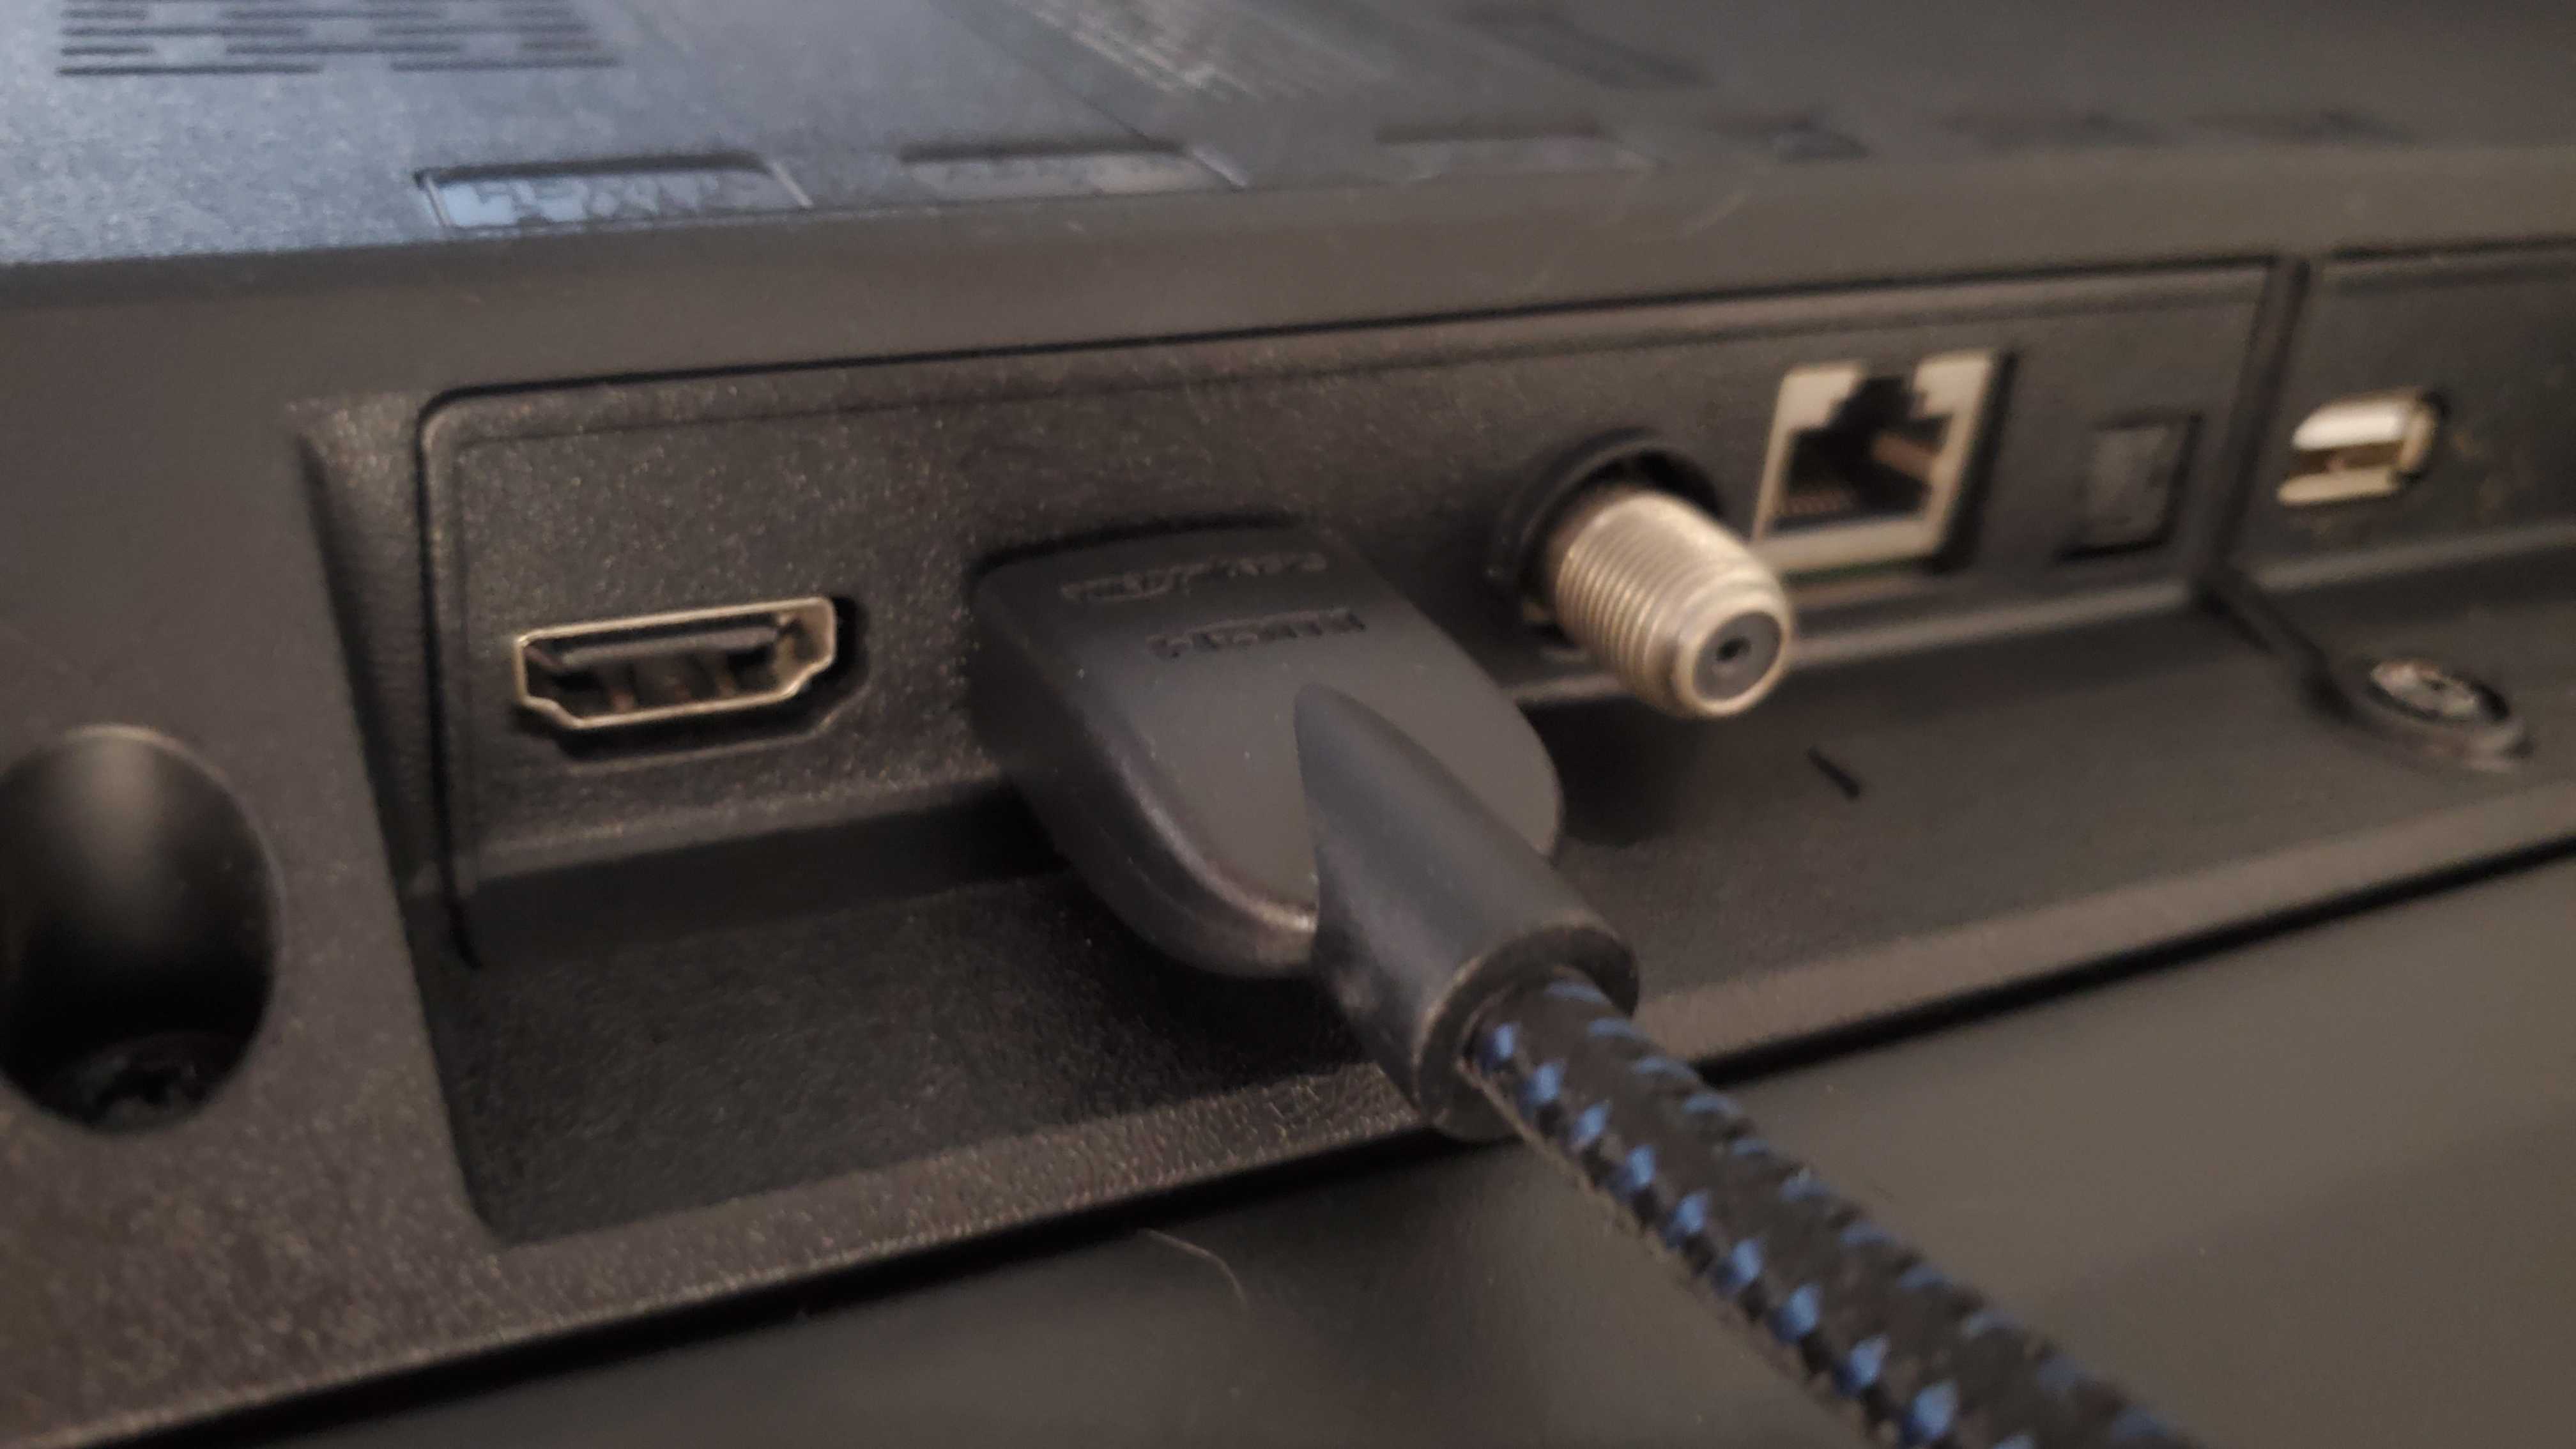
As you've probably guessed, the next step is to take the other end of the cable and connect it to the HDMI port on your TV. The vast majority of TVs support HDMI now, but if your TV doesn't have an HDMI connection you will need to buy an adaptor.
Your laptop's screen should now be displayed on your TV automatically, but you may need to adjust the display output mode. On Windows laptops, this is usually F8 or F9 (look for an icon of a screen on the key) - on different laptops, this may vary, and there may not be a dedicated button for it. If you're still unable to get the display working, check the next step.
4. Troubleshoot if it doesn't work
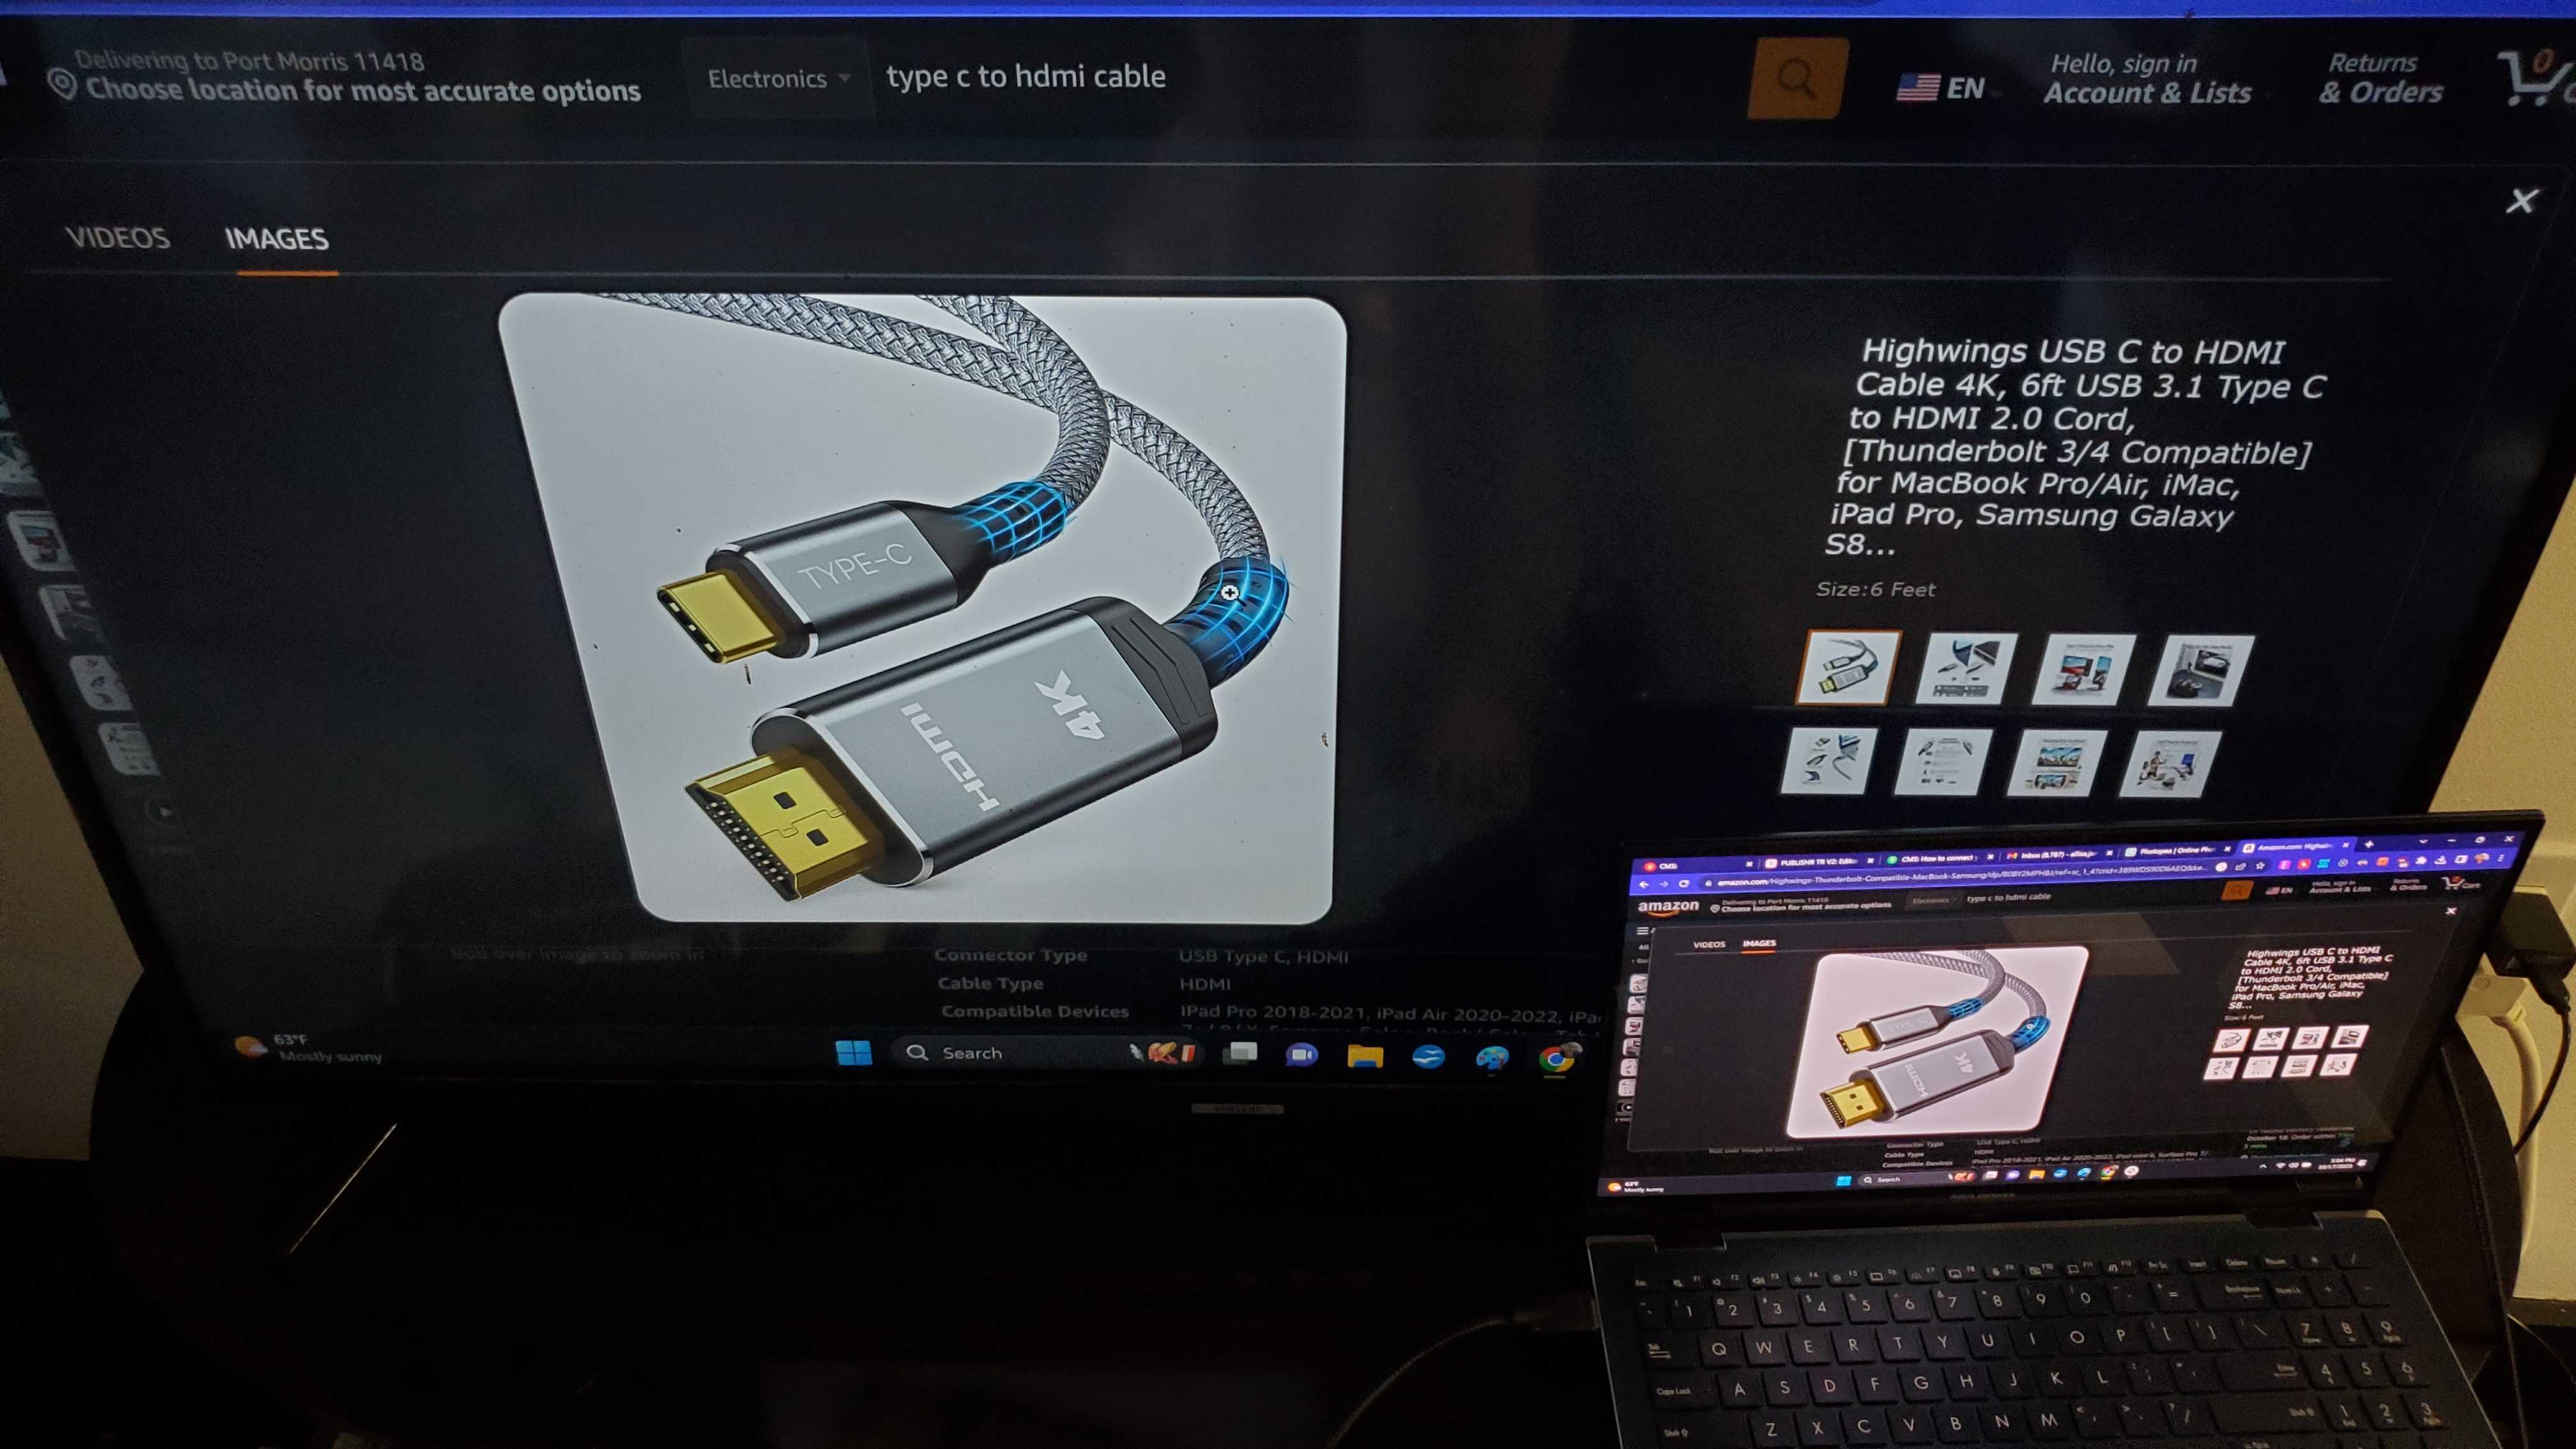
If it's not working, make sure the TV is in the correct input. If it still doesn't work, check your laptop's display settings.
For Windows, you can open Settings and go to Displays. For Mac, go to System Preferences and then Displays. For Chromebooks, go to Settings, then Device, then Displays.
Step by step guide for wireless
1. Make sure both TV and laptop are on same Wi-Fi
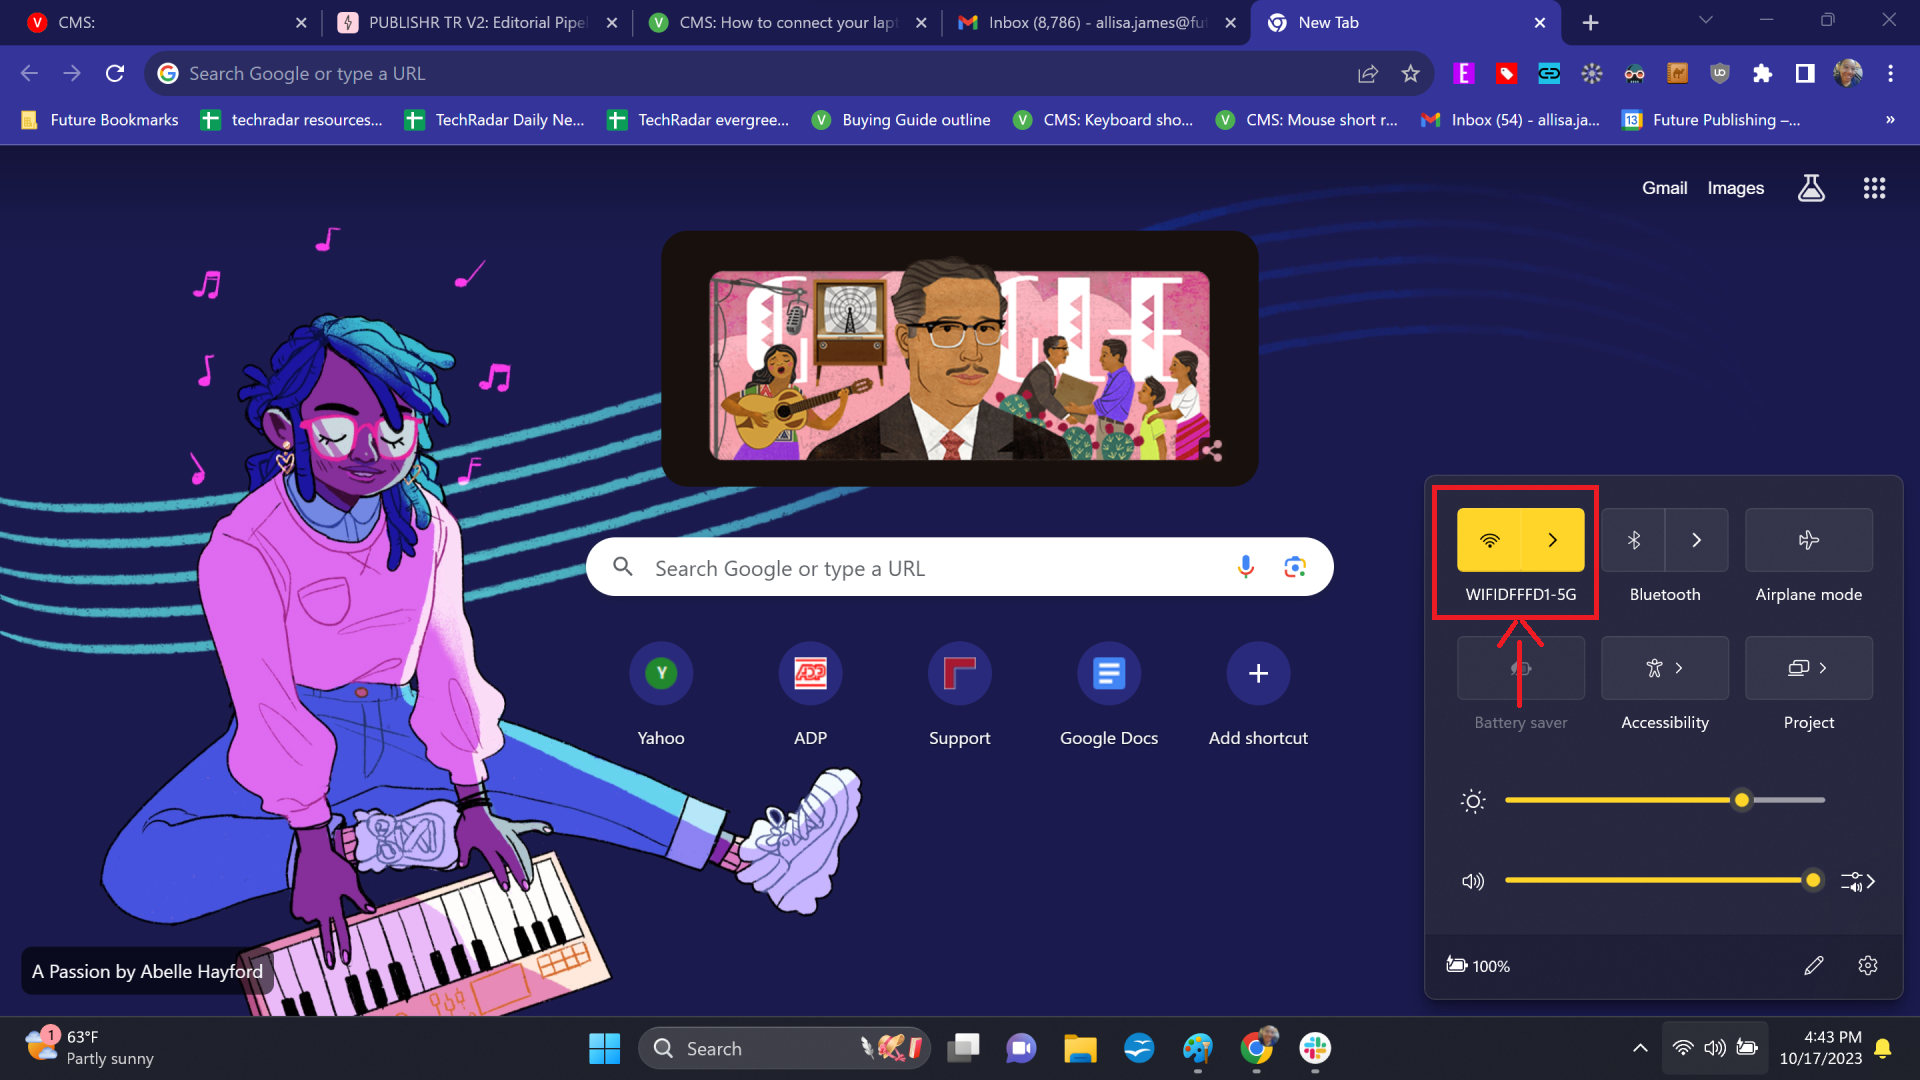
Before you start, ensure that the laptop and TV of your choice are connected to the same Wi-Fi network.
2. If using a Windows laptop, the easiest way is Chromecast
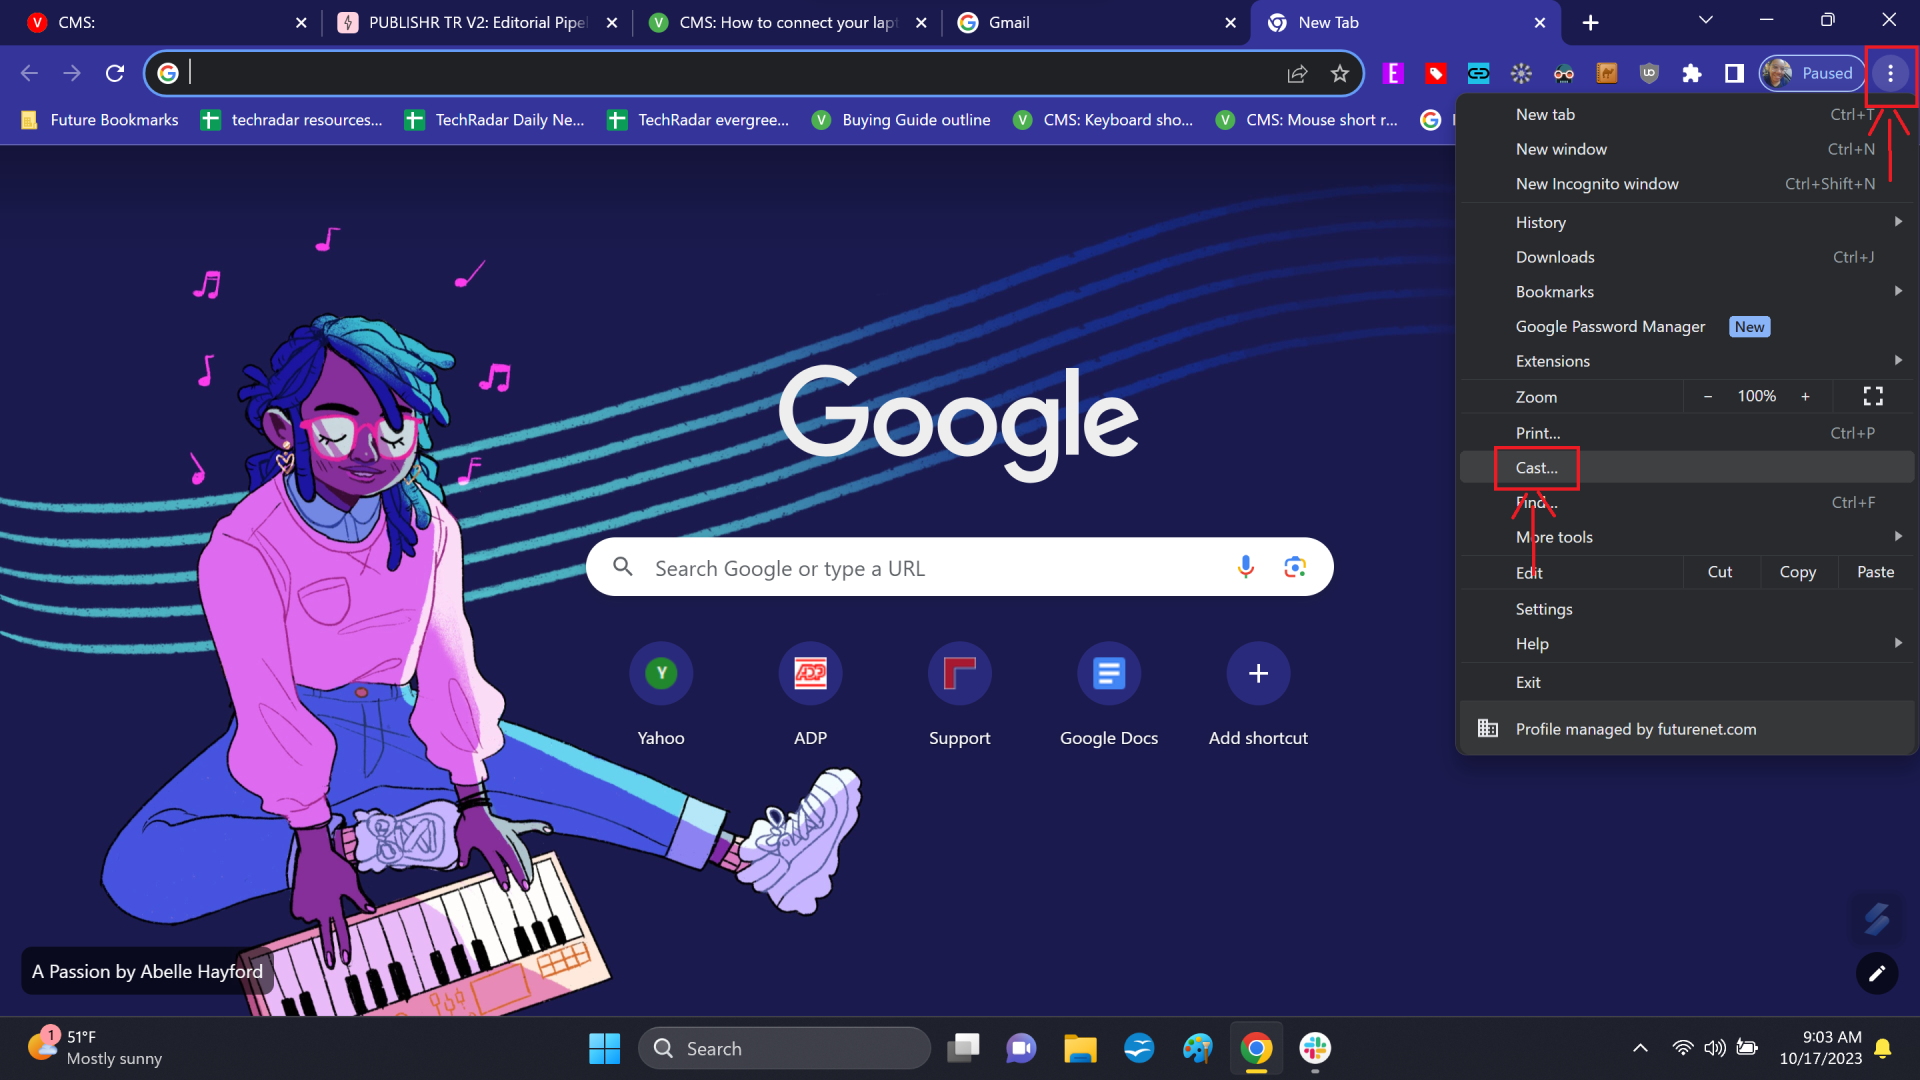
For Windows devices, the easiest method is to use Chromecast through a Chromecast-enabled TV and the Google Chrome browser.
Open Chrome on your laptop, then click the three dots on the upper right to open the menu followed by Cast. Click Sources, then Cast Desktop, and then choose your TV from available devices.
You can also use Miracast, which is similar to Apple's AirPlay. Roku streamers, some TVs, and wireless display adapters.
3. If using a Mac laptop, use Apple AirPlay
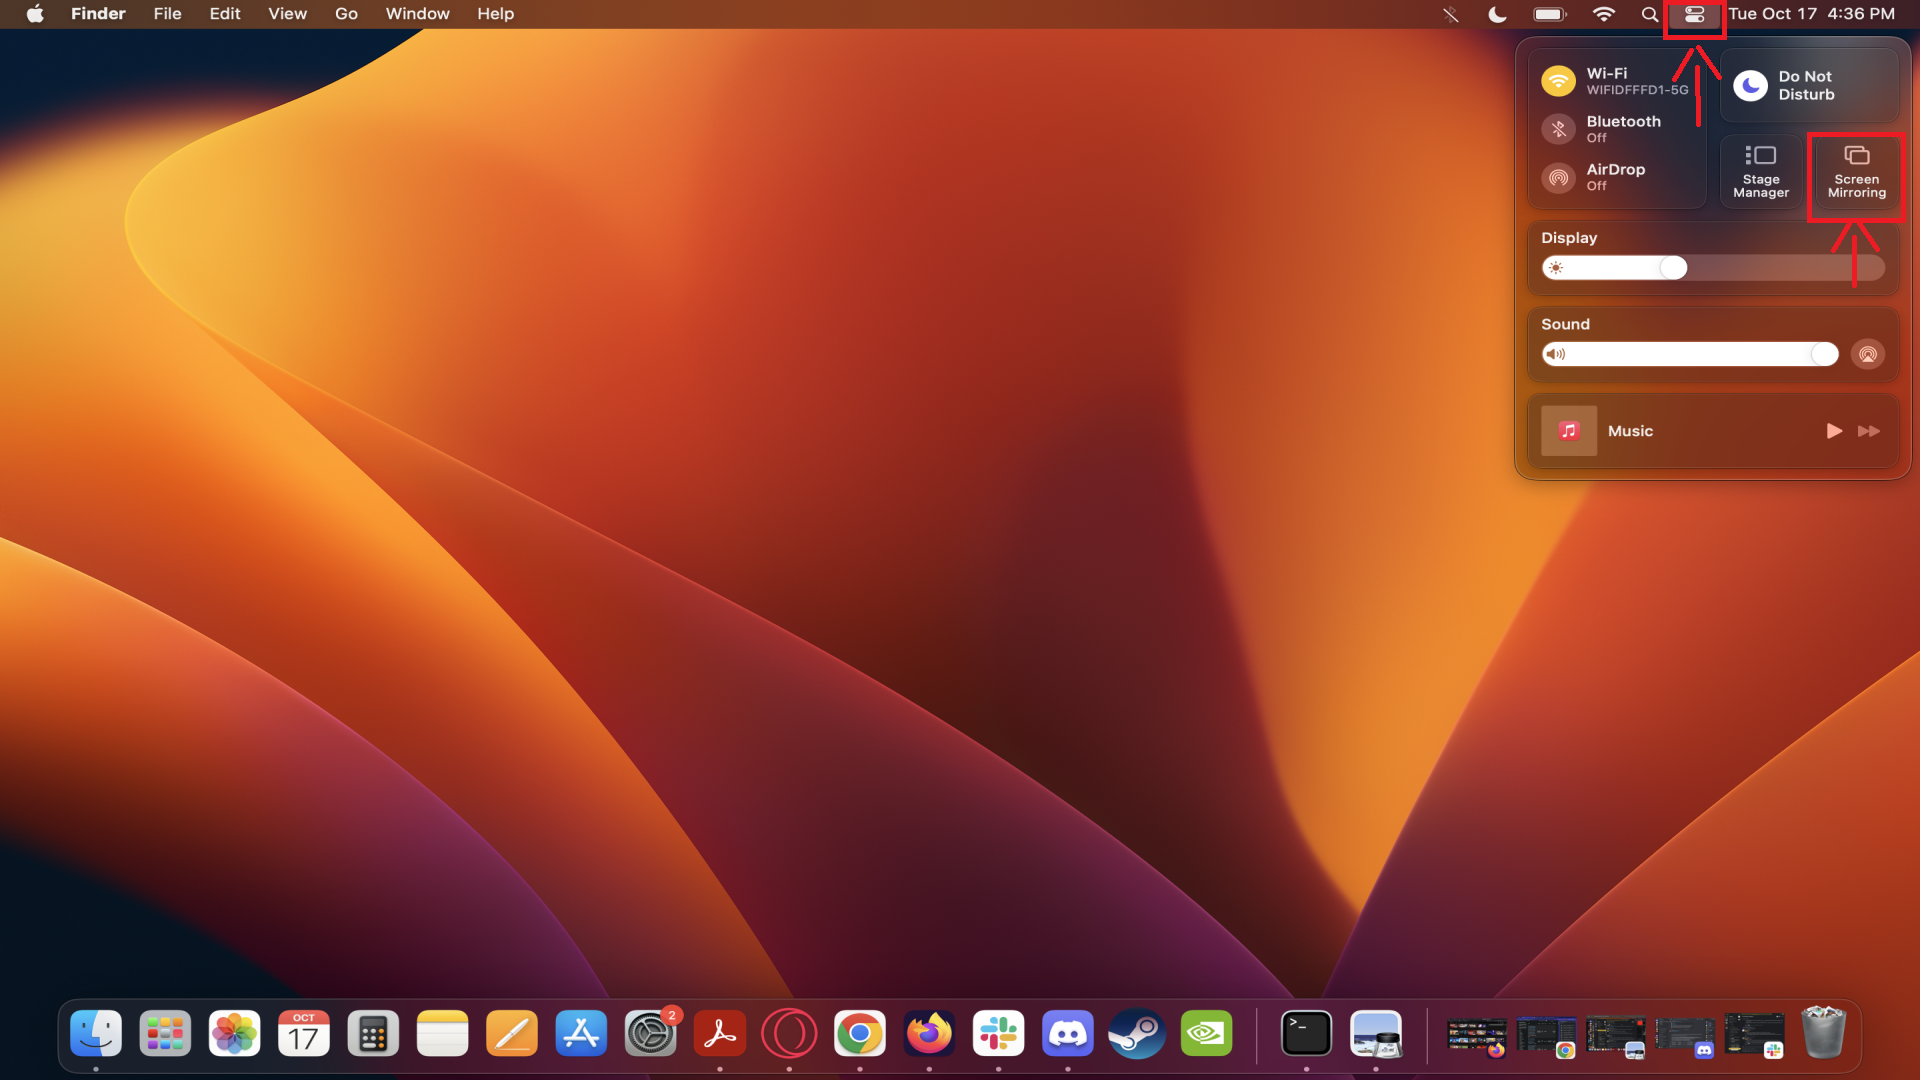
Macs have AirPlay technology to mirror their laptop screen on a TV. On your Mac laptop, click on the Control Center icon in your menu in the top right corner (it's shaped like two bars, one full and one empty).
Select Screen Mirroring, then select the Apple TV or AirPlay device you want the laptop to mirror to.
4. If using a Chromebook, use Chromecast

Chromecast devices can also be used for laptops with Chrome OS, which naturally includes all of the best Chromebooks. Simply follow the same steps as shown above for a Windows laptop, using the Chrome browser.
Open Chrome on your laptop, then click the three dots on the upper right to open the menu followed by Cast. Click Sources, then Cast Desktop, and then choose your TV from available devices.
Final thoughts
In a pinch, you can also use mobile apps to cast on most smart TVs, like Netflix or YouTube. It's technically not actual screen mirroring as described in this guide, but it's still useful if you don't have a laptop to hand but want to cast your media to a larger screen.
Until recently, Chromecasts could be used without the devices sharing the same Wi-Fi network, which was called Guest mode. RIP, another feature killed by Google.
It worked by the Chromecast emitting a Wi-Fi or Bluetooth beacon that could be picked up by other devices. The other method involves a 4-digit PIN that appears on the screen. But Google took that feature away for unknown reasons, forcing users to connect to the same Wi-Fi, even while traveling.


