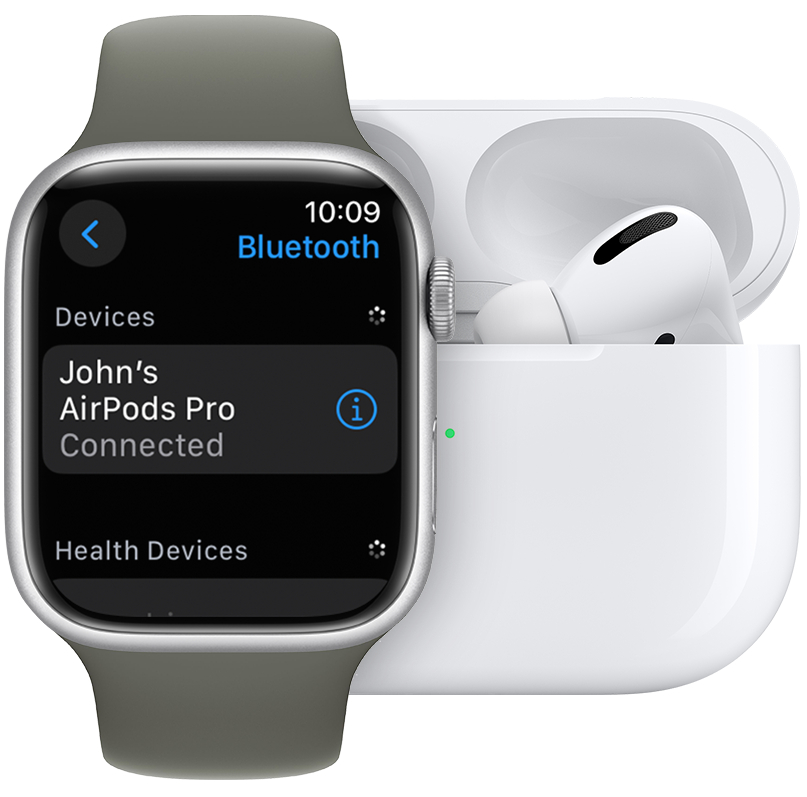
The AirPods and Apple Watch bring convenience and powerful functionality in a compact form, fitting right in with the demands of your active lifestyle. But to make the most of the freedom they offer, you should know how to connect AirPods to Apple Watch.
AirPods automatically connect to the Apple Watch when they are set up with the iPhone. But you can also connect them manually, and in this guide, we’ll show you how to do that.
Before we delve in — if you’re frequently on the road, ensure you have the best travel headphones for maximum noise cancellation.
Tools and requirements
- AirPods
- Apple Watch
Steps for how to connect AirPods to Apple Watch
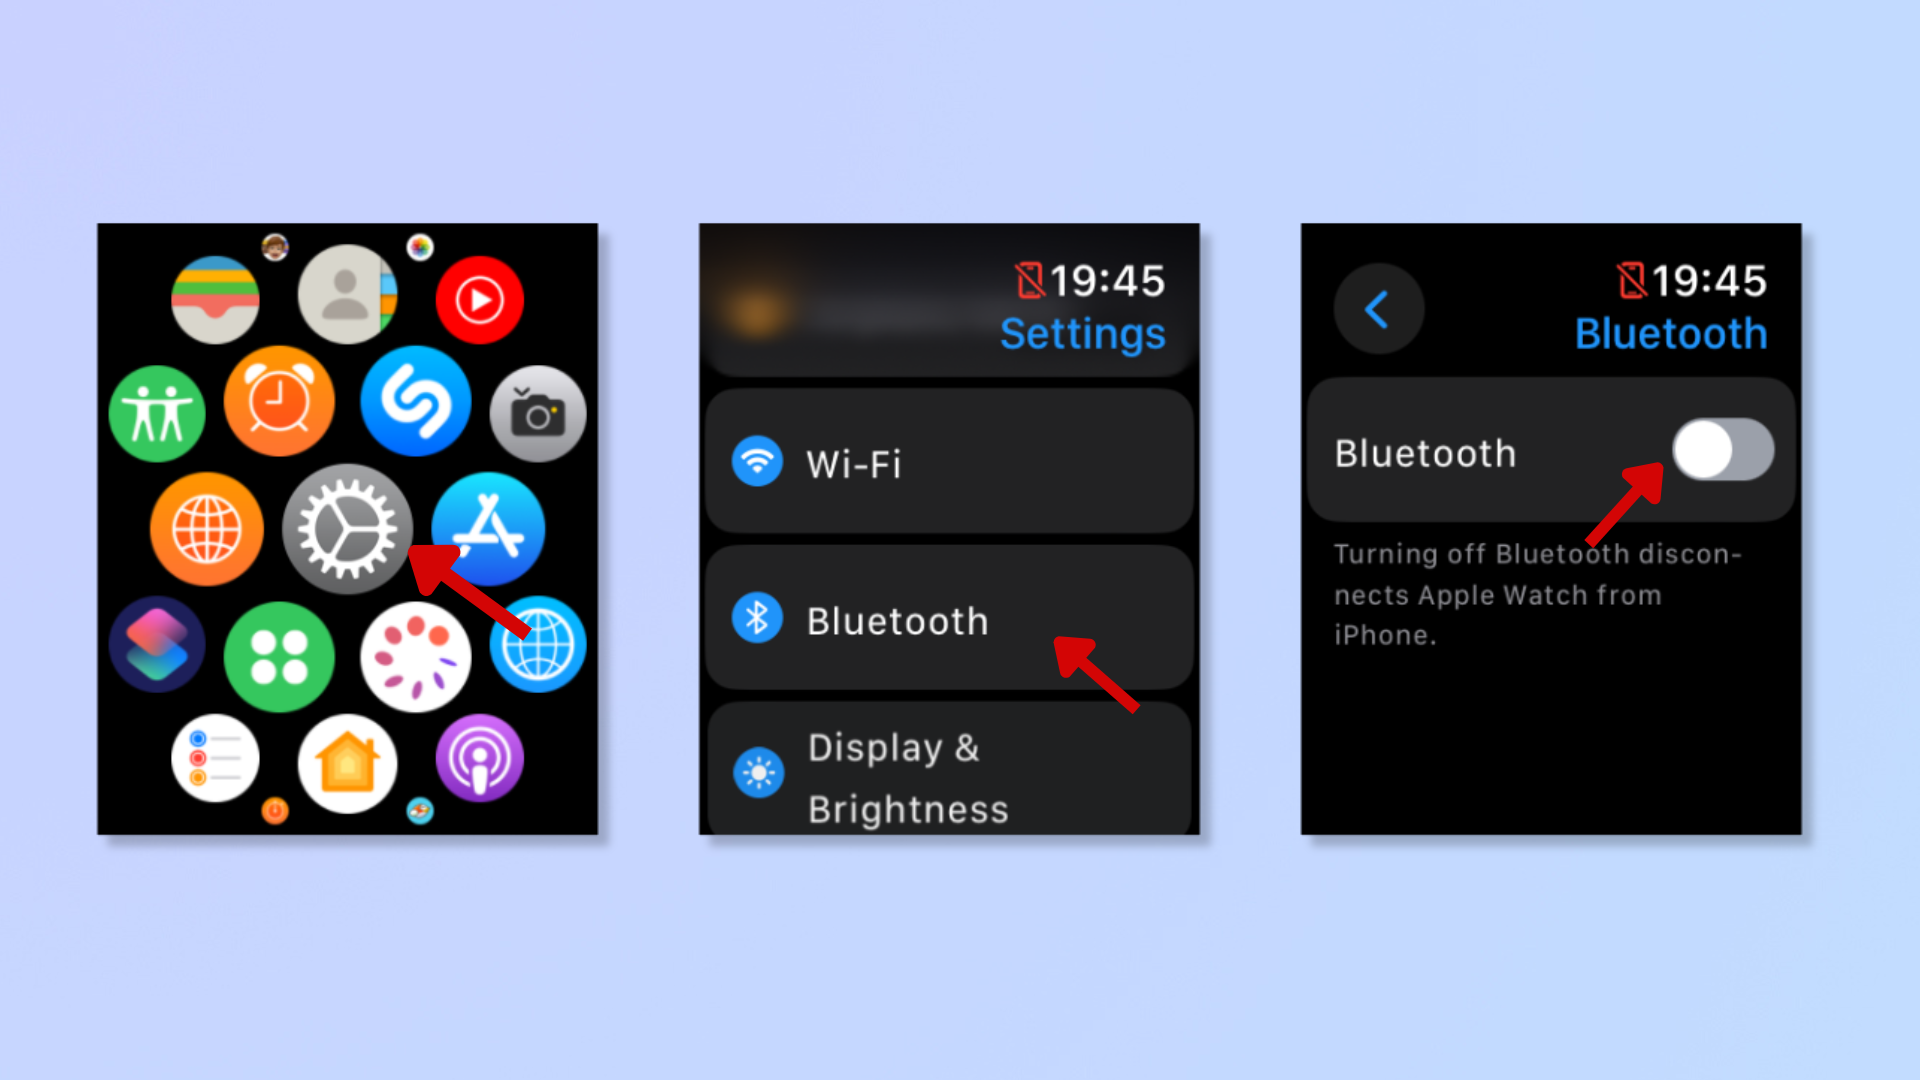
- Open Settings on the Apple Watch.
- Tap Bluetooth > Toggle on (if it’s off).
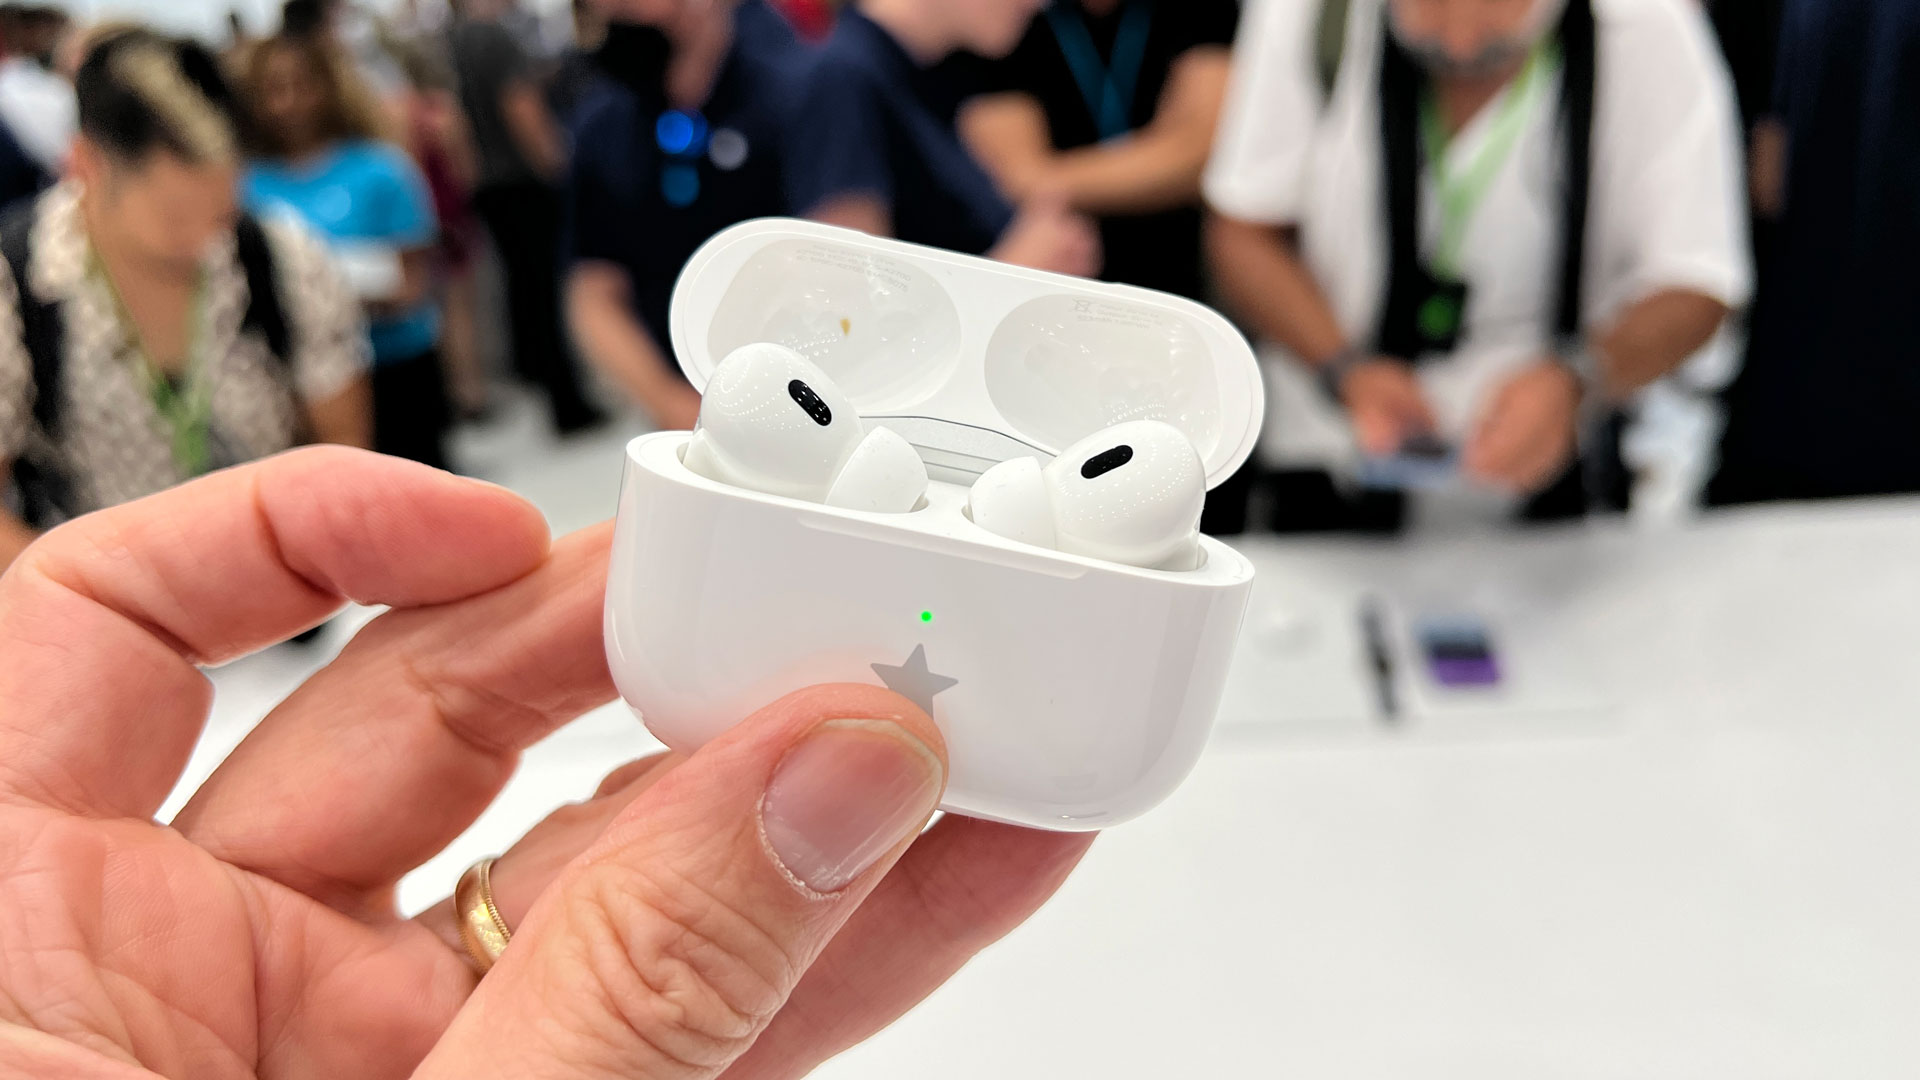
- Open the lid of your AirPods charging case (don’t pull out the AirPods).
- Press and hold the setup button behind the case.
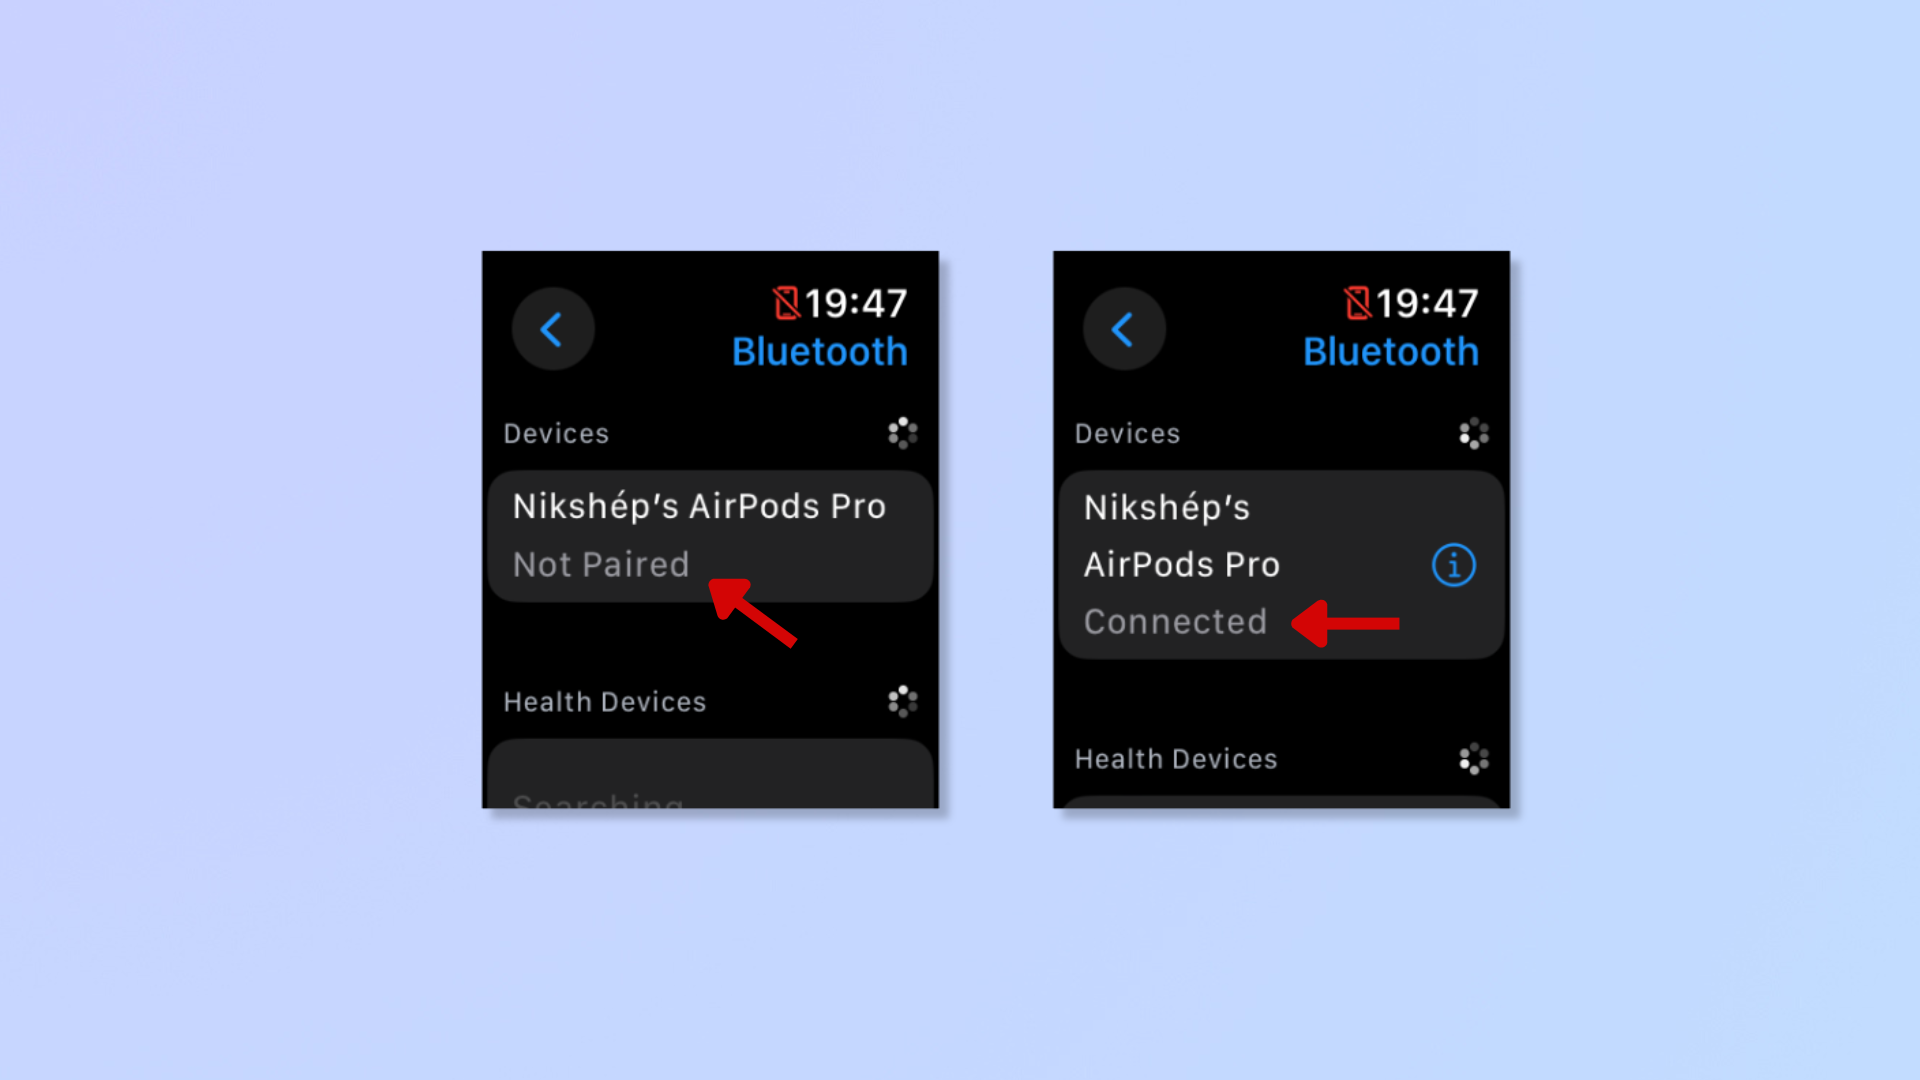
- On the Apple Watch, tap the AirPods under Devices to connect.
Step-by-step guide to connect AirPods to Apple Watch
1. Open Settings > Bluetooth

Open Settings on your Apple Watch. Scroll down to Bluetooth and tap it. Toggle it on if it’s disabled.
2. Put the AirPods in pairing mode

Open the lid of your AirPods charging case. Press and hold the setup button behind the case without pulling out the AirPods until the green light turns white and starts flashing.
3. Connect to the AirPods on the Apple Watch

Tap the unpaired AirPods appearing under Devices (in the Bluetooth settings). It’ll say 'Not Paired' below them.
Once the AirPods connect, it’ll say 'Connected' below their name.
Final Thoughts
Now that you’ve connected your AirPods to your Apple Watch, you can go completely smartphone-free! Once paired, you won’t have to repeat these steps because the AirPods will automatically connect to your Apple Watch.
For more Apple Watch tips, we’ve covered how to store music on an Apple Watch, how to record a workout on your Apple Watch, and how to turn on your Apple Watch and wake the display.


