In recent years, setting up the Windows Subsystem for Linux (WSL) on both Windows 10 and Windows 11 has become significantly more straightforward. It's available to install through the Microsoft Store or a single command in PowerShell, and changes have even been made to reduce the reliance on the former for installing new images. All after WSL 2 brought a true Linux kernel to proceedings, over the virtualized efforts of the first version.
One of the significant advantages of WSL is the ability to configure a complete Linux distribution and seamlessly incorporate it into your Windows workflow. Unlike a traditional virtual machine, WSL interacts directly with your Windows installation. If any issues arise, you can easily reset it and begin anew. Also, unlike a VM, WSL can access your existing Windows file system, and can be used as the backend for your Windows version of VS Code.
But how do you actually remove a Linux distro installed in WSL? On the face of things, you might think you just have to uninstall the "app" for the particular distro you installed, but that's only half of the battle. If you simply do this, then you'll still have an entire file system left behind. And it's not possible for custom distros installed from outside the Microsoft Store.
Here's how to completely remove a Linux distro from WSL.
How to completely remove a Linux distro from WSL

Indeed you can simply right-click and uninstall Ubuntu, Debian, or any of the other Linux distros you might have set up on WSL. Installing them is as easy as downloading from the Microsoft Store, and removing them is as easy as any other Store app. Alternatively, you can do the same with winget in the terminal if you're a fan of using the Windows Package Manager.
But this doesn't completely remove all traces. Data and the file system created will be left behind, so for that, you need to instruct WSL to remove it in the terminal. So do the uninstalling of the app second, ideally.
Here's what you need to do.
- Open up PowerShell.
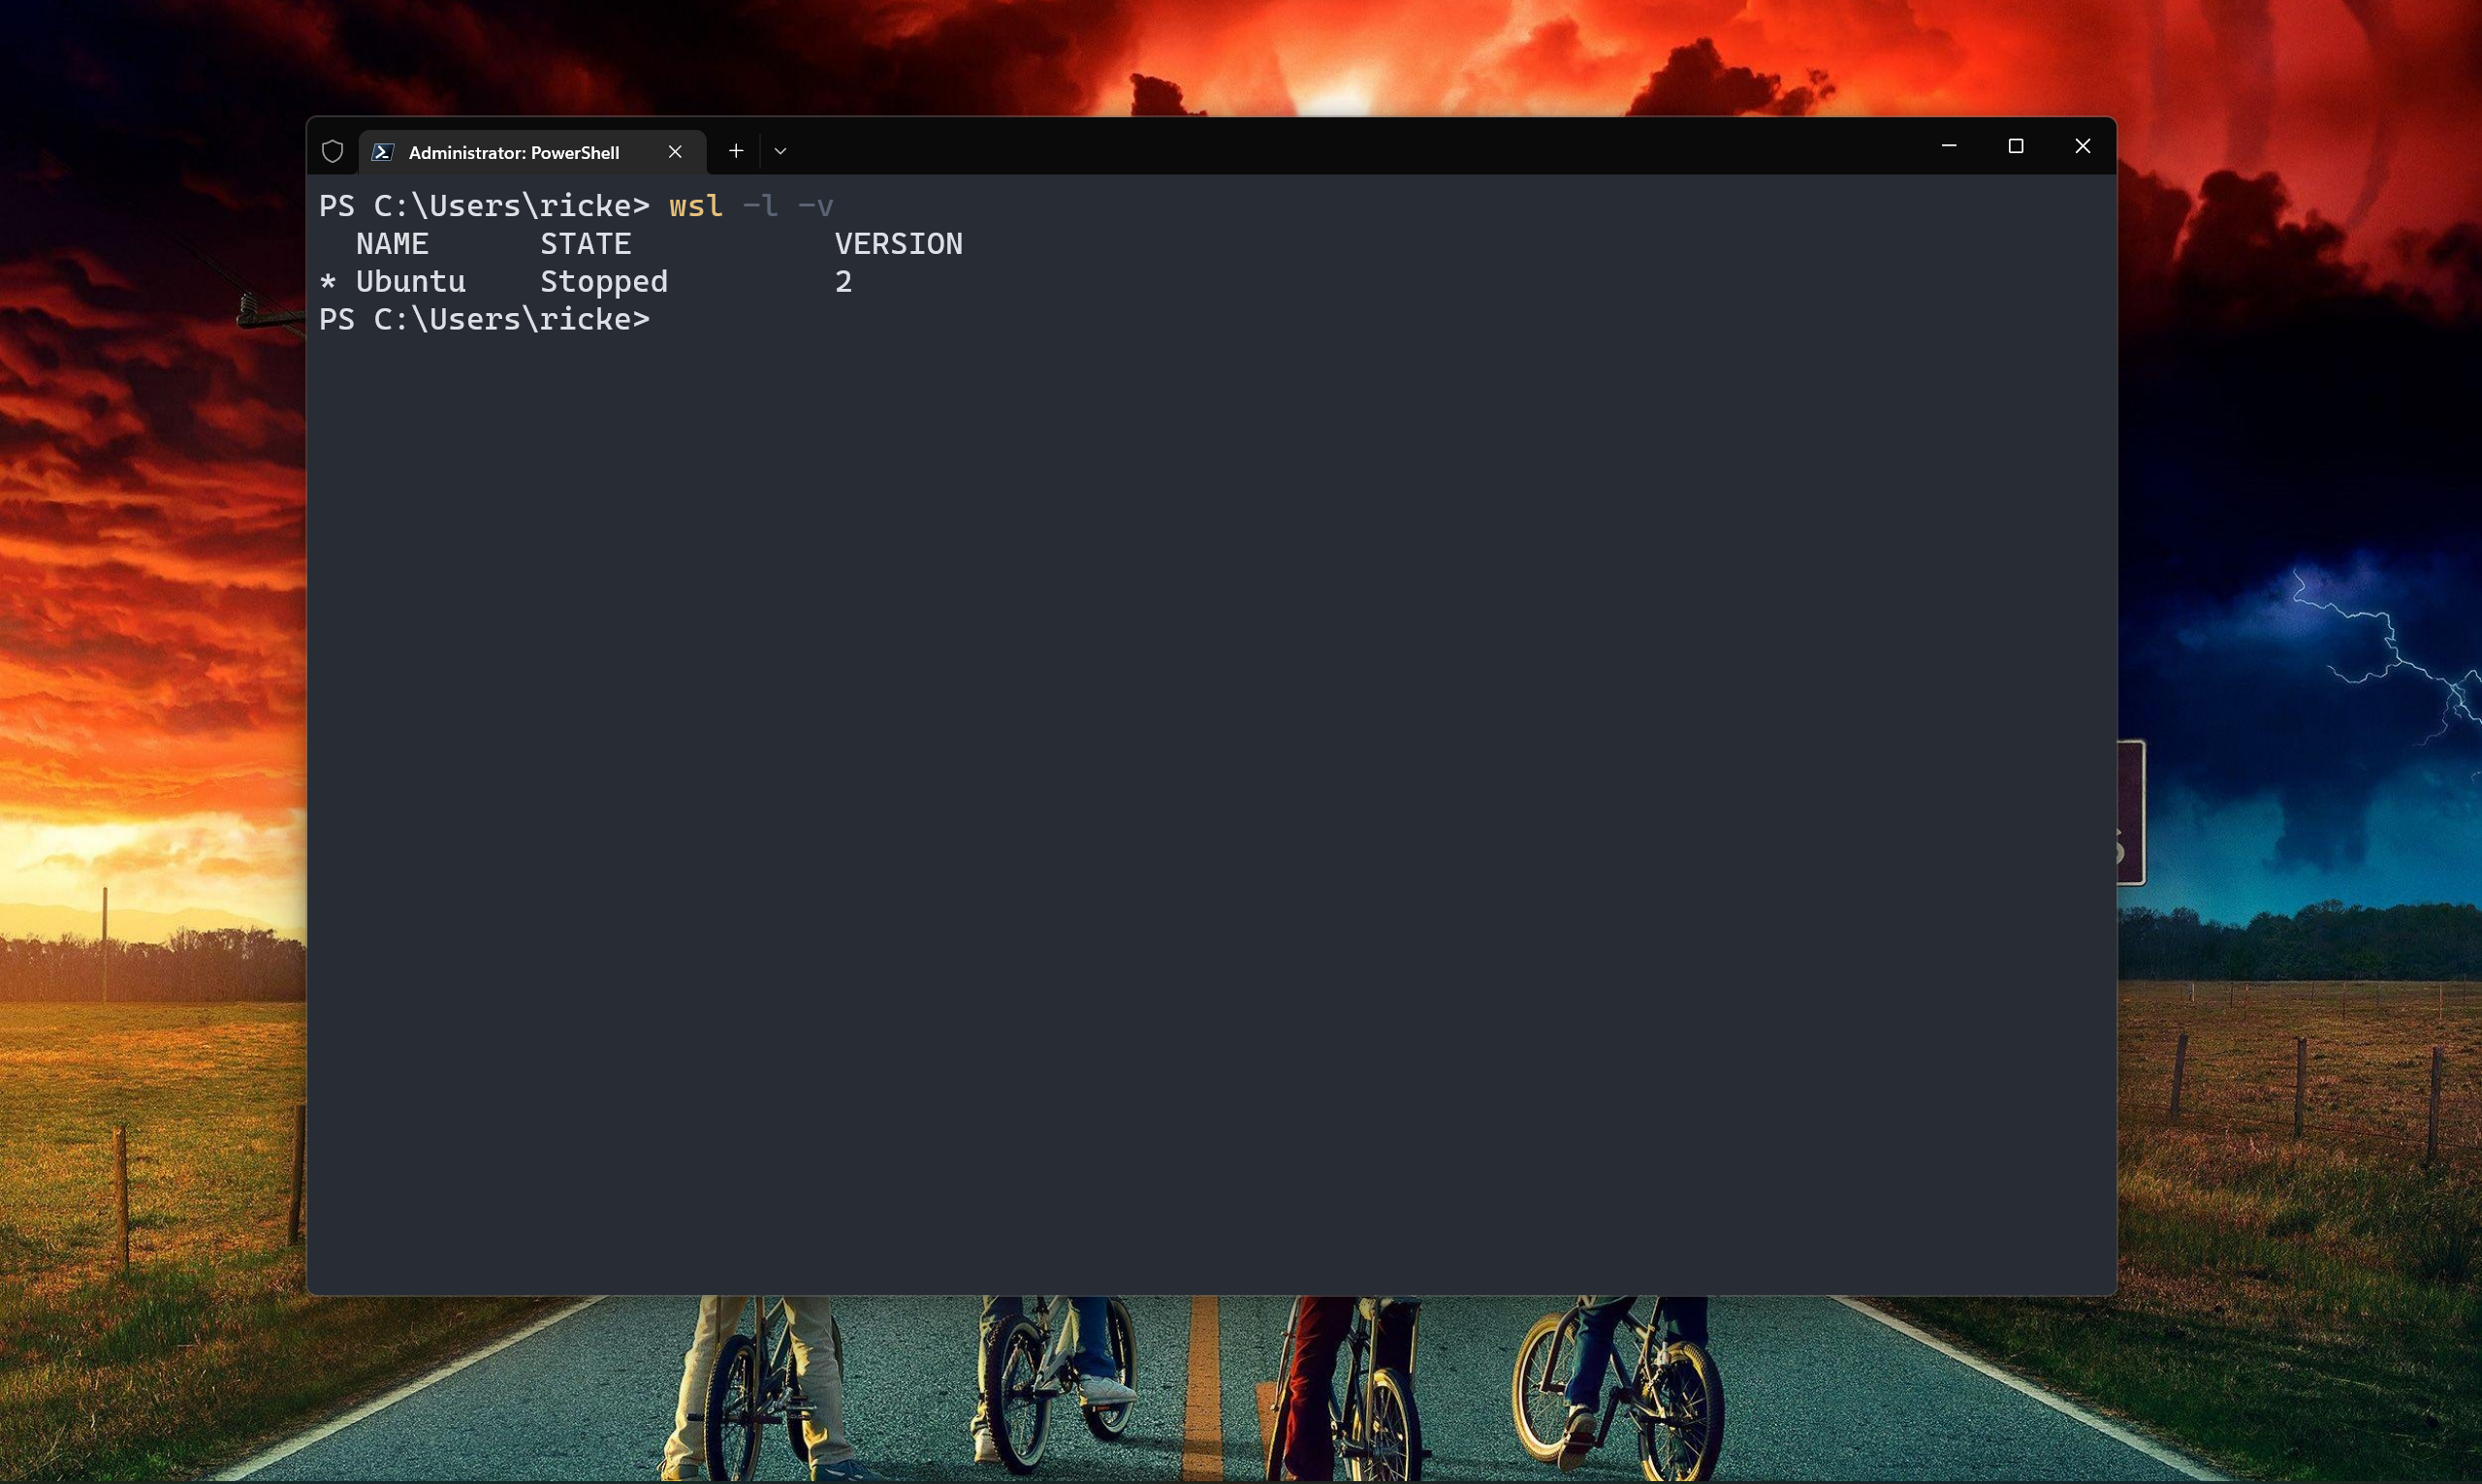
- To get the exact name for the distro you want, enter wsl -l -v.
- Enter into the terminal wsl --unregister
.
The unregister option will tell WSL to completely destroy all traces of the file system and any data contained within it. So, for example, if you wanted to remove an installation of Debian your command would look like this:
wsl --unregister DebianIt's case-sensitive, too, and has to be exact, which is why it's a good idea to run the second step first. Ubuntu, for example, has a number of different versions, and you may well need to be specific to a version number, such as Ubuntu 24.04. Though this will depend on which package you installed in the first instance.
This process should remove any associated file systems, but it's worth opening up File Explorer and having a look just to make sure. WSL file systems are easily accessed from the sidebar, and if anything is left behind, you can manually delete it.
Backing up and importing to WSL

While WSL can be disposable, it's also a good idea to back up your installations so if you do get rid of one you can get back to where you were a little easier.
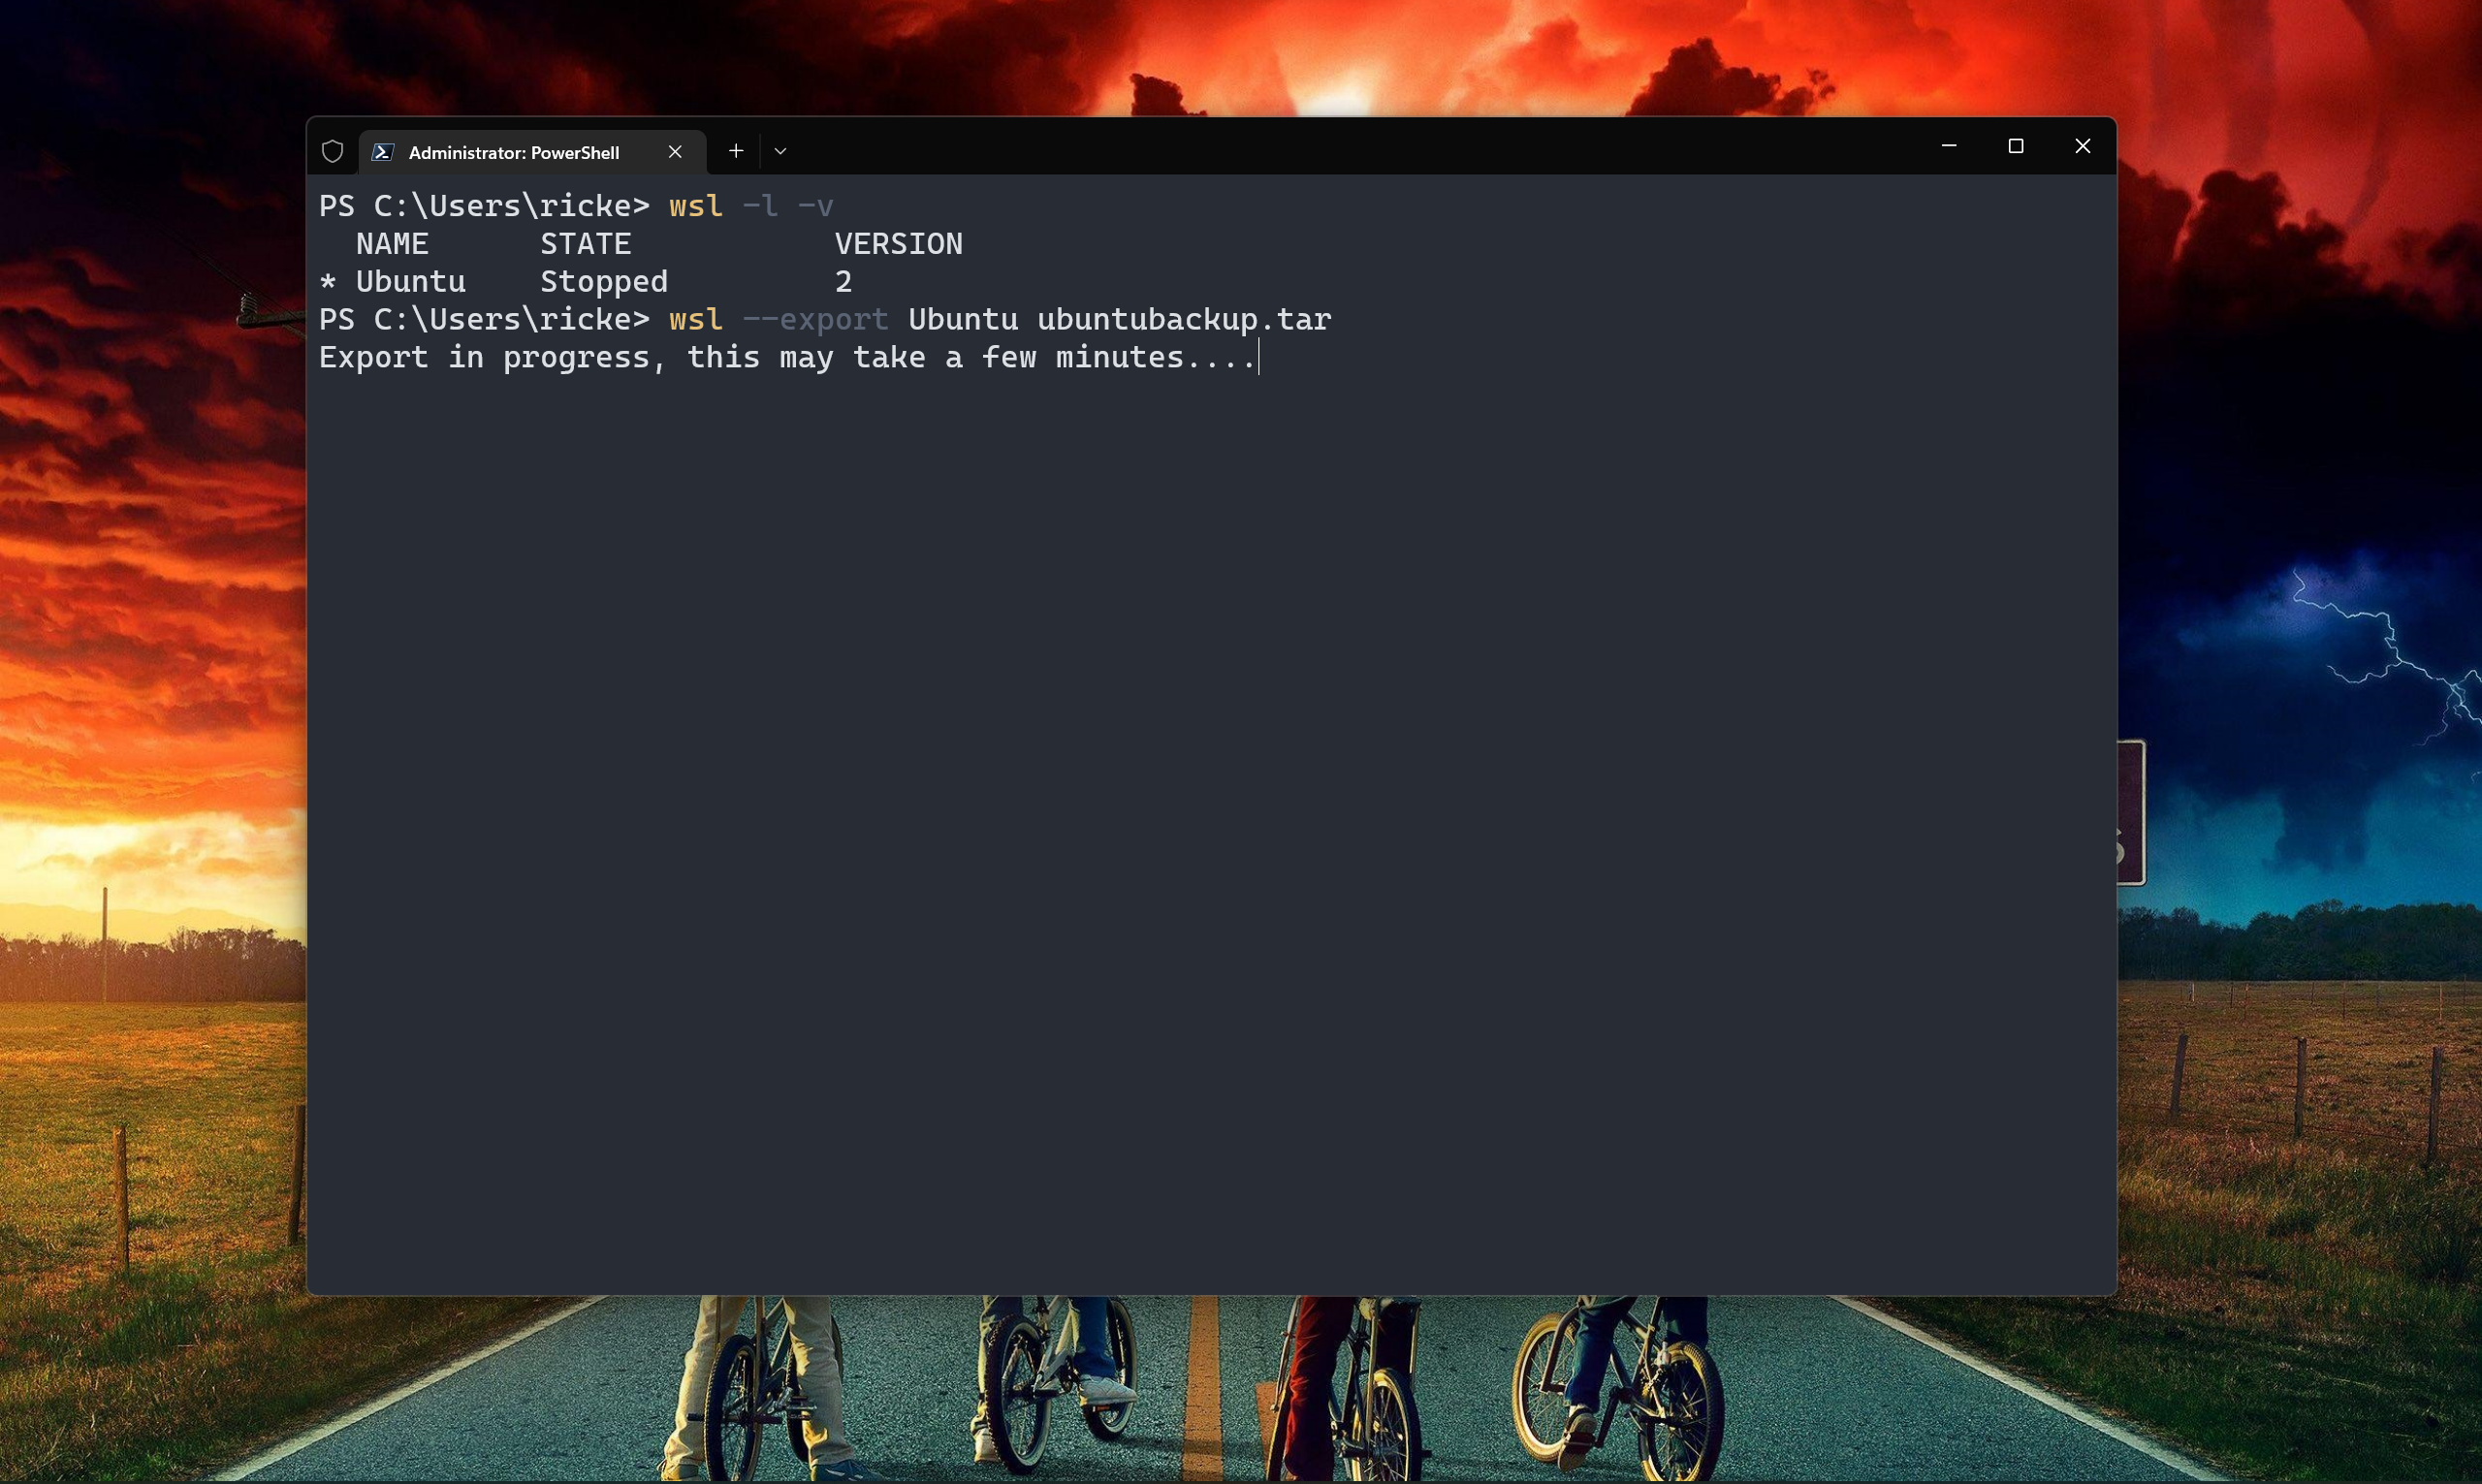
Backing up is a pretty straightforward process that involves exporting to a .tar file. Our guides on exporting and importing Linux installs in WSL will take you through the process step by step, but the main commands you need are as follows:
wsl --export

wsl --import
The process doesn't take too long, and it's particularly useful if you plan on making frequent changes to your WSL installs.


