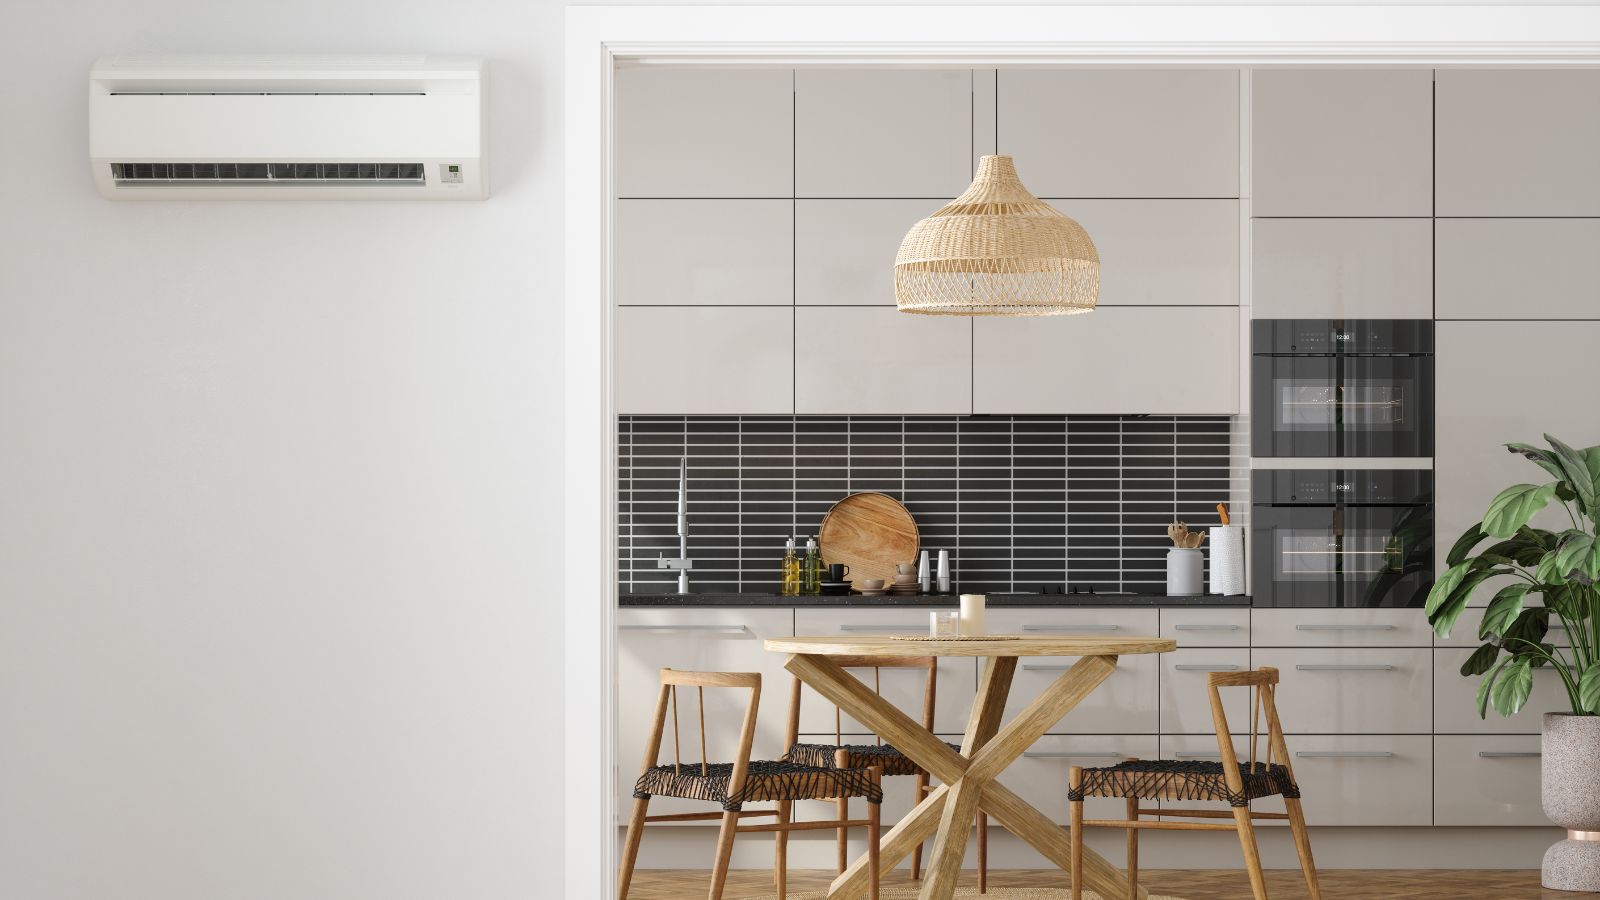
Cleaning your HVAC (heating, ventilation, and air conditioning) system is the most essential step in improving your indoor air quality, especially in the transition from winter to spring, to ensure it is in top condition for the summer months.
Over time, dust, pollen, pet dander, and other allergens can accumulate in the system, which, if left uncleaned, will spread throughout your home and hinder the machine's efficiency.
Regularly using these cleaning tips will remove any contaminants to improve indoor air quality and reduce the risk of allergies. Additionally, a clean HVAC system will operate more effectively, providing more consistent and less stressed heating and cooling throughout your home, which will help you cut energy bills and extend the system's longevity.
How to clean your HVAC system
Kevin Goude, owner of First Choice Heating And Air, explains that whether your system comprises separate cooling and heating units or functions as a combined unit, the fundamental principles of cleaning remain the same. However, the specific cleaning tasks may vary depending on the unit type.
For air conditioning units, the emphasis lies on cleaning the coils and drain line, and changing filters. In contrast, for the heating unit, the focus shifts to cleaning the heat exchanger and air filter and checking the blower motor and fan for debris.
Below are the fundamental step-by-step processes for cleaning your HVAC system. Remember to always turn the unit off before starting cleaning.
1. Clean or replace air filters
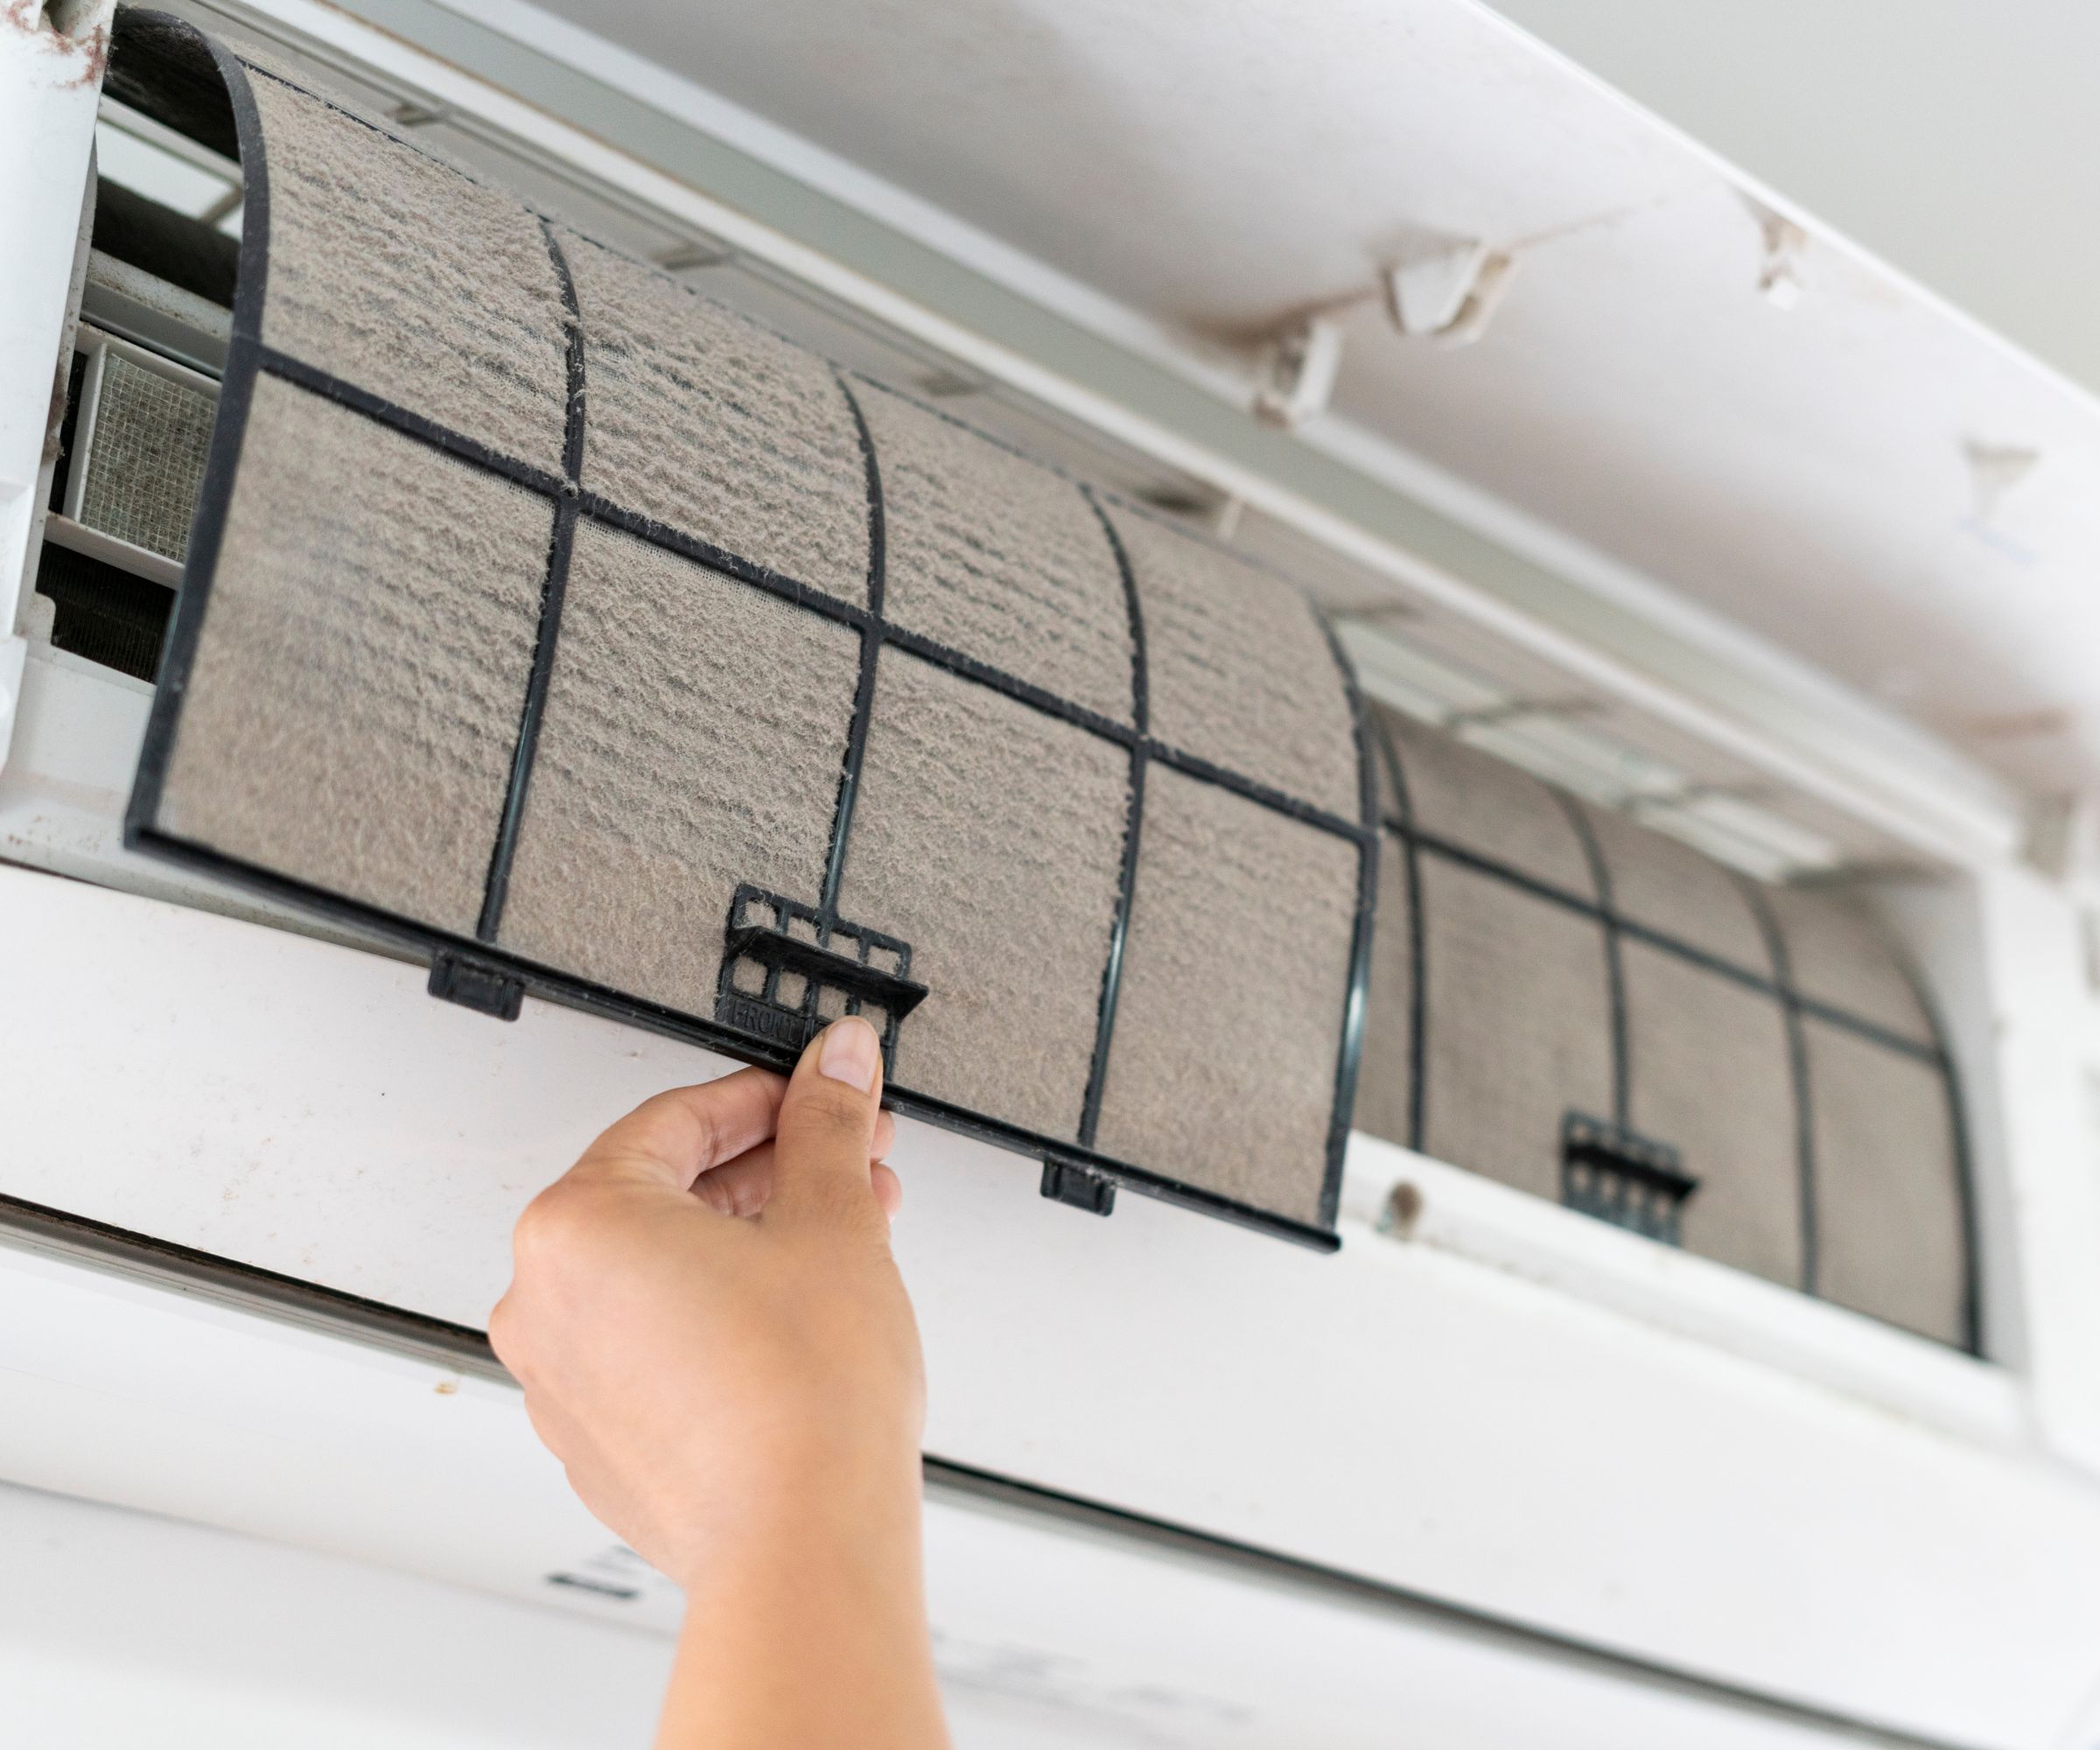
The air filter is responsible for trapping airborne particles, such as dust, pollen, pet dander, mold spores, and other contaminants from the air while preventing them from entering the HVAC system's components. Changing or cleaning the air filters regularly ensures optimal airflow and prevents dust buildup, contributing to better indoor air quality and preventing strain on the system.
Depending on the type of filters your HVAC system has, you will need to replace or clean them before putting them back. There are various types of dehumidifier filters, including disposable filters and reusable, washable, or built-in ones. These may have different maintenance needs and cleaning requirements, so check which type of filter your system has to determine the best solution.
- 'For disposable filters that need to be replaced, look at the current filter and ensure you have the correct replacement size. An incorrect filter size will not allow for correct airflow,' says Brad Roberson, President of Aire Serv. 'Replace them according to the manufacturer's guide
- 'For reusable filters, gently wash them with soap and water, then let them dry completely before reinstalling.'
During months when your HVAC system is being used regularly, you should clean your air filters every 1-3 months. It's easy to identify if your filter is dirty just by looking at it; if it’s gray and clogged with dust, it’s high time to wash or replace it.
2. Clean out vents and registers
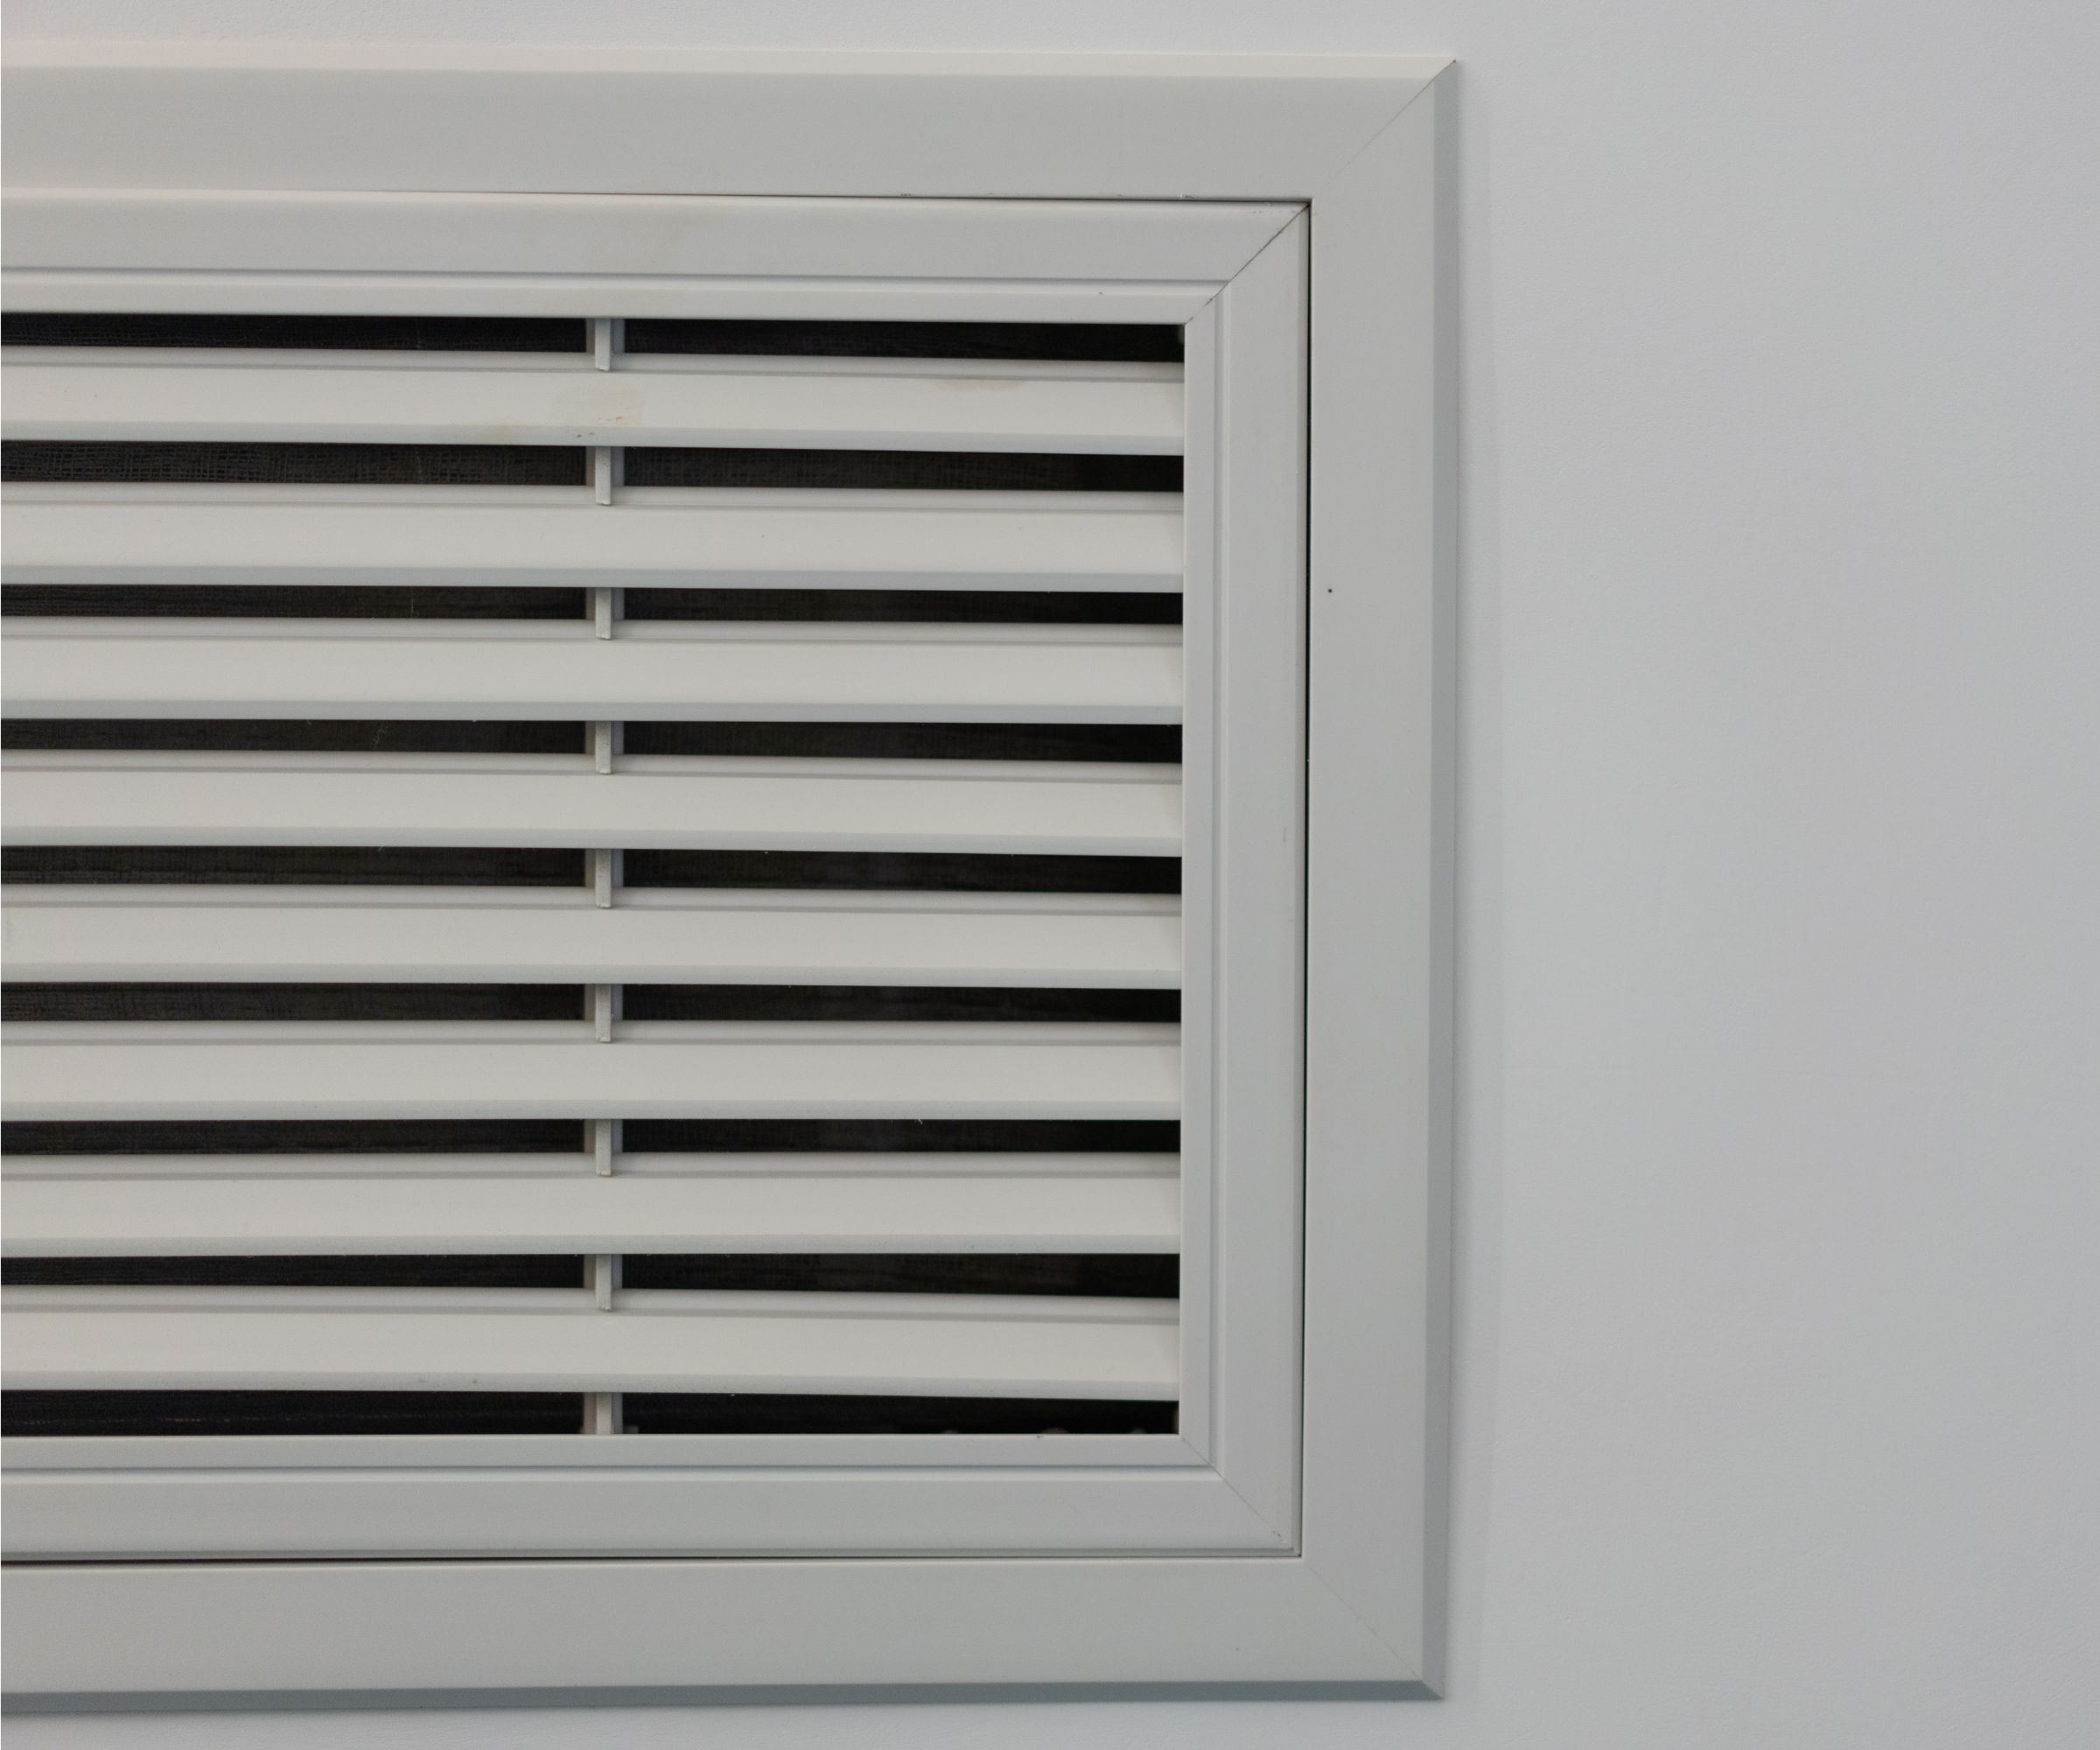
'Cleaning out the vents is a great way to improve indoor air quality, preventing a dust storm from happening whenever you turn on the HVAC. It also will increase the efficiency of the system as a whole, since it will increase airflow through the system. If air can move more readily, that means it cools you down or heats you up much sooner, requiring less of it to do the job,' explains Al Ruggie at ASAP Restoration LLC.
- Use a vacuum with a brush attachment to clean dirt and debris from intake and return vents. You can also wipe vents with a microfiber cloth to capture dust.
- To remove tough debris, you can dampen a sponge with a solution of water and vinegar and wipe the exterior.
3. Clean evaporator and condenser coils
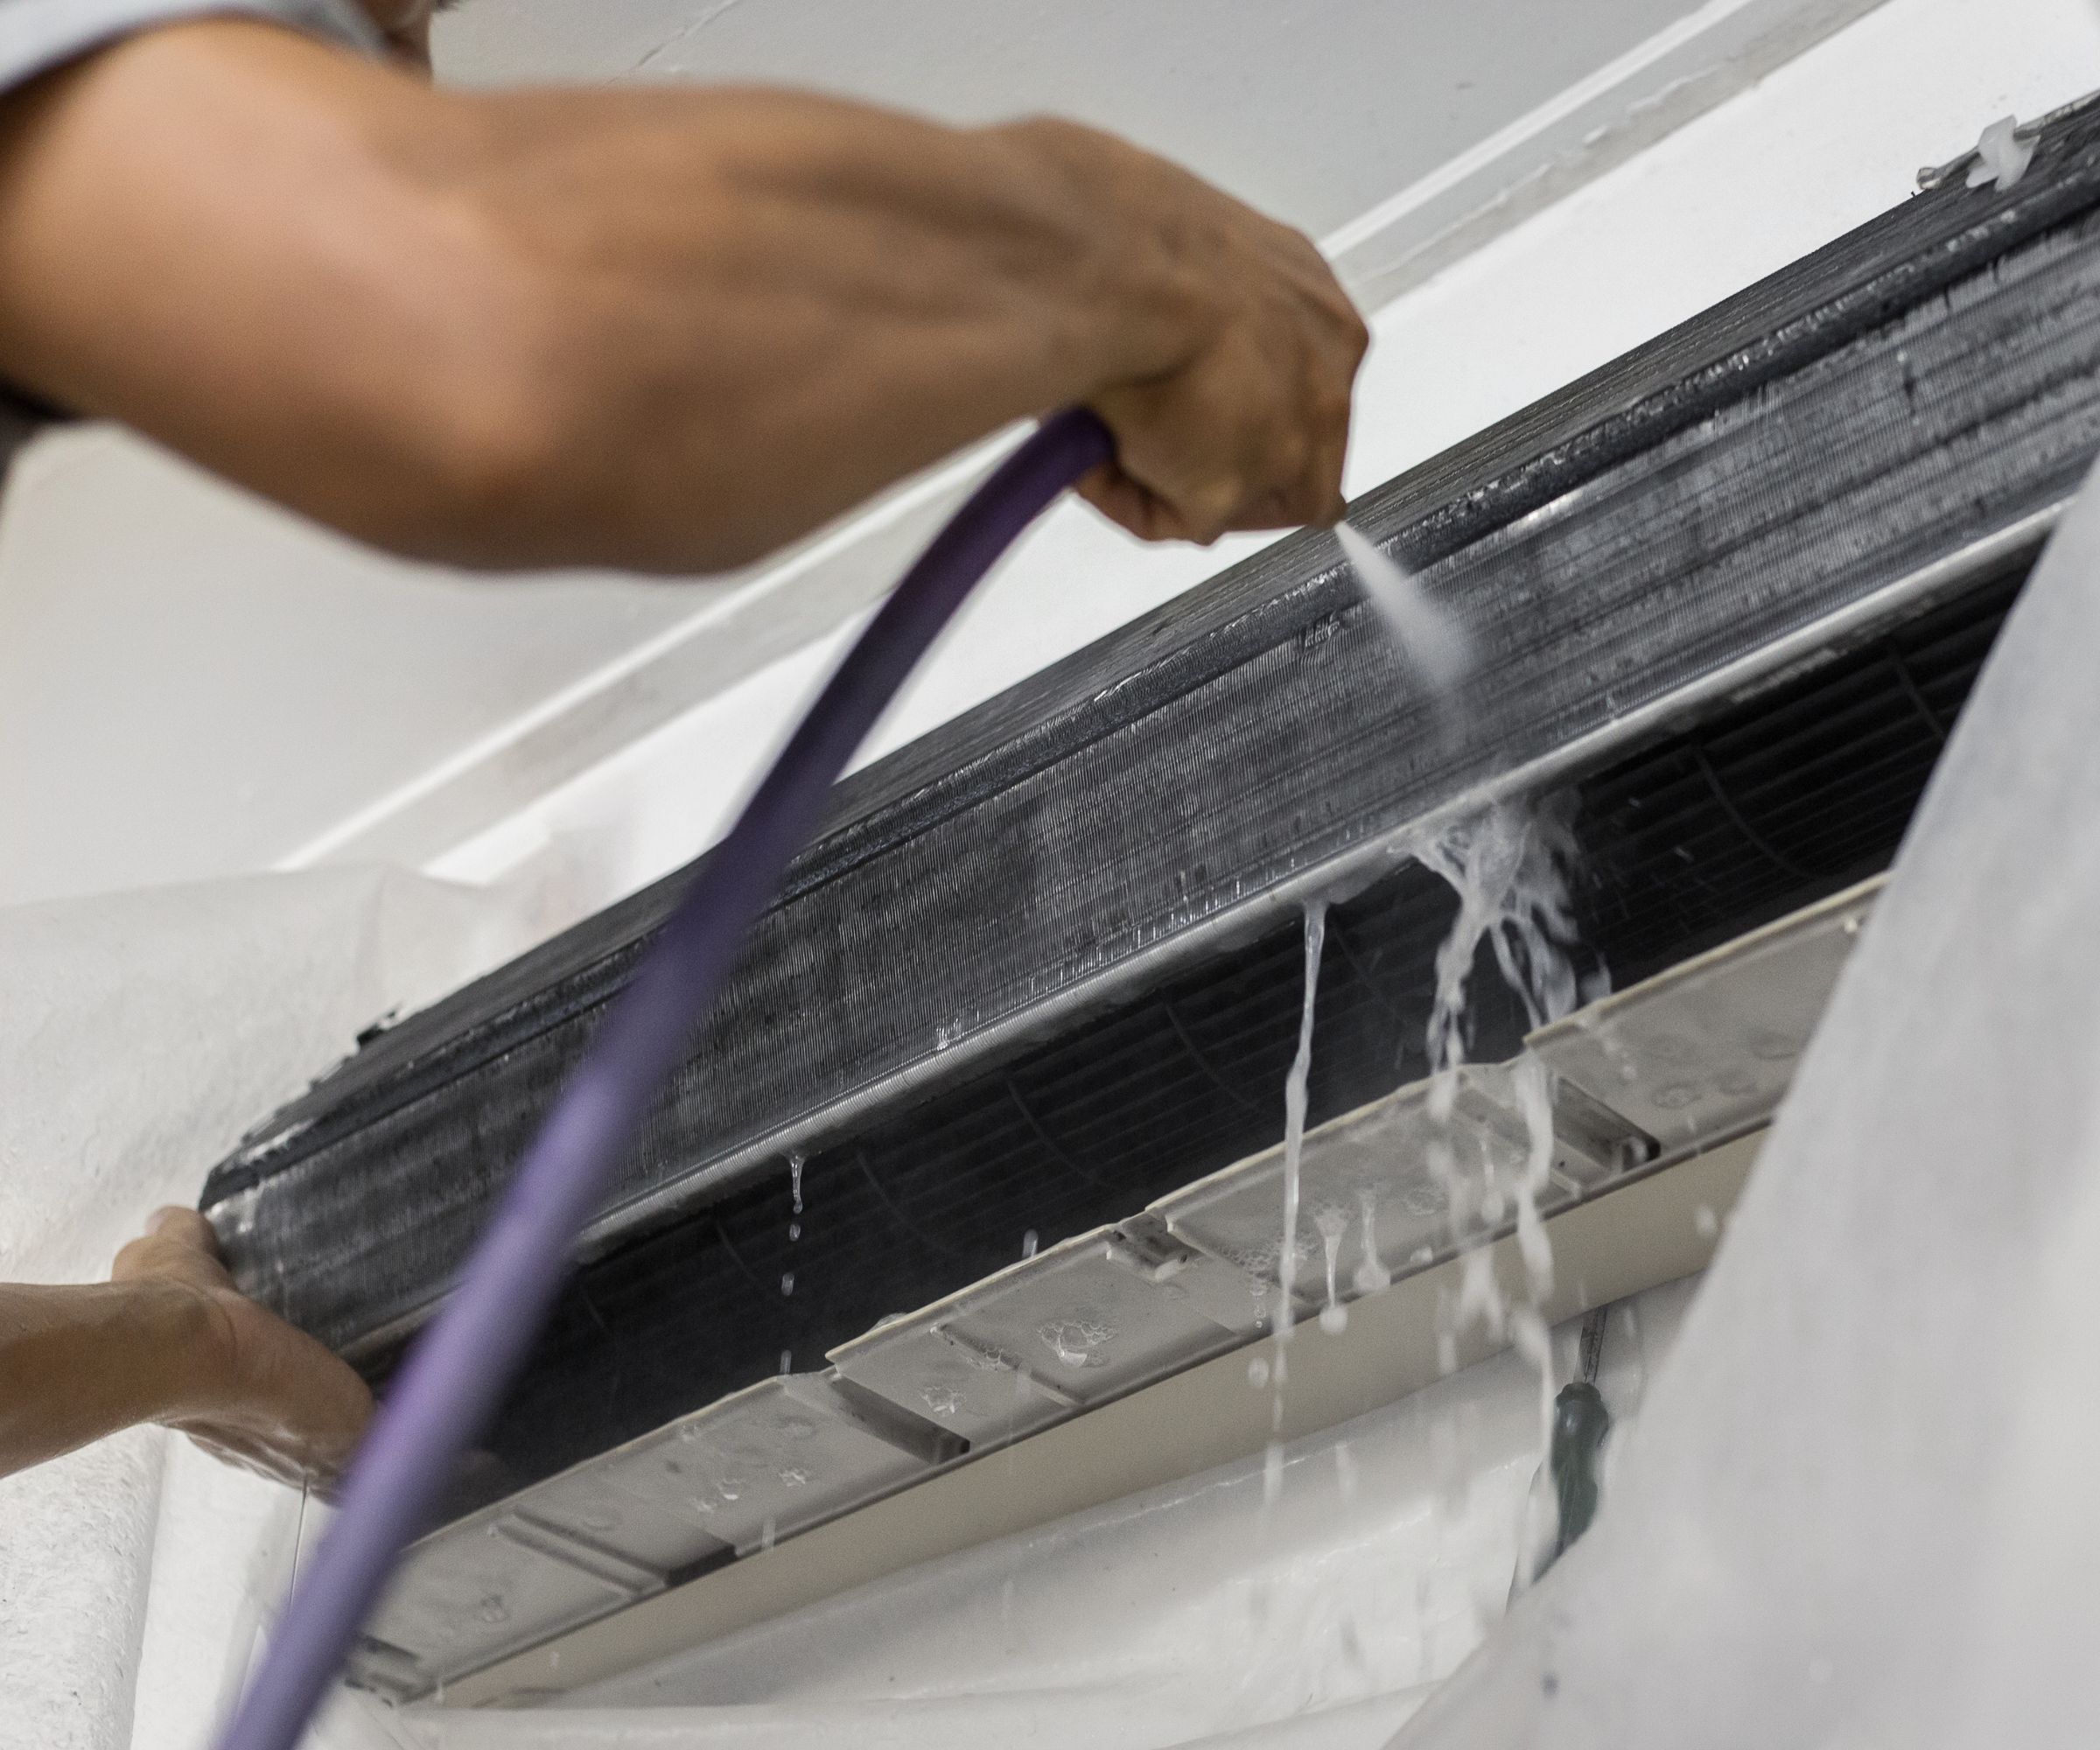
'The evaporator and condenser coils are pivotal components for efficient heat exchange. If they accumulate dirt and grime, the system has to work harder to maintain desired temperatures, leading to increased wear and tear and higher energy consumption,' warns Al Fouz at Abaco Air Experts. 'I recommend cleaning these coils annually; this simple step can significantly improve the system's energy efficiency and longevity.'
- 'To clean evaporator coils, carefully remove the access panel to reach them,' advises Josh Mitchell, HVAC technician and owner of Air Conditioner Lab.
- 'Once exposed, use a soft brush to gently remove dust and debris. Then, spray the coils with a no-rinse coil cleaner to dissolve any remaining buildup.
- 'The best way to clean condenser coils is to grab your garden hose and gently spray them down, making sure not to bend the delicate fins. Don’t use a high-pressure hose for this task, as it might damage the fins and hamper efficiency.
- 'If you encounter stubborn dirt, don't worry. Just follow the manufacturer's instructions on a commercial coil cleaner.' You can find this coil cleaner for AC units at Amazon.
4. Clean the blower motor
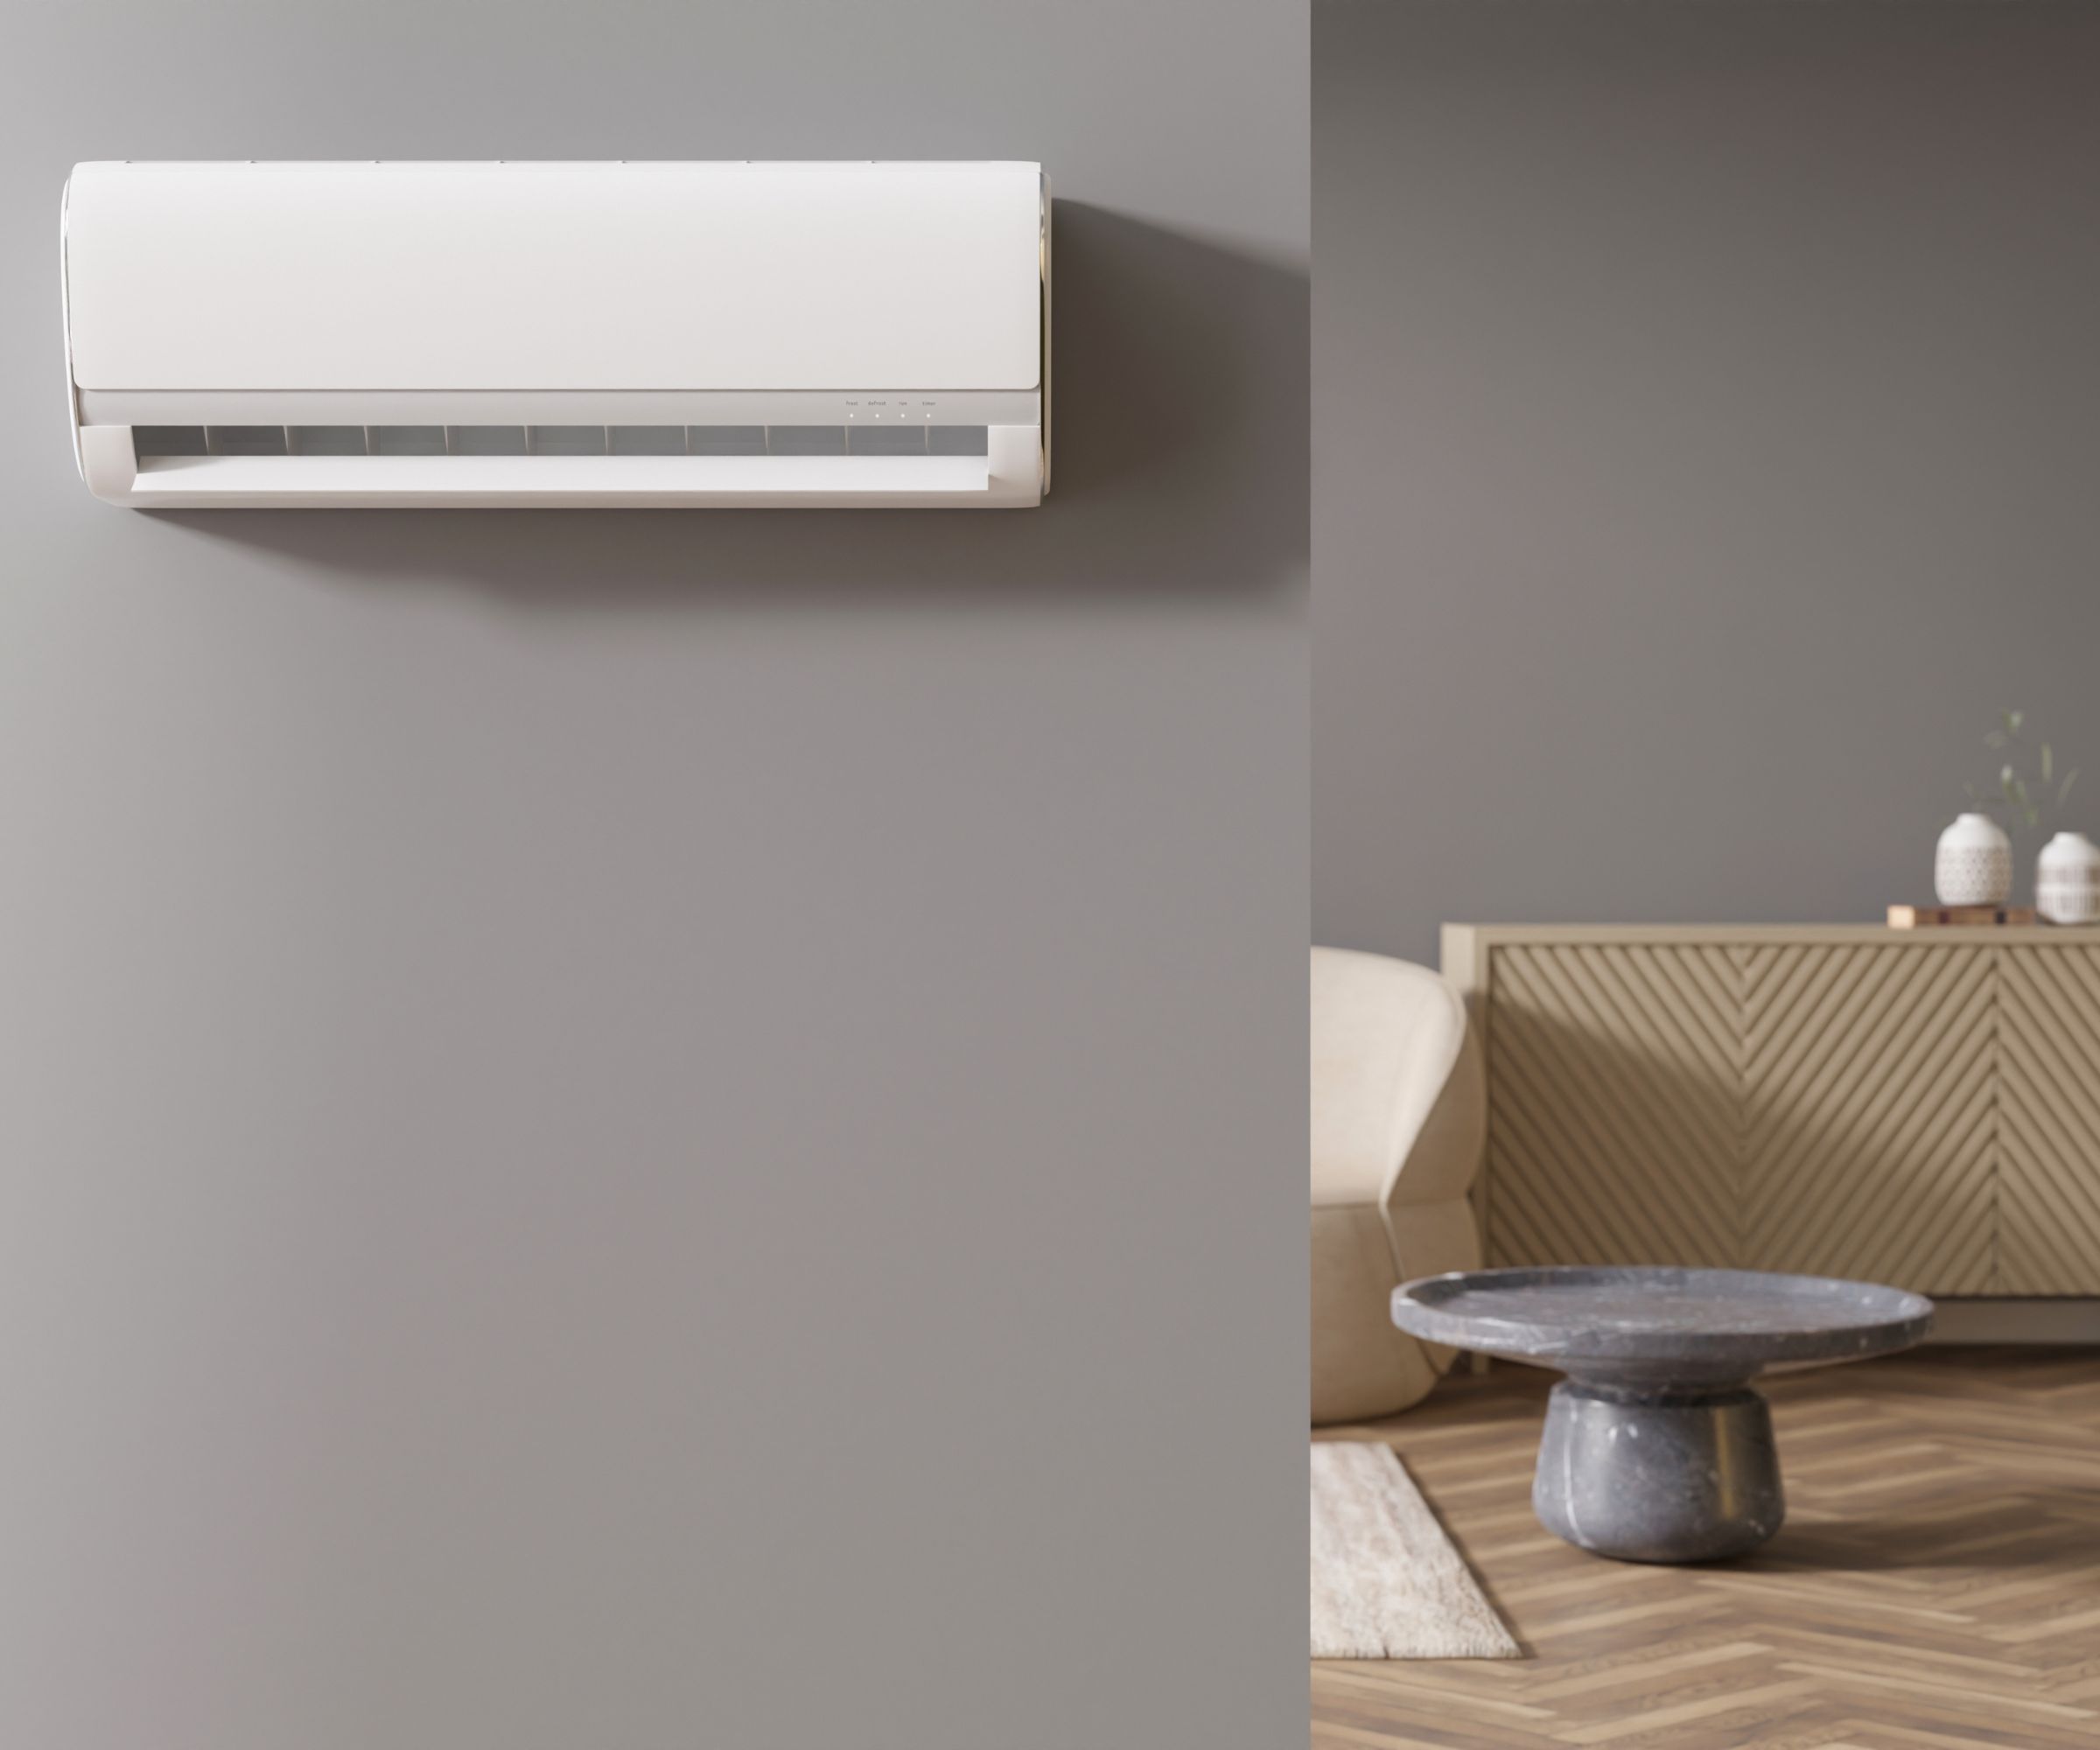
The blower motor circulates air through the HVAC system into your home; however, if left uncleaned, contaminants that accumulate on these can be recirculated into the air.
Kevin Goude advises: 'Blower motors and fan assemblies must be cleaned yearly. Following this frequency recommendation is important as accumulated dust and debris can significantly reduce system efficiency and air quality.
- 'To clean the blower motor and fan assembly, remove the access panel, and inspect the inside for dirt and debris that may be trapped inside the system.
- 'Use a soft bristle brush or a vacuum cleaner with a brush attachment to gently clean off the blower blades and motor housing.'
Ensuring that the blower motor is properly lubricated will also go a long way towards ensuring the efficiency of the system.
5. Clean the air ducts
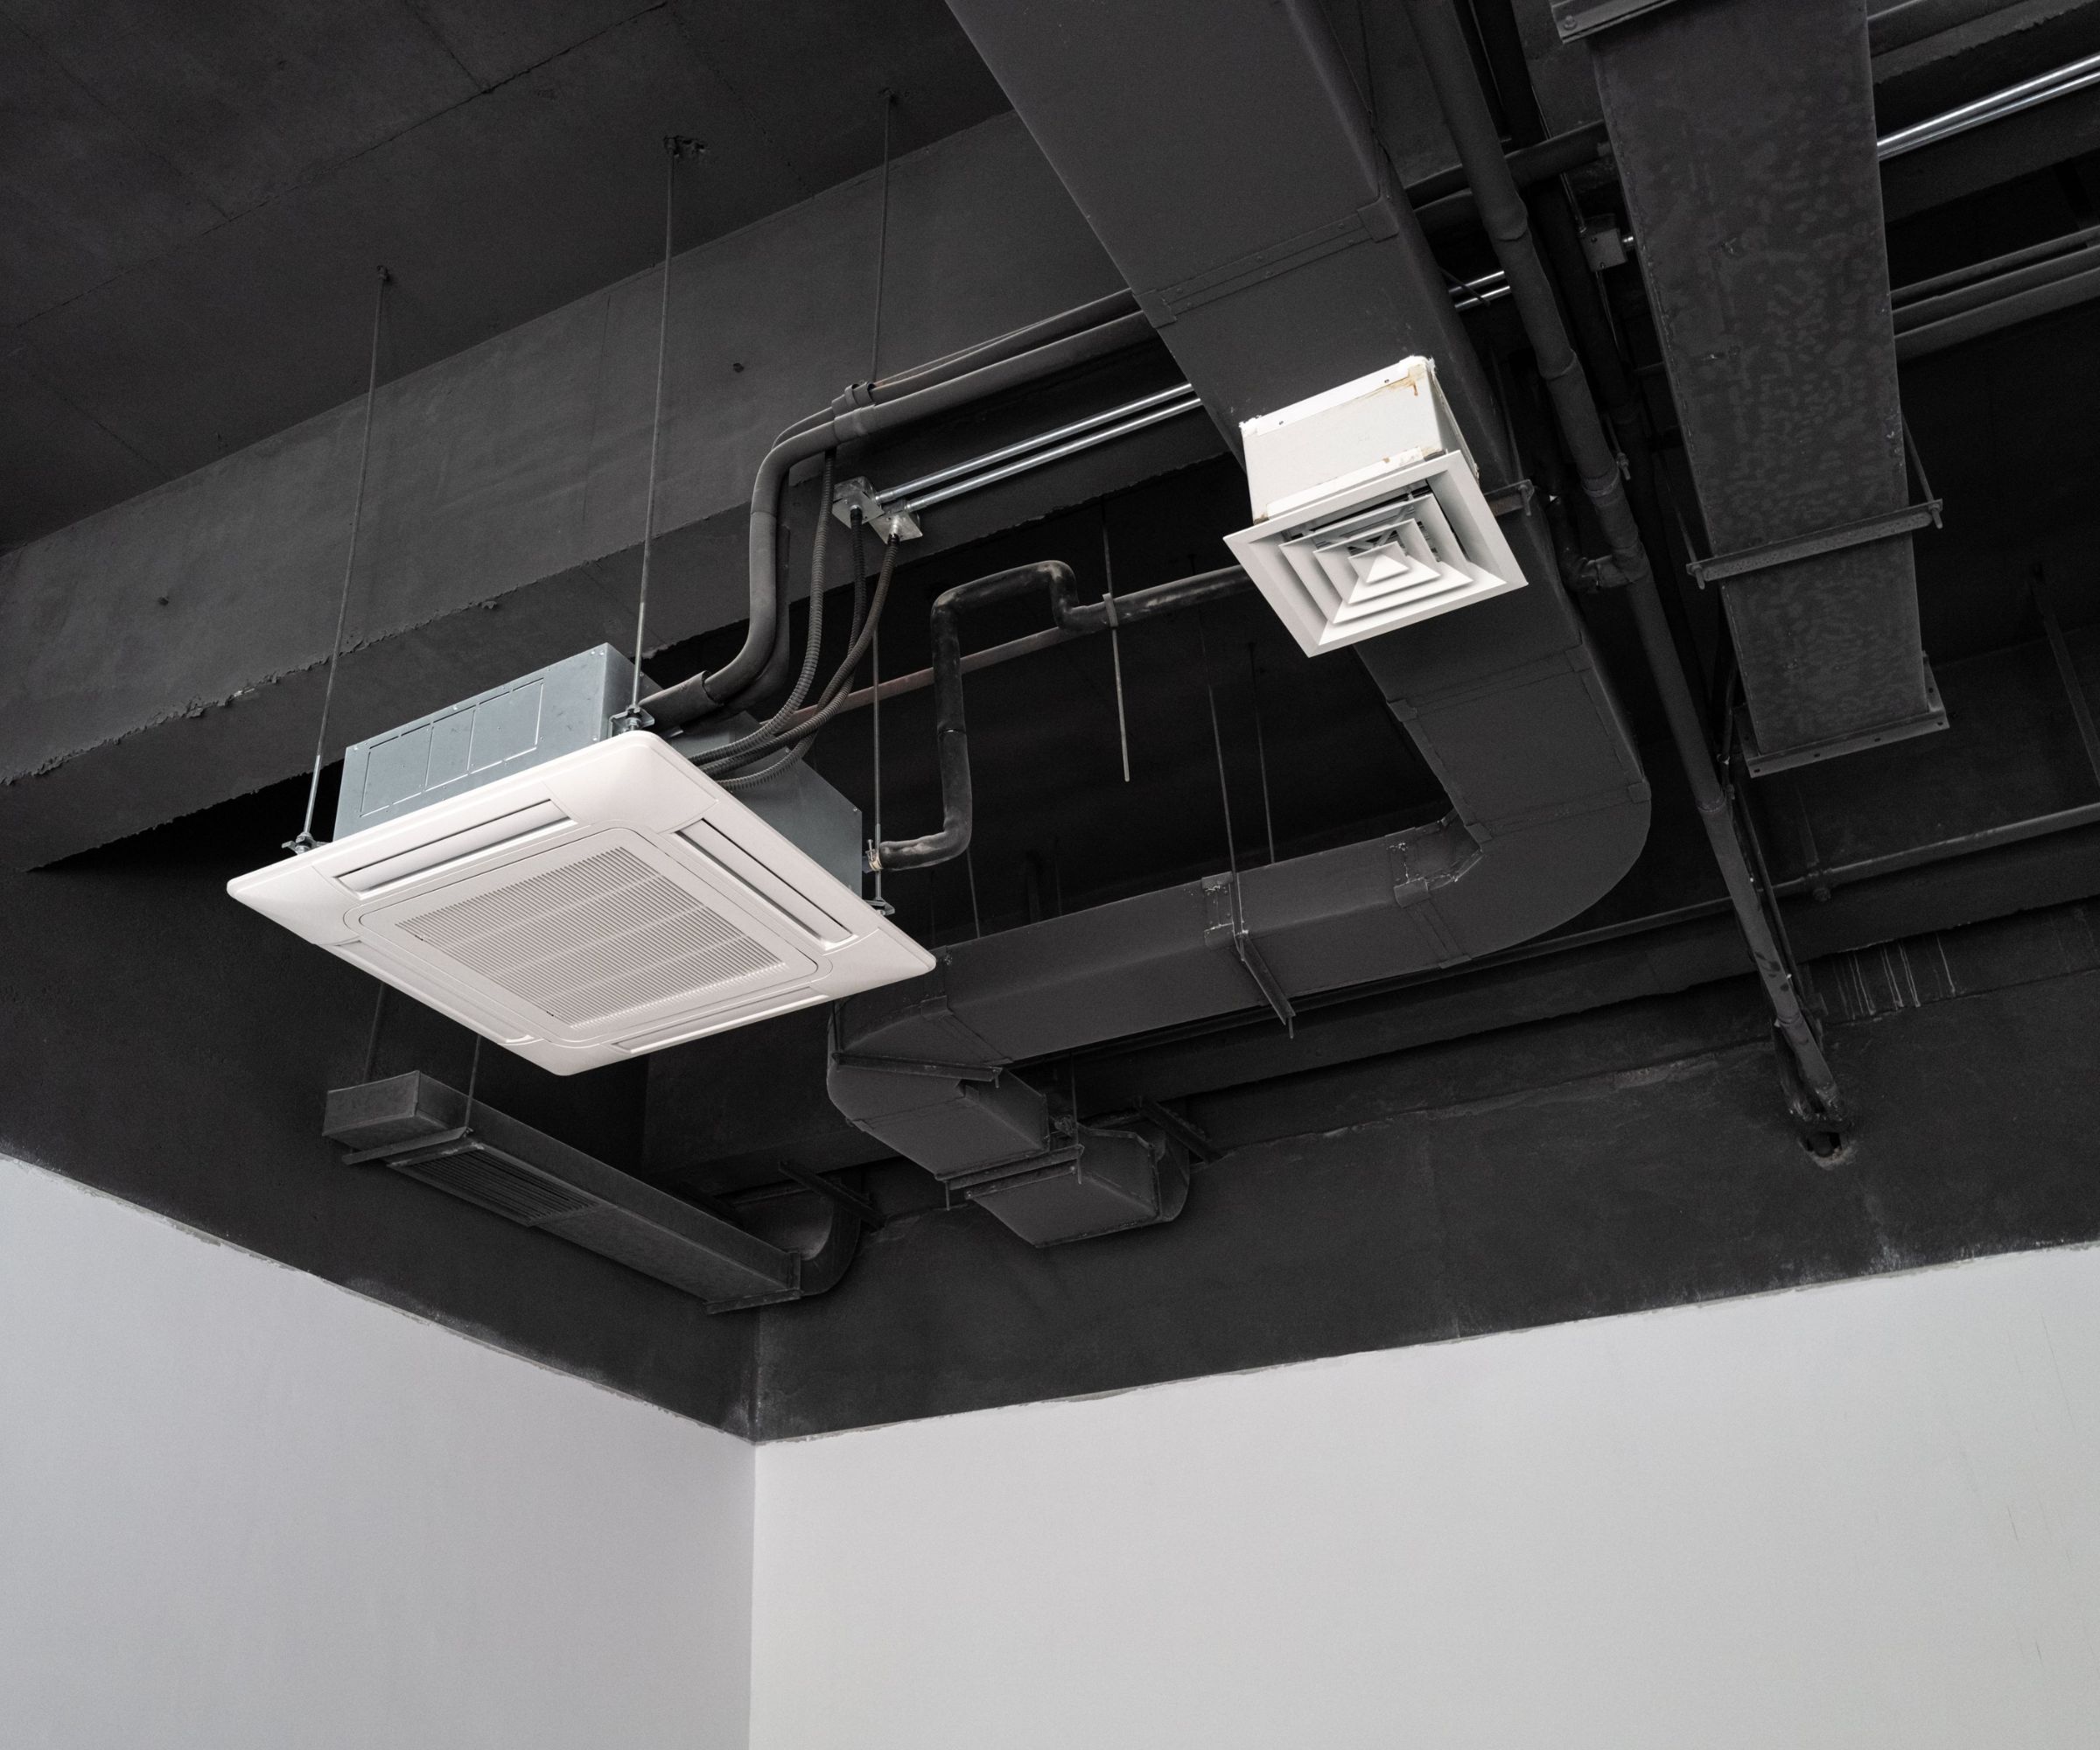
'While dirty air ducts don’t significantly affect the efficiency of heating or cooling, they can contribute to poor indoor air quality in your home,' warns Kevin Goude. 'Also, air ducts are a favorable place for pests, especially rodents, and inspecting and cleaning them once every three years will prevent pest infestation.'
- To clean the interior of the air ducts, use a vacuum with a HEPA filter to vacuum. Start near the register openings and make your way back to the main ducts.
If you are having trouble accessing the inside of the HVAC unit but feel it needs cleaning, simply contact a professional who can safely do the job without risking damage to the unit.
6. Clean the drain line
The drain is essential for preventing clogs and blockages, which can lead to water damage and mold growth. The drain line is responsible for removing condensate water produced by the cooling process, but if it becomes clogged, it can cause water to back up into the system. Regular cleaning is essential to ensure proper drainage, prevent costly preparation, and prevent water damage.
- 'Check the drain line for any signs of clogs or blockages,' recommends Josh Mitchell. 'Use a wet-dry vac to suction out any debris from the end of the drain line. To prevent future clogs, periodically flush the line with a mixture of bleach and water to kill algae and mold growth.'
7. Inspect and clean the outdoor unit
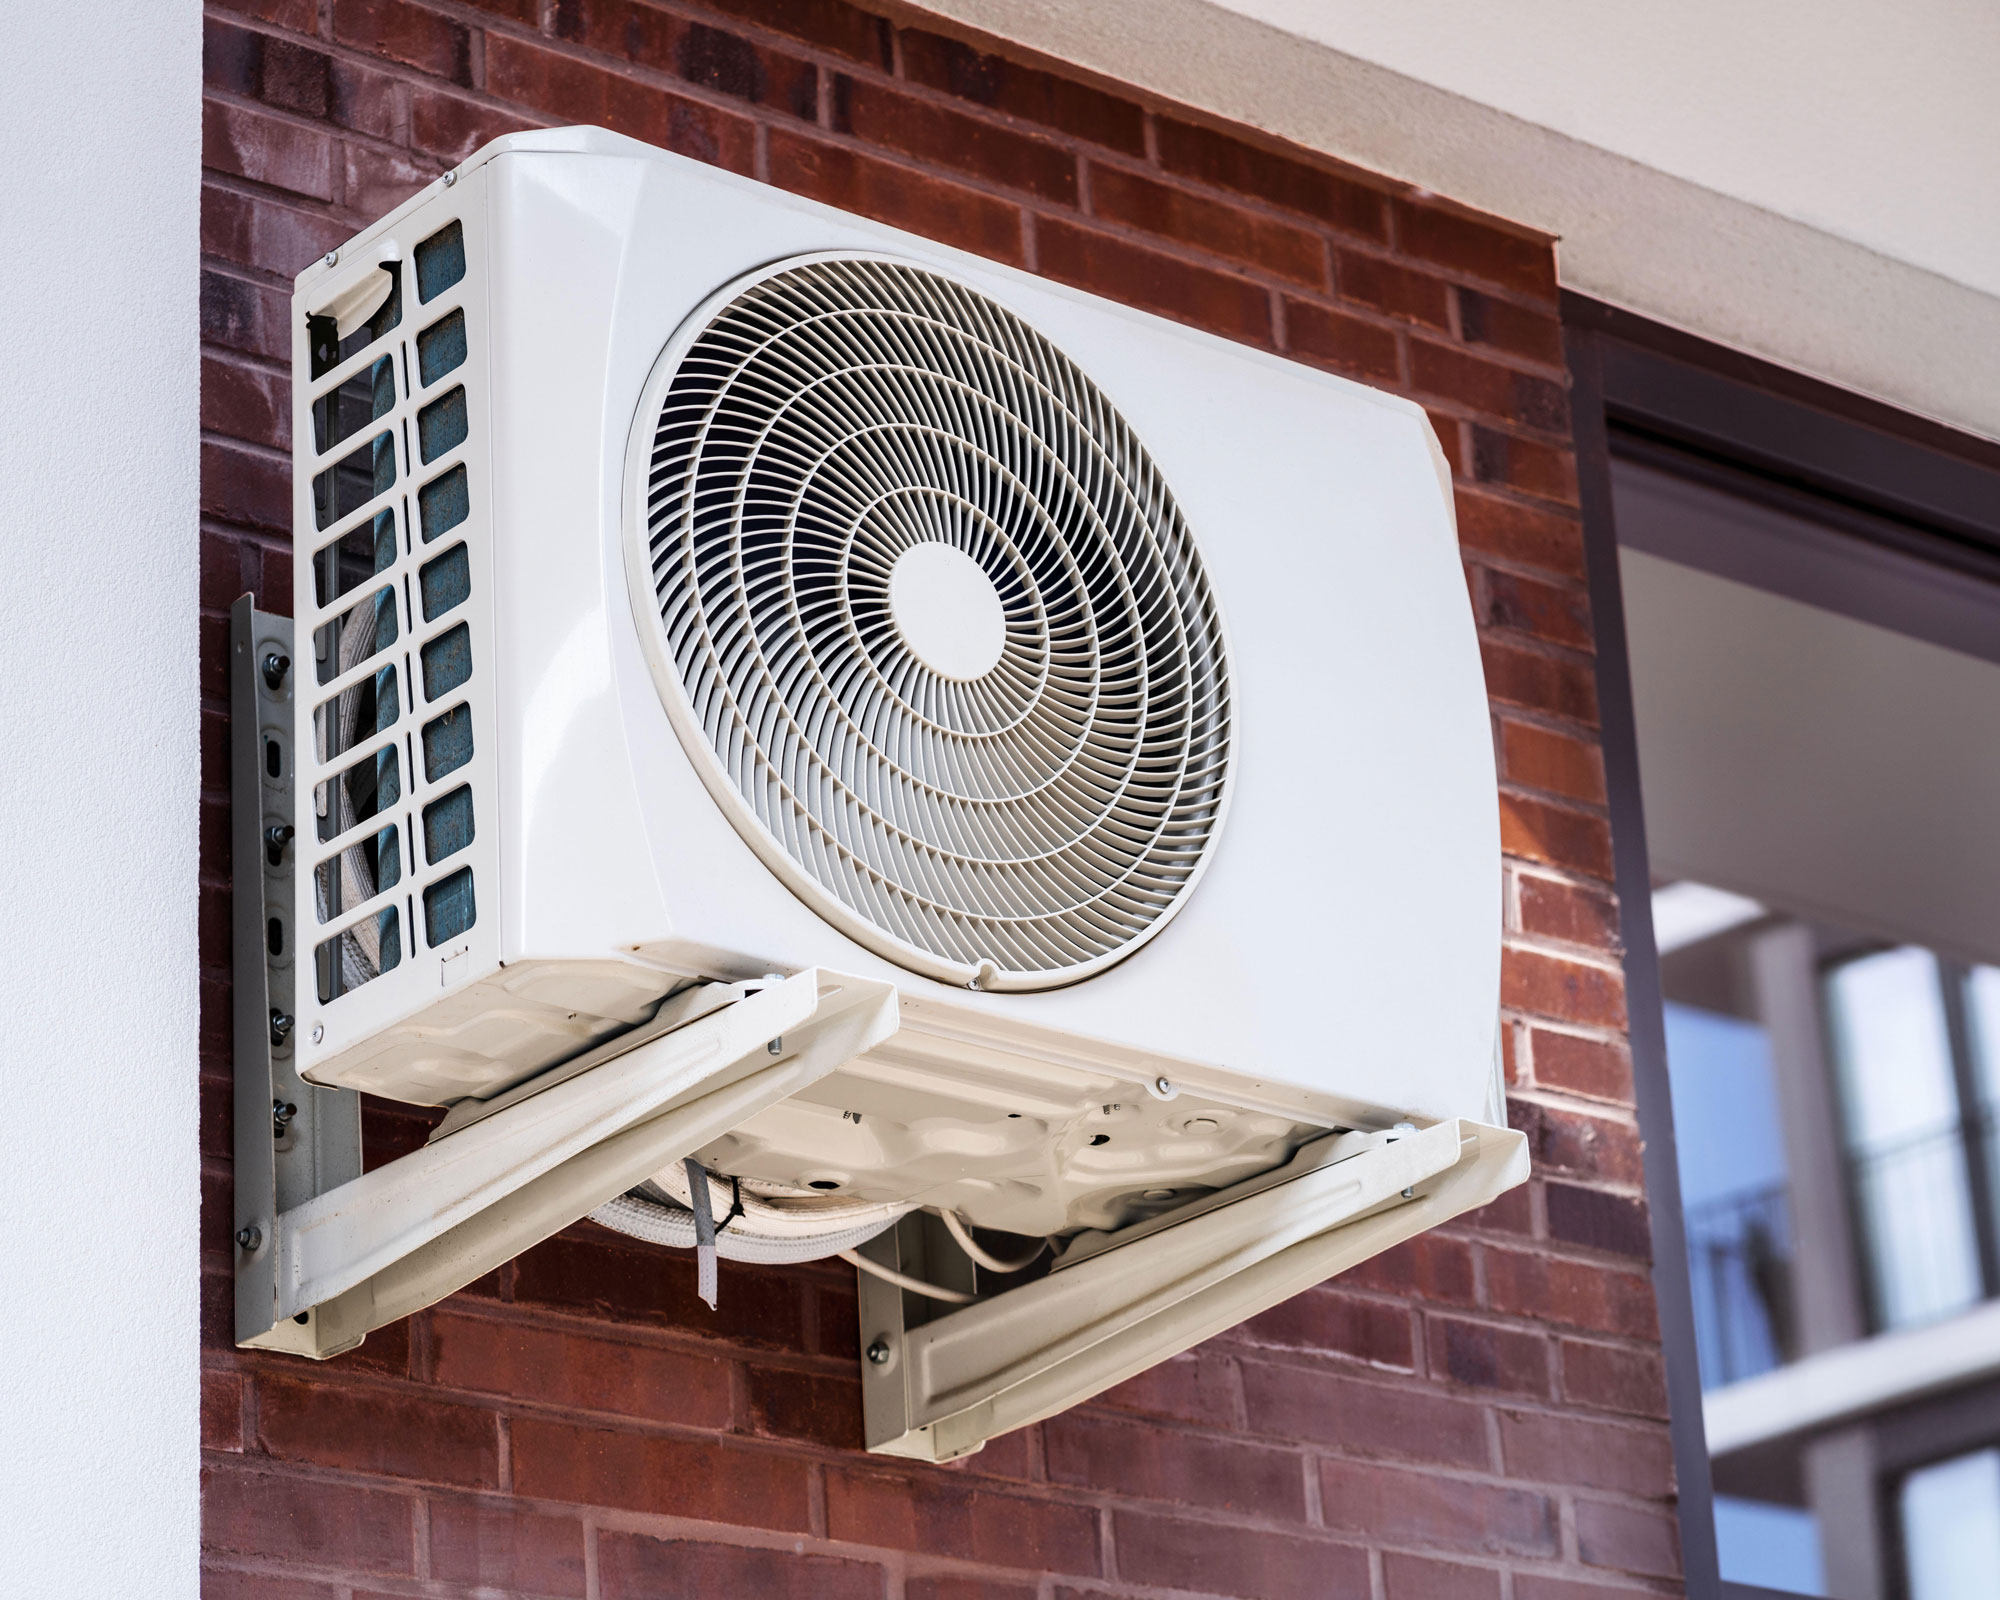
'Don't forget to inspect and clean the outdoor unit of your HVAC system. Over the fall and winter, outdoor units can gather leaves, twigs, and other debris, hindering airflow and efficiency,' says Josh Mitchell. 'Take the time to clear away any visible debris and trim back vegetation to ensure unobstructed airflow around the unit.'
By staying proactive and addressing issues promptly, you can maximize the efficiency and lifespan of your HVAC system while enjoying a comfortable indoor environment. Scheduling professional HVAC inspections and tune-ups before the summer and winter seasons is a proactive measure to identify and address any issues before they become major problems, ensuring the longevity and efficiency of your HVAC system.


