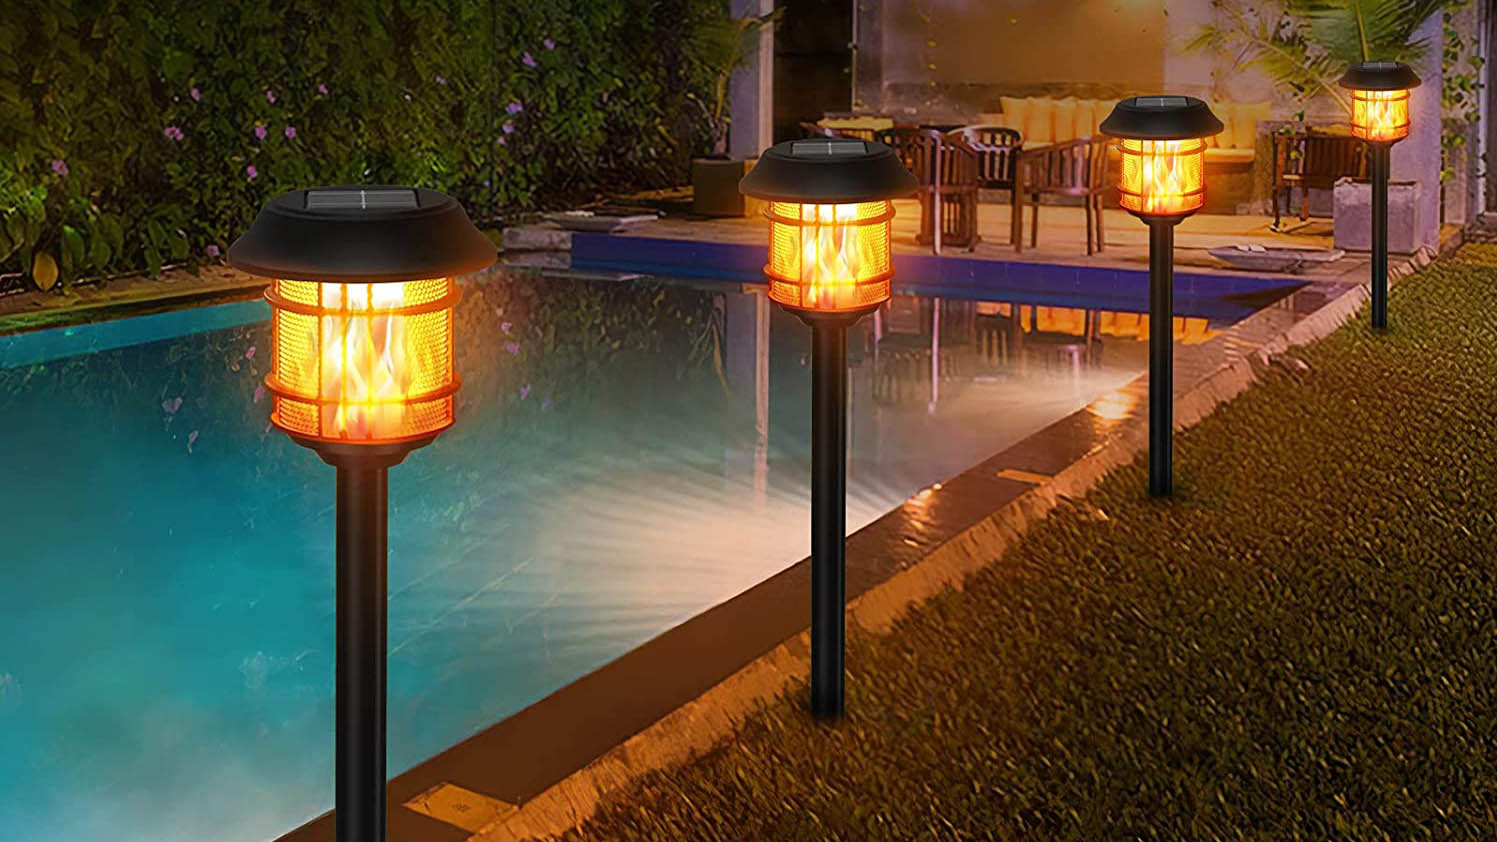
The best solar lights are a great way to instantly brighten up your backyard or porch when the sun goes down. But although these are designed for our outdoor spaces, they are often prone to dirt and grime over time.
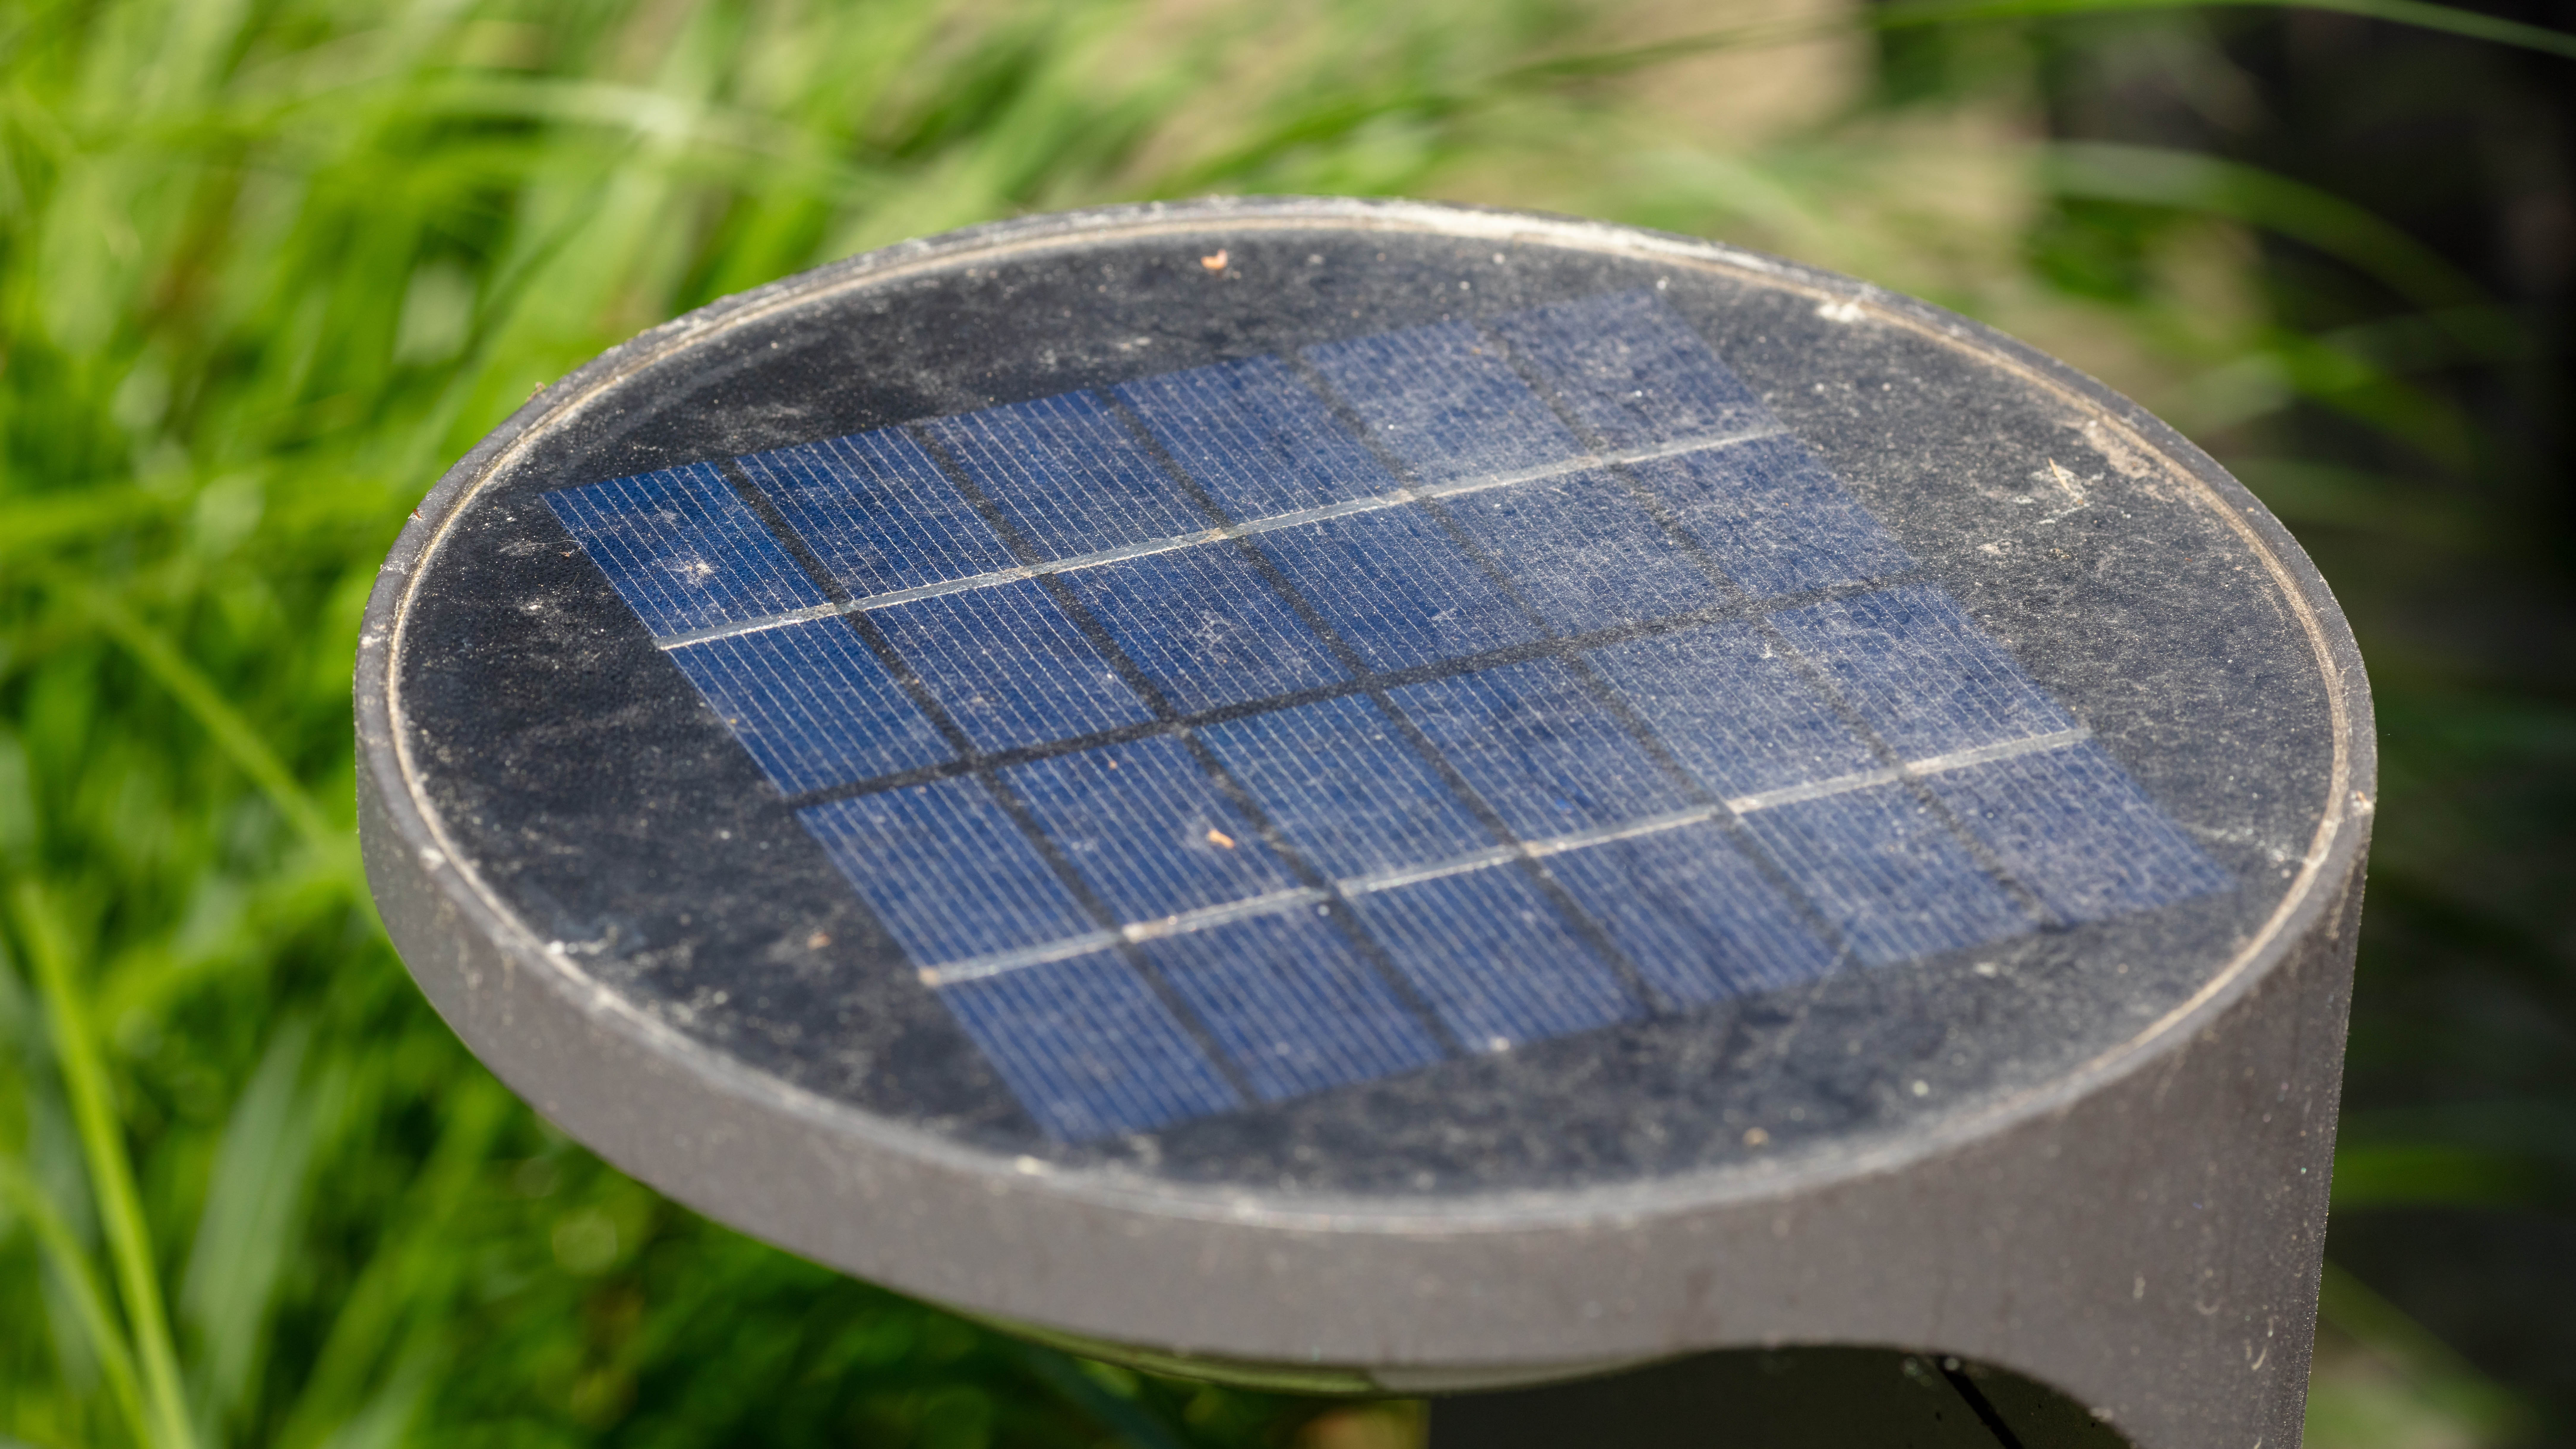
That’s why it’s important to know how to clean solar lights properly to get the most illumination — and spruce up our homes too. This is especially the case during winter months, when the solar panel or filament can get covered by plant/tree debris, dust and dirt, preventing lights from charging without sun. Essentially, a dirty surface can block sunlight from permeating the solar panels, which will continually drain the battery cells.
In fact, if you find that your lights are not as efficient as they used to be, giving them a good clean could make all the difference. All it takes are a few easy steps to get them at their optimal performance, make them look brand new again and improve the efficiency of your energy conversion.
So if you want to get the most out of your outdoor lighting this winter, here’s how to clean solar lights.
How to clean solar lights
1. Wipe off loose debris
Before getting started on cleaning your solar lights, always check the manufacturer's guidance first. This will avoid the risk of damage.
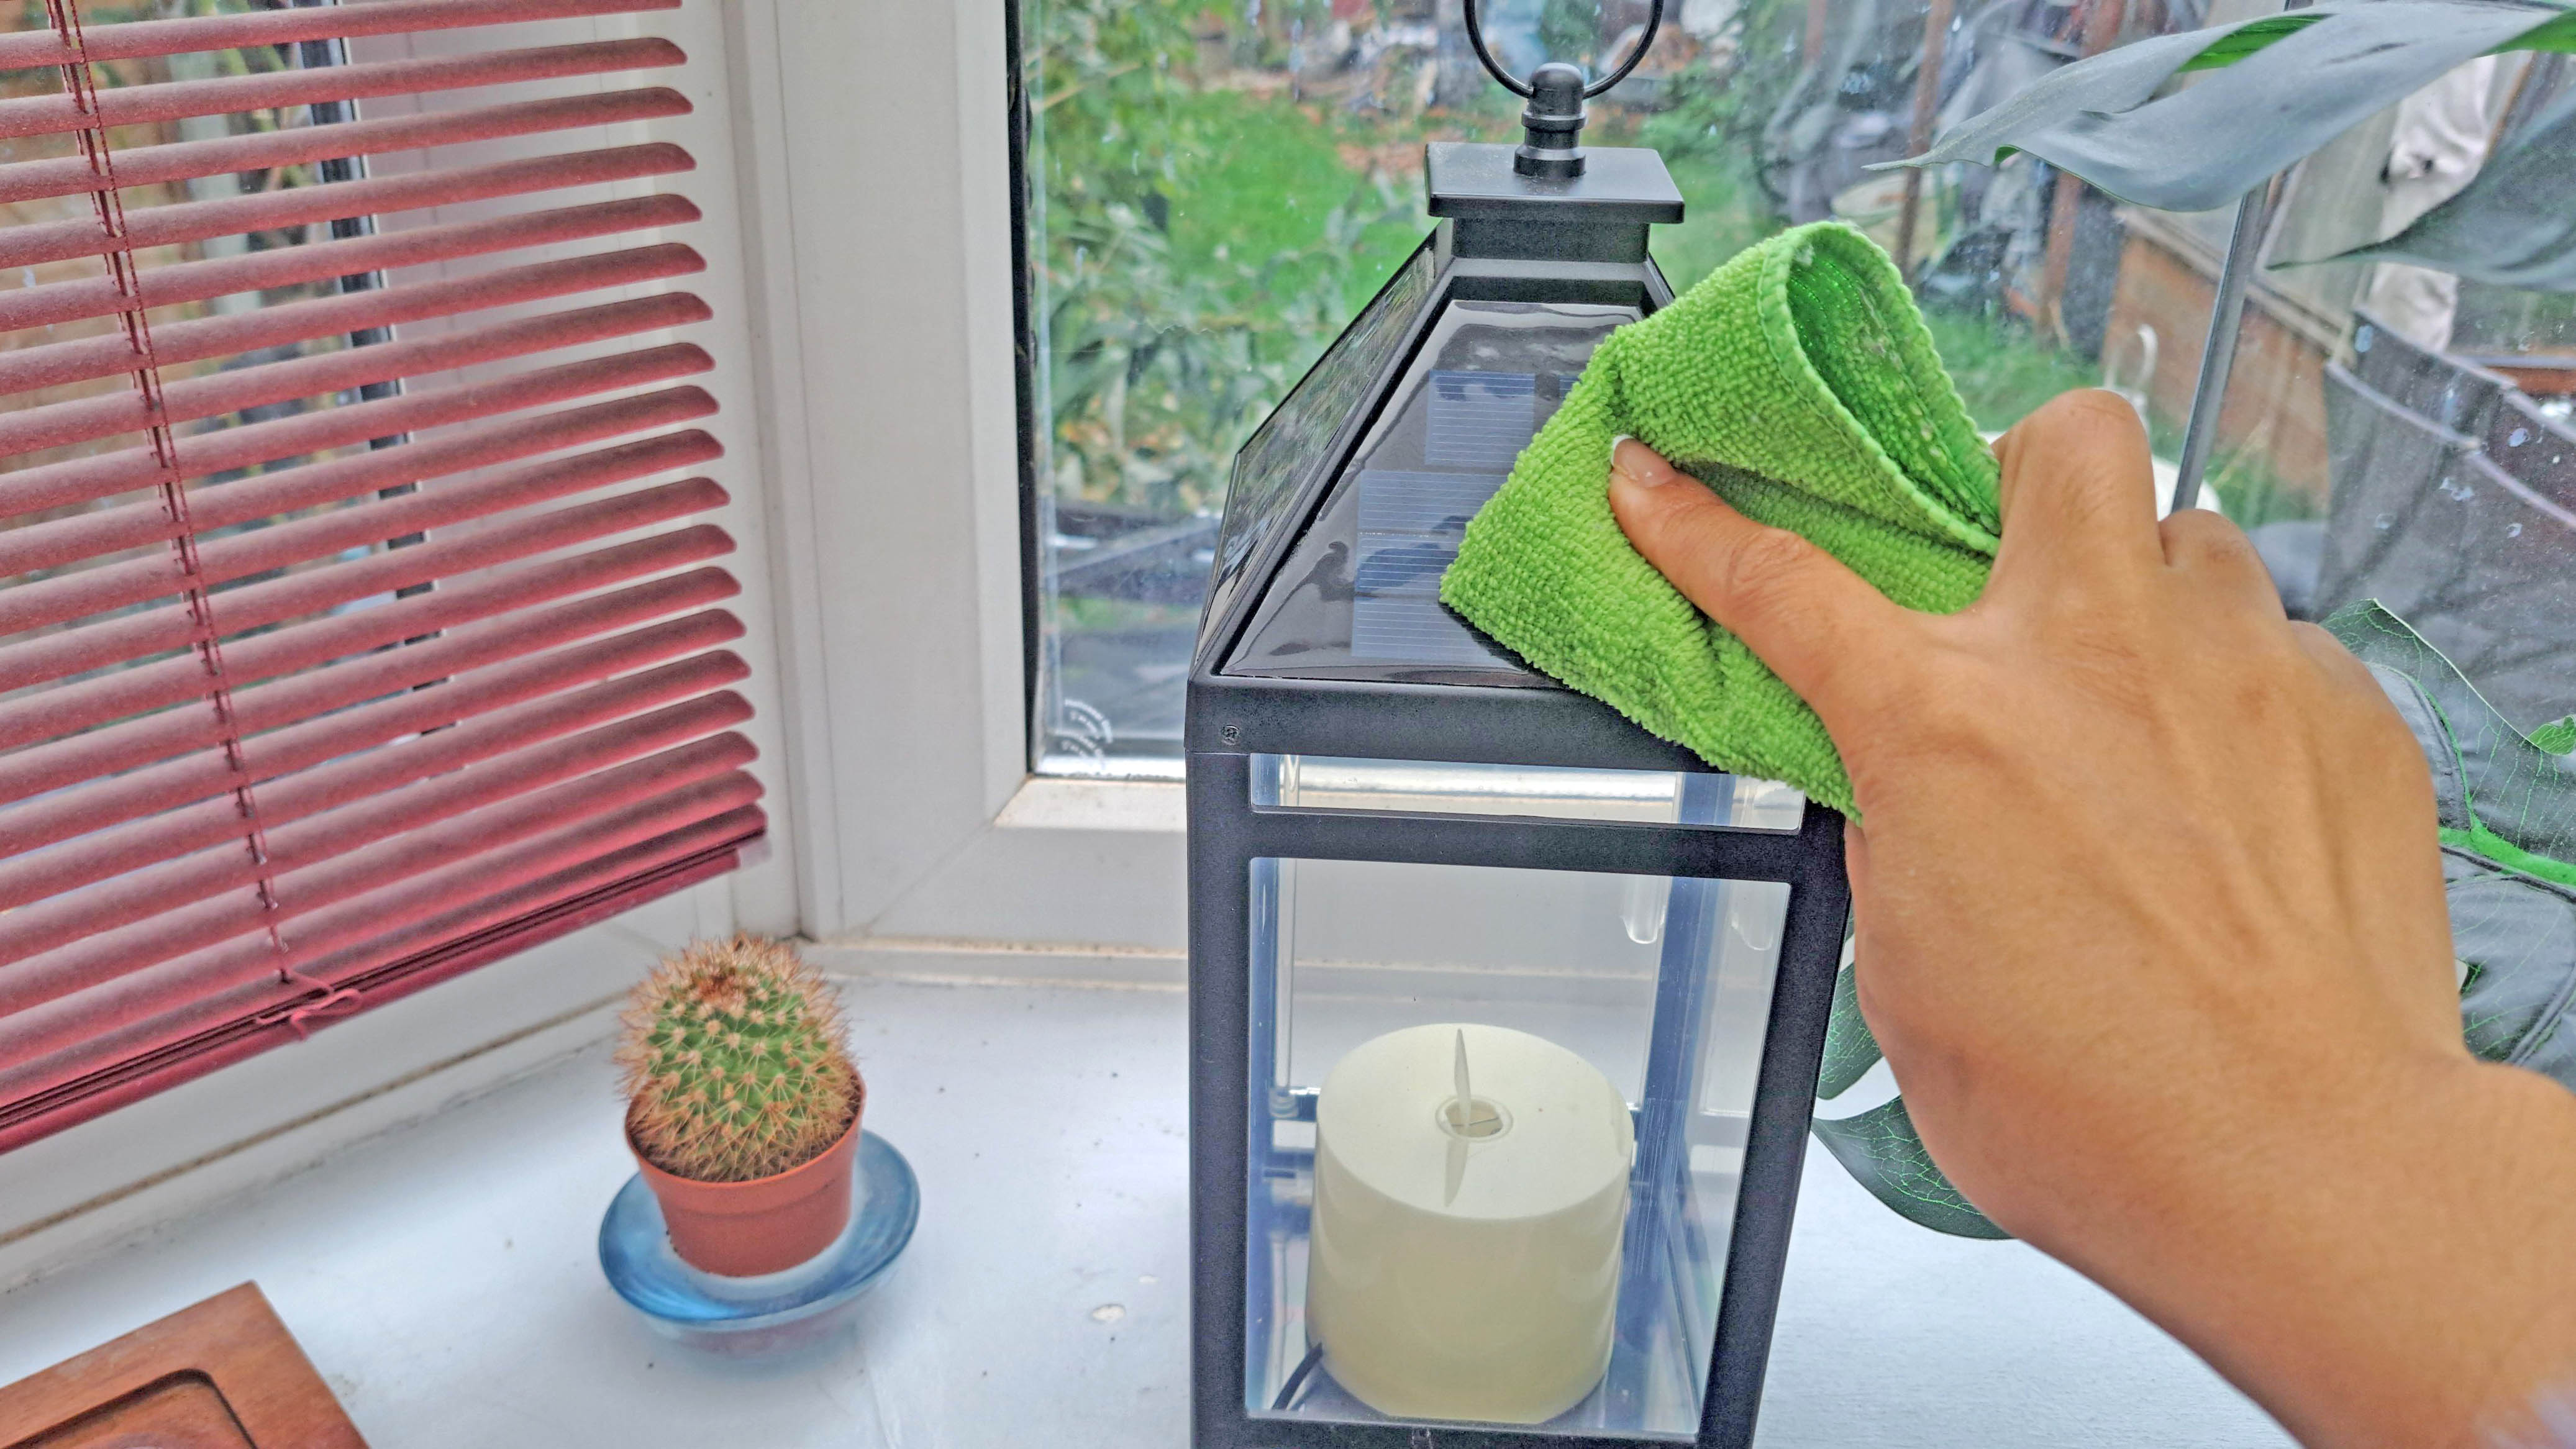
First, take a clean, damp cloth to gently wipe off loose debris or dirt sitting on the panel surface. Don’t oversaturate the cloth, and always squeeze out excess water before cleaning the lamp.
2. Use dish soap and water

If water doesn’t work to completely remove a build-up of grime and dirt, you can use dish soap. Simply add a drop of dish soap to your damp cloth or sponge before gently scrubbing away at the dirt.
Do this until the grime is gone. Take care not to scratch or damage the surface, and never use the abrasive side of the sponge.
3. ‘Rinse’ panel with a clean cloth
Next, take a clean, damp cloth to remove all the soapy residue on the panel. You might have to repeat this a few times, ensuring that no water drips into the internal electronics on the underside.
If not completely removed, soap will leave behind unsightly streaks from the soap.
How to remove cloudy marks on solar lights
1. Use painters tape around the cloudy area

Cloudy marks are usually a result of heavy-duty dirt or dust building up on the surface. Before cleaning, experts advise using painter’s tape to stick around the cloudy area on the panel.
2. Clean with distilled water
Next, use distilled water with a soft cloth or sponge to gently remove the cloudy mark. Never use abrasive cleaning materials to avoid scratching and damaging the solar panel. Dry as normal with a clean microfiber cloth.
3. Spray a lacquer finish
Finally, spray a thin layer of lacquer on the panel to prevent fading, and make it shine. Typically, lacquer is a finish used to seal wood and make it gleam, but this can also be used on various surfaces including plastic and metal.
Just be sure to check the guidance before buying. And remember to always shake the bottle well, holding it about 6 inches away from the panel. Leave the lacquer to dry completely before removing the tape around it.
Ideally, you should thoroughly clean your solar lights every 2-3 months for optimum performance. However, this will depend on your location, climate and how often your lights get dirty.


