A juicer can be a great investment, particularly if you or your family go through a lot of juice, or are looking to up your fruit and vegetable intake. But when it comes to how to clean a juicer, it can be tricky to know where to start, or to know how often you should be giving your juicer a thorough clean.
All of the best juicers will need to be cleaned regularly to ensure that they perform to the best of their ability for many years to come.
‘Ideally, you should be cleaning your juicer after every time you have used it, but it is not necessary to do a deep clean every time,’ admits HomeSupply’s Appliance Expert, David Rees. If you neglect proper cleaning techniques for too long, you could ultimately end up compromising the juicer's performance or affecting the quality of your juices, which you don’t want to happen.
How to clean a juicer guide
We've spoken to the experts and rounded up everything you need to know about how to clean your juicer and why it's so important to do so. But before you start it is a good idea to think about what type of juicer you have. Citrus juicers should be the easiest to clean, while a cold press juicer or centrifugal juicer will have more moving parts to clean up.
What you’ll need
- Mild dish soap
- A soft brush or sponge
- A clean dish towel or cloth
- Lemon juice, baking soda or white vinegar (for deeper cleans)
1. Unplug and disassemble the juicer
First and foremost, you’ll want to switch off and unplug the juicer before you start to clean it, whether that be for a quick rinse or a deeper clean. This will save it from accidentally turning on midway through, which could either cause a bit of a mess or injury. Then it’s time to disassemble.
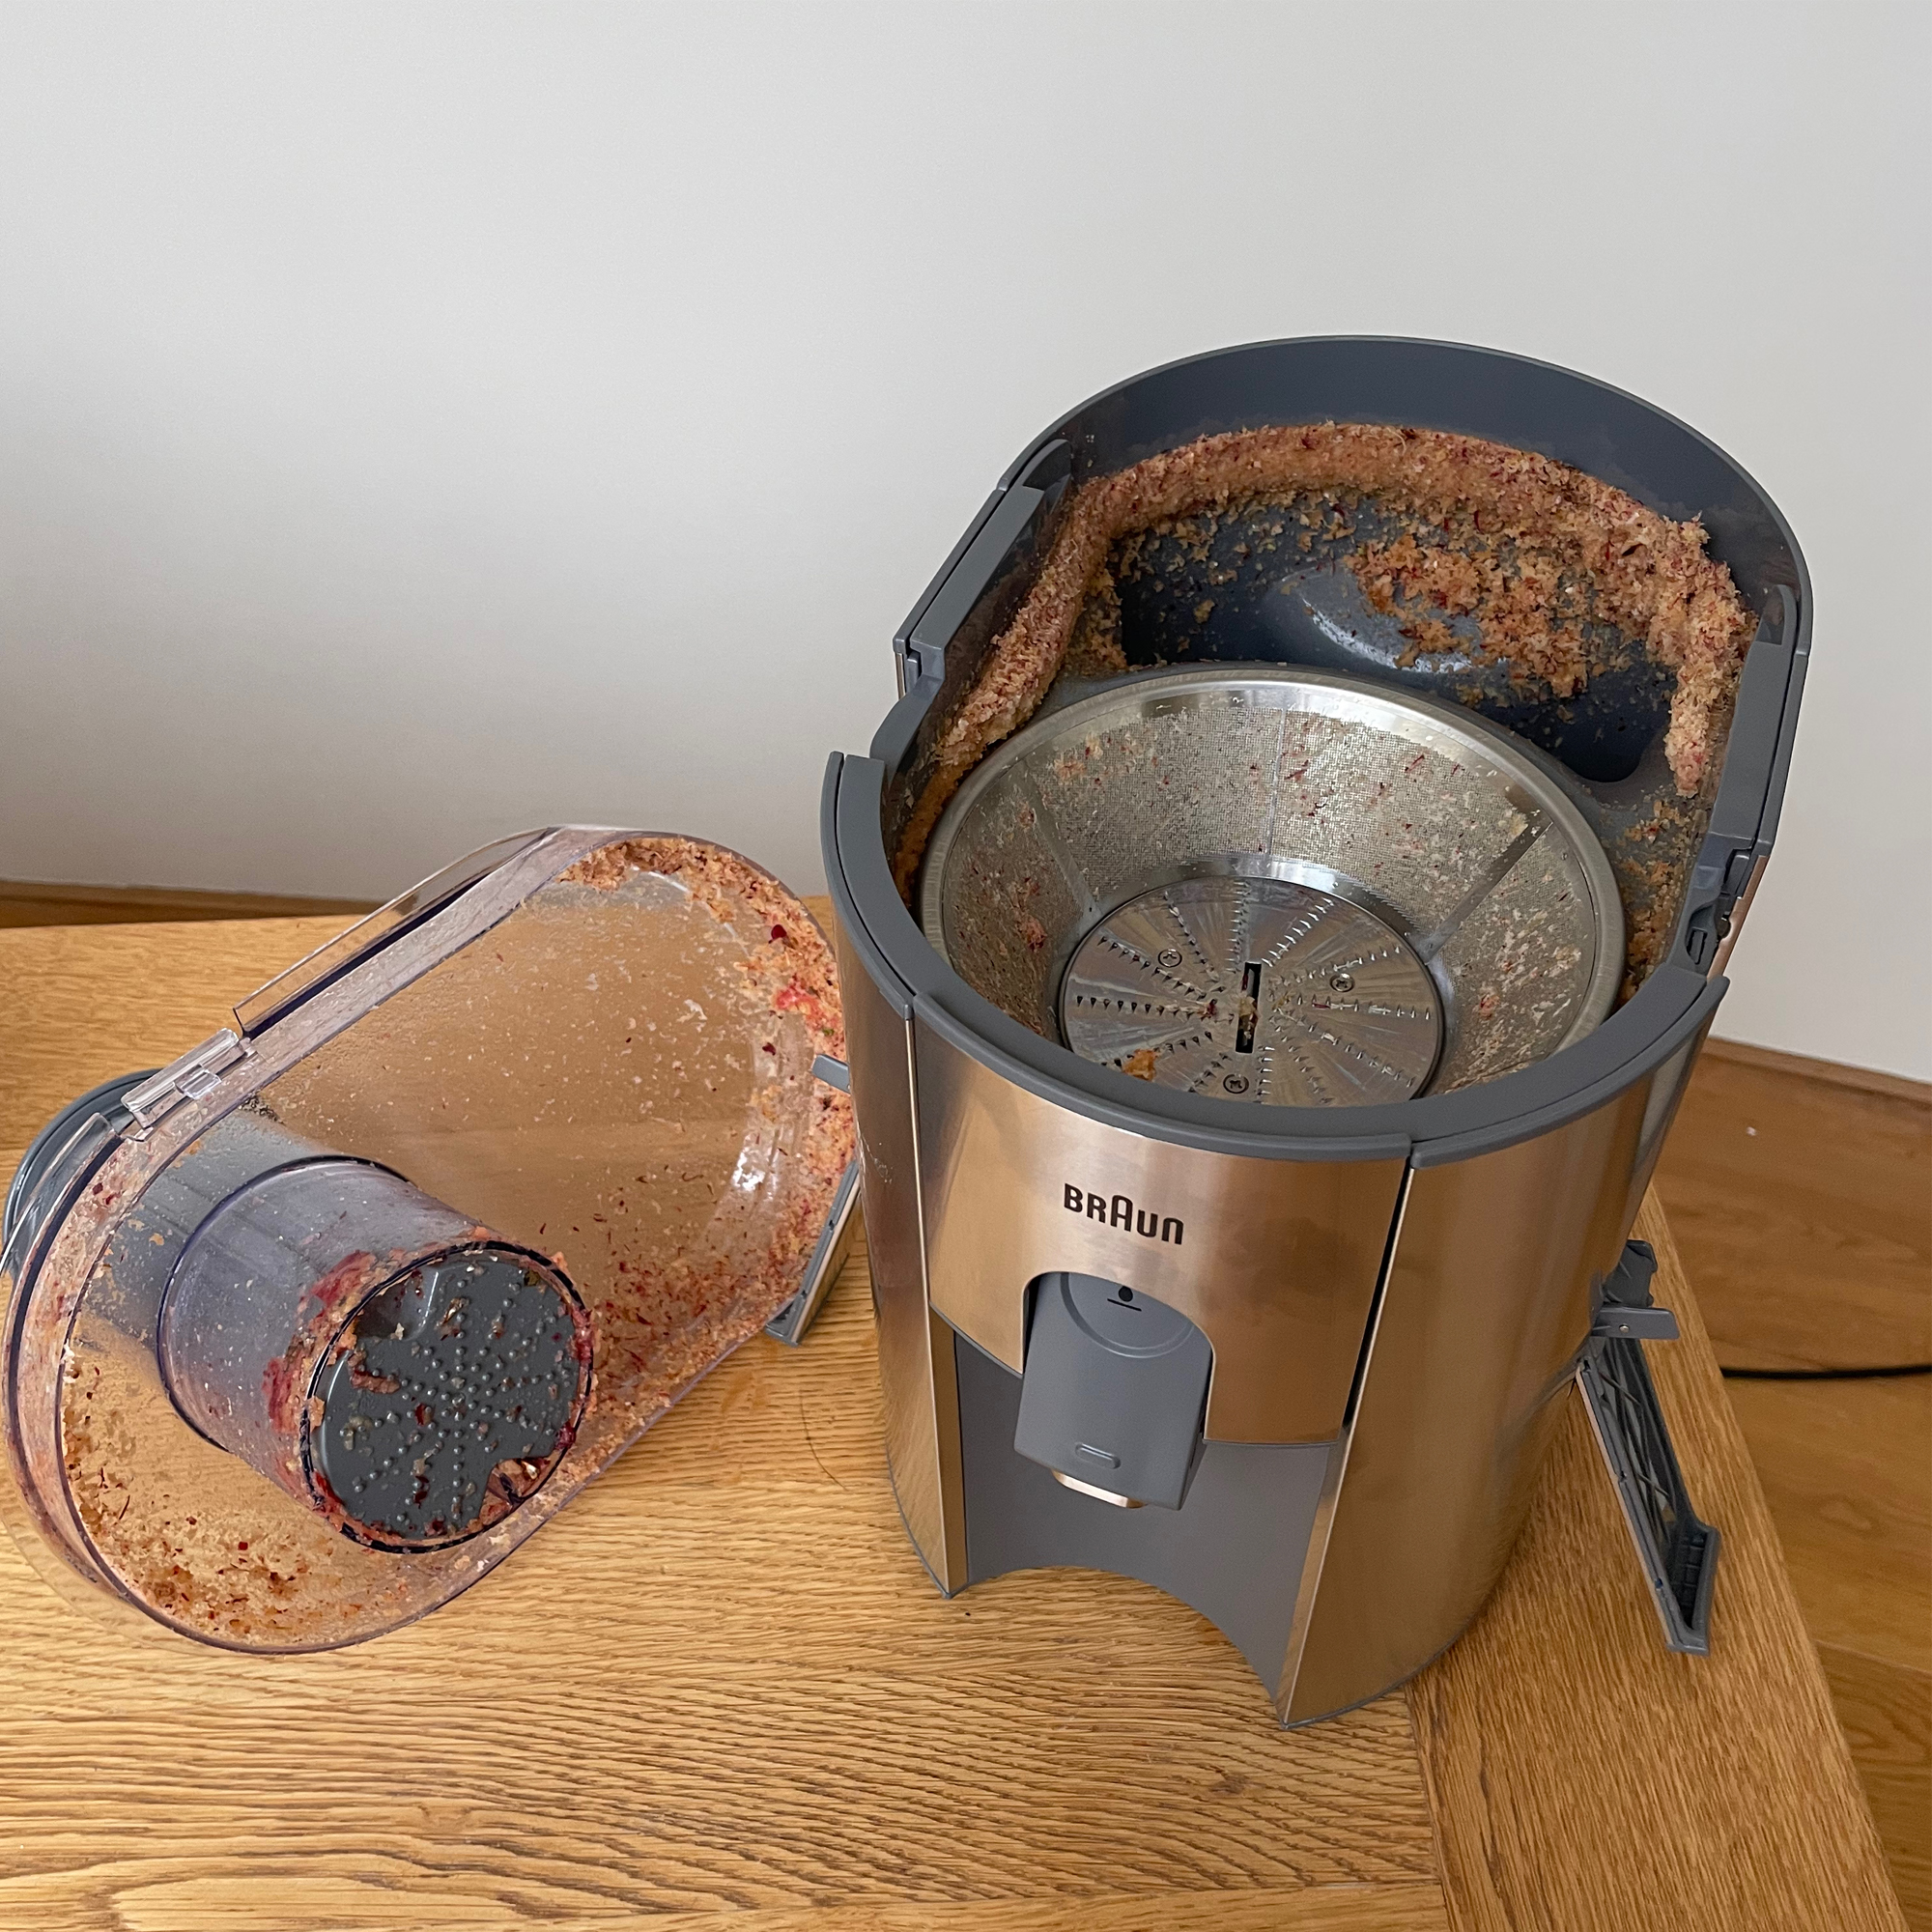
Each juicer will have a number of removable parts. This normally includes the pulp container, juice collector, lid, blade and/or strainer. But you can always consult the manufacturer’s guide if you’re unsure. As you take it apart, you might want to ‘use a spoon to remove all of the pulp from the pulp container,’ David recommends. This will also make it easier to clean once you get going.

2. Rinse
Whether parts of your juicer can be washed in the dishwasher or not, you’ll want to rinse each part under running water to remove any debris. This should get rid of any larger bits of pulp, skins or remnants of previous juices before you start cleaning it properly.
3. Soak and clean
Next you’ll want to place all of the removable parts into some warm soapy water, with the experts advising that around fifteen minutes should suffice. ‘This should make it easier for you to take a soft brush and scrub away any lingering remnants,’ affirms Henrique Conceicao, Area Manager at Total Clean.
With either a soft brush or sponge, you can then start scrubbing each part gently. ‘Make sure to really focus on the strainer or blade, as this is where pulp tends to get stuck,’ Steve reveals. While ‘for small or hard-to-reach areas, a toothbrush can be very effective.’
All you need is a bit of mild dish soap and water, taking care not to rub too roughly, as you don’t want to cause any damage or scratches. The experts also recommend steering clear of harsh or strong chemicals, as these could cause damage to the parts. And of course, be careful as you clean the blades.

4. Rinse again
Once you’ve given every removable piece a thorough clean, you will want to give everything another rinse with clean running water. It’s crucial that you remove all the soapy suds, as nobody wants freshly made juice with a side of dish soap.
5. Tackle the base separately
Once all the removable parts are clean, it’s time to give some attention to the base of the juicer. Since this can’t be submerged in water, for obvious reasons, you can give the base a wipe with a damp sponge to clean it. This should get rid of any splashes or dust that might have accumulated since you last cleaned it.

6. Allow to dry and reassemble
Whether you have time to allow the parts to air dry on a drying rack, or you would prefer to give them a quick dry with a clean dish towel or cloth, it’s important to ensure that they are fully dry before you start to assemble the juicer and plug it back into the wall, as Henrique points out.
‘Always make sure the pieces have finished drying before reassembling your device, otherwise the machine could become overrun with mould and mildew,’ he instructs. Once it’s all been reassembled again, you’re ready to get juicing.

How do I deep clean my juicer?
If it’s been quite some time since you gave your juicer a proper clean, you may need to go above and beyond the steps from above. ‘Deep cleaning your juicer should be done periodically to remove stubborn residues and ensure you’re enjoying a hygienic drink,’ Thea says.
Once you’ve cleaned the plastic parts, ‘the metal parts may require a mixture of baking soda and water to fully restore their sheen,’ according to Henrique. But ‘be sure to scrub these pieces gently, with a non-abrasive brush. You don't want to scratch or wear down the components.’
Easiest juicers to clean
Scoring well in our review the Philips Viva Cold Press juicer has dishwasher-safe detachable parts, and the machine is designed to be cleaned in 90 seconds for repeat usage
This is larger than most citrus juicers but still immensely easy to use, set up and most importantly incredibly clean.
Best juicer for beginners
The Sage Nutri Juicer Cold is a centrifugal juicer that is easy to assemble and all the parts can go in the dishwasher, except the pusher, or be rinsed in seconds
FAQs
How often should I clean my juicer?
As David from HomeSupply outlined earlier, in an ideal world you should be giving your juicer a clean after each use. And Steve agrees with this sentiment. Doing so, ‘prevents pulp and juice from drying and sticking to the juicer's main parts, making it much easier to clean and maintain,’ Steve affirms.
While Henrique recommends ‘conducting a deeper clean every other week, although this will largely depend on how often you use it.’ You will be able to gauge just how often you use your juicer and then go about cleaning it accordingly.
Can you run water through a juicer to clean it?
‘You can run water through a juicer but it won't necessarily clean it effectively,’ says Steve. ‘It'll just give it a quick rinse which might be what your juicer needs, however it won't fully clean it.’ This is because a quick rinse with water won’t reach every nook and cranny, allowing pulp and juice residue to gather. But rinsing it after every use will help to make deep cleaning the appliance that much easier, so it is still worth doing, particularly if you don’t have the time to clean it fully after every single use.
How do you clean plastic parts of a juicer?
‘If your juicer has plastic components, you may find that these can become discoloured or develop an odour from long-term use,’ David admits. To help with this you’ll want to ‘soak any plastic parts that are water safe in a solution that is 10% lemon juice and 90% water, or use the same ratio but switch the lemon juice for white vinegar.’
And unlike when you soak the majority of the removable parts in water, you should aim to leave the plastic parts in the solution for a good number of hours, or even overnight if you can.
It is worth remembering that ‘cleaning plastic parts requires gentle care to avoid scratches and maintain their integrity,’ Thea Whyte, Small Appliances Expert at AO.com concludes. So, try to be as cautious as you can when cleaning these parts.
If you look after your juicer well it will reward you by continuing to work well for years to come.


