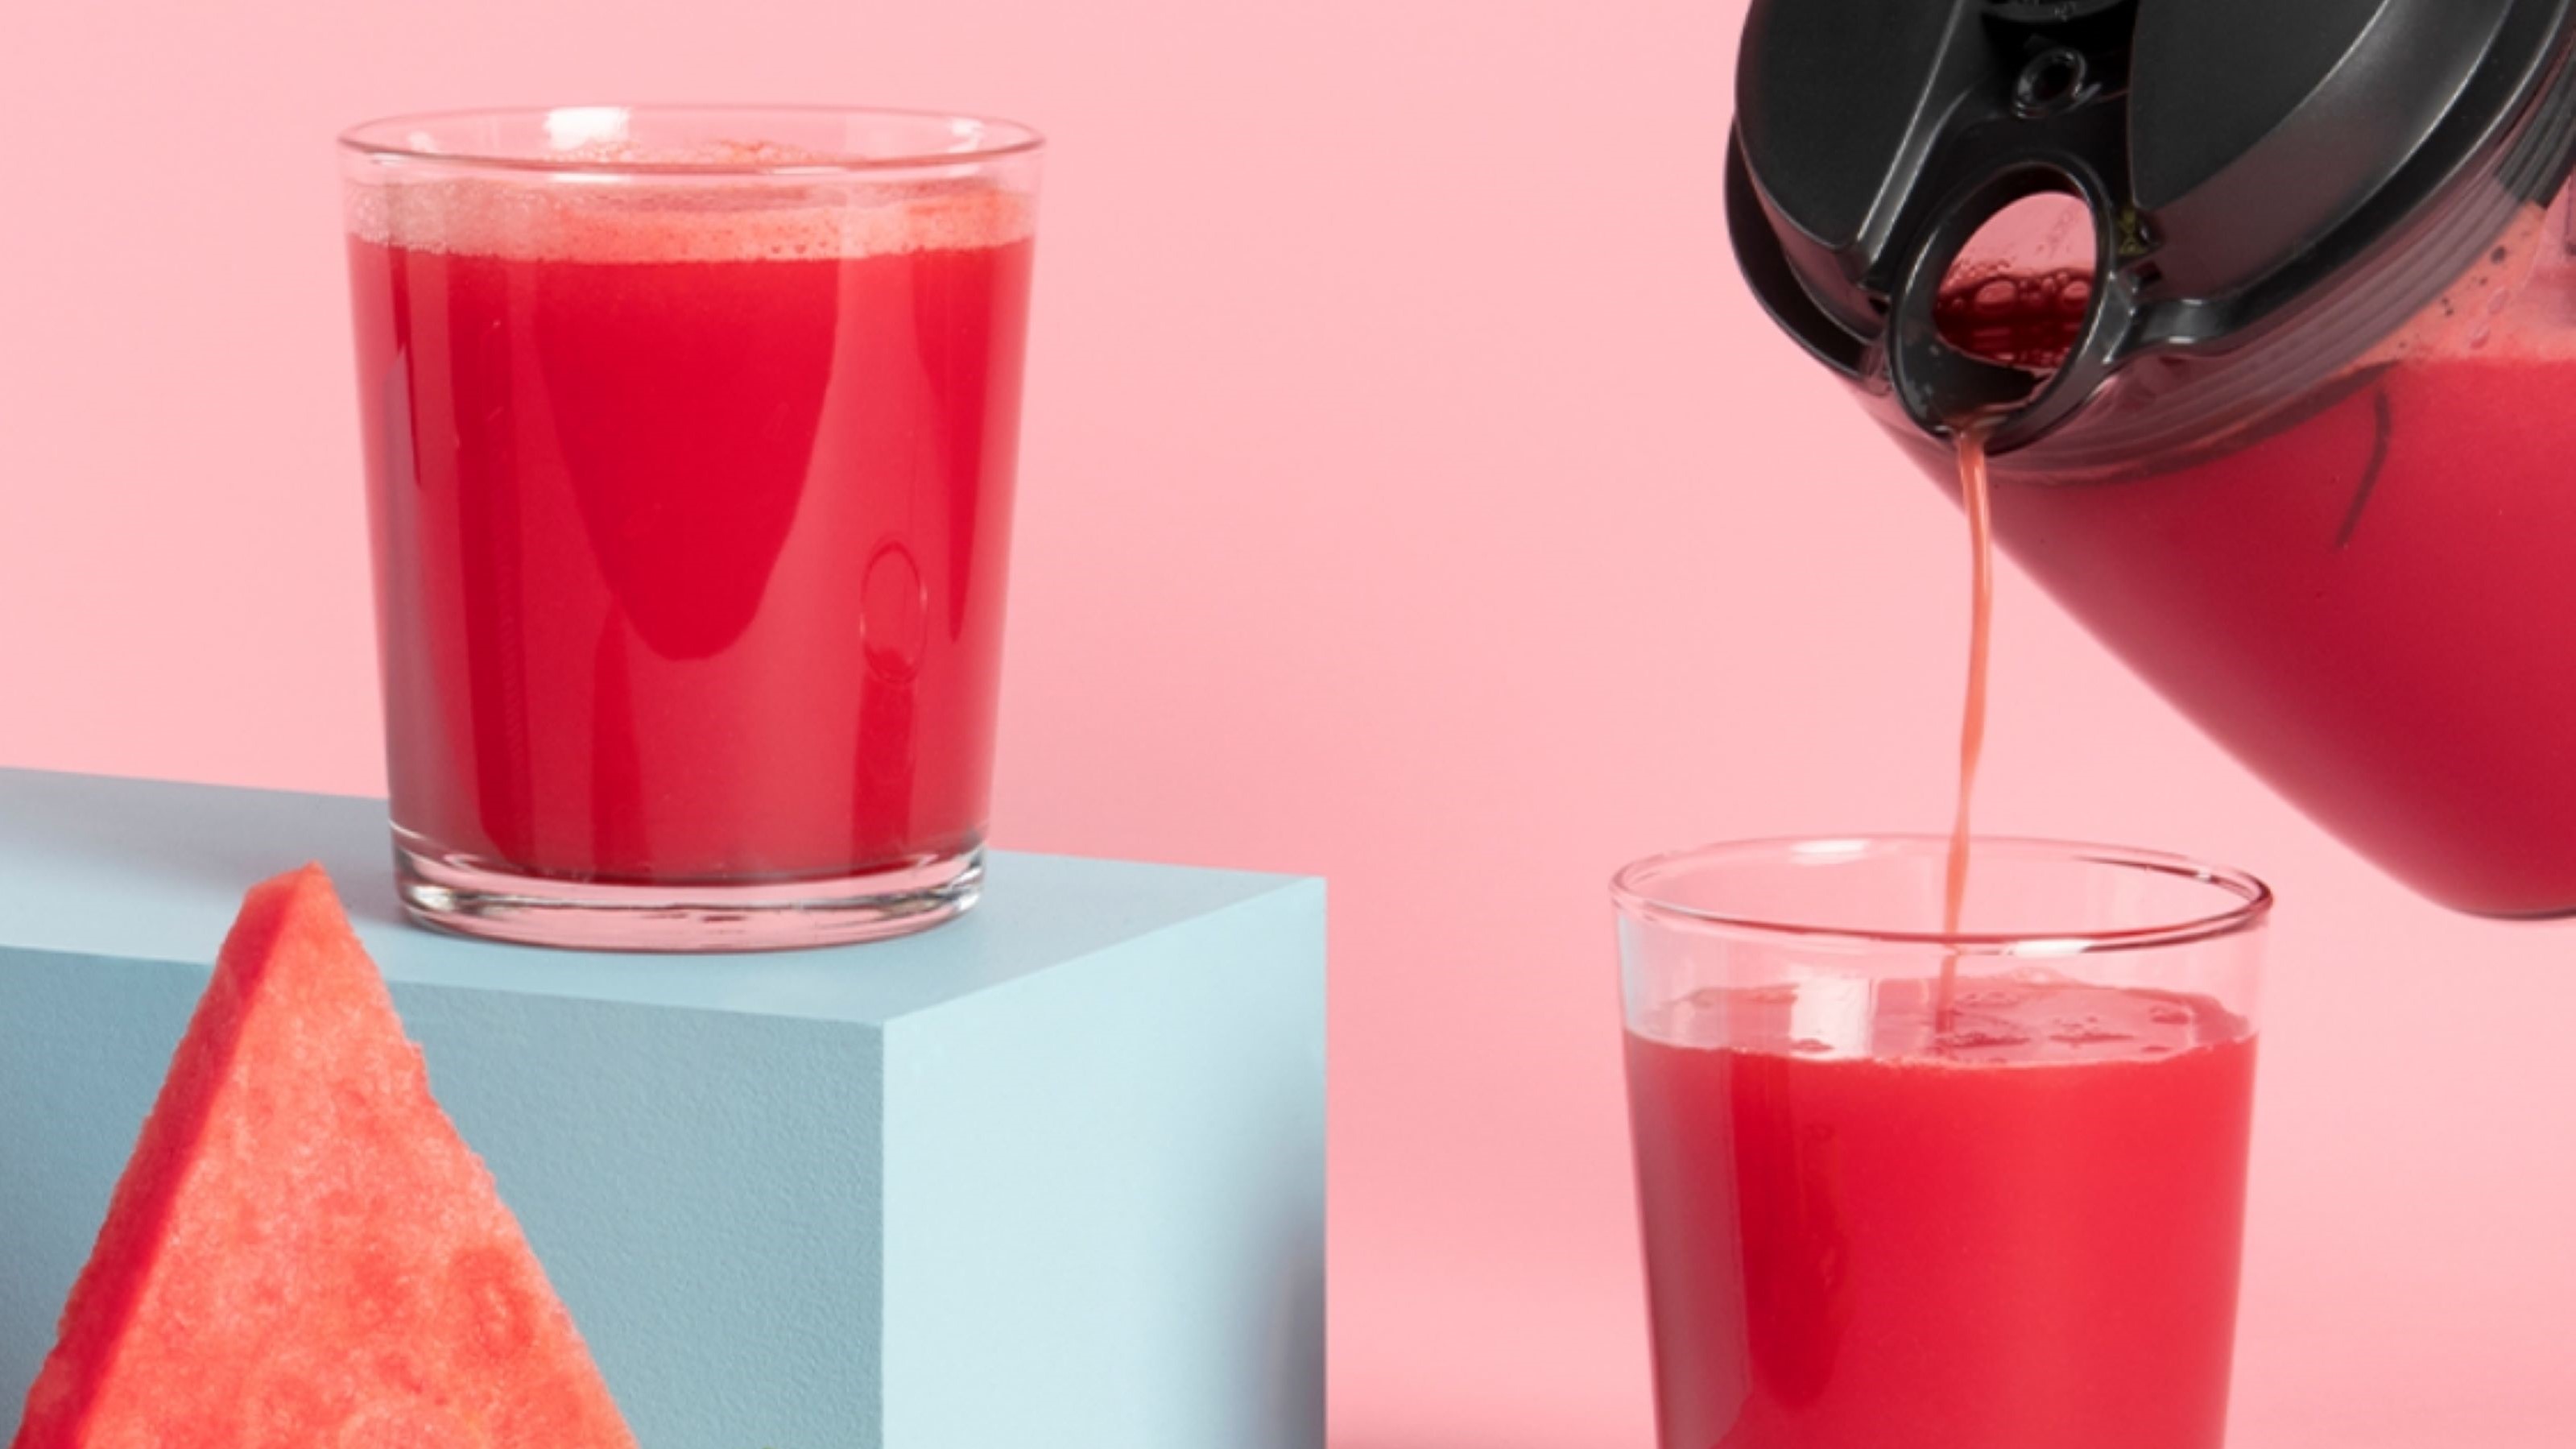
The fact you have to clean a juicer after you've done a good job at adulting and ate your greens should be a crime. But the actual felony is the price of a beverage at the juice bar... can you say daylight robbery? Our faves Hailey Bieber and Kendall Jenner love to sip on the go but — let's face it — boutique bars charge bucks! I don't care for the plastic, nor the amount of ice they use either.
I borrowed one of the best juicers out there from my mom, so I can see the benefits of juicing on my bank balance. As one of the millennials on the team at Real Homes, my Gen-Z colleagues also compliment me on my skin, and I secretly think it's down to the mixed blend I make in the morning.
Even if you own a good orange juicer, it's imperative that your small kitchen appliance gets a once-over after each use. This'll ensure you're served the freshest-tasting juice and that you're not in a sticky situation when it comes to pests in search of the sweet stuff.
You might have just made a fruit cocktail using your brand-new appliance. Or perhaps you've bought a second-hand juicer on eBay or Facebook Marketplace that's a bit gunky. The good news is that in just five steps, you can have an electric juicer that stands out for all the right reasons.
Good to know
Difficulty: Easy
Time: 10 minutes
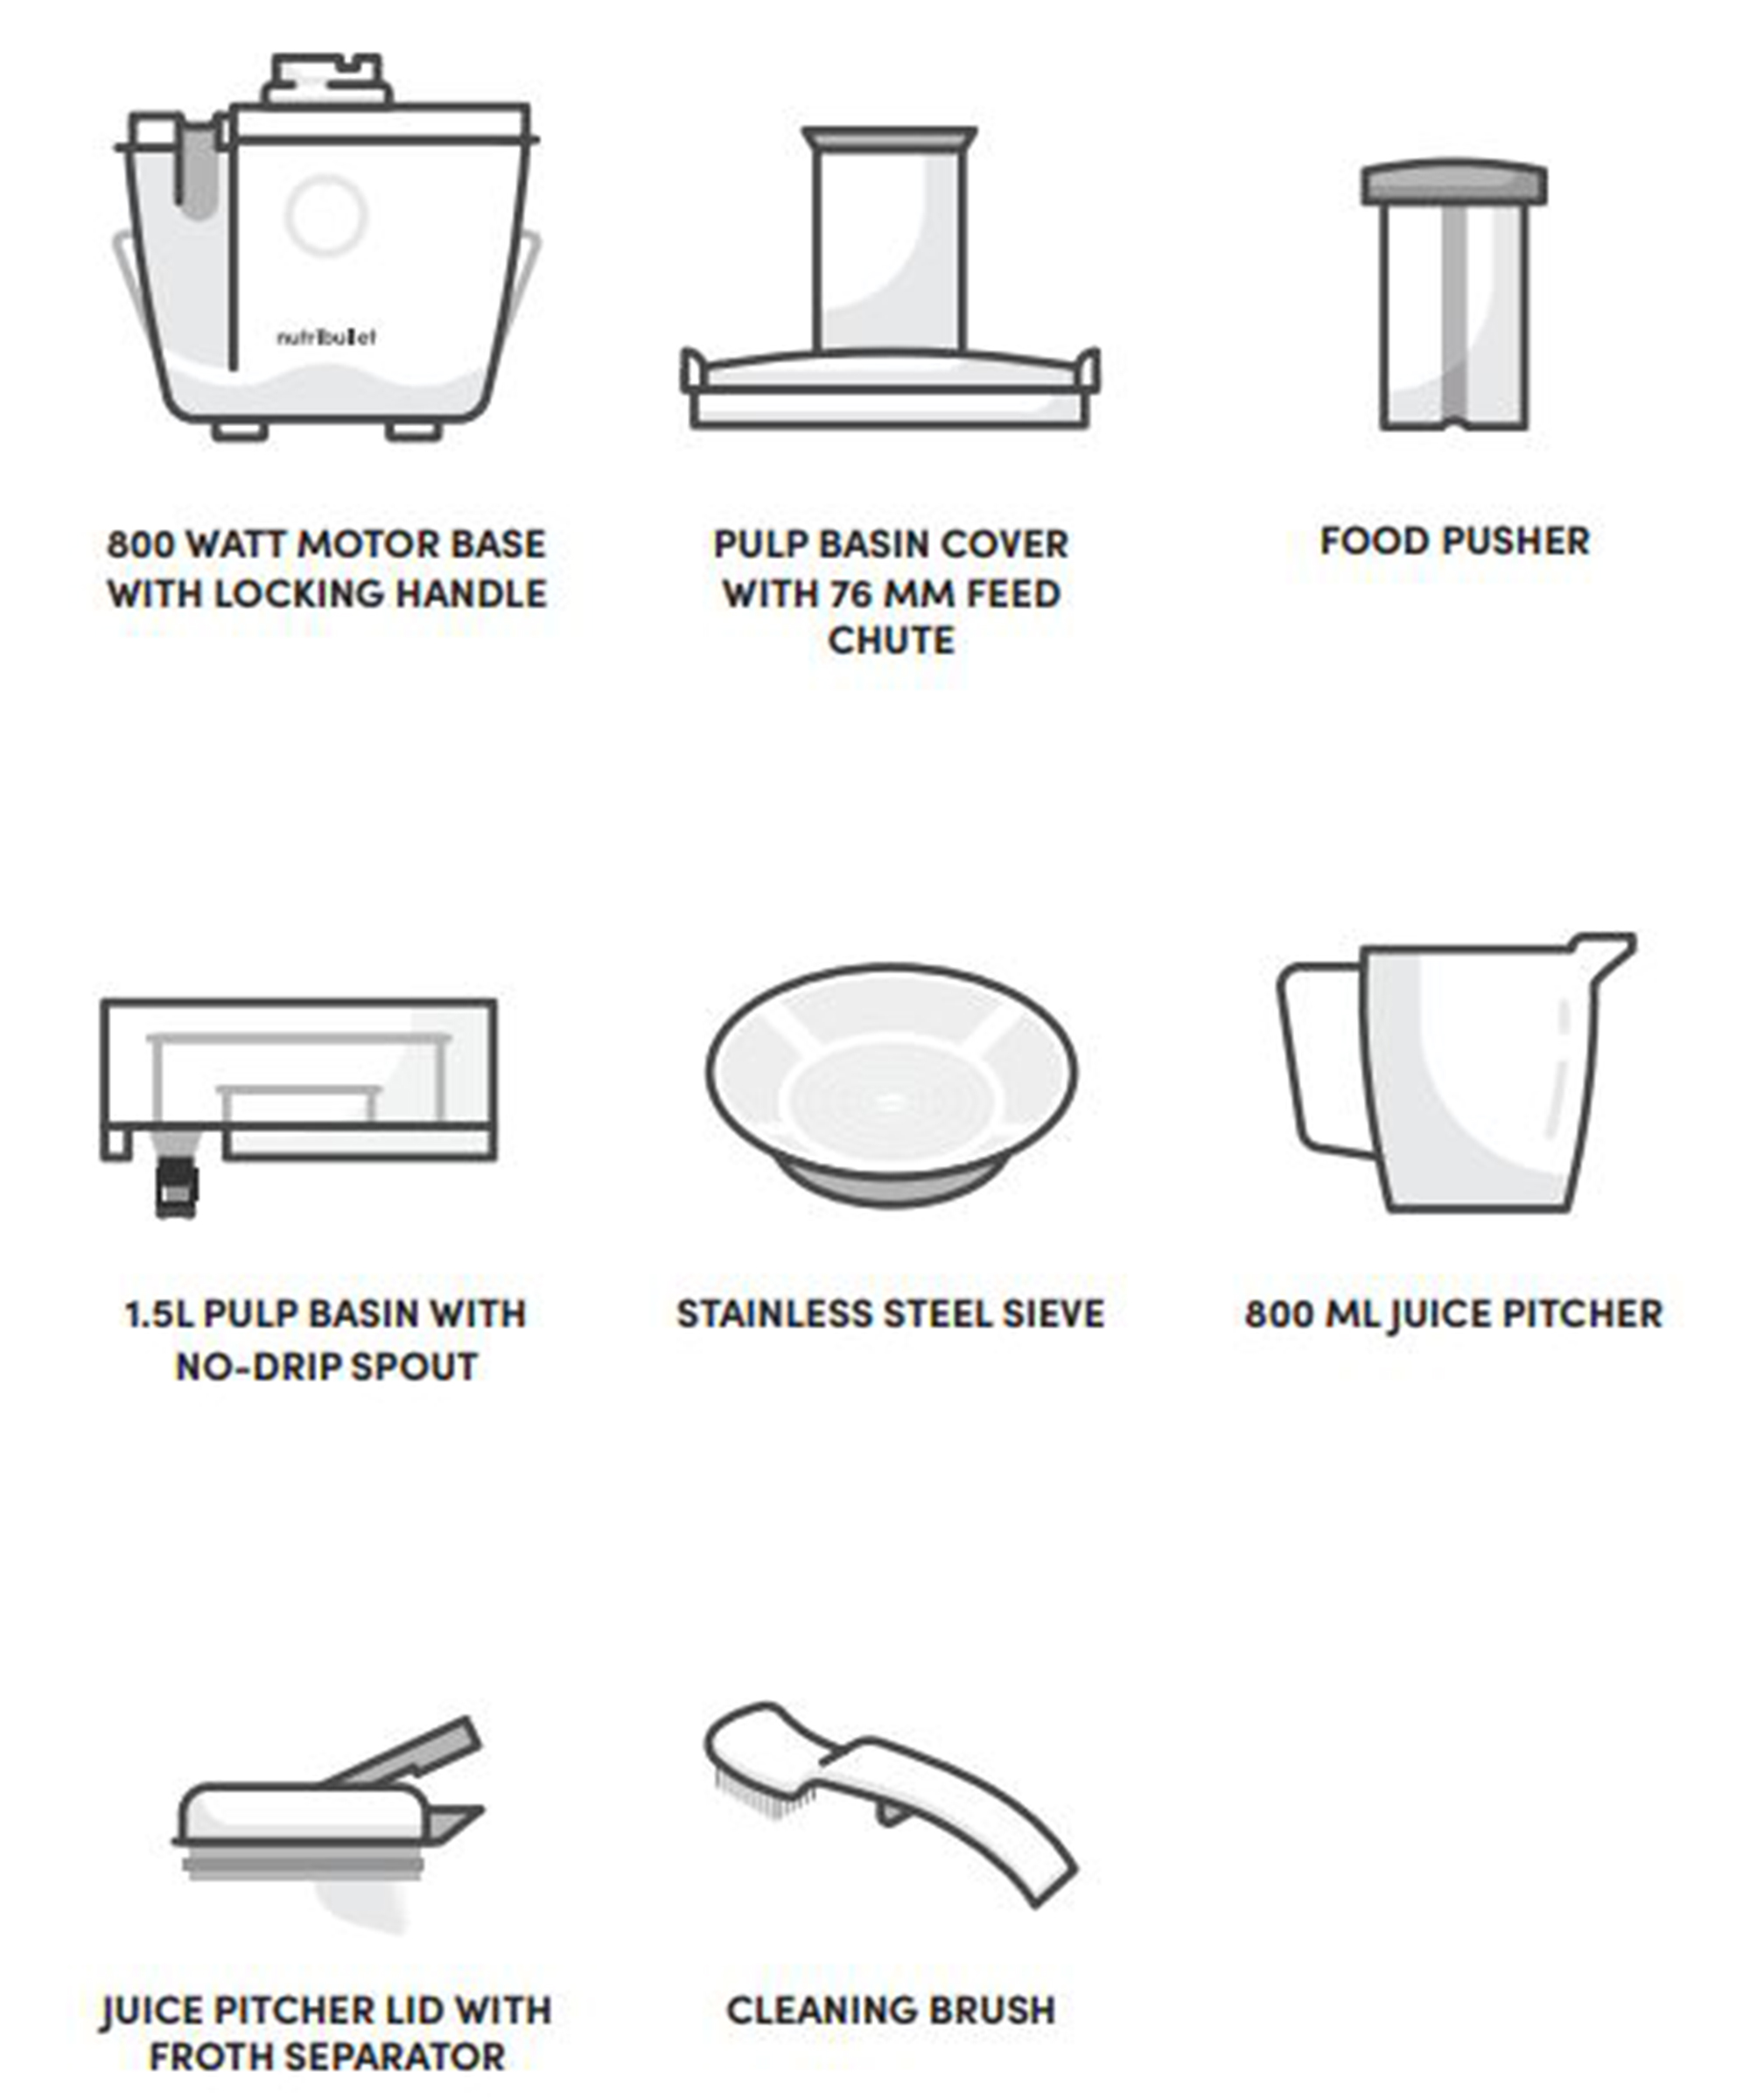
Helpful hints: I used the Nutribullet Pro Juicer to demonstrate cleaning a juicer. We appreciate some appliances are made differently, and this particular model comes with removable parts. Always consult your instruction manual or contact your manufacturer if you're unsure. Below, I've included a diagram of the parts this particular machine comes with so you can familiarize yourself with it.
Also, if you're in the market for a new juicer — read our Nutribullet Pro Juicer review.
Here's what you'll need
- Access to a faucet
- A cleaning brush — Oxo's Good Grips deep clean brush set from Amazon is the G.O.A.T
- Your favorite dish soap (or dishwashing tablets if using your dishwasher)
- A microfiber cleaning cloth — I like these Amazon Basics rags
- A dishwashing sponge — I like these Scotch-Brite non-scratch scourers from Amazon
- A clean toothbrush (to get into all the nooks and crannies) or a bottle brush (this Amazon set is perfect)
- A dishcloth
Step 1: Unplug your appliance
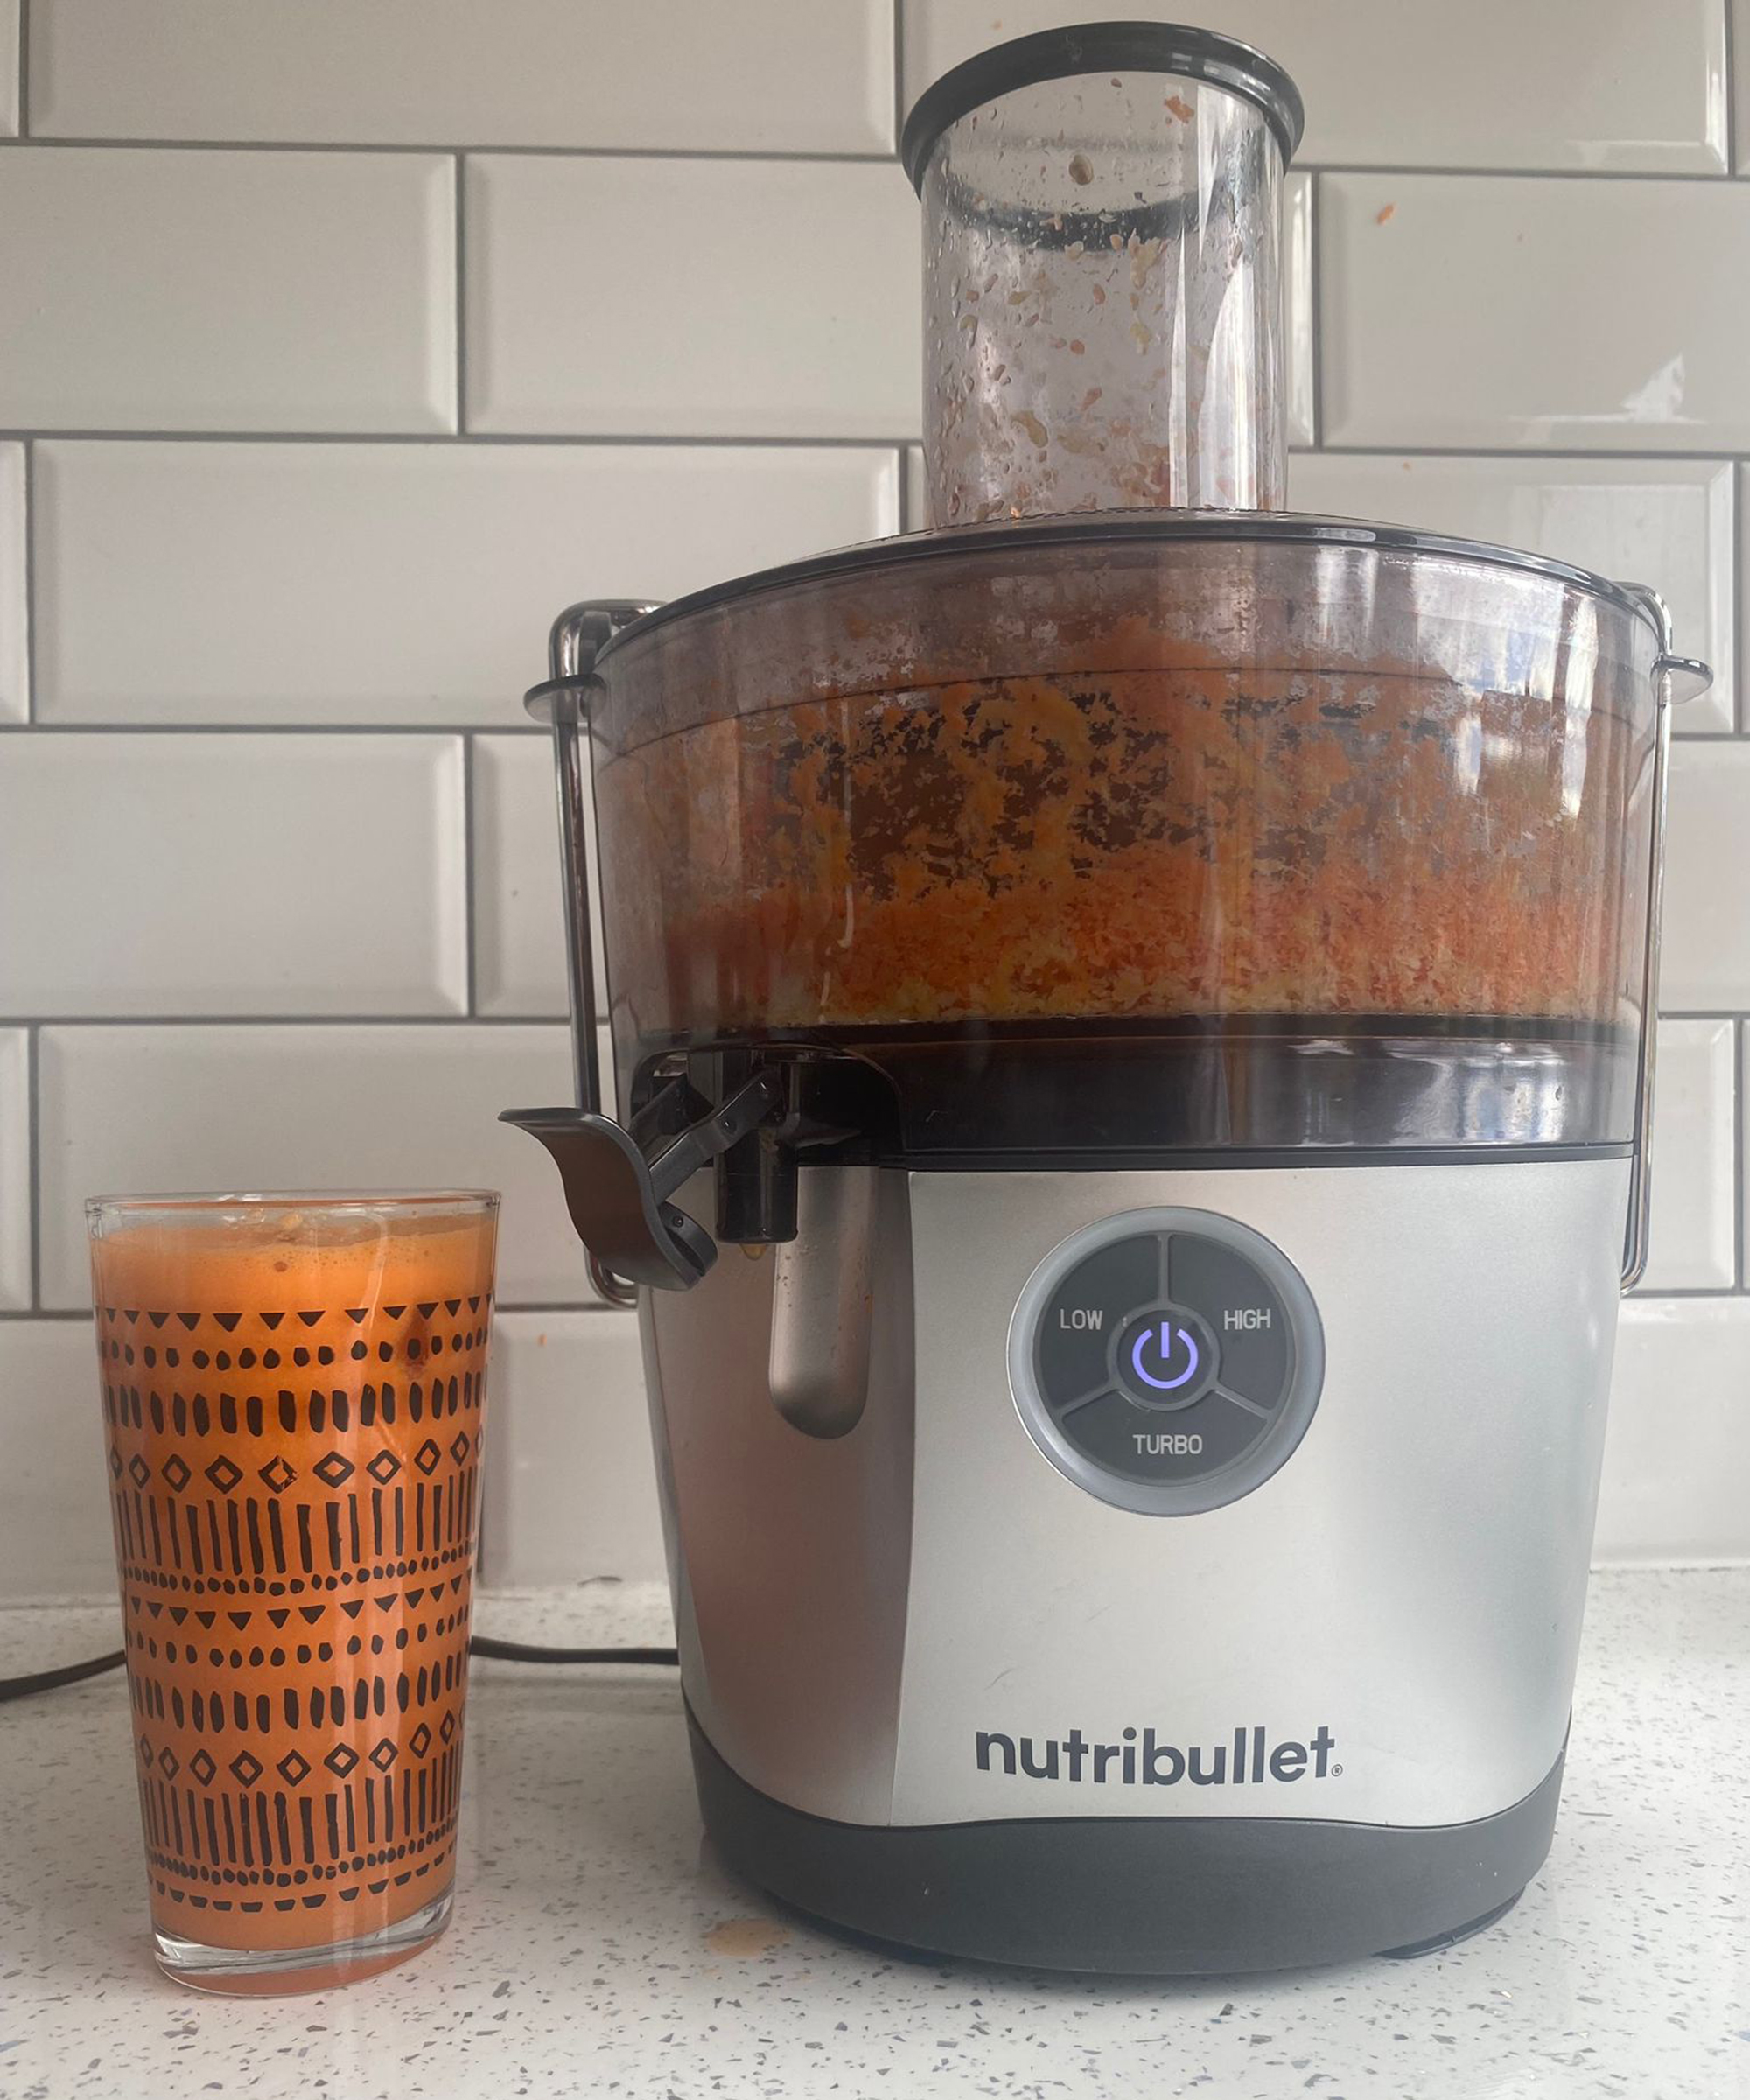
We don't want blitzed fingers here, so safety first! I made a mixed carrot, orange, and apple juice to get the juicer as messy as you'd expect IRL. My mom forgot to give me the feeding shoot so a few shards of carrot and small chunks of carrot ended up on my tiled walls!
If this happens to you — just wipe it down with an all-purpose cleaner and some super-strength paper towel. I think Bounty (which you can buy from Amazon) is great for wiping down walls.
Step 2: Remove the pulp basin
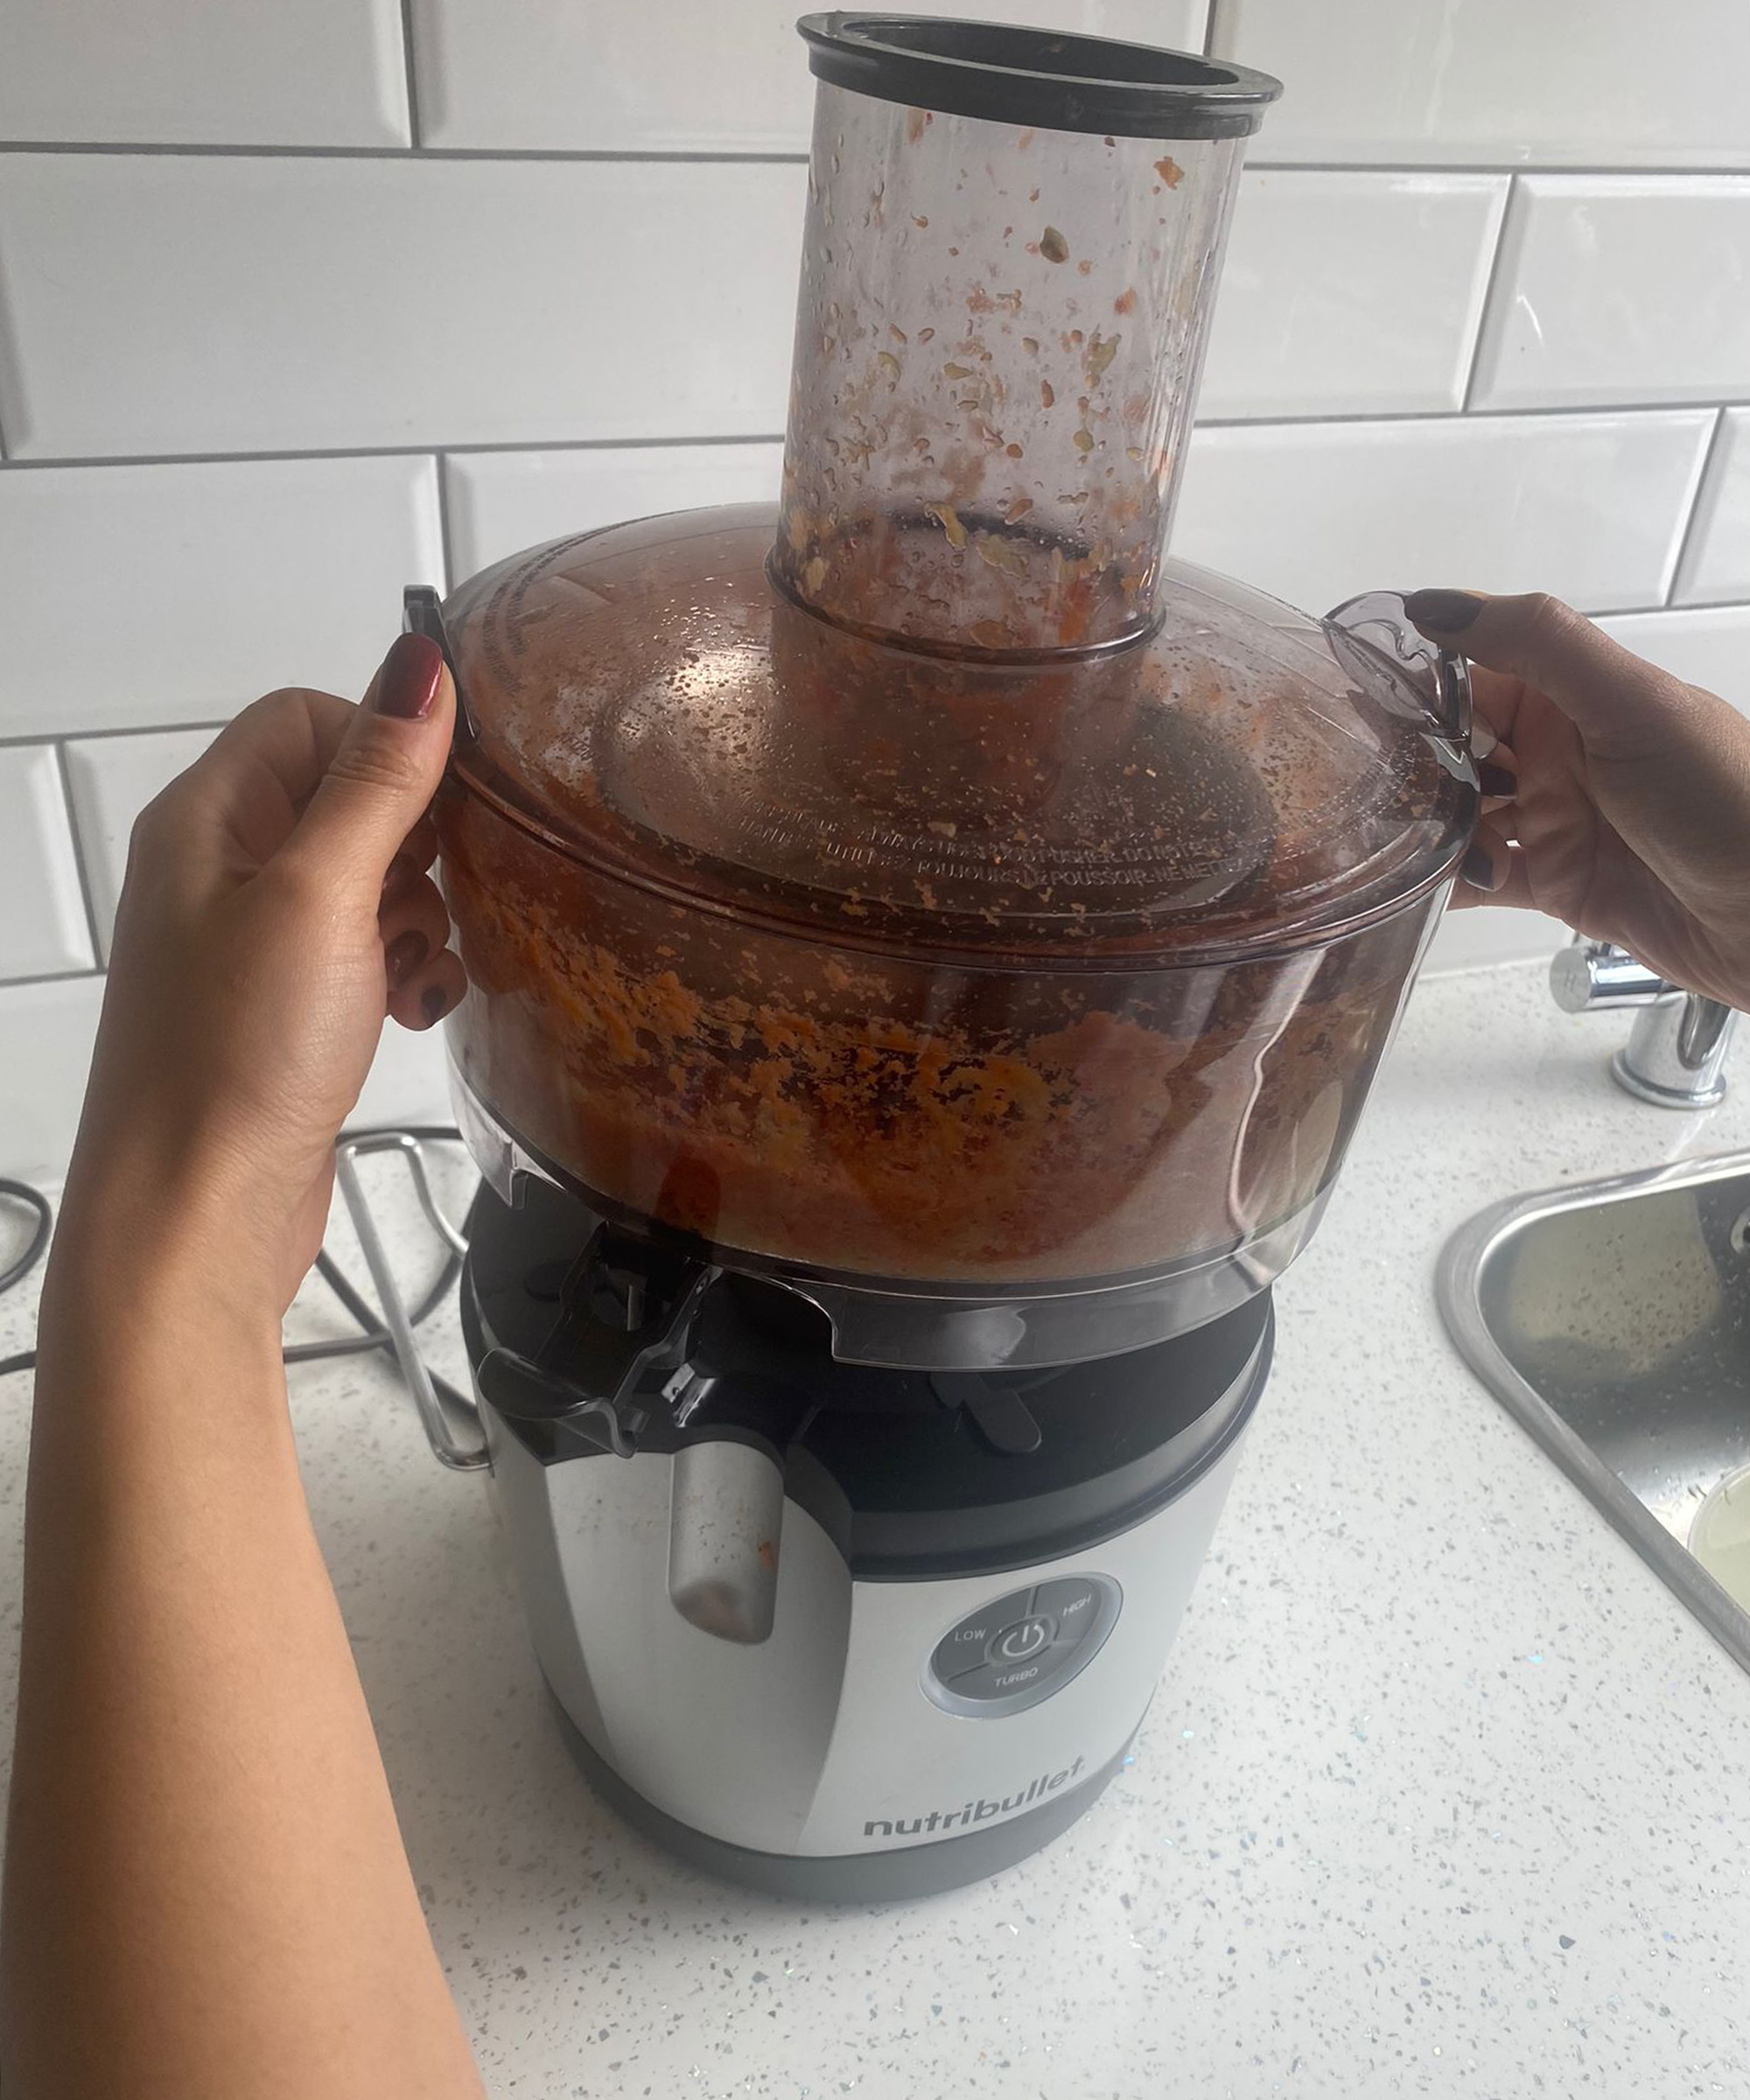
Once the pulp basin is emptied (either reserved for a yummy cake, or in the compost bin/trash can), rinse all parts under running water.
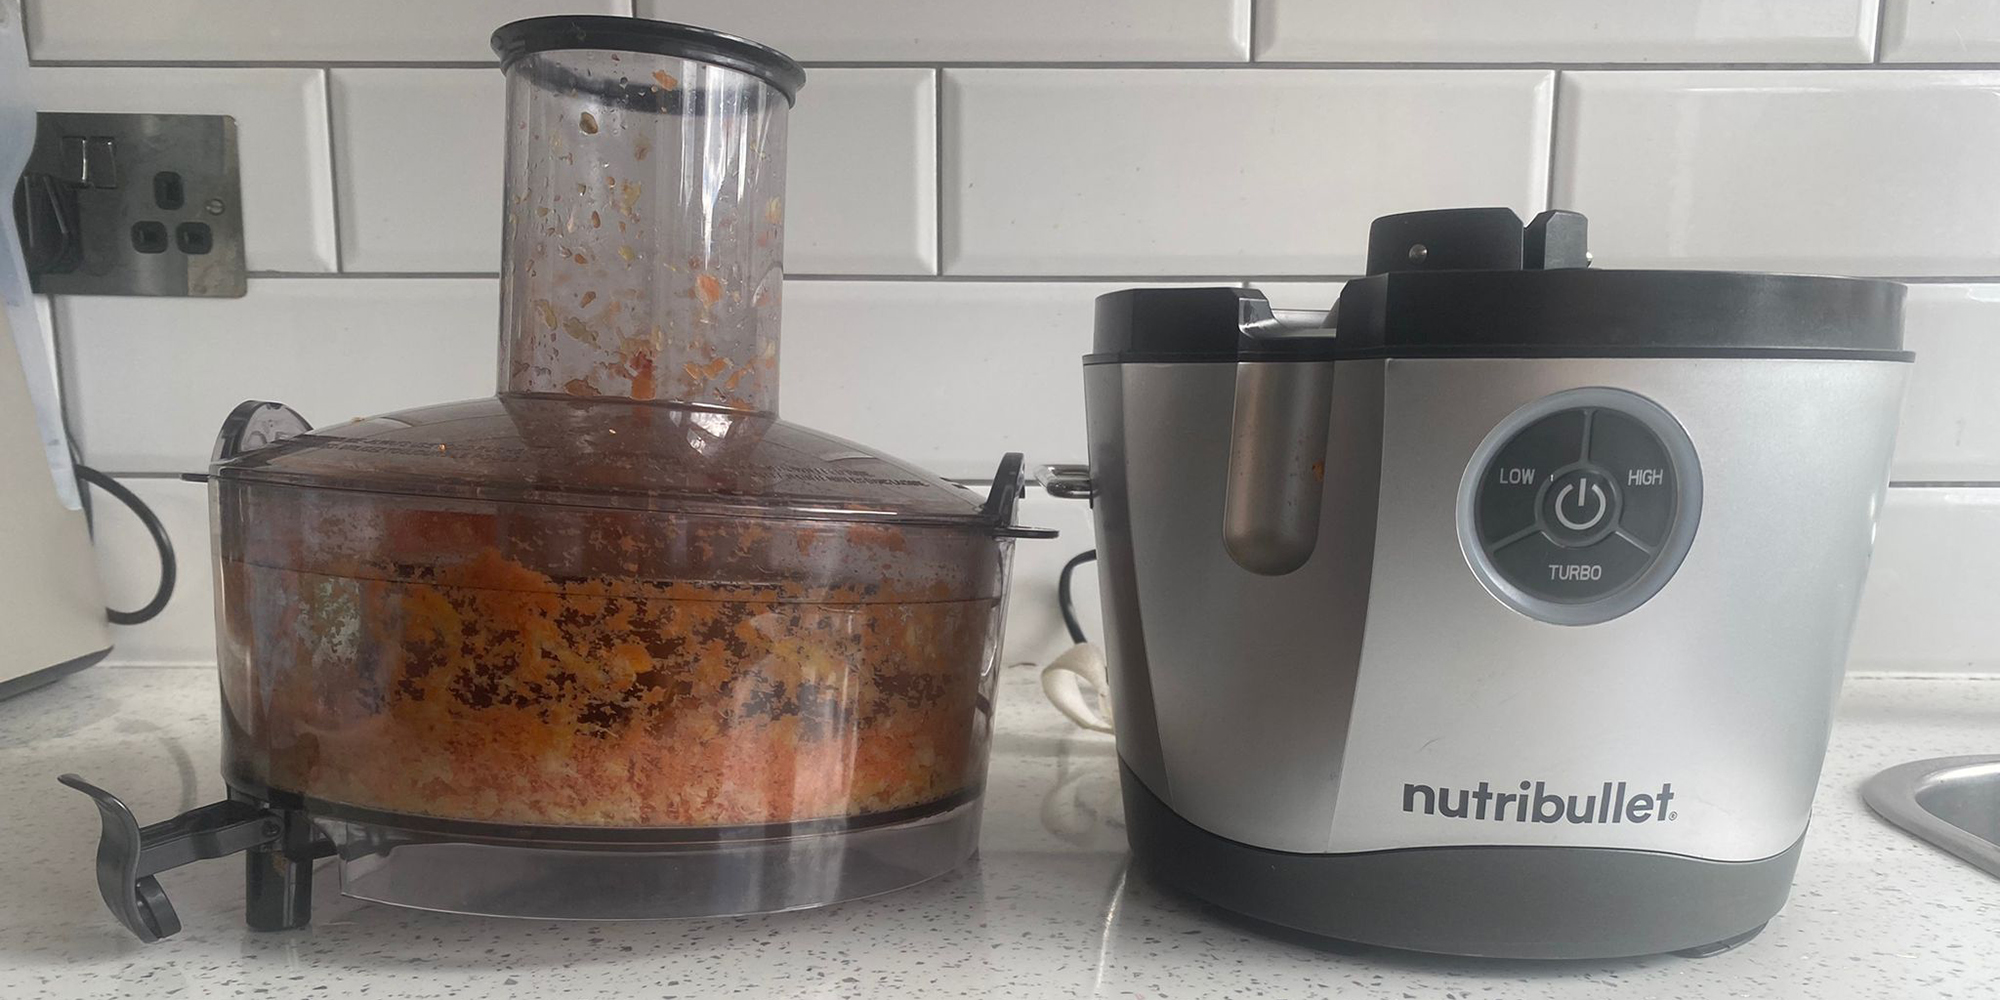
Helpful hint: Add the pulp to breakfast muffins, banana bread, or carrot cake to increase your fiber intake.

Here, I've twisted the pulp basin cover off so you can now see the sieve exposed. This comes off quite easily.
Step 3: Clean the sieve component
Use a cleaning brush to scrub the sieve under running water. Ensure you thoroughly clean the sieve every time you juice, as minerals from fruits and veggies can cause build-up in the sieve which can have an impact on your juicer's performance.
You want to do this ASAP. If the gunk sits around, the dried-on pulp will be harder to scrub off. If you've been a lazy girl (no judgment), let the sieve soak in hot water for about 30 minutes before attempting to rinse again.
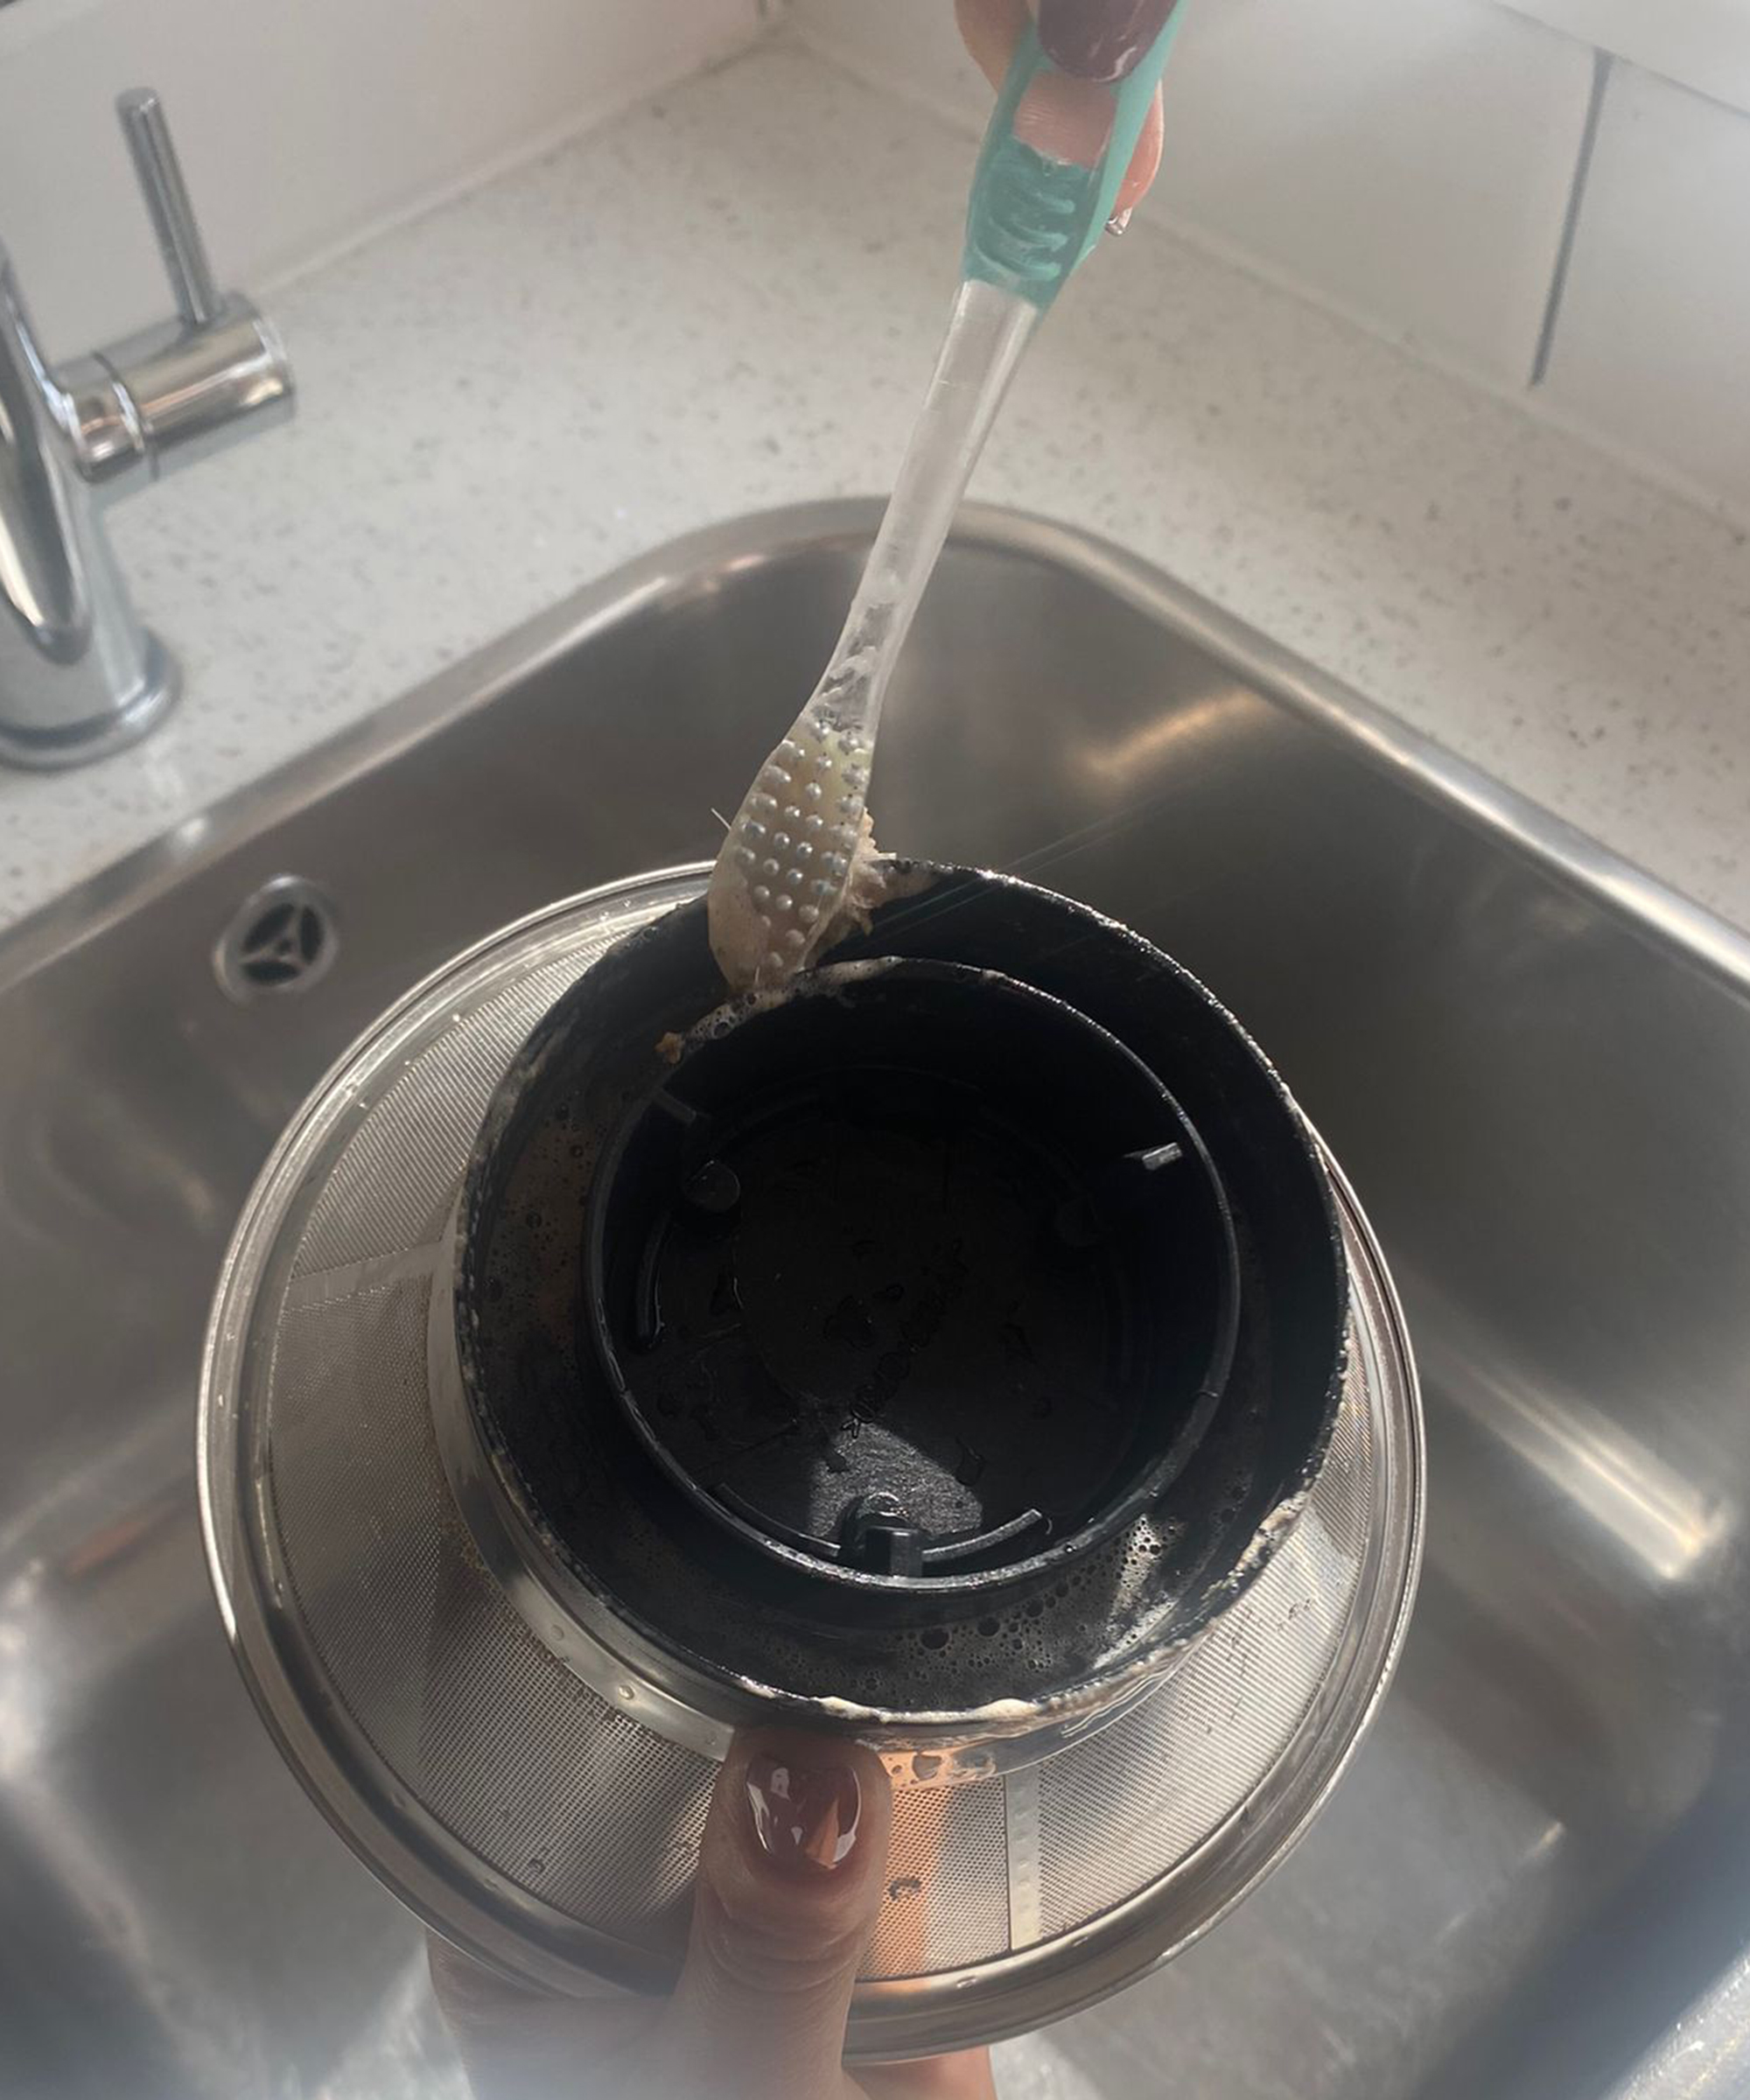
I used a clean toothbrush to get into the underside of the sieve — these bristles can go places a big sponge can't. This eight-piece bottle brush set on Amazon literally has everything you could need if you don't want to use fresh toothbrushes for this.

WARNING: Be careful when cleaning the sieve, as it contains sharp blade teeth on the flat disc part. You might want to wear some dishwashing gloves just to add another layer of protection.
Step 4: Clean all the washable components
Option 1: Handwashing
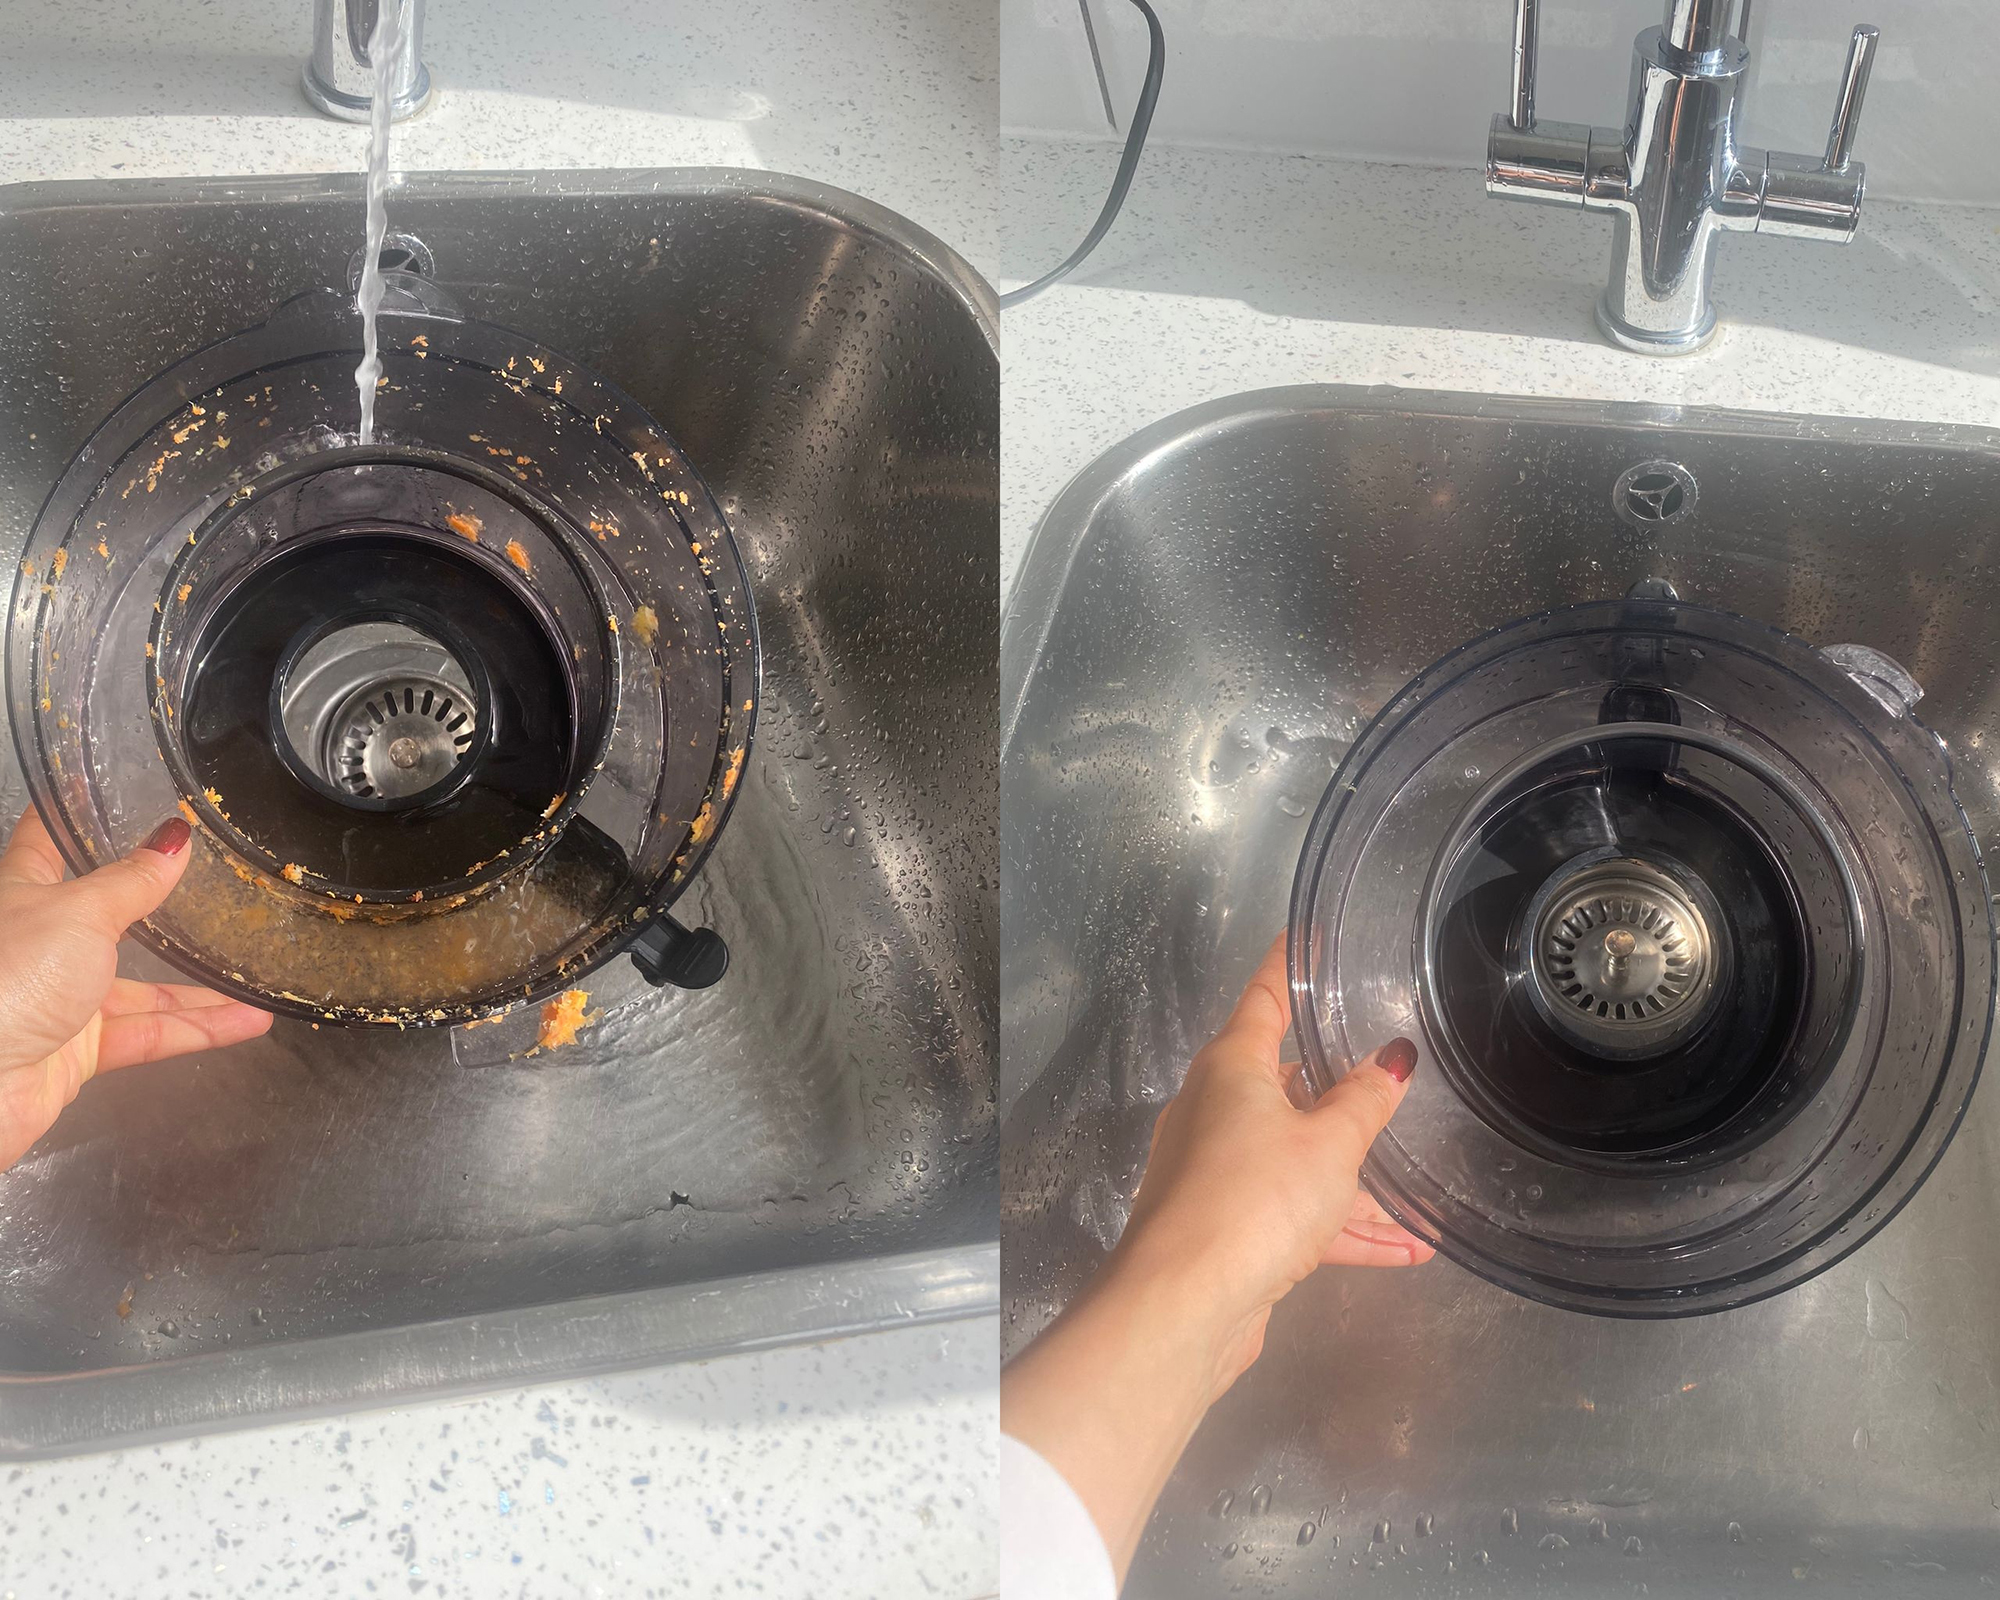
All of my Nutribullet Juicer Pro components except the motor base are dishwasher safe. But, for the sake of example (in case yours is not), you can also hand wash your appliance parts with warm soapy water.
WARNING: Don't be tempted to use the sterilize cycle on your dishwasher (if using) to clean your juicer as it may cause parts to deform.
FYI, if you've got the Nutribullet Juicer Pro, the glass storage bottles and freezer trays are dishwasher-safe — this includes the lids for each of these respective items, too.
Option 2: Dishwashing
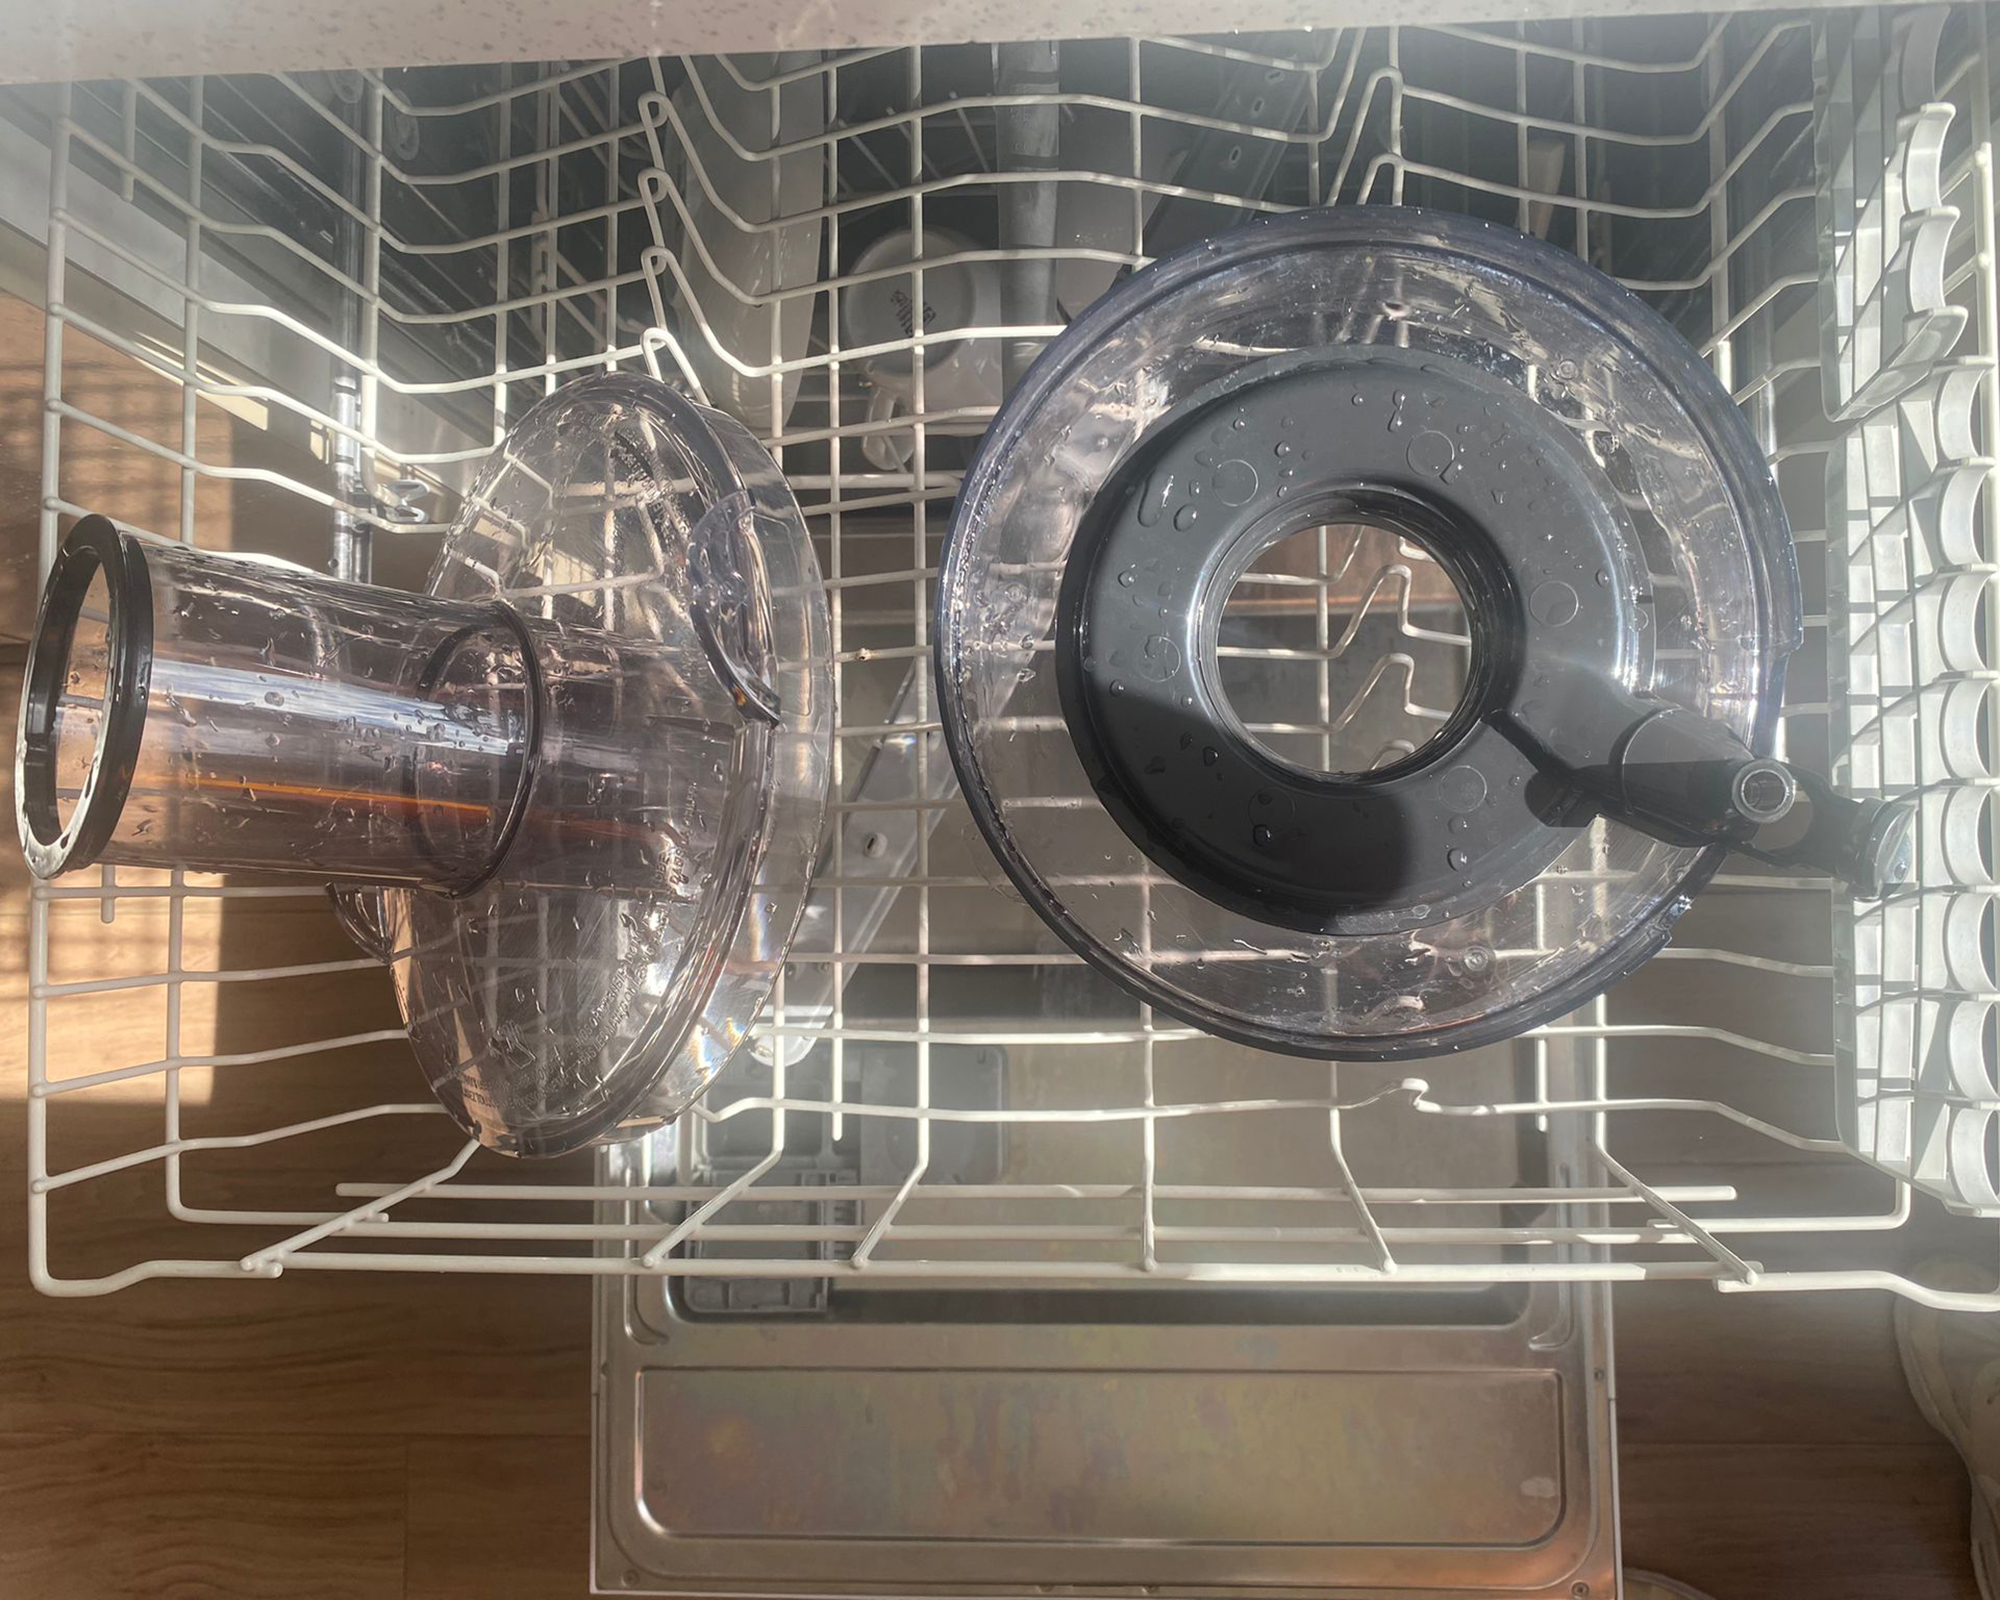
Double check that your juicer's parts are dishwasher safe. If you're good to go, place the components on the top rack.
Step 5: Wipe down the motor base
The easiest way to do this is with a damp microfiber cloth. Once everything is clean, reassemble and put your juicer back in its spot on the countertop or in its cabinet. Five steps and done!
WARNING: Never submerge the motor base into water or other liquid (ie: cleaning detergent).
Can I run water through my juicer?
Yes! This is a great way to clean a juicer. Just like cleaning a coffee maker, you can run a cleansing cycle. While you likely won't get any build-up in your juicer, if you do find any chalky residue, you can spot-clean the components using baking soda or vinegar to remove stains. Vinegar can also get rid of funky odors. You can buy both baking soda (we always use Arm & Hammers from Amazon) and white distilled vinegar (from Heinz which you can also buy on Amazon).
How do you clean the mesh part of a juicer?
There are two ways you could go about this. Either let it soak in warm soapy water (as we mentioned above) or use the magical properties of baking soda — applying gentle pressure with a bottle brush, like the set we recommend from Amazon, to lift dried-on debris from your fresh produce.
We also spoke to content creator and TikTok cleaning influencer Melissa Metrano about how to wash it. "I love using Q-tips to clean the mesh screen where the pulp can get clogged," she says. "Q-tips make it so easy to clean!" Talk about a handy hack.


