Whether you have a long beard or short stubble, having one of the best beard trimmers is an essential to keep your facial hair looking sharp and stylish. But if you’re not regularly cleaning your beard trimmer, you could risk ruining your beard, as well as hurting yourself in the process.
As a beard trimmer comes into contact with your face and neck, it’s important that it’s clean and as safe as possible. By not cleaning your beard trimmer, you’re more likely to snag your hair, disrupt your beard shaping and even give yourself an infection or some nasty cuts along the way. But how do you clean one, exactly?
Here’s T3’s step-by-step guide on how to clean your beard trimmer, including oiling tips and accessories advice.
How do I clean a beard trimmer?
Before you start the cleaning process, make sure to read your beard trimmer’s instructions first as they’ll likely have a cleaning section that explains how to do it. As you’d expect, electric and manual beard trimmers will need different care, and you’ll also want to check if your trimmer is waterproof before you go running it under the tap.
Below are five steps you need to follow to keep your beard trimmer in perfect condition.
1. Tap your beard trimmer after each use
Once you’ve finished trimming, turn off your beard trimmer and tap it lightly against the sink to shake off any excess hair and dead skin. Letting this build up is unhygienic and it can block your blades, so you won’t be able to shave as effectively next time.
2. Remove hairs with the accompanying brush
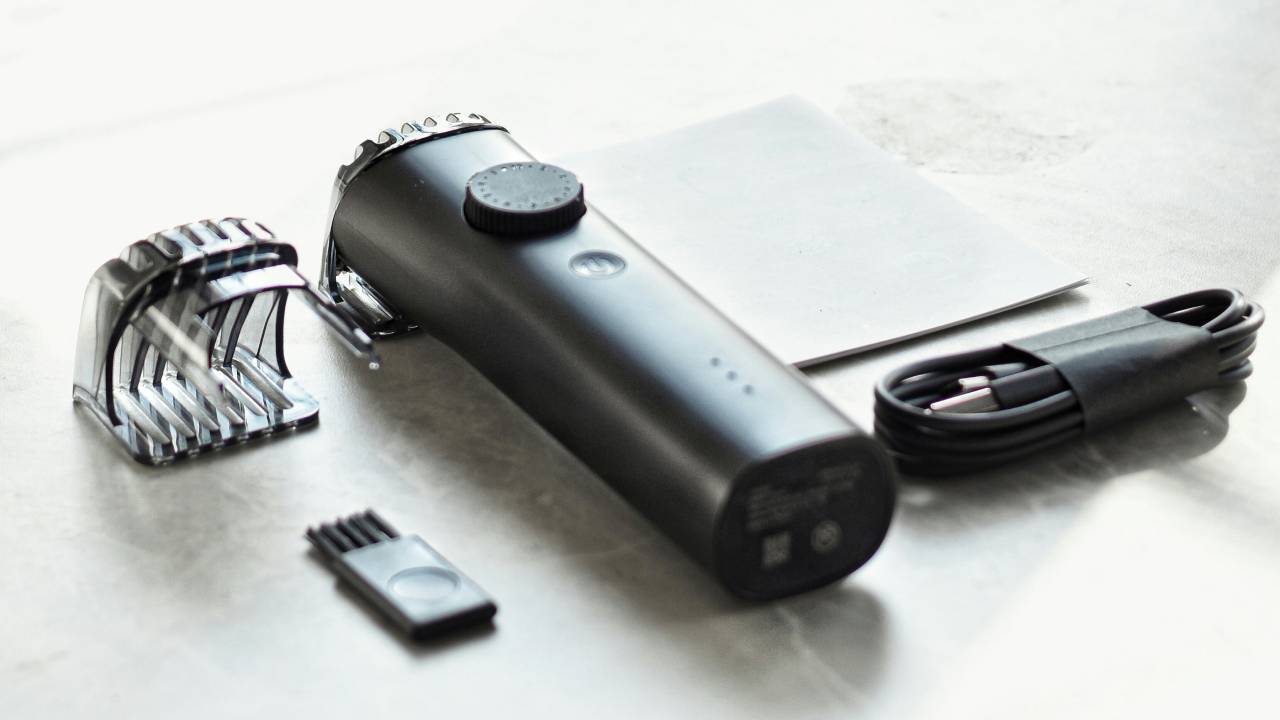
For more thorough hair removal, remove the head of your beard trimmer – be careful not to touch the blades so you don’t damage them or yourself – and grab the brush that came with the trimmer. Use it to sweep away any hair stuck in the device and around the blades.

3. Give your beard trimmer a wash
If your beard trimmer is waterproof, you can wash it with warm water and a little bit of soap. As it comes into contact with your skin, I’d suggest a hand or body soap to do this rather than washing up liquid! To keep things safe, leave your beard trimmer off and gently rub the blades using a cloth. Alternatively, you can also use an old toothbrush to do this. Rinse under water before doing the next step.
4. Oil the blades
Once the blades are clean, you should look to oil your blades. This is important to do as it keeps your blades working properly and prevents your trimmer from breaking or overheating. In terms of which oil you should use, you can get special beard cleaning oils from your manufacturer of choice, or you can use vegetable or olive oil.
To oil your blade, turn your beard trimmer on and add 2-3 drops of oil to the front and sides of your blade. Let the beard trimmer run for a few seconds before turning it off and wiping away any excess.
5. Rinse and let it dry
Once everything is hairless and oiled – never thought I’d write that phrase – rinse your beard trimmer and leave it to dry completely before putting it away.
How often should I clean my beard trimmer?

In general, you should be cleaning your beard trimmer after every use by tapping it on the sink and using the brush to remove hair. For a deeper clean involving oiling the blades, you should look to do this once a month to keep everything clean, safe and hygienic.
When do I need a new beard trimmer blade?
After multiple uses, your beard trimmer blade might start to look and feel dull – and as I’ve said countless times in this guide, you don’t want to use a dull blade on your face as you could cut yourself and uncomfortably pull on your hair. While trimmer blades can last for several years, it’s important to have spare blades to hand and normally, beard trimmers will come with a few spares.
The time to replace your blade varies from trimmer to trimmer, but if you’re starting to notice that your trimmer tugs on your hair, or that it’s looking rusty, you should look to replace the blade. It’s also typically recommended to switch your blades every 12-18 months to be on the safe side.


