If you’ve ever wanted to switch up the font in your Instagram bio, you’ll be glad to know it’s an easy process – the hardest part is picking the right style. You’ve probably noticed accounts using eye-catching lettering to give their profiles extra flair, from elegant scripts to bold, quirky designs. Changing your font is a quick way to inject personality into your bio and make your profile instantly more distinctive.
To change the font in your Instagram bio (or even add custom font to captions) all you need to do is write your text into a font generator. Our top picks for places to download free fonts might help to shape your decision but there are endless styles to choose from to fit your aesthetic. While it can be tempting to let your creativity go wild, make sure you check our font pairings guide for some design inspiration before you launch your new look.
And if you want your feed to stand out even more, see our how to make a collage on Instagram guide.
How to change the font in your Instagram bio
01. Go to an online font generator

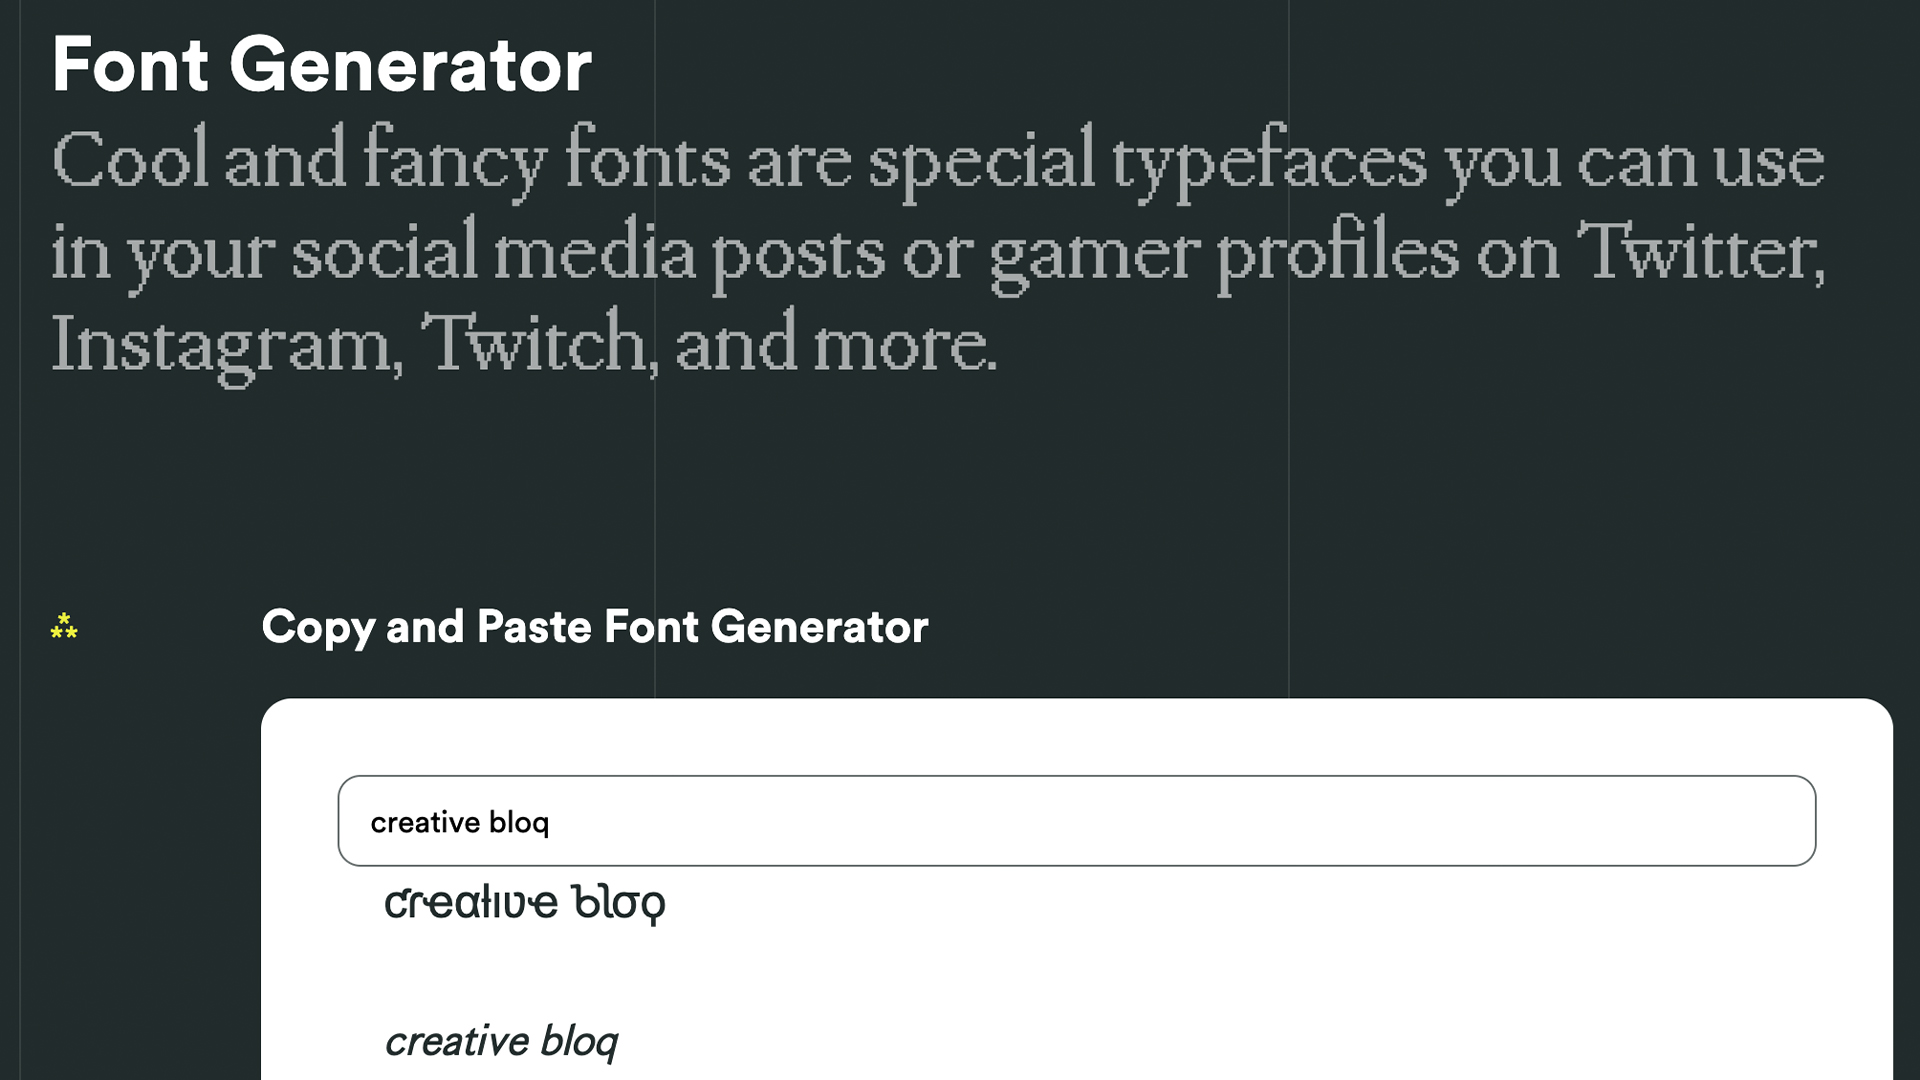
First up, you'll need to go to an online Instagram font generator tool in your browser. There are many available on the web, including FontStruct, Fancy Fonts, FontSpaceand FontGen. There are even ones where you can create your own fonts such as Calligraphr and BitFontMaker, but these can be trickier to master.
Our favourite is Meta Tags Font Generator because it makes it super easy to preview how your font will look live on your Instagram profile or on X (the Twitter rebrand). It's always good to try out your new look before you launch to see if it fits with your carefully curated profile.

02. Choose the font you want to use in Instagram
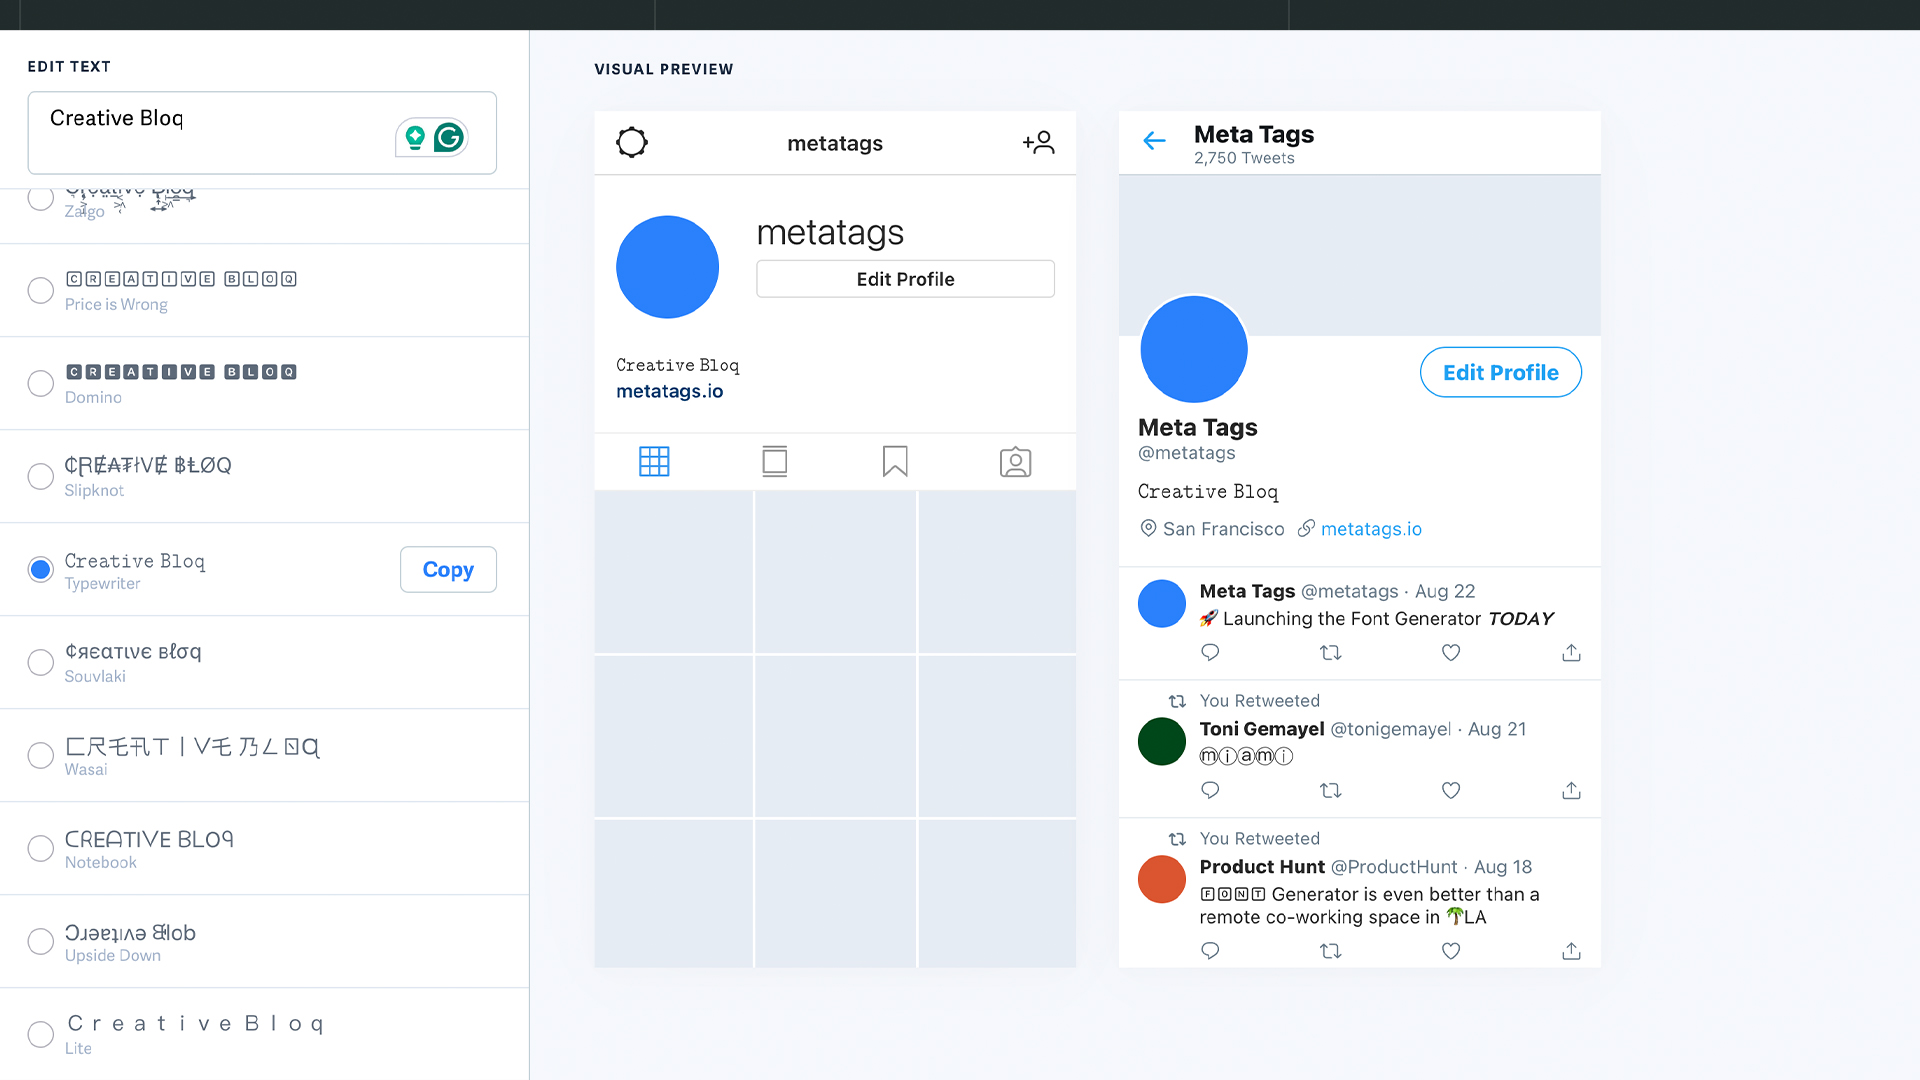
Type or paste in the text that you want to change into the box that reads 'Edit text'. Below, you'll see a list of fonts that can be used in Instagram, together with previews of how your text would look in each of them. If you're on a desktop computer or tablet, you'll also see a mockup of how your text will look in an Instagram profile on the right.
Some of the font options are pretty simple; some use emoji and symbols, which may either look creatively inspiring or completely daft; and some will be almost impossible to read. Experiment with the different types to suit your style and Instagram bio aesthetic. Once you've found the font that works for you, use the 'Copy' button to copy the text.
03. Paste your text into Instagram

To paste your text open Instagram and click on your profile picture. Next you need to click the Edit Profile button. In the form that appears, paste your text into the appropriate box making sure that the spacing is to your liking. Afterwards, click Submit and you are done.
If you don't like the look of the font you've chosen, you can easily go back to step one and choose another. If you're using an iPhone or iPad and prefer a wider selection of fonts, check out the Fonts – for Instagram app for OS. Note that the same technique should also work to change the font in Instagram captions. Just right click and paste the text into the corresponding field when you're making an Instagram post. It will also work to change your font in Twitter and on many other social media platforms too – both in your profile and in posts.
Things to consider if you change your Instagram font
A crucial thing to remember is that changing the font in your Insta bio involves the use of Unicode characters, which are often not accessible for people who use screen readers. This means that it's not a good idea to put your whole bio or entire captions in a different font. Most people only change the font for their name or a small part of their description or caption.
Also remember that updating the text itself can have as much impact as changing the font, if not more. You don't need to overdo it as the ideal Instagram bio is generally short and sweet: a few snappy words rather than long sentences. Don't forget to include any relevant links to other accounts you manage.
We'd recommend choosing carefully which font to use for your Instagram bio before pasting and saving it, because even if you keep the same name, Instagram registers the font change as a name change, and it only lets you make a limited number of name changes in a day, so if you change it a couple of times in one day, it might block you from making any more changes, leaving you stuck for a while with an Instagram font you don't like.
How do I change my Instagram bio?
Changing your Instagram bio is easy. Simply go to your profile > select 'Edit Profile' > click 'Bio' > type in your new text or paste in your fancy font! There's no saving necessary, your bio will automatically update with your new look.
Using a site like Meta Tags Font Generator can be helpful to preview what your new bio will look like, but don't be afraid to experiment with different font styles.
There are plenty of secret features tucked away on Instagram that make it more than just a humble photo-sharing app (there's even a hidden feature on Instagram that could be affecting your photo quality). If you missed it, check out the retro game hidden in your DM's and take a look at Instagram’s bizarre 'AI friends' that are parasocial nightmare fuel.
How do I edit text in my Instagram bio?
Editing the text in your Instagram bio is simple. Open your Instagram account, tap “Edit Profile,” and choose “Bio” to write and save your new text. If you want to add custom fonts or bold lettering, you’ll need to generate the styled text through a third-party font tool, as outlined above, then copy and paste it into the Bio box within the Edit Profile settings.


