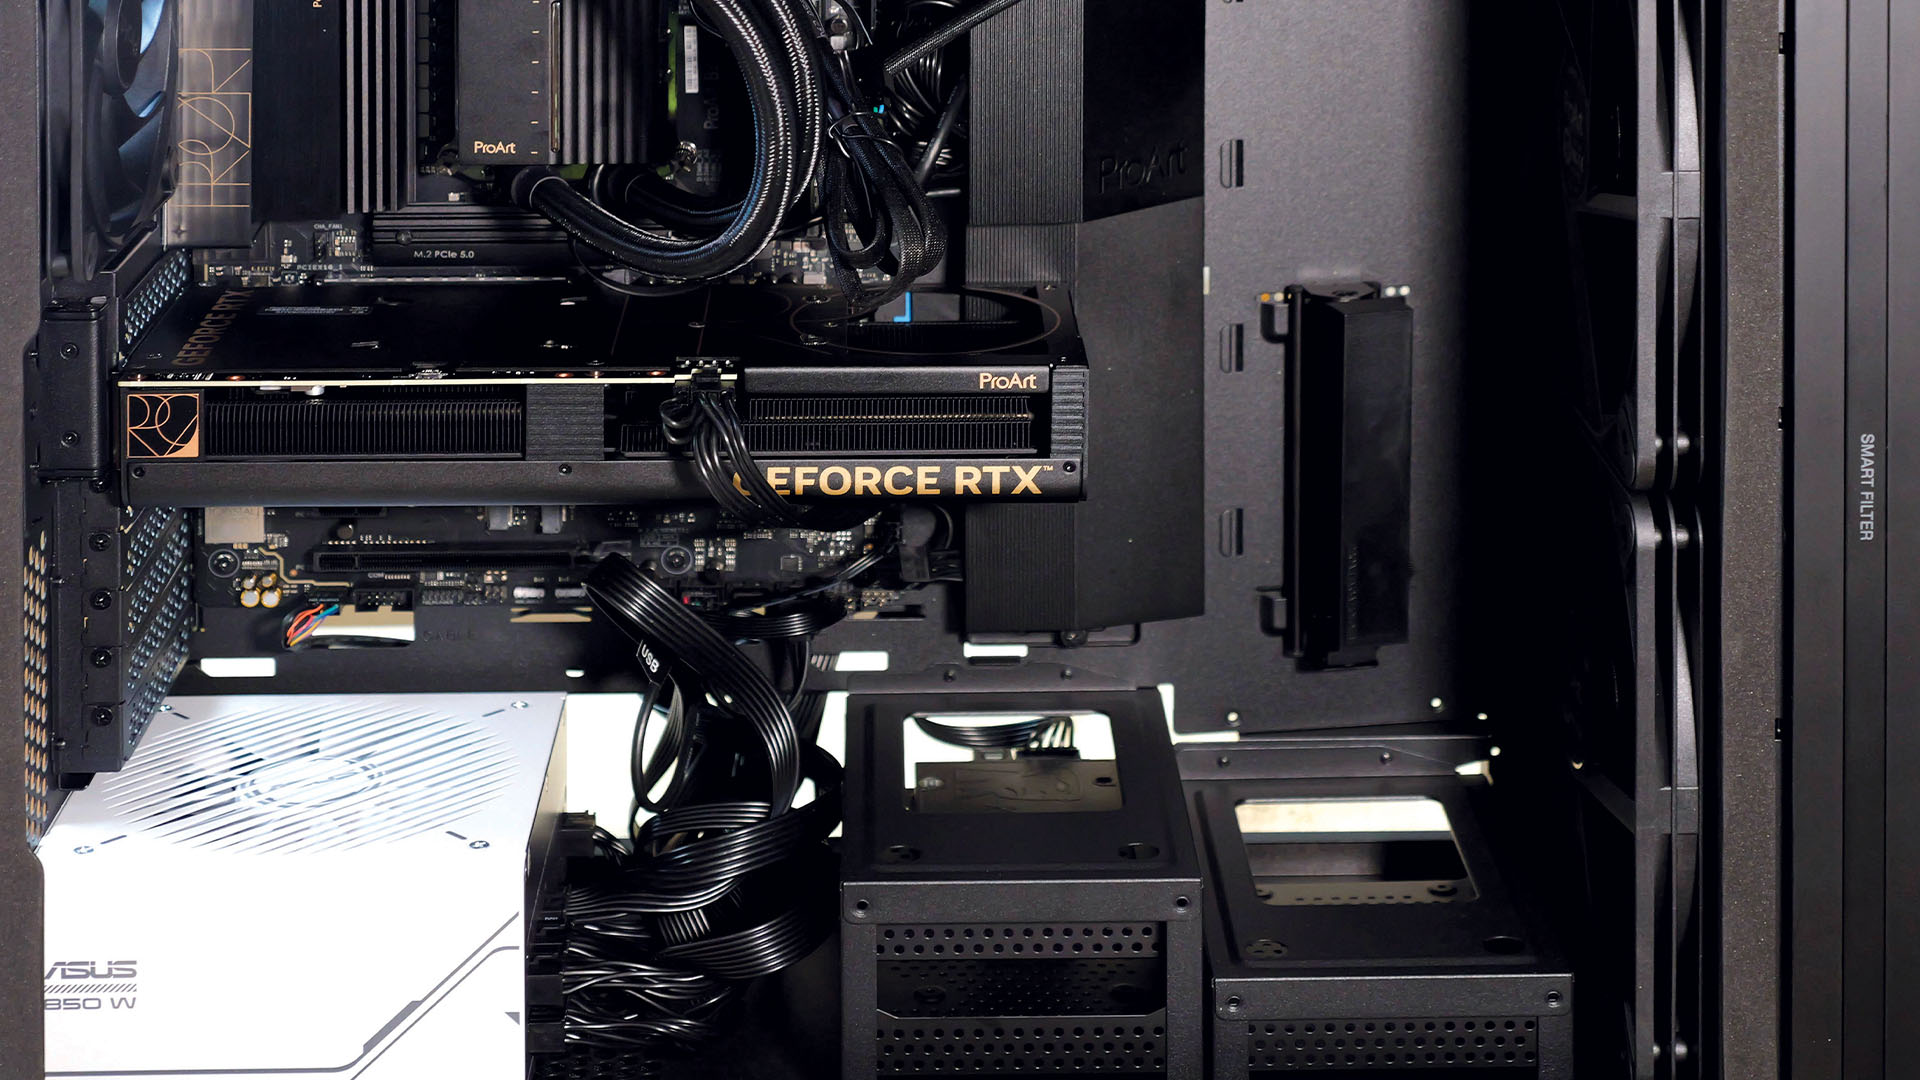
The last time we put together a 3D World custom workstation build was over a decade ago. Even then we asked ourselves questions: is building your own workstation worth it? Does it still save money? Do better components last longer than pre-built computers? Spoiler alert: the answer to all those is yes!
While many creators today are working on small Macs or laptops, our build embraces the classic power workstation; a digital professional’s dream machine, albeit coming in at an affordable price. We set a budget of £4,000 (or $3,600), which is the rough cost of a stock Mac Studio M2 Ultra (24-core CPU, 60-core GPU, 64GB memory, 1TB SSD) that we’ll use as our yardstick for comparison. As you’ll see, our build will easily match or beat all those numbers.
We also get to work with some of our favourite manufacturers such as Asus, a supplier of top-quality professional components; Kingston, which has a long history of quality and affordability; and AMD for our CPU. For a little extra fun, we wanted to squeeze some premium content-creator peripherals from Wacom and Blackmagic Design into our budget. There’s also a surprise lined up for our choice of operating system.
All the prices shown are from the UK and US official stores of the manufacturers or the local Amazon site.
Choosing Our Parts
Picking out the components for our workstation is the most important and time-consuming part of the process, but taking the time to make good choices will pay off in a quality build.
CPU
AMD has long been the darling of custom builders. While the Threadripper line entices, it was way out of our budget. Instead we chose the Ryzen 9 7900X, which benchmarks closely to the Mac Studio’s performance.
Costing under £400 ($400), AMD describes the 7900X as a creator’s CPU as it boasts 12 cores, 24 threads, a base clock speed of 4.7GHz, and a boost clock of up to 5.6GHz. Its single-core benchmarks even beat its big brother, the 7950X.
GPU
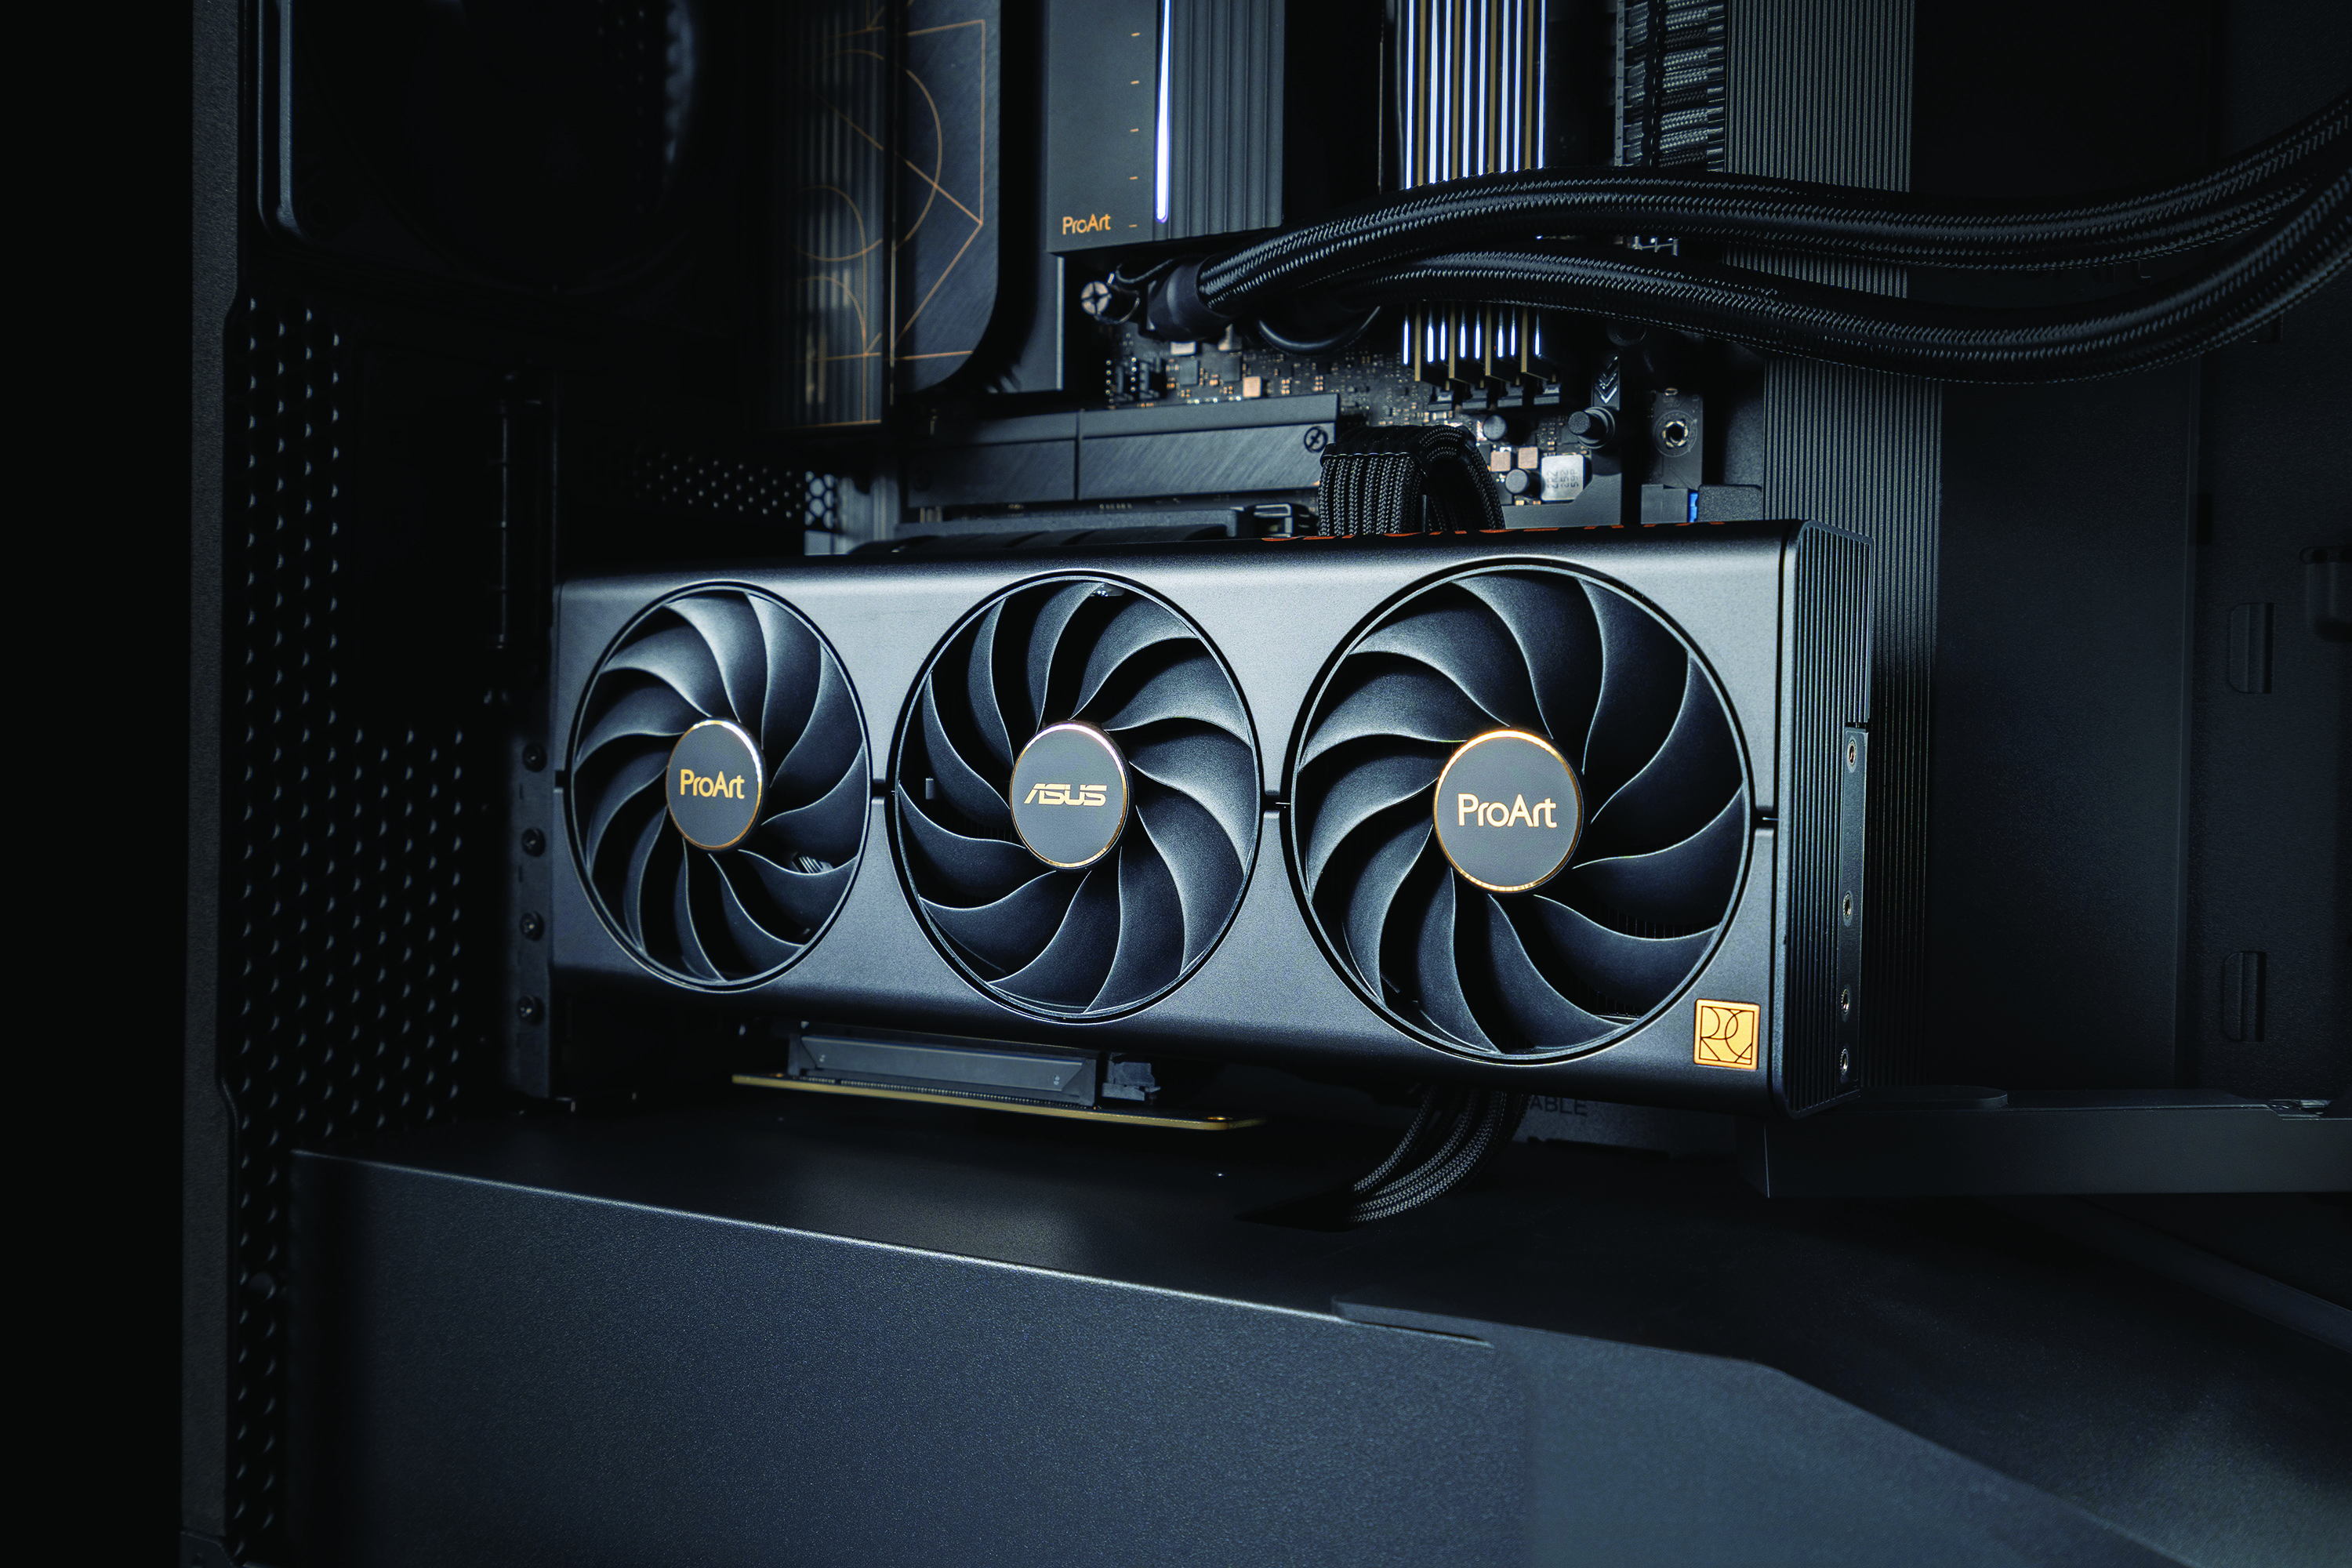
We looked at two cards here: one from AMD and one from Nvidia. Both are designed for graphics and 3D professionals and are in the £480-580 ($500-600) range, but the similarities end there.
Asus’ ProArt incarnation of Nvidia’s RTX 4060 Ti with 16GB of VRAM and 4,352 CUDA cores is designed for professional 3D and creative content users. The ProArt system can also run multiple GPUs, which makes it great for rendering. Our other champ is AMD’s Radeon PRO W7600. As that ‘W’ indicates, this card was built from the ground up for use in a pro workstation. At a retail price of £580 ($600), this is an affordable workstation card, with its major weakness being only 8GB of memory.
Motherboard
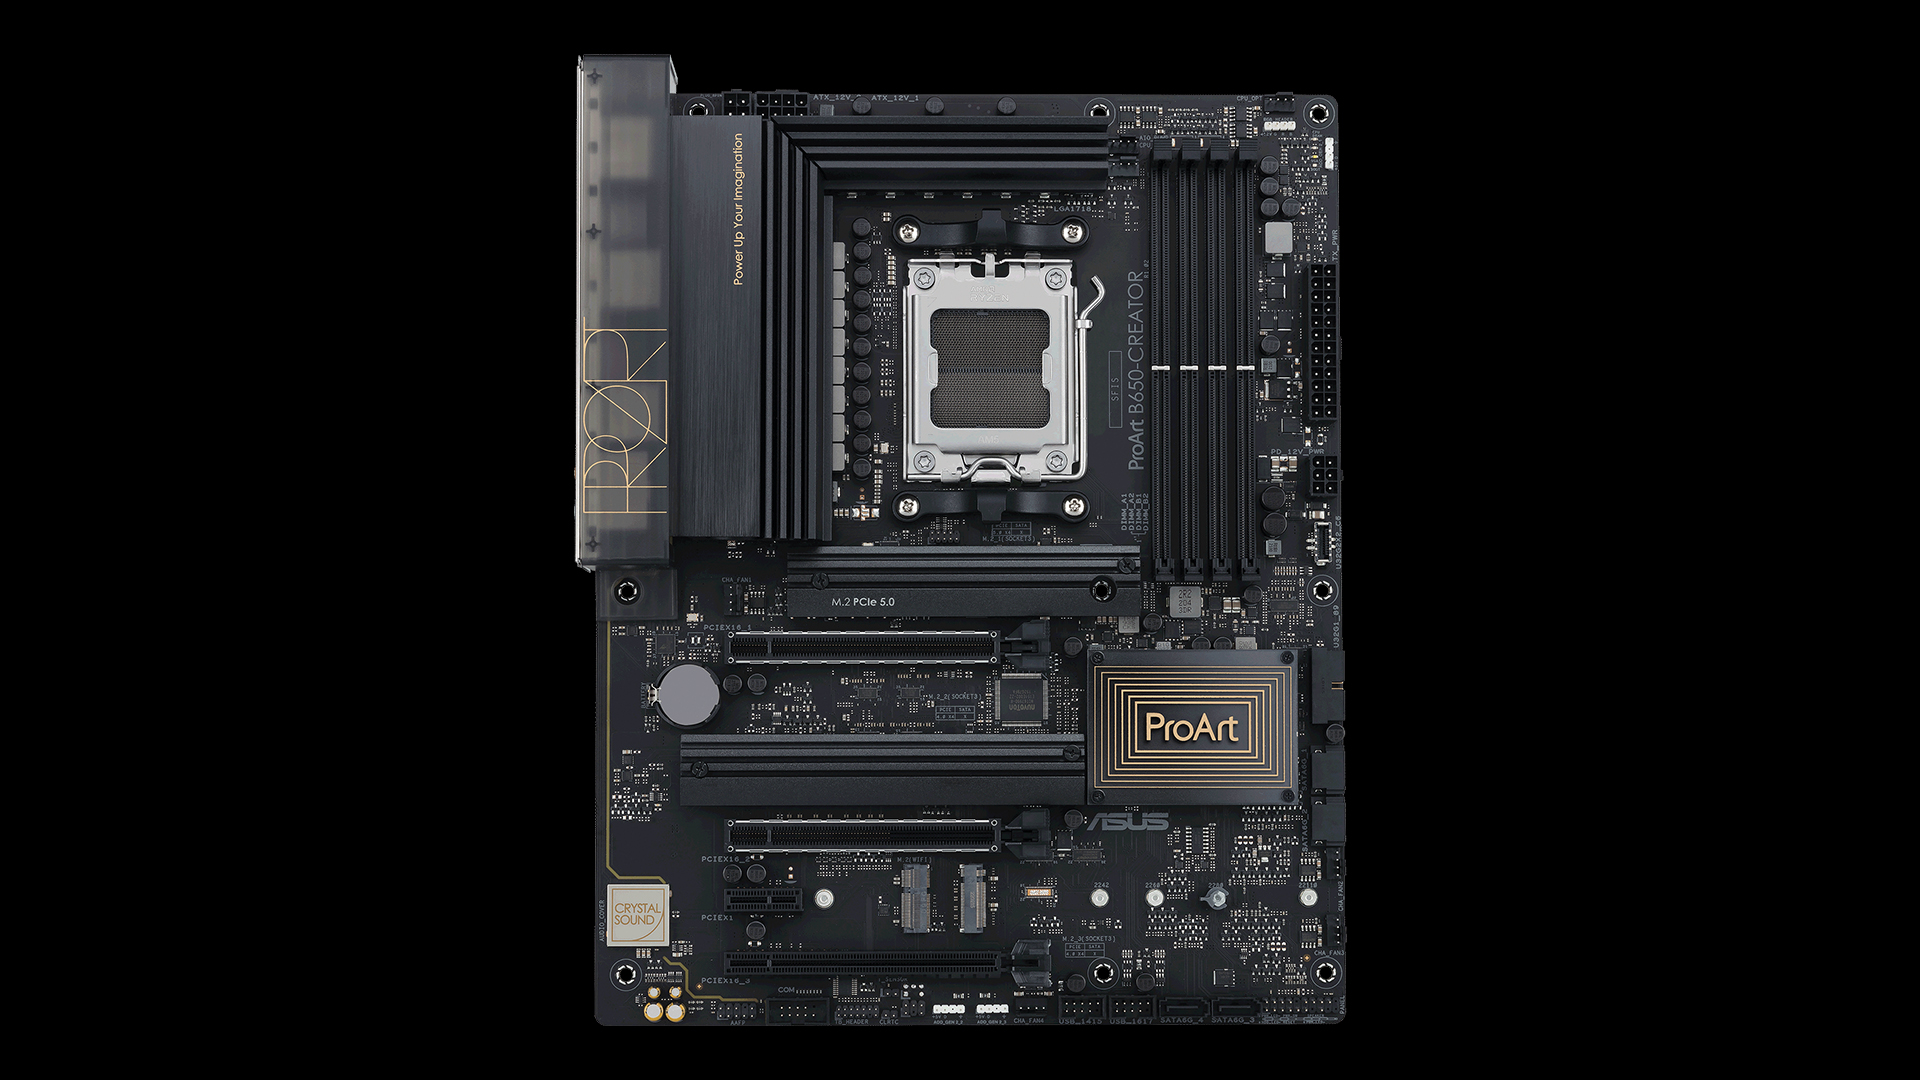
With the CPU selected, we needed a motherboard that supports the AM5 socket. Sticking with Asus’ impressive ProArt line, its B650 Creator board was hard to beat at a street price of around £320 ($230). The B650 is an excellent board with DDR5 memory, a total of 14 USB ports, three M.2 slots, four PCIe4 slots, dual ethernet, and optical audio output.
SSD, Hardrive and Memory
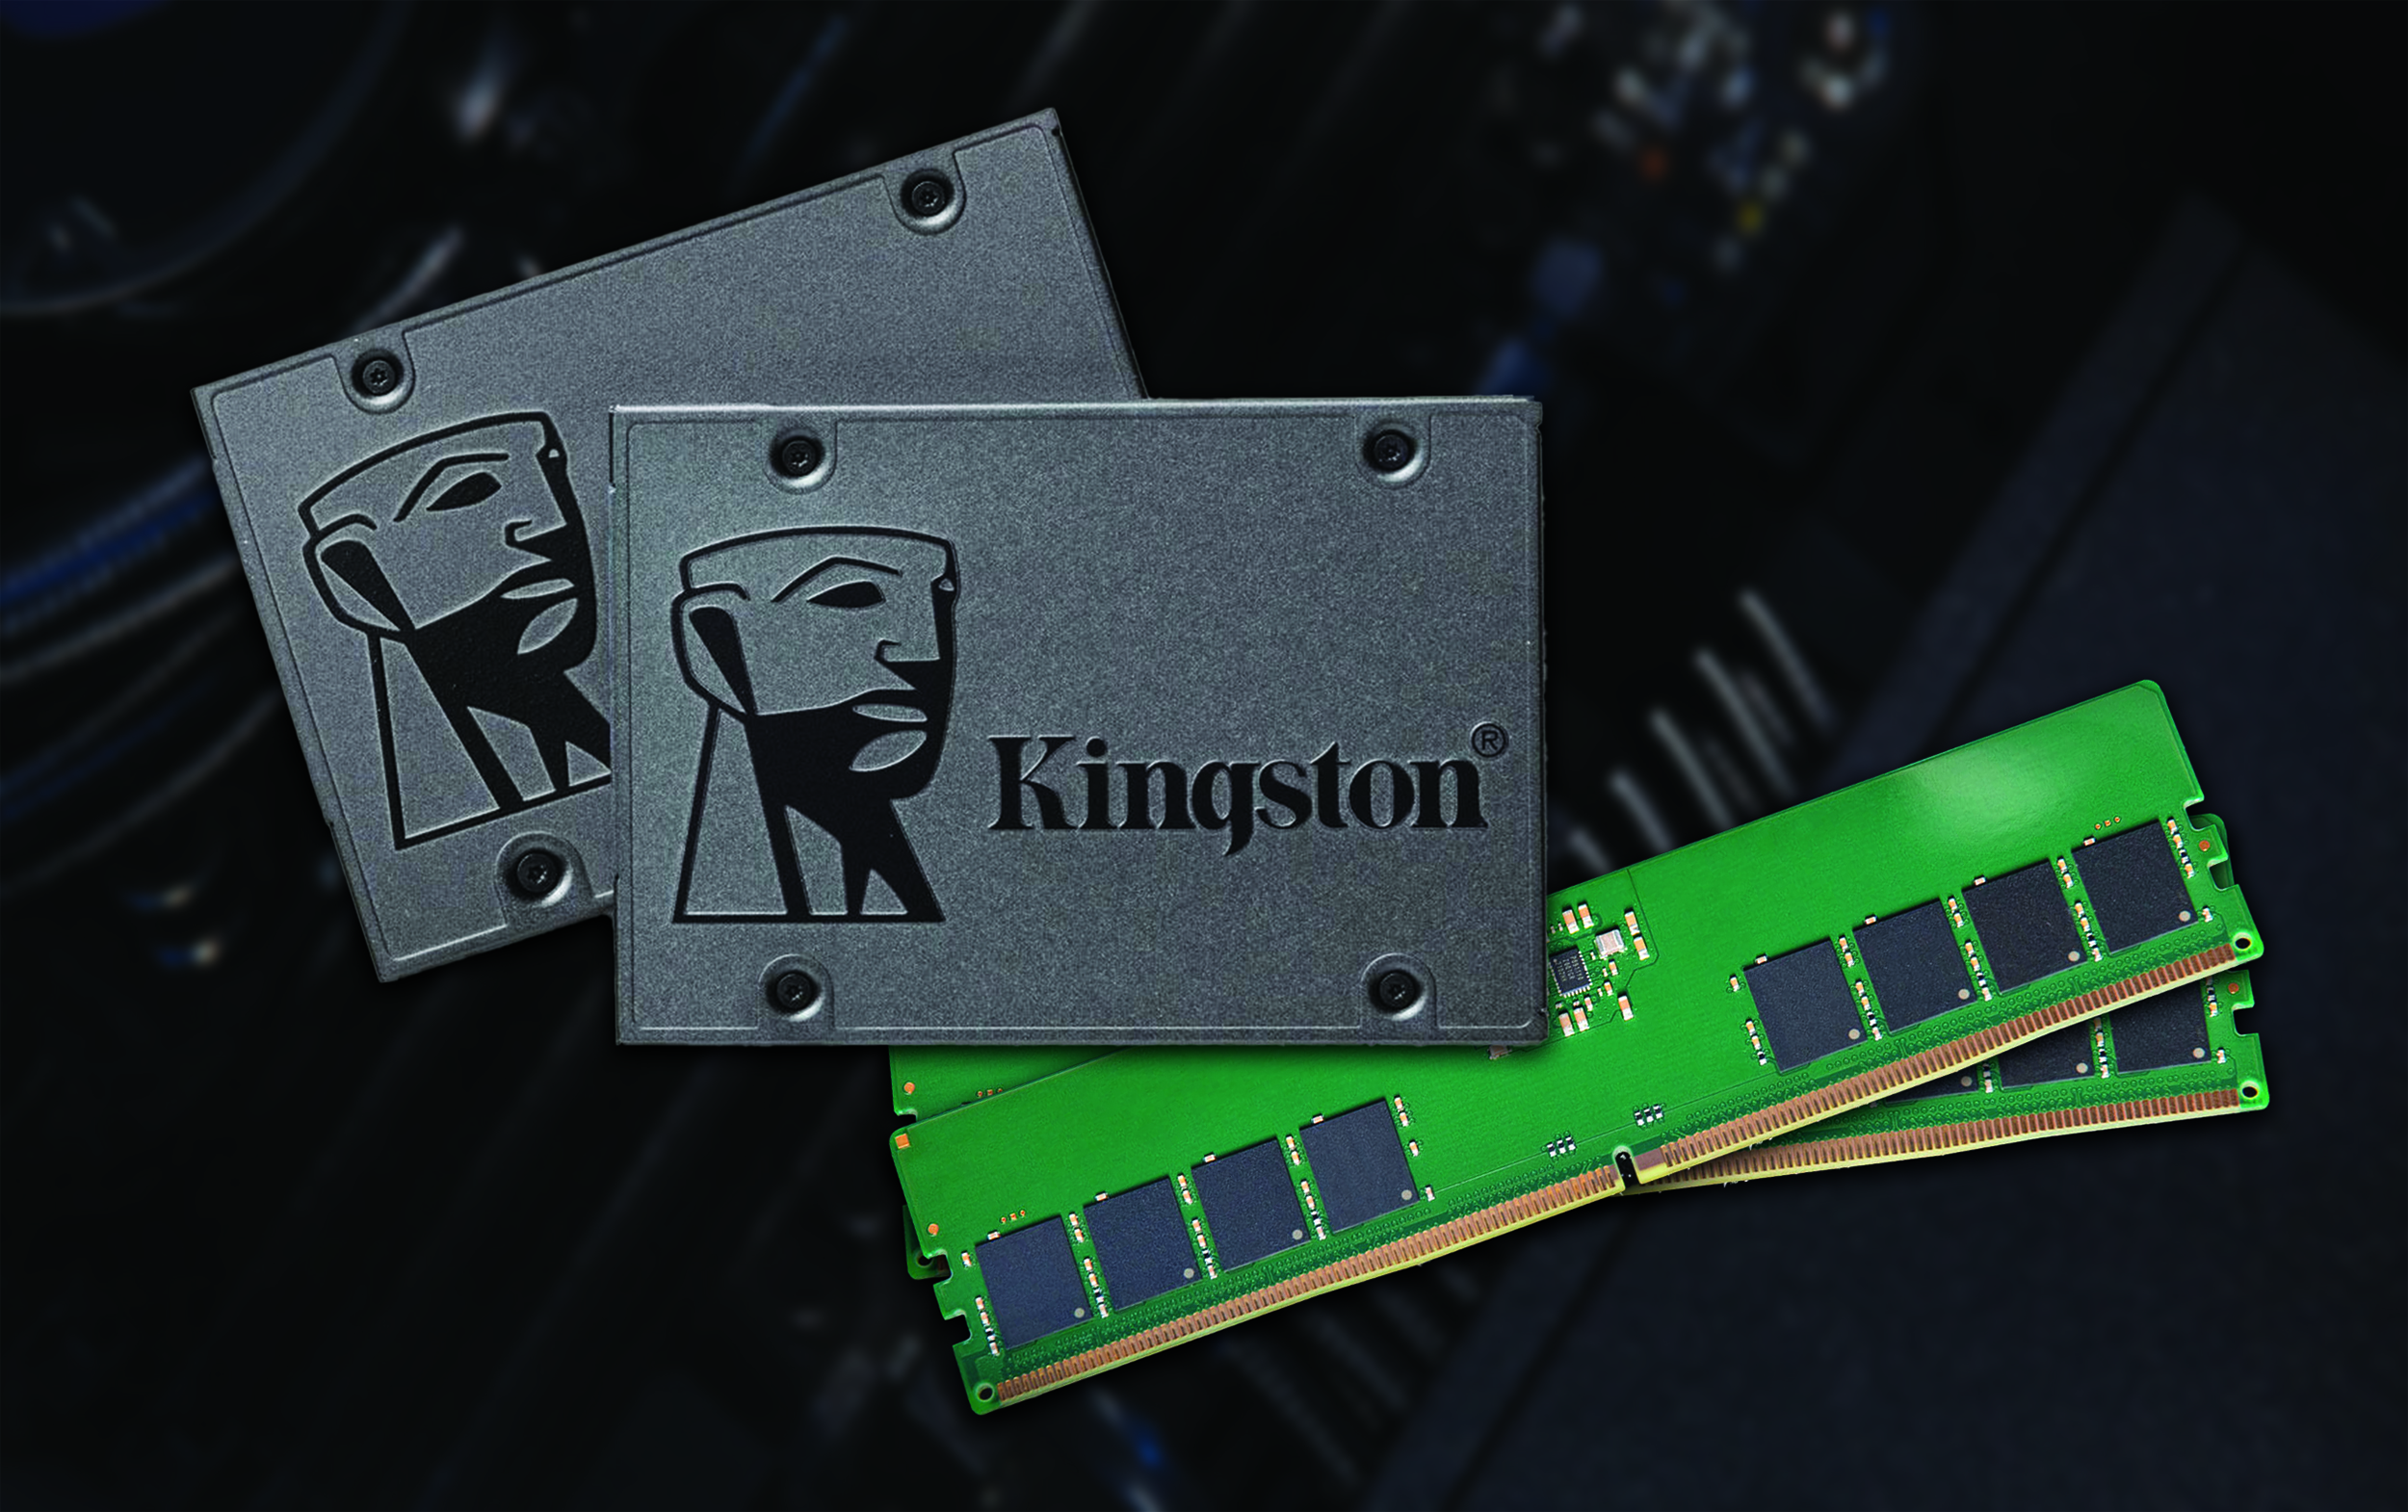
In terms of bang for your buck, Kingston Technology has always stood out. We got 64GB of RAM from its Value RAM line of non-ECC memory at around £200 ($210). We went with Kingston’s popular A400 960GB SSD as a main data drive, with transfer speeds up to 500 MB/sec. It sells for under £60 ($70), and has over 150,000 Amazon reviews with a 4.7-star rating. Our OS will go on Kingston’s 2TB KC3000, an NVMe M.2 drive with speeds up to 7,000 MB/sec that’s a steal found at around £170 ($145).
Power and Cooling
AMD recommended we use liquid cooling, so we went with the Asus ProArt LC 420 at £300 ($270). Traditional heatsink and fans can do the job for less cost, but liquid systems are better for high-end builds, those that run hot, quieter setups, and builds running in dirtier locations like factories or cities. For power, we went with Asus’s excellent Prime 850W Gold power supply for £120 ($130).
Case
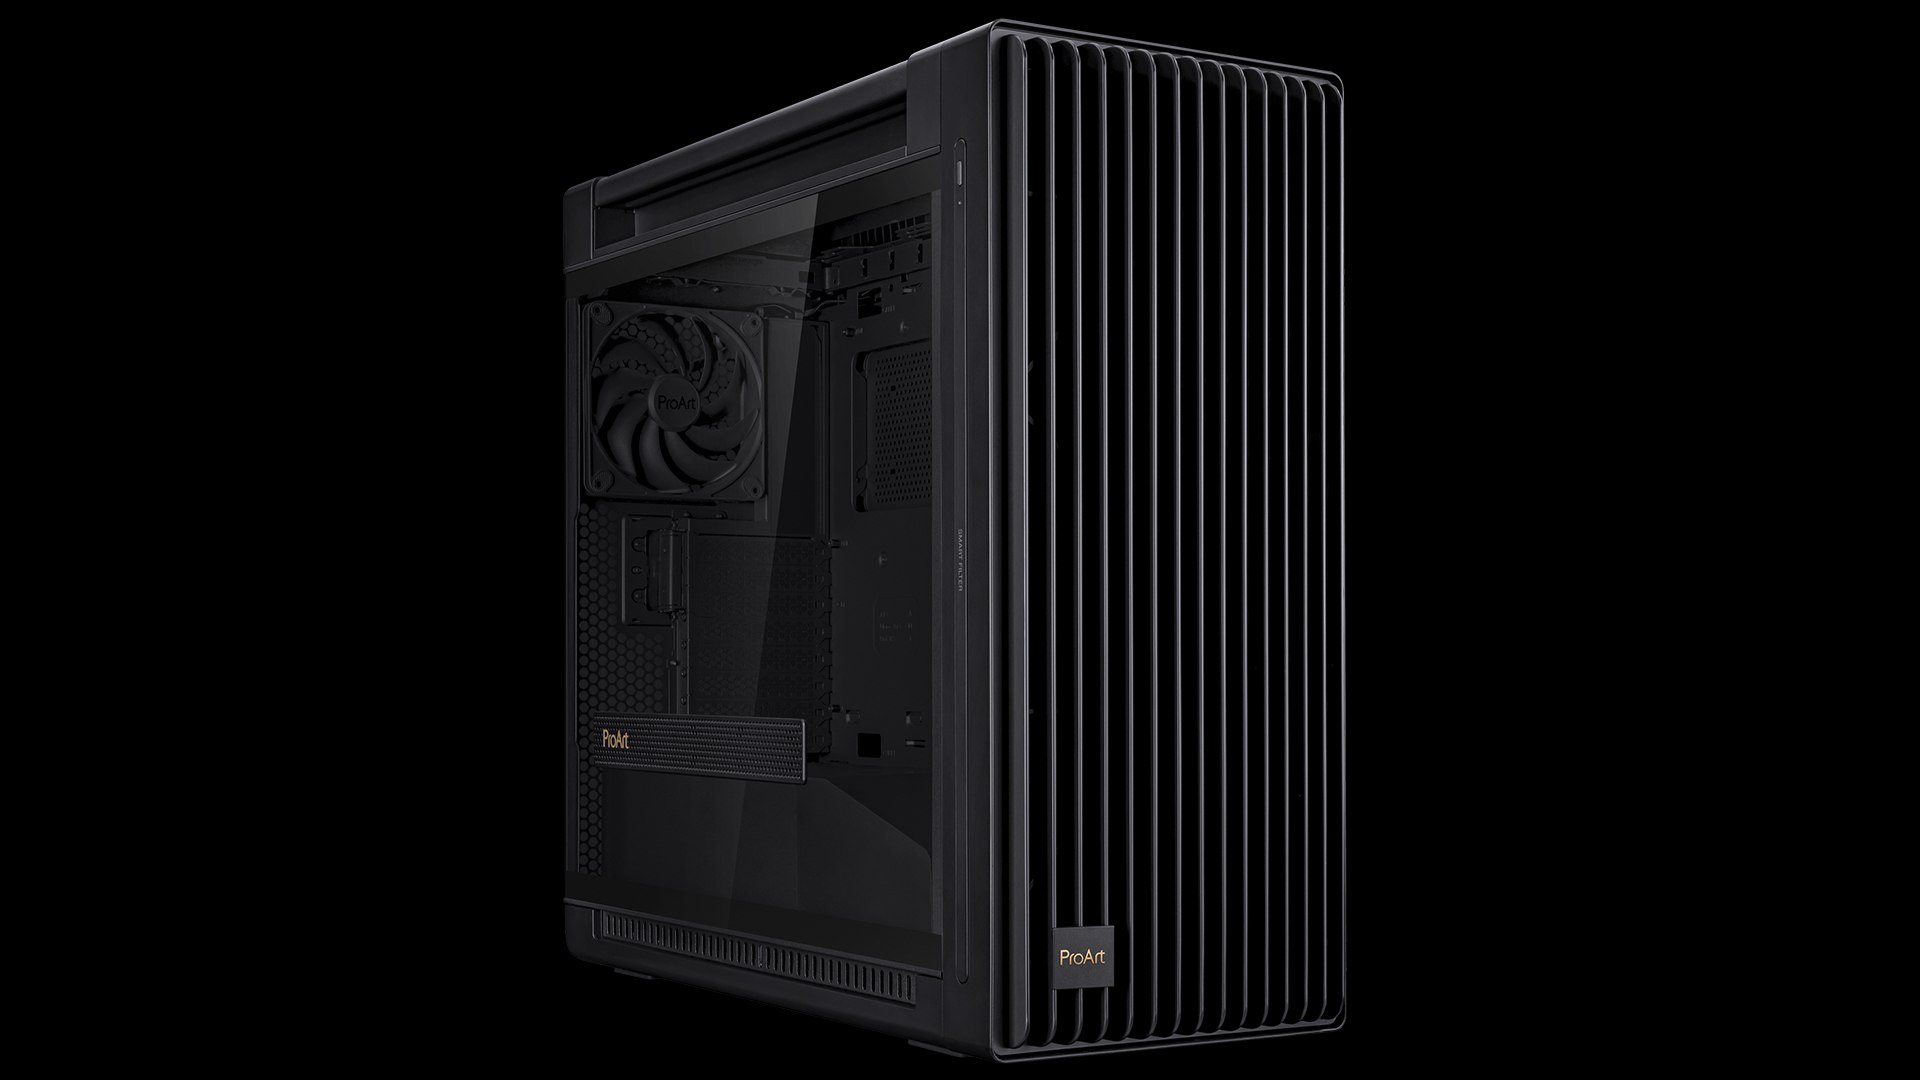
If you’ve seen the Asus ProArt line, you’ll already know why we went with its stunning jet black ProArt PA602 case (£240/$270), which is an amazing box both visually and functionally. This tower is a large (22x9.6x23.3in), 100 per cent pro workstation case made from metal, minimal plastic, and a tempered glass side with no gamer RGB. This box is a cooling beast; it has ample room for the liquid cooling, includes large fans, and has an IR dust indicator. As a bonus, it even has wheels and unobtrusive handles.
Peripherals
As few cases provide space for optical disks anymore, we skipped the CD/DVD drive. For a budget mouse and keyboard, my all-time favourite combo is Amazon Basics’ package for under £20 ($20). The mouse has a surprisingly delicate touch, making it good for graphics work. We also picked up a portable SSD in the 1TB Kingston XS2000 for £110 ($115) that will be handy for installing our OS.
Putting it together
Quality parts make for easier assembly. My best three tips for this stage: expect a glitch or two and know they’ll get resolved; never try to build on a deadline; and remember, this should be fun! The following is a good overview for the PC-building process, but always refer to the manuals of all your components for the finer detail.
01. Start with the motherboard
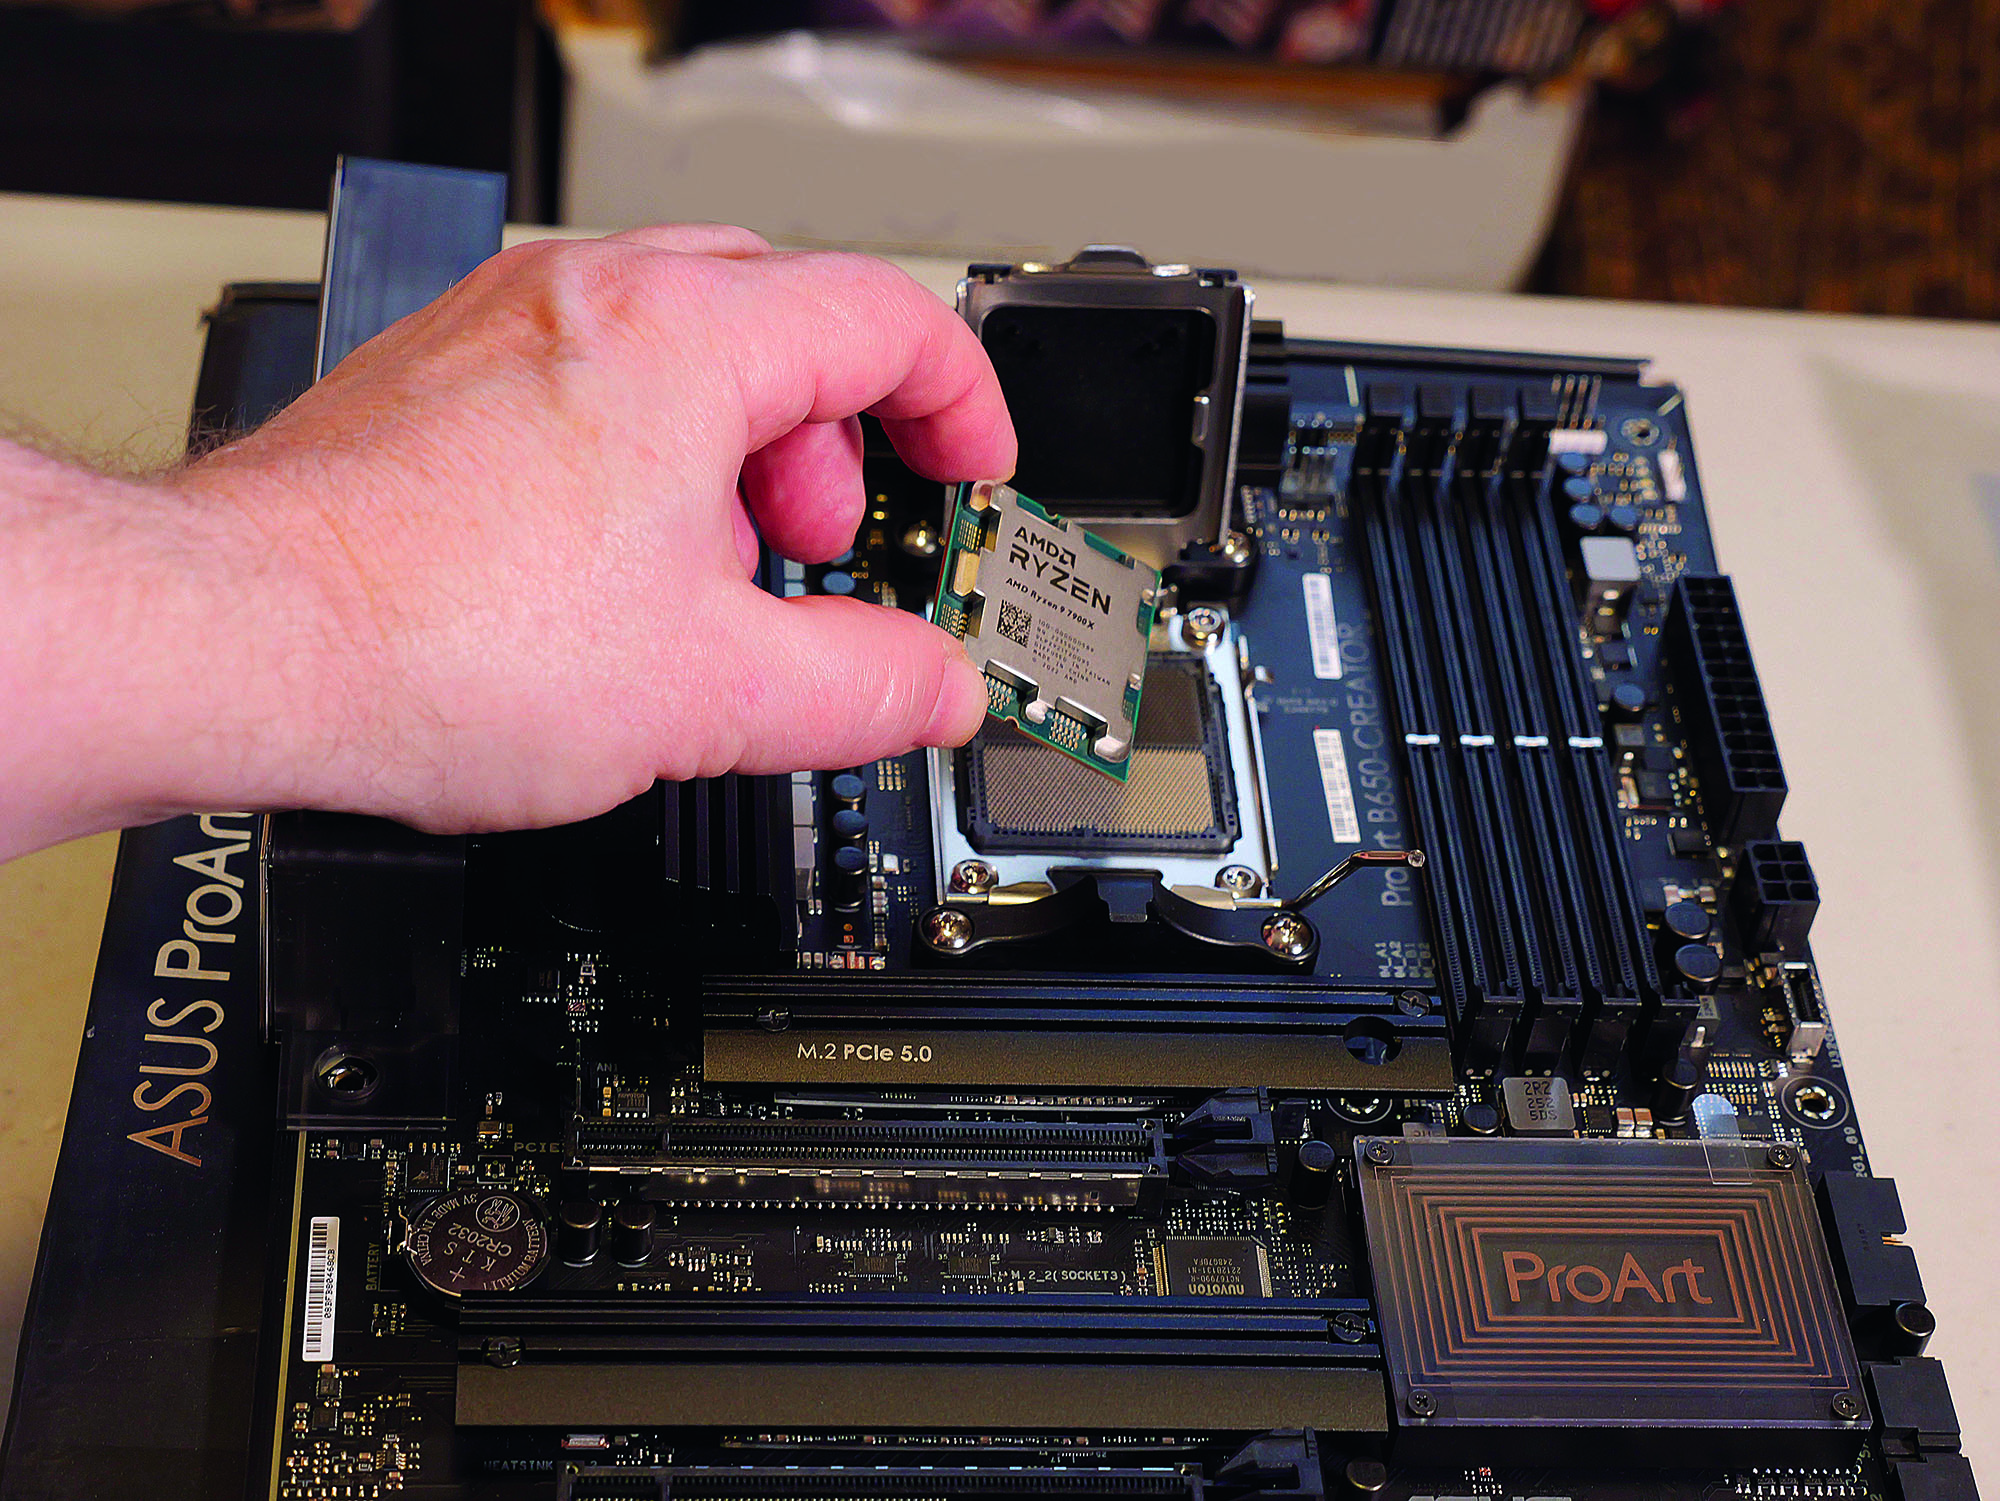
In a way, this is just like assembling flat-pack furniture. Start off by laying everything out on a secure table, and be careful to avoid static electricity that could damage any parts. When building a PC, I generally like to populate the motherboard before installing it into the case.
Open the CPU package, and make sure that you only hold the CPU by the edges. Place the chip in its AM5 socket on the motherboard, matching the orientation triangles on the chip and socket (top-left), then close the spring clamp (01a). Next, the two RAM sticks in our kit are inserted into the memory slots on the motherboard, leaving two more slots open for expansion. Press firmly to install them, but not so hard that anything might break (01b). Follow this up by slipping the SSD into the M.2 slot. At this point we can put the motherboard safely aside (01c) for the time being.
2. Populate the case
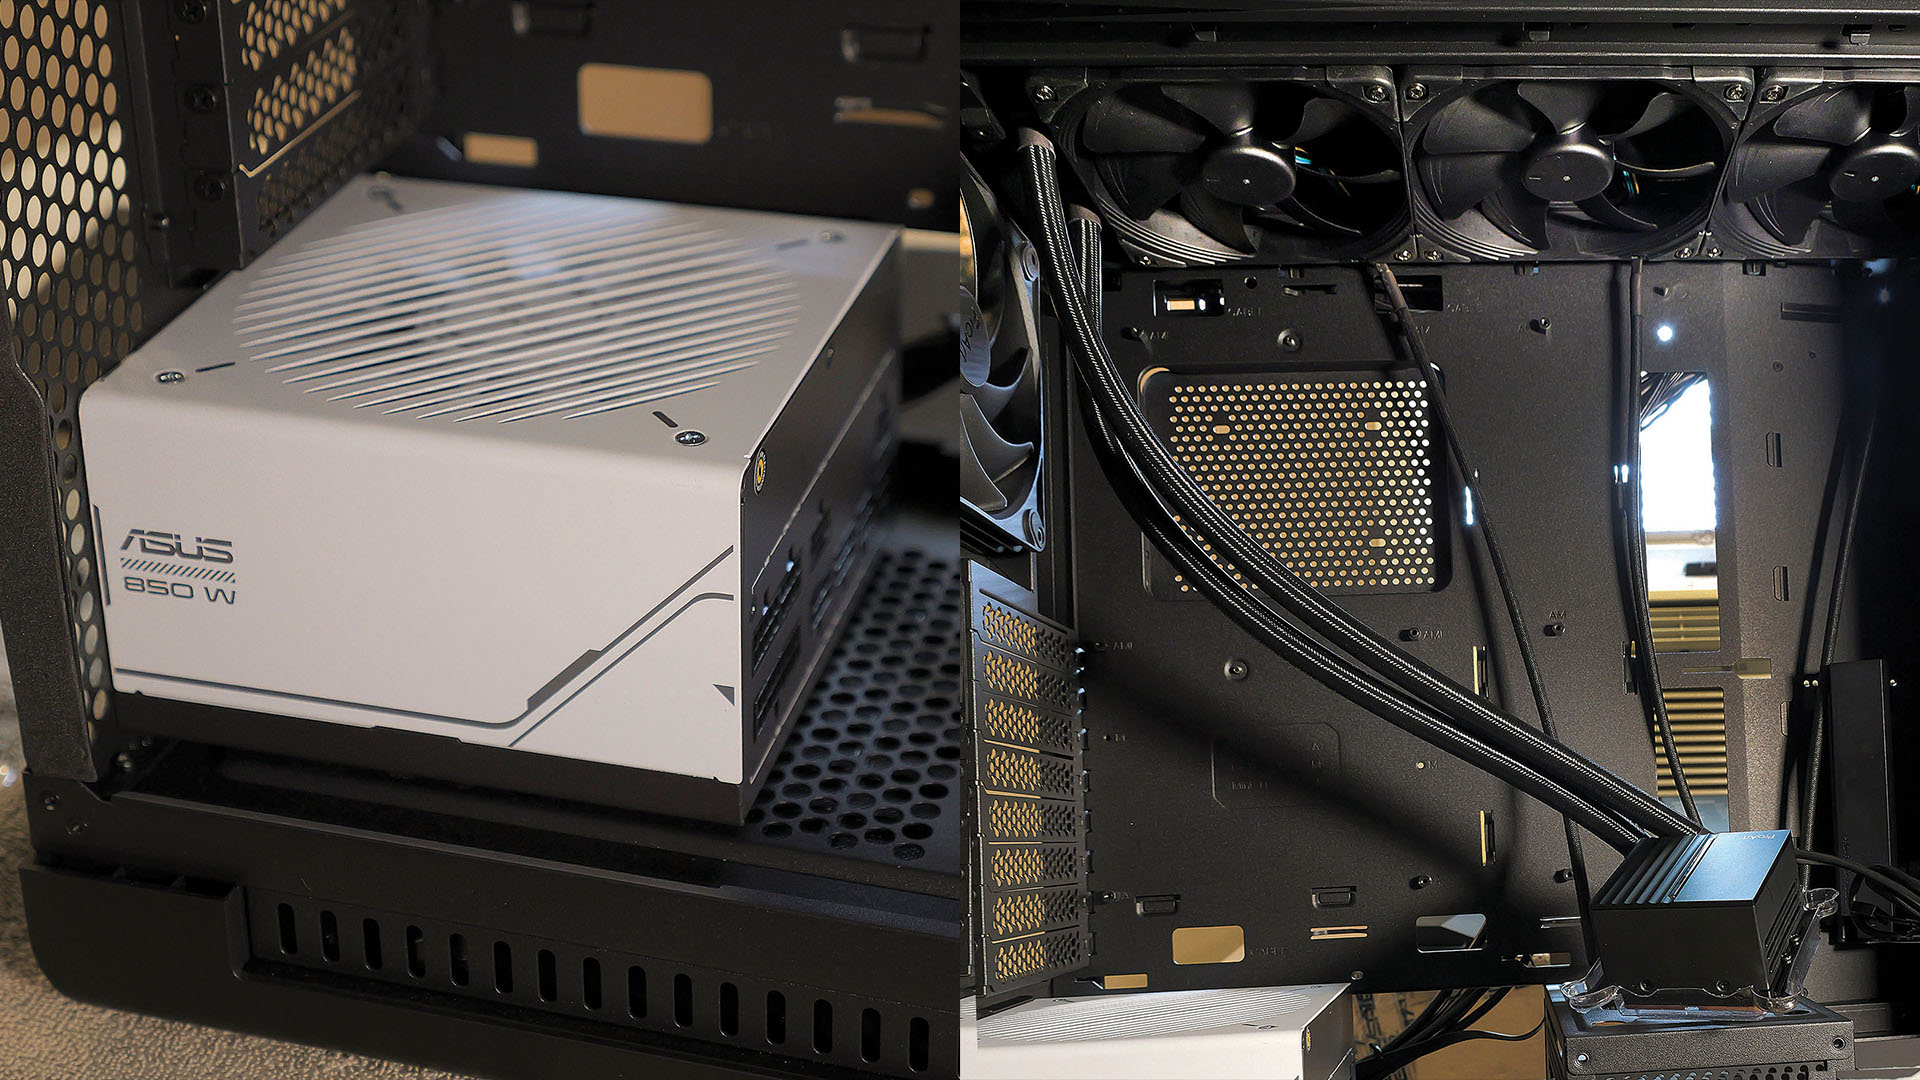
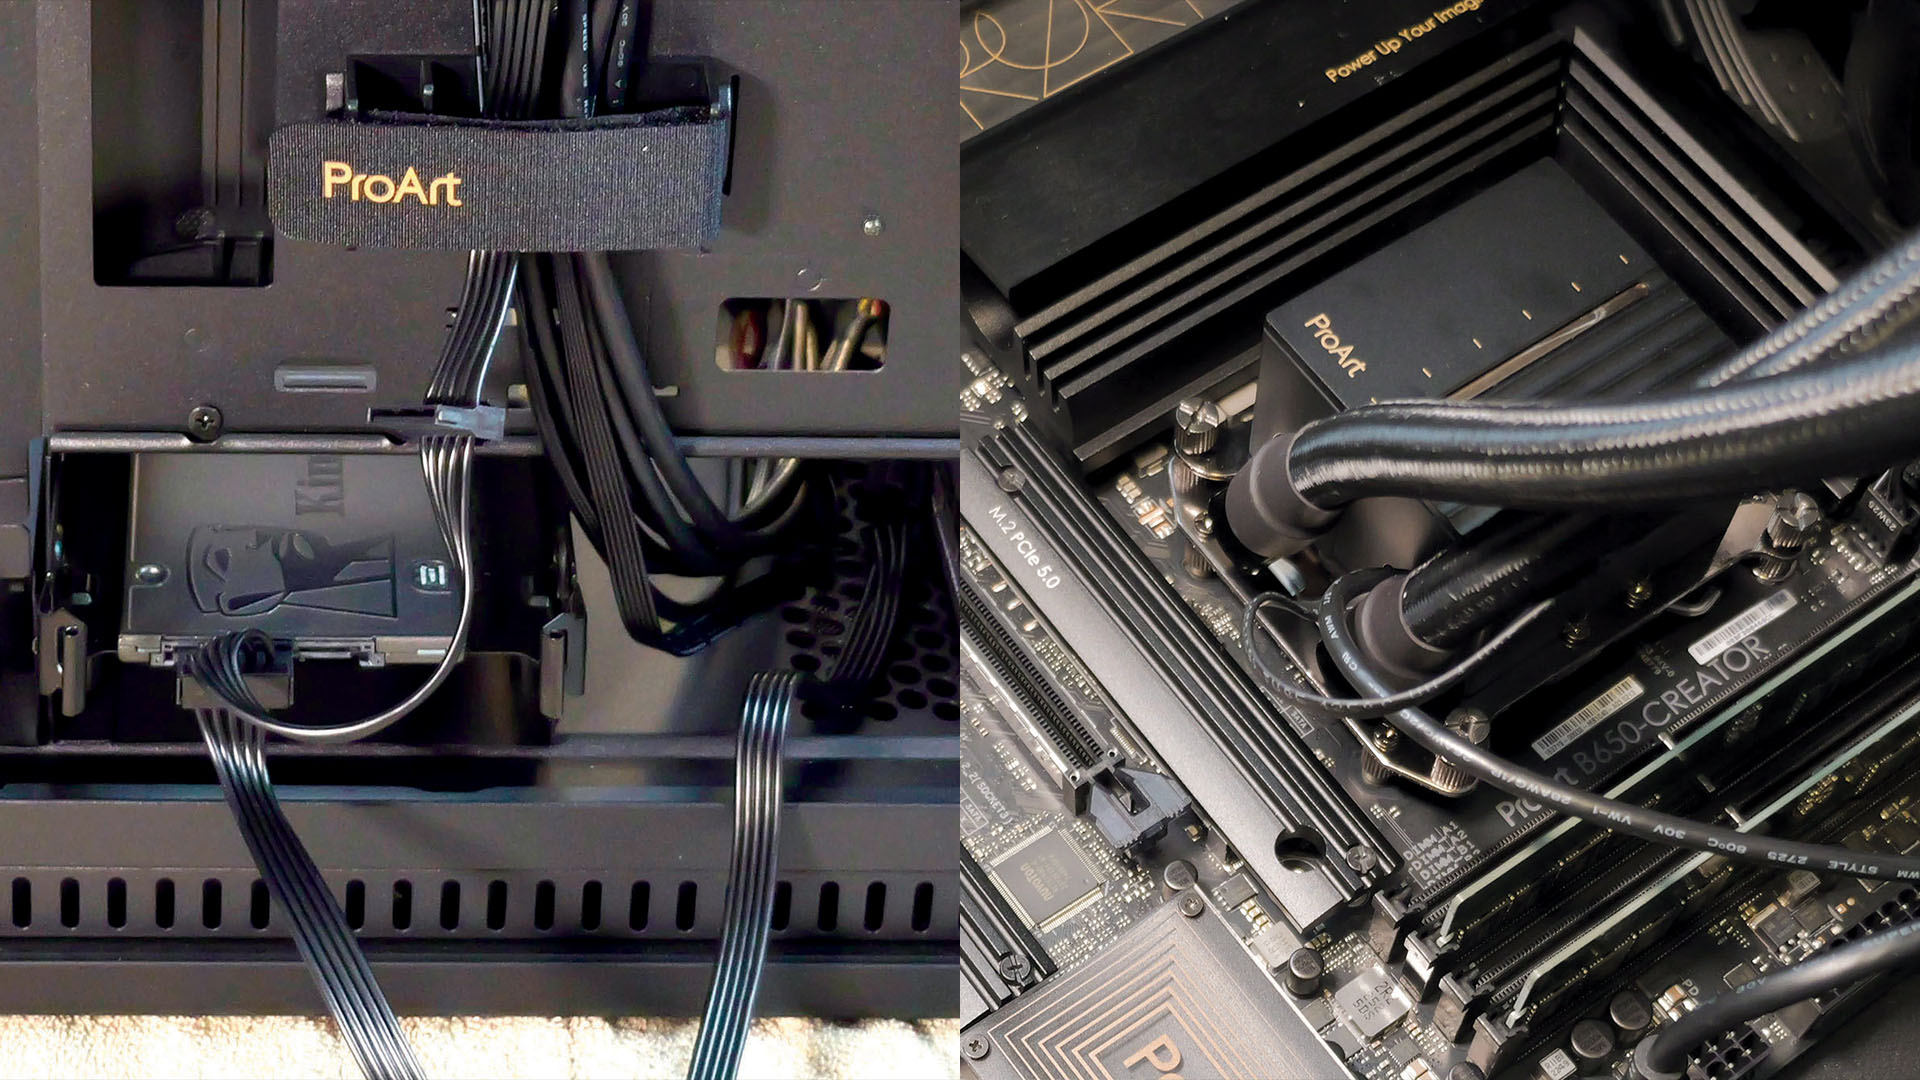
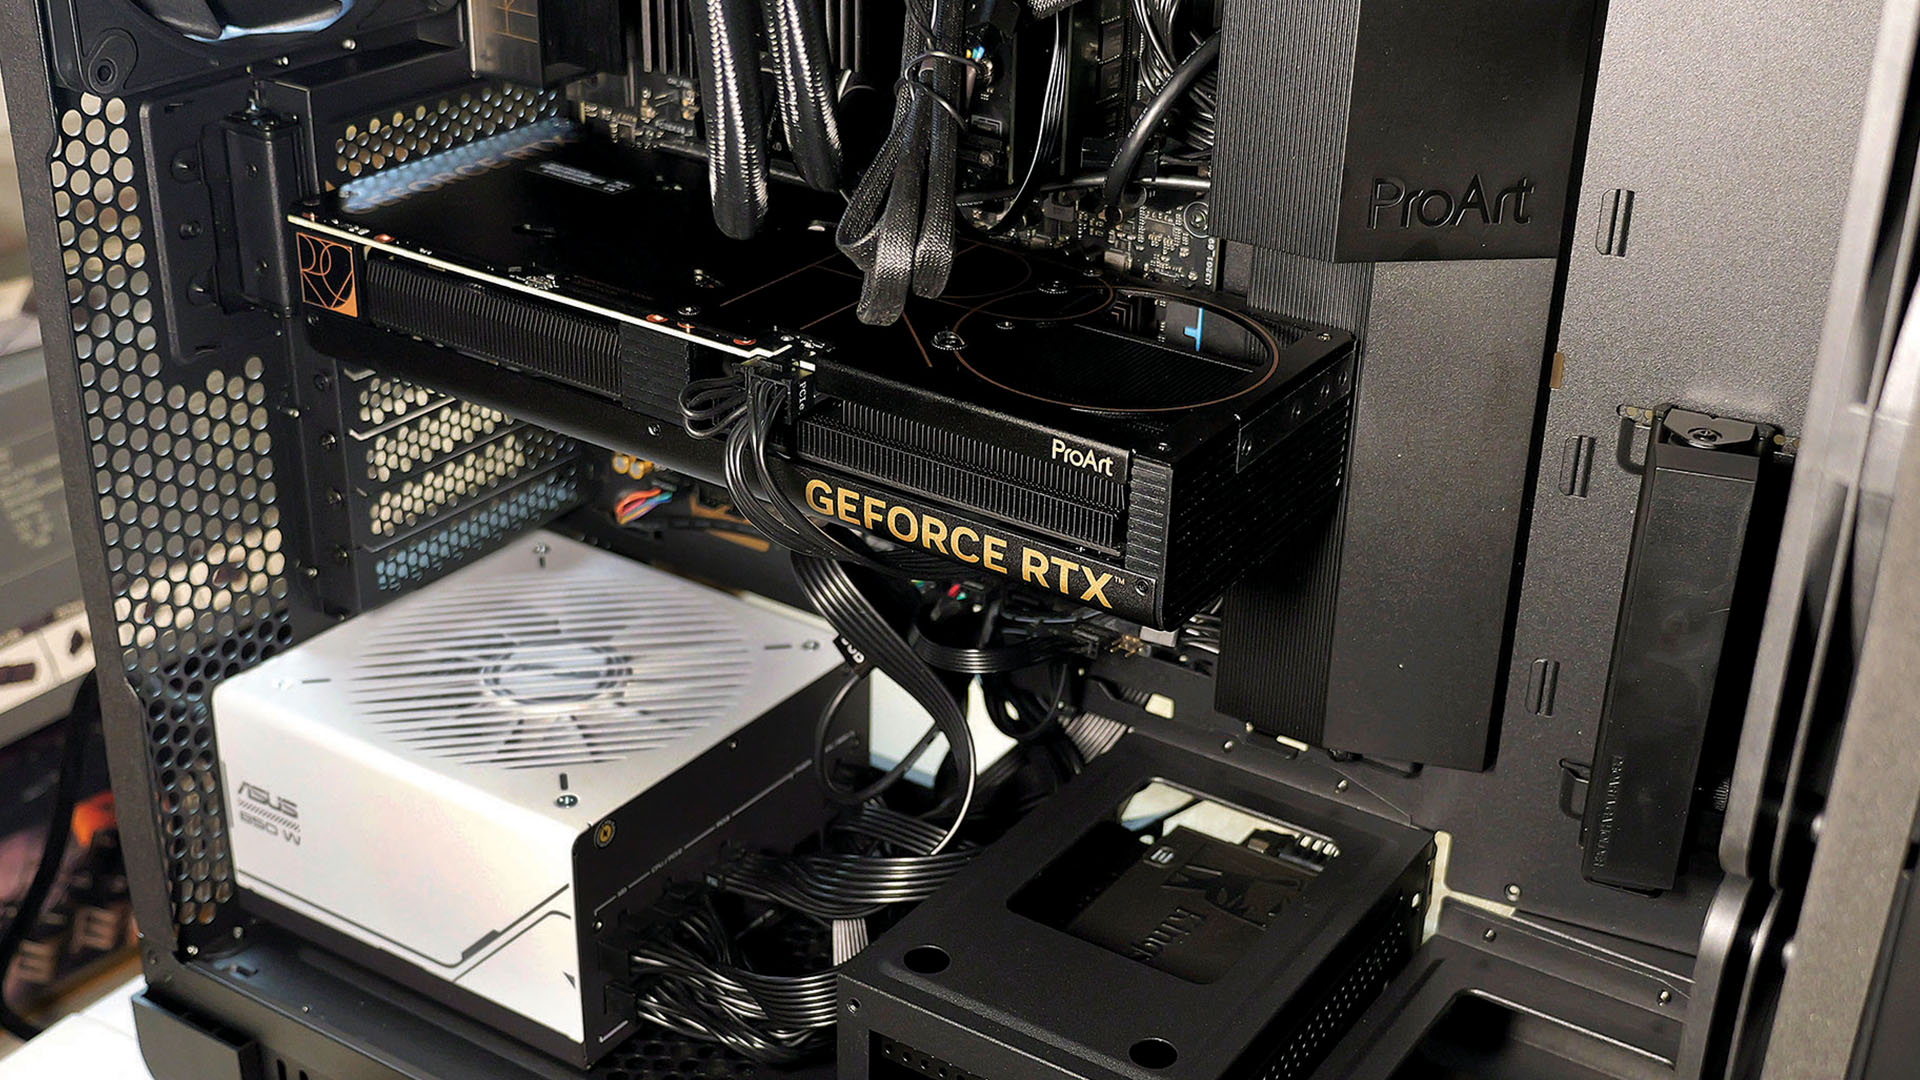
Now to start putting our components into the box. First up, mount the power supply (PSU) at the bottom of the case. Doing this first prevents accidents later on (02a). I’ve decided to install the ProArt LC 420 liquid cooler into the top of the tower for my build. You can use rubber bands or tape to keep any cables out of the way for now (02b).
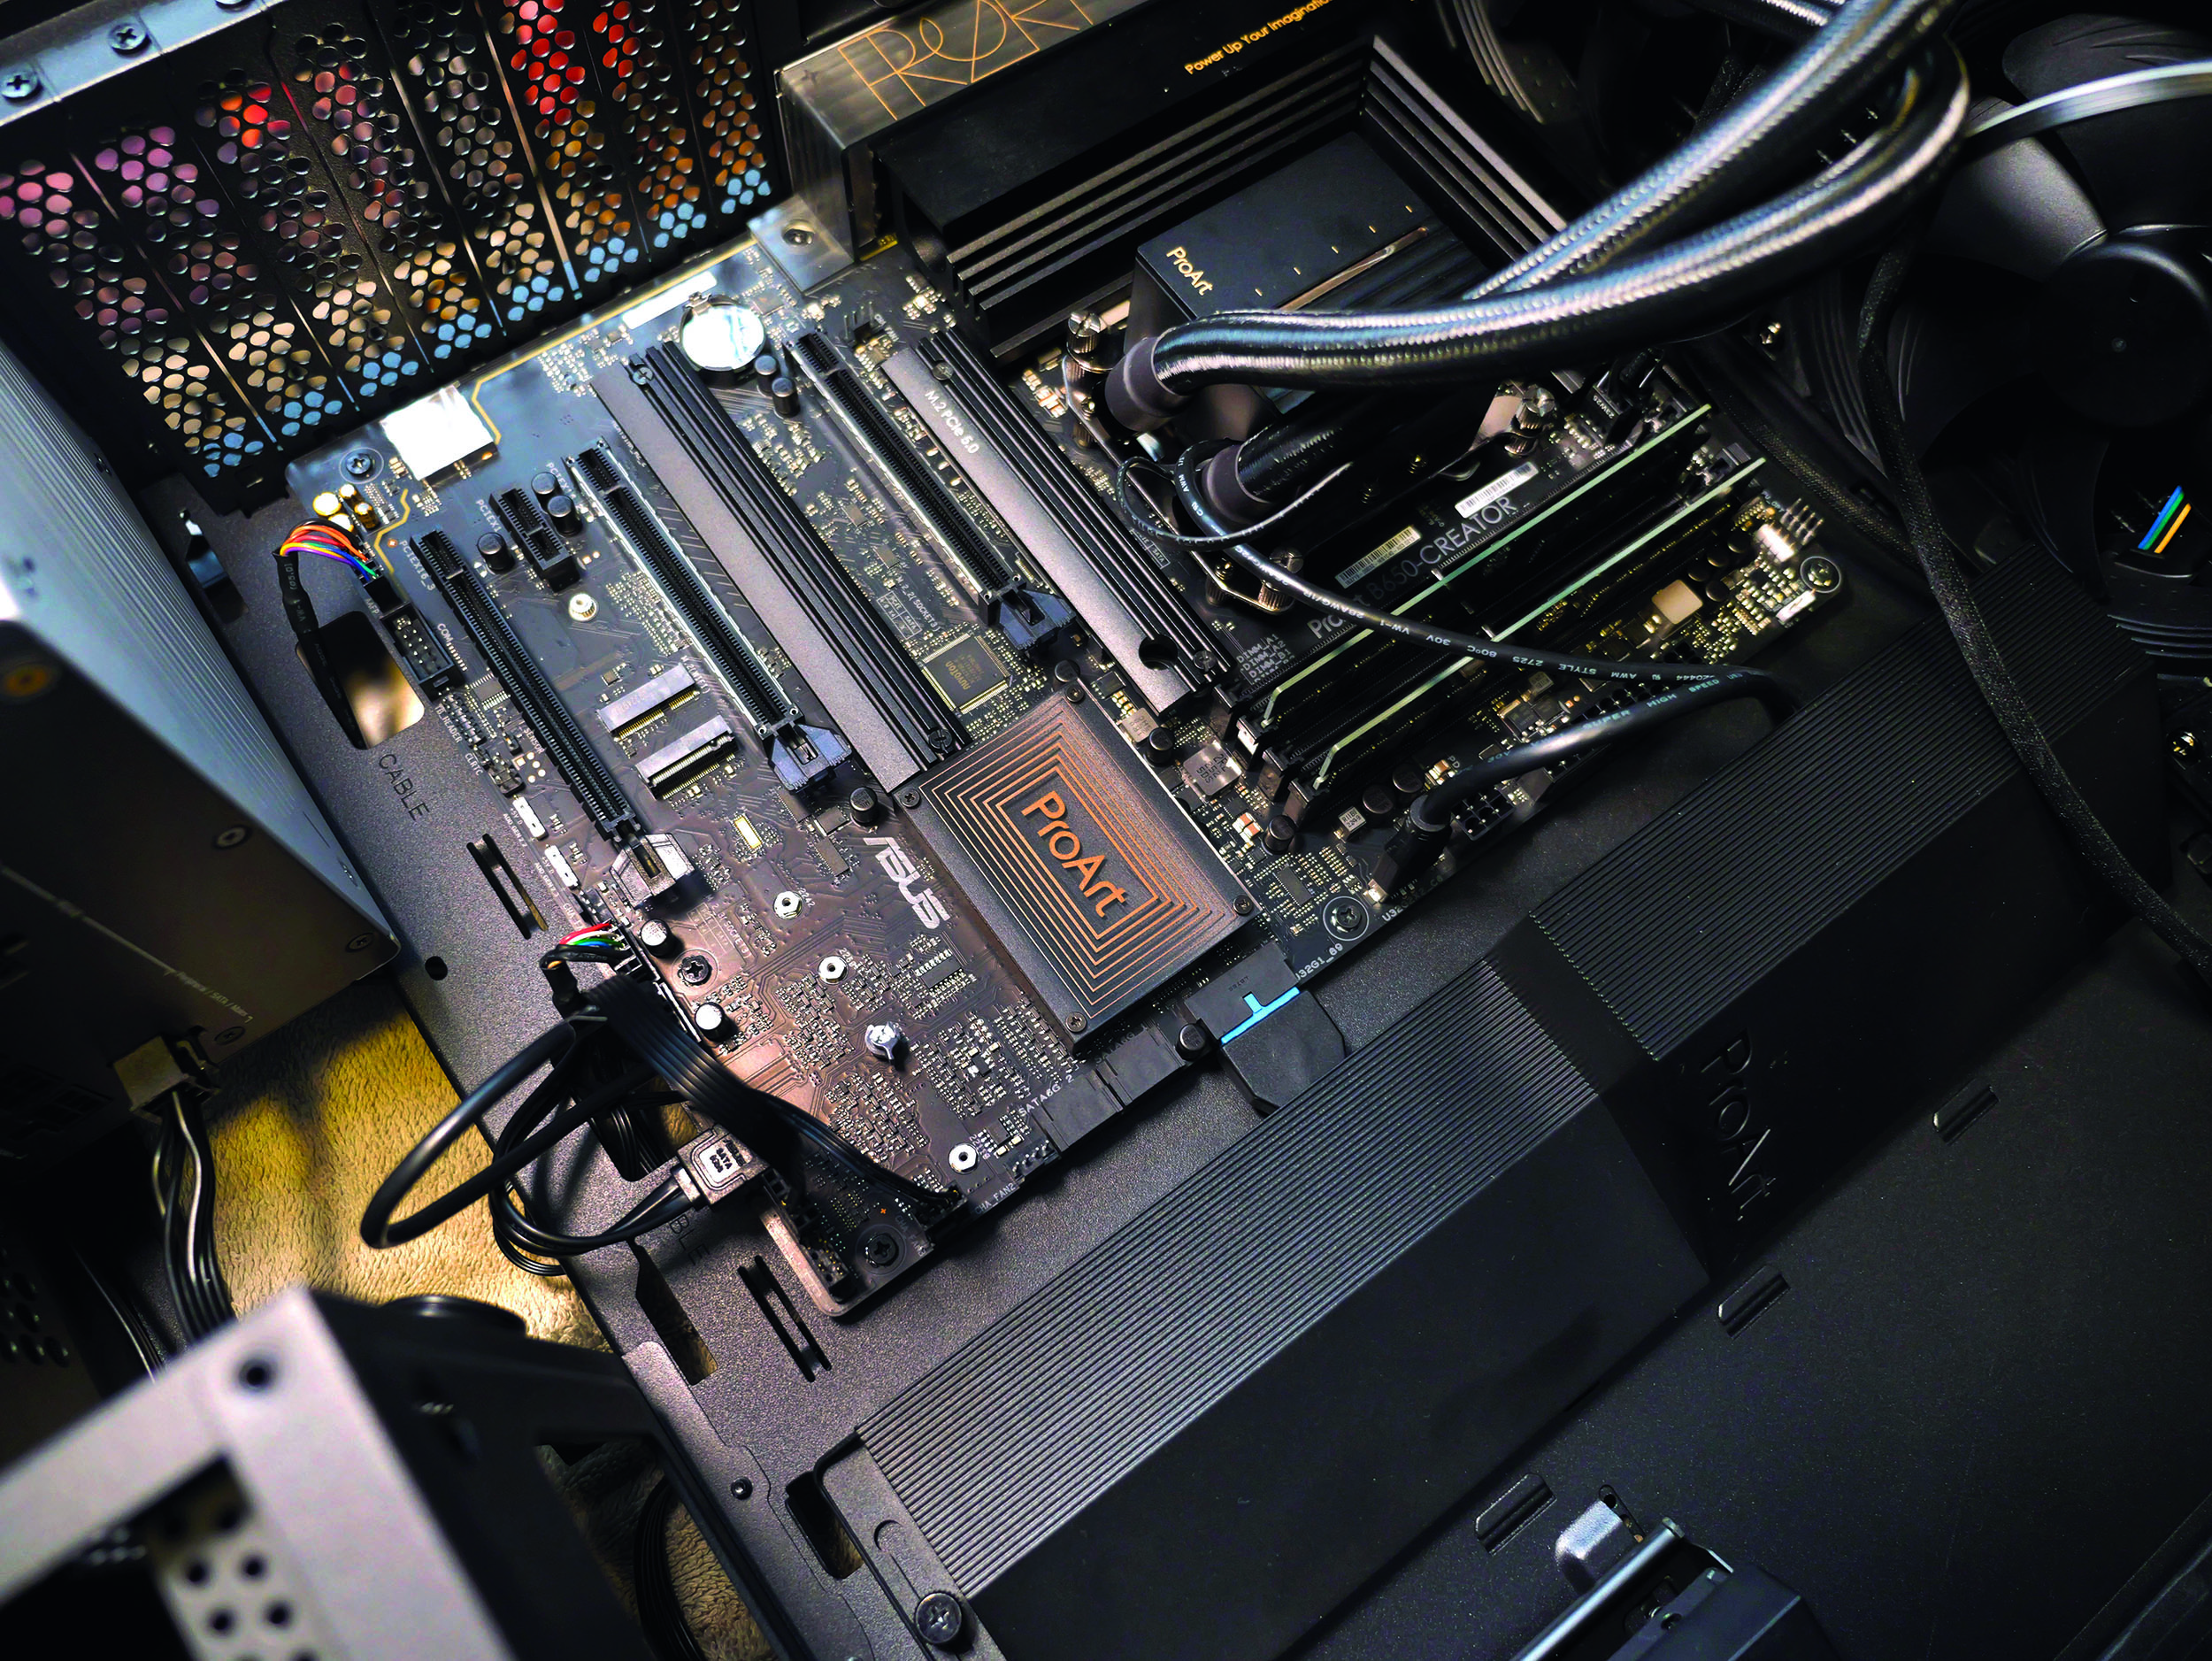
Next, carefully place the motherboard inside the case, align it and then secure it to the posts on the case while ensuring the input and output (I/O) ports are aligned to the back (02c). Also install the SSD drive in a bay from the opposite side (02d). Using the mount, connect the pump of your cooler on top of the CPU. Remember to make sure you have thermal paste placed appropriately on the CPU before you sit the pump over the top. Some pumps come with thermal paste pre-applied, while others will need you to apply the paste yourself (02e). The GPU is best mounted now too, while the motherboard is on its back (02f). With that done, stand the case up.
3. Wire it up
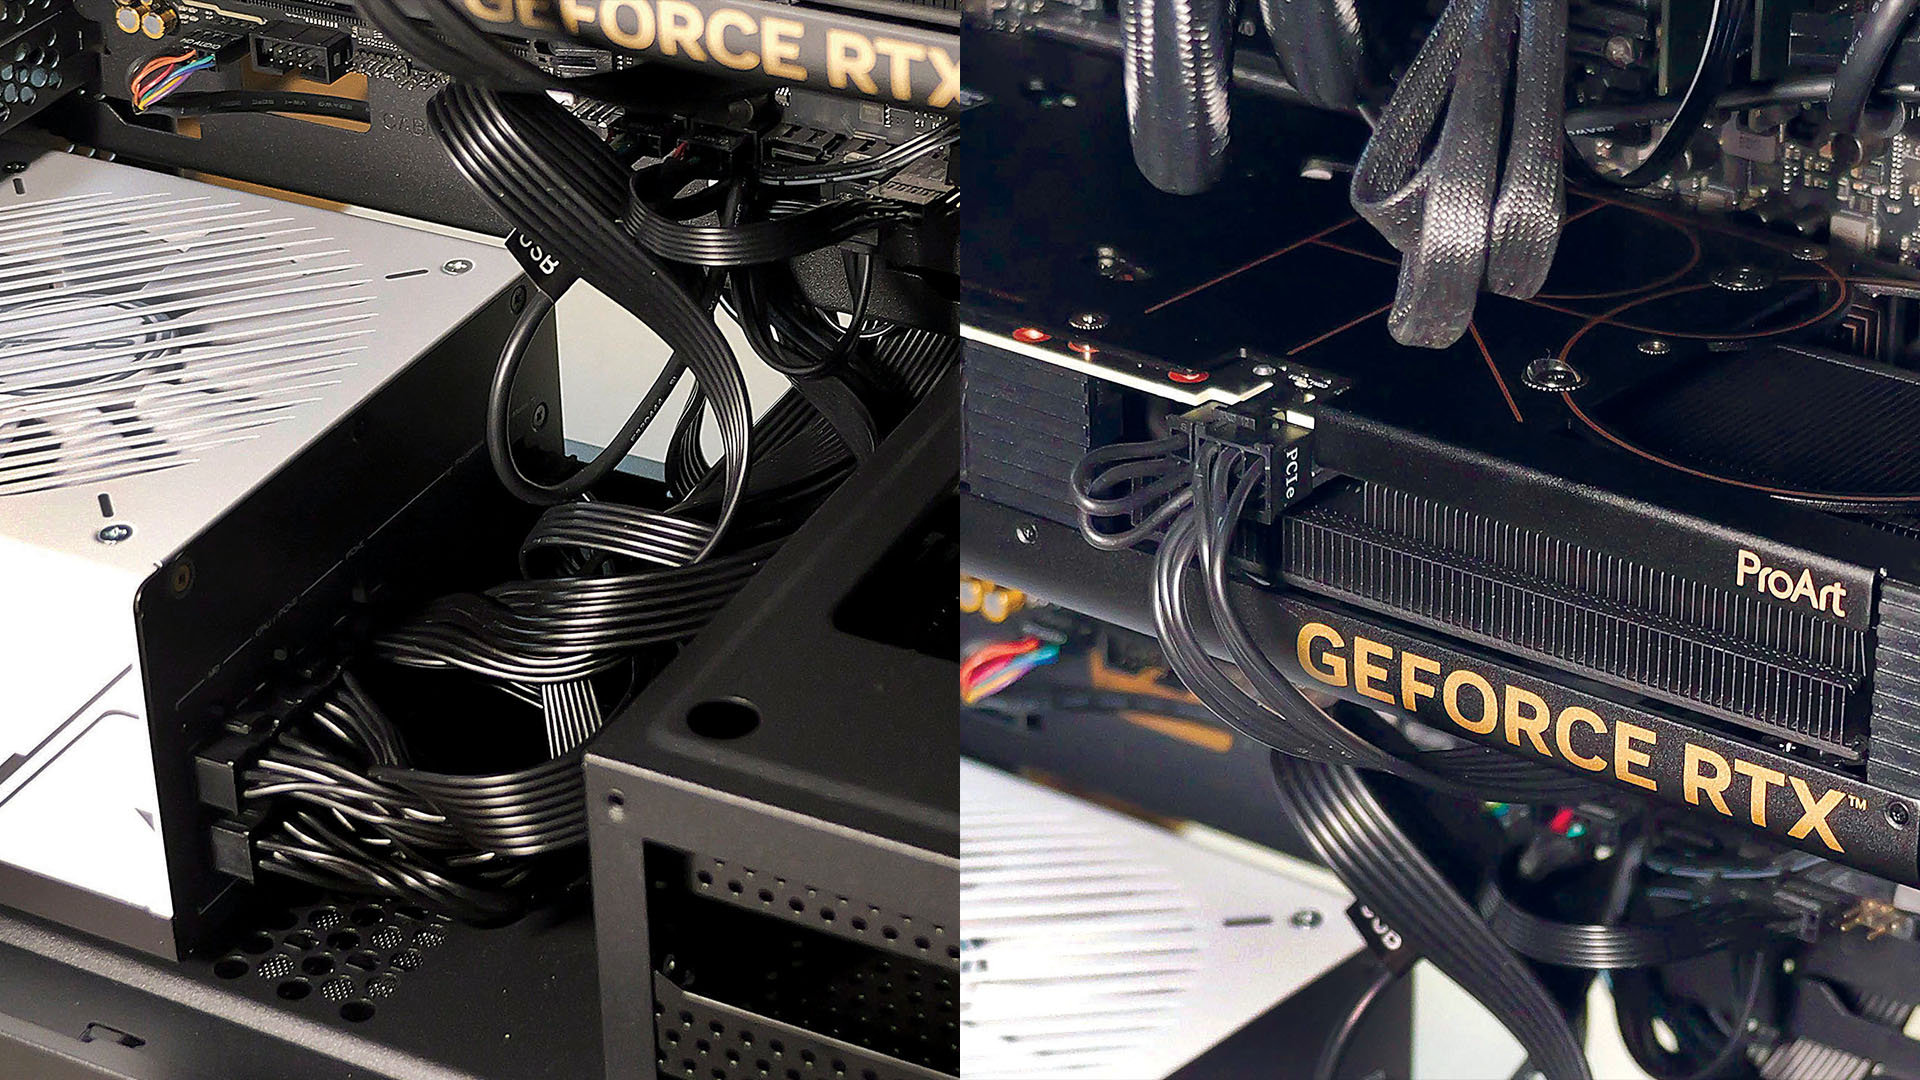
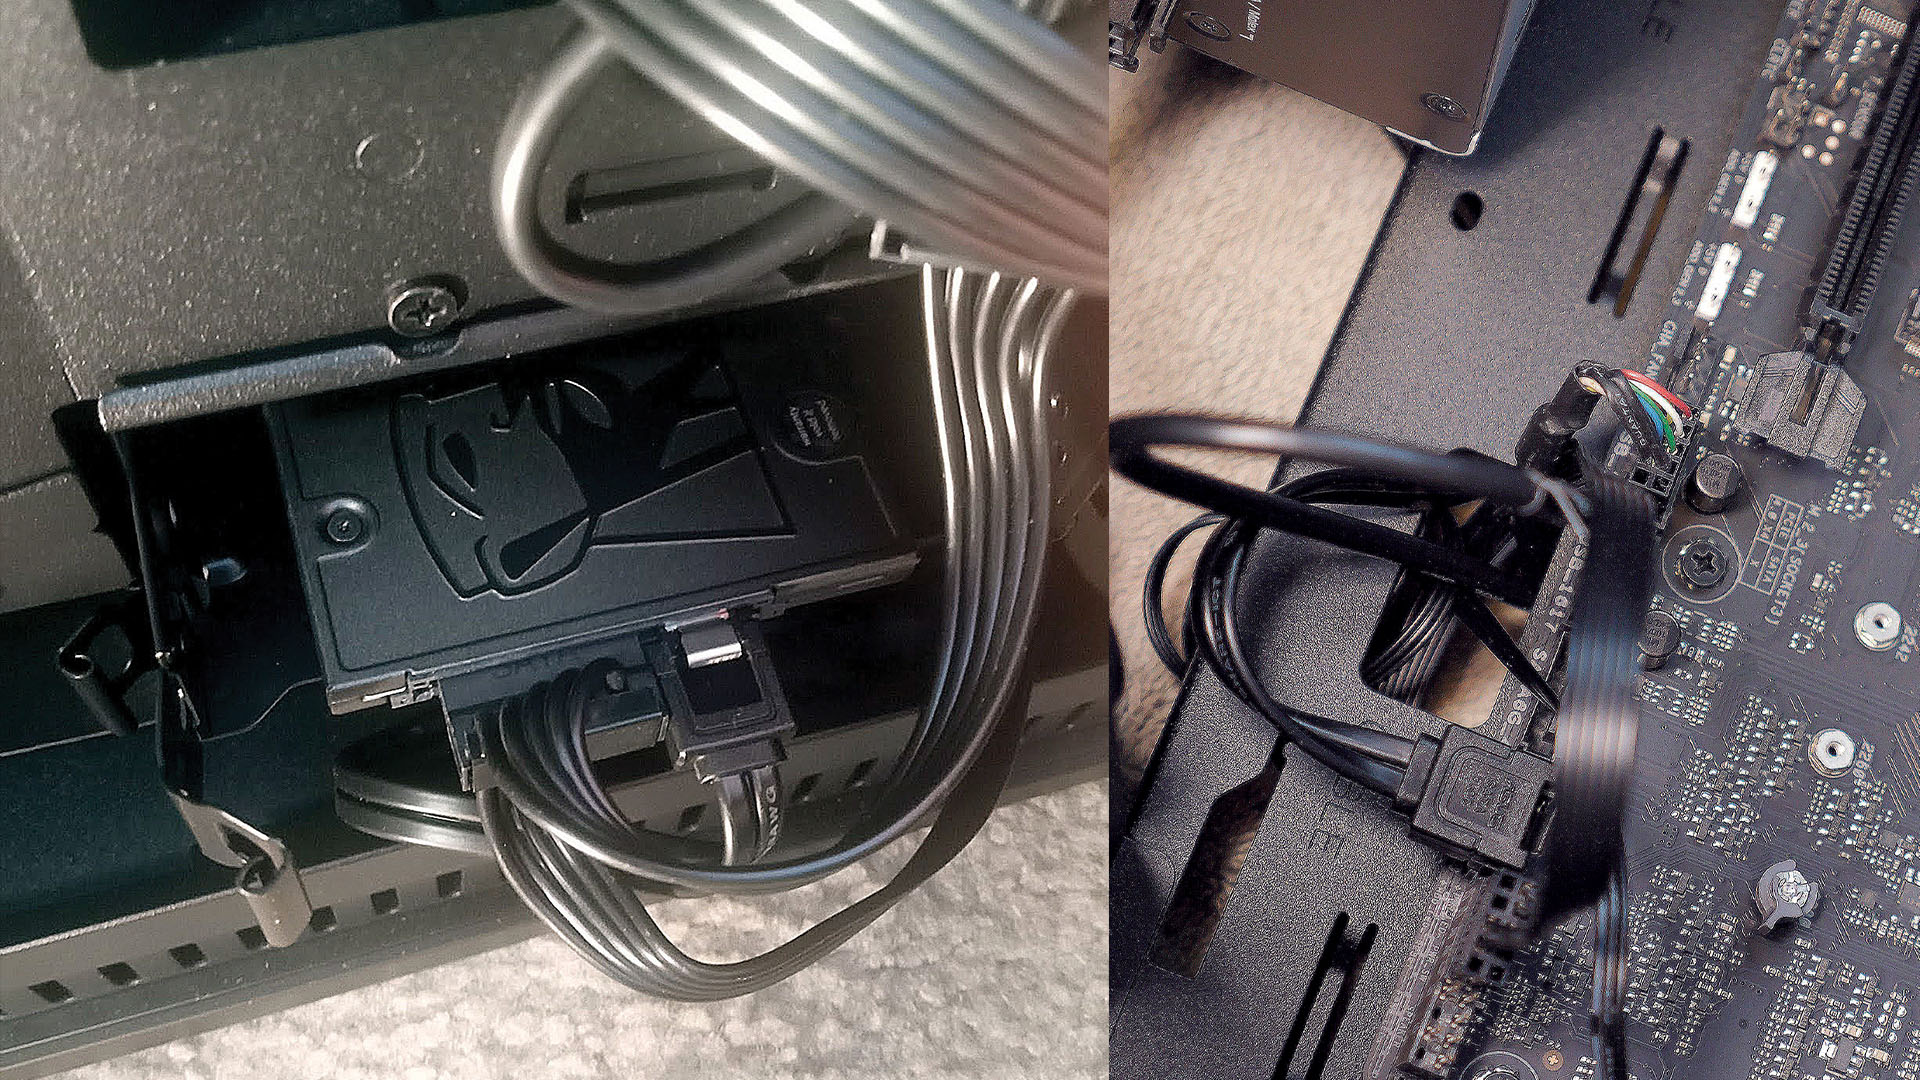
This step is easy, but takes patience – and small fingers! There’s a lot to hook up, but most of the cables have different connectors to reduce confusion. First off, connect the PSU up to the motherboard with the provided cables (03a), followed by the GPU (03b). Next plug in both the power and SATA cables to the SSD drives (03c). There are also various header pins on the motherboard that need to be linked up to various elements including the cooler and any additional fans. The headers on the motherboard should be labelled to keep you on track (03d), but the instructions included with it should also be able to guide you.
4. Cable management
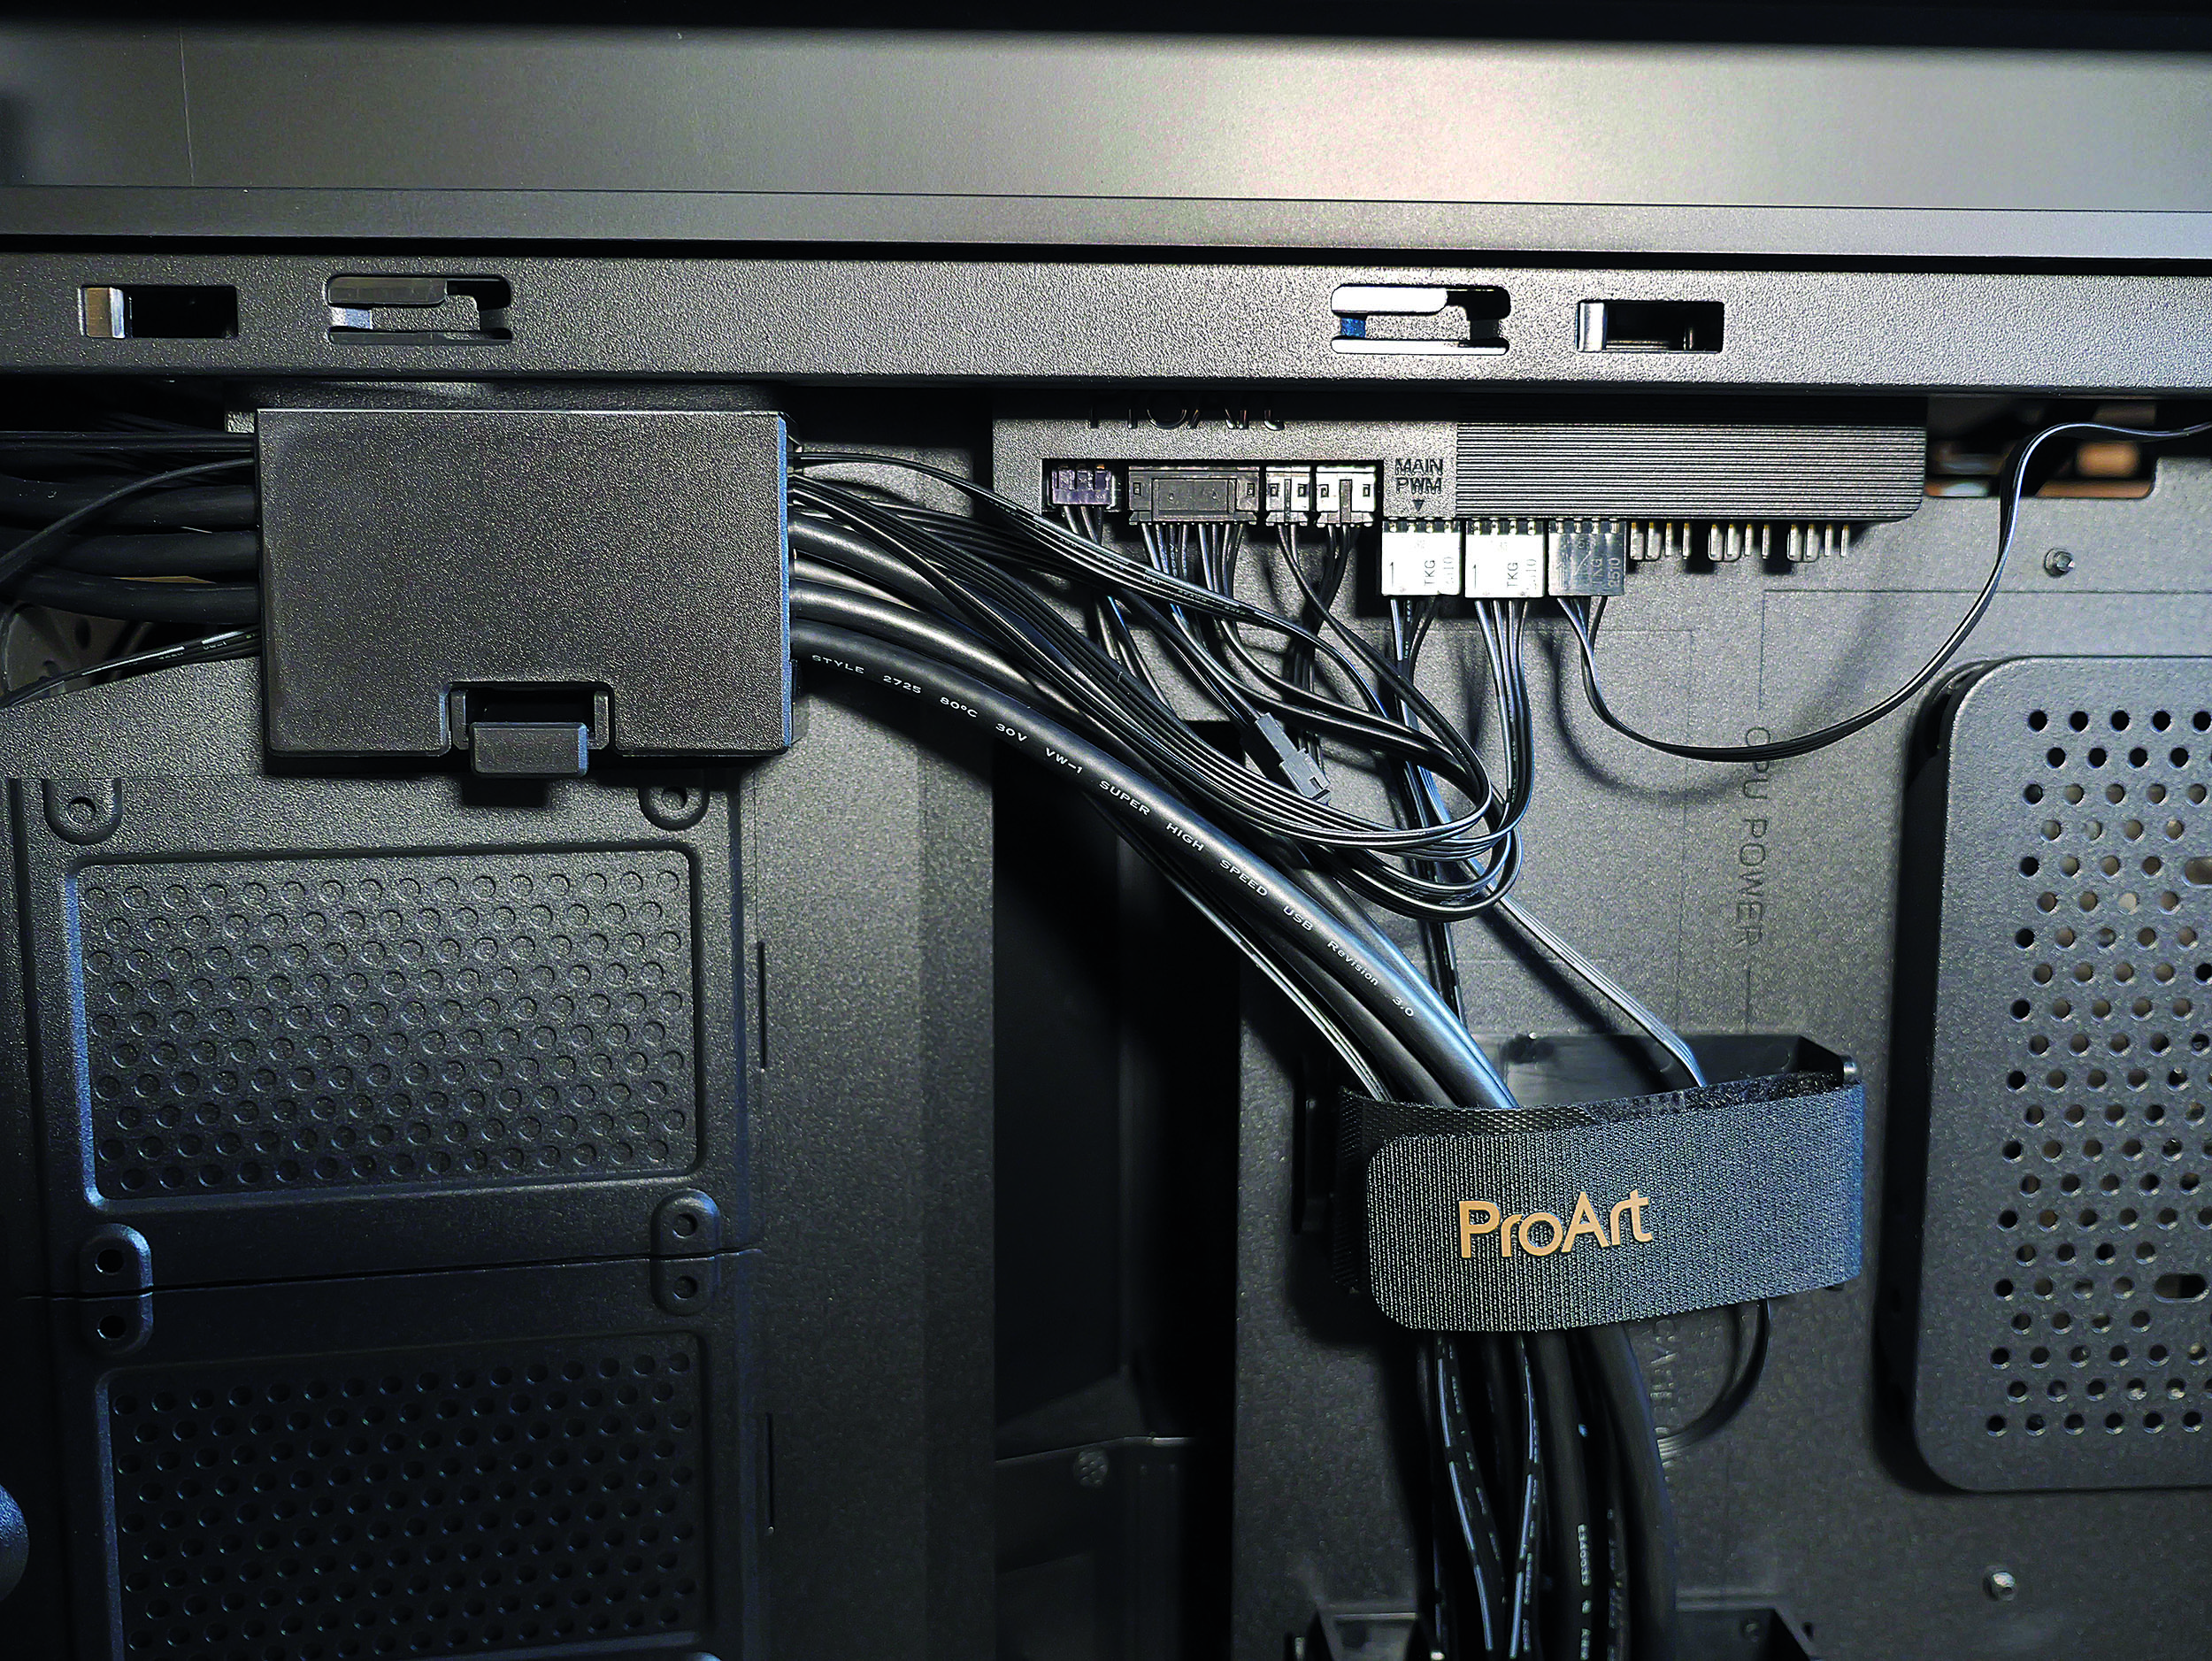
Any hardcore PC enthusiast will be quick to judge the cable management inside your rig. Not only does proper cable management keep things neat and tidy, it also saves you feeling like a bomb disposal technician if you ever have to open your box up to fix or upgrade anything. Almost all the cables can be easily managed with the cabling ports that channel all the wires around the motherboard. Cable ties are another great way to keep things in order, whether the classic plastic types or smarter velcro versions.
5. Moment of truth
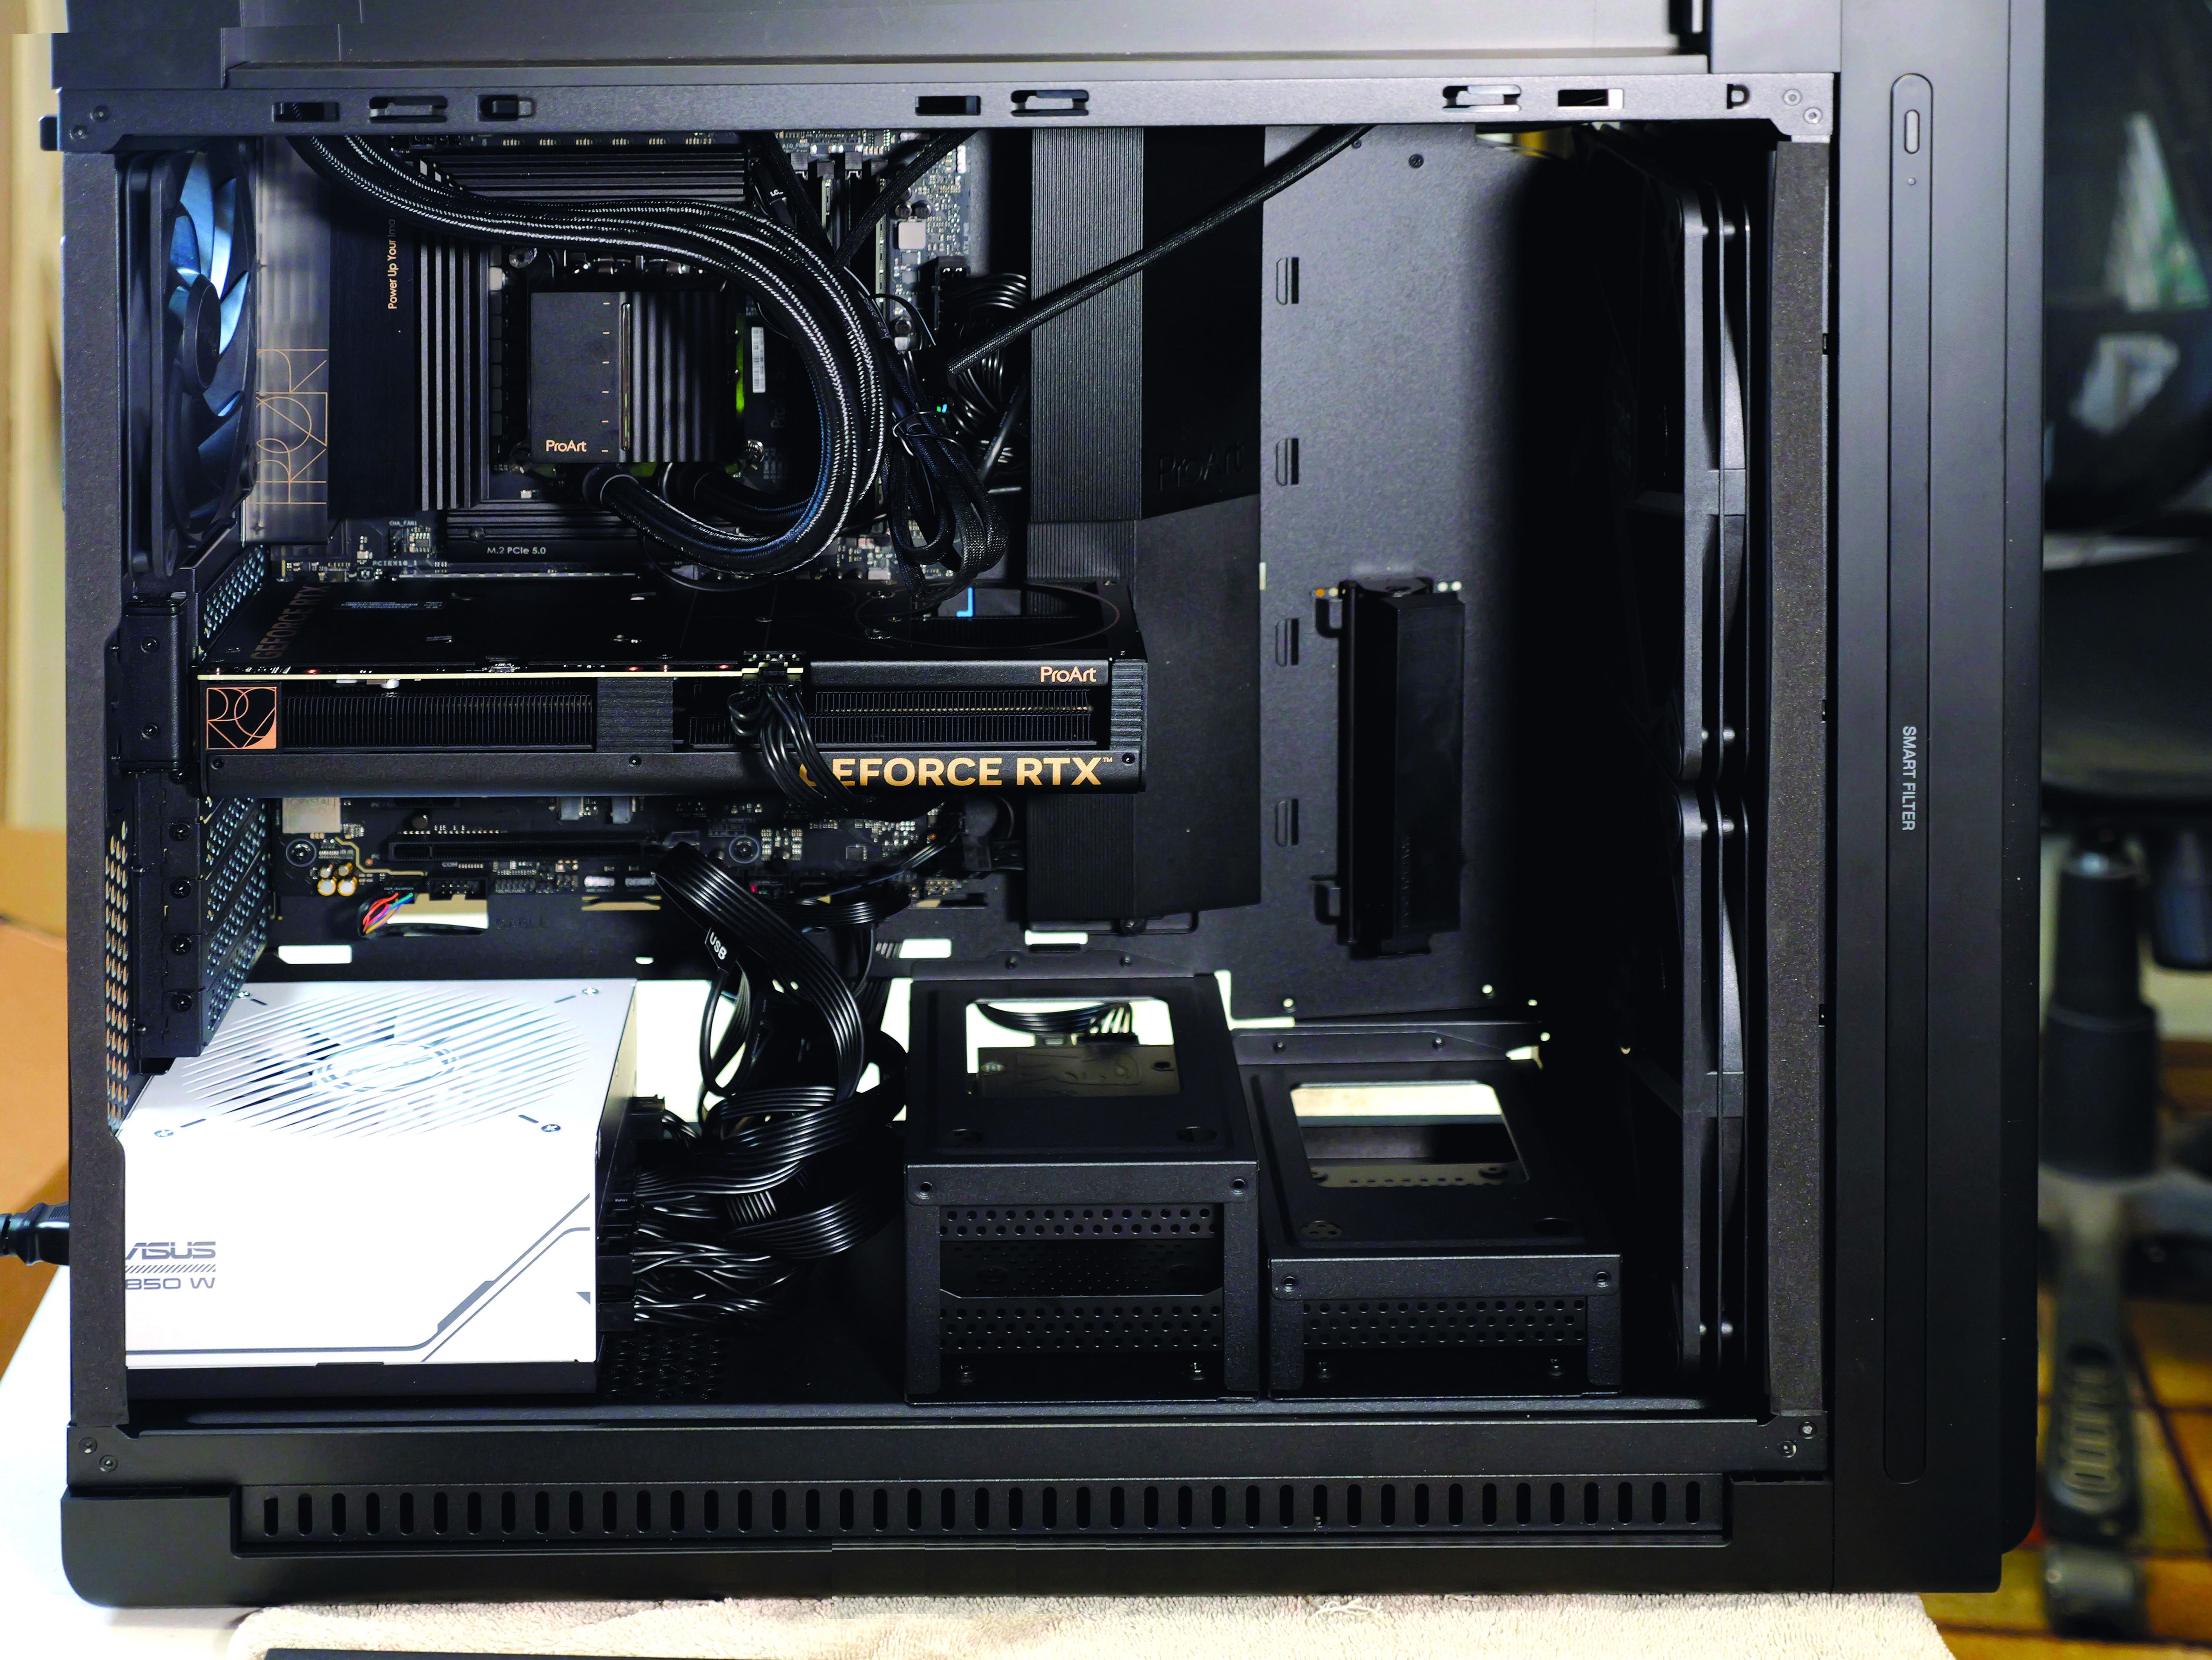
Double-check all your inside connections and you’re almost there. You can now connect the power cable and turn your new machine on. You should hear a single beep, letting you know the system posted correctly. If you hear it, your hardware build is done! For us, our build didn’t beep or display video when we first booted it up. A peek inside the case showed an error light on the motherboard, telling us that we had a RAM error. A bit of careful unplugging and replugging of the RAM made for a simple fix.
Your new operating system: Linux
Time to install Windows? Maybe. But with Microsoft reportedly considering a switch to a subscription format for Windows 12, increasing numbers of creatives are jumping ship to Linux. I believe we’re in what will be seen as the golden age for Linux and open source, including all the creative professional software that runs on it. From cloud-based web development such as WordPress to graphics tools like Inkscape, Blender and DaVinci Resolve, plus major game engines Unity and Unreal Engine, they all run on Linux, are all pro-level tools, and have versions available free or open-source.
Ubuntu Studio is just one of many Linux Ubuntu flavours. It comes with many creative software packages pre-installed, which makes getting started much easier. We downloaded the latest stable version, burned it to our external SSD, and our new PC was running 30 minutes later.
The results
The total cost of our components comes in at an affordable £2,120 ($2,100), excluding the creative extras. We could easily bring that down if we swap the liquid cooling for a heatsink. In terms of price, we easily beat both the Mac Studio, and even our target budget! This leaves plenty of room for any desired upgrades like a more powerful GPU, NAS storage, and so on. Performance-wise we also beat the Mac with a bit more media storage and faster graphics.
We also compared our build to two prefab PCs with similar specs. On the low-end we looked at boxes from Lenovo’s Legion line for around $3,500. They sport a faster RTX 4080 GPU, which is a good alternative to our 4060 Ti. While it’s twice the speed, it’s also around three-times the cost. If we spec-matched our build to the Legion, ours would still come in significantly cheaper. On the high end, we looked at a similar rig from Puget Systems. With Ubuntu and liquid cooling installed, the total for a matching setup was significantly more expensive than our own build here.
This content originally appeared in 3D World magazine, the world's leading CG art magazine. 3D World is on sale in the UK, Europe, United States, Canada, Australia and more. Limited numbers of 3D World print editions are available for delivery from our online store (the shipping costs are included in all prices). Subscribe to 3D World at Magazines Direct.


