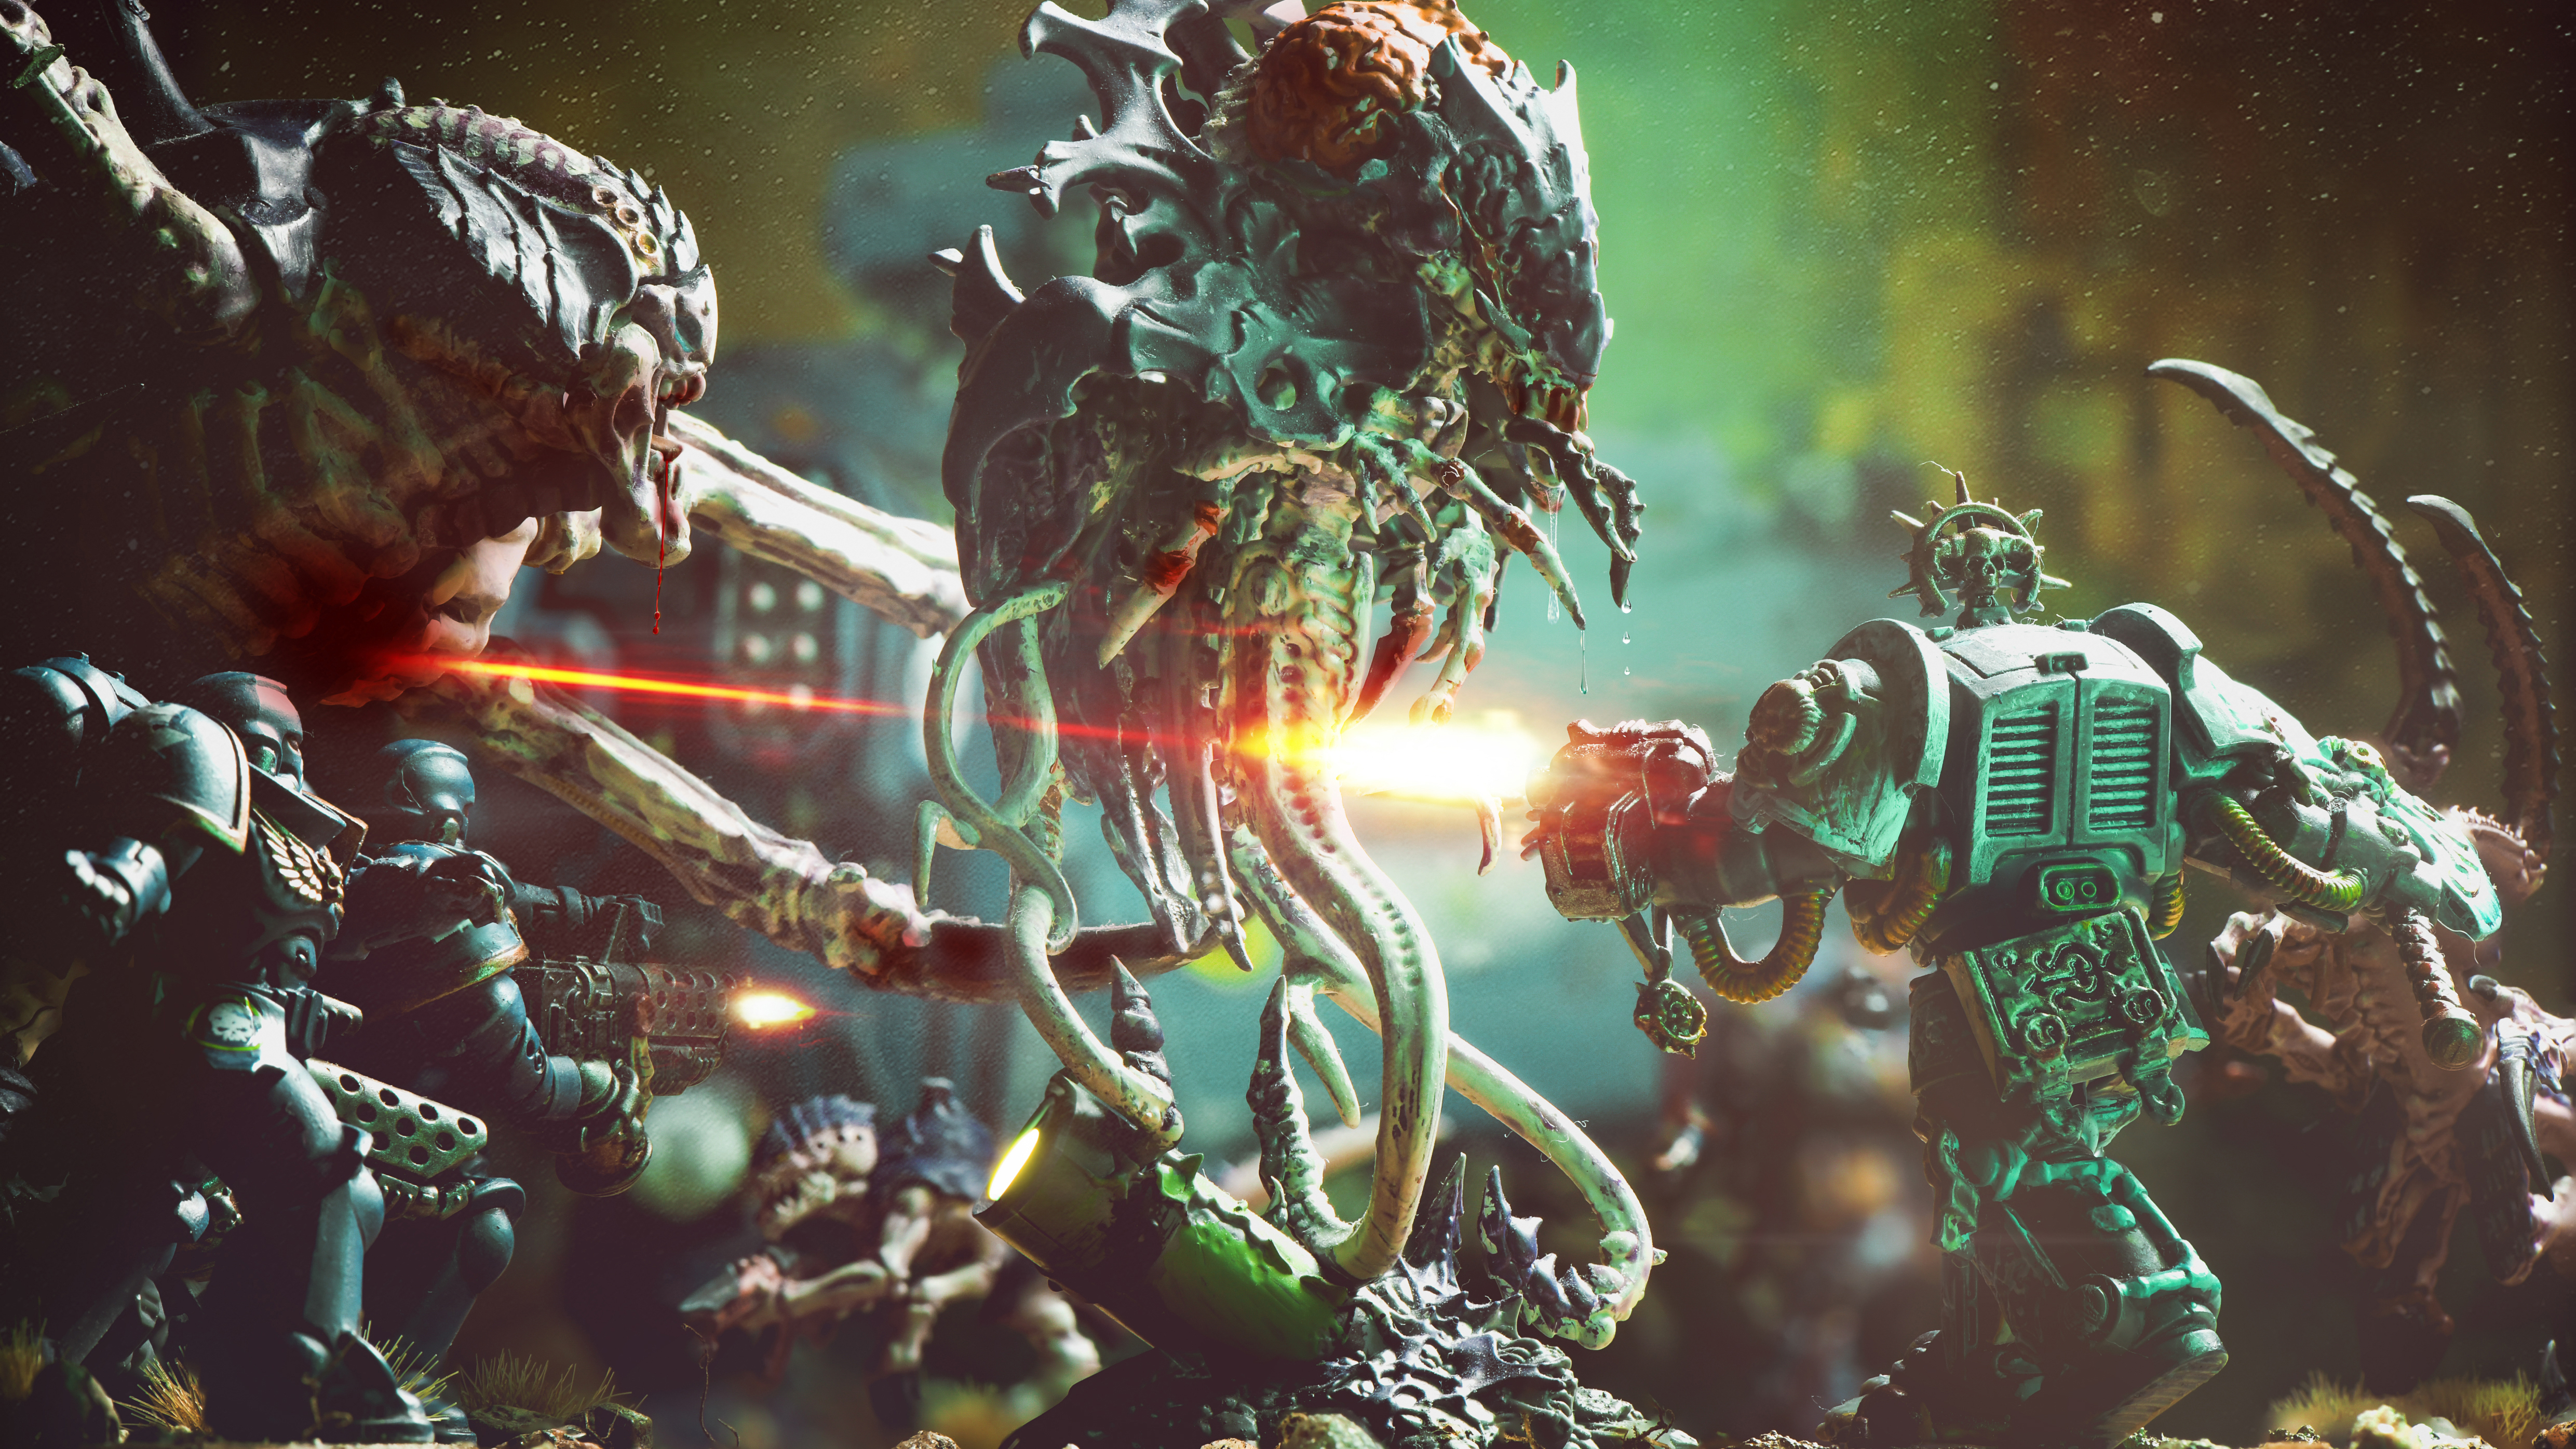
Watch video: Miniature marvels
Warhammer was – for me – something my little brother used to do when we were kids in the ’80s. But a few months ago my 11-year-old son got into it. Now the house is littered with paints, brushes, plastic sprues and all manner of lovingly crafted miniature figures. I wanted to get involved, but the dice-throwing was all beyond me.
Whether you’re interested in capturing miniature scenes like this or any similar close-up photography (perhaps Lego or toy soldiers), you’ll find a host of tips and tricks to try over the following pages. These figures are painstakingly painted by hand, a process that often takes days or weeks. So to do them justice we need to take a similarly in-depth approach to our photography.
It starts with the composition. This is where we can get really creative, placing figures around the frame, experimenting with angles, using different levels to fill the upper parts of the scene, adding details like rocks or moss. Then there’s the lighting, which gives you a chance to unleash your inner cinematographer. Just like an action shot from your favourite film, you can choose where to place your lights, add special effects to enhance the mood, experiment with different coloured lighting and even include little lights in the scene.
The challenge with close-up photography like this is often the depth of field. We don’t want a shallow-focus effect here, as it spoils the illusion. Instead, we need plenty of depth of field to ensure several figures come out sharp. Often the only way to achieve this is to shoot for a focus stack over several frames. We’ll explain how to do so here, and then combine the sharp parts from each for a single super-detailed frame. Let’s get to it!
1. Compose the figures
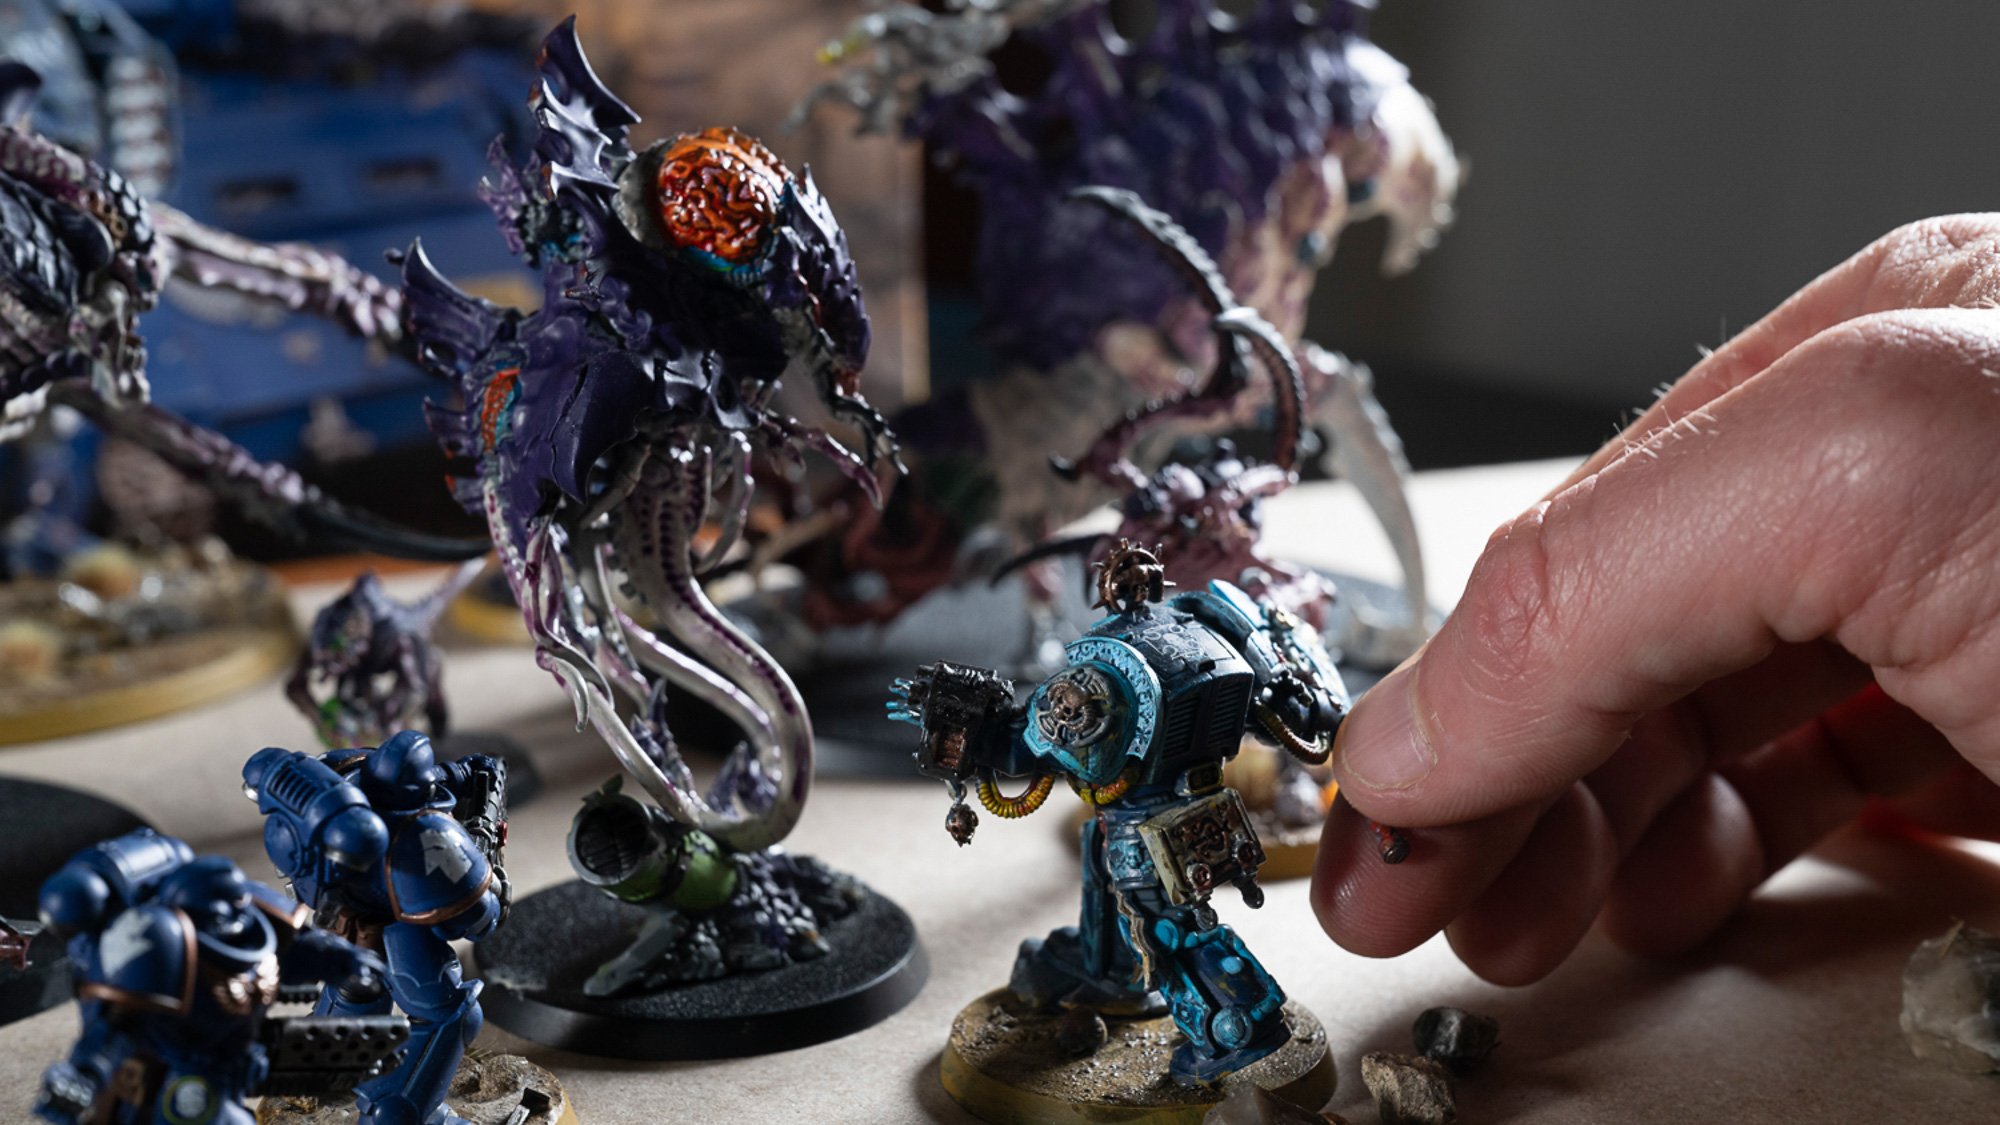
The great fun in this project is in posing the figures to create a pleasing diorama. Whether you’re using Warhammer figures or any kind of miniature, small adjustments can make a big difference to the frame. As a general rule of thumb, aim to give each figure its own personal space and avoid too much overlapping.
2. Use a macro lens
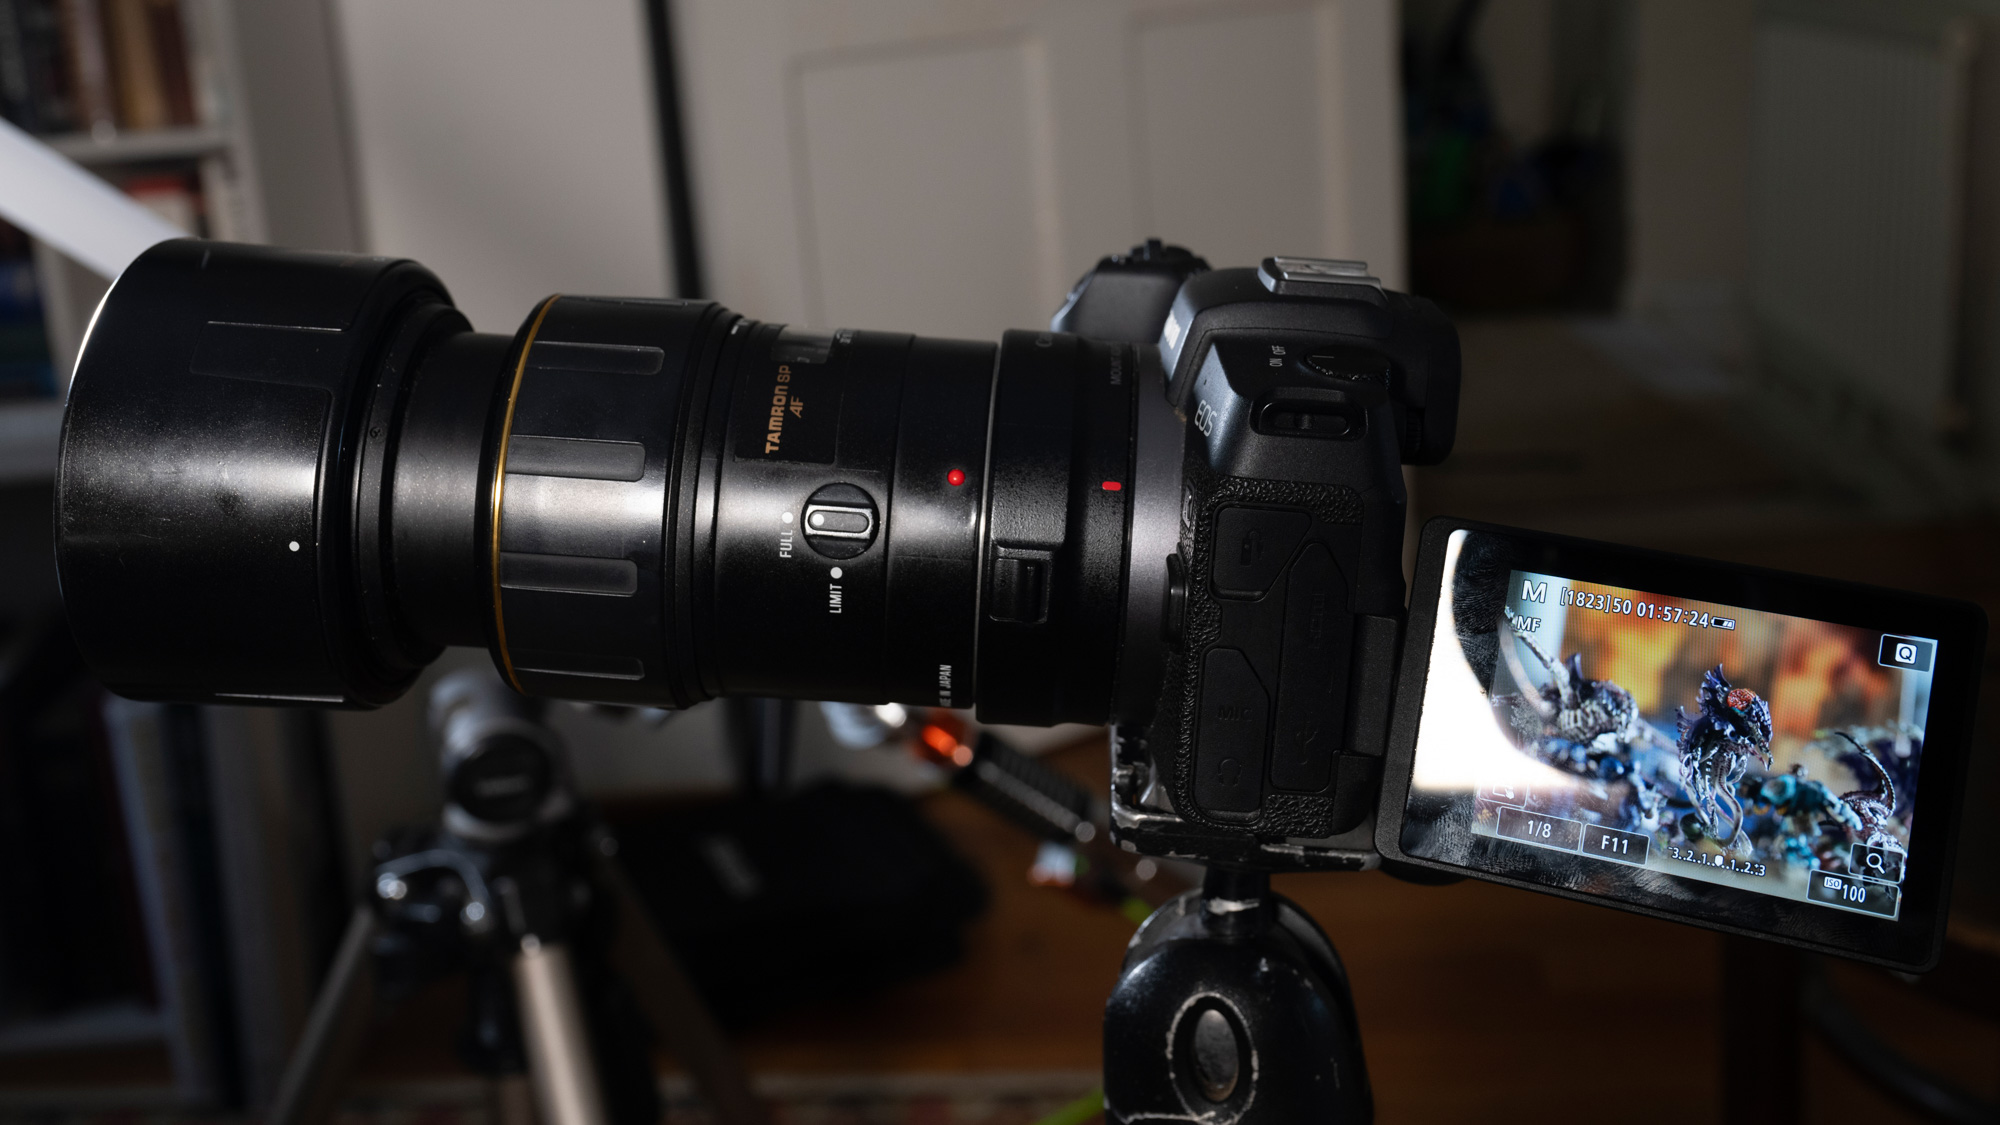
A macro lens isn’t essential but it gives you greater freedom to focus at close distances. The depth of field will be very limited – even if we use a narrow aperture – so consider a focus stack, where we shoot a series of frames while adjusting the focus point. Begin by focusing on the closest point and composing the shot.
3. Use automatic stacking
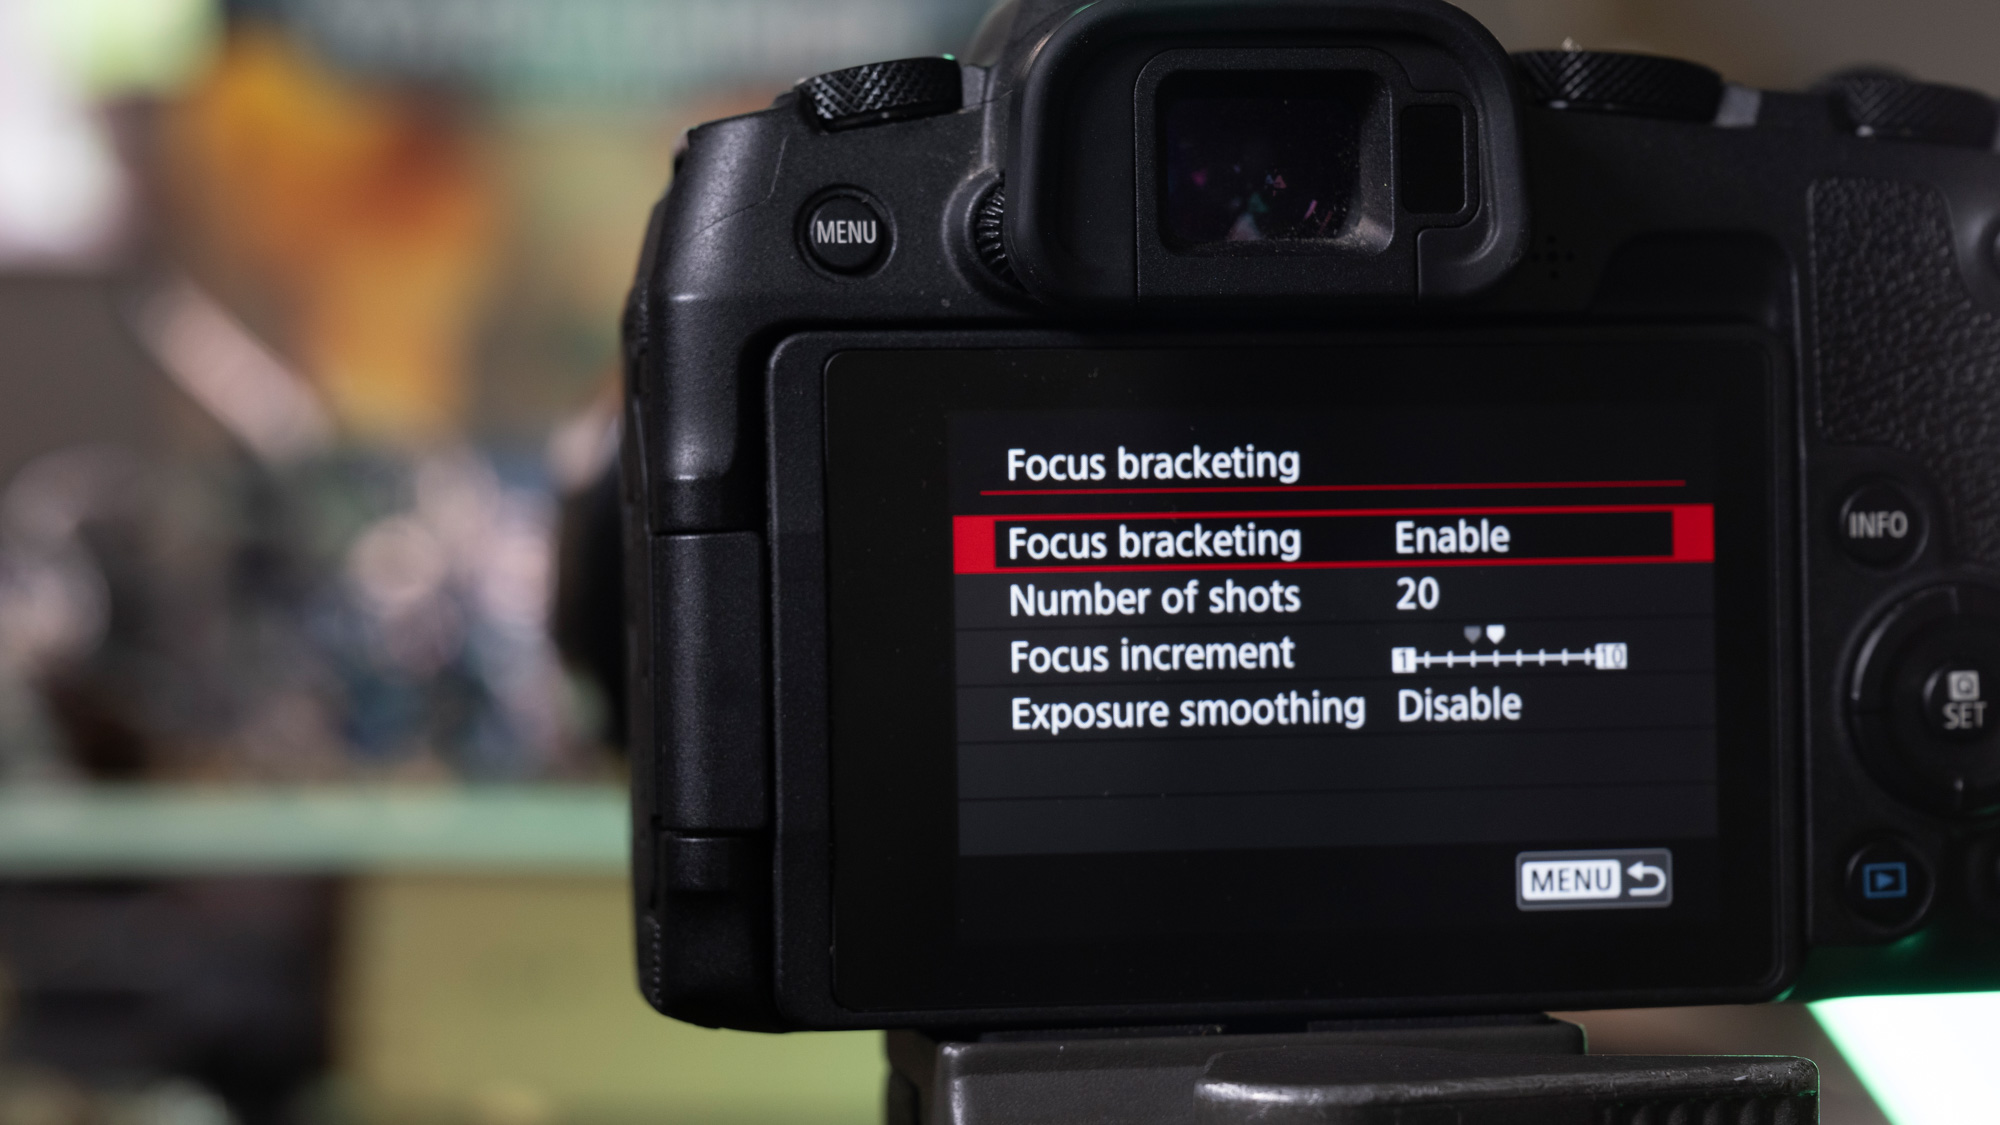
Focus stacking can be done manually by making tiny shifts to the manual focus ring. But many new Canon EOS cameras have a dedicated focus bracketing mode that automates the process. We can set the number of shots and adjust the increment between each. The right settings will depend on your scene.
4. Camera settings
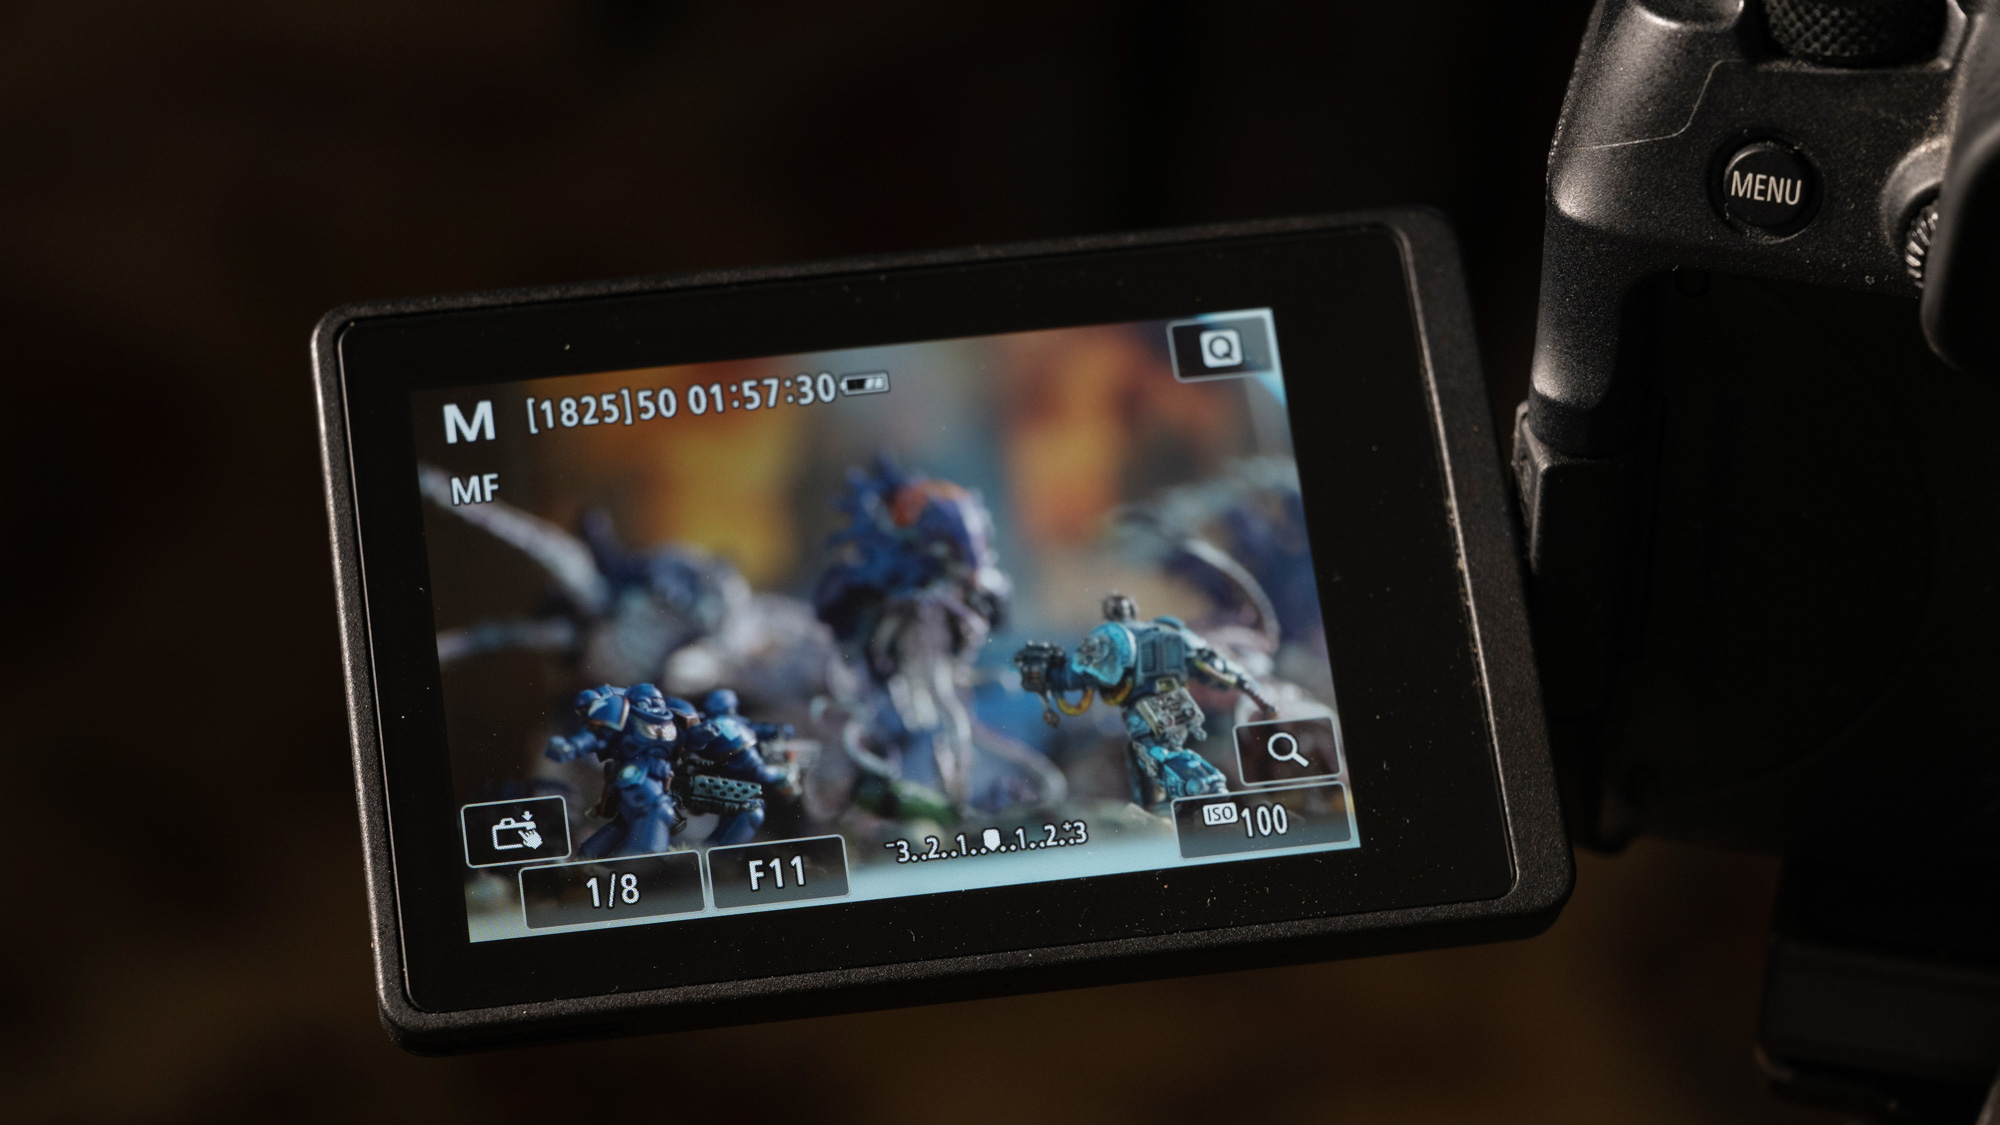
If you’re shooting for a focus stack then you need the exposure to stay consistent. It’s also best to use a mid-range aperture for max sharpness, as this is around the lens ‘sweet spot’ Set to the dial to Manual mode, use aperture f/11, ISO100, then adjust the shutter speed until the scene brightness looks right.
5. Add atmosphere with smoke
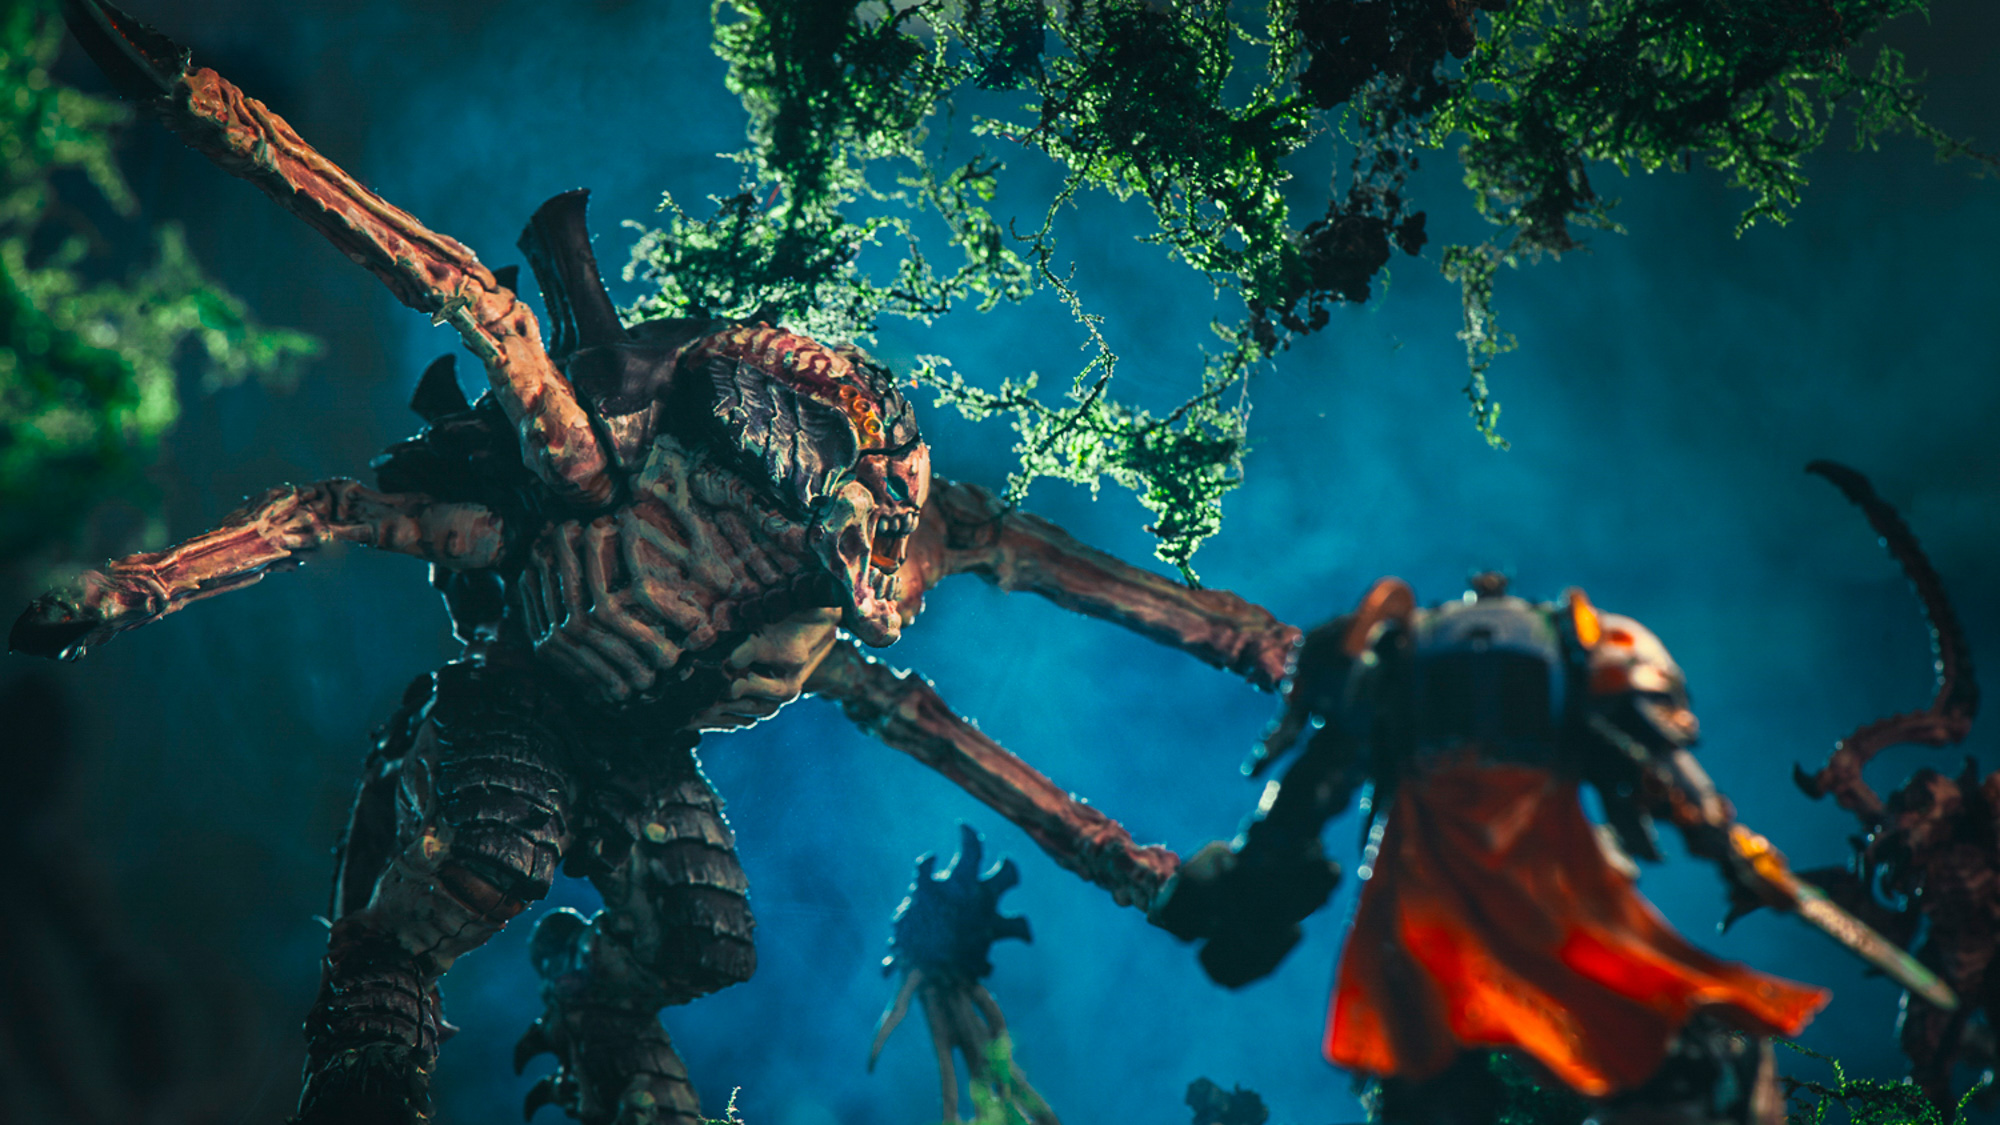
Mist, fog and smoke are used all the time in cinematic shots to add atmosphere and create separation between objects in a scene. A simple way to do this with our miniature scene is to use an incense stick, or use a dedicated smoke machine.
6. Control the depth
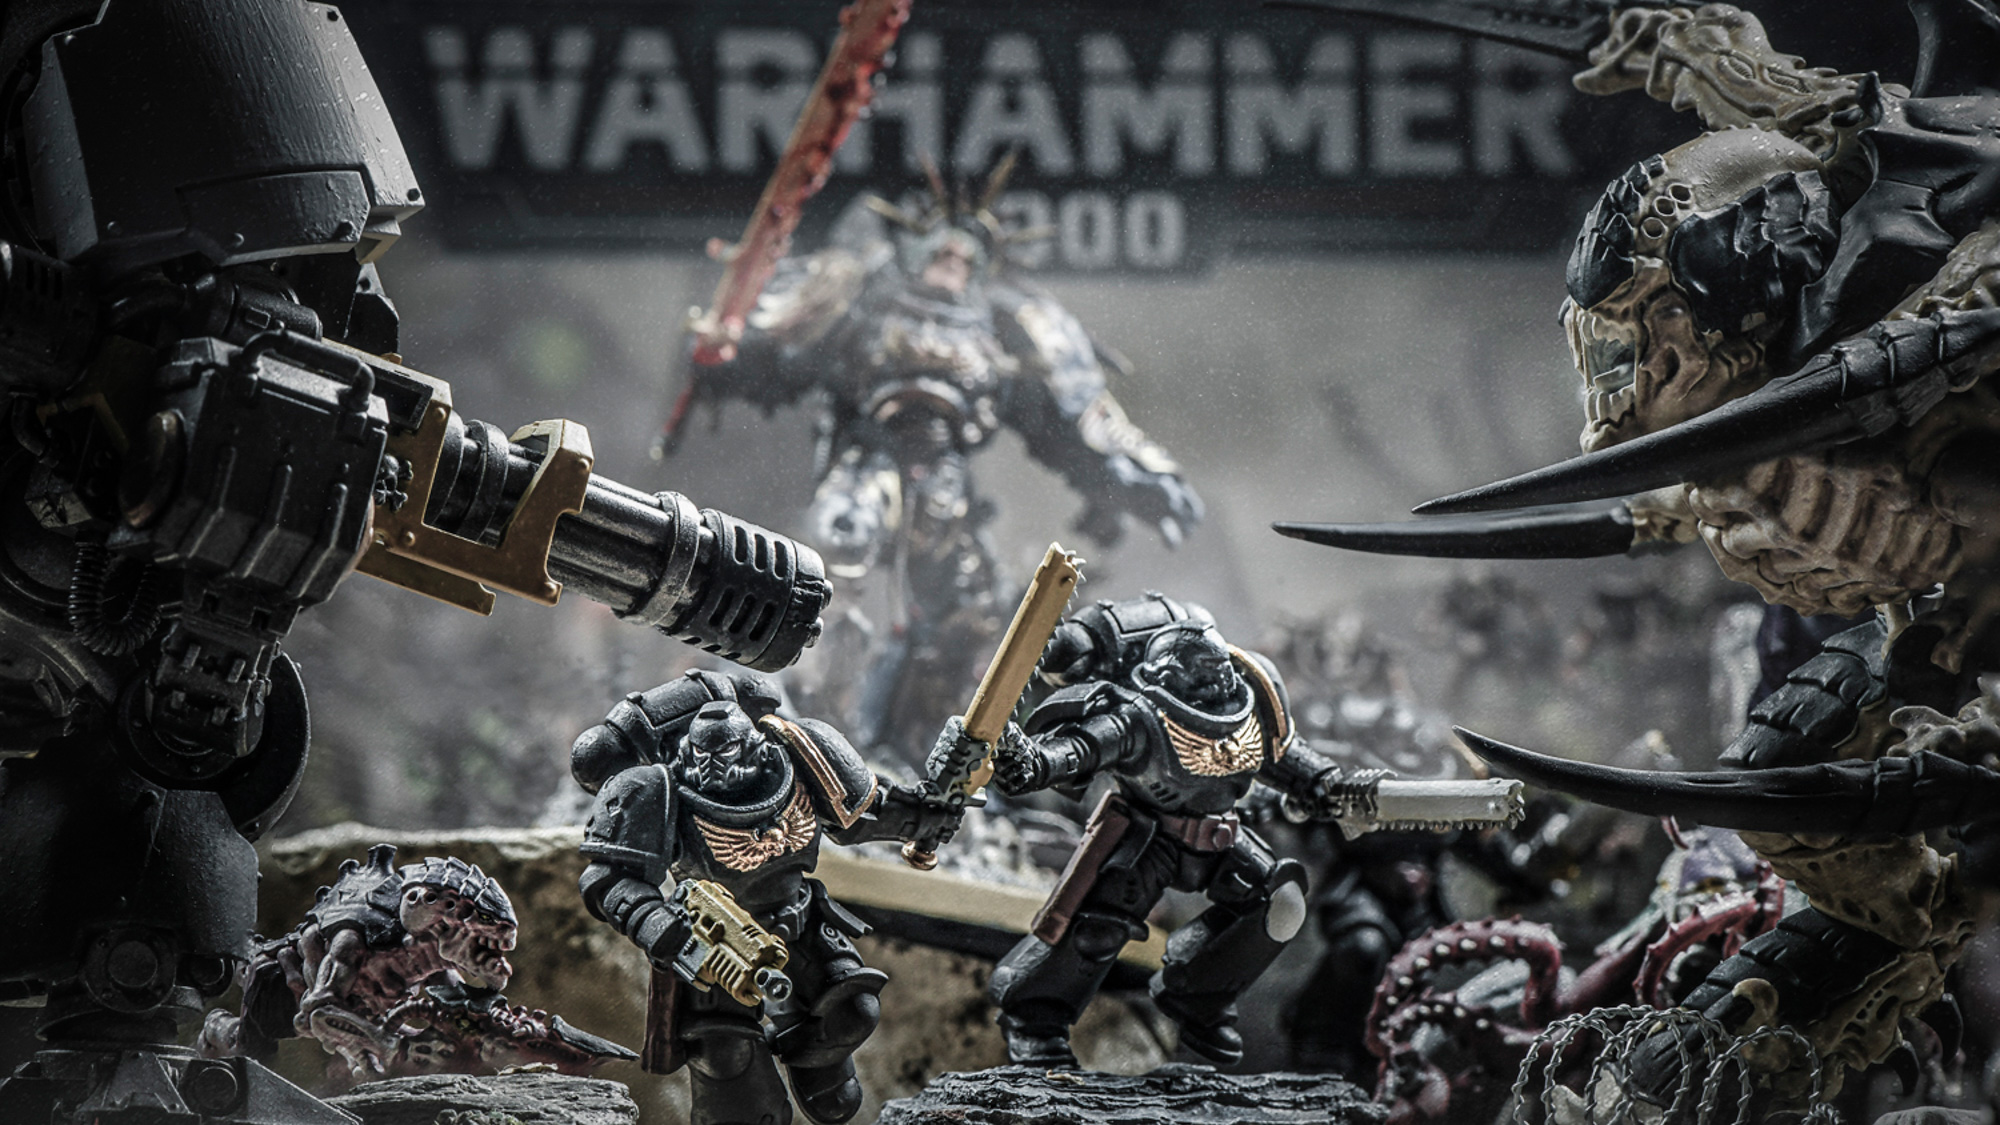
When it comes to shooting for a focus stack you don’t necessarily need the entire scene in-focus. In fact, it can add to the mood if you keep parts of the backdrop soft. Of course, when it comes to combining the focus-stacked shots you can simply use less frames to exclude the sharper background.
7. Merge a focus stack
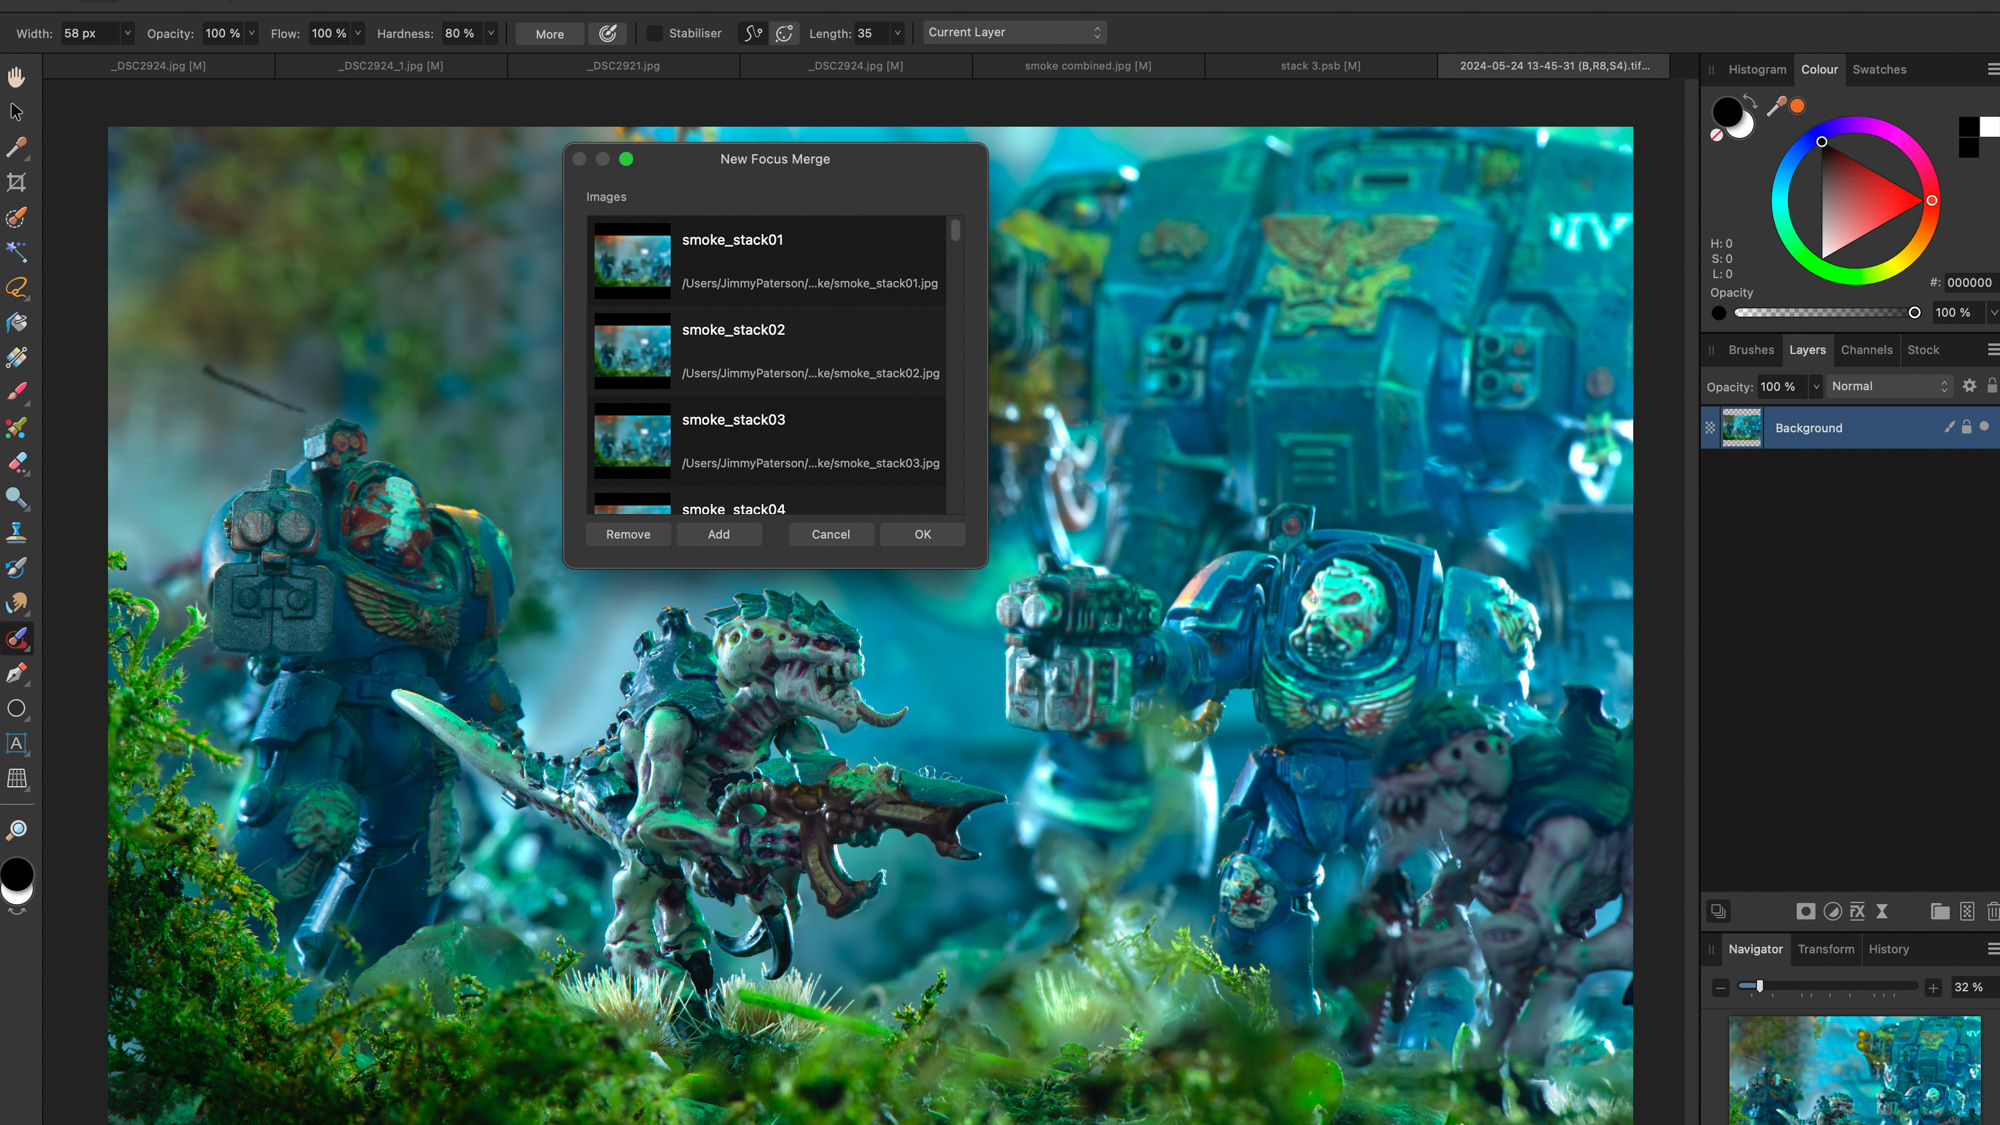
If you’ve shot for a focus stack then combining the sharp parts from each frame is an easy task. In Affinity Photo, go to File > New Focus Merge and load the set of images. You could also try a dedicated focus stacker like Helicon Focus, which will give you more options.
8. Add light flashes
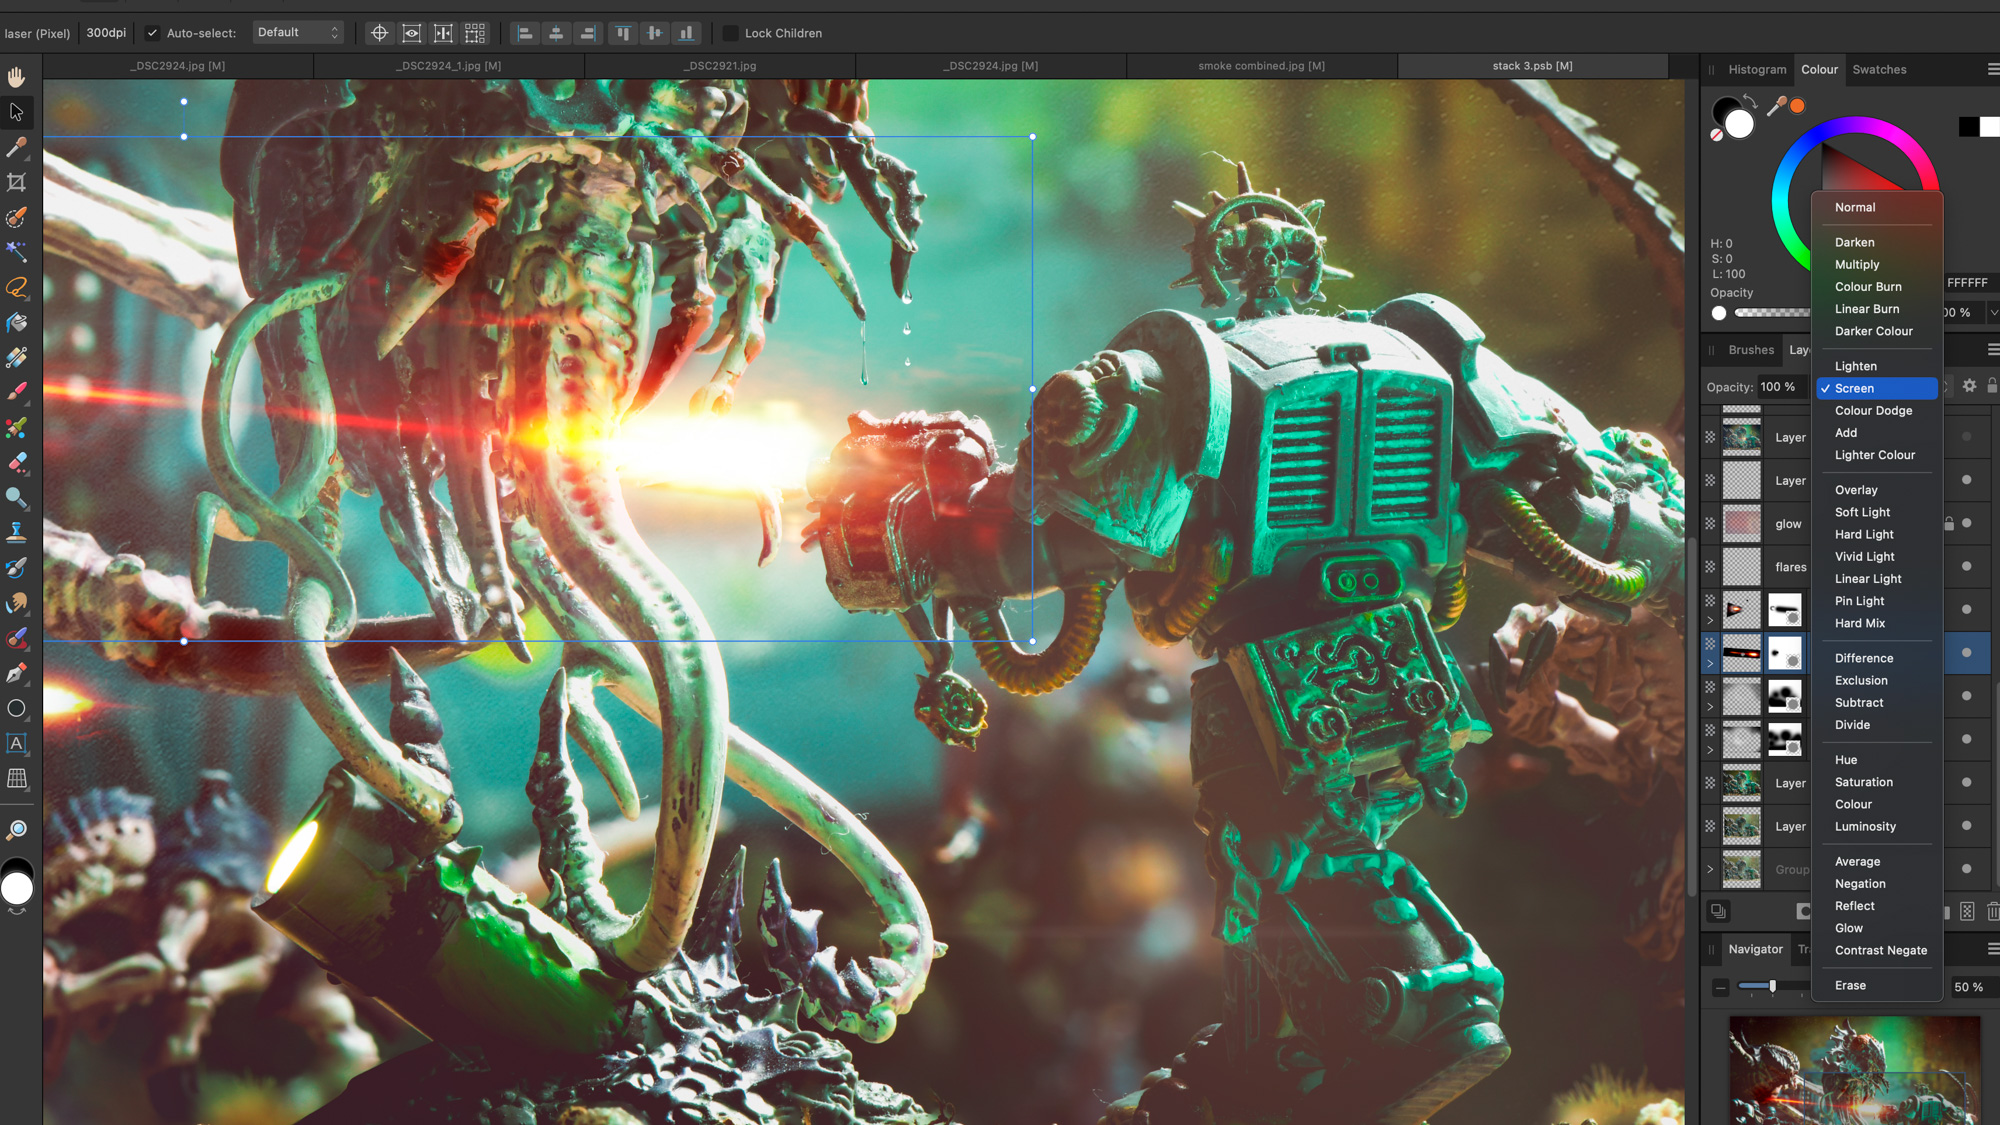
To add flashes of light or laser fire, find a suitable photo of bright flashes on a dark backdrop, open it into Affinity Photo or Photoshop, use the lasso to roughly select it, copy and paste it into your image and set the Blend Mode to Lighten or Screen. Paint a layer mask to tidy the edges.
9. Tidy the paintwork
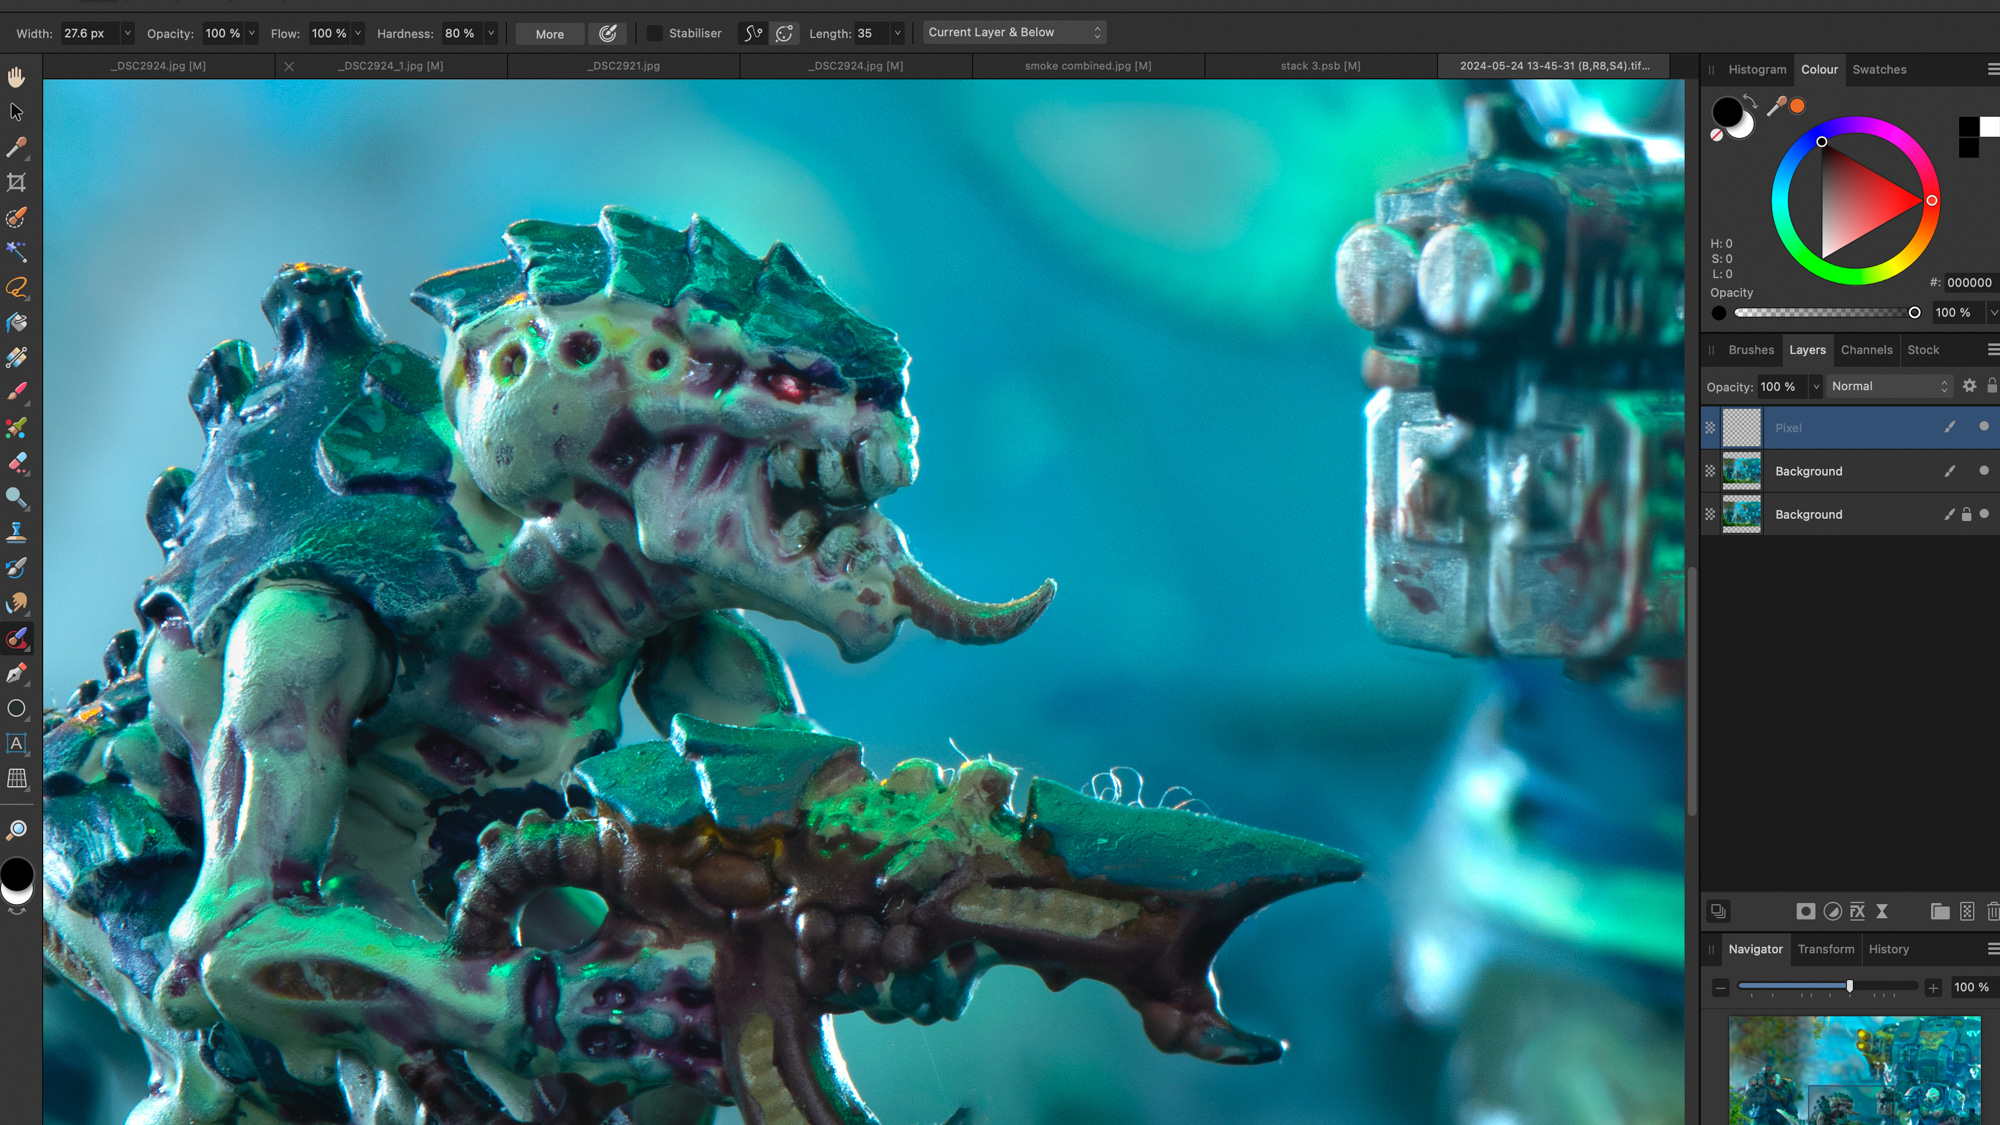
Painting figures is fun, but also tricky. Viewed close up you might find some of the paintwork is a little shoddy, but it’s easy to fix. In Affinity Photo make a new layer, grab the Inpainting tool and set it to ‘Current and Below’ then paint to remove marks. Use it to tidy stray hairs and dust too.
10. Create pools of light
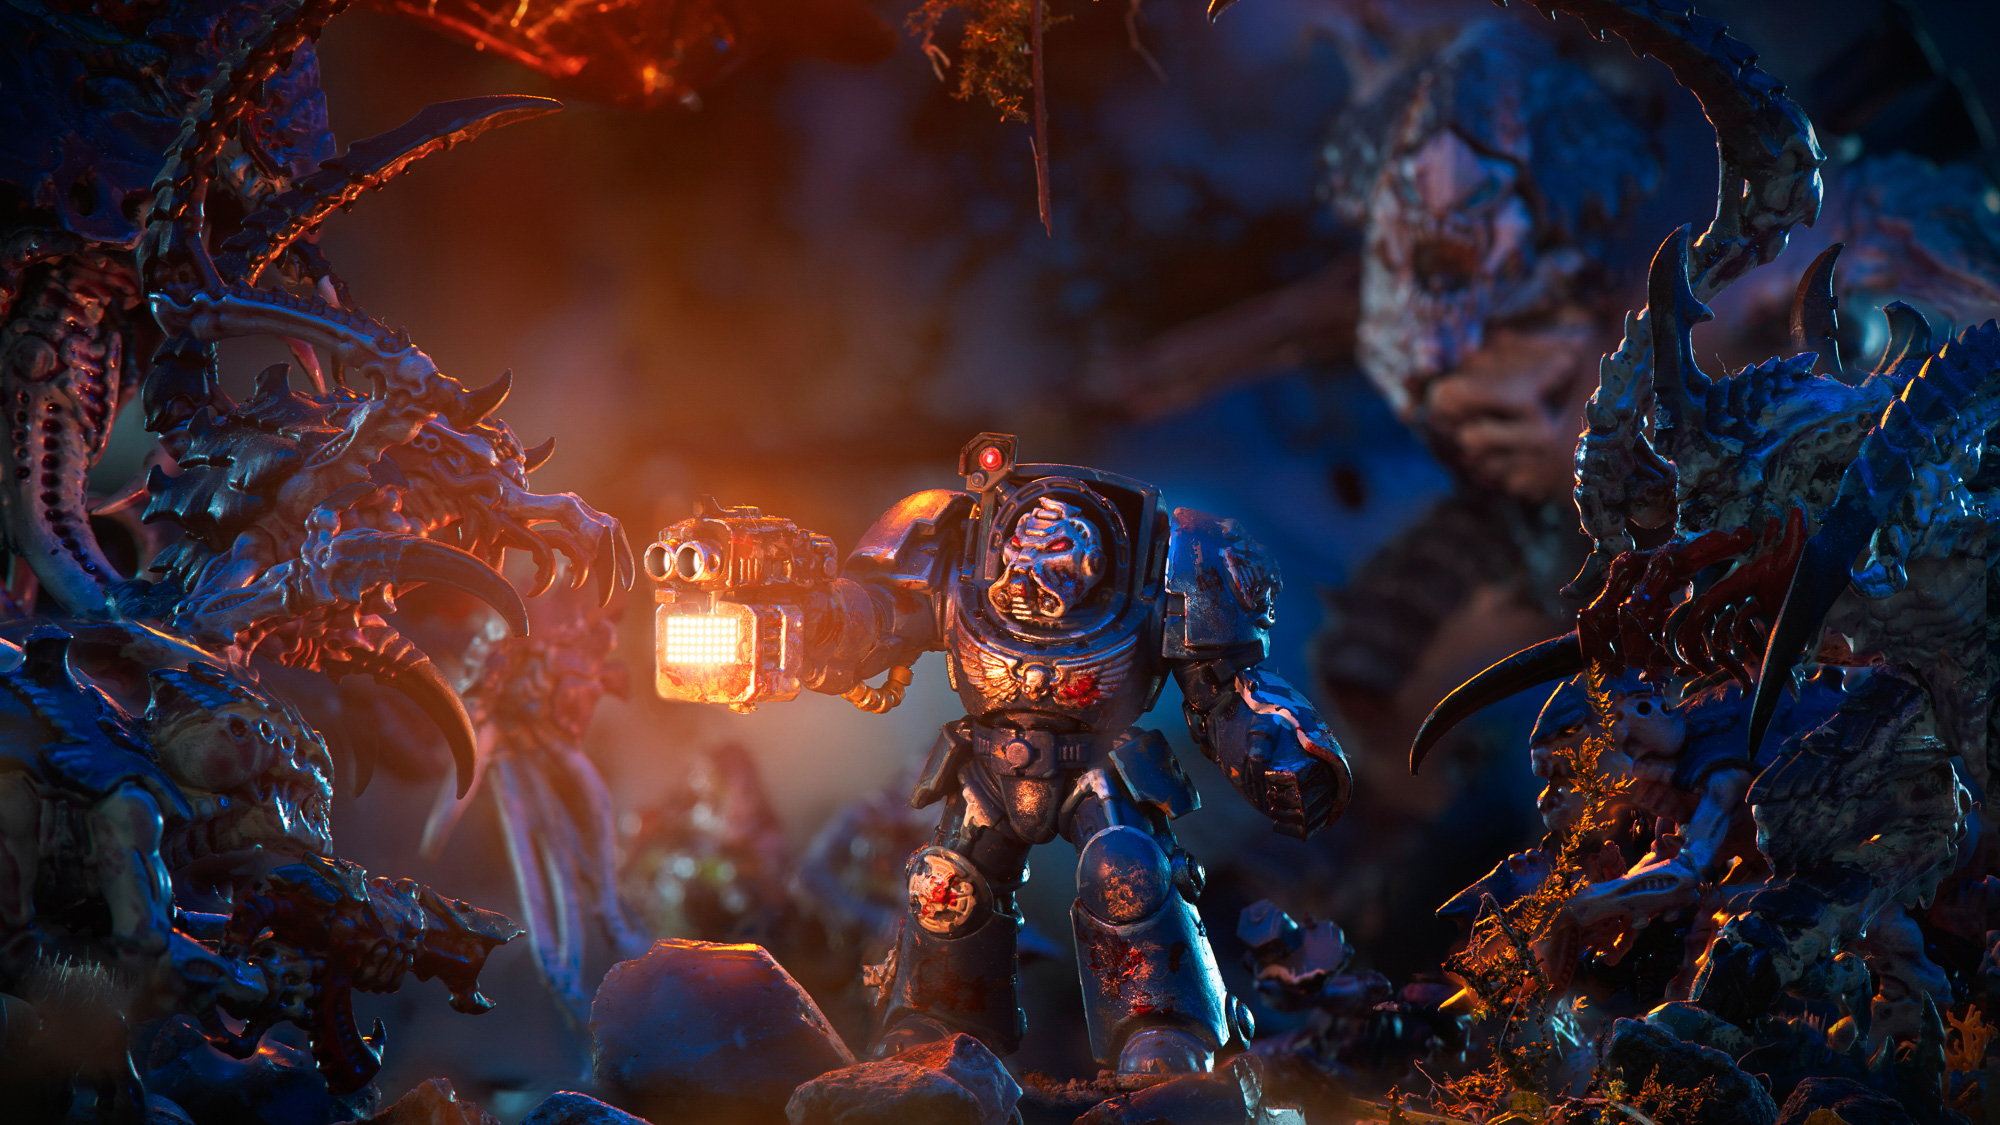
Skilled miniature painters can paint ‘object source lighting’ to create the illusion of a light source that isn’t there. We can use editing tricks to do something similar. In cinematography you’ll often hear the term ‘practicals’. These are lights in the frame that help to add illumination, like a table lamp.
We can add practicals to our miniature scenes, but we have the freedom to combine photos afterwards to create special effects. Here we used a small candle to create a pool of light in the scene that reflects off the surrounding figures.
We shot for a focus stack with the candle, then removed it and shot another stack without it. Next we combined the two stacks into one photo using a layer mask in Affinity Photo. Finally, we made a new layer and painted with the brush tool to create lights on the weapon, then used an Outer Glow effect to make the lights glow.
If you're serious about fine details, take a look at the best cameras for macro photography along with the best macro lenses.

