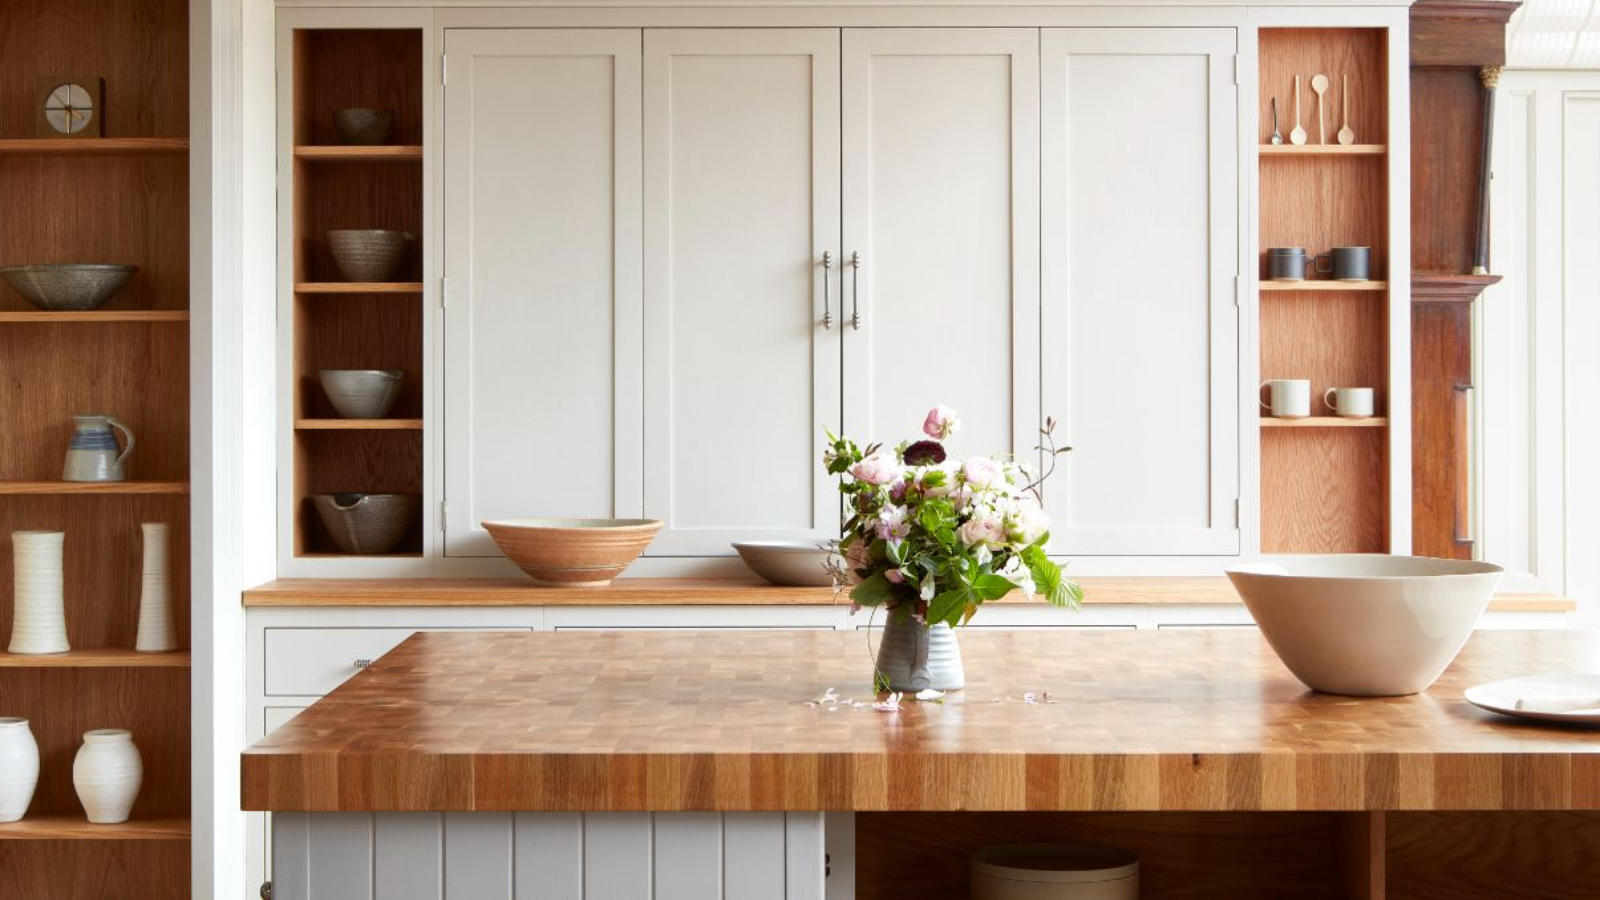
Oiling wooden kitchen countertops is one of those home maintenance jobs that must be done if you want your kitchen to stay looking beautiful for as long as possible. I do mine three times a year for just this reason.
However, there are certain steps experts recommend - and I've learned the hard way so that you neither waste your time, or cause any damage to your wooden kitchen counters in the process.
Wooden countertop ideas add instant character and a wealth of charm to your kitchen ideas which goes a long way to explaining why, when they are one of the countertop materials requiring more maintenance than others, they remain so popular. Here's why it's important to oil yours.
Why you should oil your kitchen counters
I went for a wooden countertops for most of our kitchen surfaces. I have a pretty in-depth knowledge of kitchen design and knew they're more high-maintenance than others, making oiling my wooden countertops a task I can't skip.
Our kitchen is 90% wooden countertops and two or three times a year, we clear them down and oil them. I’m here to take you through the process – which, incidentally, is not as hard as you might imagine.
What you'll need to oil your wooden countertops
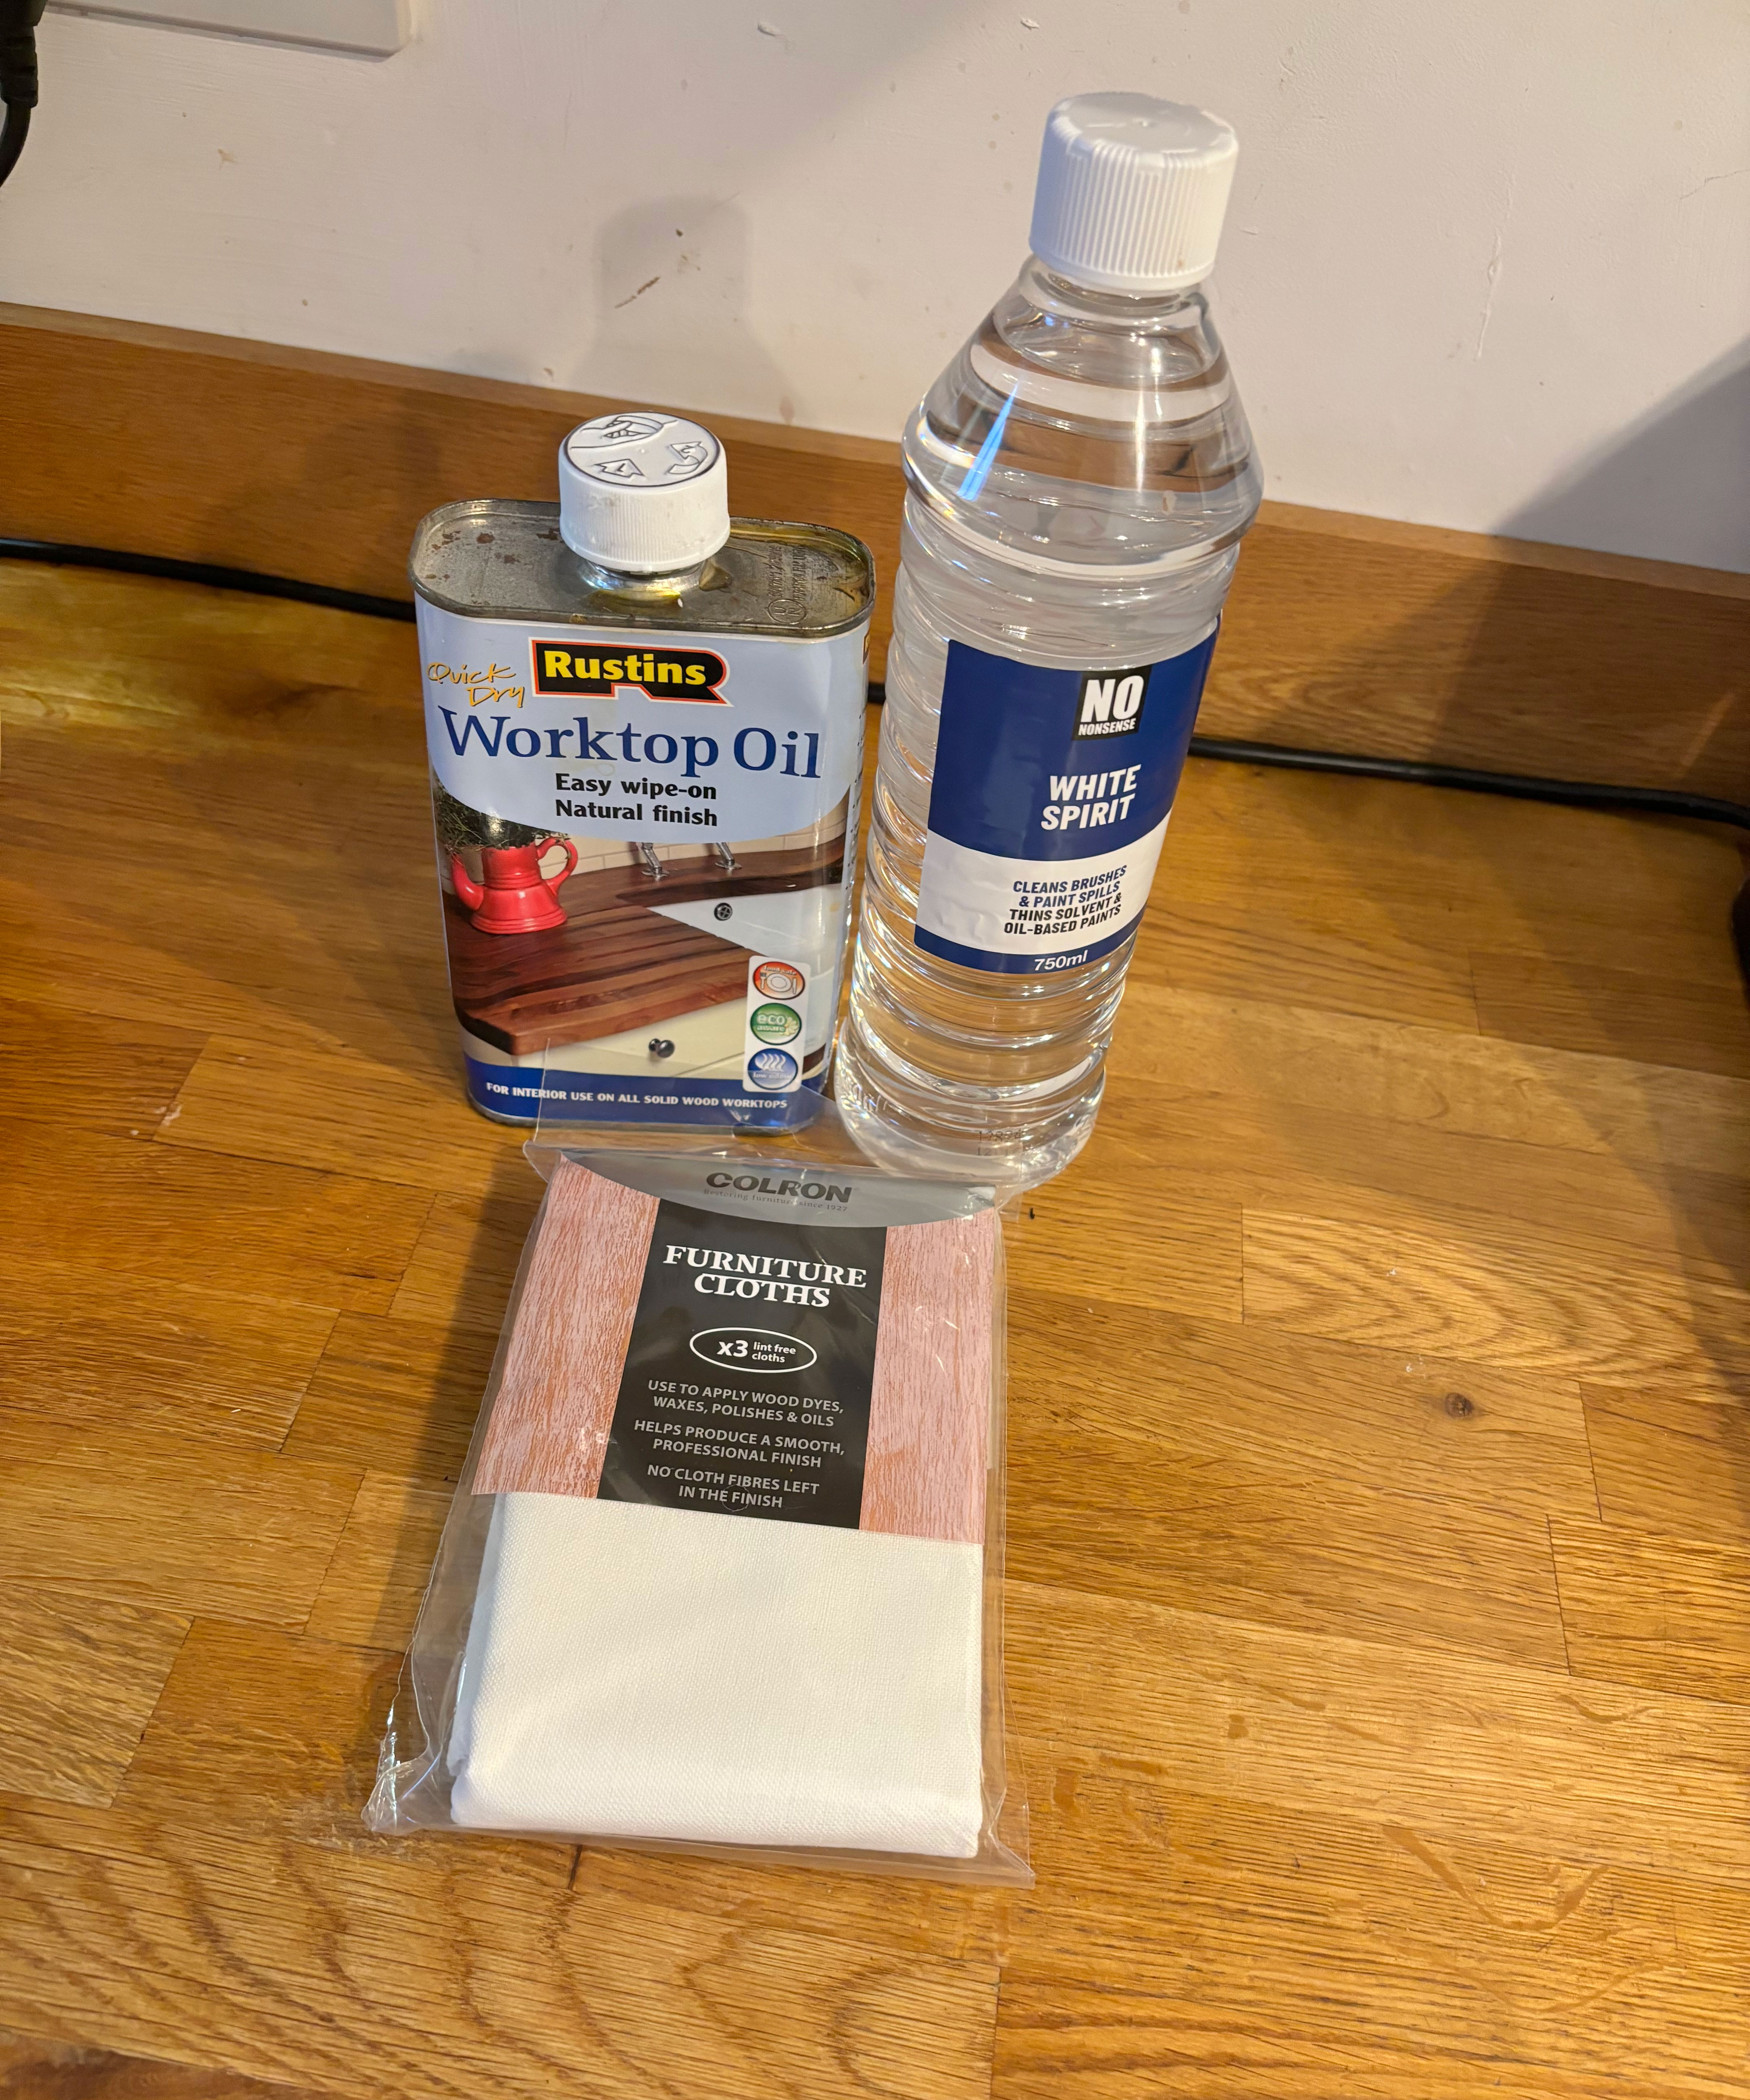
As with any DIY job, it is important to get your tools and products organized before beginning. To oil your wooden kitchen countertops you will need:
- Lint-free cleaning cloths: A pack of 12 microfiber cloths available from Walmart will be good for the cleaning part. They wash well too - just don't use fabric softener on them.
- White spirits or mineral spirits: If your countertops have previously been given an oil or wax coating, use white spirit or an odor-free mineral spirit available from Amazon.
- Fine sandpaper: The grit on fine sandpaper usually ranges between 120-220. The higher the number, the finer the grit. Walmart carries a large range.
- Countertop oil suitable for timber surfaces: 13 Chef's food-grade mineral oil from Amazon can also be used on butcher's blocks
- Cotton rags: For the oiling part
All prices correct at time of writing.
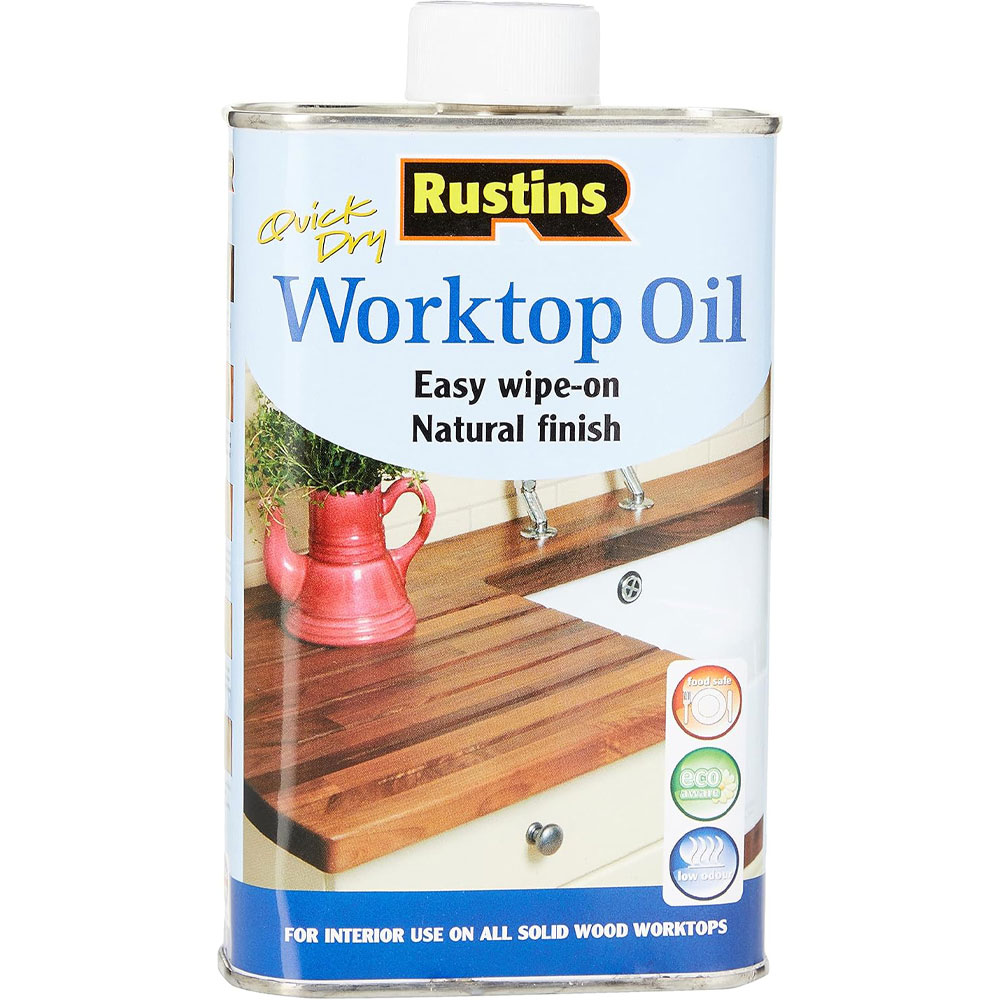
This is my personal favorite when it comes to oils for countertops – and I've tried a few over the years. It is so easy to apply and dries really quickly which means you can get everything back in its place fast. It leaves just a little sheen and, this might just be me, but smells really good too.
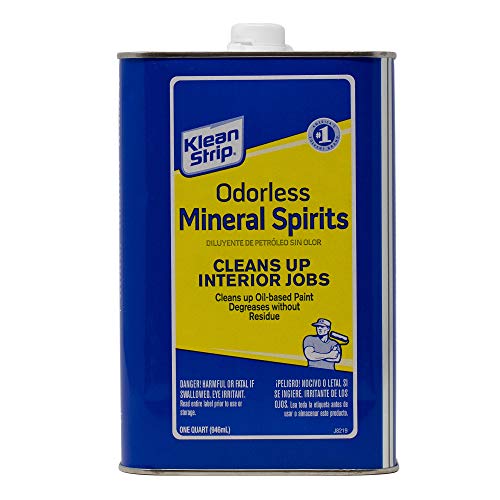
Unlike white spirits, this has no strong odor to have to put up with. But don't be fooled into thinking that this means it isn't still a powerful cleaner – perfect for removing grease and stains. Use a pair of latex-free gloves so you won't be left with dried-out hands.
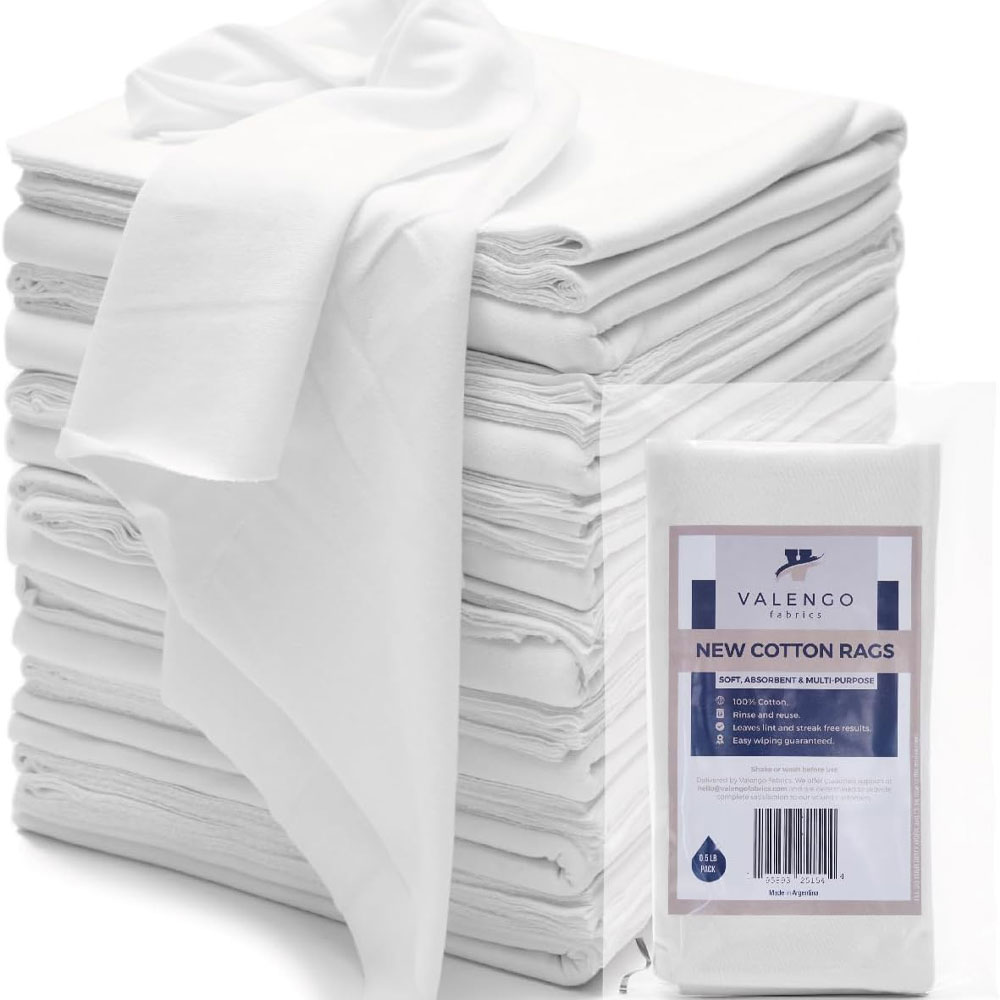
I find lint-free cloths come in handy for so many jobs around the house – dusting, mopping up spills and stains and, of course, oiling wooden surfaces. They are also great if you have some metal polishing to do. This pack of seven cloths offers great value for money – plus they are a good size.
How to oil your wooden countertops
1. Clear off your countertops
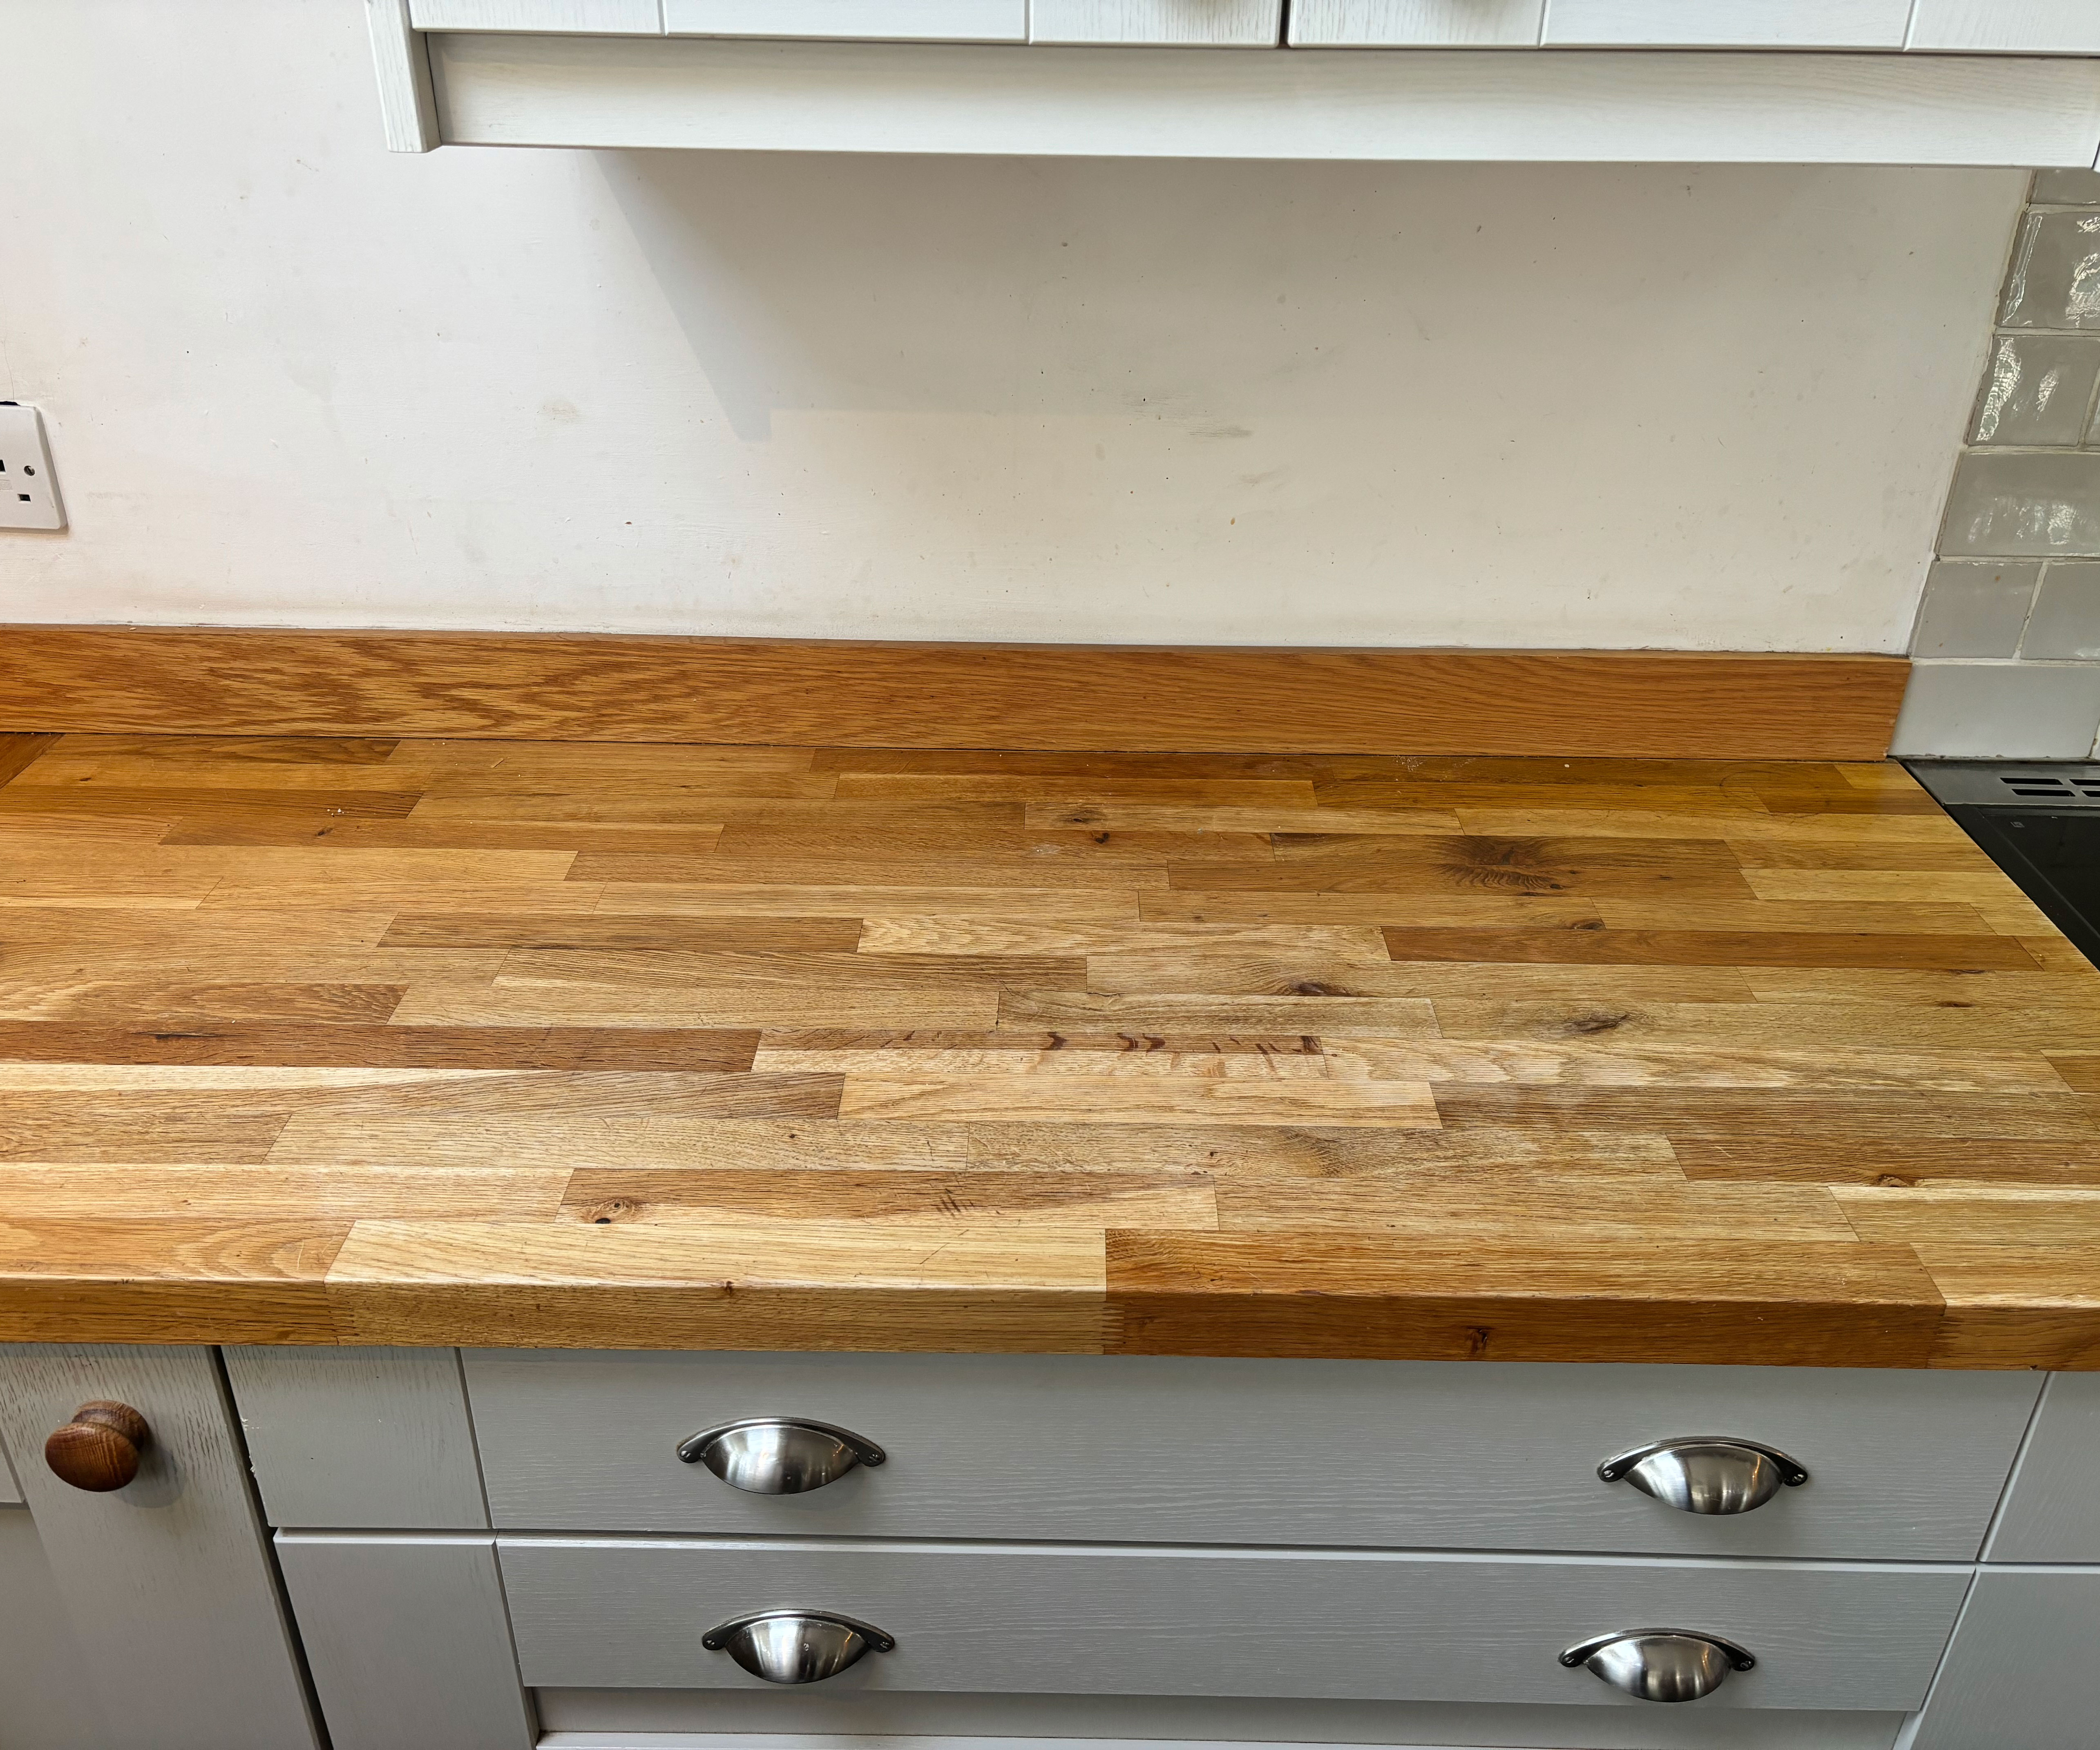
One of the golden rules of all DIY jobs is not to cut corners. So, first things first, you'll need to clear everything off your countertops, leaving them nice and clutter-free while you get to work. There is no point working around jars and appliances.
If you find this job taking a little longer than you expected, it might be time to look into how to declutter countertops.
2. Lightly sand countertops
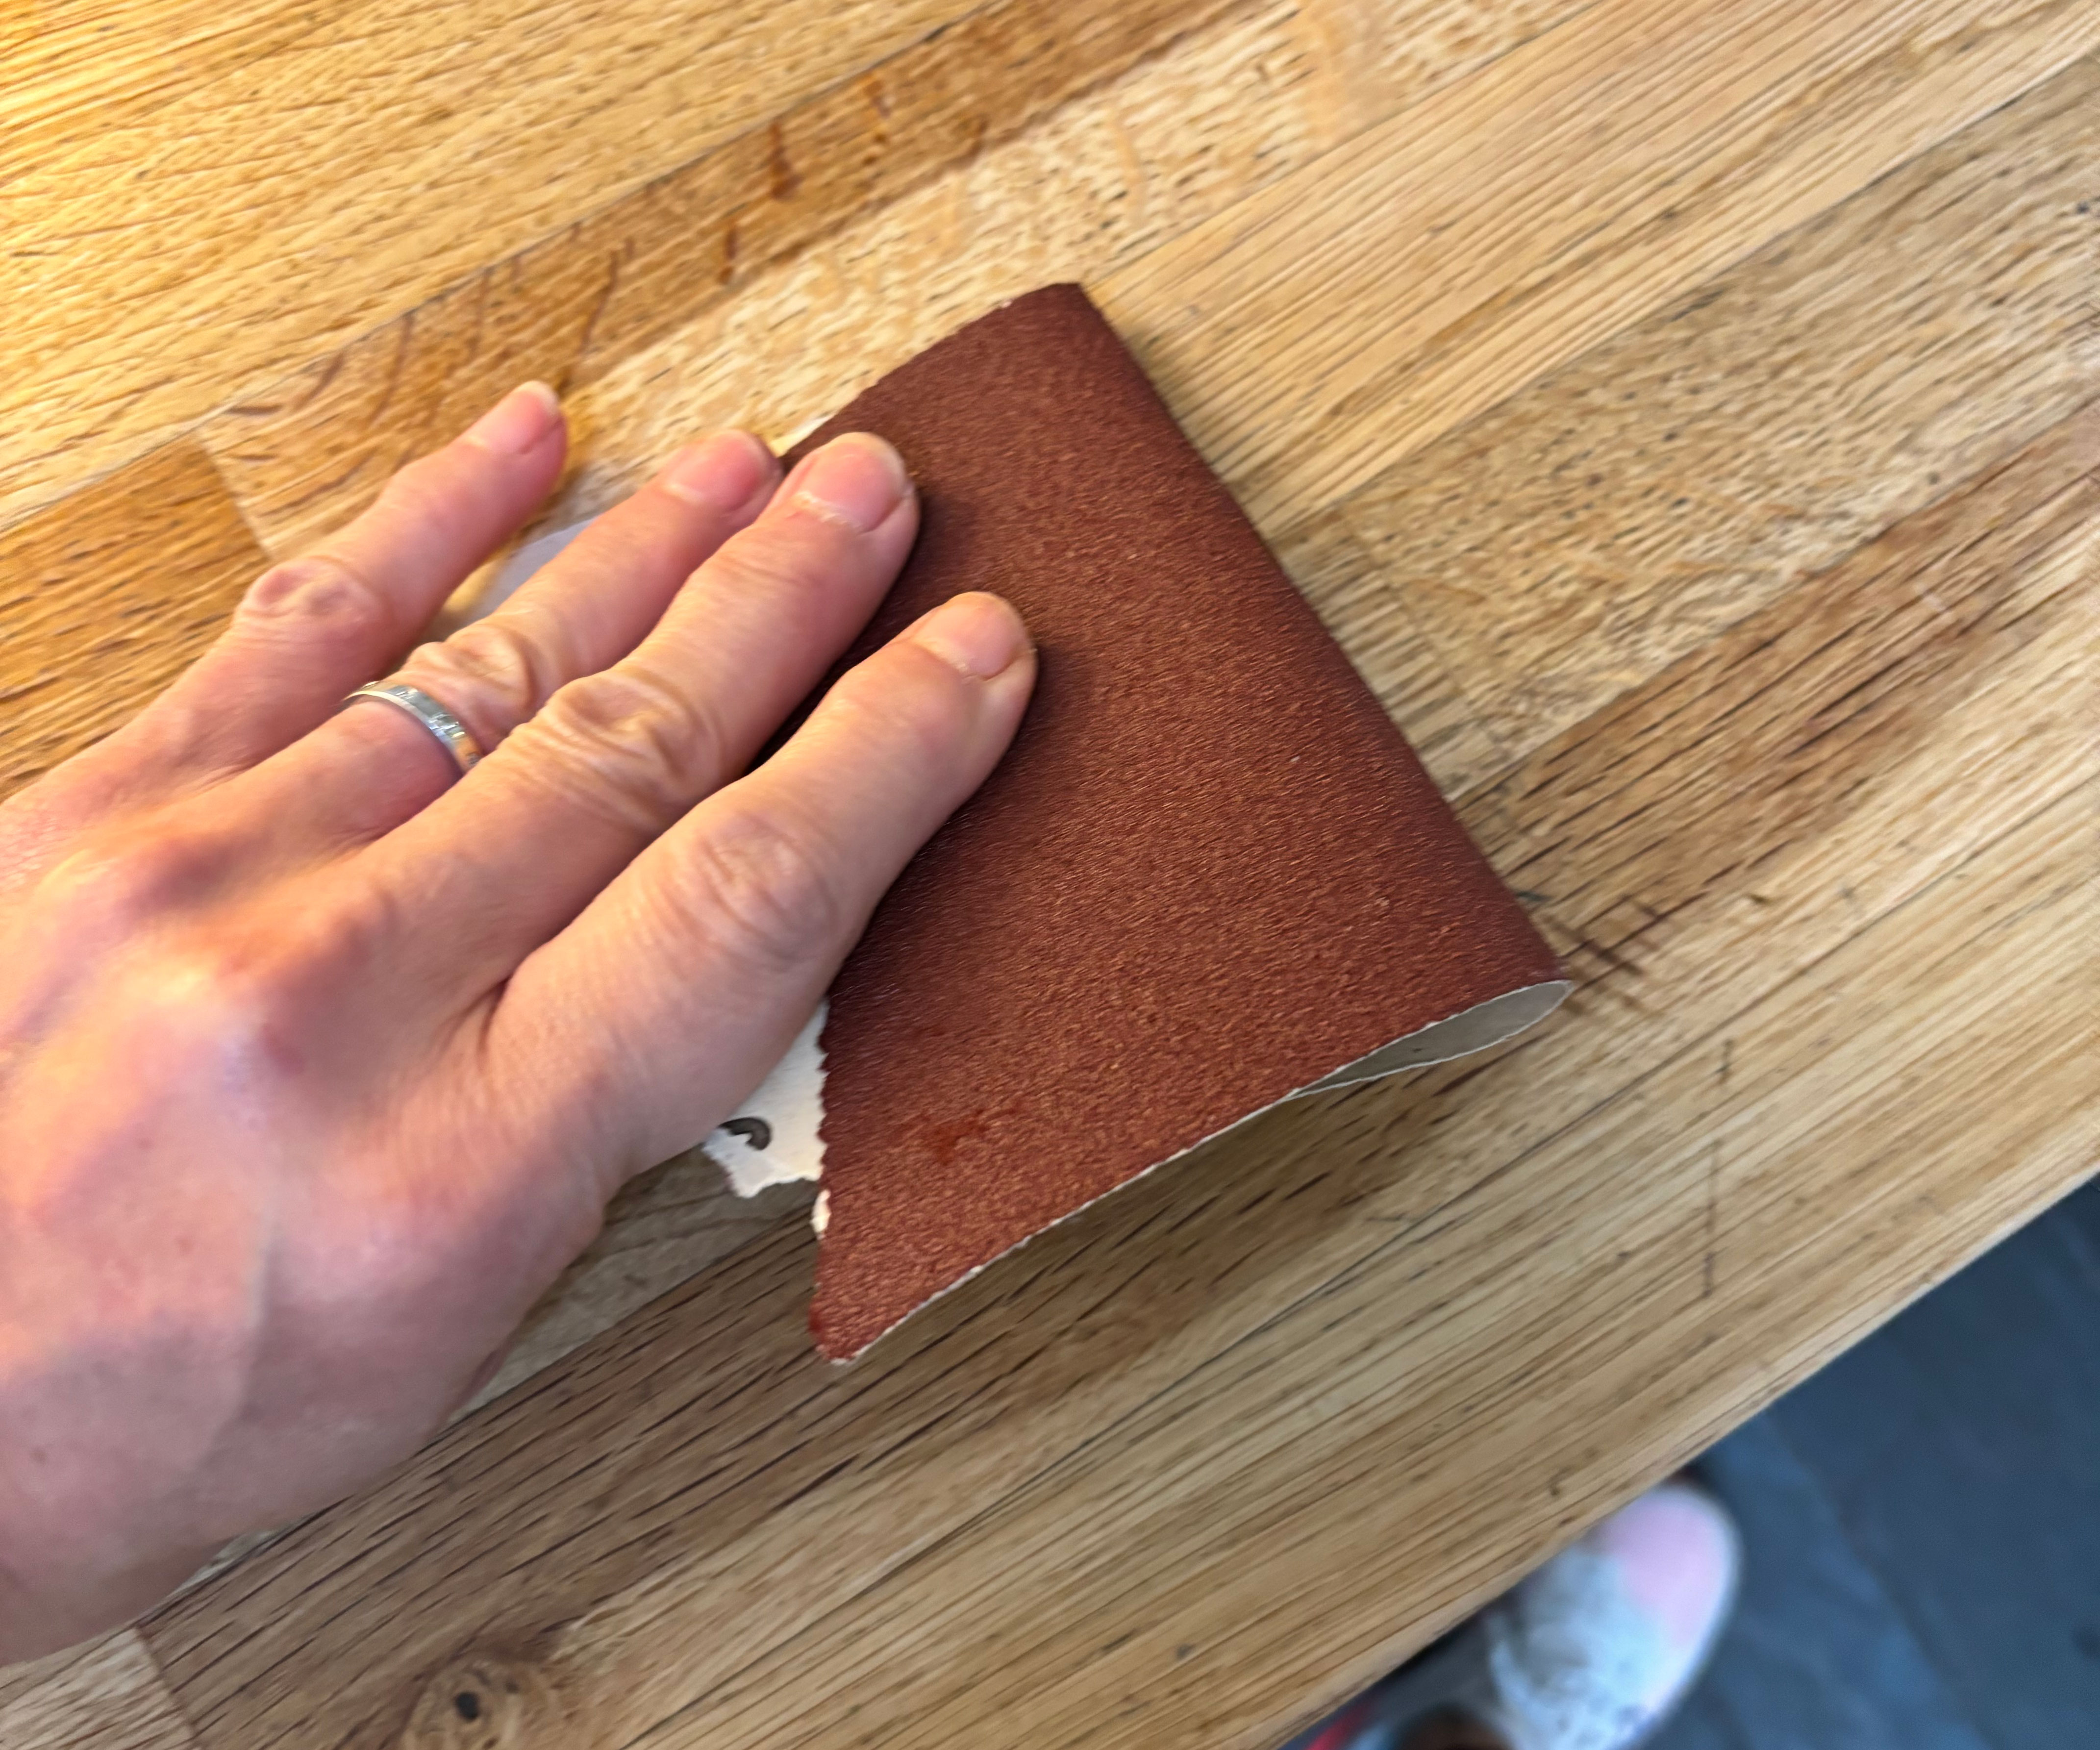
I'm going to hold my hands up here and admit that I do sometimes skip this stage. However, it is recommended that you give your countertops a light sanding before getting started – just as you would if following the best ways to stain wood.
'I once skipped sanding properly, and trust me, the oil didn’t soak in evenly, and the finish just looked a bit patchy,' warns recipe developer and New York Times best-selling author Marye Audet. 'A good sand with fine-grit sandpaper is so worth the effort!'
Having taken the time to sand my countertops I can confirm it is well worth doing as it helped lessen the appearance of a few marks and scratches too.
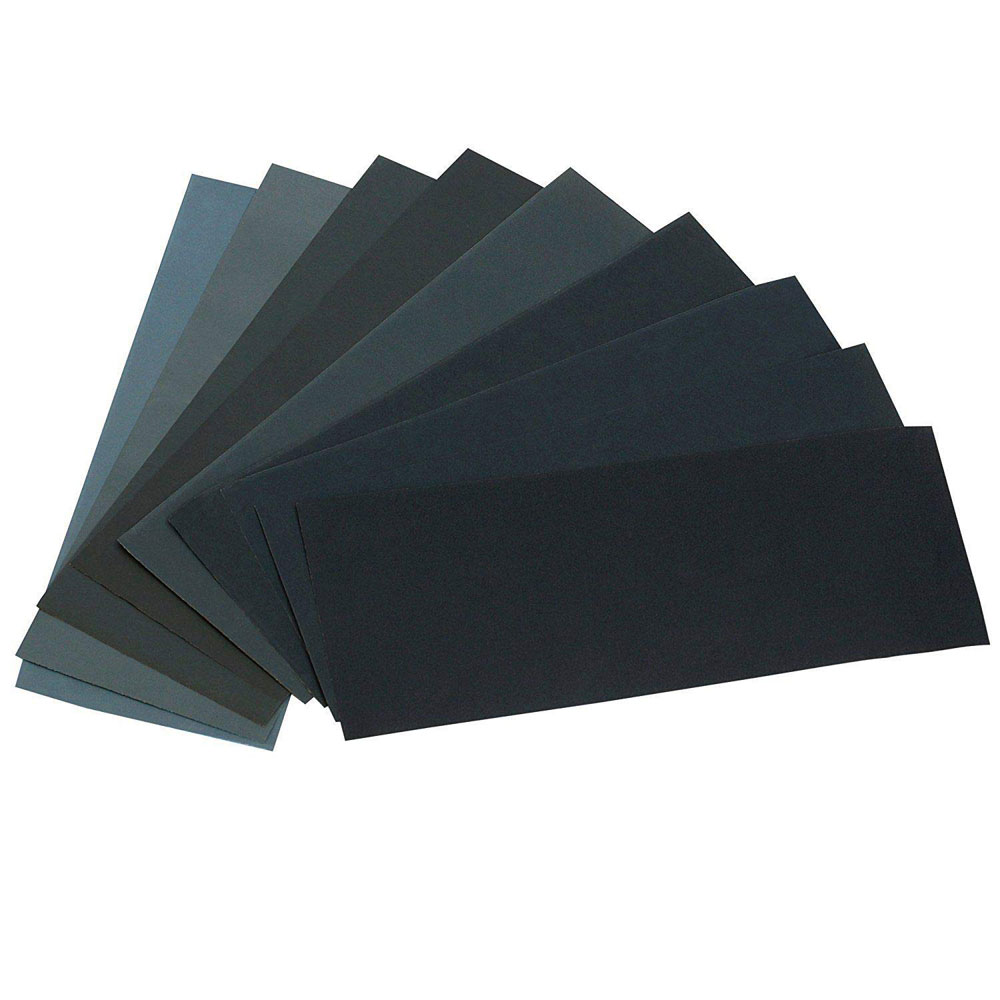
I always find it so handy to have a good stash of sandpaper of all kinds of grits in the toolbox. This pack features 24 sheets, with grits ranging from 120 (perfect for sanding your countertops) right up to 3000, which is extremely fine.
3. Clean countertops thoroughly
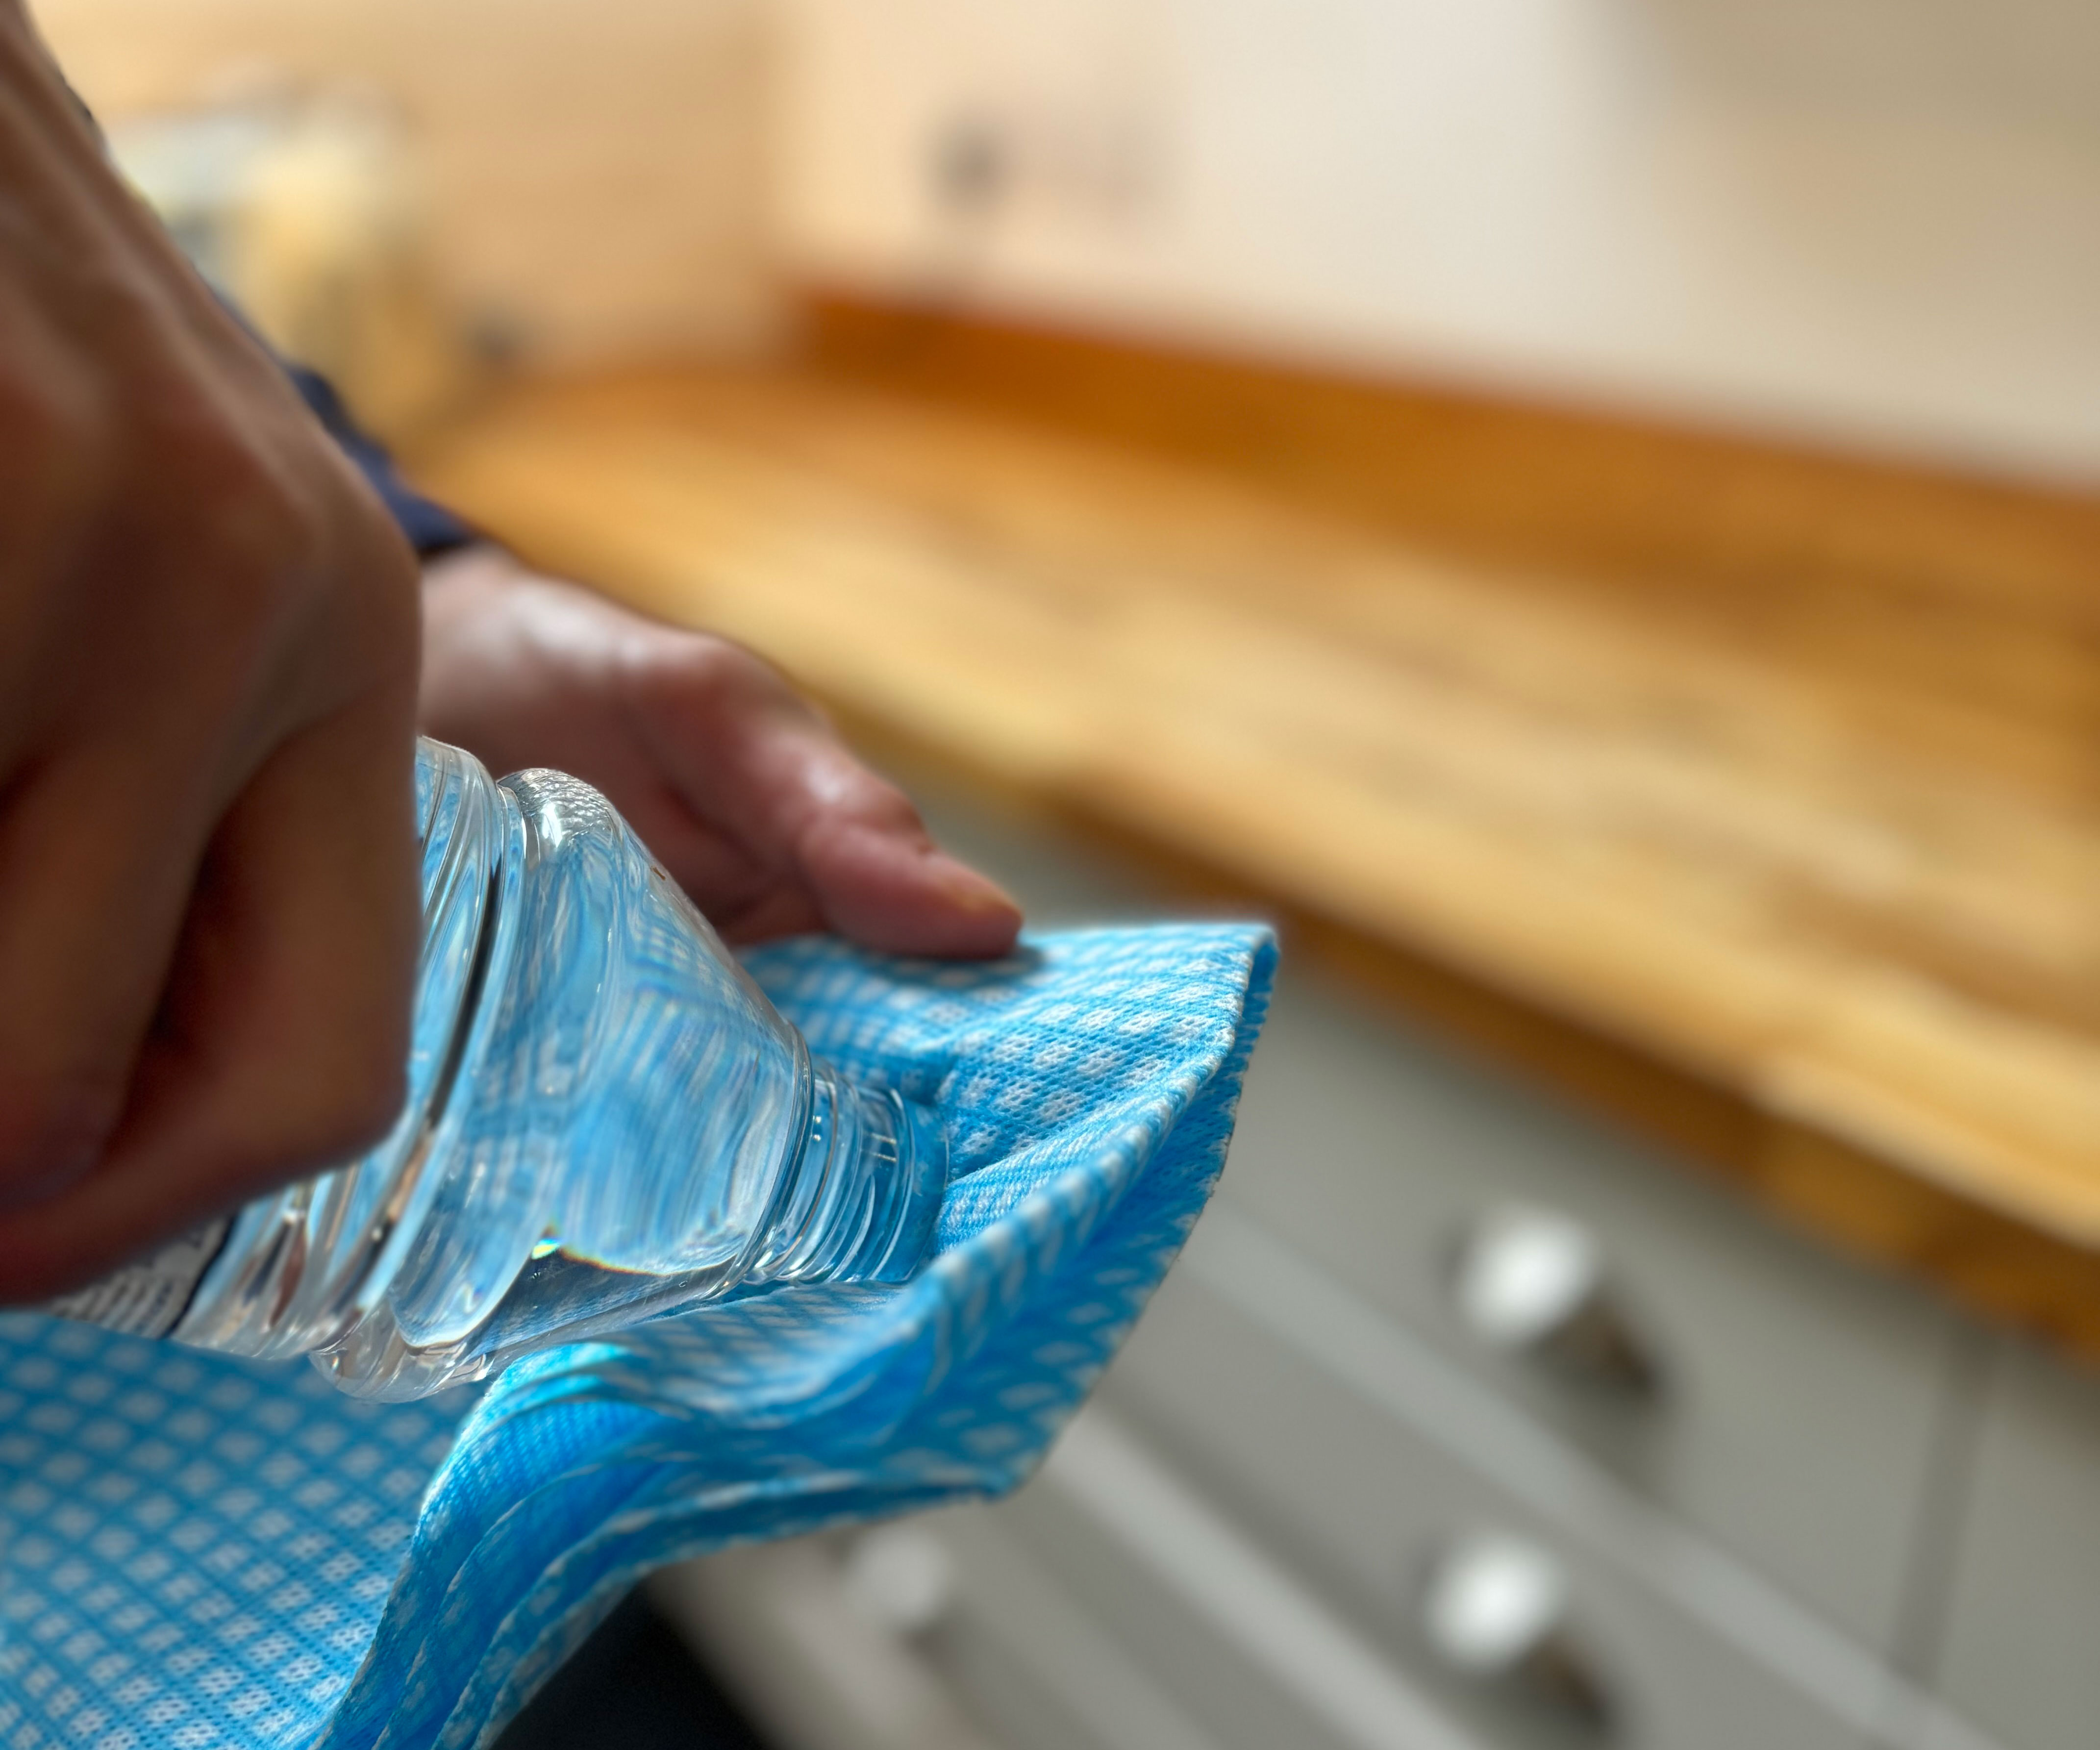
You want your countertops to be scrupulously clean before you begin oiling them. Not only will you need to ensure all the dust from the sanding you just did is gone, but you also want to remove any grease, grime or stuck-on food.
In some cases using just a mild cleaning spray or even warm water will suffice but take a little time here to look into how to remove common stains from kitchen countertops if you find there are some marks that won't budge.
The manufacturers of the oil I used (Rustins) state that previously oiled or waxed countertops should be cleaned with white spirits (or mineral spirits) so this is what I did.
A word of caution though, do check that your timber is not going to react to white spirits or discolor. I carried out a little test in an inconspicuous corner that is usually covered by my stand mixer.
Finally, give them one last wipe with a damp, warm lint-free cloth and dry them thoroughly.
4. Get the lid off the countertop oil
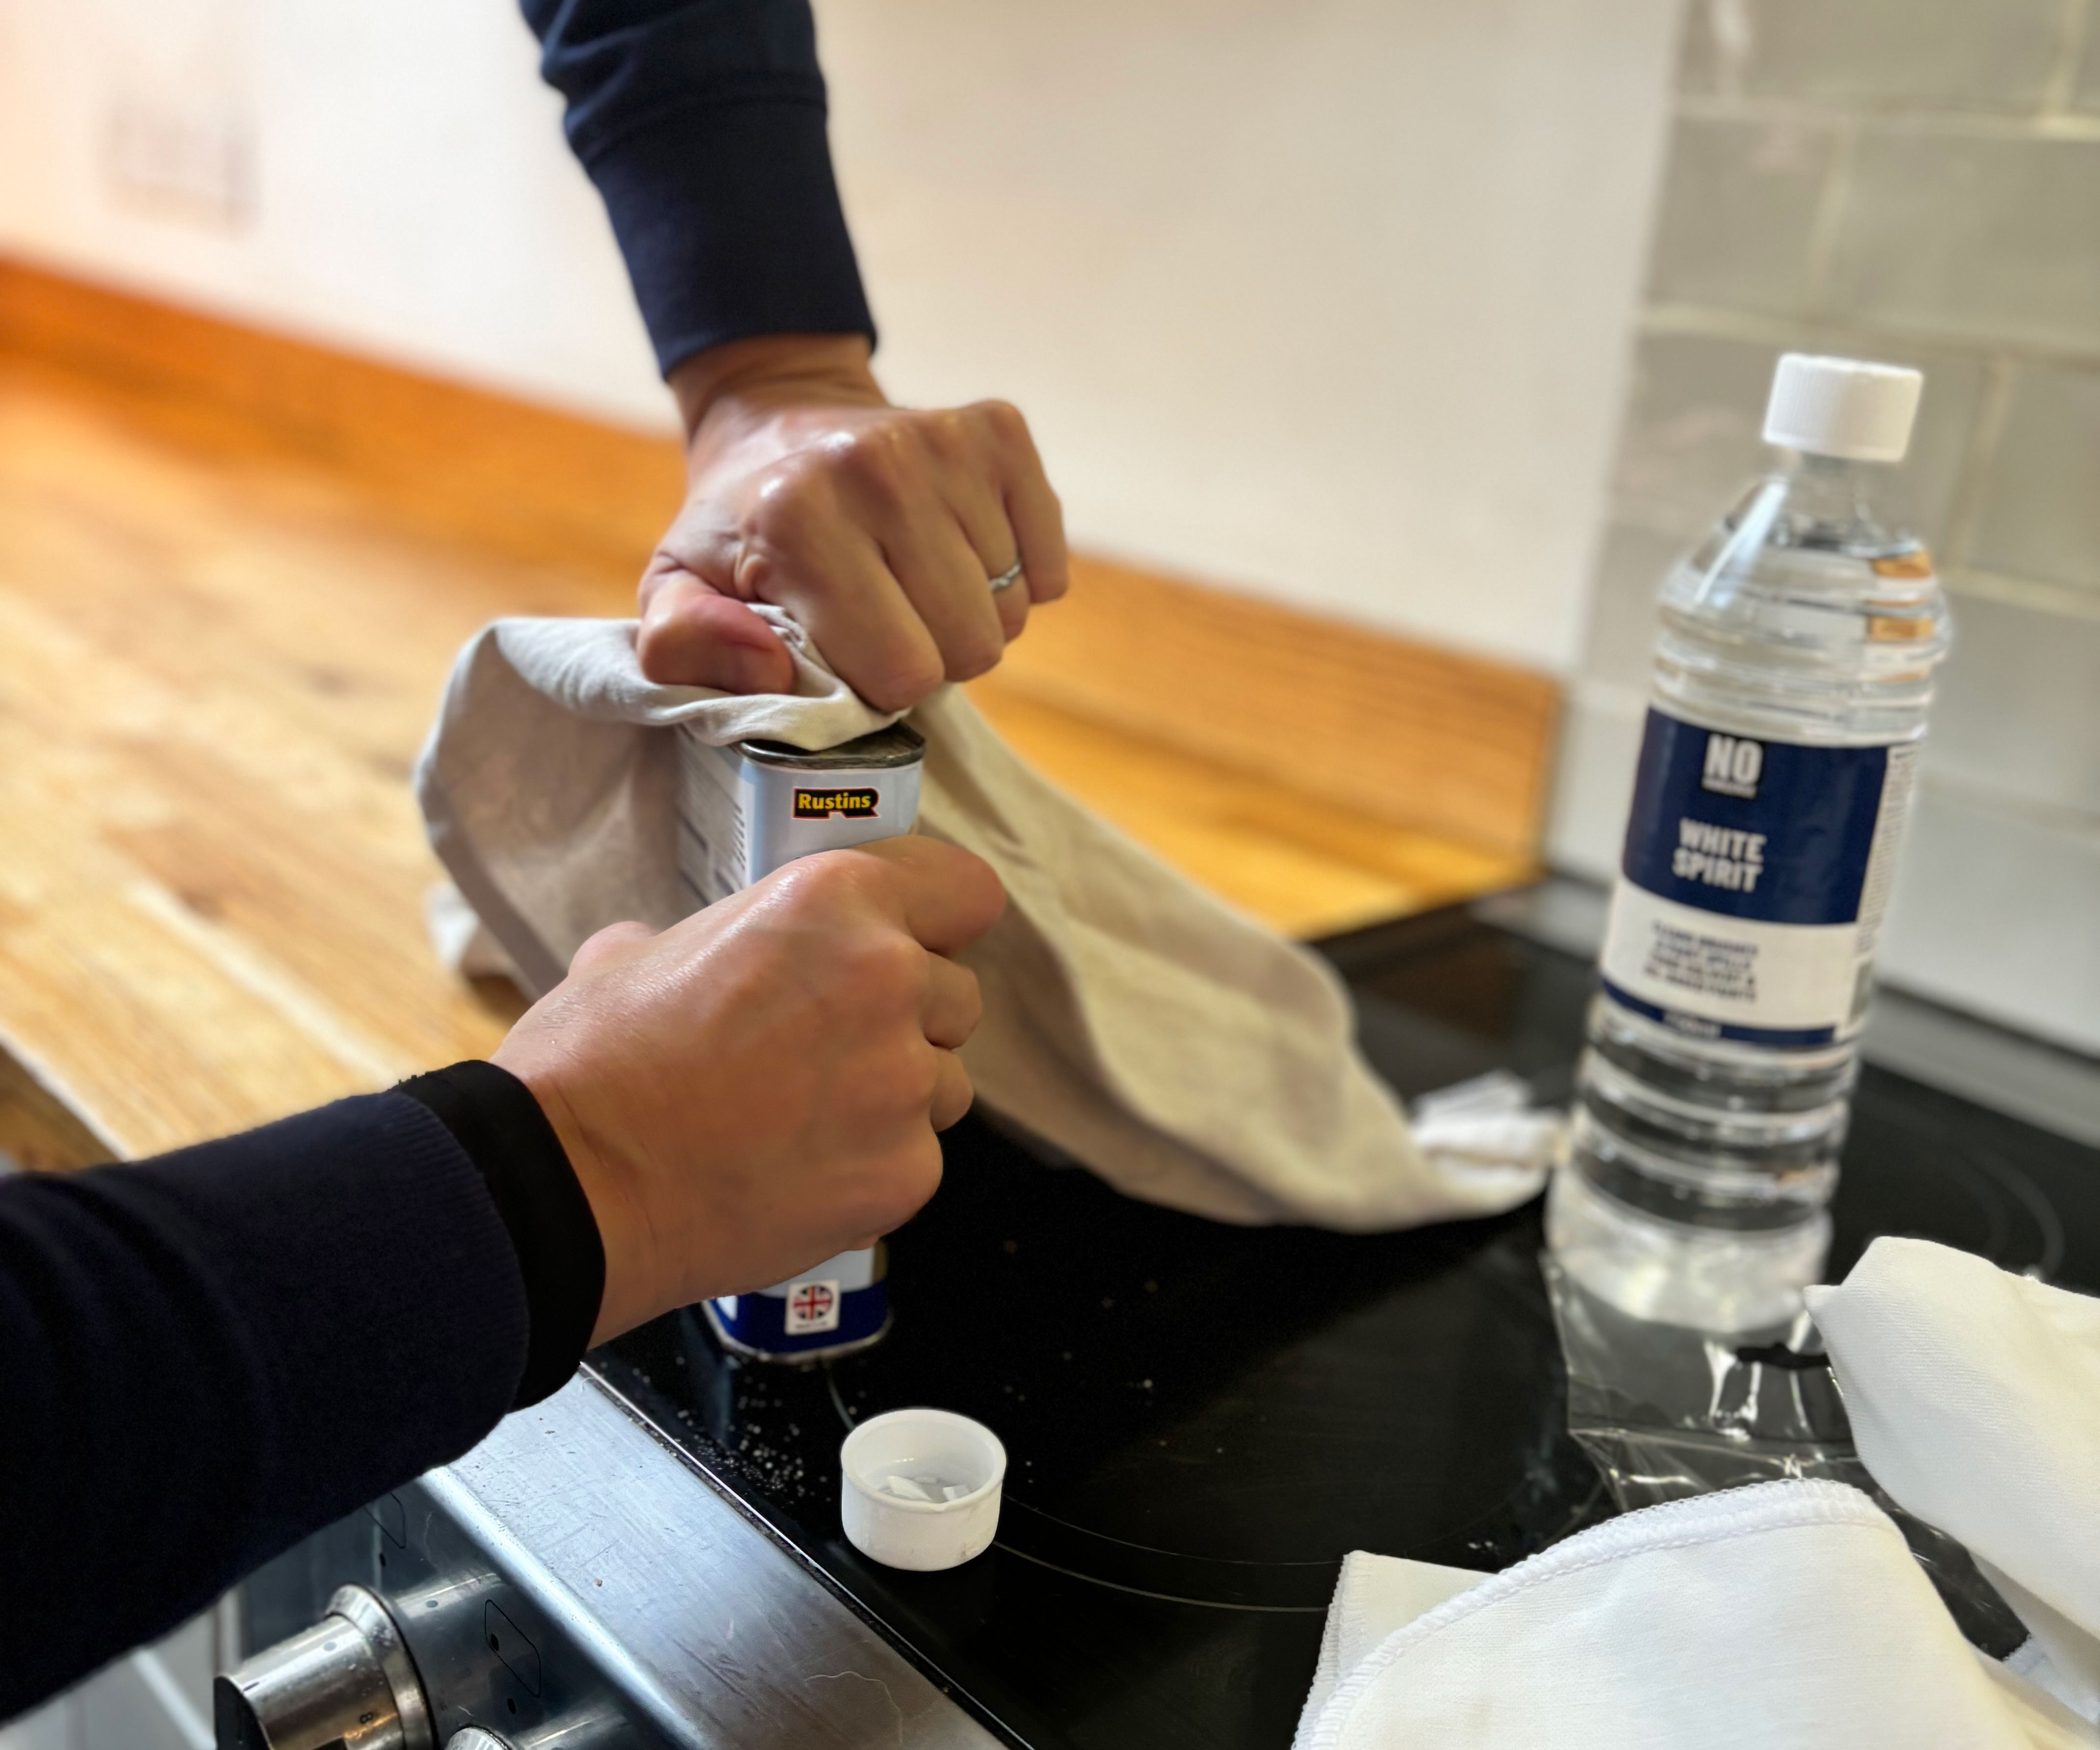
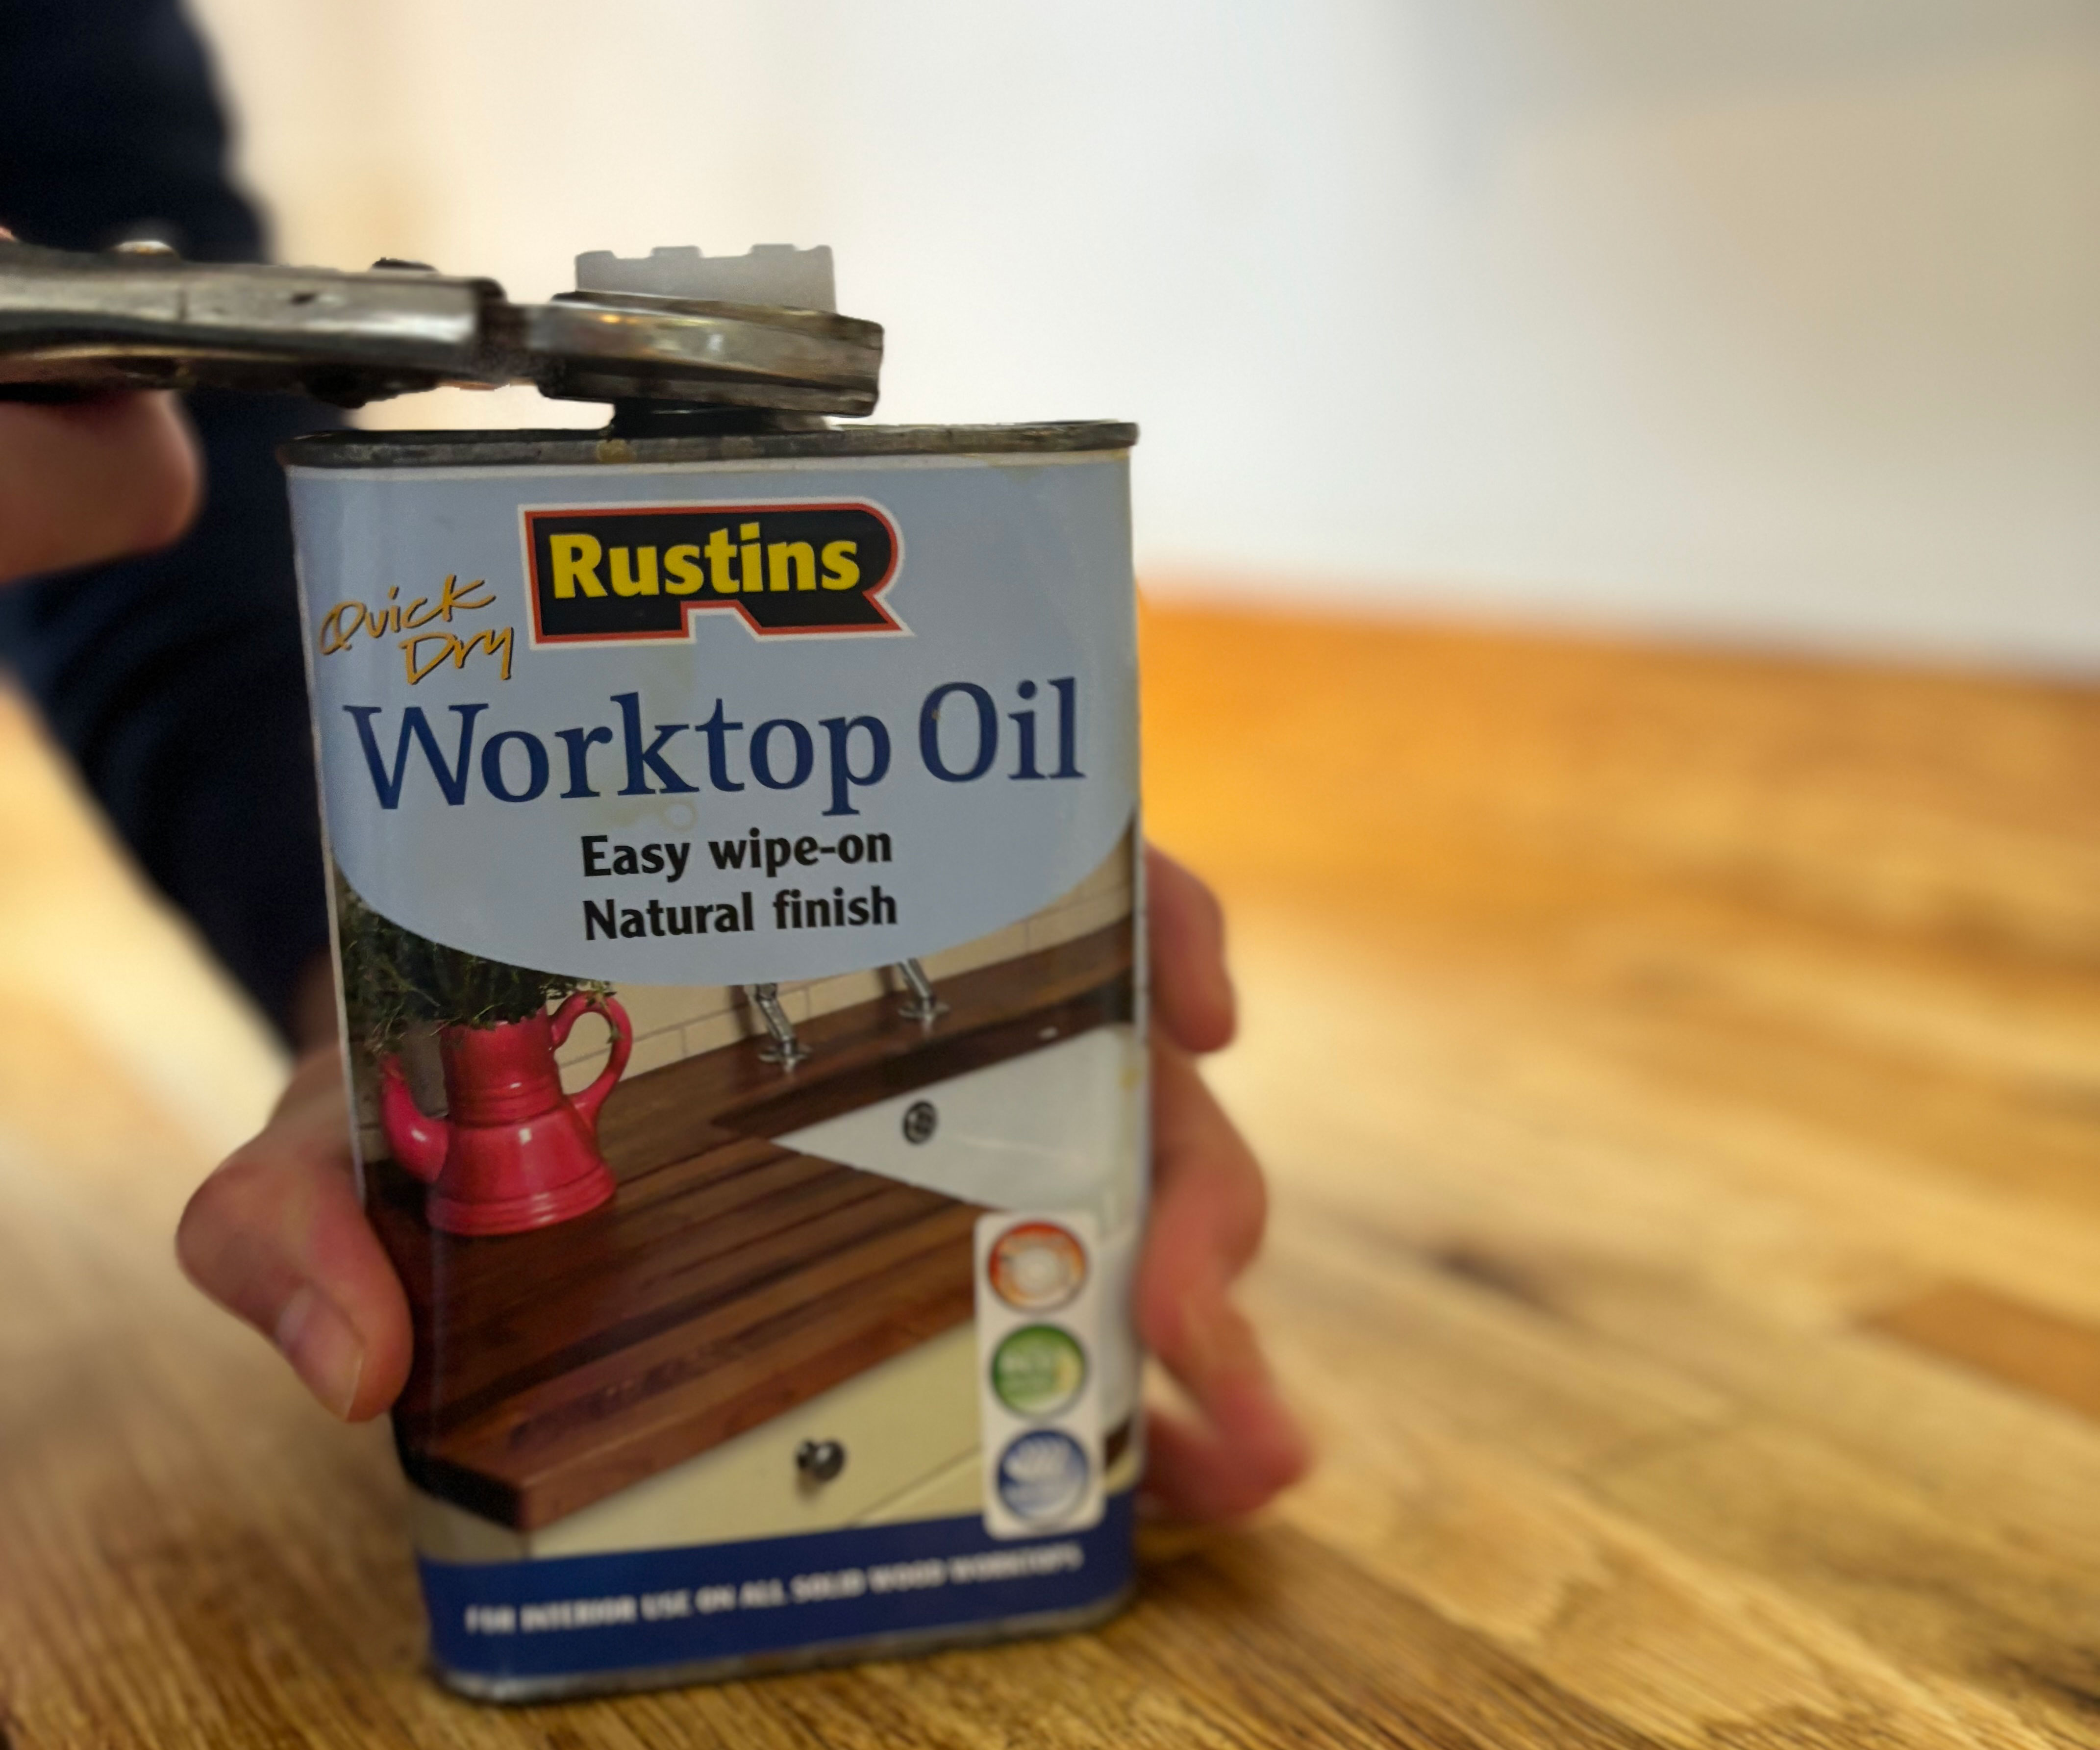
This is, admittedly, a step you might not usually expect to see in a DIY piece. However, the tin of oil I was using had been used before and when I came to remove the lid, I reckoned I was going to fall at the first hurdle, because it just wouldn't budge.
Quick DIY tip here for anyone who has a similar problem – a pair of pliers had the lid off in no time.
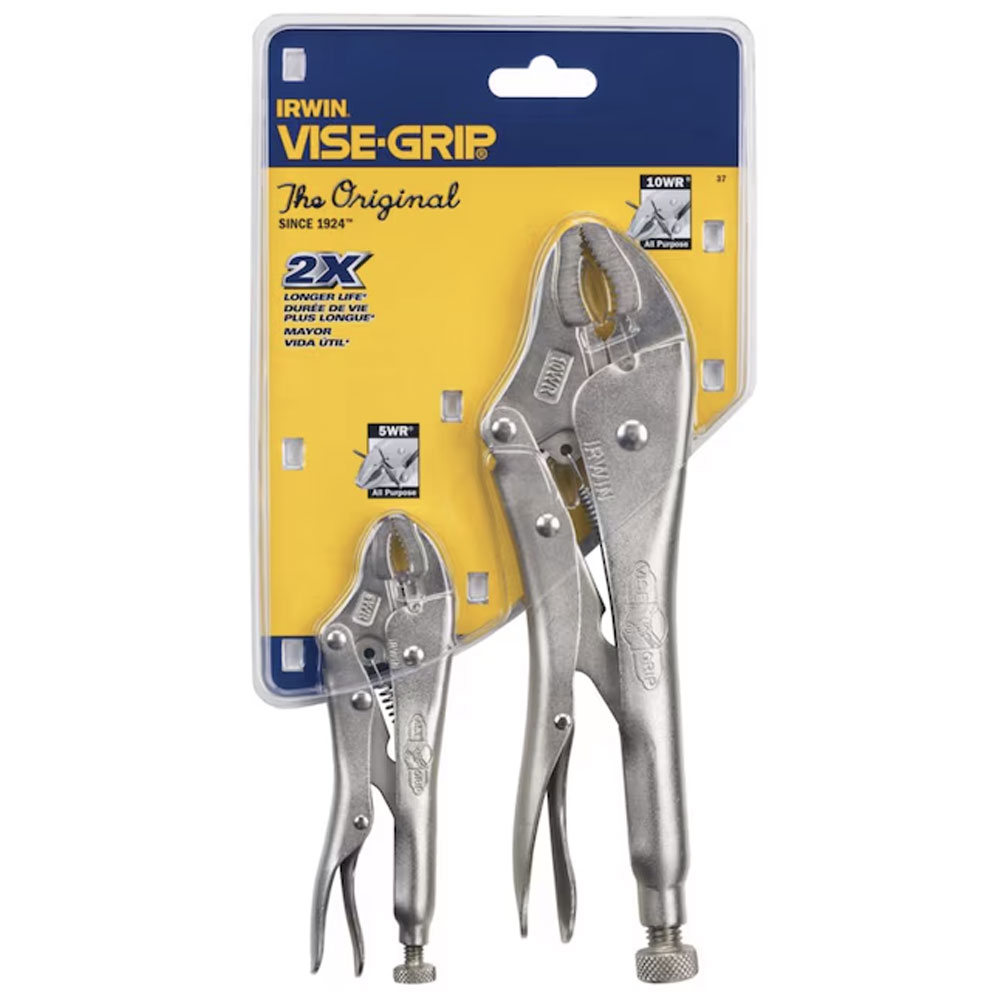
A great pair of pliers are an essential item for any DIY-ers tool kit. These are exactly like mine and I find their locking function make it easy to tighten, clamp, twist and turn all manner of stuck items.
5. Apply oil to countertops
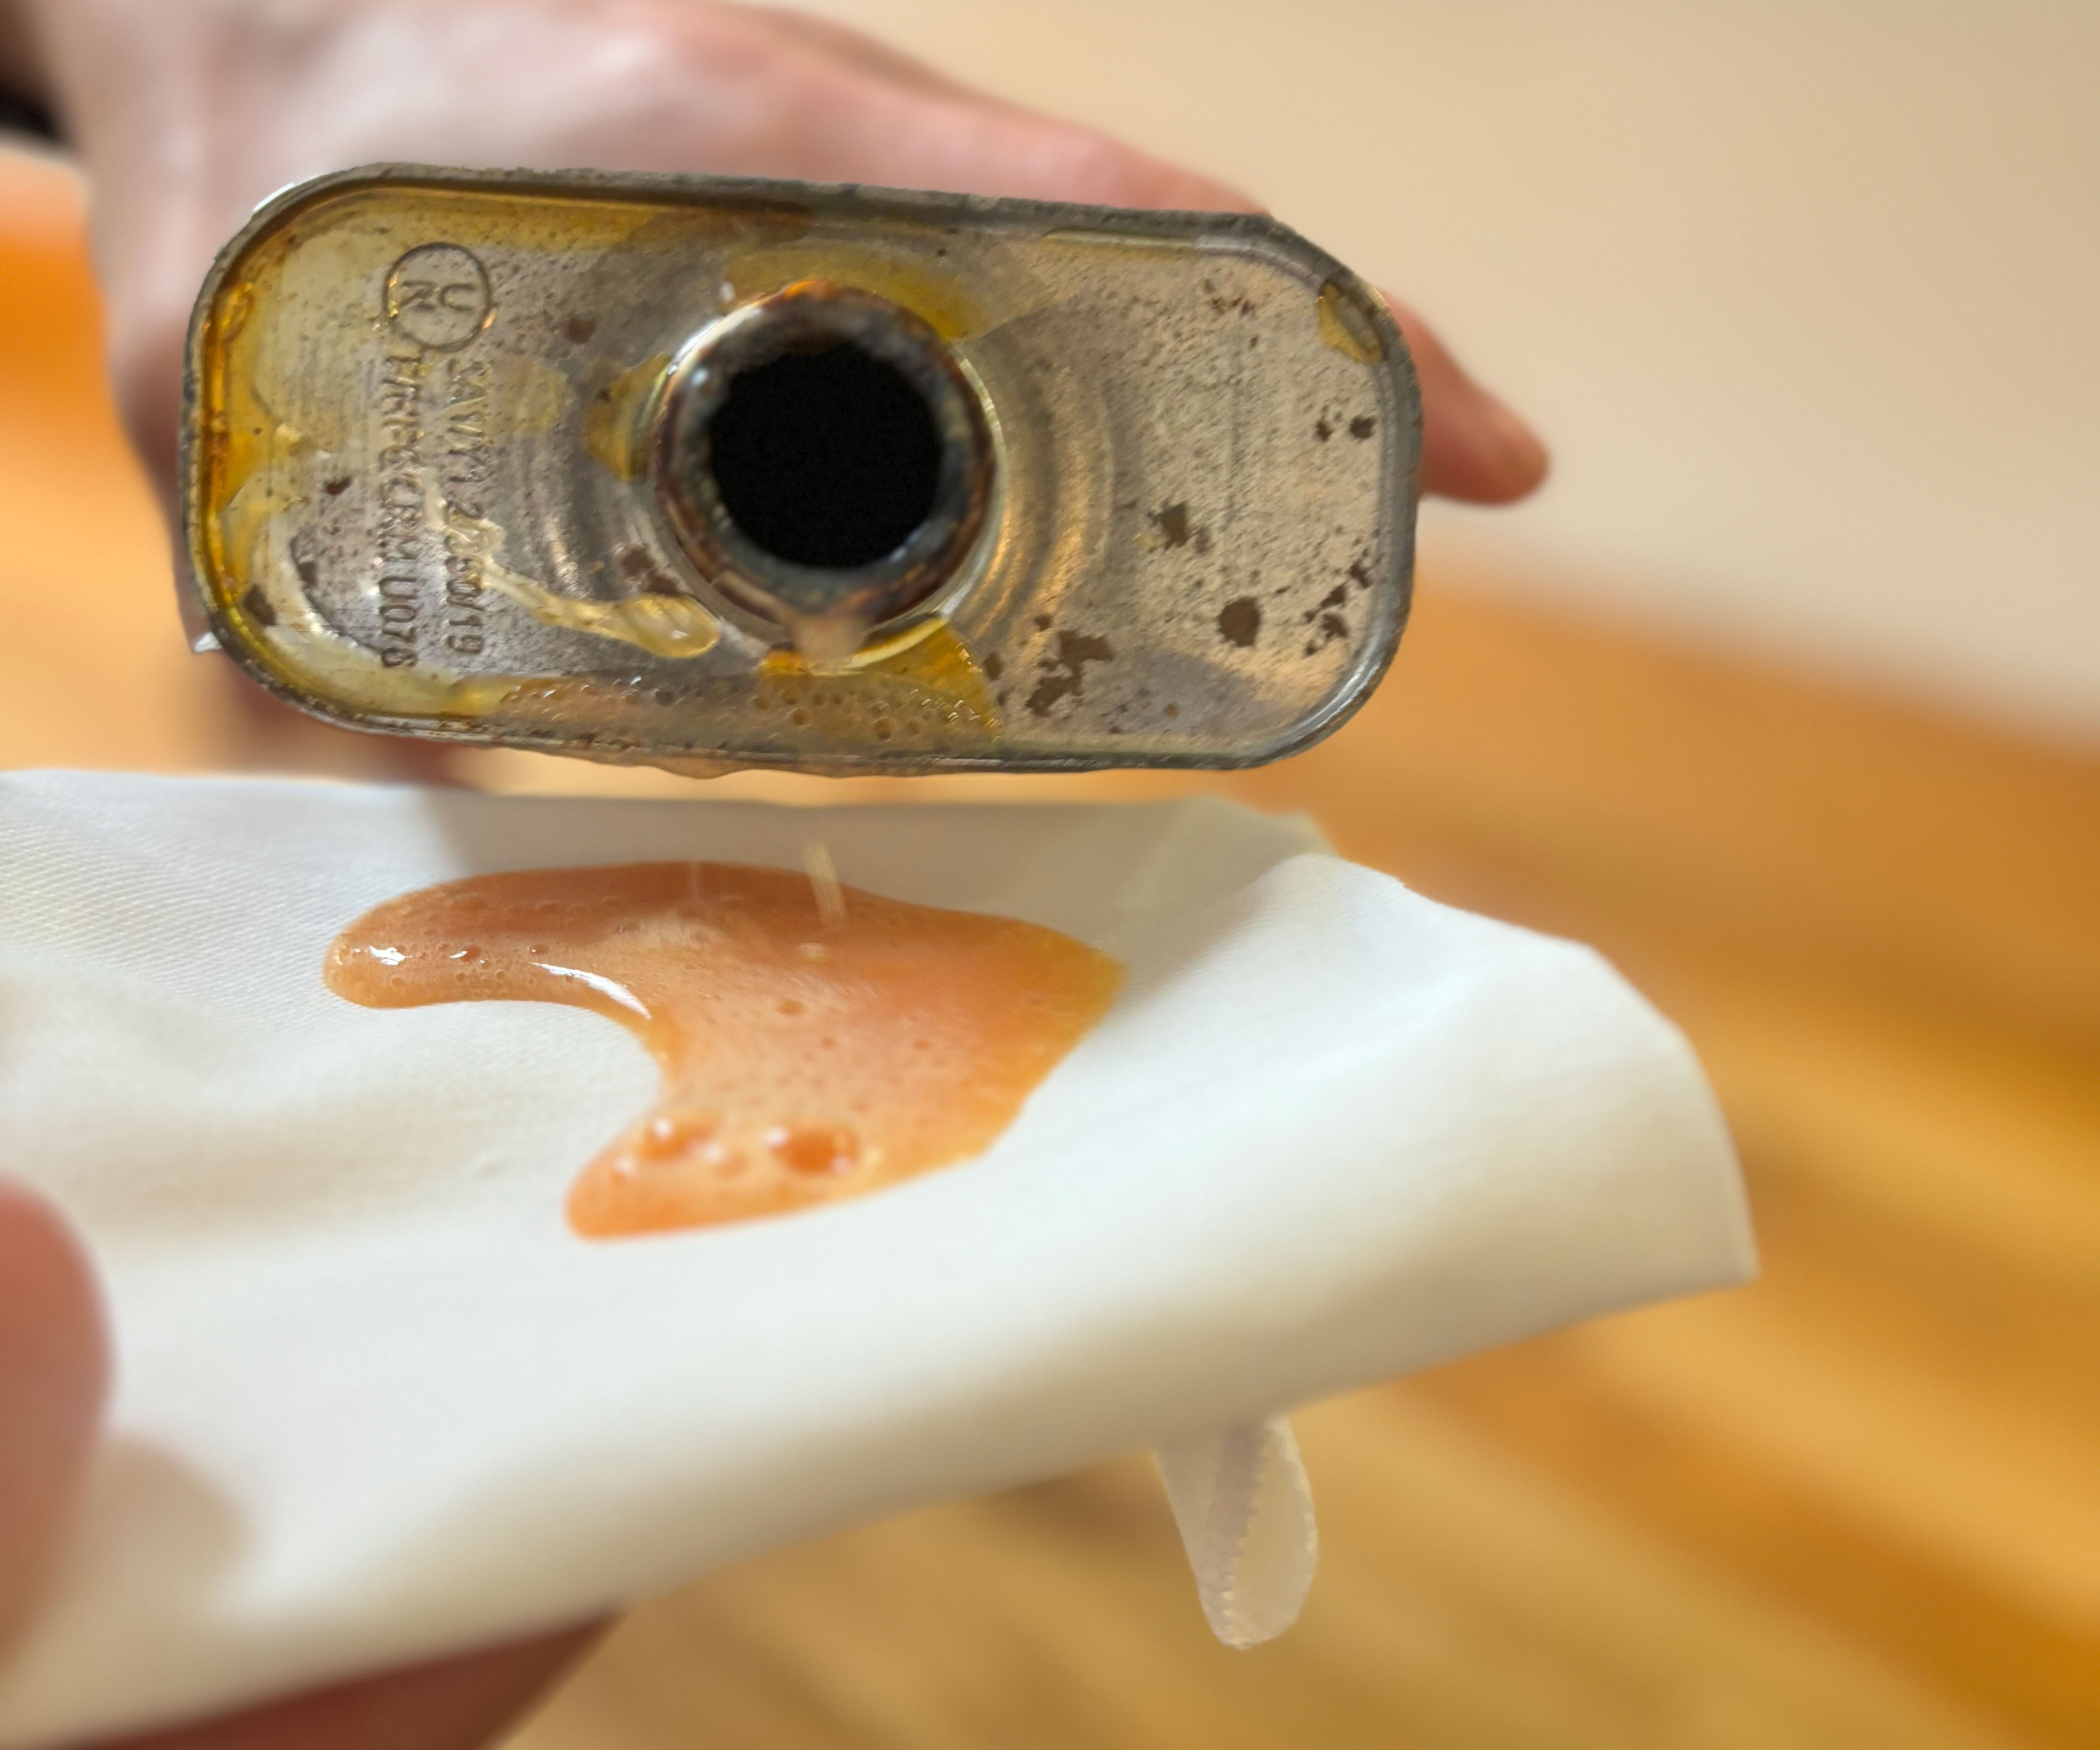
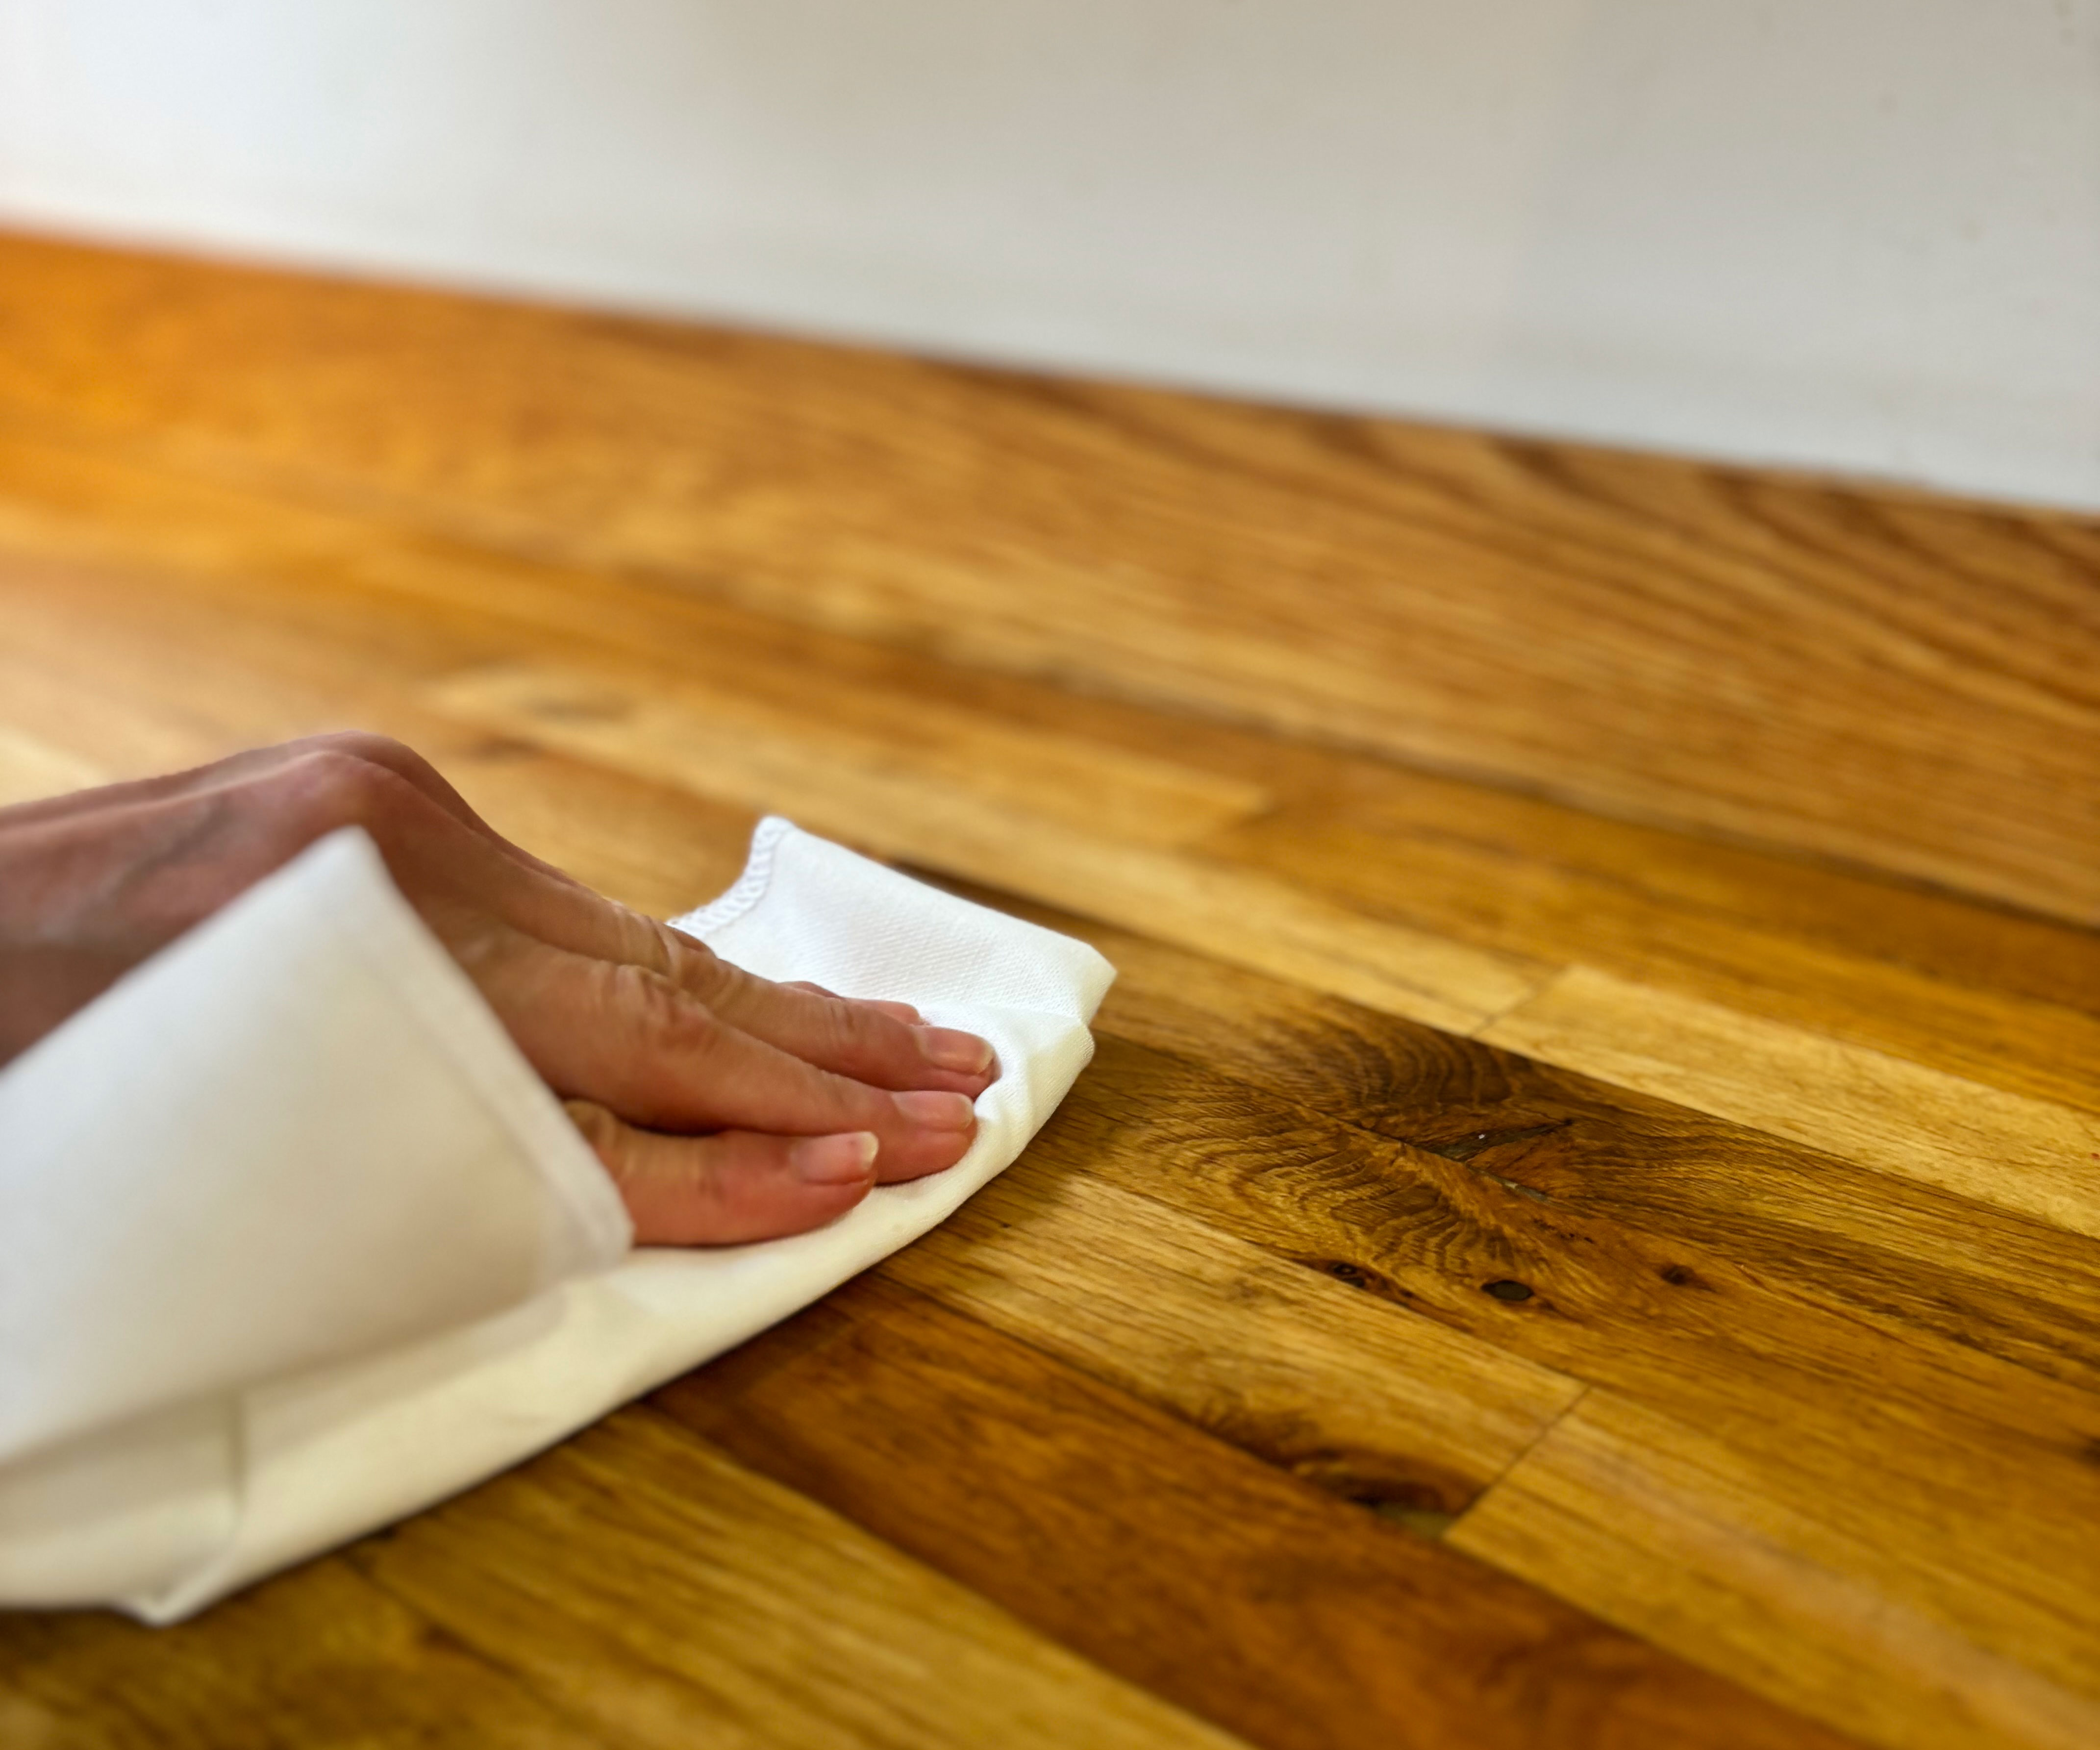
Wooden countertops really are one of those kitchen countertops that never go out of style and this is where you get to the part that will leave them looking gleaming.
Use a lint-free cloth to apply your chosen oil as it will avoid you ending up with little balls of fluff stuck in your oil. These XL Lint Free Microfiber Cleaning Cloths from Amazon would be ideal and are super strong.
Pour a small amount of the oil onto your cloths and rub it into the timber, working in the direction of the grain to ensure it penetrates the wood really well. Remember to cover the whole surface, including the edges and corners. I also applied some oil to the timber up-stands that run around the perimeter of the surfaces, too.
'When applying the oil, less is definitely more – just a little on a soft cloth, working in thin layers – don’t be tempted to slather it on thick,' advises Marye Audet. 'I used to think the more oil, the better, but that just leads to a sticky mess.
'One wooden counter oiling mistake I see often is not giving enough attention to the edges and high-use areas, particularly around sinks,' continues Marye. 'I always advise applying extra coats there, as water damage is the fastest way to spoil the wood.'
7. Wipe away excess oil
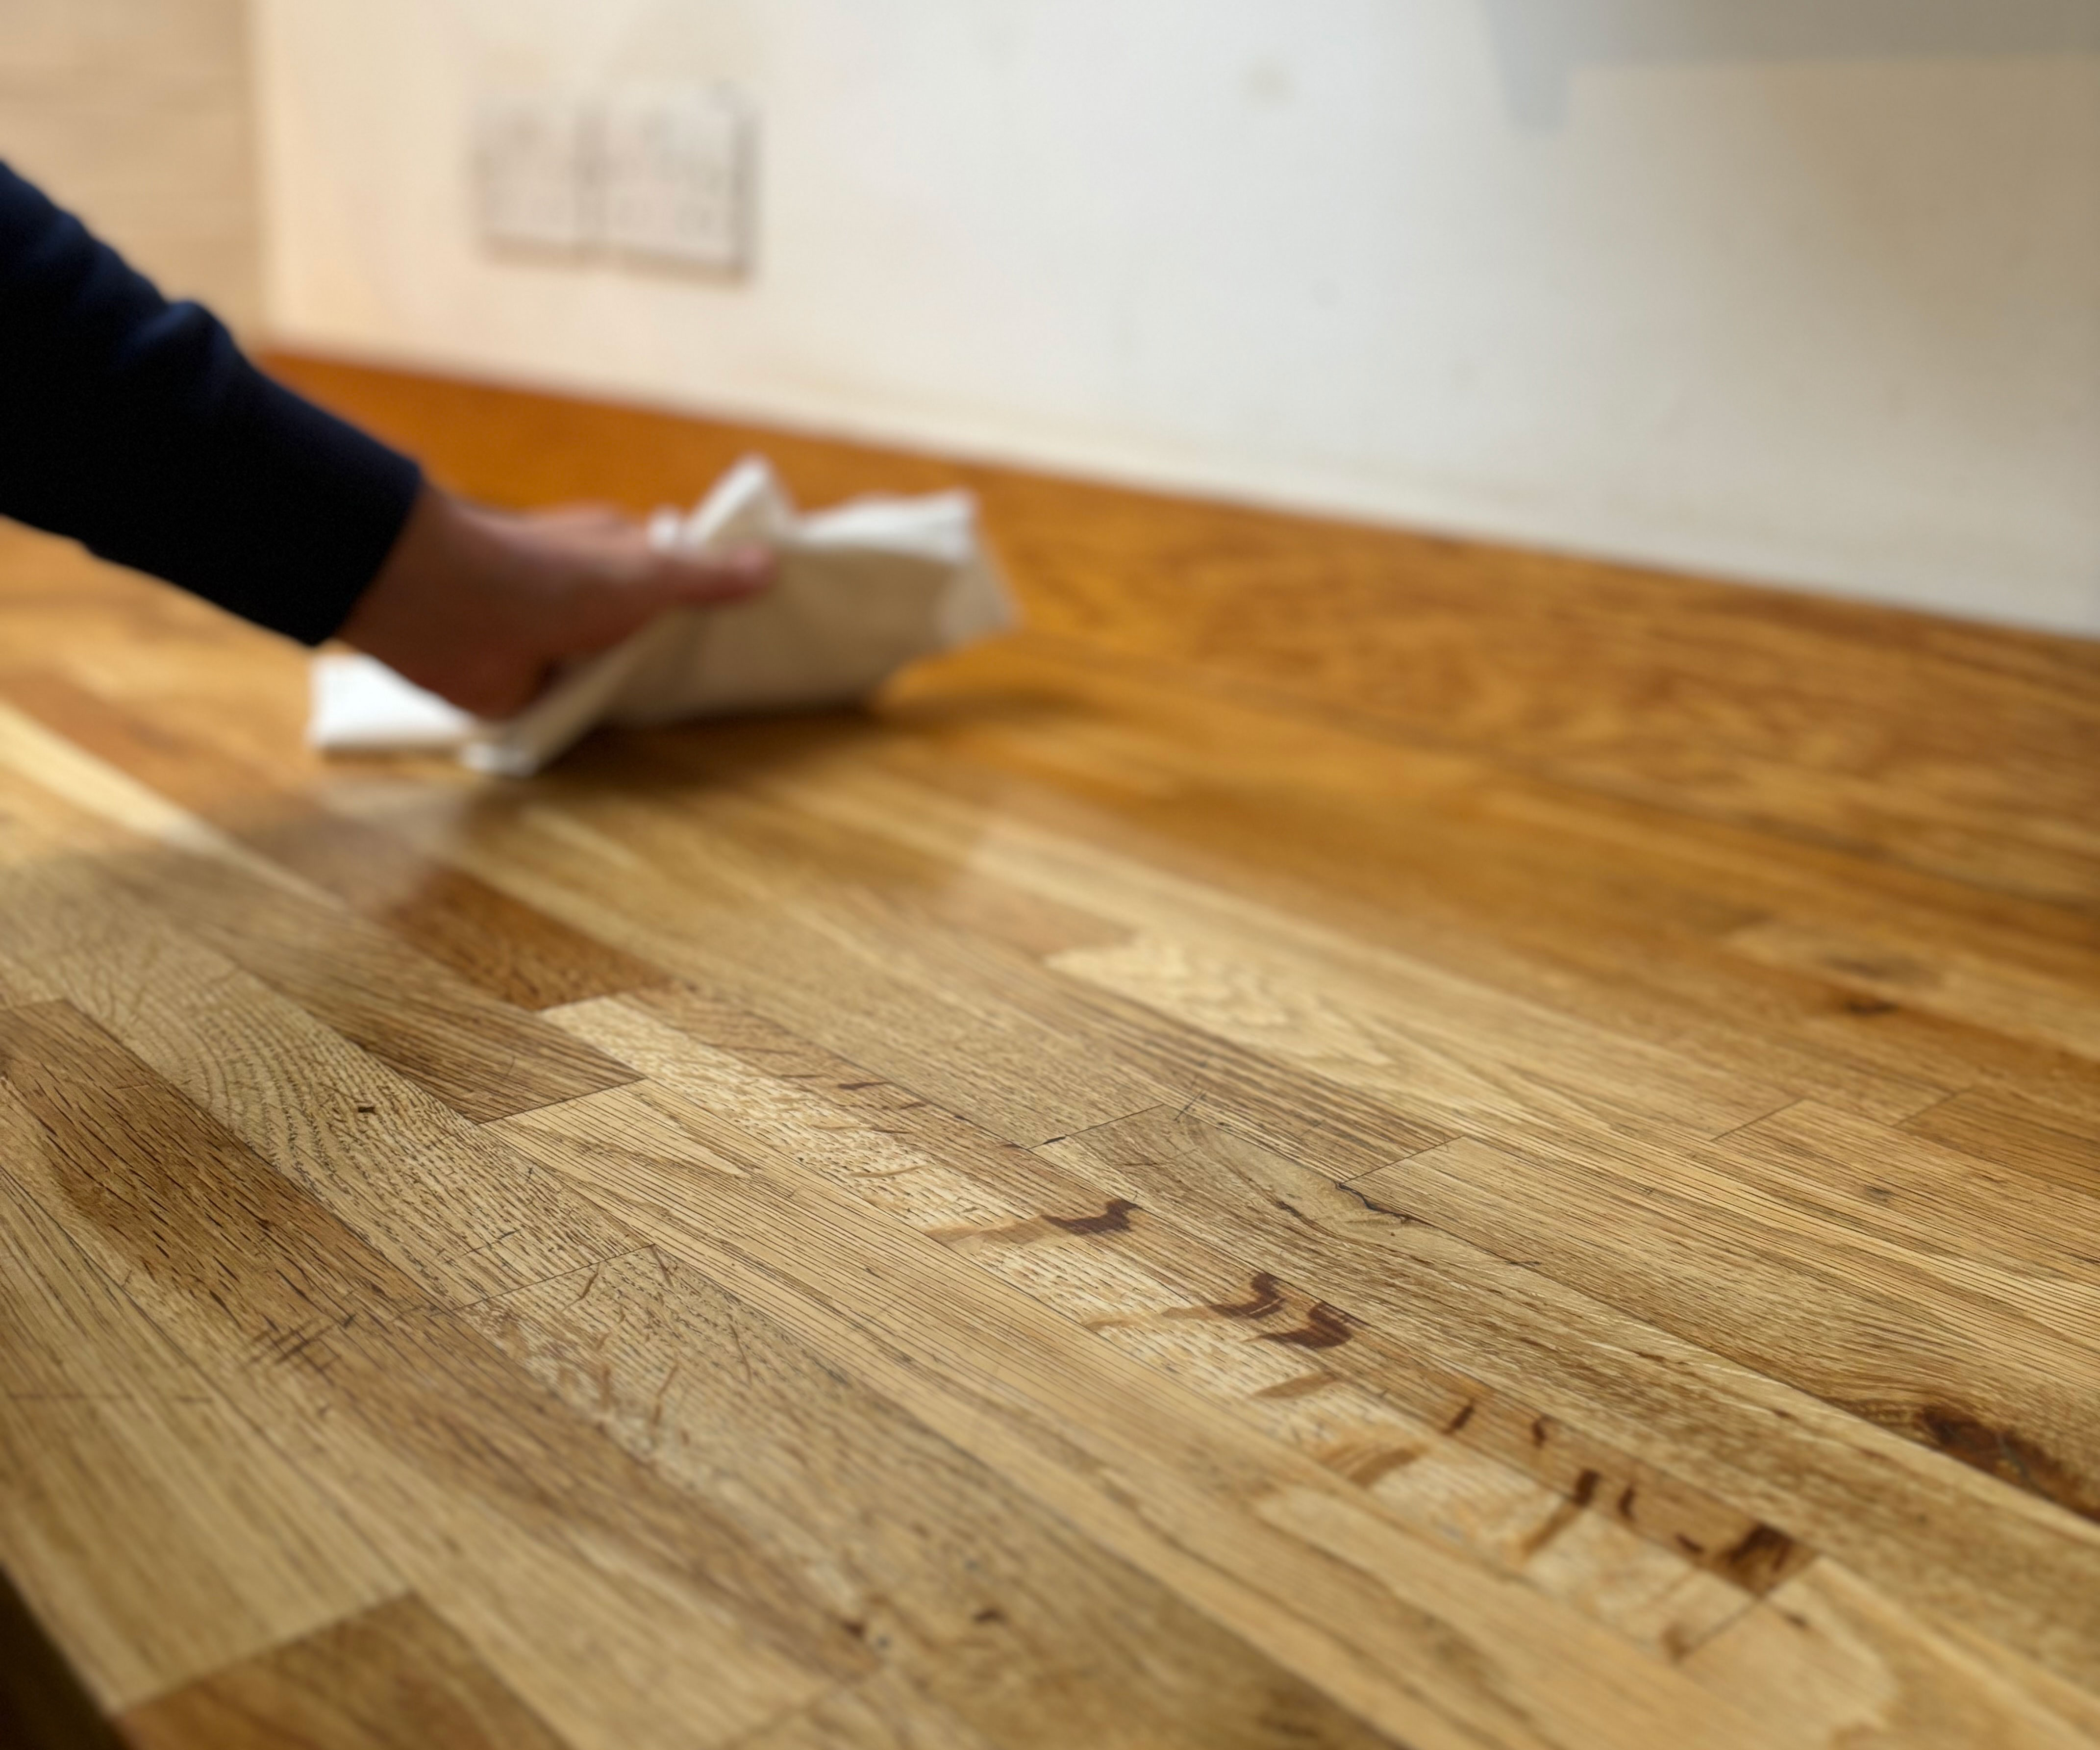
Once you have finished oiling, clean off any excess product and drips to ensure a nice, even finish is achieved. Again, use a lint-free cloth to ensure no little bobbles are left on your newly oiled surfaces.
You should now leave the oil to dry – my oil was touch-dry in less than an hour but refer to the instructions on your particular product here. If I had wanted to give them another coat (recommended for new or bare wood) I would have had to wait three hours between coats.
'I always let it dry overnight between coats, especially around the sink area where water splashes all the time,' says Marye Audet.
8. Return items to countertops
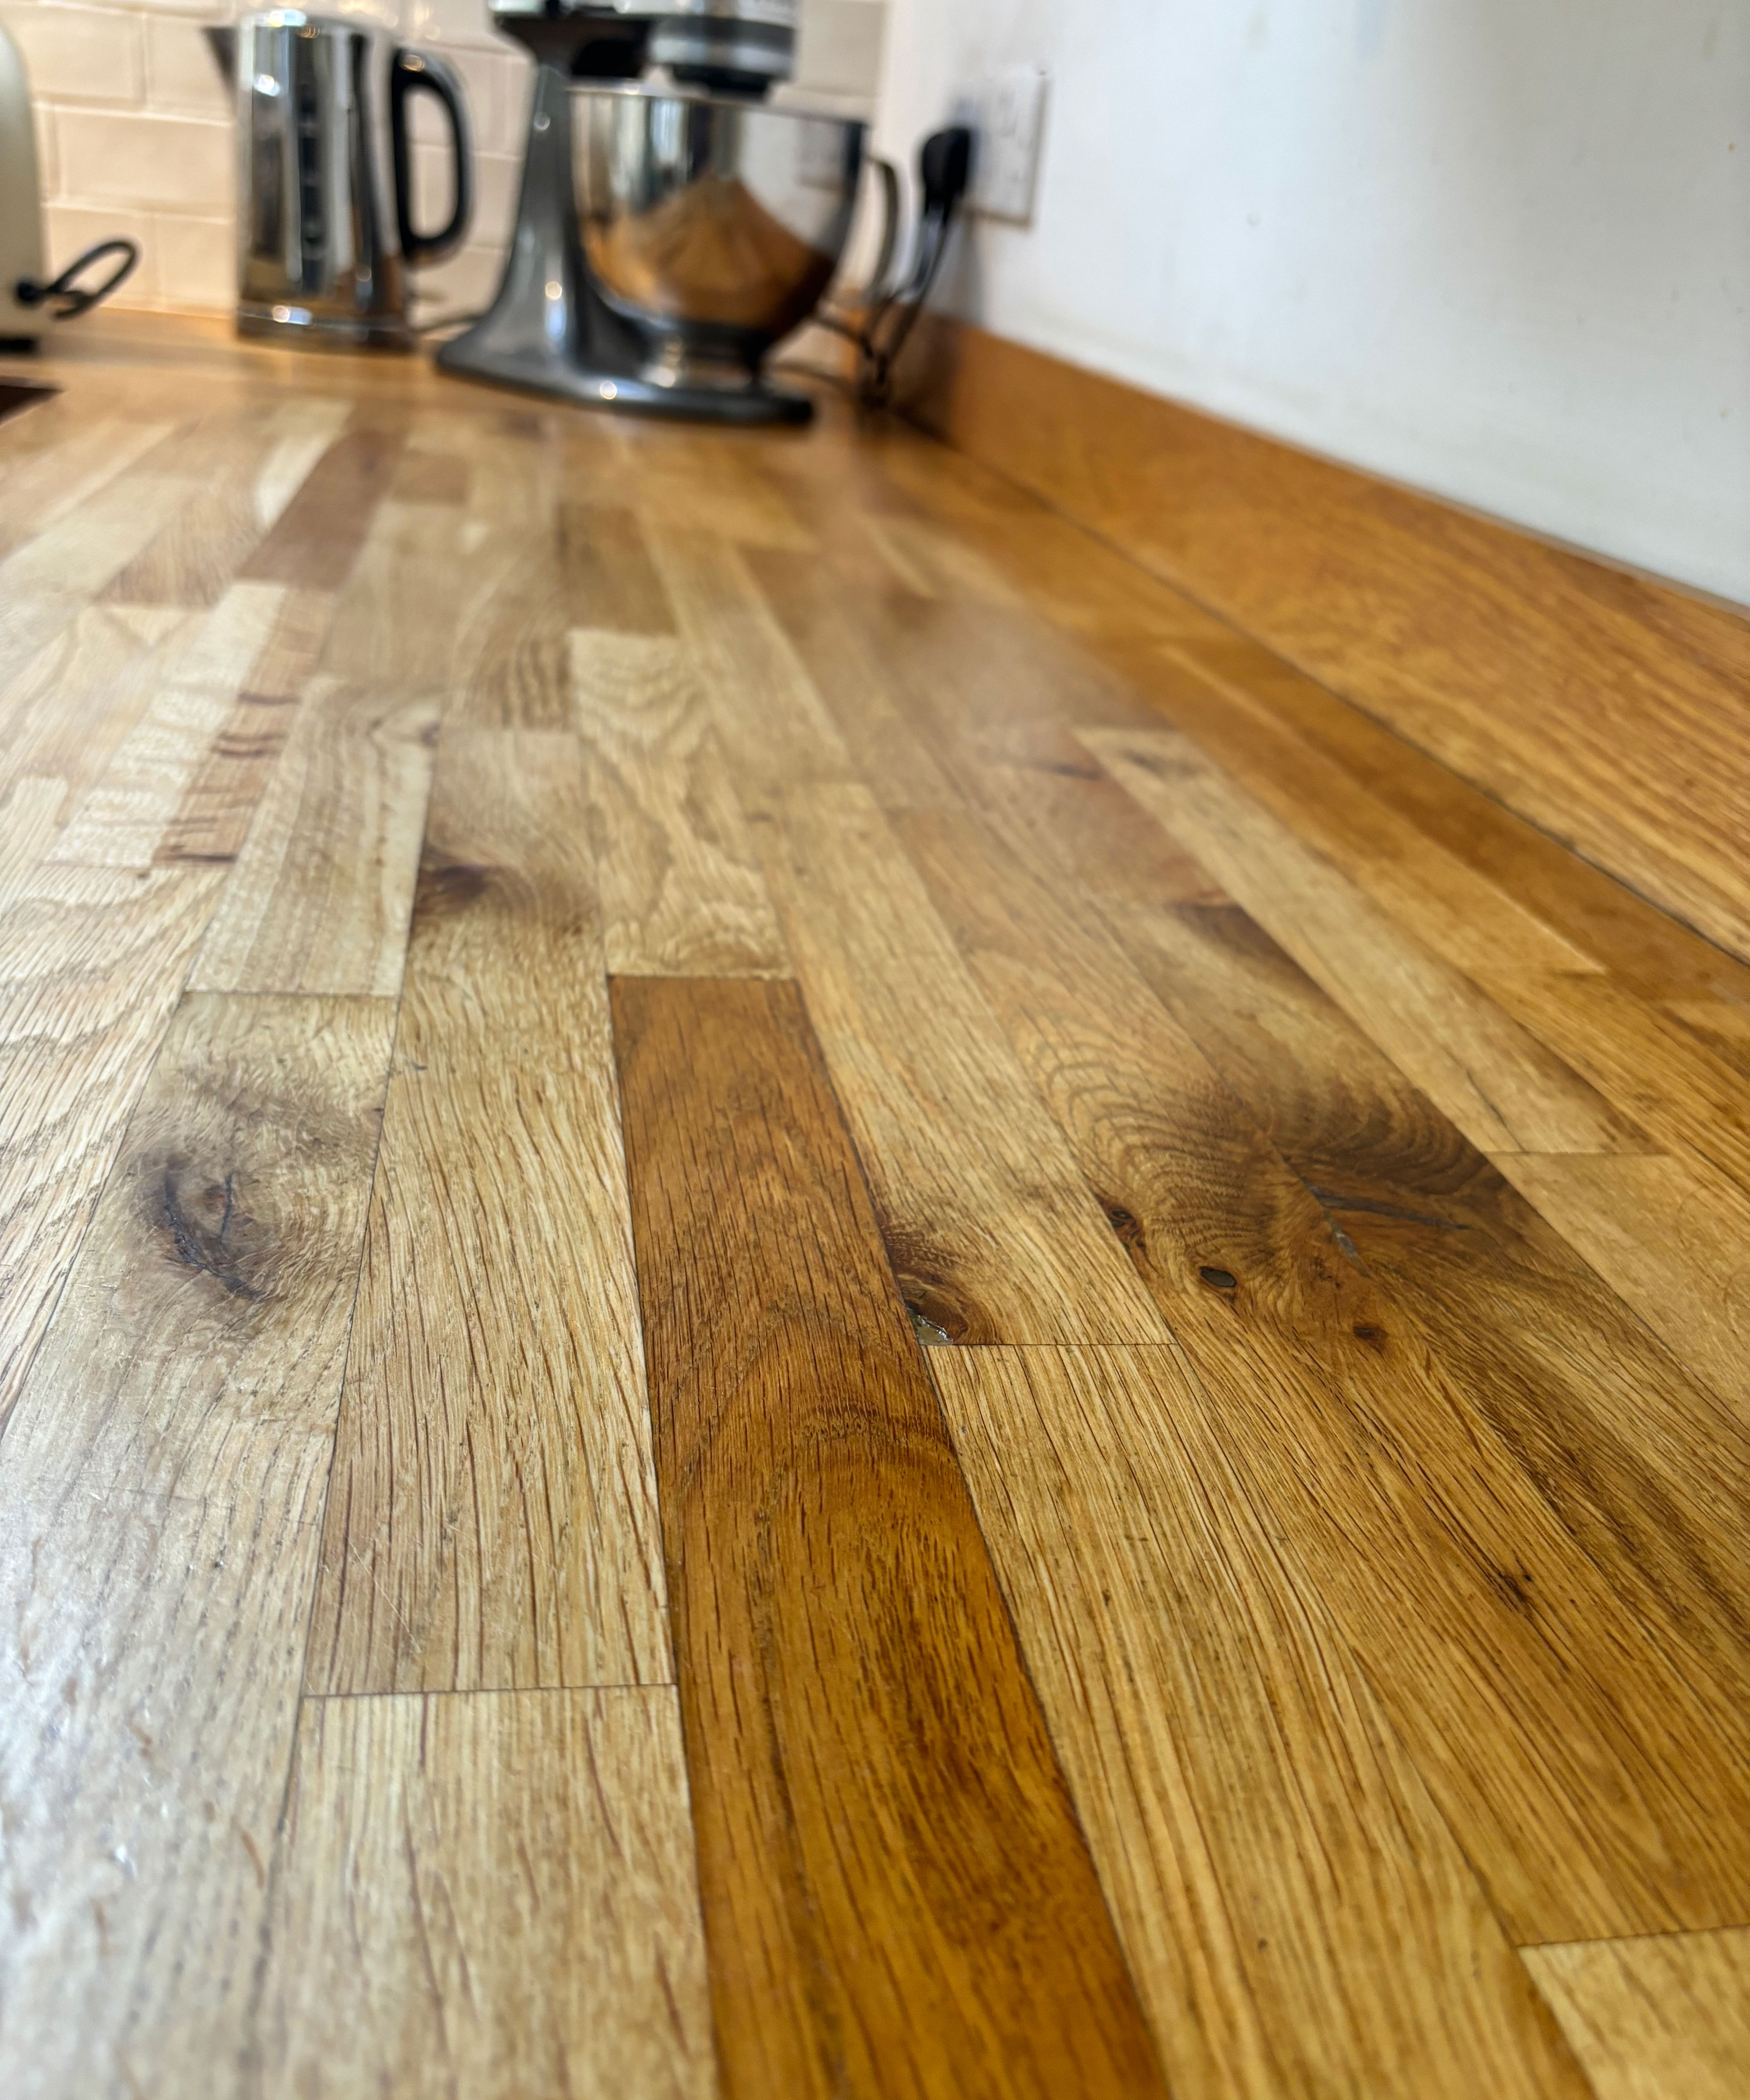
You're done! Once dry you can use your countertops as usual and return all your kitchen essentials to their rightful places. It is worthwhile taking a bit of time to look into how to organize kitchen appliances here, before lugging them all back to their old positions.
Providing you carry out this task one or twice annually you should be able to enjoy your timber countertops for many years to come.
FAQs
What type of oil is best for wooden countertops?
There are lots of different oils on the market that can be used to protect and enhance wooden countertops. The Rustins Worktop Oil that I used is a food-safe blend of natural plant oils and dries to be durable and water-resistant.
'When oiling, it’s crucial to use a product that not only nourishes the wood but enhances the grain’s natural beauty,' advises Marye Audet. 'I’ve found that oils like tung or Danish oil are perfect for that – they penetrate deeply and give a more natural, matte finish that works beautifully with other wood elements in the kitchen.'
'Ensure you are using a food-safe oil and that you haven't sealed the countertops with something that will counteract your conditioning oil,' adds Teri Simone, head of design at Nieu Cabinet Doors.
How often should you oil wooden countertops?
I find that our countertops remain looking their best when we oil them twice a year, but if you only have a small area of timber work surface that sees little use then you might find once a year is enough. Of course if you love that just-oiled, rich look then you can carry out the task more often. It is one of those small but effective changes to make to your kitchen.
'I re-oil every few months, usually when I notice the wood looking a bit dry or dull," says Marye Audet. 'It’s honestly a small job but makes such a huge difference – the wood looks so rich and stays protected, which is important when you’re prepping food directly on it.'
If you are keen to cut-down on household upkeep and are asking what is the most low maintenance kitchen countertop consider a material such as quartz or granite instead of timber.


