Home decorator Lara Winter is one of Ideal Home's new Open House contributors, sharing her thoughts on revamping a 200 year old cottage to make it right for modern family life. See the rest of her articles here.
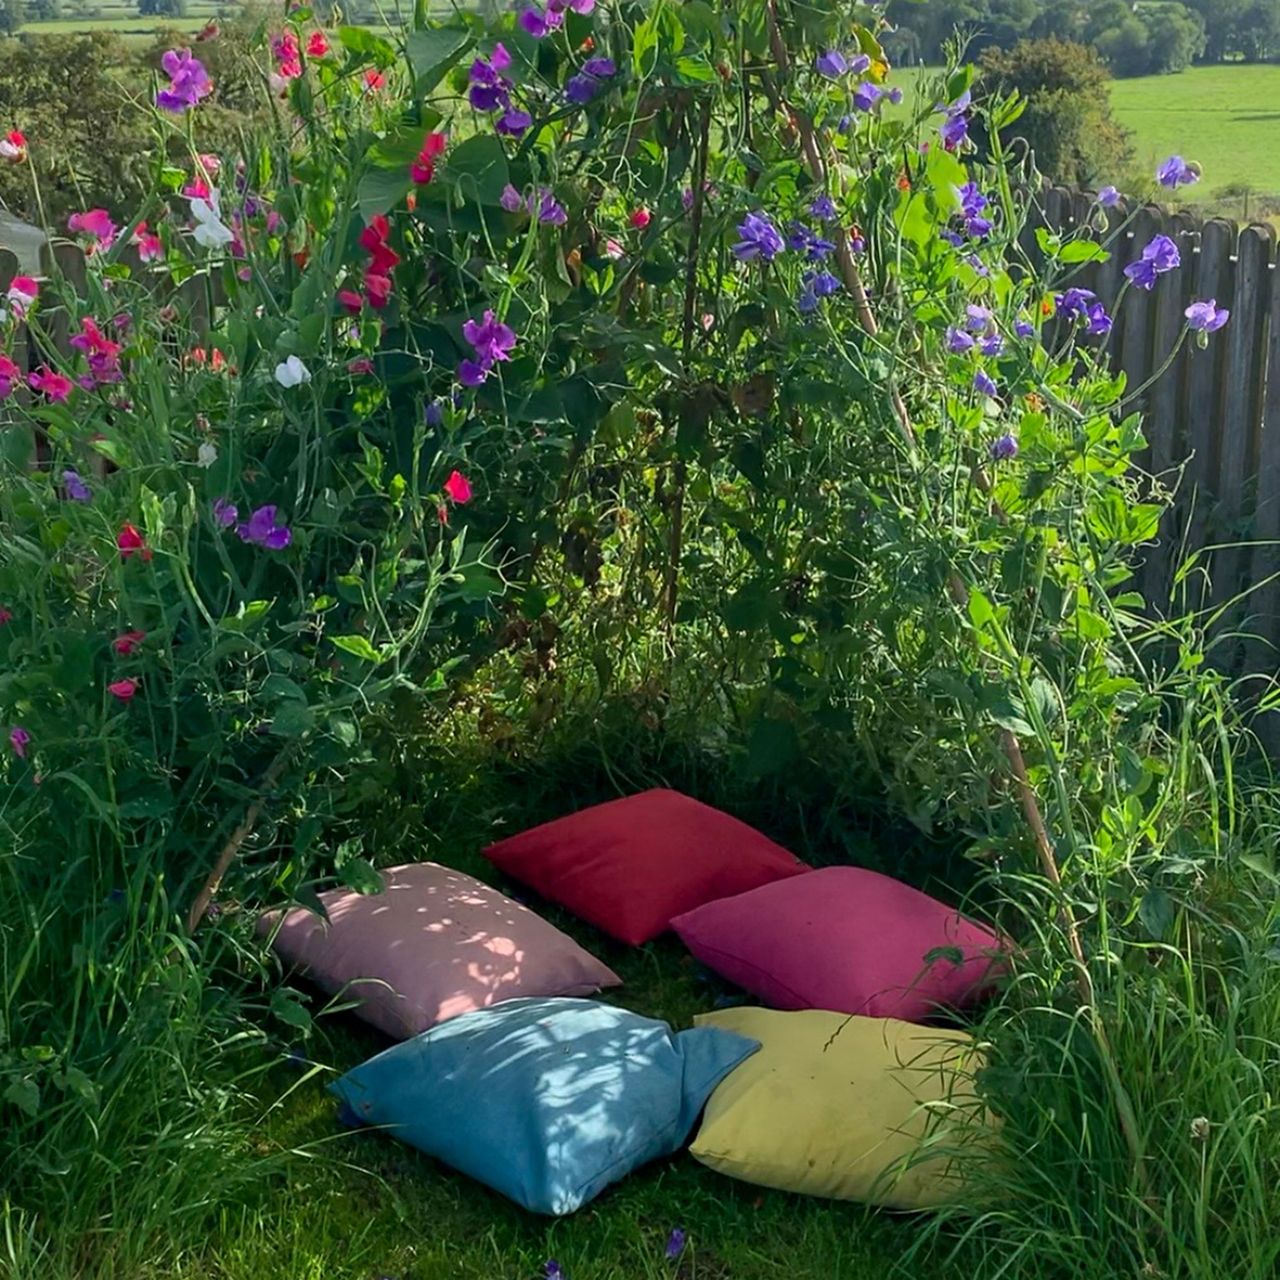
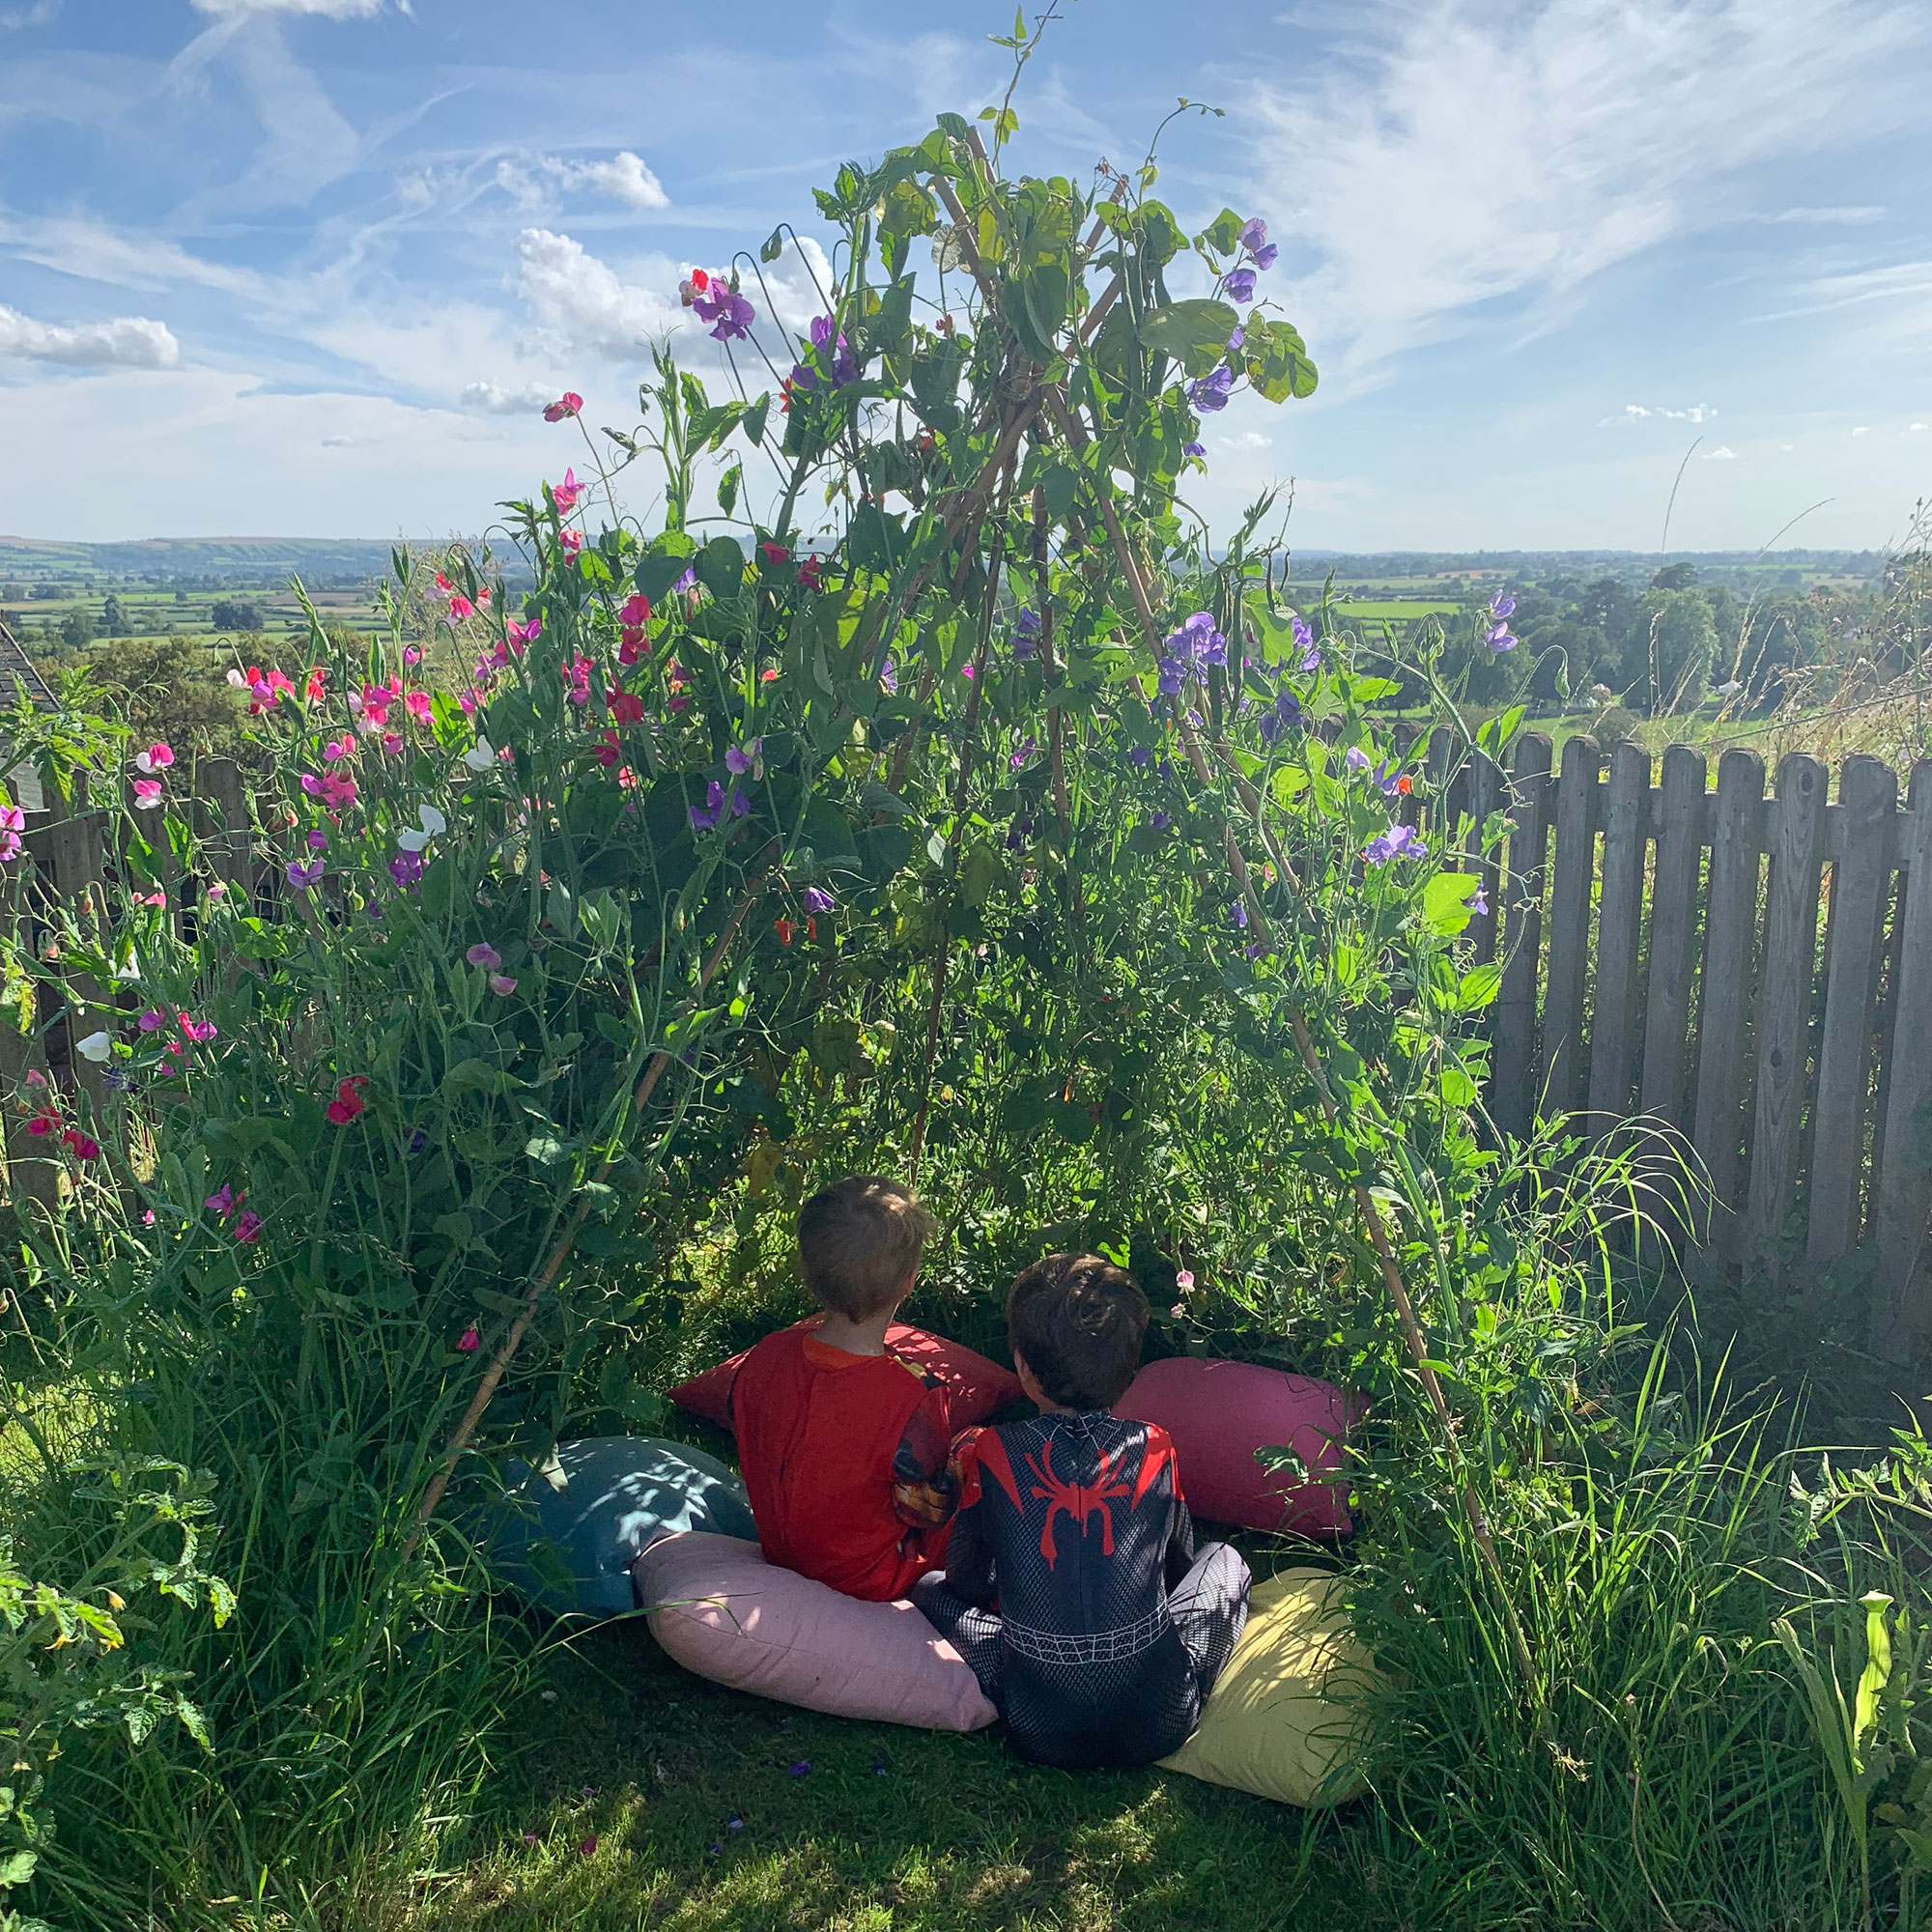
I’m just going to say it: if you’ve never sat inside a sweet pea tent in the middle of summer, you are missing out. It’s like stepping into your own little floral hideaway. The light is soft, the smell is incredible, and it feels just a tiny bit magical. Also, if you have children, they will think you are an actual wizard.
You might have even seen my sweet pea tent online as it went a little bit viral a couple of years ago, but just in case you haven’t, here’s exactly how I did it. The best part is that it’s surprisingly easy. No complicated carpentry, no fancy tools, just a handful of bamboo canes, some string, and a bit of patience while everything grows.
When to start (and why it’s not too late)
If you’ve already started your sweet peas from seed earlier in the year, amazing, you’re ahead of the game. If not, don’t worry at all. I actually bought and planted mine in early May and they still turned out beautifully, so this is very much a “start where you are” kind of project.
What you’ll need
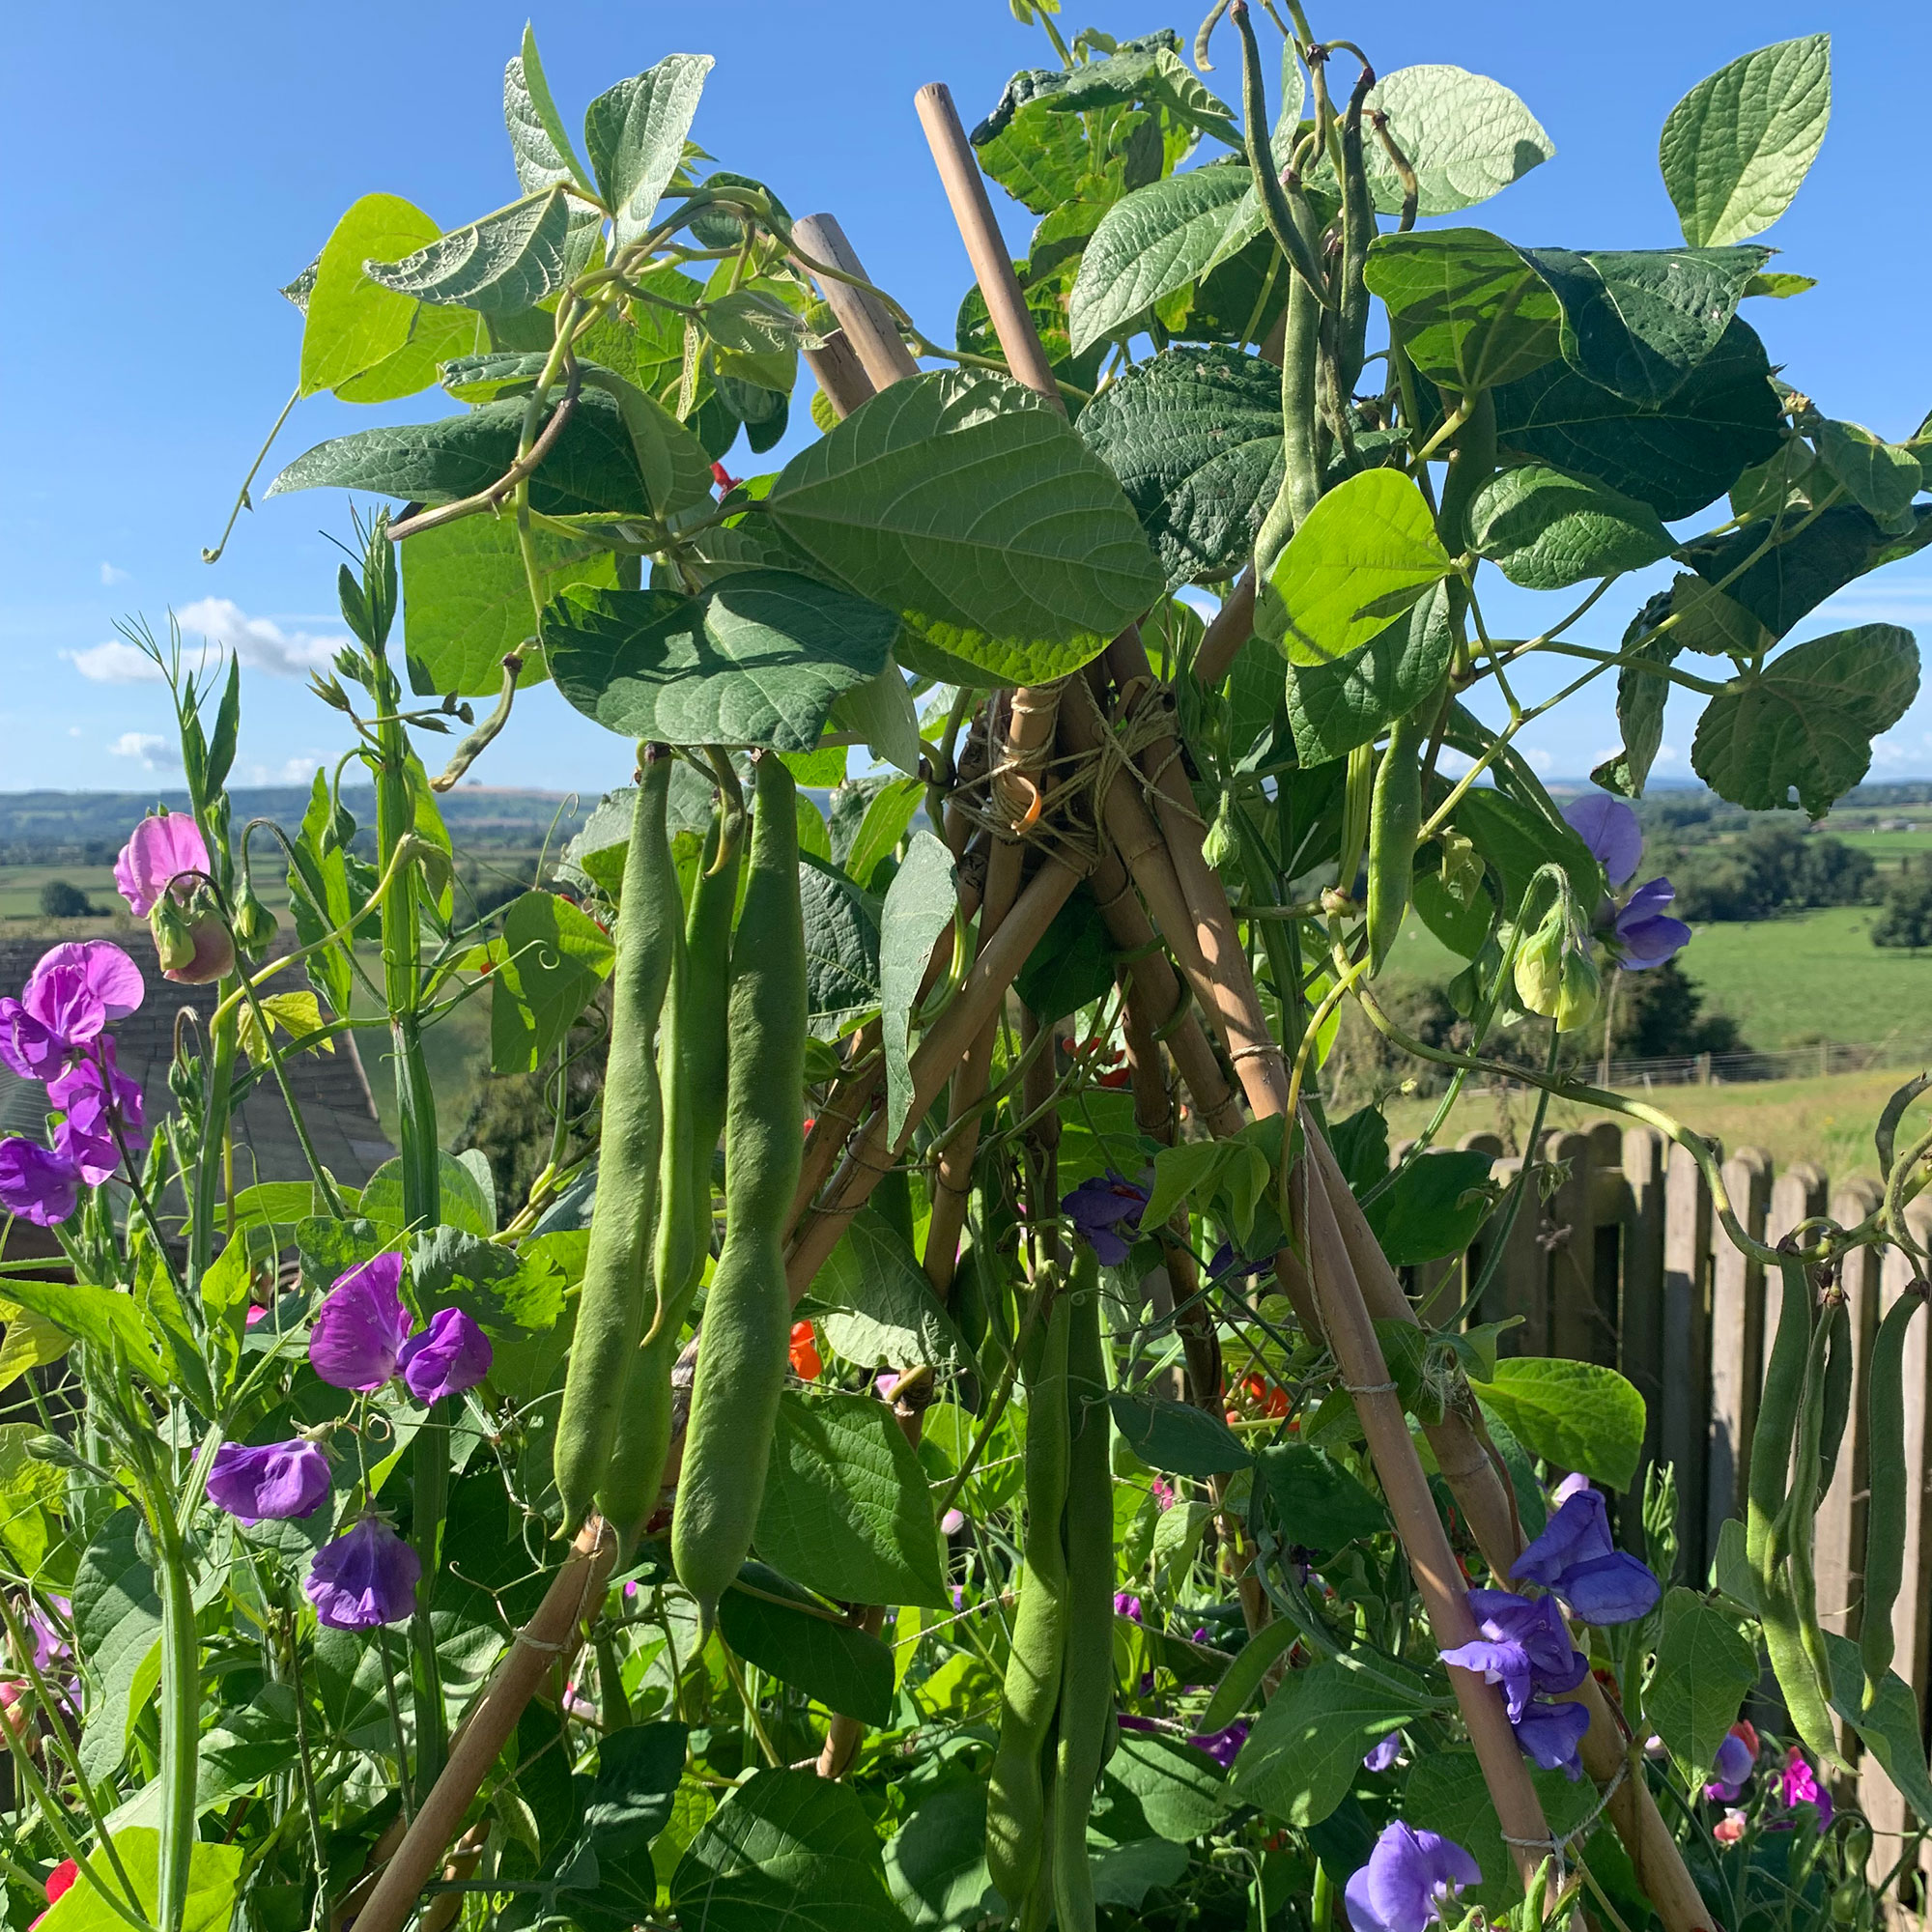
You’ll need about nine 7ft bamboo canes, some string, a bit of compost, and a good mix of plants. I used around 16 sweet pea plants (they didn’t all survive), along with four runner beans and three pea plants.
It might sound like a slightly random mix, but it really works. The runner beans and peas help fill everything out while the sweet peas get going, which means you end up with that lovely full, covered look much faster.
My step-by-step guide
Step One: Build your tent shape
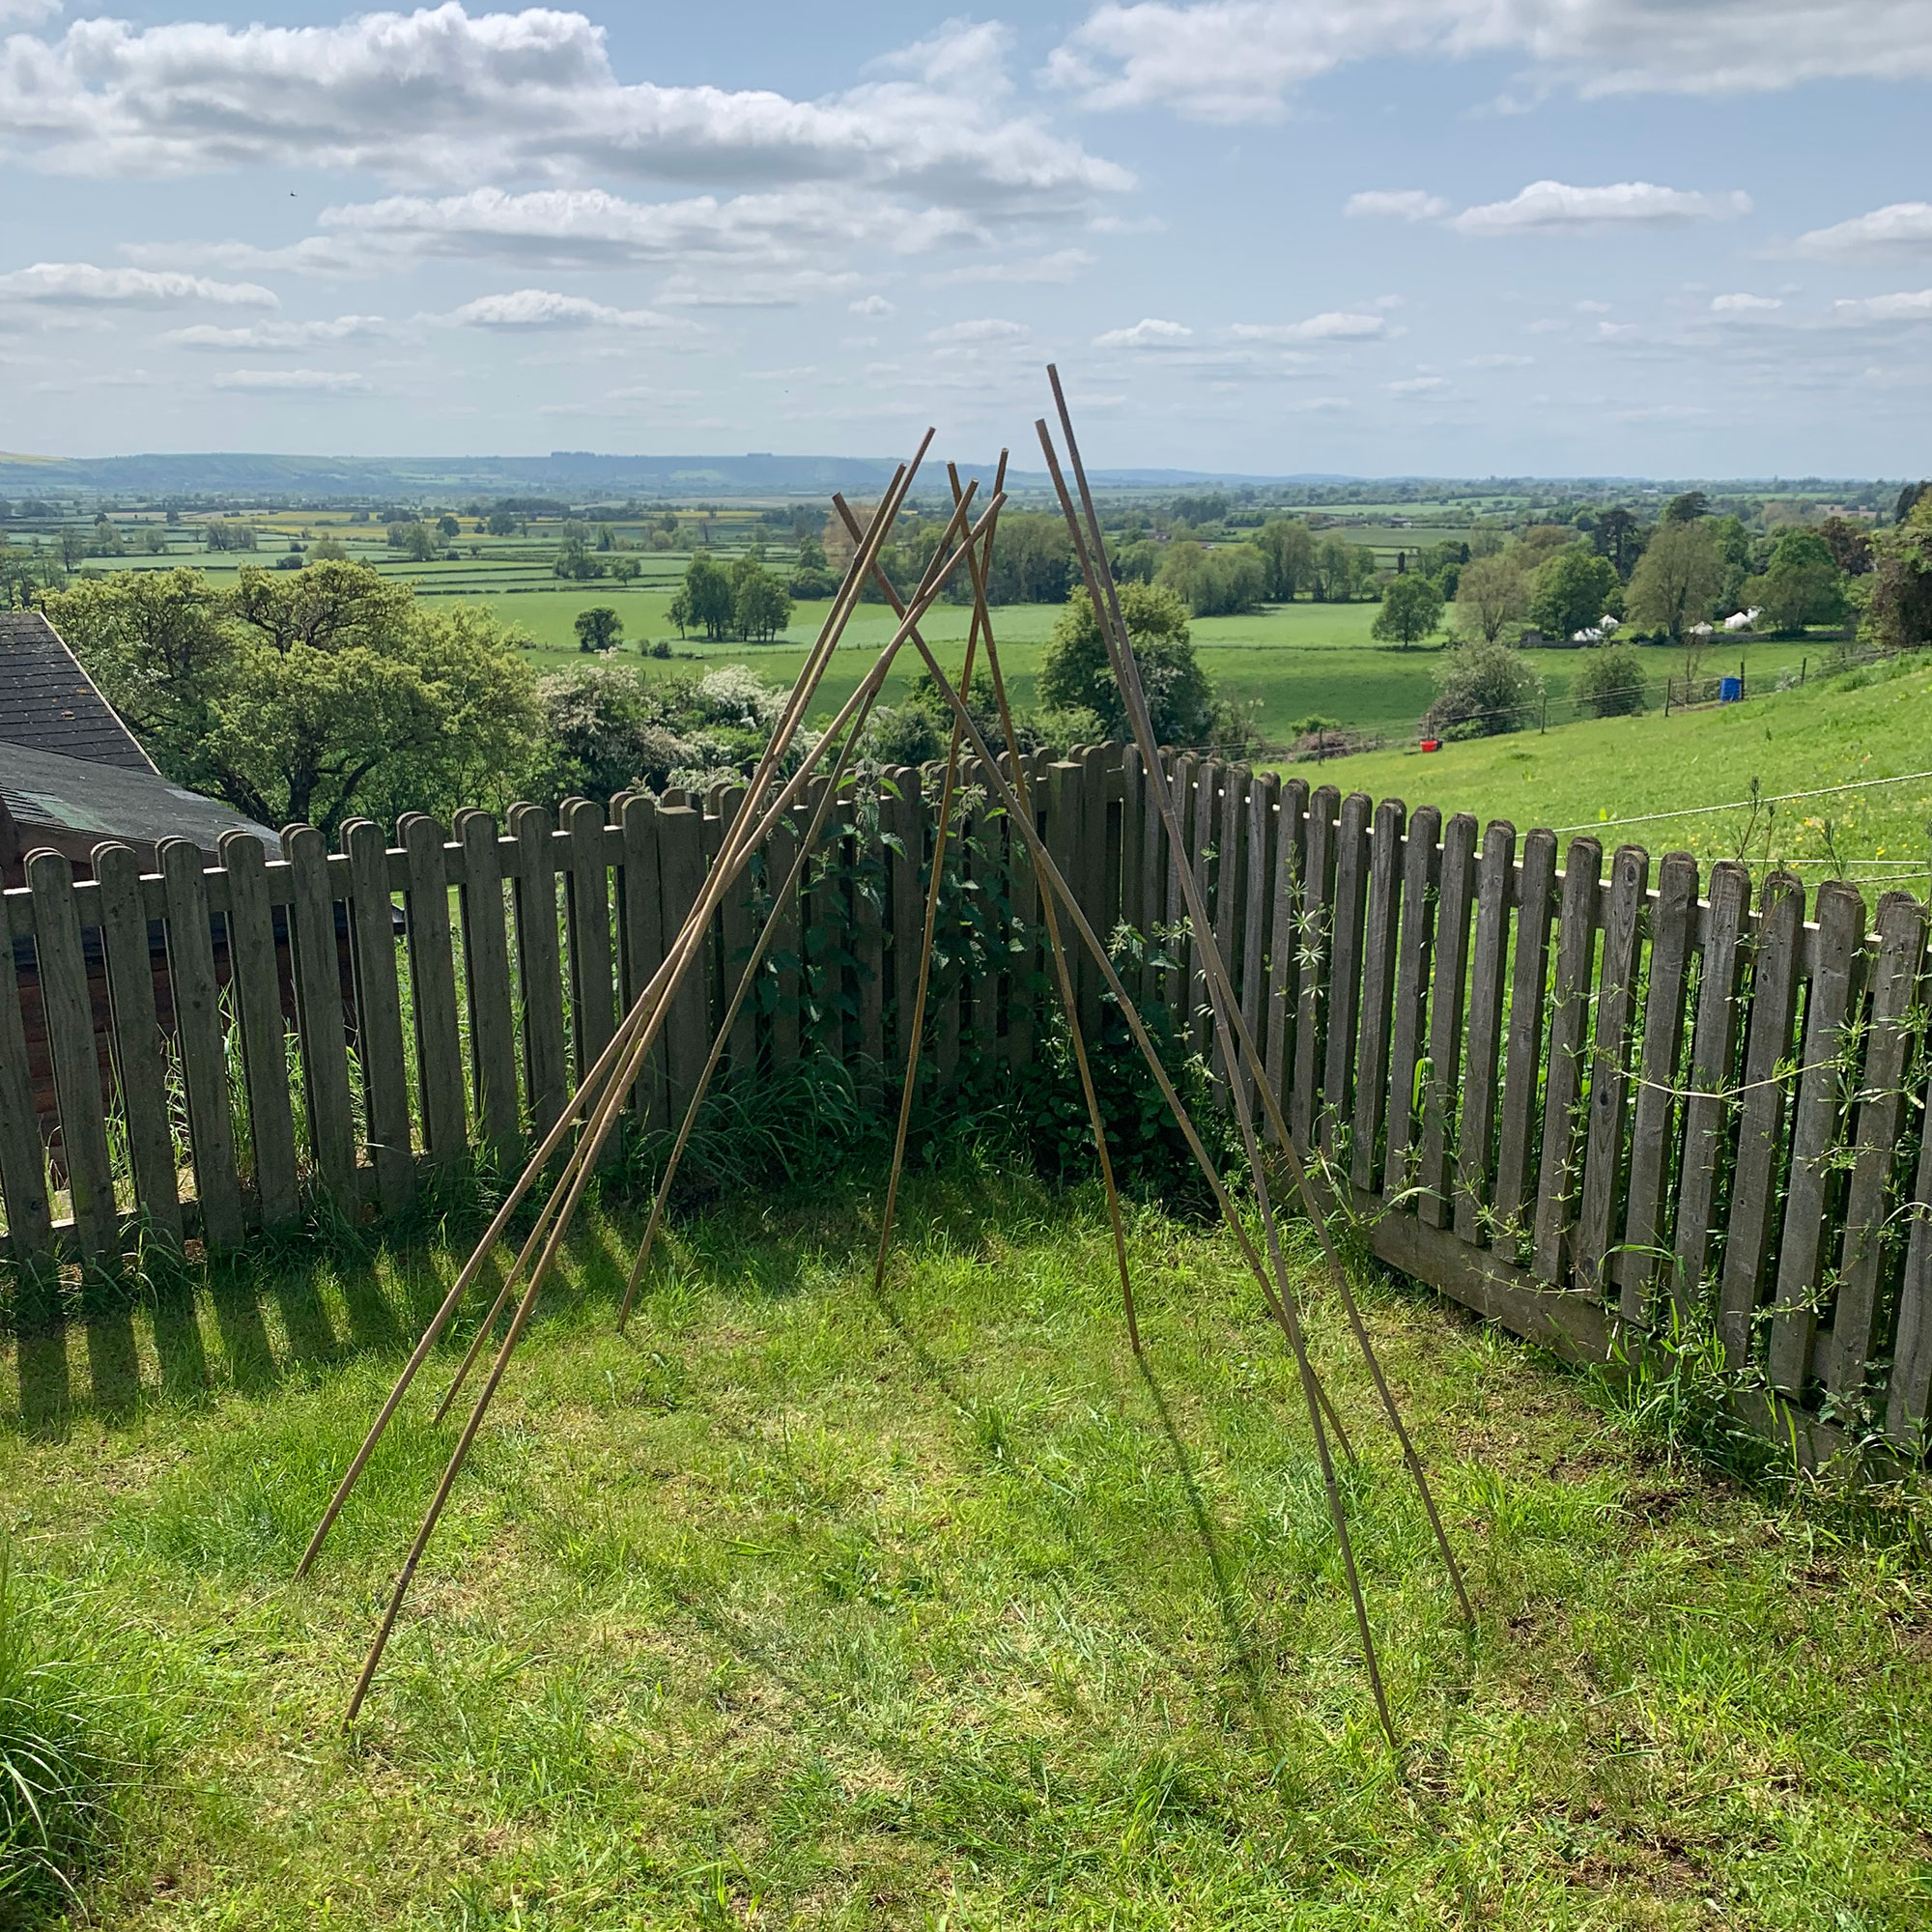
Start by positioning your bamboo canes in a circle, leaving a small gap for an entrance because there is no point building a tent you can’t sit inside with a cup of tea. Space them roughly 35cm apart.
Push each cane about 10cm into the ground so they feel sturdy, then bring the tops together and tie them securely. At this stage it will look a bit like a wobbly teepee, which is exactly what you want.
Step Two: Prep the soil
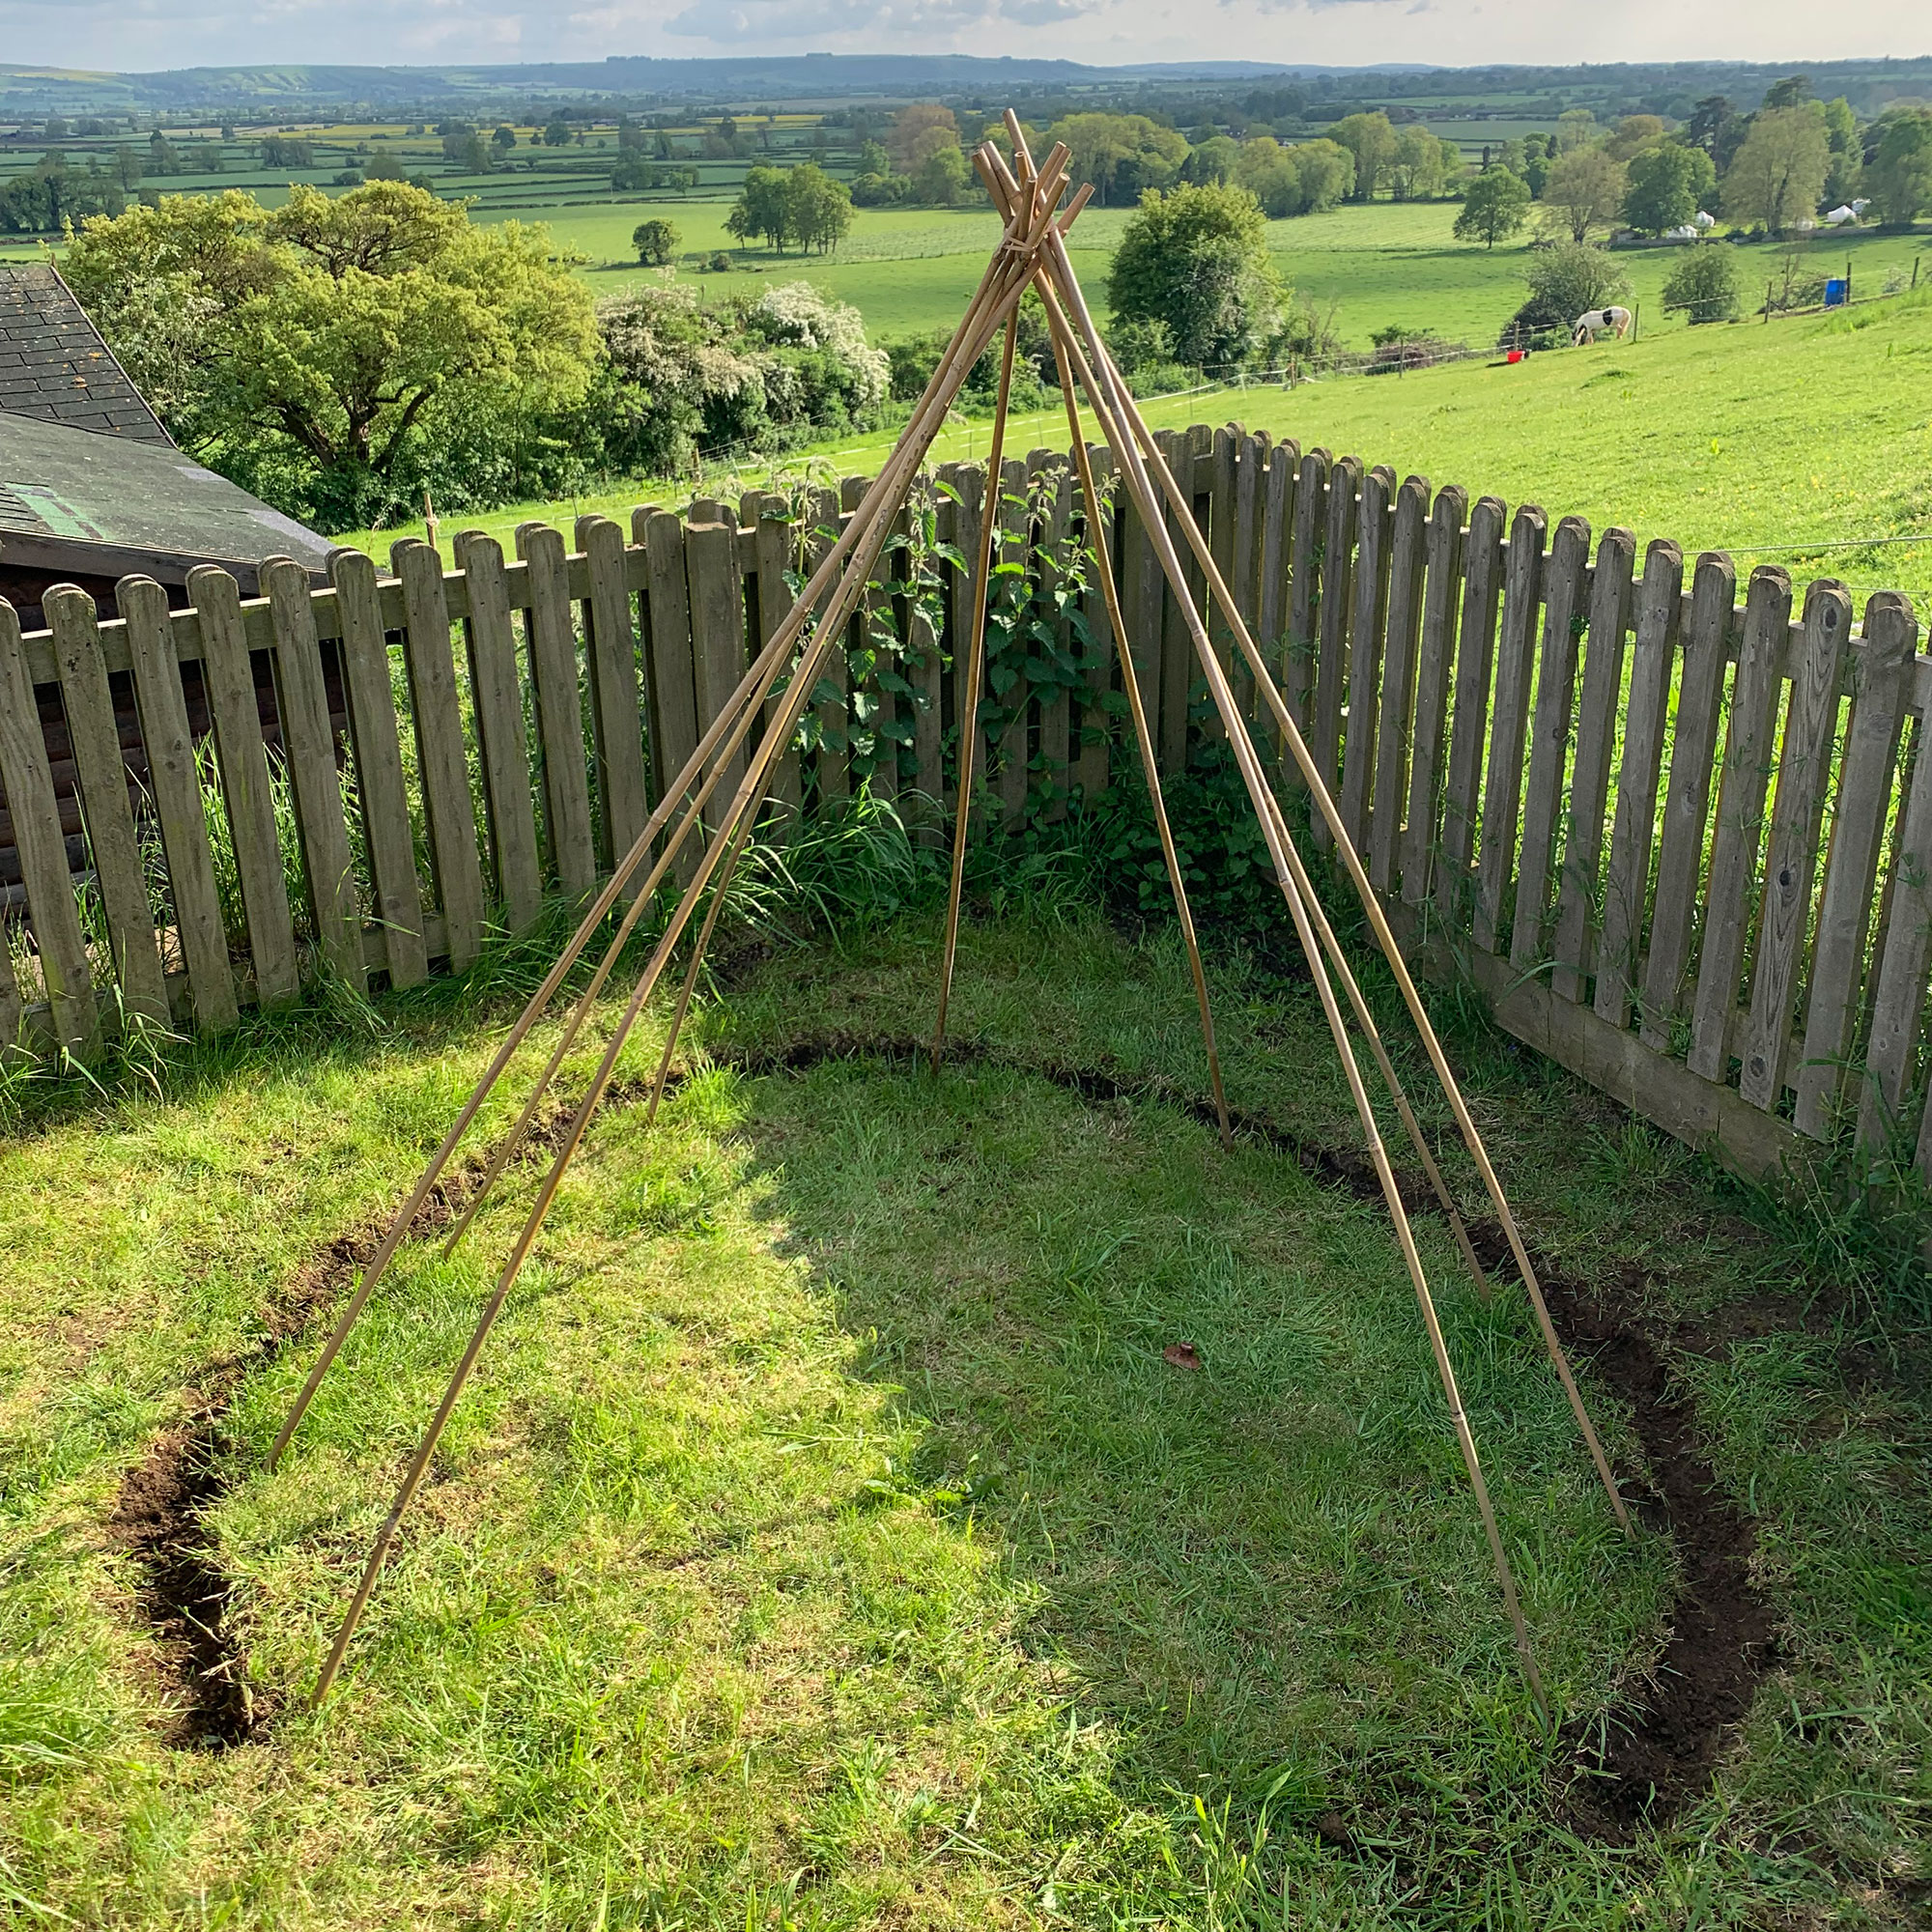
Next, dig a circular trench around the base of your canes and mix in a bit of compost. Nothing fancy, just enough to give your plants a good start.
This is one of those steps that doesn’t feel exciting at the time but makes all the difference later. Strong roots mean happier plants and, ultimately, more flowers.
Step Three: Add the string
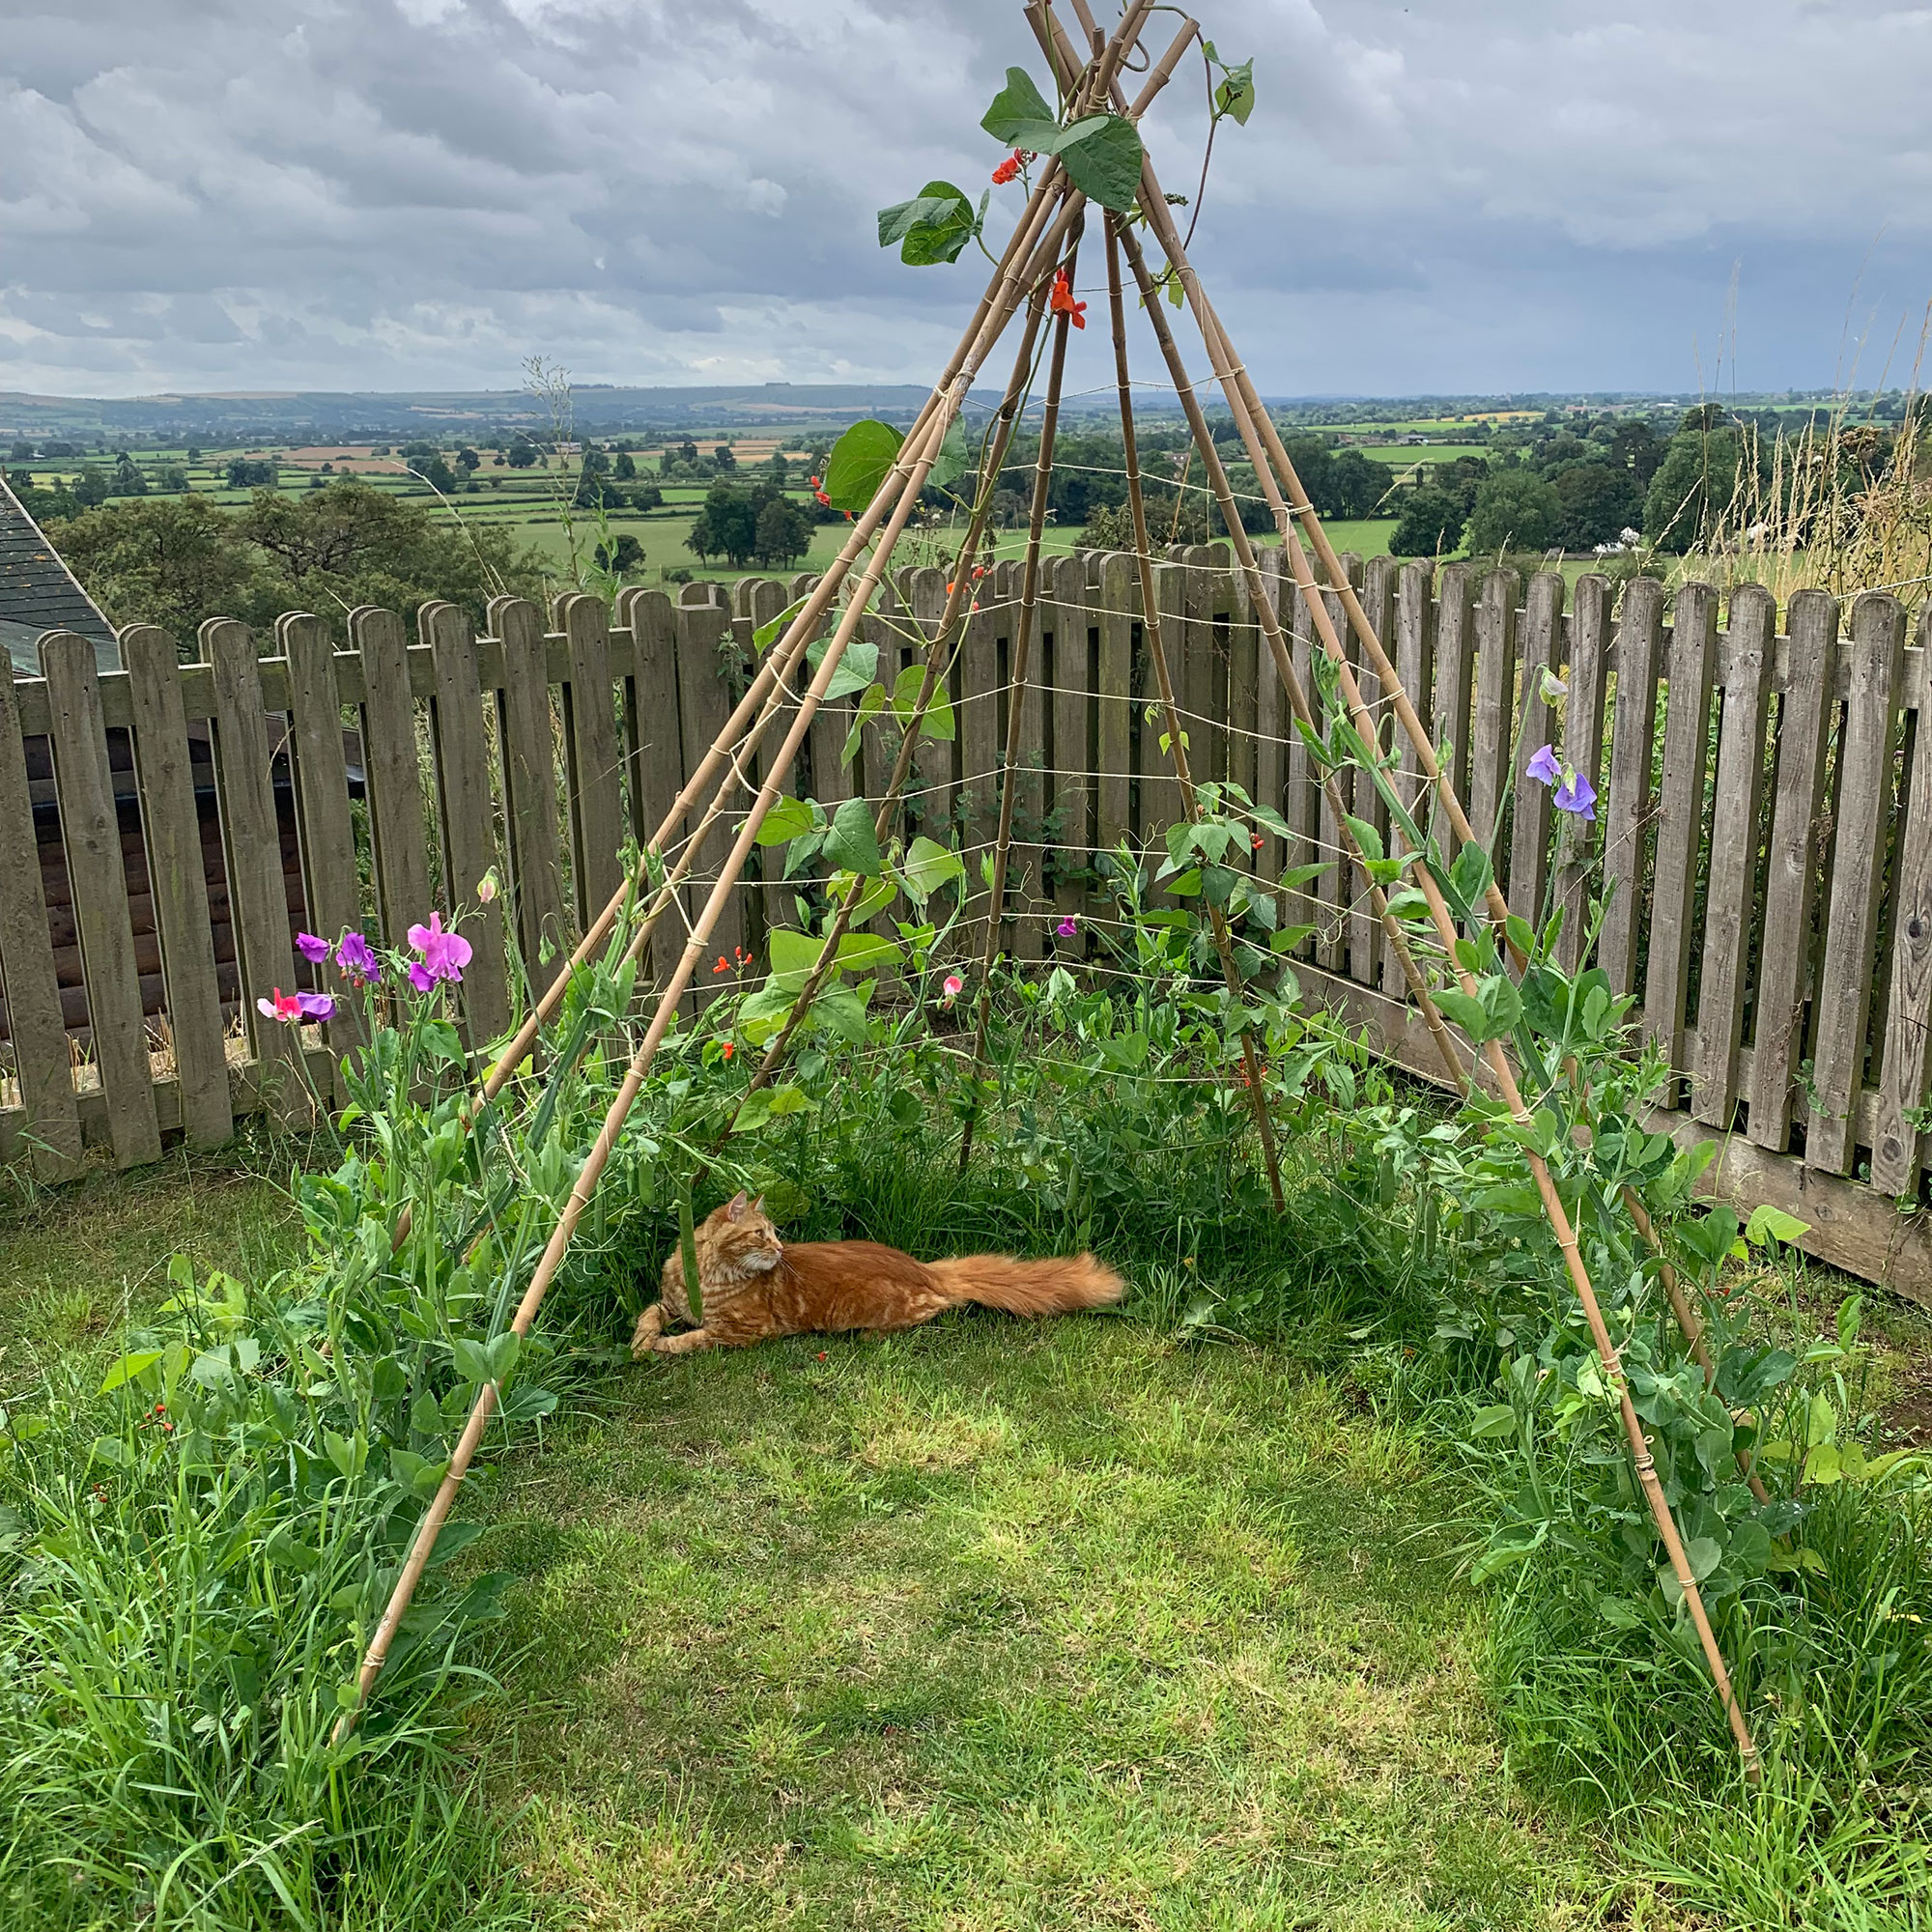
This part looks far more complicated than it actually is once you get going.
Start at the top on one side of your entrance and tie your string. Then wind it around each cane as you move along. When you reach the other side of the entrance, tie a couple of knots, then move about 15cm down the same cane and work your way back in the opposite direction.
You are essentially creating horizontal lines all the way down your tent. It does not need to be neat, so don’t overthink it. Think relaxed rather than perfect. Keep going until you reach near the bottom and your climbing structure is done.
Step Four: Plant it up
Now for the fun part. I planted my runner beans first, placing one under roughly every other cane. I had nine canes, so one gap ended up slightly bigger, which is absolutely fine.
Then I planted around 16 sweet pea plants, spacing them about 20cm apart, and tucked in a few pea plants at random points.
A little tip from experience: plant more than you think you need. Not everything will survive and that is just part of gardening, so a slightly fuller planting gives you a much better chance of that lush, covered finish.
Step Five: Let it grow
Once everything is in, all you (or your little helpers) need to do is water regularly and gently weave the plants through the string as they grow. It is actually quite a calming little job and very satisfying once you get into it.
Before long, your slightly wonky structure will be completely covered in greenery and flowers, and you will have your own little hideaway to sit in and enjoy.
A Quick Note: Sweet peas are poisonous if eaten, so this is one to avoid if you have children or pets who might be tempted to nibble.
The lovely bit at the end
There are no strict rules here and no need for perfection. It is a simple project that turns into something genuinely special.
There is something very satisfying about sitting inside something you have grown yourself. Even if the string is a bit crooked.