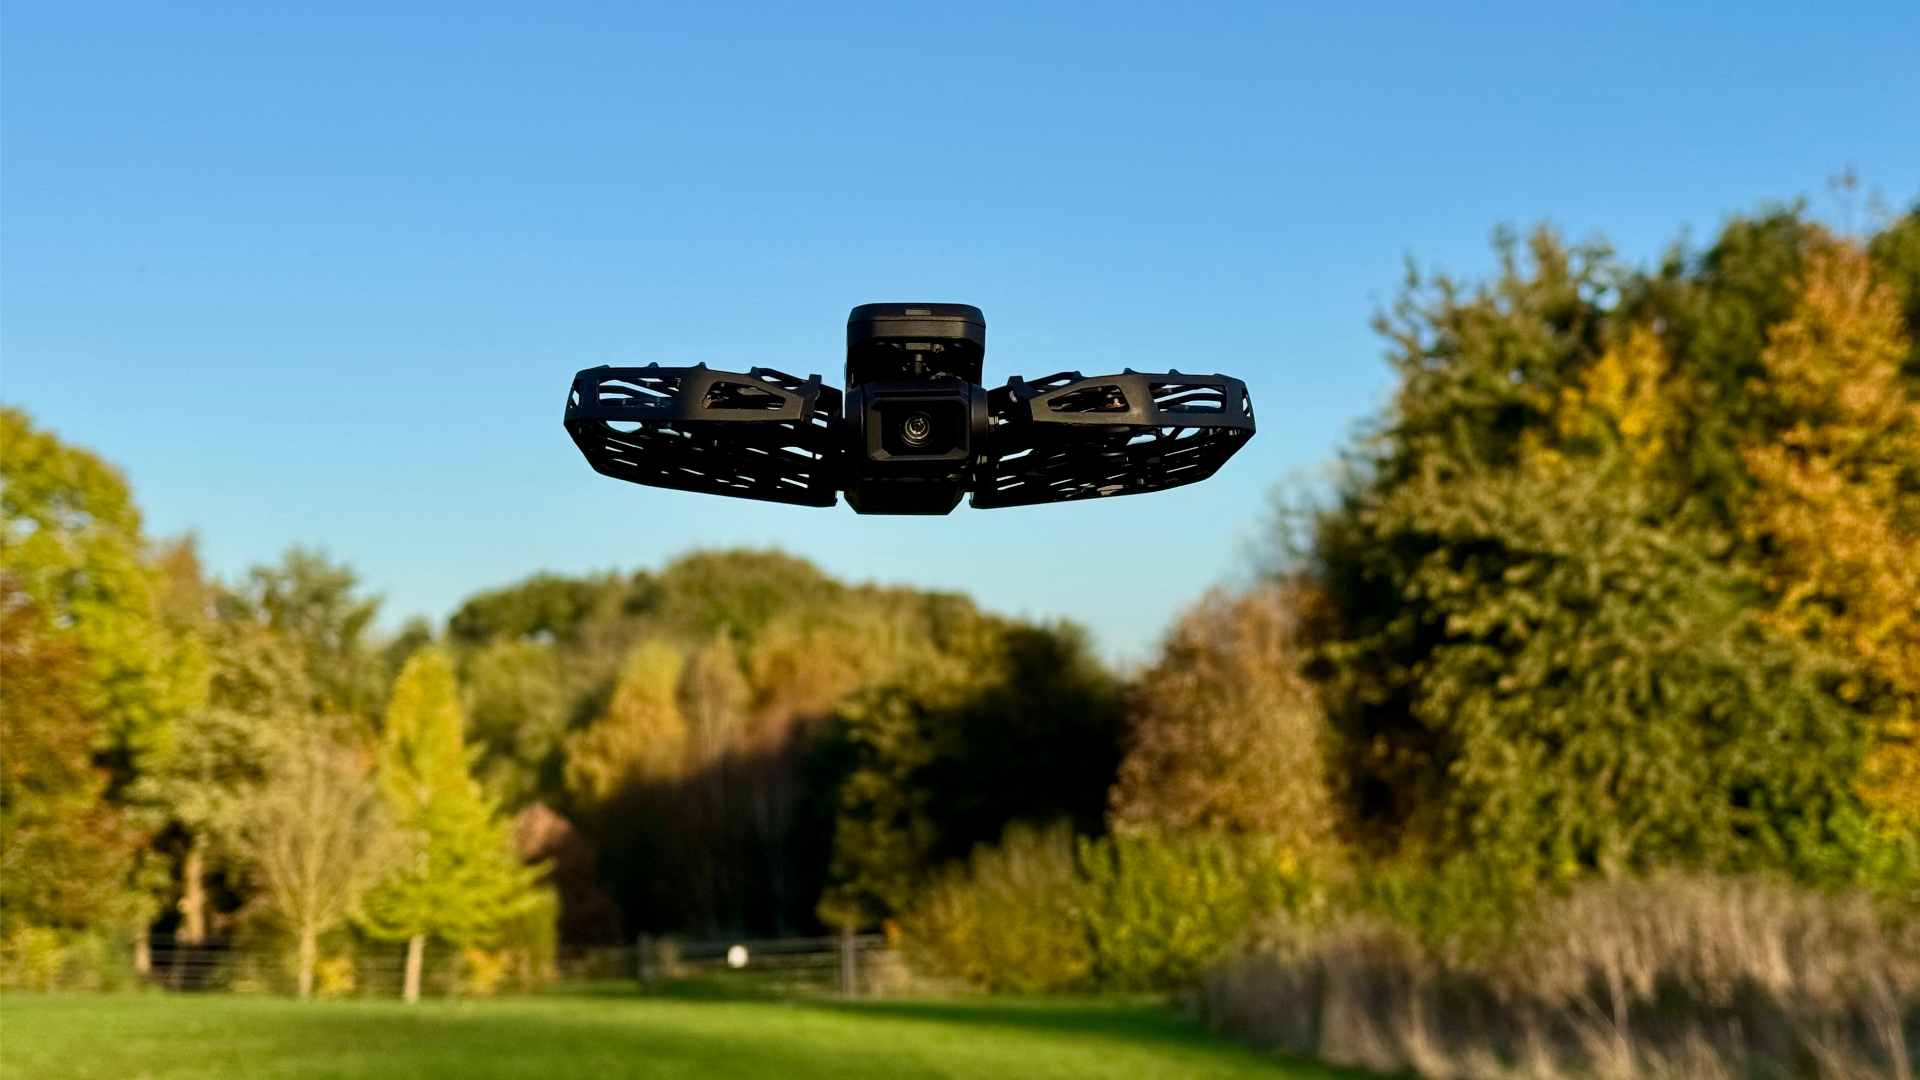
When the HoverAir X1 selfie drone was launched out of the blue in October 2023, a slew of very positive YouTube reviews started rolling in and everyone clamoured to get their hands on the titchy upstart. And not surprisingly since it turned out to be so unique a product that even the mighty DJI was caught with its pants down.
Fast forward a year and, following a very successful crowdfunding campaign, HoverAir (which used to be called ZeroZero) has just launched the X1 Pro, which has even more smarts, a new 4K camera and a huge range of optional accessories.
The new HoverAir X1 Pro is available in three main package configurations: Standard, Basic Combo and Cycling Combo, with a Skiing Combo in the pipeline. I should add that there is also an even higher-specced model called the X1 ProMAX which sports phenomenal 8K video capabilities so perhaps consider this model if you need higher-res footage and can afford the extra outlay.
For this review I will be concentrating on the HoverAir X1 Pro Cycling Combo since that is the package we received. Is it a shoo-in for a lofty position in T3’s esteemed guide to the best drones? Let’s give it a whirl and see.
HoverAir X1 Pro review
Price and availability
As of writing the HoverAir X1 Pro will start shipping on the 1st of November and early birds are being offered a free extra battery when purchased direct from HoverAir in the UK or HoverAir in the US.
The HoverAir X1 Pro is available in three current variants: Standard (£459 / $499), Basic Combo (£629 / $679) and the Cycling Combo (£839 / $889) we review here.
You can be sure that once the drone is officially released, it will also be widely available at major online stores like Amazon, Argos, Currys and Jessops.
Cycling Combo package contents
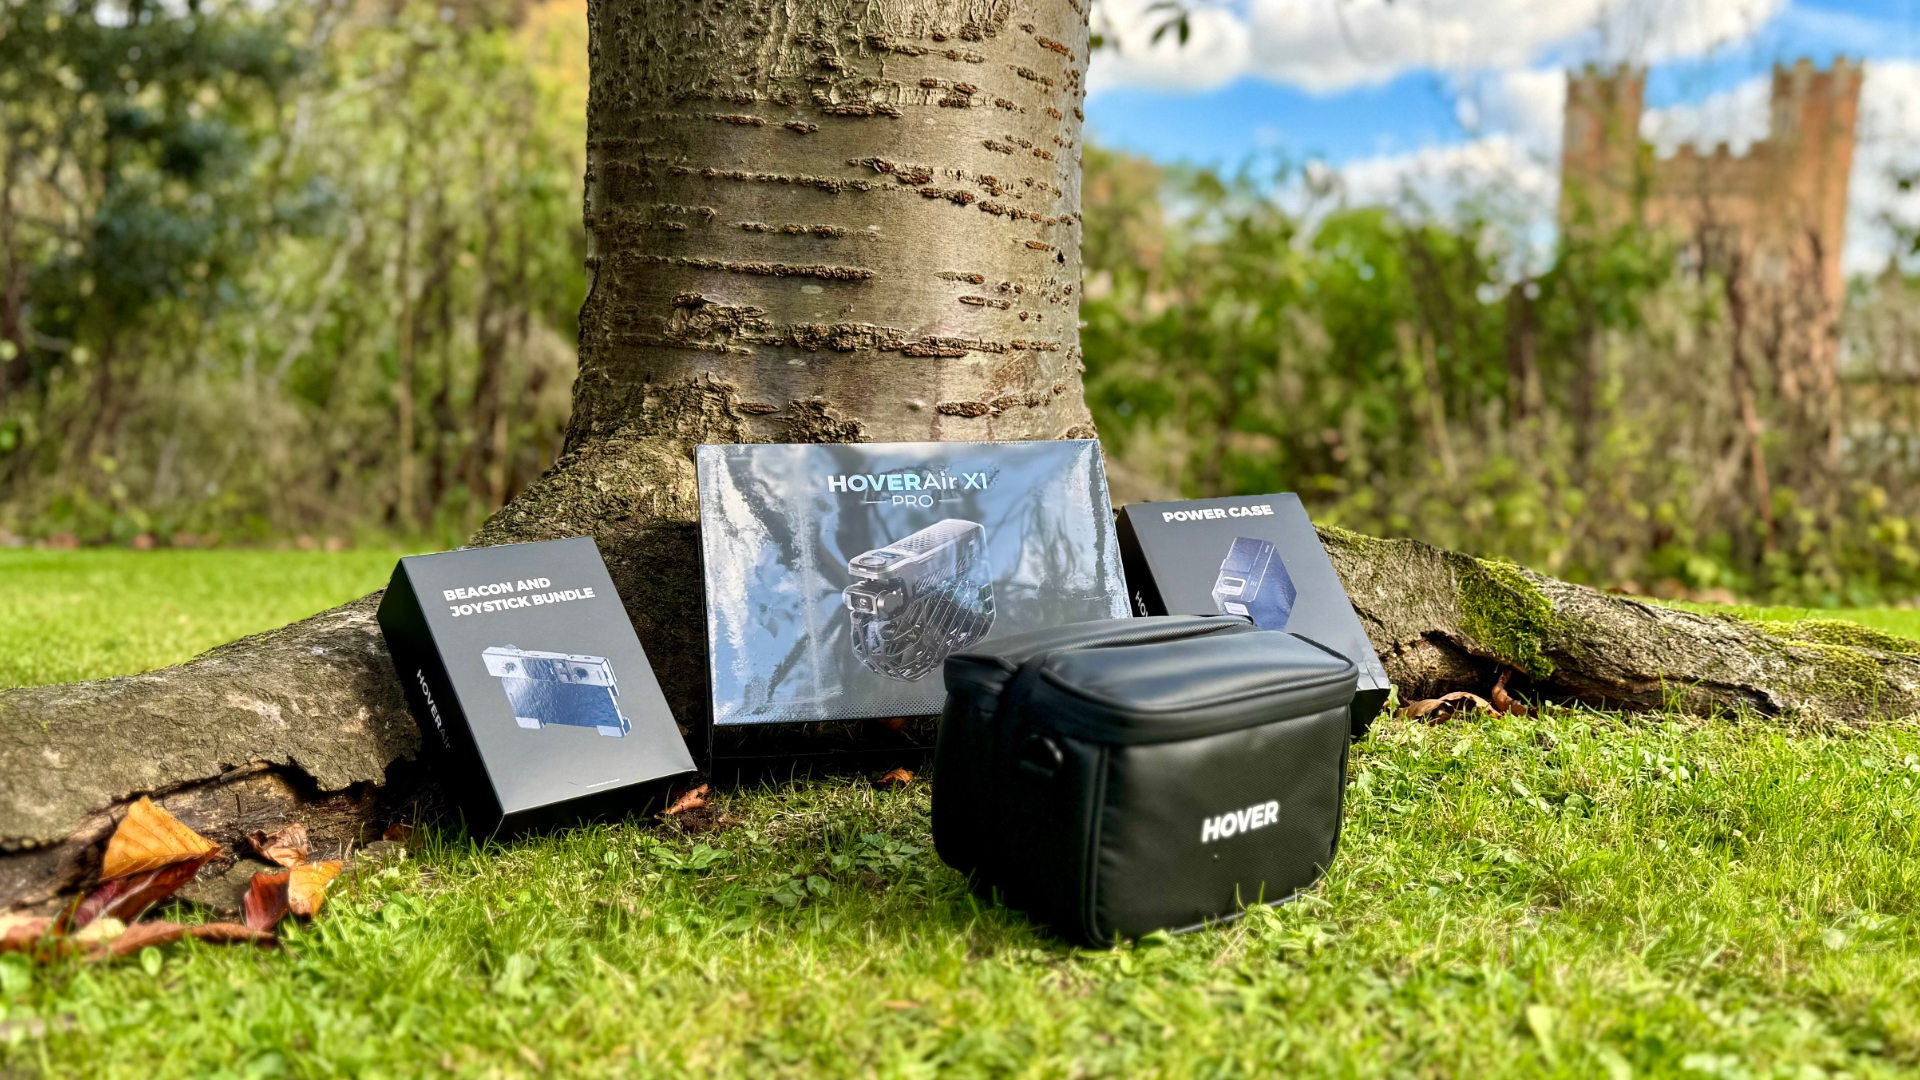
The HoverAir X1 Pro package we’re reviewing here is called the Cycling Combo and it comes with a veritable tranche of tantalising accessories designed for bike or e-scooter use. Aside from the drone itself, the Cycling Combo also includes a multi-functional carry bag, two batteries and USB-C cable, a charging hub, a 65W power adaptor, a set of ND filters (ND8, 16, 32 and 64), a clever PowerCase for charging the X1 Pro on the fly, a magnetic clothing clip, a magnetic adaptor mount, a handlebar mount with stretchy rubber grip and HoverAir’s unique Beacon and Joystick bundle. In other words, there’s a lot of unwrapping involved here along with plenty of manual referencing in the process.
Specifications
- Dimensions (L×W×H): Folded: 149 x 105 x 34 mm / Unfolded: 149 x 173 x 39 mm
- Weight: 192.5 grams
- Battery life (flight time): 16 mins
- Range: Phone app: 500m / Beacon 1 km
- Speed: 42kph (26mph) / short bursts: 60kph (37mph)
- Obstacle avoidance: Yes, rear proximity sensor
- Max Wind Speed Resistance: 10.7 m/s (Level 5)
- Built-in GPS: No
- Internal storage: yes, 32 GB (plus Micro-SD card slot)
- Sensor: 1/1.3 inch CMOS (equivalent to ½-inch)
- FOV: 104 degrees
- Max photo resolution: 12MP
- Max video resolution: 4K (3840×2160) up to 60fps
- Vertical video: Yes
- Image stabilisation: Two-axis mechanical gimbal with EIS
- Connectivity: WiFi
Setting it up
As alluded to above, the Cycling Combo comprises a plethora of gear which takes a while to unbox and set up. The drone part was easy and involved switching it on, syncing it to the HoverAir app (iOS and Google) and initiating any inevitable firmware updates. So far so good.
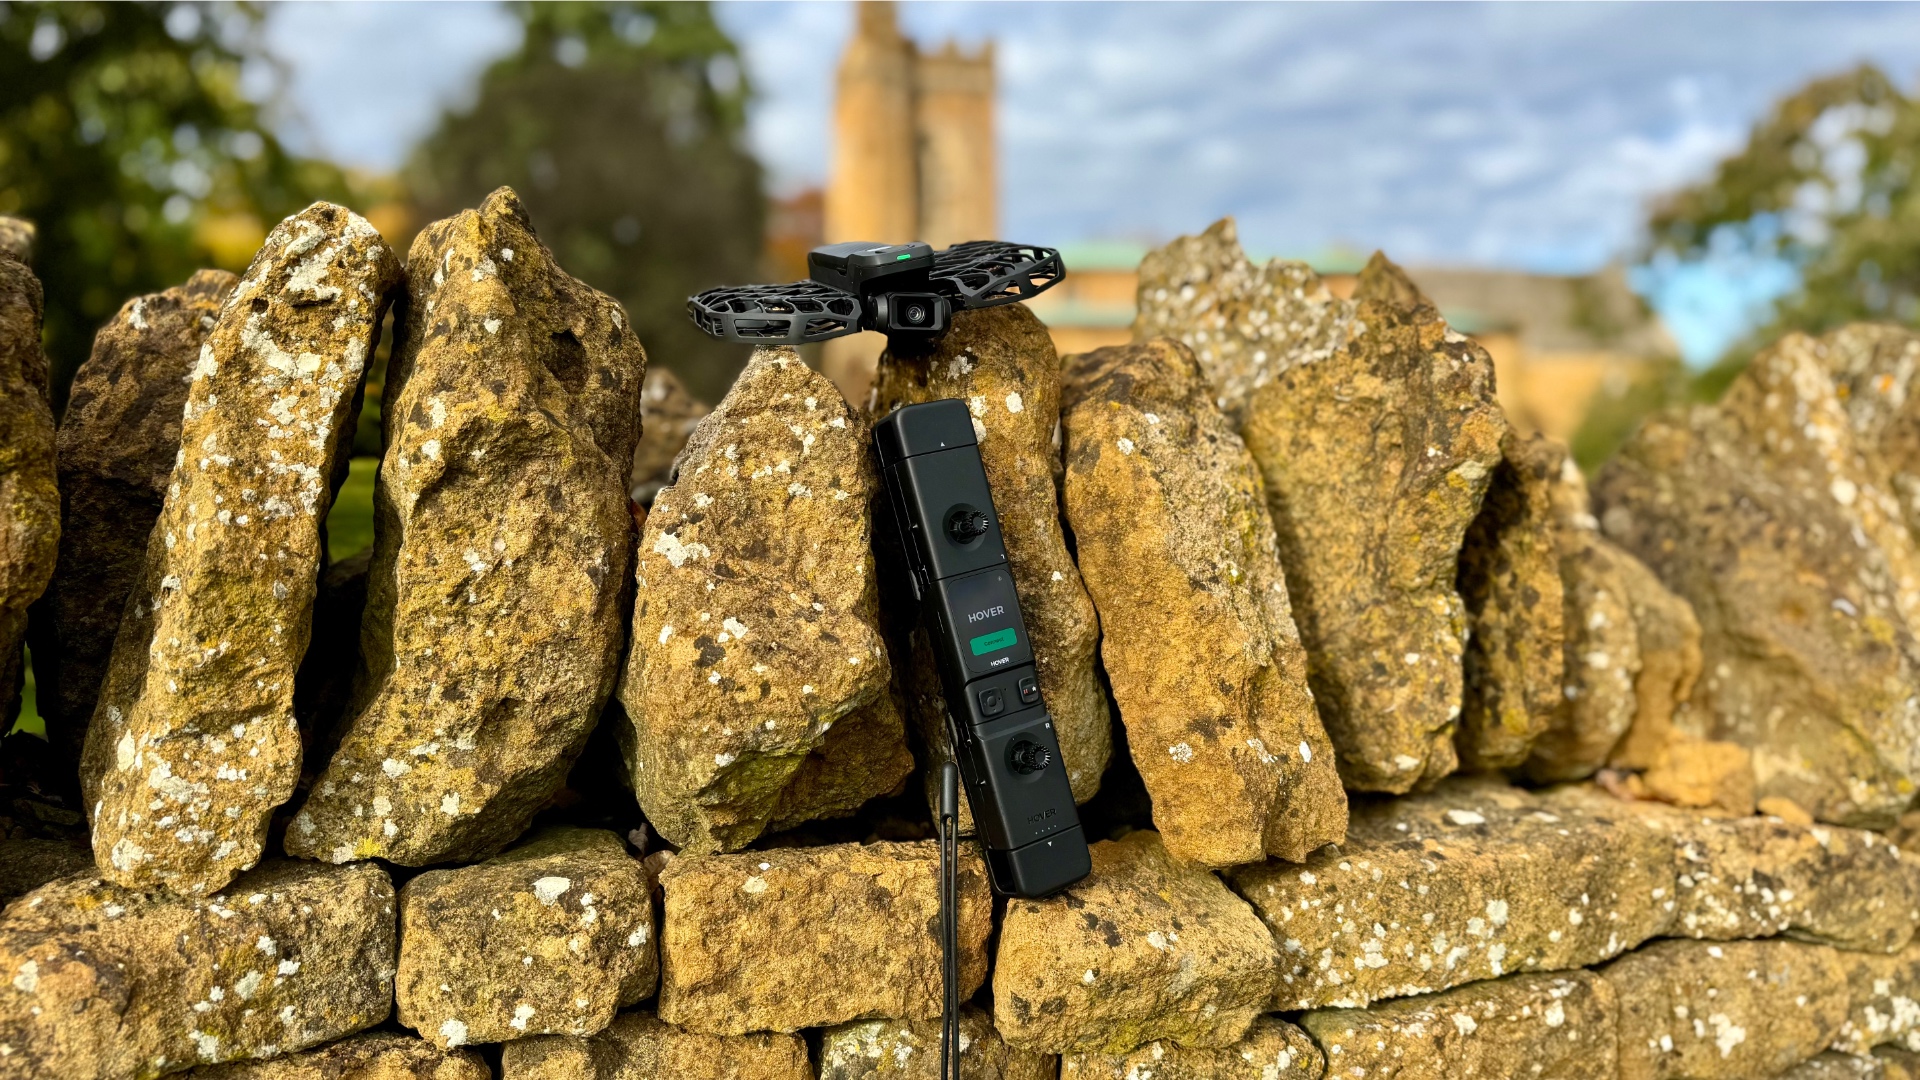
Setting up the Beacon system was a bit more confusing since there are three parts to it – the Beacon itself which can be clipped to clothing, and two joystick modules that clip on either side of the Beacon to turn it into a proper hand controller.
However, I had quite a bit of grief syncing the drone to the Beacon and joysticks combo. Sometimes it worked, sometimes it didn’t. I now realise that one of the devices was running on earlier firmware. Hence, I would advise running a table-top test at home to make sure everything’s up to date before you head out or you may be disappointed if connections go awry.
Using the Beacon and Joysticks bundle
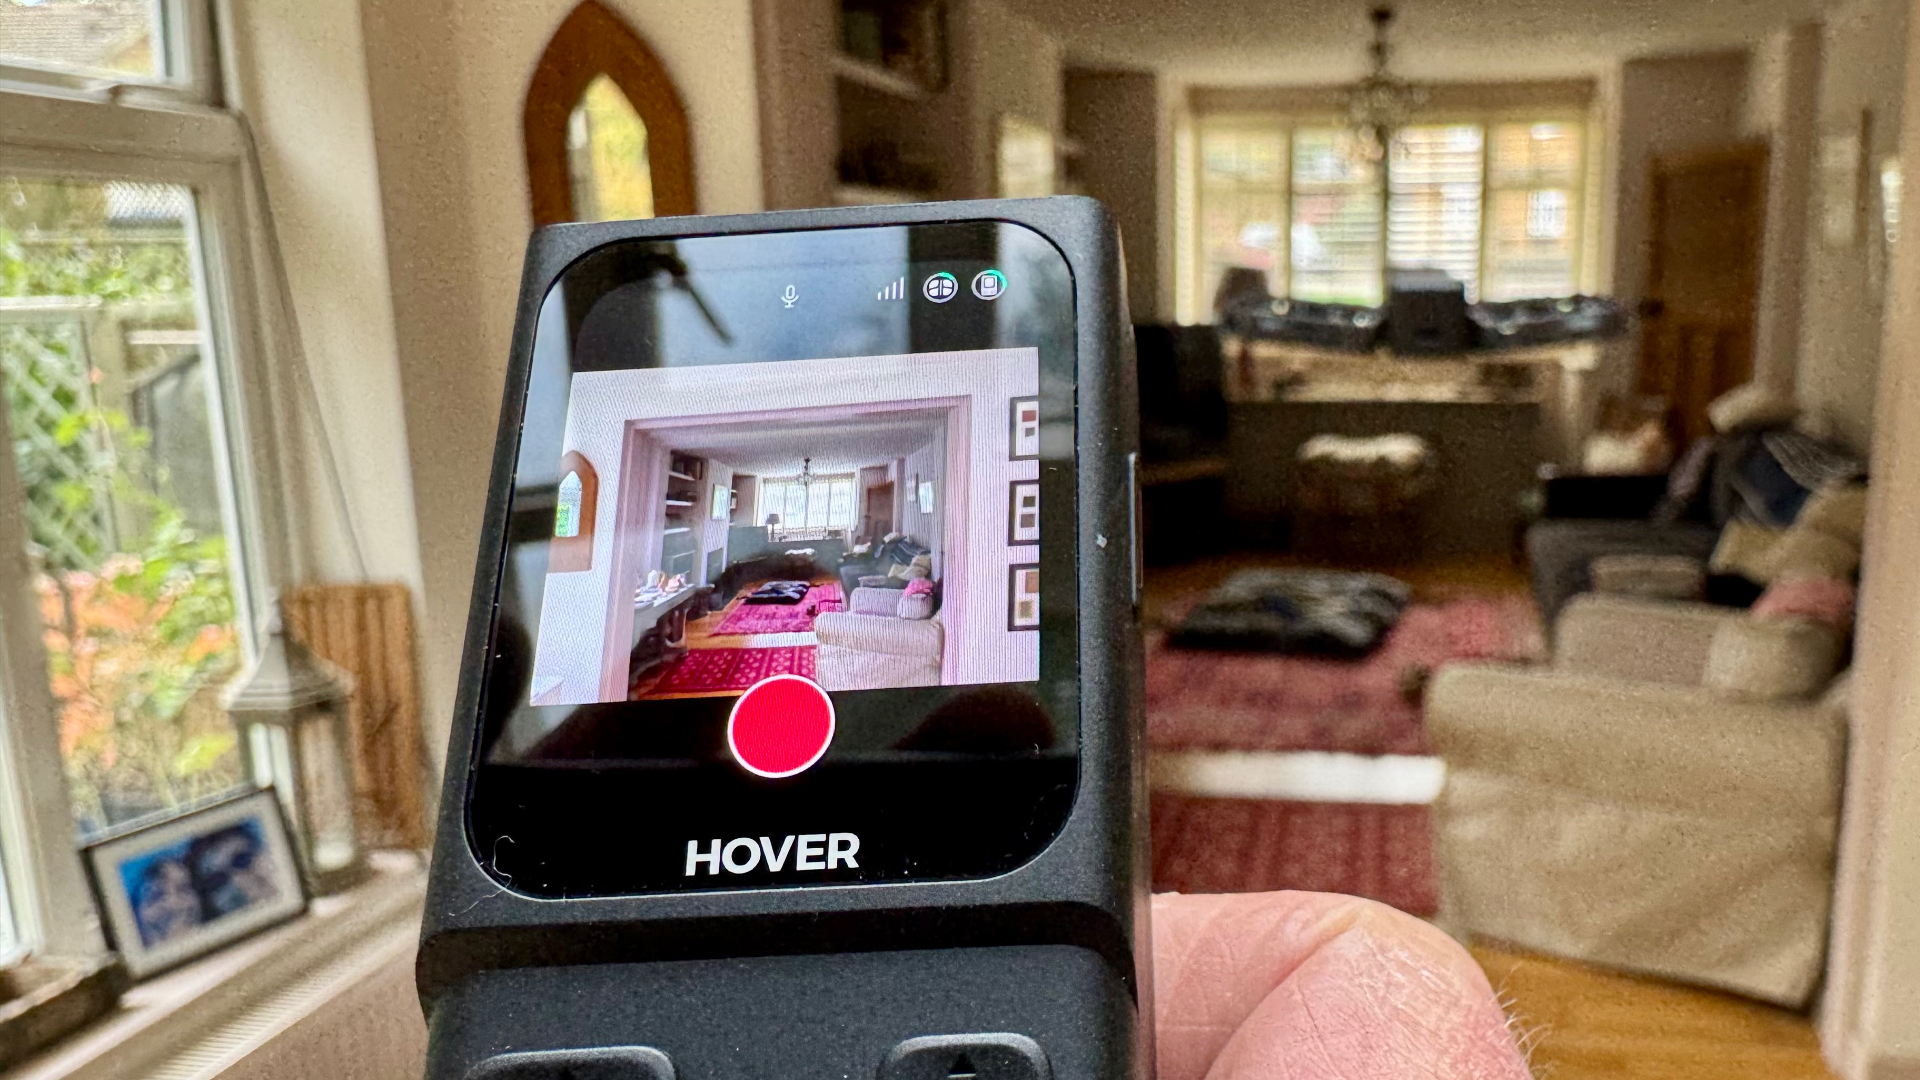
Since the HoverAir X1 Pro is ostensibly designed for close proximity use up to 500 meters away, there may come a time when the user wishes to fly much further – just like a normal drone. With the Beacon and joystick bundle, the X1 Pro can be flown up to 1km, which is more than enough distance for a drone of this size.
In fact, you will absolutely lose sight of it after the first 100m or so and given that the drone doesn’t have onboard GPS like most drones, including the new DJI Neo, you will be stepping on thin ice if there’s a strong breeze or you lose all perspective of where the drone is. Yes, the X1 Pro does have a visual positioning system to help guide it back to its starting point, but it's no substitute for GPS, which provides much better positioning, especially when flown beyond line of sight.
The first issue I faced when flying the X1 Pro for the first time was that both the Beacon’s right forward/reverse joystick and the app’s virtual joy sticks were in reverse. Hence, when the stick was pushed forward, the drone went backwards.
Tip: To fly the X1 Pro like a normal drone, go to the app’s ‘Manual Control’ section and change ‘Control Direction’ in Flight Settings to ‘Towards Outside’, which will make the drone move in the direction of the right stick’s movement. Perhaps this issue was related to my particular sample, but it would be easier for users if the default flying mode was set to perform like every other drone instead of in reverse.
The Beacon itself allows the drone to follow a user much more accurately than by visual tracking alone. Hence, if you clip it to your clothes, it will lock on to you and only you, without becoming confused if another person jumps into the frame.
When it comes time to flying the drone using proper joysticks, simply clip the two magnetic stick modules on either side of the Beacon and pull out each joystick while pulling them downward to create a standard hand controller. Incidentally, the Beacon joysticks are labelled L and R and, because the connections are individually magnetised as negative and positive, it’s impossible mount them the wrong way round.
Alternatively, you can also fly this drone using motion control. Simply attach the right joystick module to the Beacon and hold the rear button while you tilt your hand forward, backwards and side to side. The drone will follow accordingly.
The Beacon features a small 1.78" OLED screen which displays the various flight modes – follow, orbit etc – along with a manual flight setting. You can choose to fly the X1 Pro using the Beacon’s screen to see the view from the drone’s camera or, for maximum effect, attach a phone to the Beacon’s cradle, launch the HoverAir app and plug it in using the provided USB-C cable. This will provide a much larger image and make flying the drone much easier.
Alternatively, when out riding a bike, simply attach the Beacon to your bike’s handlebars using the provided rubber grip and the X1 Pro will not only follow you but you’ll also be able to monitor the drone’s camera view on the Beacon’s mini screen.
Design and features
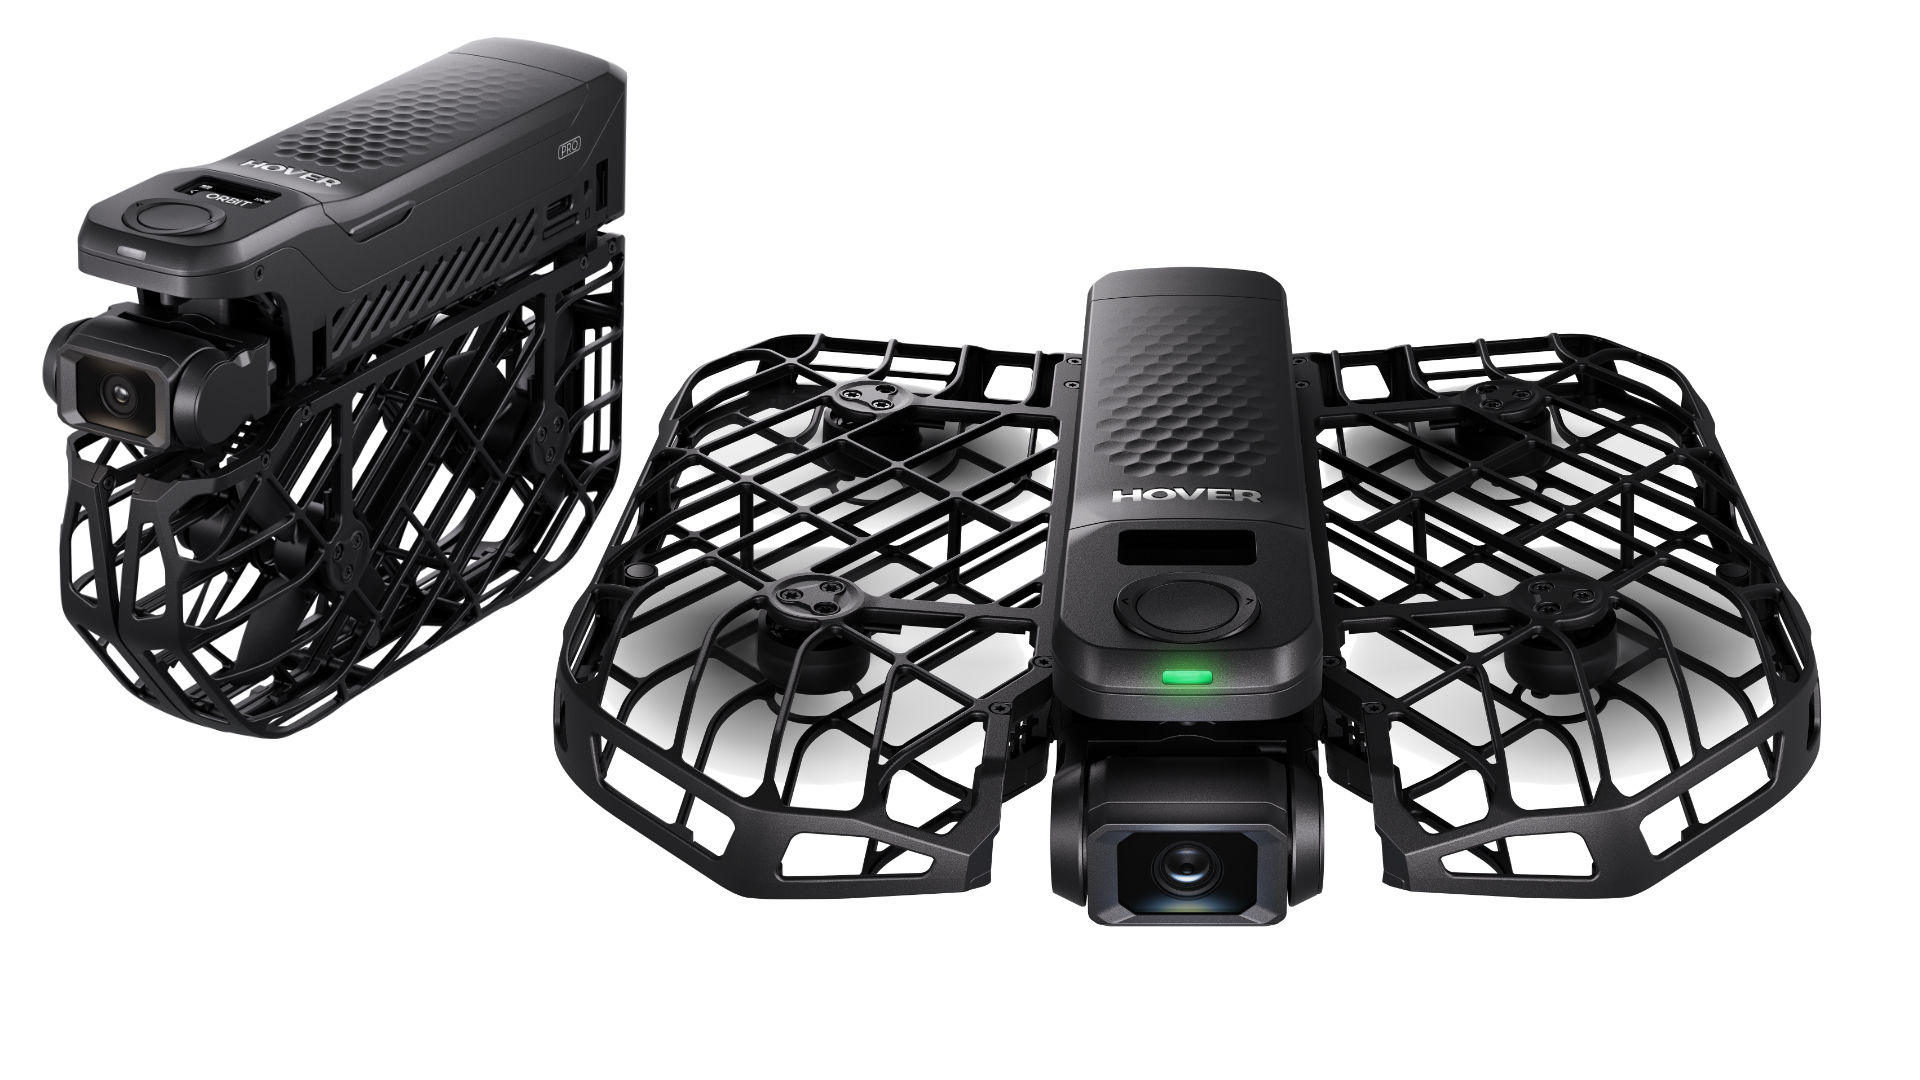
Like its predecessor, the X12 Pro folds into a tidy, pocketable form that’s amazingly easy to transport. In fact, at just 192.5g – way below the CAA’s sub-250g A1 category – it’s so light you won’t even feel its weight in your pocket.
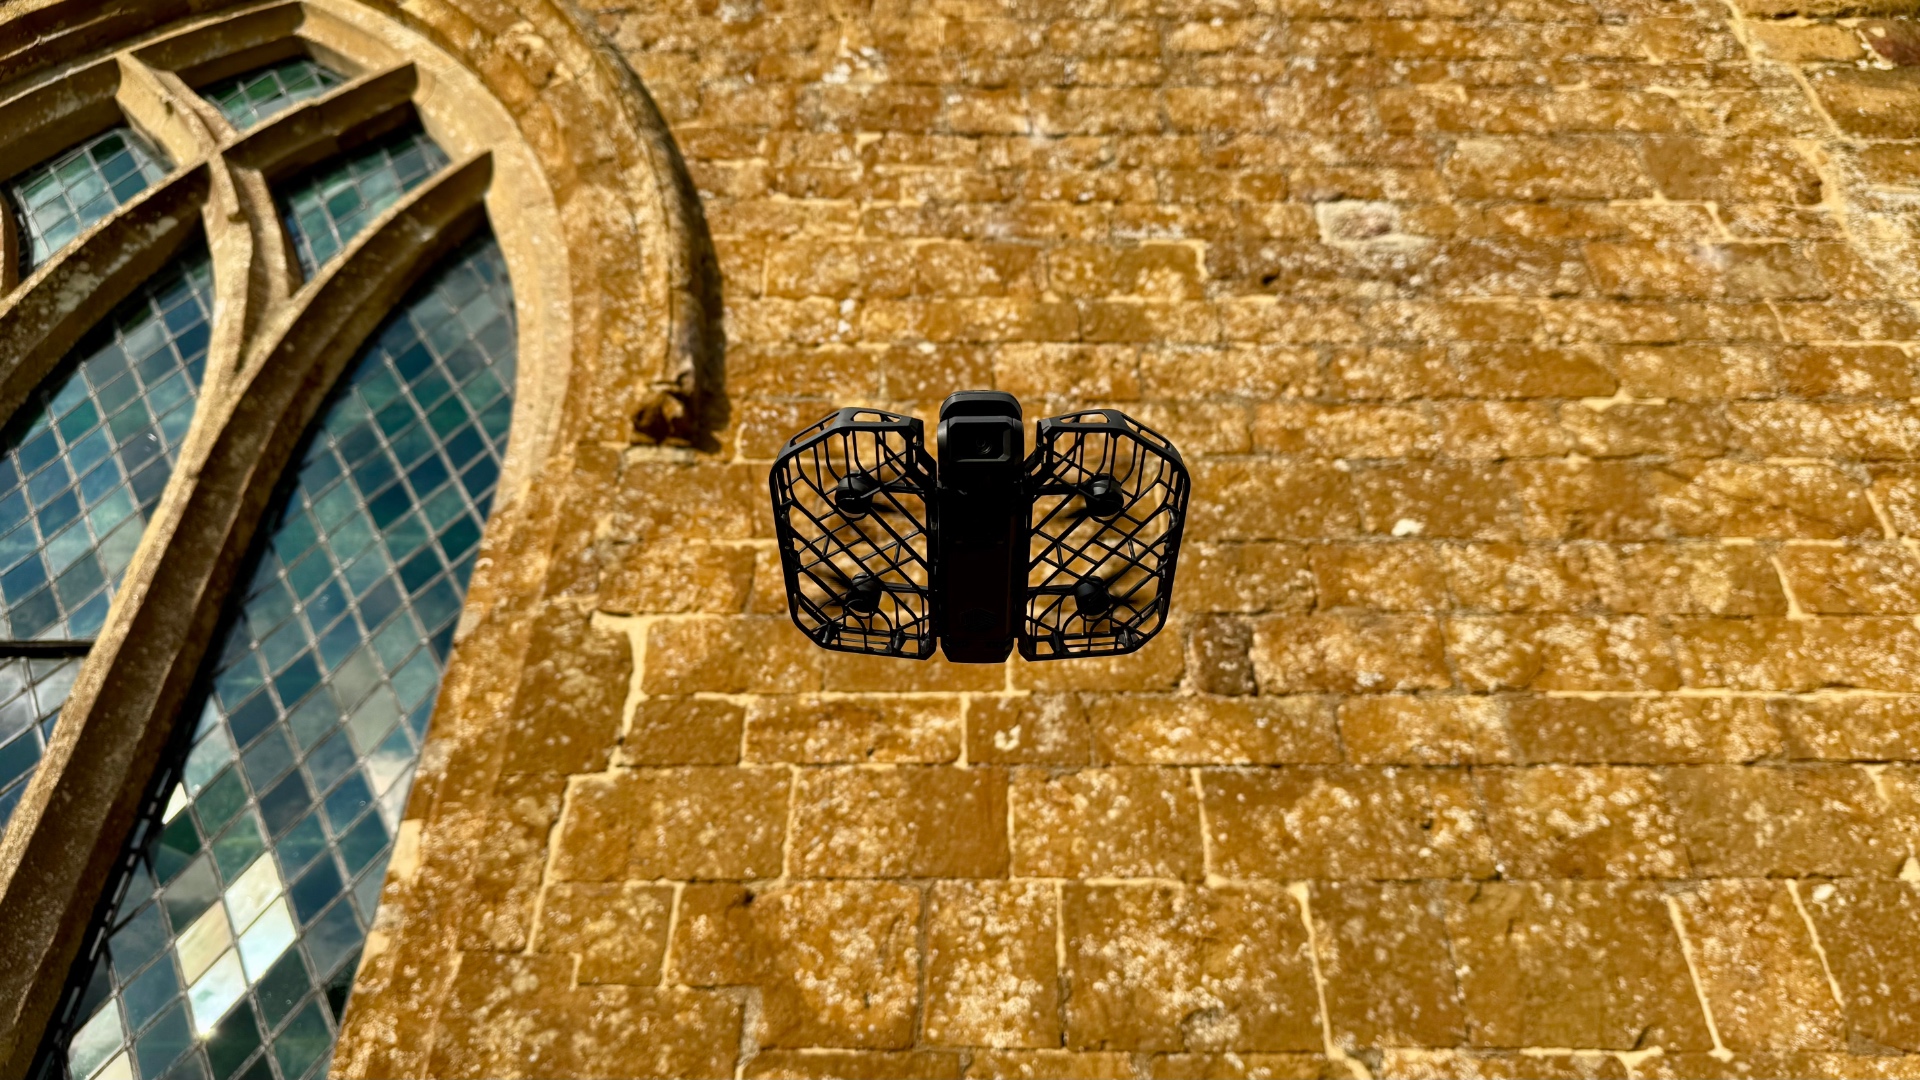
When unfolded, the drone measures 149 x 173 x 39mm and sports a wind resistance of Level 5 which is very good for a drone of this size. Its four tiny props, meanwhile, are encased in a flexible cage to prevent any injuries and damage when in a collision. And speaking of collisions, I’ve seen this drone survive many a crash and it’s shaken them off like a Tour de France rider.
Sensor-wise, the X1 Pro is equipped with a downward facing vision sensor and camera for stable flight and pin-point hovering accuracy. And, amazingly for a drone of this size and weight, it also comes with a rear-facing collision sensor to prevent accidents when using any one of its myriad of autonomous flight modes in tight spaces.
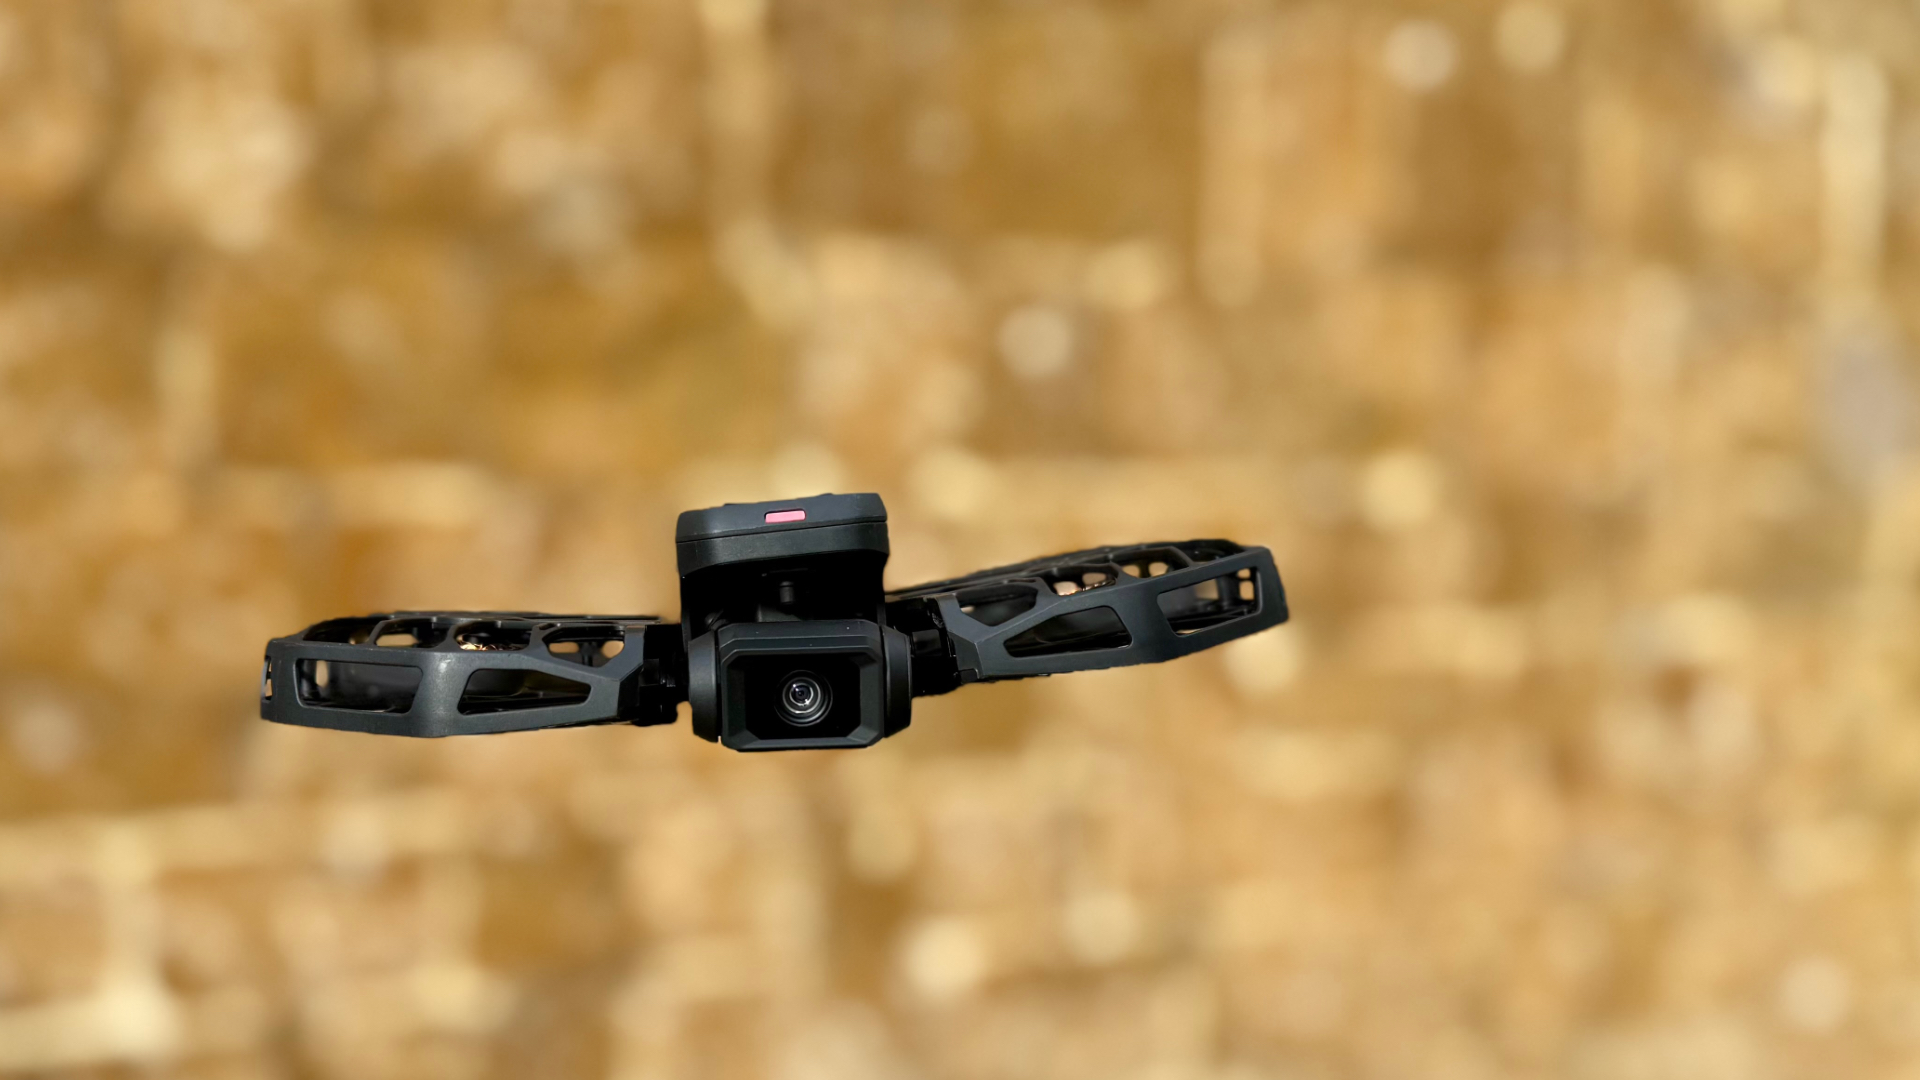
Since the X1 Pro is designed to be flown from the hand with no extra paraphernalia, it features a tiny 2cm info screen and loud voice prompts are announced so the user always knows which autonomous flight mode they’re in.
And, just like the original HoverAir X1, when connected to the app and your phone’s microphone, you can talk while the drone is making a racket in flight. When you eventually download the video, the drone's sound will be cleverly filtered out, and your voice will be clearly audible with no drone noise in the background.
You get loads of onboard hard drive space with this model – 32GB to be precise – along with a Micro-SD slot to increase file capacity even further. That’s something the DJI Neo cannot match.
However, there is one major caveat with a drone of this size – noise. And by noise, I mean the hideous sound of several large wasps hovering within an inch of your ear. Stealthy flying is not part of the X1 Pro’s remit. Nor, for that matter, any other drone of these diminutive dimensions.
Flight features and performance
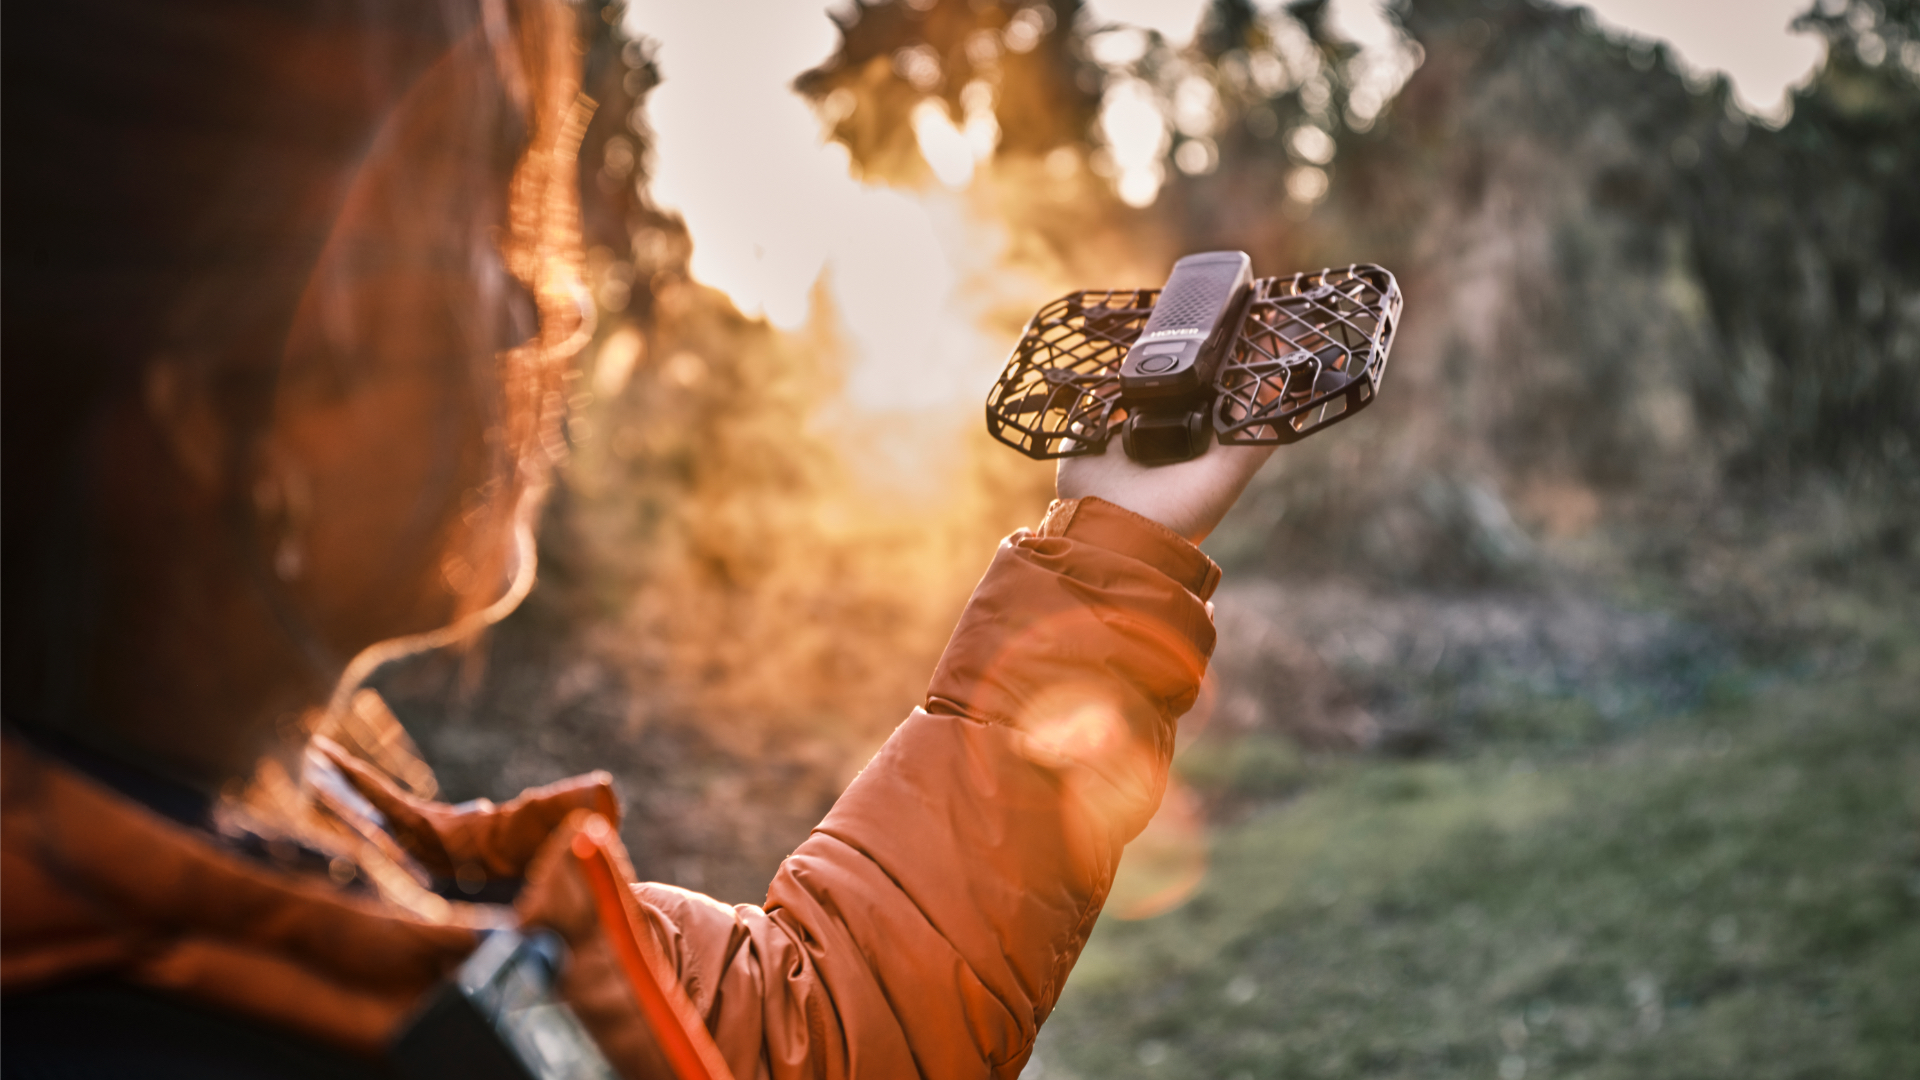
With its excellent wind resistance rating of Level 5 (up to 24mph) and superb set of flight characteristics, this drone is an absolute hoot to use both indoors and out, whether it’s launching off and landing on the hand, flying it using the app’s virtual joysticks or, better still, the full Beacon bundle. It just behaves so well in the air without any scary moments. And with a standard top speed of 26mph, it’s pretty nippy, too.
The HoverAir X1 Pro features a very decent selection of autonomous flight modes, including Hover (perfect for framing selfies and group photos), Follow (the drone follows the user from behind), Zoom Out (the drone gradually includes more of the surroundings), Orbit (a full 360˚ around the user), Bird’s Eye (captures an overhead view), Dolly Track (same as Follow only with the drone facing the user from the front) and Side Follow.
To launch, place the drone on your hand, select a flight mode using the left or right buttons on the drone’s on/off button and tap the same button for take off. The drone will turn on its video camera (or stills camera if set) and launch into its preset flight path, which you can adjust in the phone app’s settings. When done, it will return and land on your hand. Simple.
What’s this little tyke like at following the user? Well I’ve performed a number of tests and I don’t know what magical fairy dust HoverAir’s clever little sausages have sprinkled over the X1 Pro but its tracking is pure sorcery in the way it appears to follow the user with such incredible accuracy.
It’s as if it’s literally following a breadcrumb trail of the user’s exact route, even when used at higher speed, like when following a mountain bike between trees. Although I could clearly hear it behind me, I still felt the urge to keep looking behind to make sure it didn’t clip a tree branch I’d just dodged. I needn’t have worried because it stuck with me every time, like a trusty little airborne pet. Amazing.
It’s also great fun flying this drone using the motion controller and, even more so, the full Beacon joysticks apparatus. With the joysticks in use, I can now safely fly this drone above my house for an occasional roof inspection and even snap some high-res images and a few snippets of 4K footage while I'm at it.
Camera performance
This titchy pocket-sized titan ramps up the video quality from a previous 2.7K to a full 4K at up 60 frames per second. It can also shoot slow-motion footage at 1080p/120fps and take 12 megapixel stills. If the camera is the most important part of any drone, I can tell you that you won’t be disappointed with this one.
So, what does the footage look like straight out of the camera? Well, for the size of the camera and sensor, I’d say it’s bloody excellent and easily good enough for presentation on a 15-inch MacBook Air, let alone a tablet or phone.
Yes, the imagery is on the harsher end of the scale and a little unnatural looking, but nothing a spot of post-production wouldn’t cure. I’m personally very happy with the image quality, though I would always reach for my DJI Mini 4 if I were shooting something of a more serious nature.
Battery life
The Cycling Combo came with two batteries and each one runs for up to 16 minutes which isn’t too shabby. Thankfully they charge very quickly – in about 20 minutes. And given that this combo also comes with HoverAir’s unique strapped PowerCase, you can pop the whole drone into the case and it will charge the drone while you move from one location to the next.
Should you buy the Hover Air X1 Pro Cycling Combo?
Although even the basic X1 Pro package is quite a bit more expensive than the similar DJI Neo, I still think its a worthy addition to anyone’s holiday armoury. You’ll love its portability and ability to produce stunning shots within a few seconds of taking it out of a jacket pocket. In short, the X1 Pro is the perfect drone for fuss-free selfies, capturing beach and camp life, shooting an awe-inspiring vista, following you on your travels – whether on foot or wheels – or even shooting a smooth cinematic movie of your home. It’s just there whenever you need it and easy enough for a chimp to get a handle on. This Cycling Combo adds a whole lot more versatility to the proceedings.
Verdict
Given the huge amount of gear the Cycling Combo came with, I’d say this package is pretty good value since it covers practically every scenario, whether using the X1 Pro as a selfie drone, a tracker extraordinaire or a long distance flyer. However, there’s no getting away from the fact that even the basic X1 Pro costs a third more then a DJI Mini 4K and more than three times the price of the new DJI Neo.


