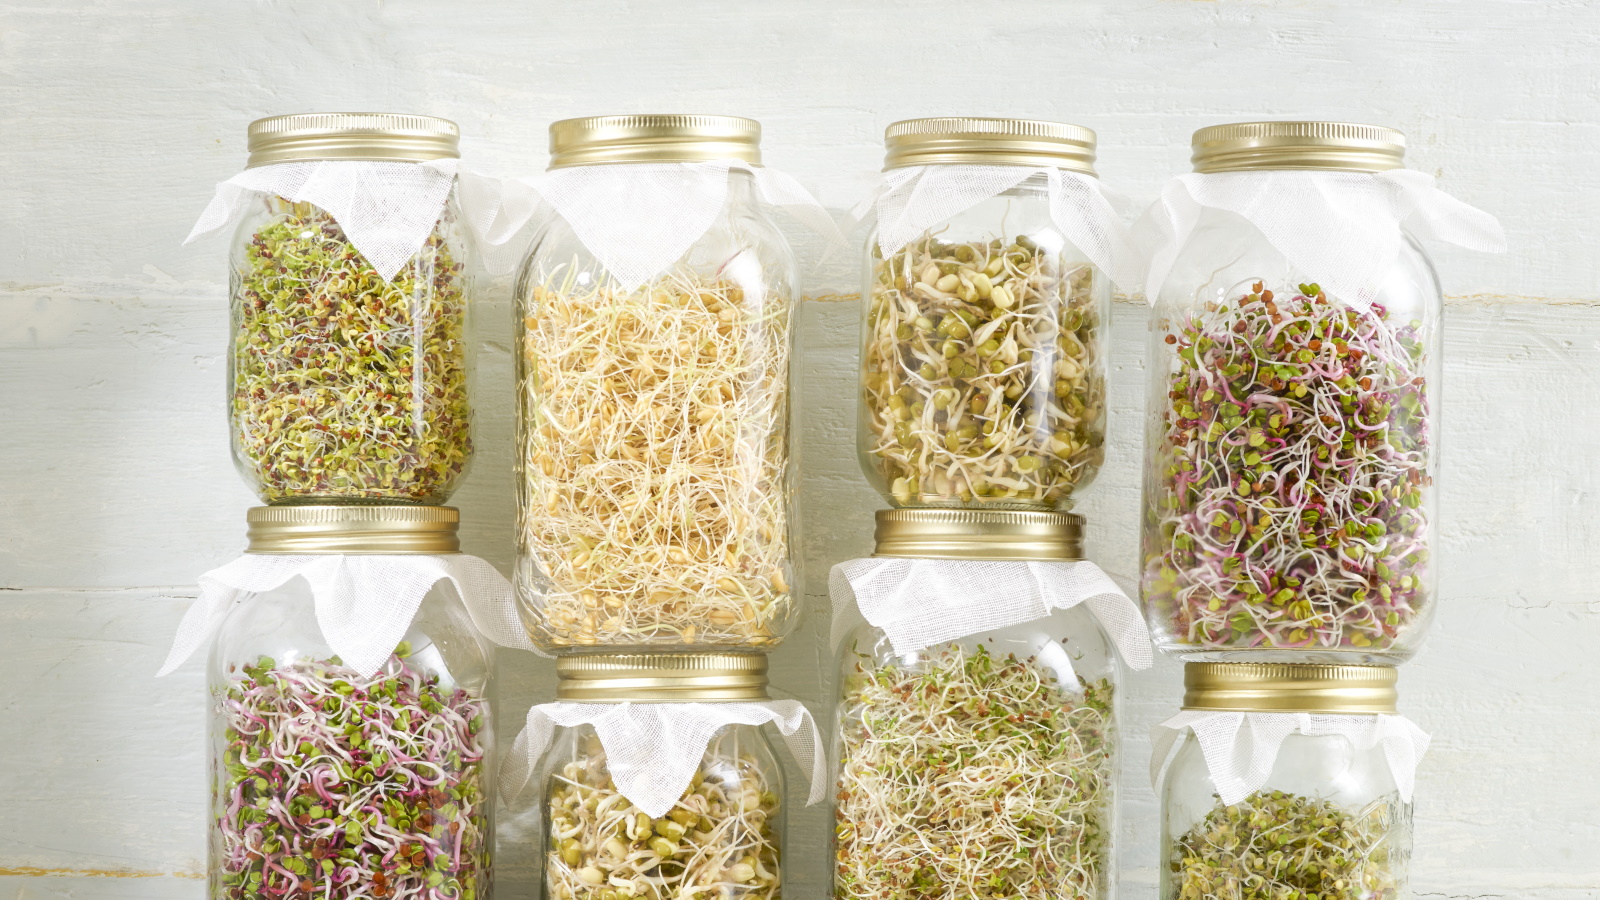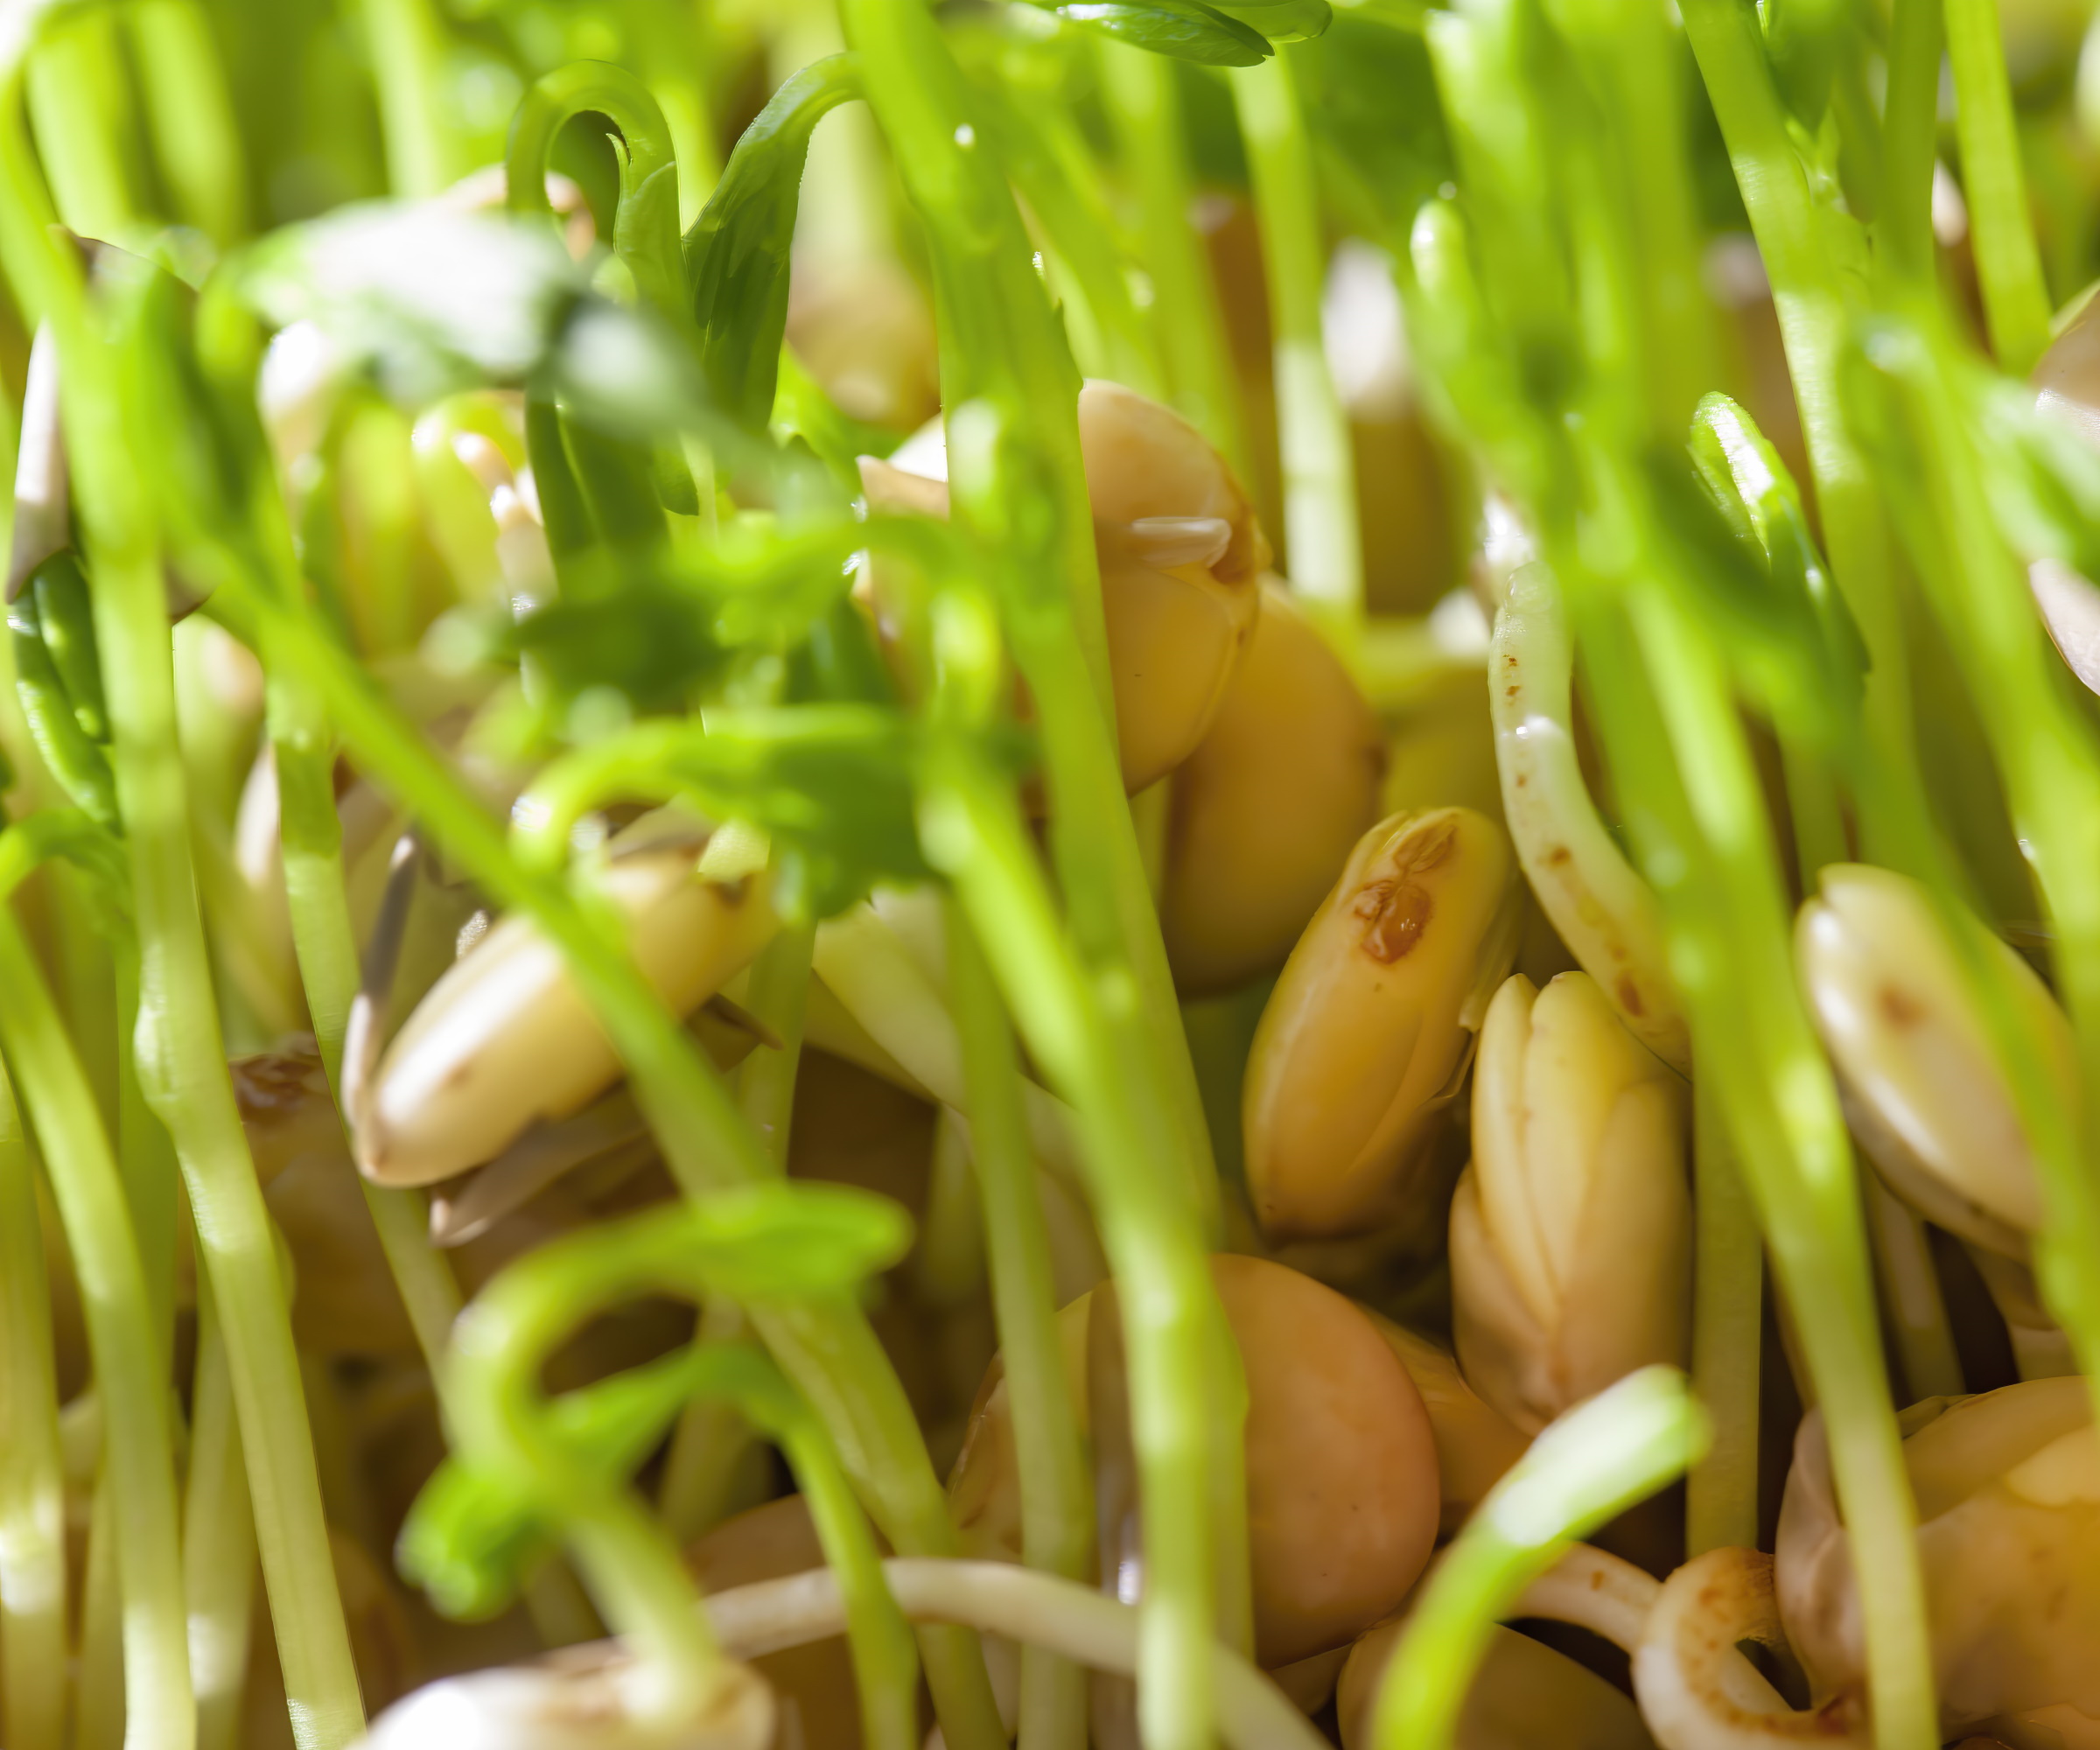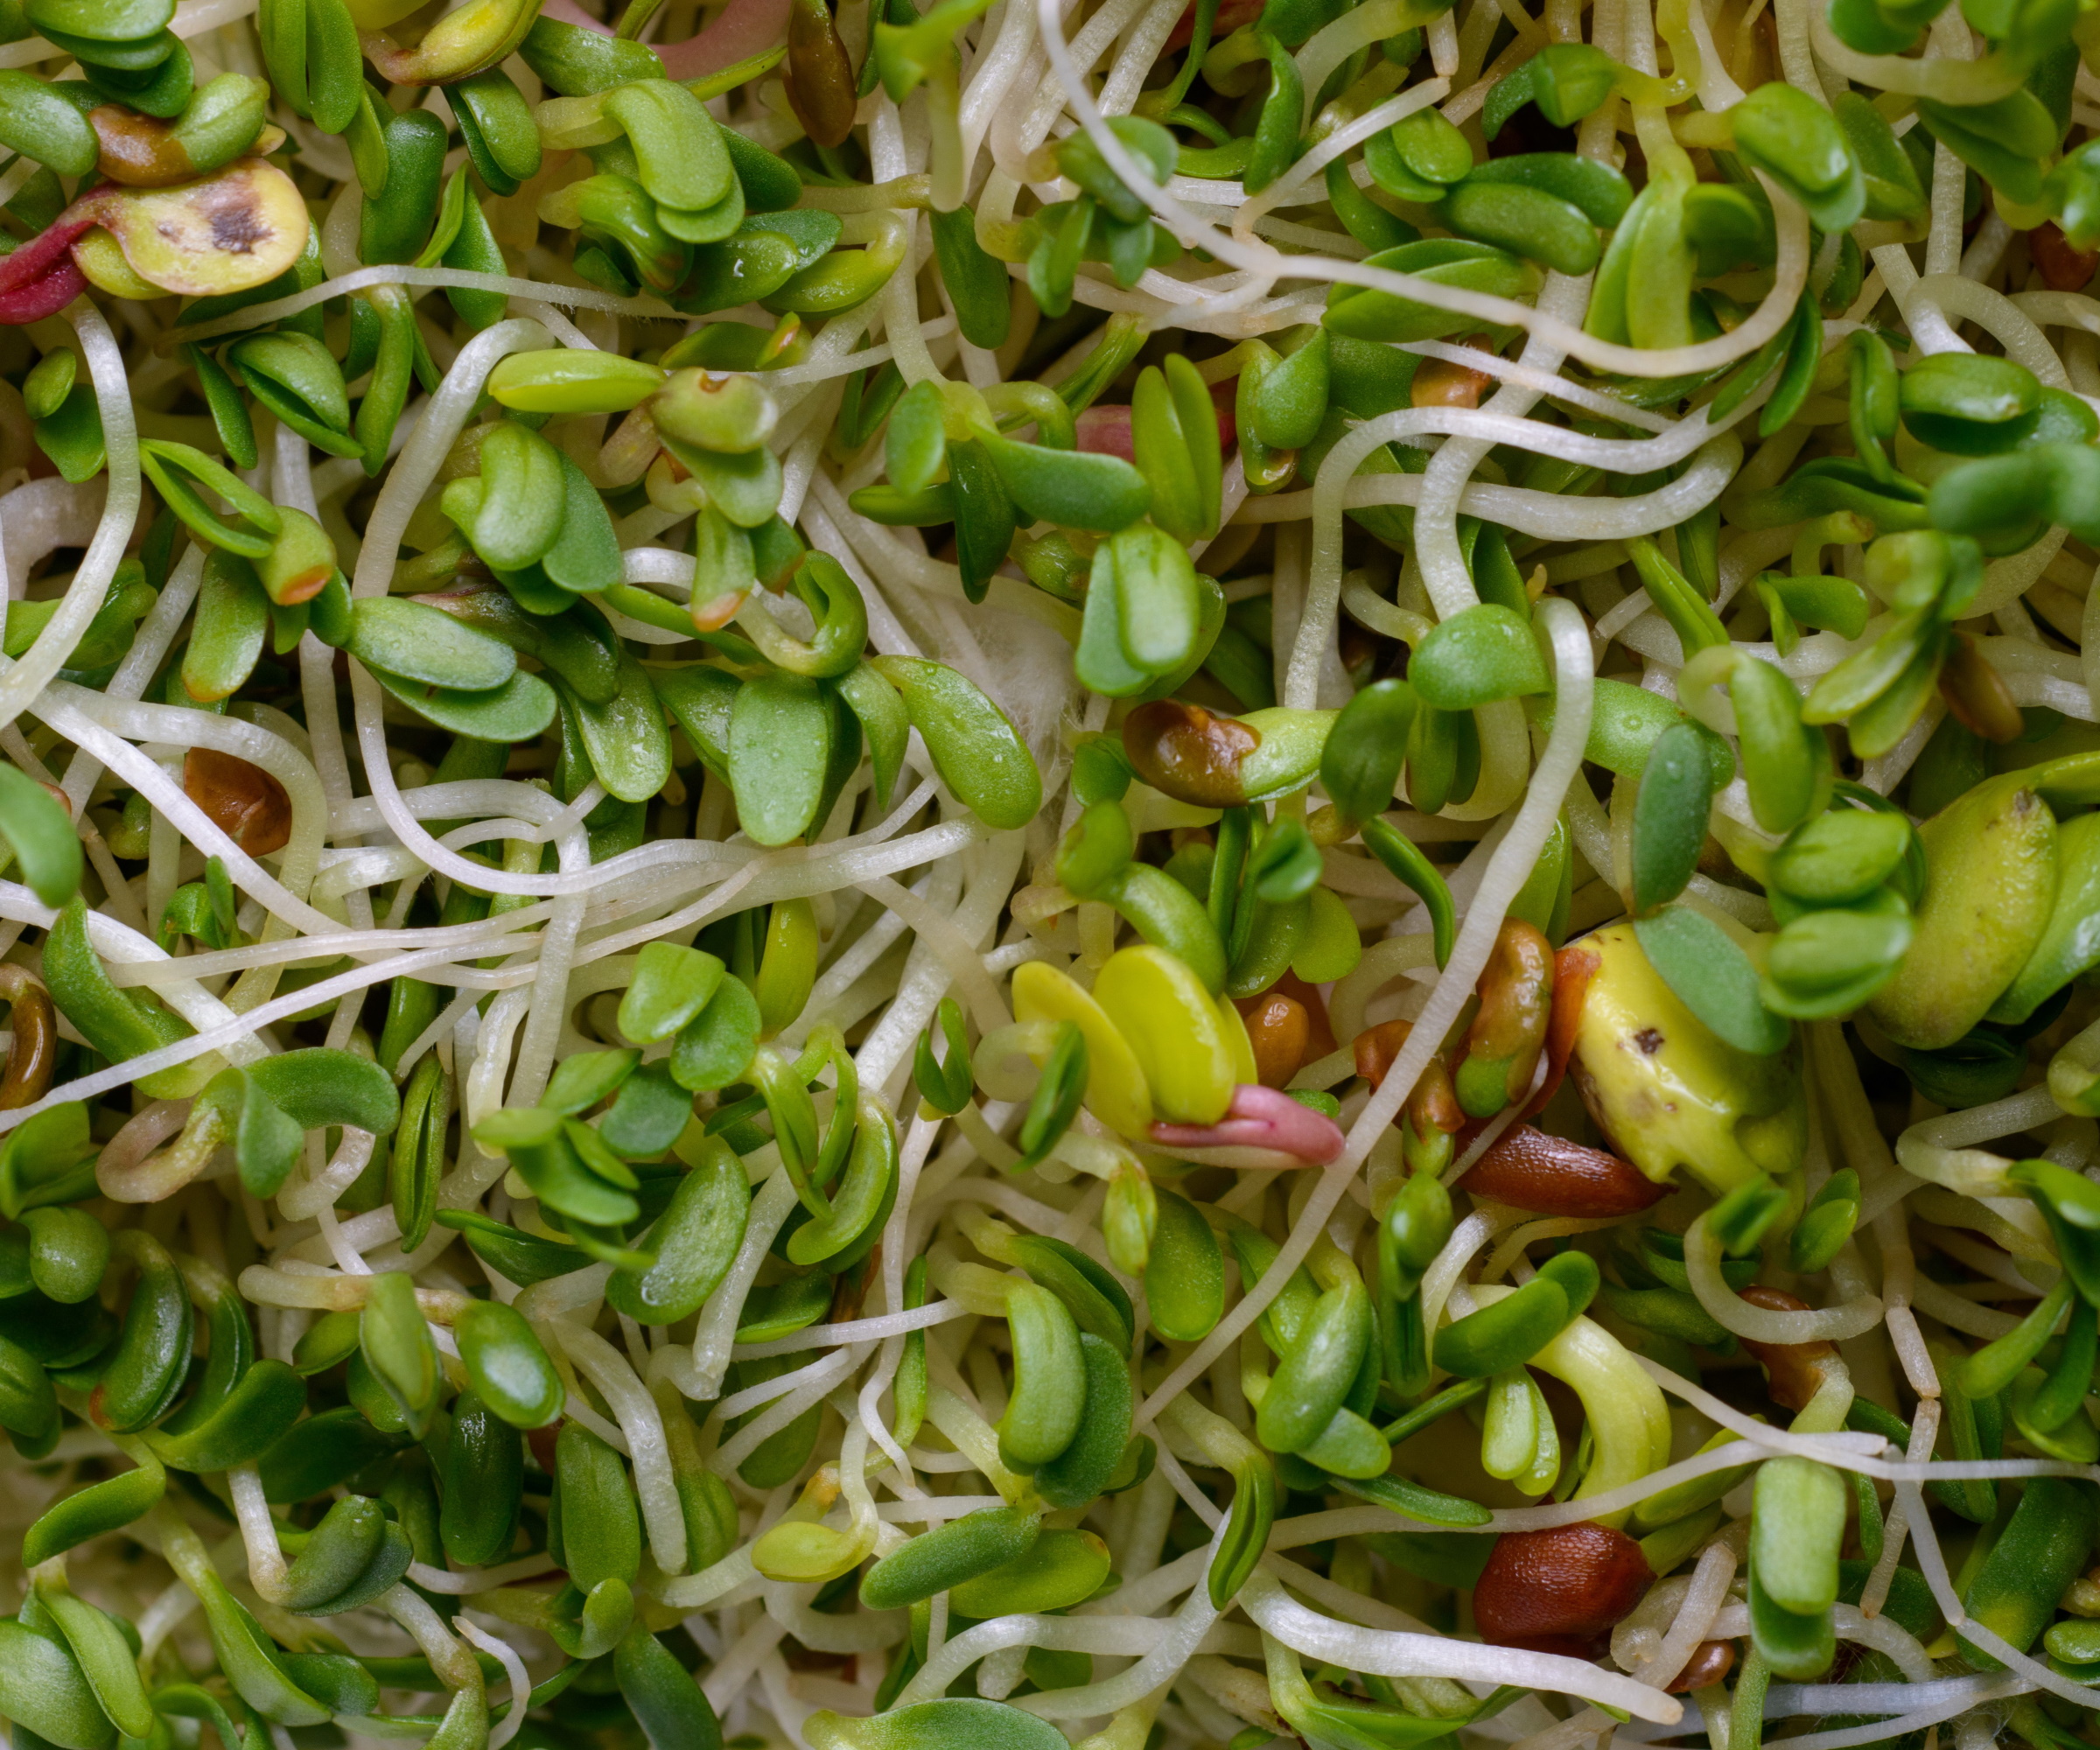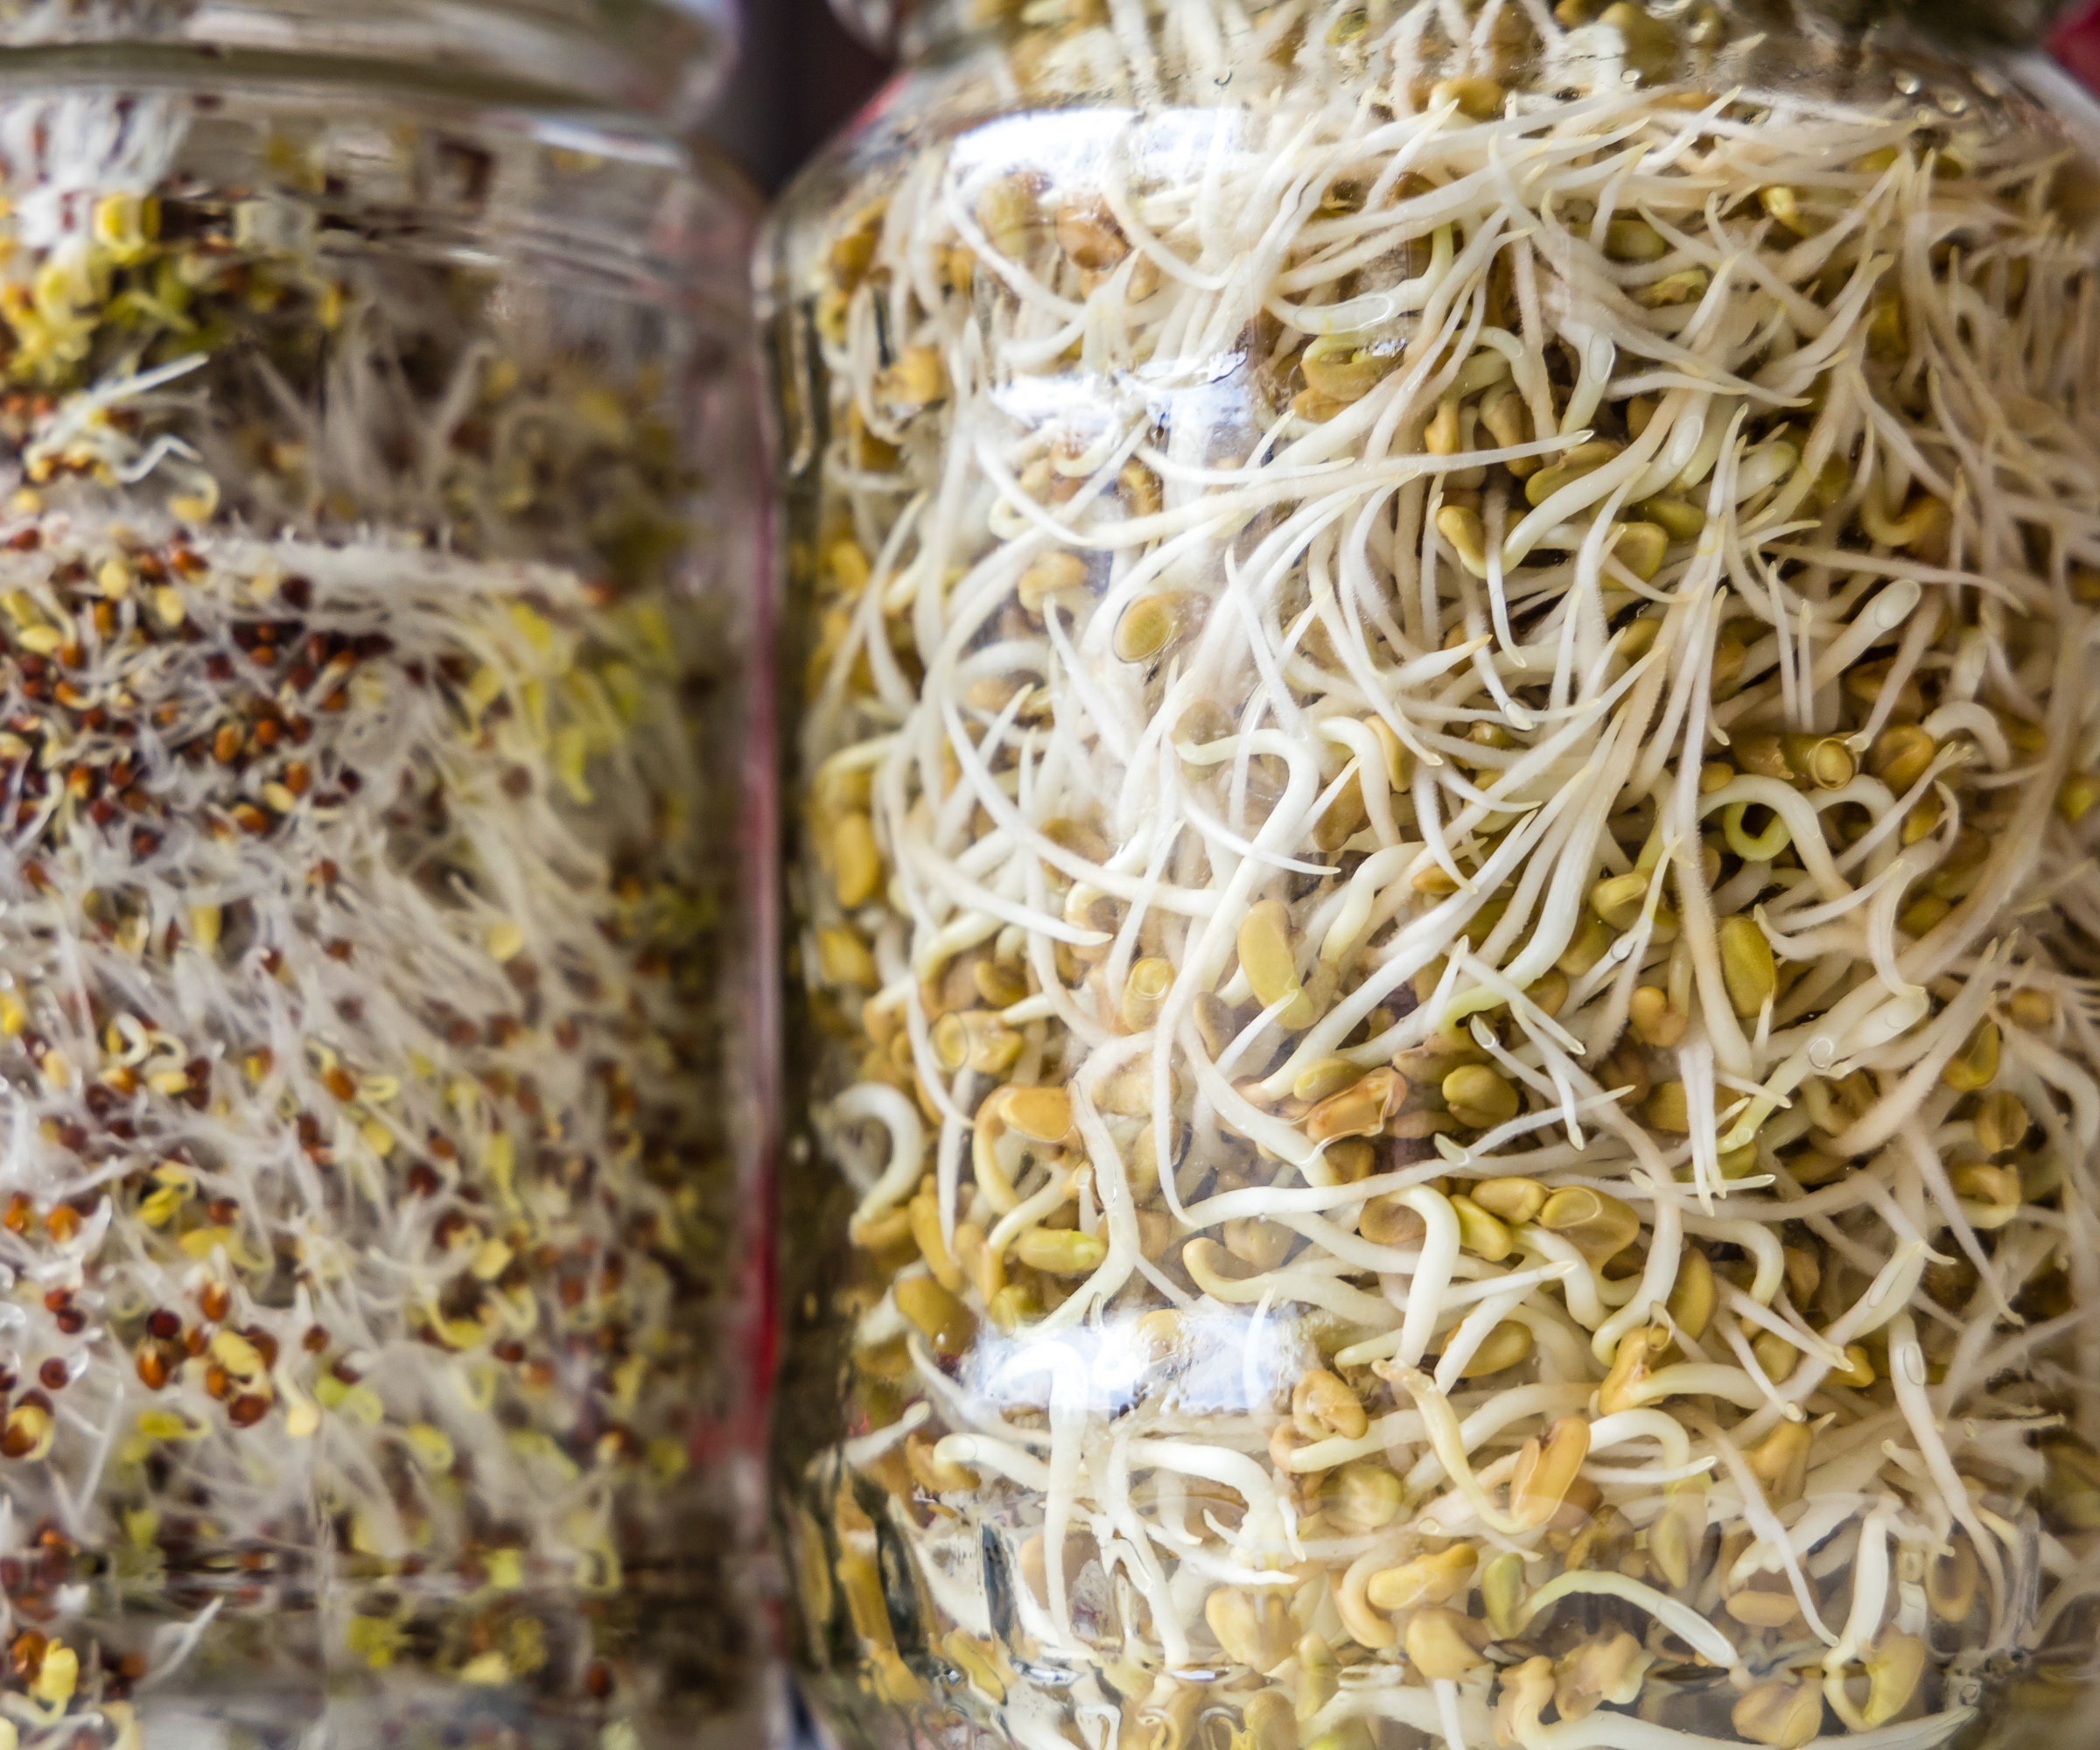
Beansprouts are a versatile and nutrient-packed crop that can be easily grown at home. They require little space and germinate at any time of year - the perfect indoor gardening project for the winter months. It might be cold outside, but you can still grow your own crop of tasty sprouts without leaving your home.
The young shoots of germinated beans, or beansprouts, offer a tiny burst of flavor like other microgreens, that have been growing in popularity in recent years. This approach to growing can offer something unique and exciting as part of your kitchen garden. There are many sprouts to pick from too, ranging from alfalfa sprouts to broccoli sprouts, each with unique flavors and health benefits.
What makes beansprouts quite so impressive is their nutritional profile, full of essential vitamins and minerals. The tiny sprouts are an excellent source of protein, fiber, and antioxidants, contributing to overall health and wellbeing, making them a nutrient-rich addition to any diet.
Growing beansprouts at home is a simple and rewarding experience that requires minimal effort, and should surely be a consideration when thinking about what to plant in January. With just a handful of seed, a jar, and a small amount of patience, you can cultivate delicious microgreens in your kitchen. Within a week, you'll have a batch of fresh sprouts ready to elevate your salads, stir-fries, and sandwiches.

How to grow beansprouts
By following a few simple steps, your beansprouts will be ready to harvest in under a week – a quick turnaround to cultivate your own superfood at home.
What do you need to grow your own beansprouts?

Beansprouts can be grown at home in specialized sprouters bought from a range of stores or online, such as this Sprouter Growing Kit from Walmart, which allows for growing on two different levels, meaning that you can grow multiple varieties of sprouts at the same time.
The cheaper, homemade option is to simply use a sterilized vessel, such as a glass jar. It is common to see and read about growing beansprouts in a mason jar, such as this Glass Mason Jar from Walmart. Both approaches will provide you with a quick harvest.
In terms of seed, you can purchase many different types of sprouts. Grow something that you want to eat, which will depend on what your sprout preference is. If you are unsure, there are many variety packs, such as this Sprouting Kit from True Leaf Market, that have a range of different seeds, including mung beans and alfalfa sprouts, meaning you can experiment and try different varieties.
Once you have a vessel and seed to grow, you are ready to sow your bean sprouts. Follow our expert advice to ensure success with your harvest.
How to prepare your kit

Have your sprouting tray or mason jar to hand, as well as a special mesh-covered lid such as these Sprouting Lids from Walmart. Equally, a piece of muslin and an elastic band will do the job just fine. Both approaches are essential for letting the seed breathe. Ensure that any container is clean and sterilized before you begin to prevent contamination. This can be done by washing your containers in warm and soapy water and drying thoroughly.
Farmer Lee Jones, gardening expert and Owner of The Chef's Garden, shares his top tips below on how to germinate and grow beansprouts in just a matter of days.
1. Soak your beansprout seeds
Follow the instructions on your seed packet regarding how much seed to sow per container size. Fill your container with fresh and cool (but not cold) water and pour in your seed, covering it with the sprouting lid or cloth secured with an elastic band.
Lee recommends 'soaking your seeds in water for 8 – 12 hours.' Following this, drain your container carefully using a sieve or strainer to catch any seed.
2. Rinse your seeds
Lee advises that seeds should be kept 'moist but not waterlogged,' rinsing every 8 – 12 hours. This process should be done with care, gently rinsing with fresh, cool water, and then setting aside once again.
Sprouts should appear within 24 – 48 hours. Repeat this rinsing/straining cycle for 3 – 5 days until the sprouts reach your preferred size.
3. Place in a suitable location
'Place the container in a spot with indirect sunlight,' Lee says, which will help your seeds to grow quickly. Once germinated, keep your container away from direct sunshine, where bright light may damage the young sprouts.
For the best growing conditions, it is advised to keep your seeds at room temperature. In cooler conditions, your seeds may take longer to sprout and grow.
4. Harvest your beansprouts
When the sprouts have reached a good size, approximately half an inch to about 2 inches depending on the seed you are growing, you are ready to harvest your crop. This should take 'around 4 – 6 days', Lee says, but it is important to 'experiment to find the best method for your home.'
In some homes, a 'cozy spot with indirect sunlight, such as a windowsill' might achieve the best results, whilst in others, on top of your kitchen work surfaces might also do the job just fine.
Lee recommends incorporating these 'fresh, crunchy beansprouts into salads, stir-fries, sandwiches or wraps for a delightful and nutritious touch to your dishes.'
This Sprouting Kit offers 12 delicious, nutritious, easy, and colorful organic sprouting seeds that you can use for any healthy meal. This selection is perfect for beginners and seasoned sprouters interested in trying out new varieties.
FAQs
What is the easiest beansprout to grow?
Mung beans are recommended for beginners, as they are quick to germinate and grow quickly. They are readily available from many stores, such as these organic mung bean seeds from True Leaf Market.
Can you grow beansprouts in winter?
Yes, you can grow beansprouts indoors at any time of year, making them a great option for gardening through fall and during the winter months. Remember that in cooler temperatures, your beansprouts may take longer to germinate, so be sure to place them in a location at room temperature with bright, indirect light.
Growing beansprouts indoors is an easy way to grow and harvest sprouts at any time of the year. Why not consider other microgreens to grow this month, that will you a nutrient-rich crop and spice up your cooking?


