
There’s just something about the aroma of baking bread, whether in the home or a neighborhood bakery, that makes many of us smile. Call it the warm and fuzzy factor.
Does it transport you to your grandma’s kitchen? Your parents’? Your own?
Whatever the feeling, it’s clear that bread — in whatever style and culture — is, on some level, the essence of life. It’s that perfect marriage of crust and crumb that satisfies the soul and the stomach.
Talk to award-winning baker Greg Wade, the managing partner at Chicago’s Publican Quality Bread (an arm of the One Off Hospitality group with partners Donnie Madia, Paul Kahan, Terry Alexander and Eduard Seitan), and his passion for all things bread is palpable.
Though never “formally trained” as a baker, Wade is a graduate of the Illinois Institute of Art’s Culinary Program. He says he learned the art of baking the old-fashioned way — by watching and practicing, and making mistakes and learning from them.
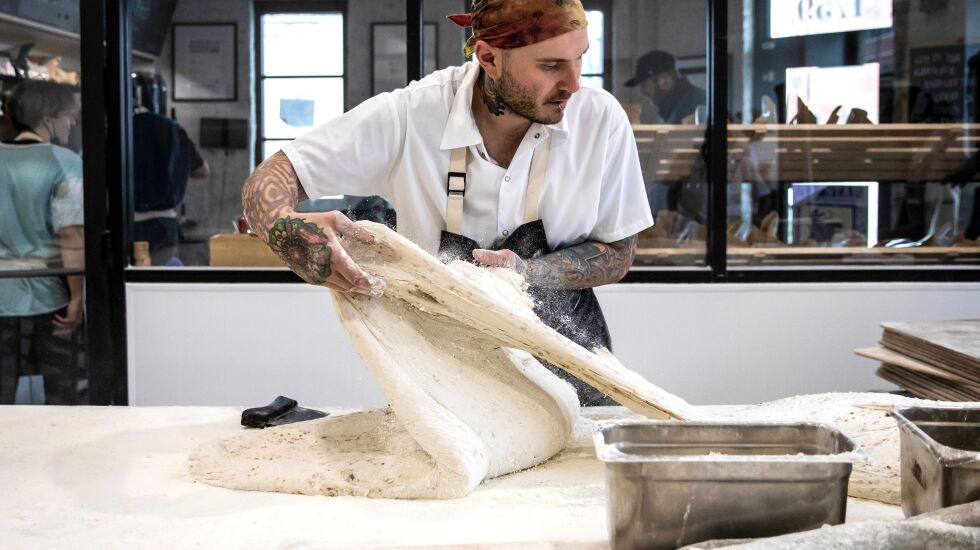
That passion is at the heart of Wade’s first cookbook, “Bread Head: Baking for the Road Less Traveled” ($45; W.W. Norton & Co., Inc).
In 2022, the stand-alone 42,000-square-foot Publican Quality Bread facility opened at 1759 W. Grand Ave., in the city’s West Town neighborhood. It is home to a state-of-the-art industrial kitchen and a cafe that serves up a daily array of fresh-made sandwiches, pastries and more, in addition to Wade’s celebrated lineup of bread loaves. On average, the kitchen produces 17,000 pounds of bread dough each week, sold in its bakery and supplied to many of the area’s restaurants.
“[Chef] Paul Kahan, he pushed me to do it,” Wade says, chuckling, of the cookbook’s genesis. “He always thought I had a lot of knowledge about my craft. When he and I first started talking about it, it was always a ‘some day’ kind of project. Until he had his book agent call me with a gentle nudge.”
The nudge occurred somewhere in 2020, when the pandemic gave nearly everybody on the planet time to reexamine lives and goals.
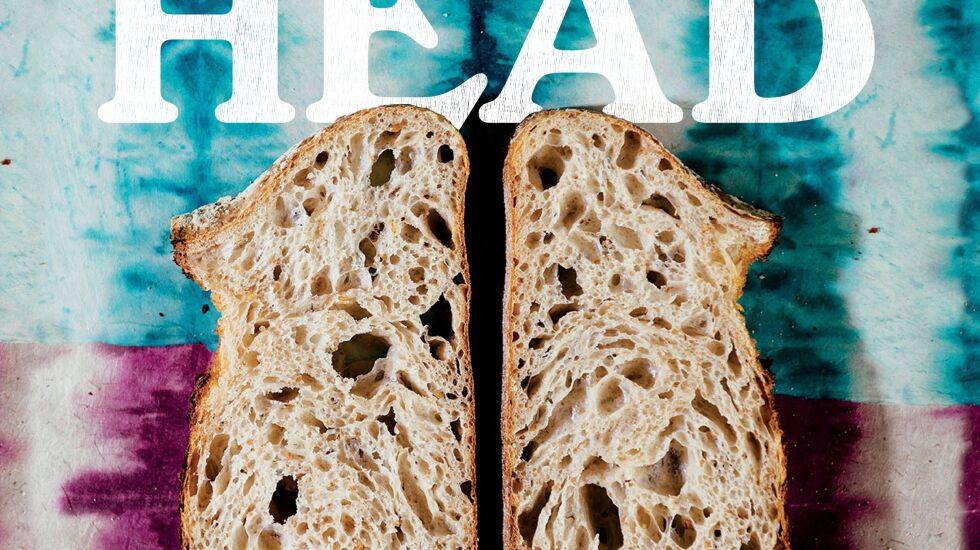
“Seemingly overnight, people who hadn’t so much as cooked a meal for themselves in years were nurturing their own sourdough starters and proudly producing boules and loaves. ... When we needed comfort, bread was there,” Wade writes in the book’s introduction.
For Wade, it meant time to finally pull together the book from the “thousands of recipes in my head” — a how-to guide to breadmaking and a deep dive into what bread means to life itself.
“I didn’t set out to have it be the Publican Bread Book. I set out to have it be really a good breadth of knowledge for people to make their own bread. To understand what they’re doing and why they’re doing it,” Wade said during a recent chat.
The book is a source of all things bread and breadmaking — from key equipment and precise measurements to sourcing locally and understanding grains to milling and fermenting and proofing and more. Yes, there are “formulas” and ingredient percentages to learn, but they go hand-in-hand with what Wade says is getting to know the way a proper dough feels and behaves. It’s instinctual, he says, but it’s something every baker comes to know with time and patience.
And patience, he says, is the key to successful baking. It takes time for each step in the process to do what it needs to do. In a fast-paced world, making bread is all about slowing down.
At the heart of all breads are, of course, the grains used to create it. For Wade, it’s been his locally sourced partnerships with Spence Farm and Janie’s Farm & Mill that provide the myriad organic grains for his bakery.
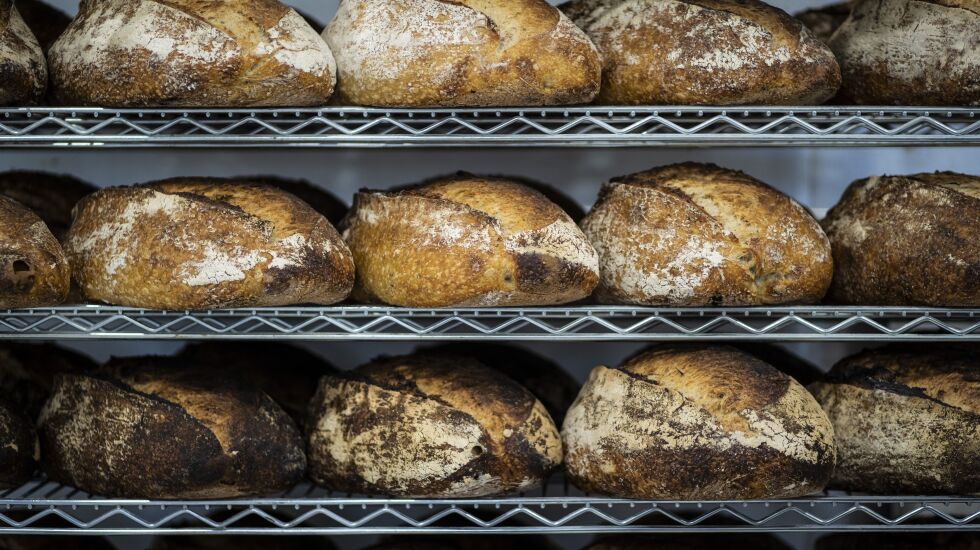
Wade says one of his goals with the book is to “showcase the versatility of whole grains in a way that complements their properties.”
“For example, take the buckwheat brownie recipe [in the book]. The flavor profile works very well: buckwheat and chocolate. And the texture works well; you’re not really relying on any gluten structure to keep it together, so it’s dense and fudgy.”
And then there’s sorghum?
“Sorghum is a non-glutinous grain,” Wade explains. “You can pop it and it turns into tiny little popcorn. It’s super cute. [Laughs] Grain sorghum, which is kind of buttery and with a texture that’s kinda sandy, is used for something like the shortbread crust (recipe’s in the book) where you want the crust to be crumbly. It’s all about using the right grain for the right application.”
Successful breadmaking requires three basic ingredients. Wade’s home pantry must-haves include a really good all-purpose flour “that at least isn’t bleached, bromated and enriched, which you can get in any grocery store these days. Then you need water and salt. And you’re set.”
When it comes to equipment, he recommends either a Dutch oven or cast iron pan to achieve those hearth-style, crusty loaves. Wade, who honed his skills using “a regular cast iron pot that I baked in at home almost every day”) recommends the Challenger cast iron bread pan (“the Cadillac of bread pans”) if at all possible.
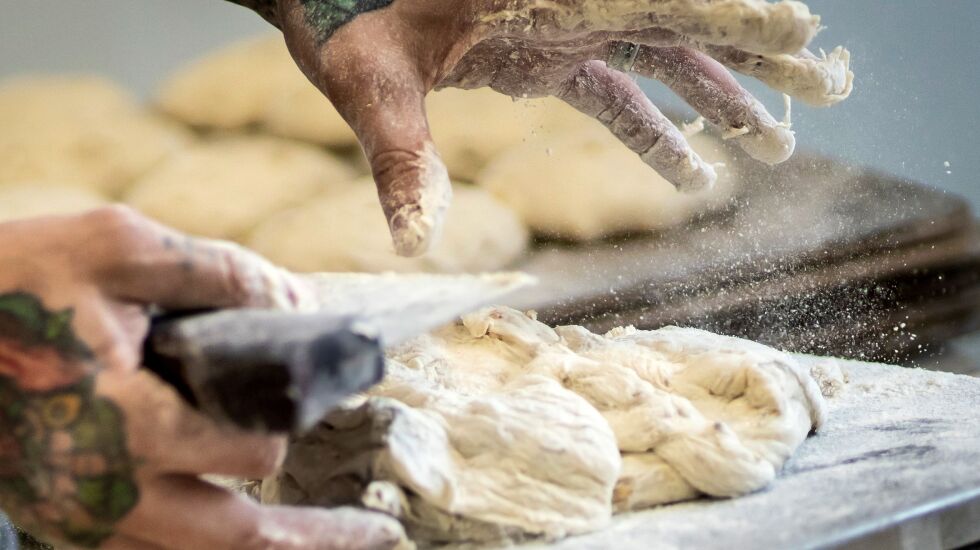
When it comes to measuring dry ingredients, weighing is the way to go.
“It so funny because everyone is like, ‘I don’t want to invest $20 in a kitchen scale.’ Well, you’ll spend that same amount of money on a liquid measuring cup and a good set of measuring spoons. ... When people say, ‘Well, I don’t understand grams’ on a scale.’ Just make the kitchen scale read that. Or you could do 2 cups, 2 tablespoons and 1/8th teaspoon instead. [Laughs] But how much sense does that make?”
What about bread flour and breadmaking machines? Wade says yes to both.
“Bread flour is a real thing. It’s a reference to the protein content, which is going to tell you how strong the flour is, especially if you’re making a sourdough loaf. ... So even though the flour is a stronger, tougher flour, it gets lighter and fluffier because of the amount of air it’s able to trap.”

And a breadmaking machine is perfectly fine — in most cases.
“There’s more than one way to get where you’re going,” Wade says. “There will be some doughs that are better for [the machine], like the white bread or wheat bread. ... But they’re not particularly good for a sticky sourdough bread. I’d like to be more encouraging — just make your own bread and enjoy things that you make rather than being kind of exclusive and saying do that but don’t do it in a bread machine.”
Or as Wade heartily advises in his book: “Go forth — make mistakes, make a mess; make flattened loaves and too-crispy cakes. Because once you do, you’ll be one step closer to making the kind of food that you can feel good eating every day.”
Below is one of Greg Wade’s recipes from “Bread Head: Baking for the Road Less Traveled” to try at home.
Gref Wade’s Toasted Sesame Loaf
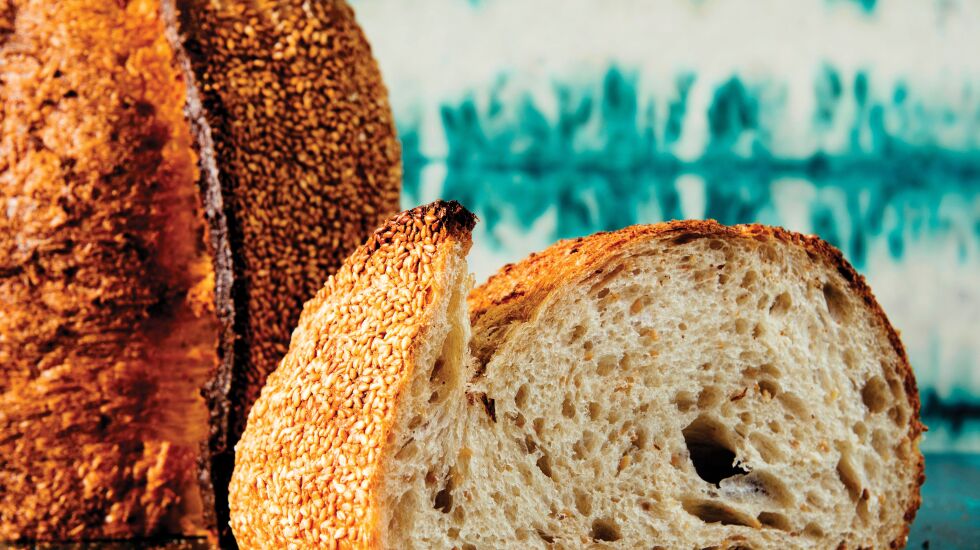
I’m very fond of sesame seeds and the deep, nutty flavor they give off after they’re toasted, plus the richness of olive oil and a little bit of sweetness from honey. It’s a solid sandwich bread, especially if you’re going Italian-style with cold cuts or porchetta. — Greg Wade
INGREDIENTS: (makes two 900-gram loaves)
- 5 cups (660 g) bread flour
- 1 cup + 2 tbsp (165g) whole wheat flour
- 2 1⁄4 cups (530g) “water 1”
- 1 cup (180g) active sourdough starter
- 1 tbsp fine sea salt
- 1⁄4 cup (65g) honey
- 2 1⁄2 tbsp (35g) extra-virgin olive oil
- 1⁄2 cup “water 2”
- 1⁄2 cup toasted sesame seeds (50g), plus more for topping
- semolina or fine cornmeal, for dusting
DIRECTIONS:
First mix: Use warm (80°F) water.
In a large bowl, add the bread flour, water 1, sourdough starter, and wheat flour. Mix by hand until all of the flour has been absorbed, 3 to 4 minutes. Cover and let rest for 30 minutes.
Second mix: Sprinkle the salt evenly over the dough and incorporate it by squeezing it in with your hand while folding the dough over itself. Continue for 2 to 3 minutes; the dough should feel much stronger once the salt is added. Add the honey and olive oil and continue squeezing and folding until the honey and oil are completely absorbed and the dough coheres as one solid mass again. Add water 2 and repeat, squeezing and folding until the water is absorbed and the dough is uniform again. Add the sesame seeds and squeeze and fold until they are evenly dispersed, another 1 to 2 minutes.
Ferment: Cover with a tea towel or linen and let the dough ferment at room temperature for 4 hours. During this time, fold the dough after 45 minutes, 1 1/2 hours, 2 hours 15 minutes, and 3 hours, re-covering the bowl each time. Let the dough rest for the remaining hour. The dough is properly fermented when it’s light, airy, and about doubled in size.
Shape: Turn out the dough onto a lightly floured work surface and divide it in half; each half should weigh about 900 grams. Pre-shape each piece (see page 50), cover with a tea towel or linen, and let them rest for 20 minutes.
Spread out some sesame seeds on a baking sheet, enough to coat the bottom of the tray. Shape the dough as rounds or batards. Brush the shaped loaves lightly with water, just to dampen them. Roll the shaped loaves in the sesame seeds; the water will help them adhere to the bread. Place the loaves in proofing baskets dusted with flour, seam-side up.
Proof: Cover the loaves with a tea towel or linen and proof for 1 to 1 1/2 hours at room temperature. You can check for proper proofing by lightly flouring the top of the loaves, then pressing on the dough. You should be able to feel air in the dough, but your fingerprint should not remain in the dough for longer than 30 seconds. Once proofed, refrigerate the shaped loaves in their baskets overnight.
Bake: Preheat the oven to 475°F with a Challenger pan, cast-iron Dutch oven, or La Cloche baker on the middle rack.
Take out one of the loaves from the refrigerator. Dust a small amount of semolina or fine cornmeal on the loaf and gently transfer it from the basket to the work surface. Score as desired, drop it into the preheated pot, place the lid on top, and return the pot to the oven. Bake for 20 minutes with the lid on.
Carefully remove the lid, lifting it away from you to avoid the steam. Bake for another 20 minutes, or until the desired crust color is achieved. Transfer the bread to a wire cooling rack. Cool for as long as you can resist the temptation, ideally 2 to 3 hours.
To bake the second loaf, return the pot to the oven. Once the pot is hot, remove the loaf from the fridge and bake. Alternatively, if you’d prefer fresh bread again tomorrow, keep the shaped loaf in its basket in the refrigerator and bake the following day.
Recipe and photographs from ““Bread Head: Baking for the Road Less Traveled” by Greg Wade. Copyright © 2022 by Greg Wade, Rachel Holtzman. Used with permission of the publisher, W. W. Norton & Company, Inc. All rights reserved.


