As that old line goes: “We can do this the hard way, or we can do this the easy way”.
The easy way is to just believe the things we see folks spouting online. What the web cognoscenti tell us is that Krita is one of the best digital art software for painters and illustrators, and nothing more. And that GIMP is a Photoshop alternative, for retouching and some technical art, and nothing more.
Simple, right? Yes, and while it holds a glimmer of truth, it hardly tells the whole story. So we are going to have to do this the hard way, by actually going through the features.
The truth is that both of these applications are awesomely powerful. And most of their respective toolsets overlap far more than they diverge. This means that most of us could use either one and still come away mostly happy.
But when you start working professionally those subtle differences can make a big difference. When the results need to be of absolute top quality, and production time needs to be fast. Are GIMP and Krita up to that task? Yes. Or, again, mostly.
Can GIMP or Krita beat Photoshop?
I’ve come to the realisation that the only way to have similar power to Photoshop is by combining both GIMP and Krita. Together they can really compete. Apart, each one has some glaring omissions. Not to imply that PS is perfect either!
I wish there was a software "bridge" so we could work on a single file in both apps, at the same time. Alas, neither seems to even open the other’s native file format. So until that becomes possible, we may need to choose between the two.
I decided to test the latest versions on Windows because from what data I’ve been able to find, that is overwhelmingly the most popular platform for GIMP, accounting for at least 2/3 of its user base.
GIMP vs Krita specs
What are the specs for GIMP and Krita? Here are the basics, to get us started:
Non Destructive Editing (NDE)
Non destructive editing of NDE is always one of the top discussed abilities when talking about paint and image manipulation programs. And for good reason, it allows us to go back and make corrections/modifications/variations without starting from scratch.
Photoshop was the first to have this capability, in 2005. And while I much prefer to have such tools, I will also tell you we all got a lot of work done before they were introduced. These tools come in a range of implementations, and work differently in different applications.
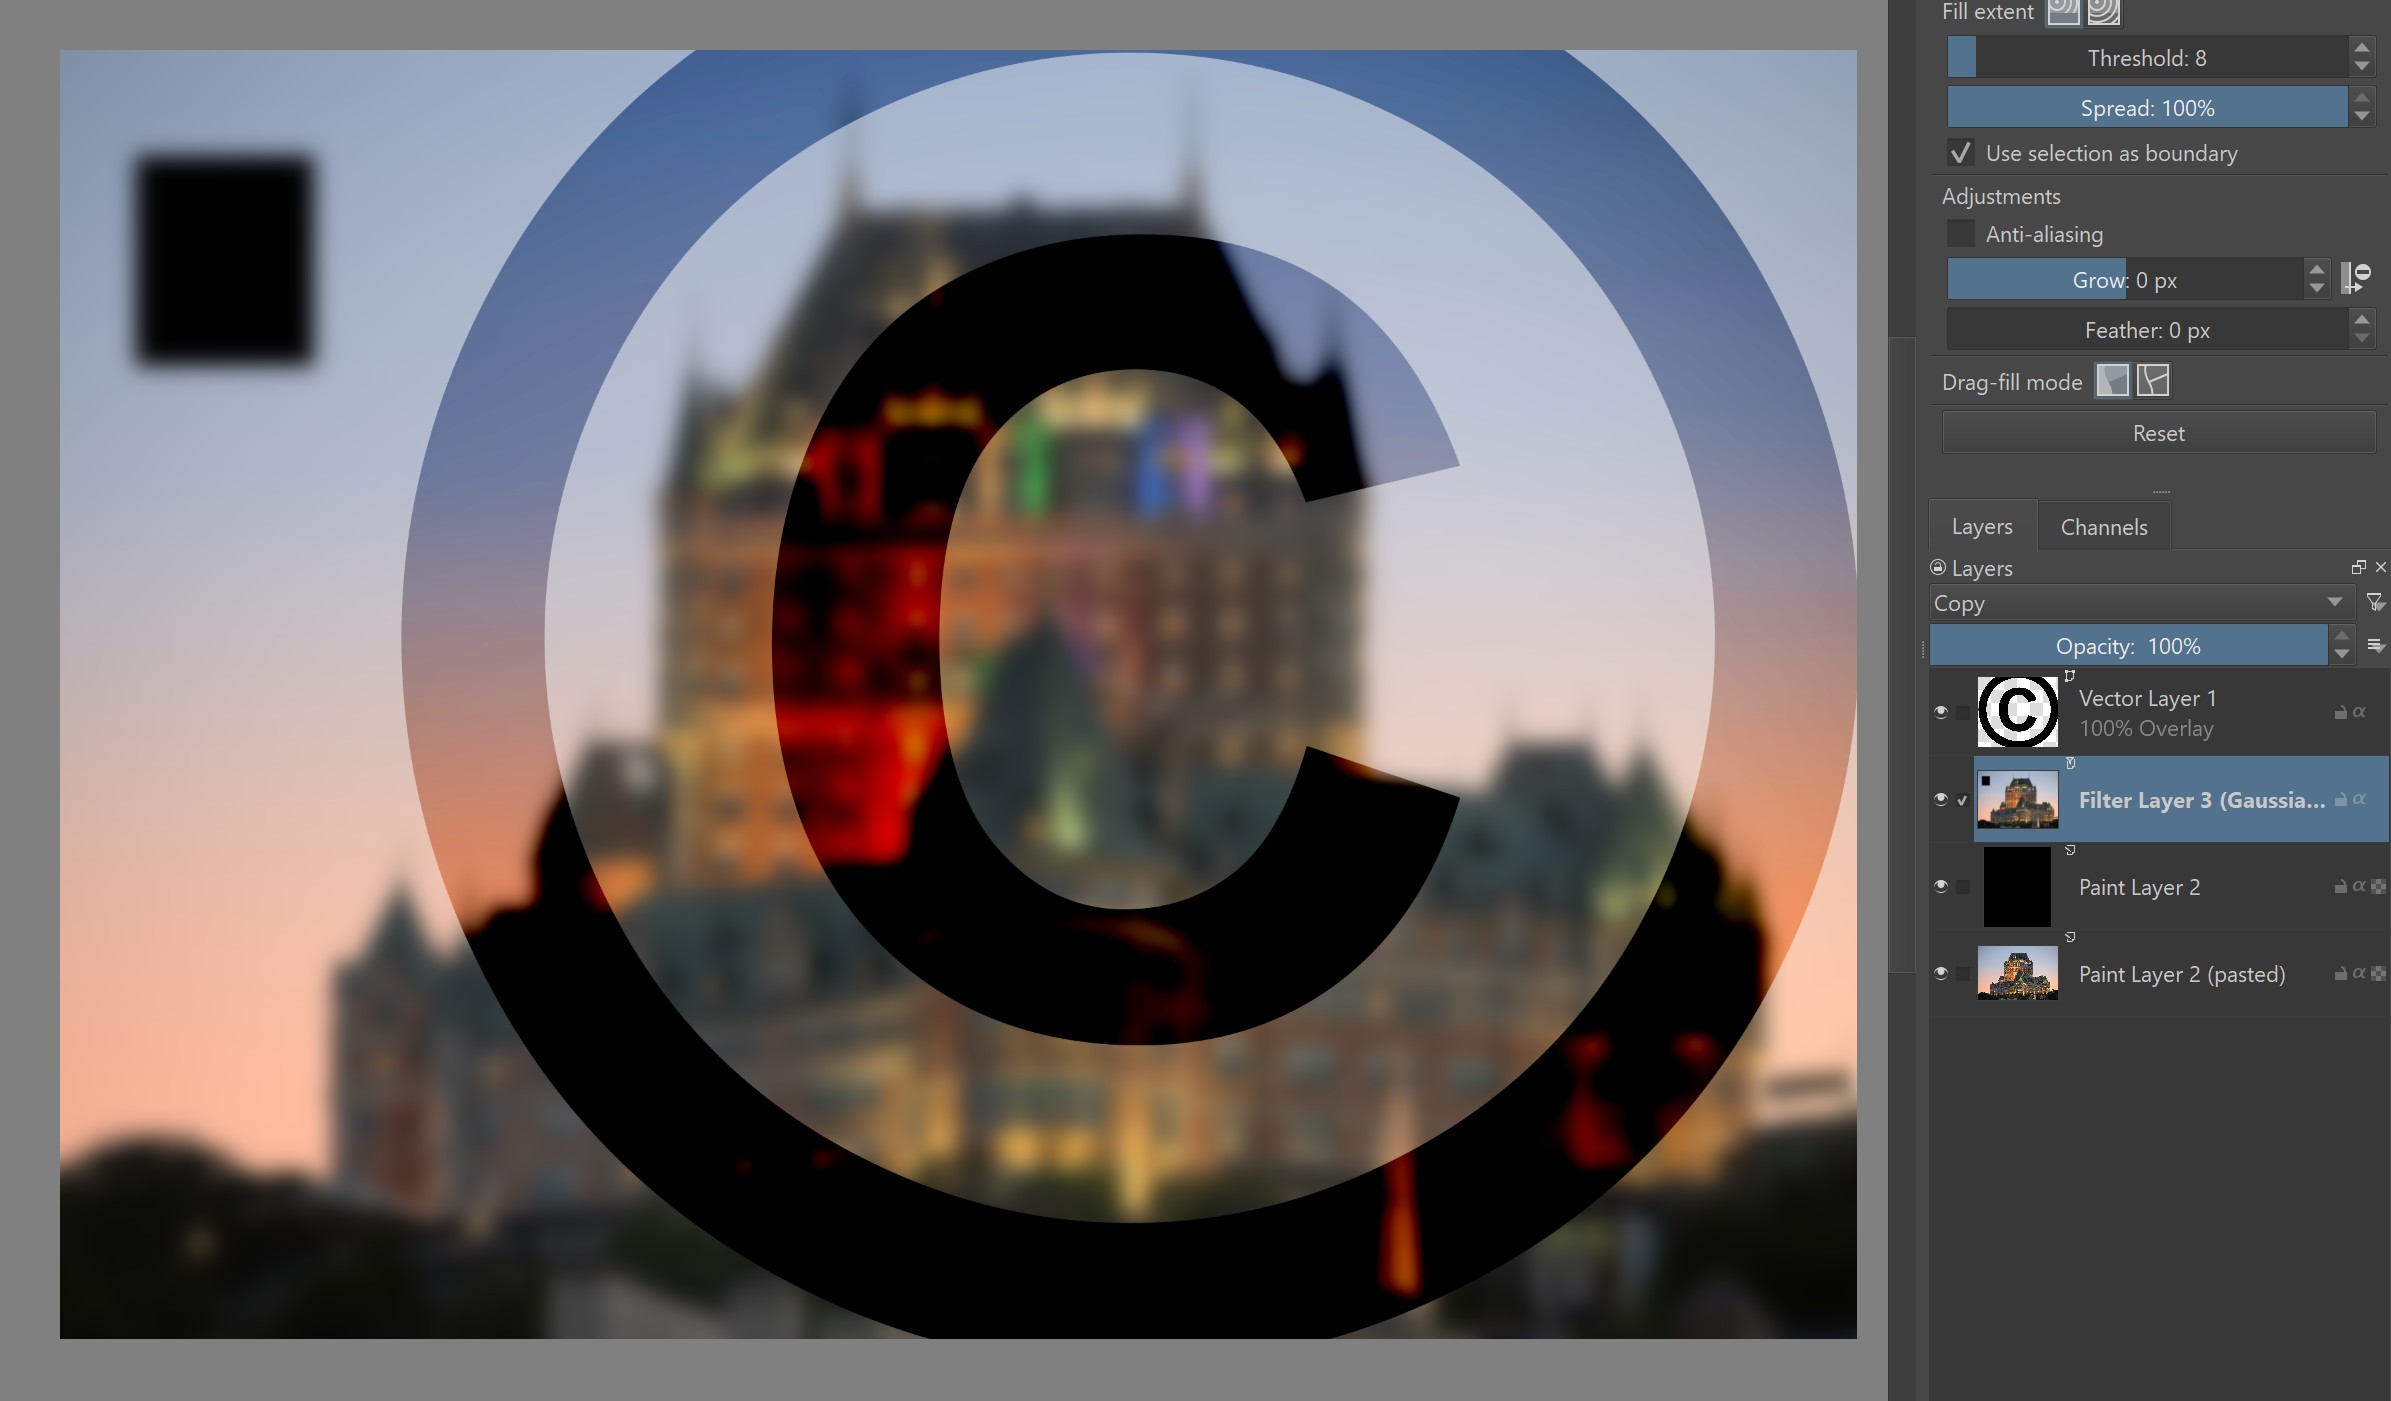
Krita actually has one such implementation that I have wanted in PS for decades, and never got. Krita calls them Filter Layers, like PS’s Adjustment Layers, but you can apply actual filters to them, rather than just the handful of adjustments offered in PS. So you can apply any filter, say a Gaussian Blur, to all the layers beneath it in one swoop, and control it non-destructively. This, my friend, is tremendous power.
GIMP is still playing catch-up here, with some NDE tools being introduced in v2.9, more in 3.0, and we are told more when 3.2 comes out in the future.
Winner: The NDE win goes to Krita.
Retouching
This category is why we couldn’t just believe what the web tells us. Most things are more nuanced. This is certainly true with retouching.
Having done high-end retouching for years. When the first version of the Healing Brush was released it wasn’t great. But it improved and became the go-to tool for retouching.
Both Krita and GIMP have their own versions of this tool, but Krita’s Smart Patch tool is much like the one in Photoshop, and quite good. GIMP’s is totally functional, but clearly inferior.
As one’s needs expand into more of special effects retouching or compositing work, tools that are equivalent to Photoshop's Content Aware Fill become important. And while the GIMP team has not provided it, a third-party developer has with their Resynthesizer plugin. This could be ported to Krita, but has not been. Many feel that AI will easily fill this need (pun intended).
We also must consider brushes, which we do separately further down.
Winner: While GIMP certainly has its strengths, and it has Resynthesizer, this category is the big upset with Krita winning the retouching crown. But not by a huge amount.
Brushes and Wacom
For Wacom/tablet support, both programs recognised my very old Wacom, and the super-affordable Wacom One. In fact both were easier than with Photoshop. GIMP required that I 'Enable Dynamics', but even with tweaking I wasn’t able to get both size and opacity to vary with pressure.
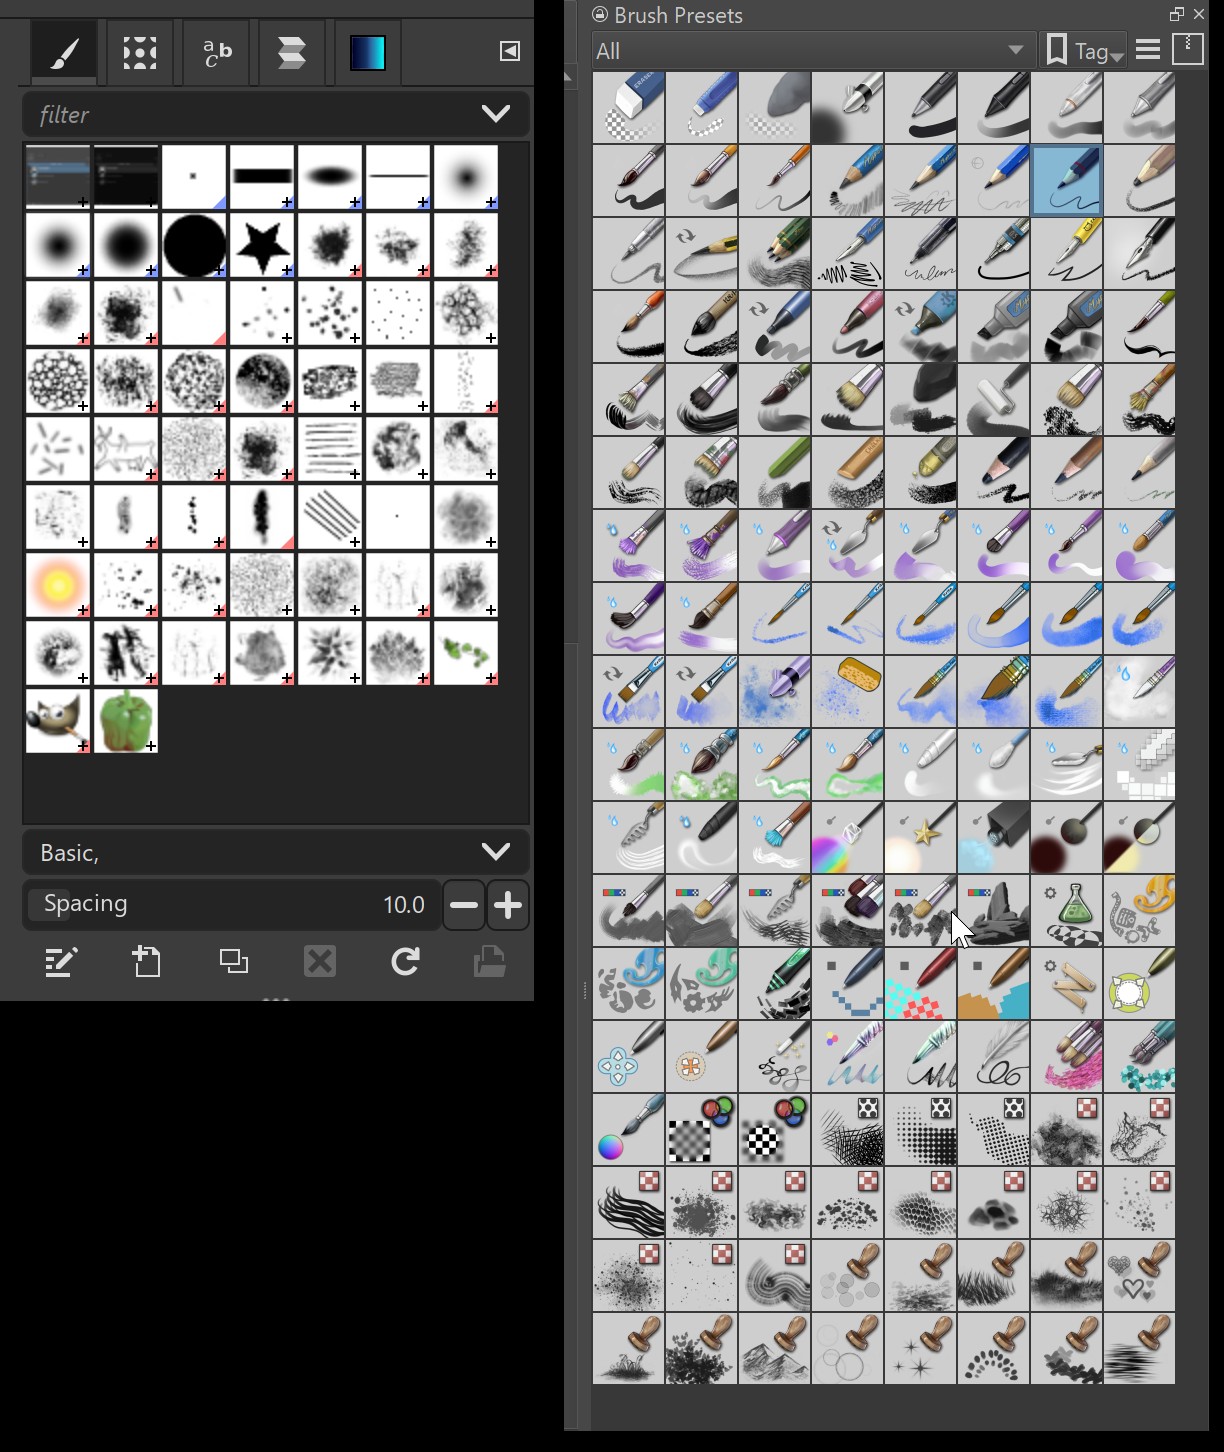
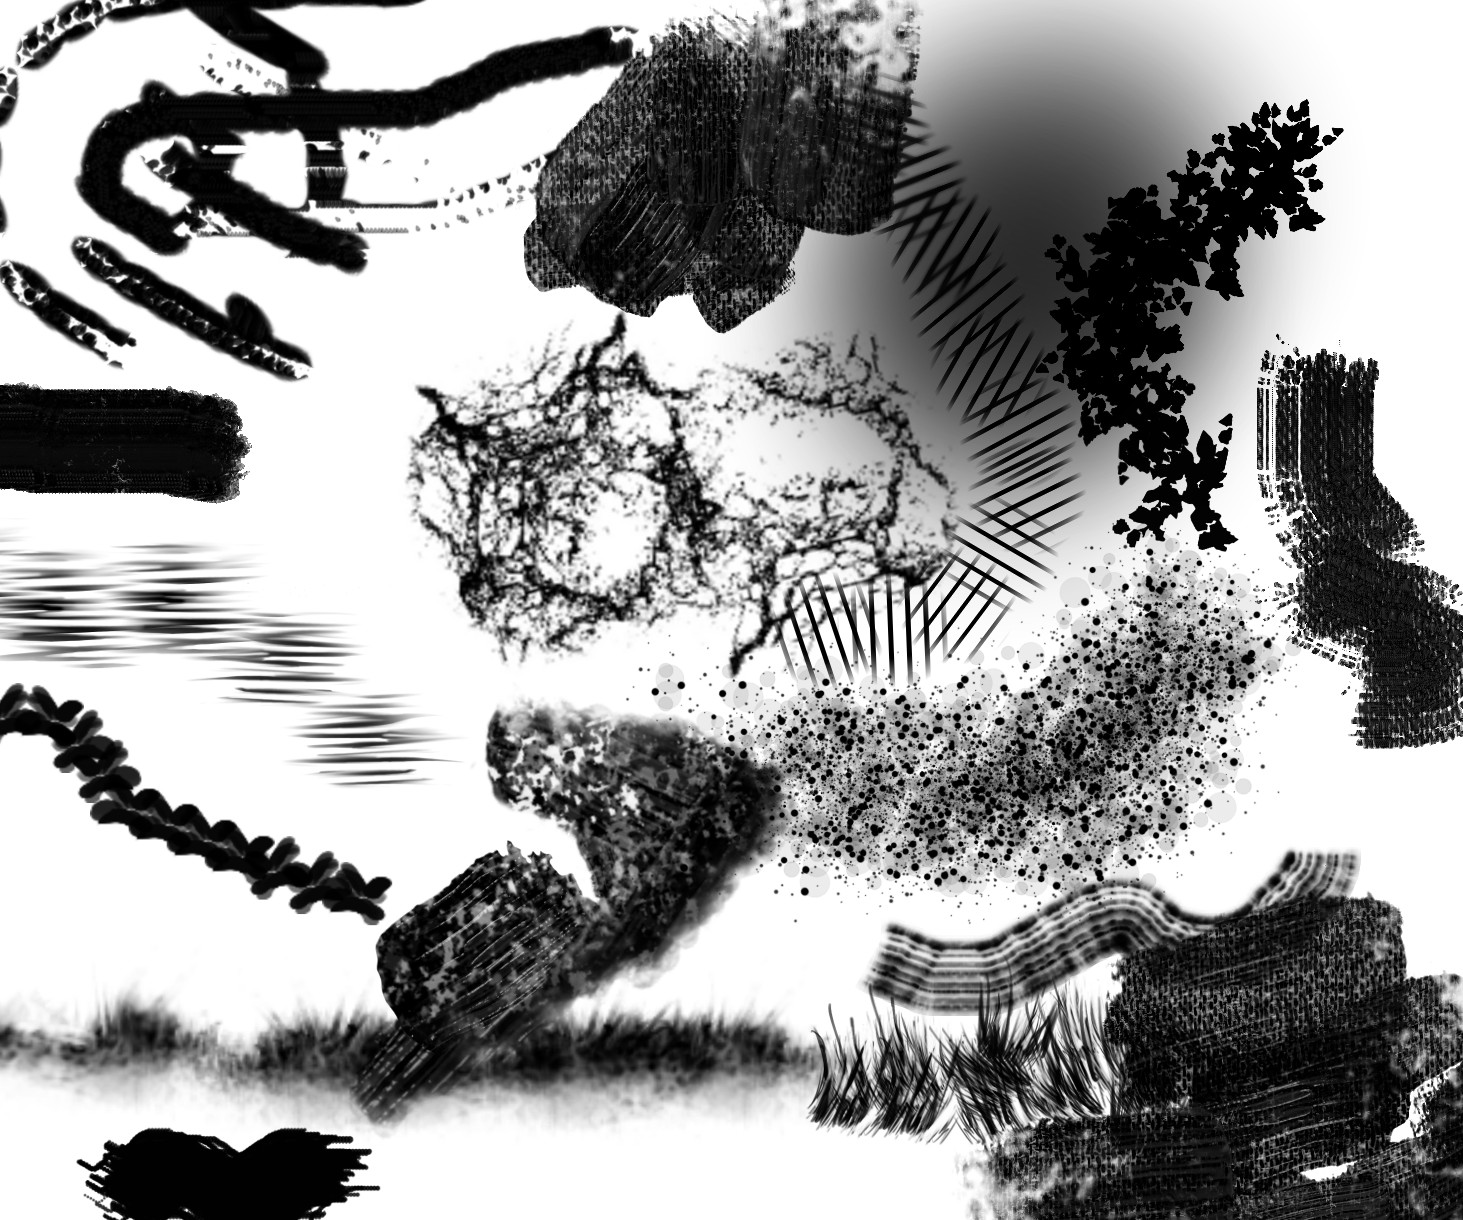
Other than that, the real differences were the brushes themselves. Krita offers much more sophistication in brush selection. Its brush options are amazing for creating art, and also for retouching.
Winner: This is a hard win for Krita.
Selection Masking
Before retouching, image elements frequently need to be isolated and masked. GIMP pulls way ahead here with its Foreground Select tool, which is a more manual version of Photoshop’s 'Select Subject'.
Both GIMP and Krita have tools to select by luminosity and by colour, which can be helpful. But for anything like the more advanced tools mentioned above, Krita users will need to use the third-party G’MIC plugin’s “Extract Foreground” tool.
Winner: This win goes to GIMP.
Raw importing
GIMP offers no built-in RAW importer. Krita does, but at least with my Panasonic Lumix Raw files, it went through the steps and delivered nothing but noise. Perhaps it fares better with other types of Raw files?
Either way, this is easily resolved by using either Darktable or RawTherapy, two open source options that provide functions similar to Adobe’s Camera RAW, and Lightroom.
Winner: Krita did have a slight edge, if your RAW files happen to be compatible but a few days after this was written, GIMP released its next 'Release Candidate #2' that actually appears to include Darktable, which automatically opens when you attempt to open a Raw file. With this now built in, the win clearly goes to GIMP!
Layer Pallet workflow
I don’t think it’s unfair to say that Photoshop's Layer Pallet interface and controls are all generally well thought out and ergonomically pleasing.
Despite the fact that Krita currently offers more features, such as NDE, which are largely managed in the Layer pallet, Krita shoots itself in the foot with a virtually unusable interface. The eye icon and others are so small, especially on a 4K monitor that many have complained about this issue.
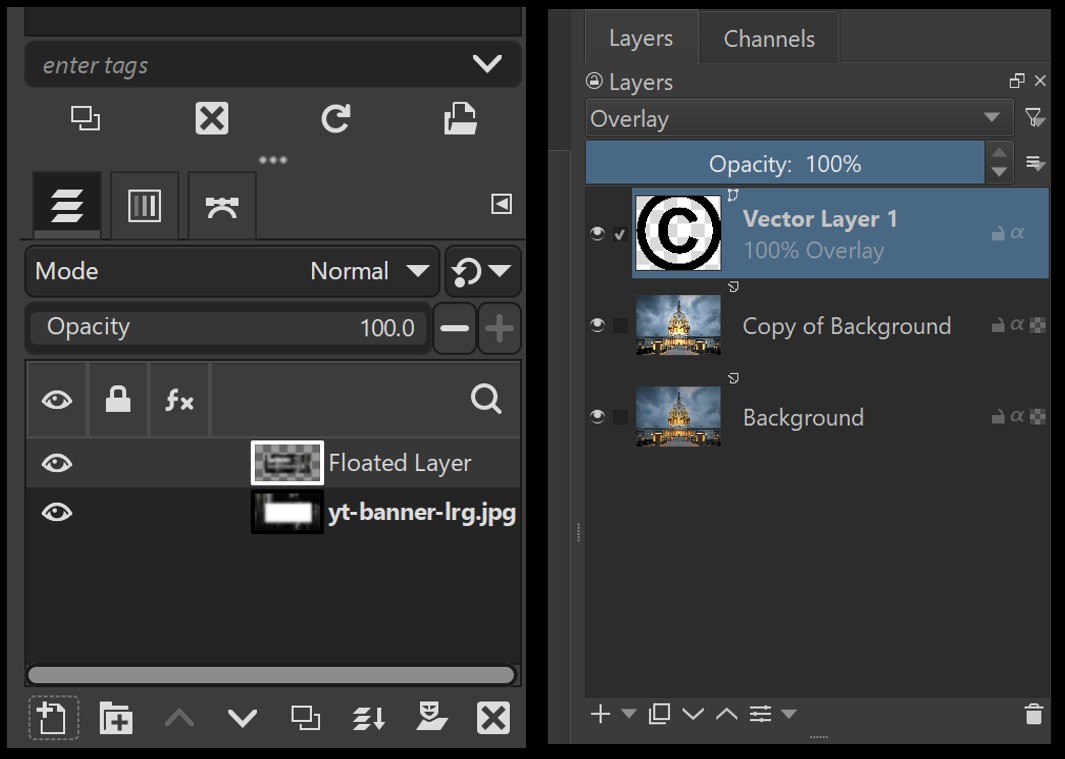
GIMP was not immune to similar problems, but it certainly seems better in its last incarnation.
Winner: The win goes to GIMP.
Channel Operations (CHOPS)
This is a HUGE slam-dunk for Krita. GIMP has taken itself out of the race with its fully dysfunctional Channels interface design.
When working on an image, we often click on the Channel pallet in order to view the greyscales. But GIMP only shows us these channels in the colours that they represent. So the Red channel is displayed in red, etc. with no way to view it as greyscale.
We cannot judge luminosity as well when it is displayed as a colour. Where it should display as a pure white, GIMP instead displays a deeply saturated red, green or blue. Both PS and Krita allow you to enable such display, but it is logically turned off by default (and I promise you that nobody is Googling how to turn it on!).
Winner: This goes to Krita, for being functional where GIMP isn’t even close.
Filters and plugins
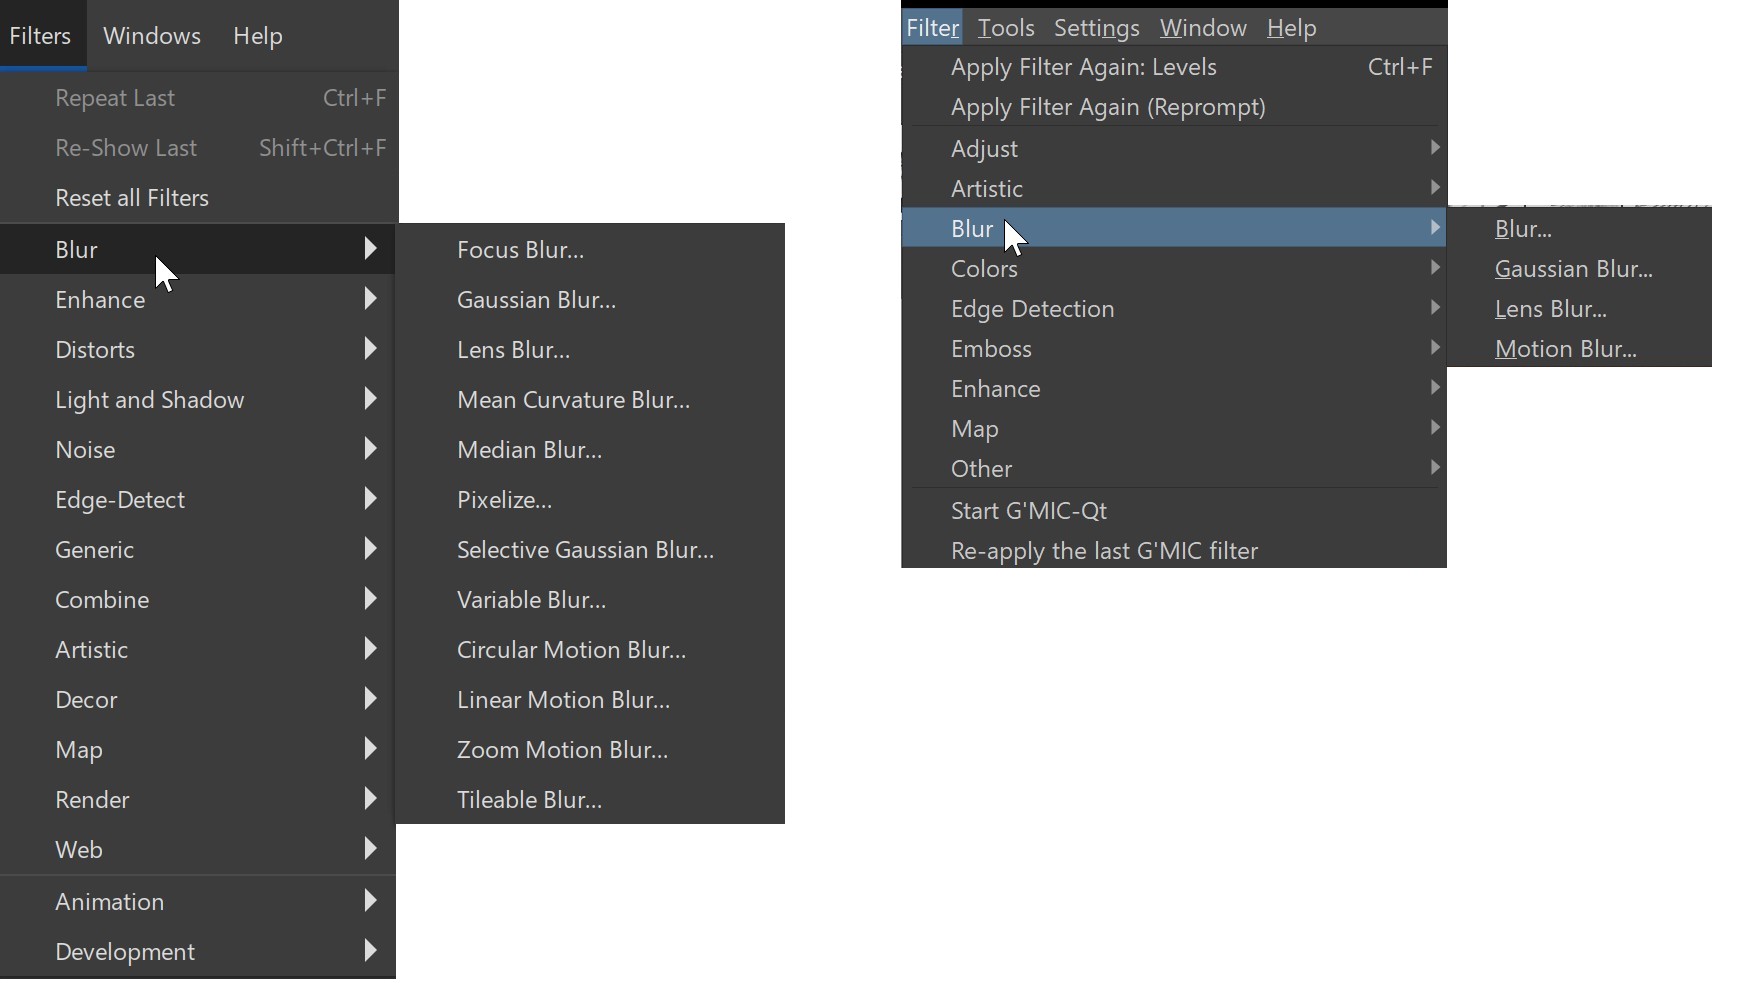
While both programmes have a good selection of filters, there is no question that the selection in GIMP is impressive when compared to either Krita or even Photoshop. Just one example, GIMP has twice as many variations of BLUR filters than Krita does. And it just added a group of new NDE effects under the GEGL Operations menu item.
Winner: GIMP takes this one.
Generating Content
We covered much of this under the retouching topic. Krita’s Smart Patch brush wins the day with excellent healing ability. And GIMP’s Resynthesizer takes it for content aware style functionality. Which many feel is actually better than what Photoshop offers.
So what about AI? I think I erroneously stated in another article that Krita had AI built-in. I was wrong. I simply had forgotten that I had installed the third-party plugin called 'AI Image Generation' a while back. And it sits in the lower right corner so naturally, it seemed like part of the family.
Similarly, GIMP also has third-party developers that have created add-ons for AI in GIMP. So while I can’t currently tell you which ones are better – I expect to do that in the near future – I can say that the two programmes appear to be on equal AI footing at this point.
I will also add that many have said that the AI options blow away PS's Content Aware tools. This may very well level the playing field advantage that GIMP has with Resynthesizer.
Winner: Let’s call this a draw (again, pun intended) for now. And we will see how all of the add-ons shake out in the coming few months.
Distortion effects
I will say, I found Photoshop distortion tools to be very straightforward to use over the years. Even if limited in some ways. For example, the Warp distortion, which most of the industry would call a “cage”, only offered a minimum number of divisions for years. Thankfully that has changed.
But both GIMP and Krita have very powerful distortion tools and controls as well. In GIMP there are five separate distortion tools: Perspective, 3D Transform, Handle Transform, Warp Transform and Cage Transform.
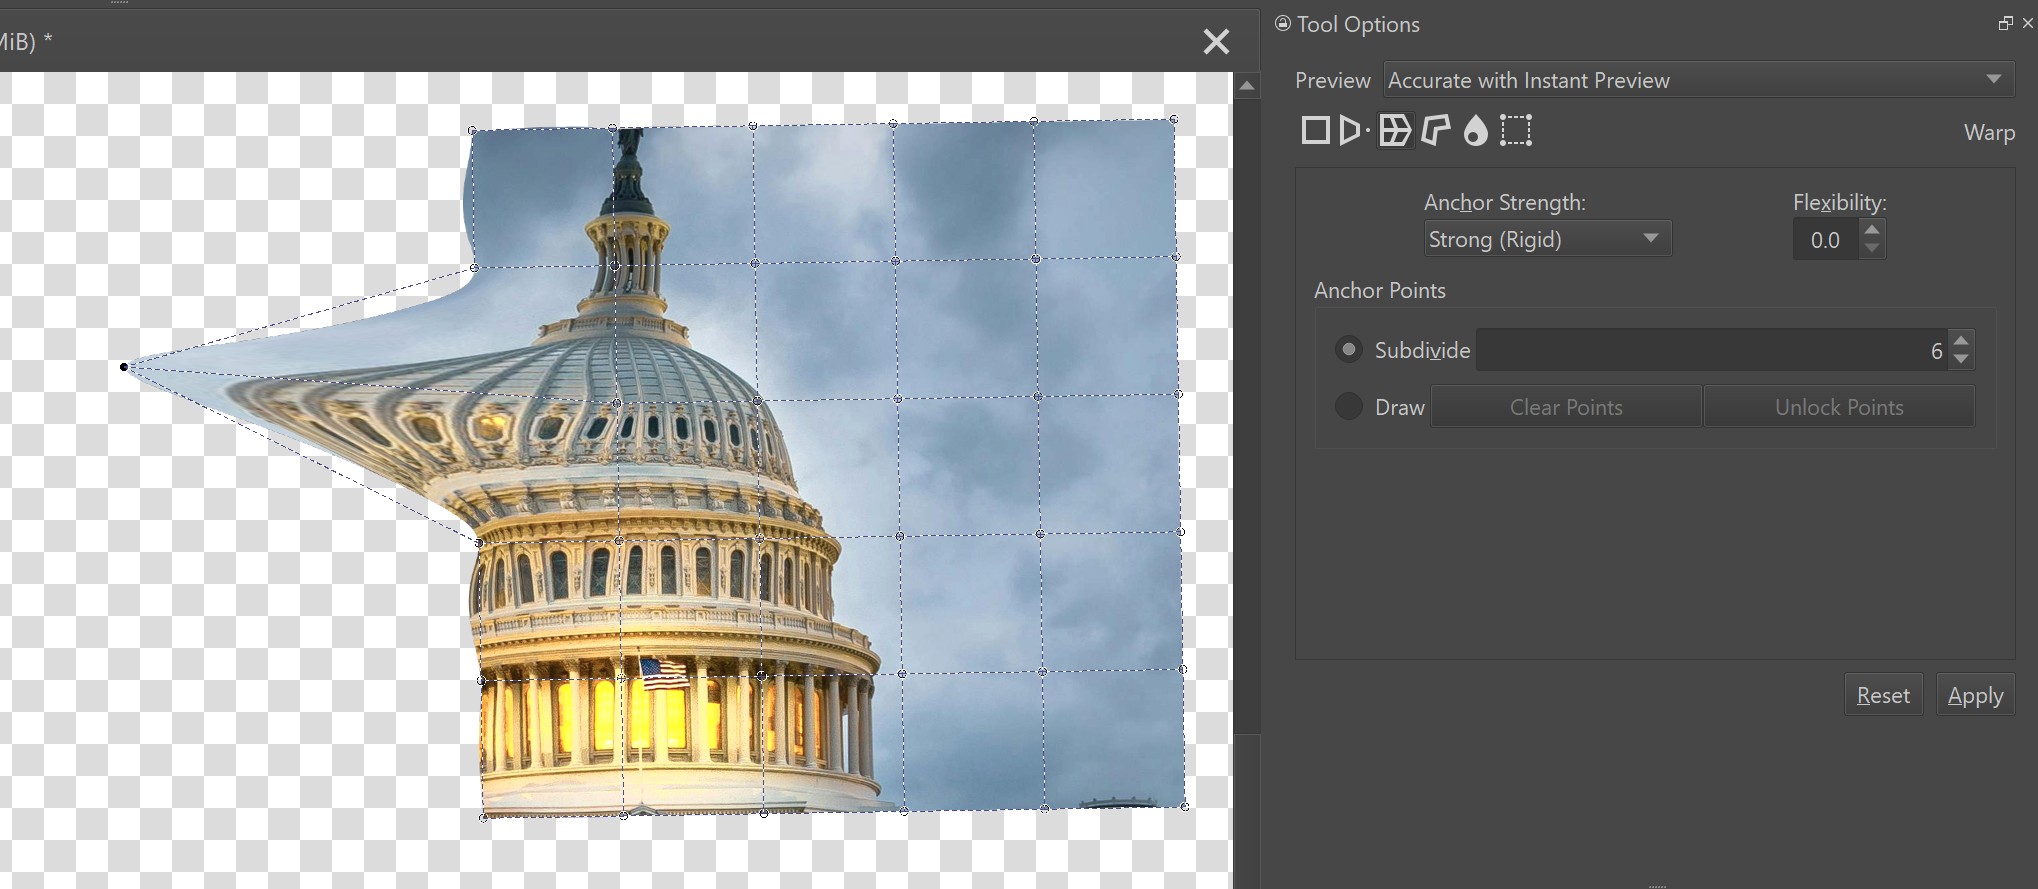
These are some super-powerful tools. For example, the Wave tool includes seven different distortion options. It is essentially like PS’ Liquify, but without forcing one into a separate interface. However the Cage tool is not nearly as satisfying.
When we move over the Krita, it’s handled much more similarly to PS in that it is all done with the Transform tool, and we choose the specific distortions in that tool’s Options panel. There are six different distortion options that include Free, Perspective, Warp, Cage, Liquify and Mesh.
Winner: I find the tools in Krita to be far easier, and far more predictable. So the win goes to Krita.
Text and typography workflow
While neither tool offers the typographic control of Photoshop, GIMP provides functional on-canvas text creation. Krita forces us into a separate window that makes better design difficult. It should be acknowledged that the Krita team are fully aware their current solution is lacking. And they have said so in their online forums, offering a possible timeline for improvement.
Winner: As of now, it’s a solid win for GIMP.
Colour corrections
You might think that a program that is all about painting, and hence colour, would have great colour tools. And Krita does, but they aren’t nearly as developed as GIMP, which has quite a bit more.
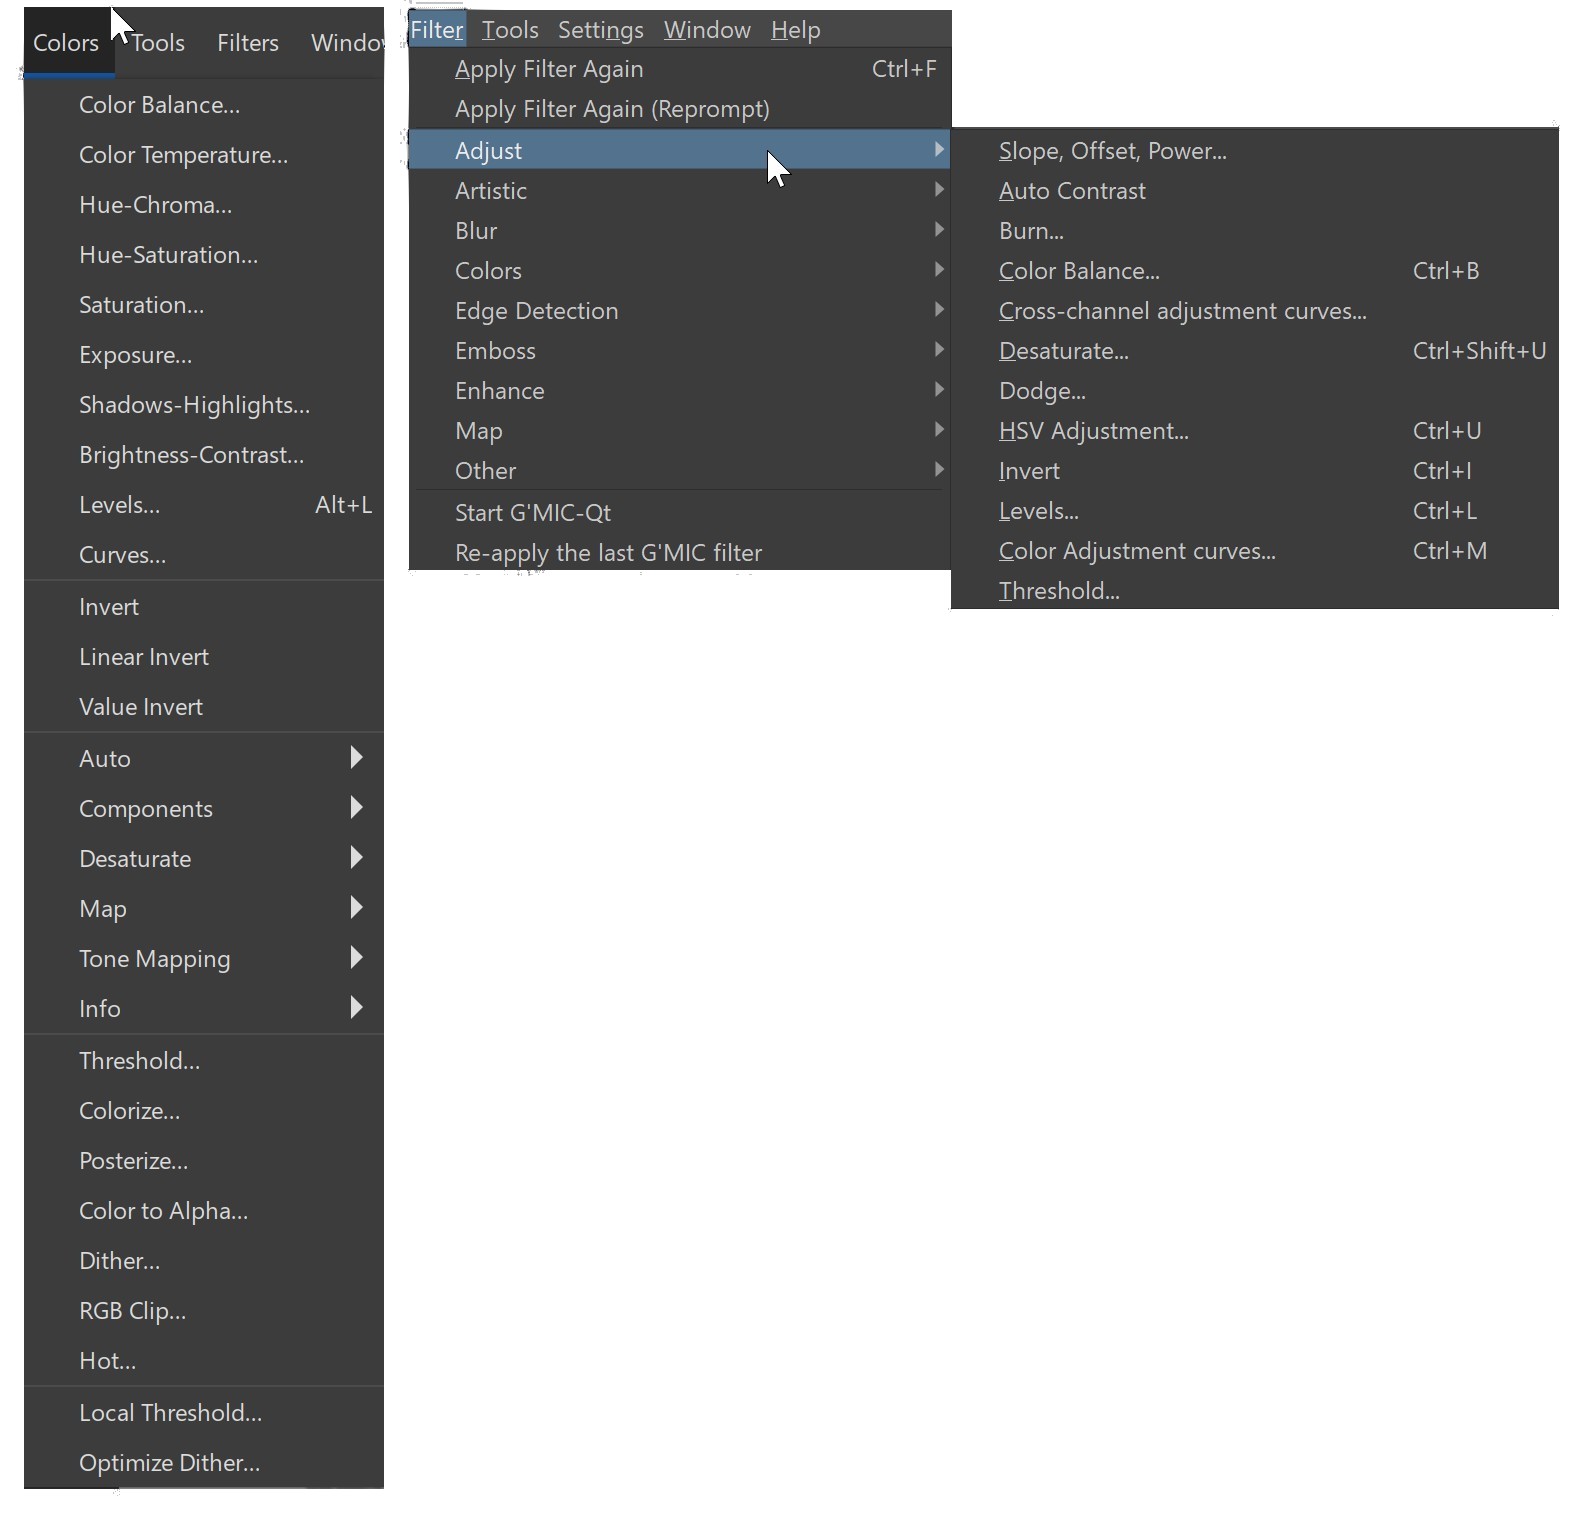
There are also a few oddities in Krita. For example, its Hue/Saturation/Brightness interface only works on the entire spectrum of color, rather than allowing more narrow selections of color, like specific color channels or custom selections. This is a problem.
Winner: The win goes to GIMP.
Interface and customisation
I saved this for last because, well, this can be a bit of a sticky-wicked for both applications. But in truth, this has been GIMP’s Achilles heel for decades. So let me just say it. While we have clearly established that GIMP is a powerful and capable program, its interface feels like it was designed by an NFL linebacker after a three-day drunk. A design term we used in NYC advertising, but I don’t actually know how global it is, we would have called the design, “horsey”. Even down to the cursor icons, whose active hotspot is often less than obvious.
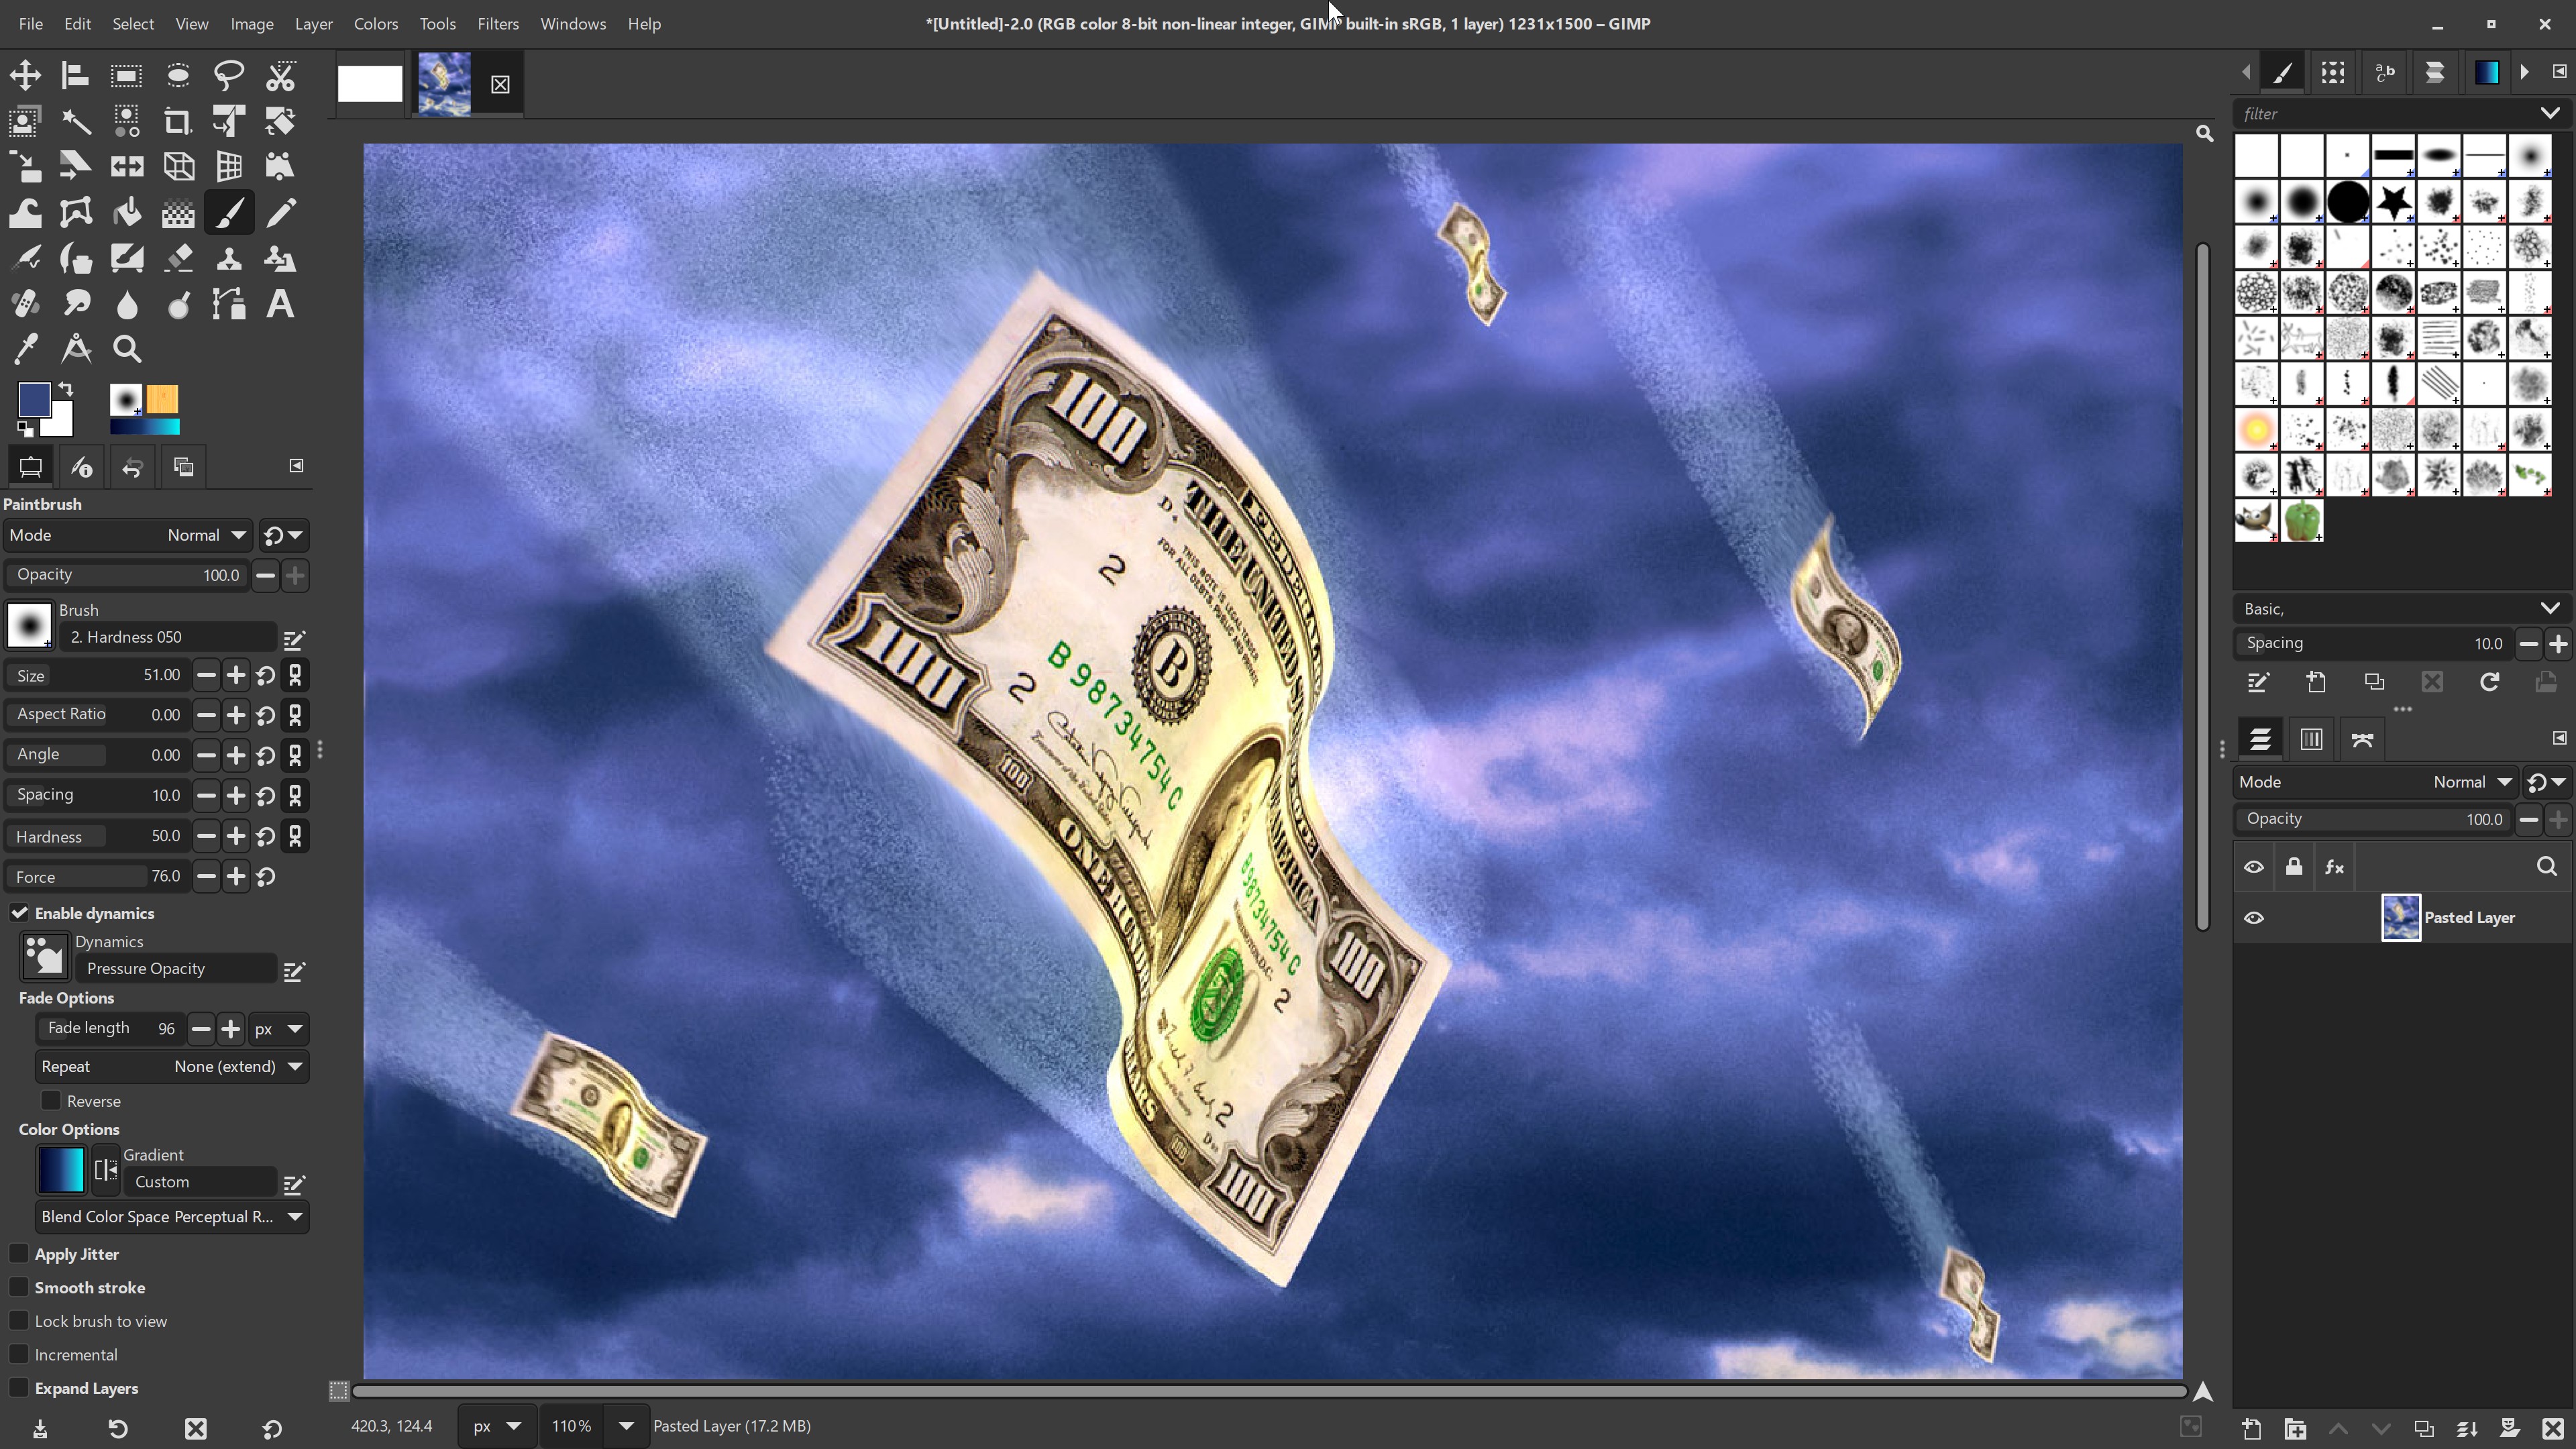
You have to appreciate the irony of a team spending literally decades creating a tool for the most aesthetically sensitive people on the planet – artists – and repeatedly refusing to make the product aesthetically pleasing, right? But that’s GIMP for you (and don’t get me started on how that word is insulting to so many). But, if you can get past the horsey and the insulting, there is a lot there to appreciate.
Having said that, GIMP released another update as this article goes to press. While we have not spent much time with it, it clearly has added polish and is moving in the right direction.
By comparison, I think most of us will find it quite easy to fall in love with Krita. There really is an understated charm to it. Especially as it allows us to quite easily customise to make it our own. That isn’t to say it’s perfect, but I can more easily live with what isn’t.
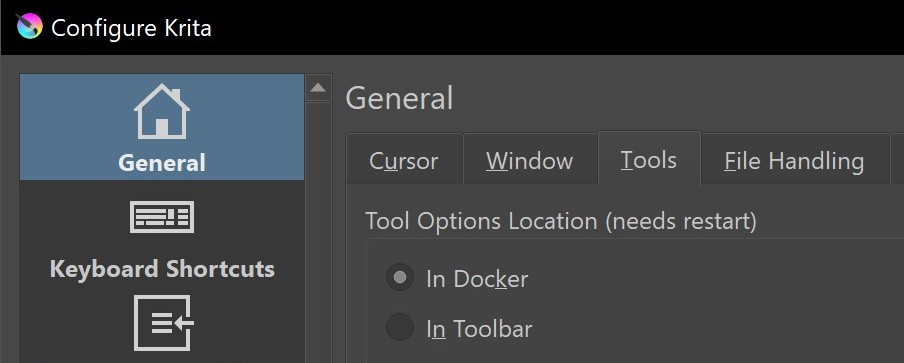
For example, Krita doesn’t have blur and sharpen TOOLS. Instead it has blur and sharpen BRUSHES. That means when I want to use either I have to start hunting for them amongst all the brushes, which is a pain. Also there are a number of things I’d call TOOLS, or even COLOR controls, that Krita saw fit to put in a folder named 'Adjust', and then put that in the FILTERS menu. Things like Levels and Hue/Saturation. But I can deal with it because I use the key commands to reach those things. Oh, and Krita’s key commands are second nature to me as they are mostly the same as Photoshop’s.
Winner: Despite its flaws, Krita takes this one.
Working in both GIMP and Krita
You may want to consider working on one image concurrently in two different programmes. While there is no software bridge to connect these two apps, and there isn’t even any shared file format that supports all of their native abilities, there is still one quick way to bounce between the two: COPY and PASTE. Yup, if I have a layer that will truly best be manipulated by the other program, I can simply copy and paste it there, do my work, and then do a return-trip copy/paste.
Is this a perfect solution? No, of course not. But it is a surprisingly functional one. For example, the Smart Patch tool (aka Healing) in Krita is better and smarter, so I might bring a layer over to do some quick work there. Similarly, since Krita doesn’t have the Resynthesizer plugin, I might do a round trip to GIMP for that.
What makes this round trip process even easier is that both GIMP and Krita have clever ways to create a new document in the exact dimensions of the art in the clipboard, and then automatically past the art in. In Krita you simply hit Control/Shift-N which opens a new file and pastes the clipboard art in. Sweet!
GIMP’s similar functionality is even easier. So easy that I didn’t realize it existed. With no documents open, you hit Control-V, and a new document is created to the correct size, with the art pasted in. Great, but what if there is already a file open? They thought of that. So Control/Shift-V will do the trick. And this will work in all cases. So just remember that Krita uses an “N” for new, and GIMP uses a “V”.
GIMP vs Krita: which should I use?
Our analysis shows there are seven wins for GIMP and six for Krita. As you can now tell, there really is no “bottom line” here. If there was, we could have just believed what the web was telling us. Instead, each tool is far more nuanced. And we have learned that both of them bring a tremendous amount to the table. And to the creative life of all of us that use them.
I can recommend both applications for different purposes, as detailed above, or even both together. If you use either application, especially for commercial purposes, I strongly recommend supporting either or both with a small financial contribution. Let's keep these projects alive!
For more analysis, see our Photoshop vs Krita comparison.


