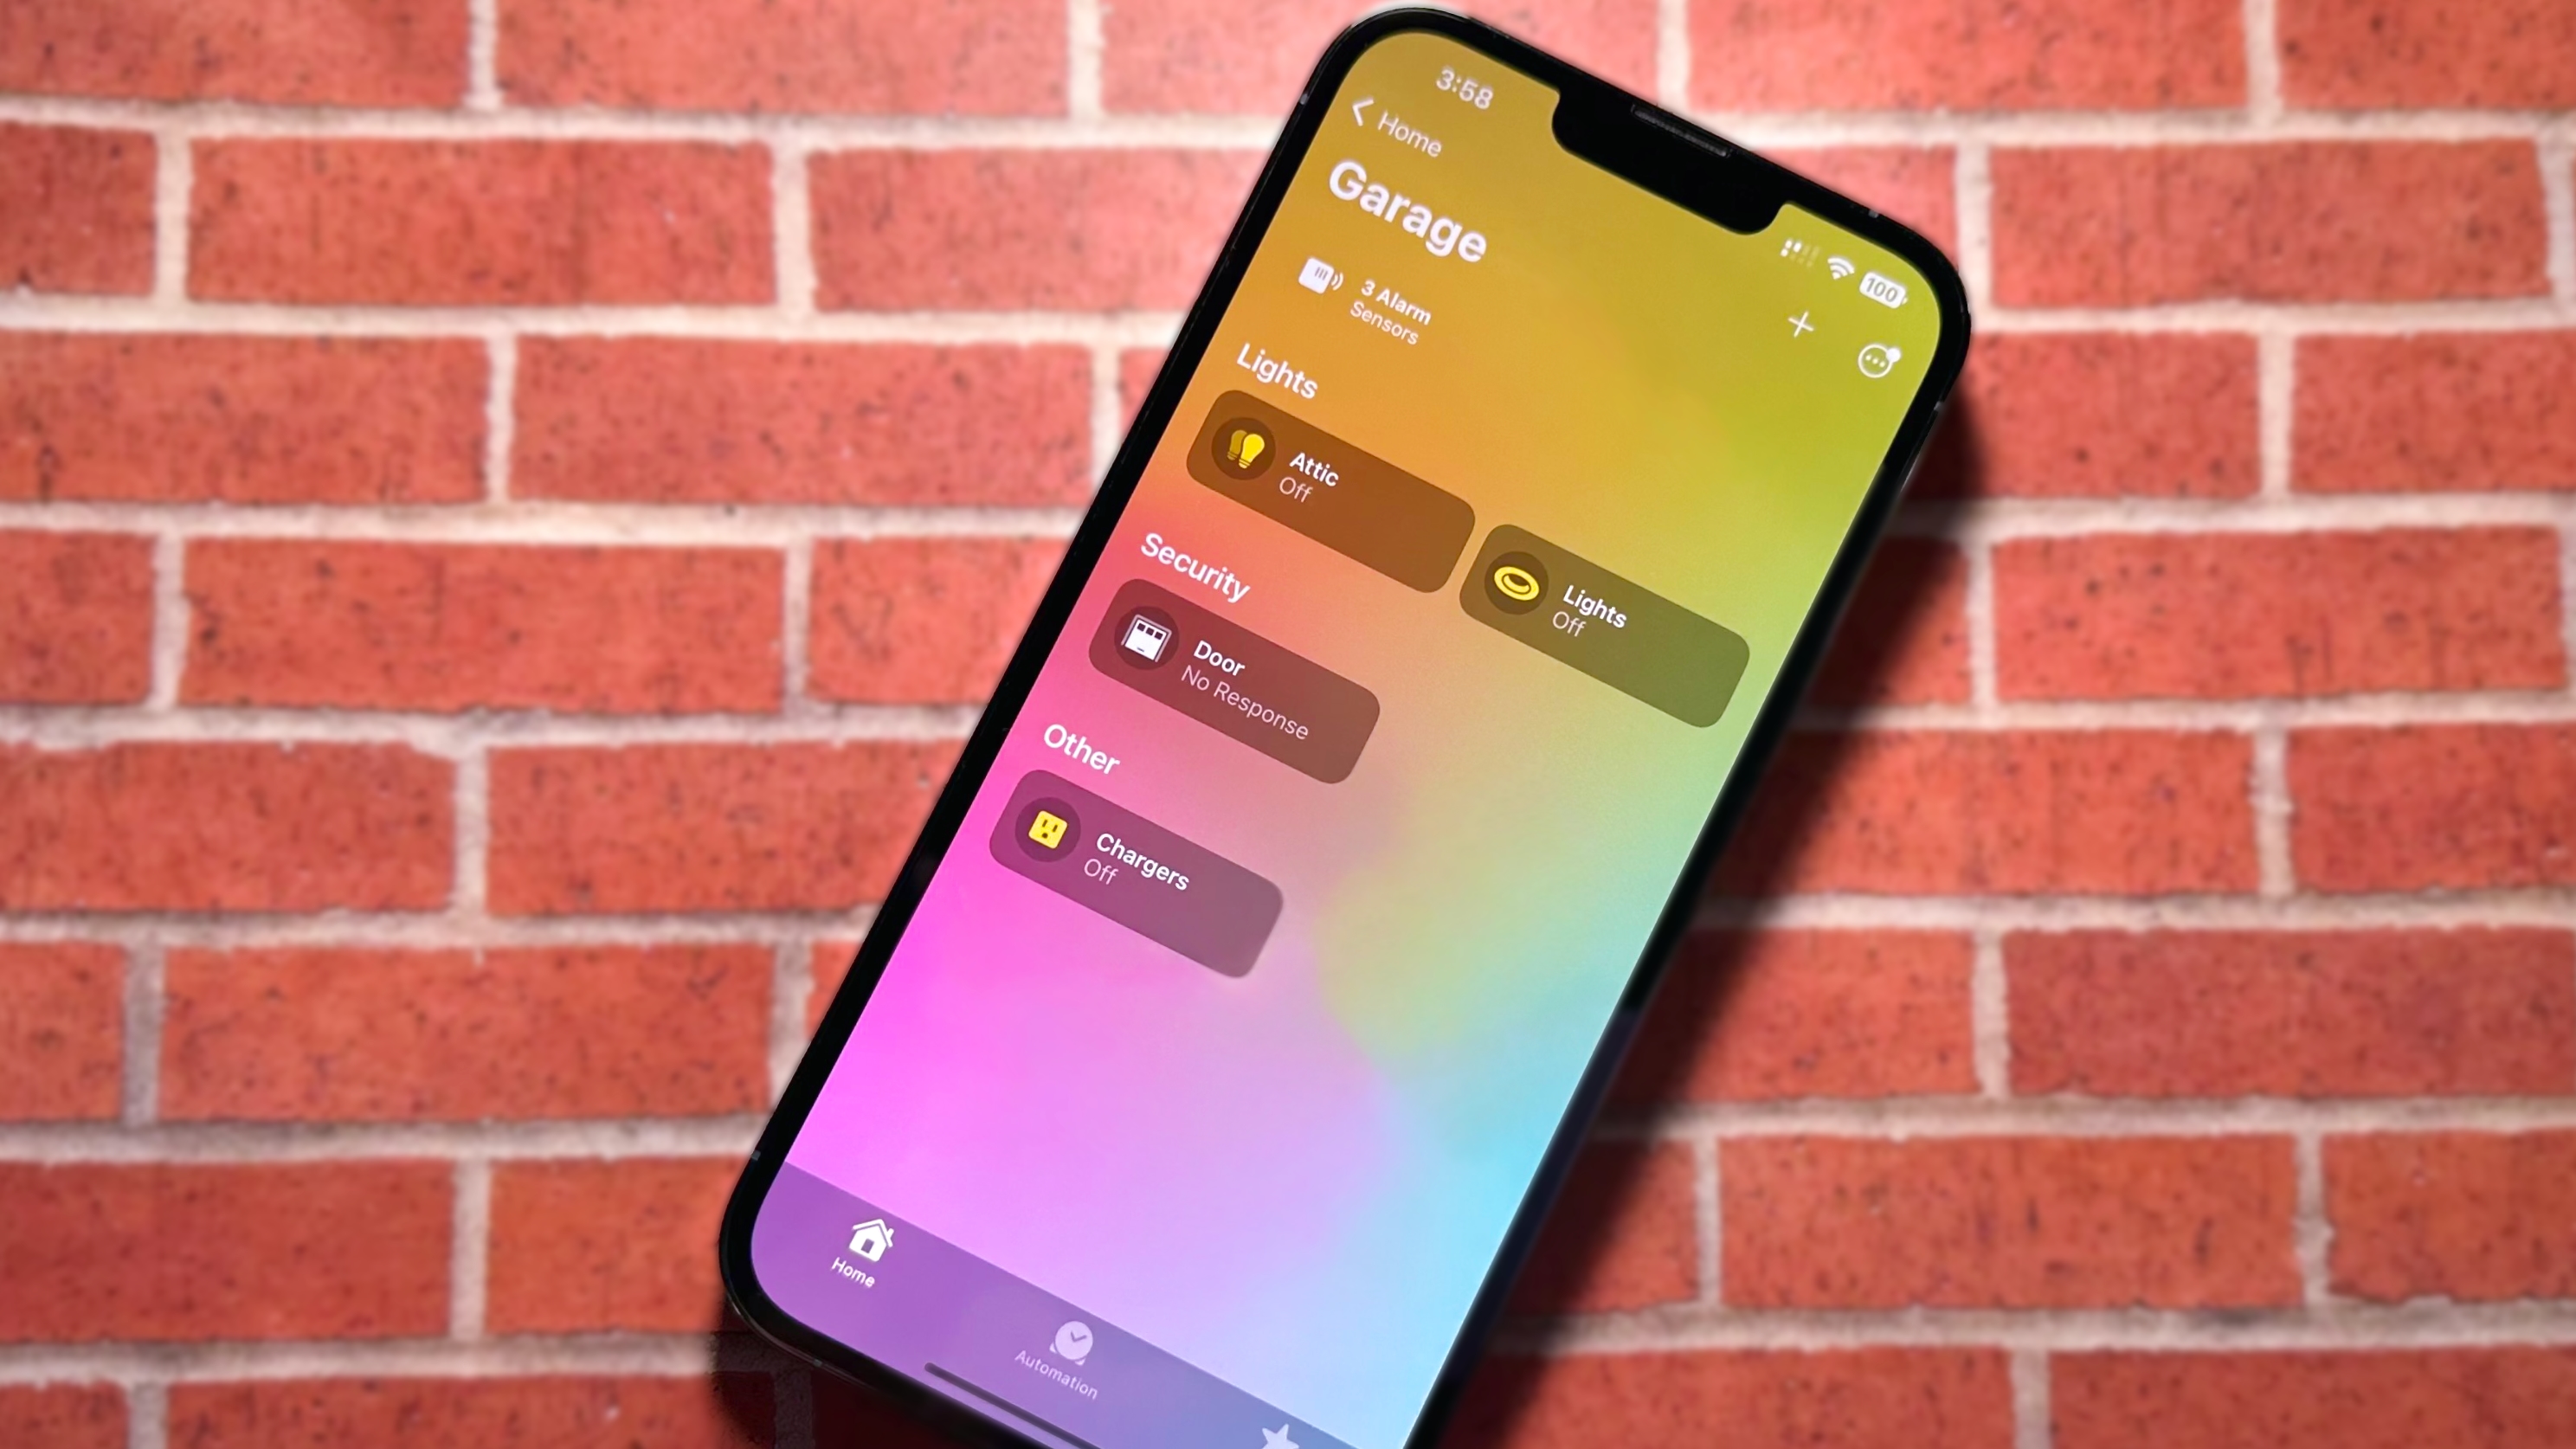
Controlling your HomeKit accessories via the Home app or with your voice with Siri is truly magical. However, that magic can quickly turn to frustration if your accessory suddenly comes down with a case of the dreaded No Response error. The No Response status not only means that you lose the ability to control your accessories but also impacts automation and scenes, which can disrupt a home.
Since HomeKit relies on various factors and involves multiple devices, tracking down an exact fix for the No Response issue can be tricky. Sometimes it's a spotty wireless connection; the next day, it could be an issue with the Home app requiring a reboot. Don't worry; with a little patience, you can bring your accessory back to life — just follow the steps below to get started.
First things first
Before we dive into the deep stuff, there are a few simple settings that you should check on your iOS device. These include ensuring that your device is connected to your Wi-Fi network at home and checking to see if Bluetooth is on. Check out our guide: How to turn off WiFi or Bluetooth on iPhone and iPad if you need help locating these settings.
Next, make sure that your iPhone is signed into your iCloud account. You can do this by simply going into the Settings app and checking to see if your name is at the top. If it isn't, our guide: How to set up and customize iCloud on your iPhone, iPad, and Mac will steer you in the right direction.
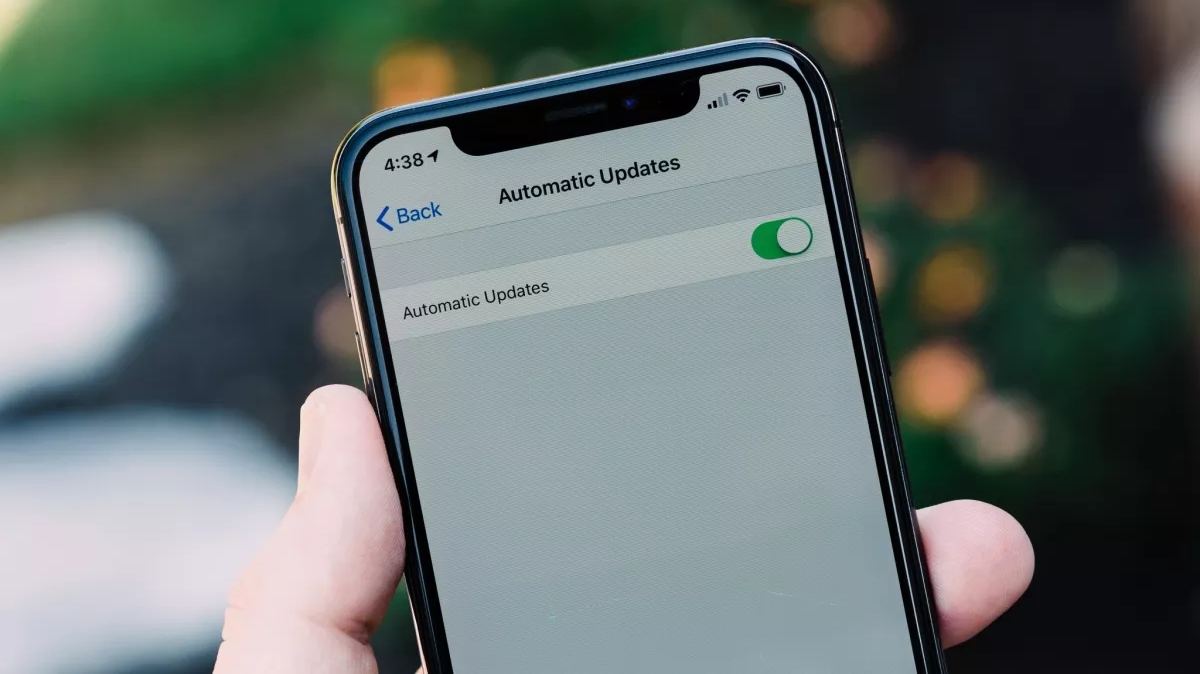
Finally, ensure that you are running the latest version of iOS, iPadOS, or macOS, as well as tvOS on your HomeKit hub. HomeKit hubs include the Apple TV, Apple TV 4K, HomePod, and HomePod mini.
On iPhone and iPad, updating is just a few taps away in the Settings app. For a step-by-step walkthrough, the guide: How to update your iPhone and iPad will get you up to date in no time.
For the Mac, you can check out the process by looking at How to download and install macOS on your Mac. We also have the guides: How to download and install tvOS on your Apple TV and How to install software updates for your HomePod.
Narrow it down
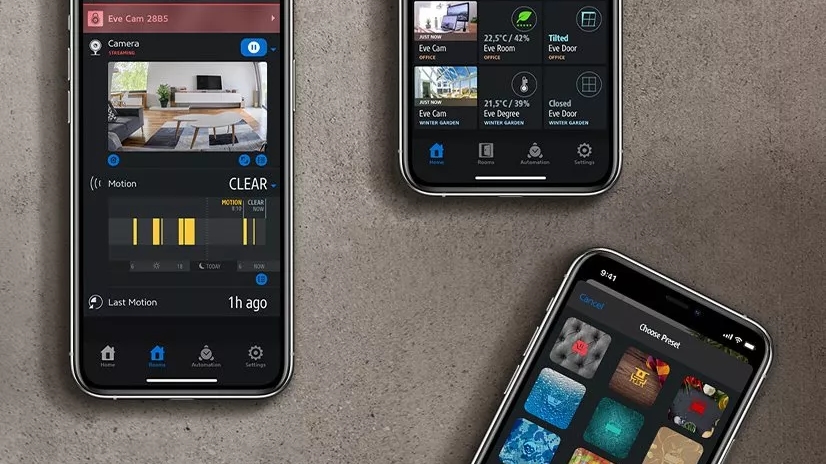
Sometimes, a HomeKit accessory may show the No Response message even though it is connected to your home network. To narrow it down to either an accessory issue or a Home app issue, you can check the device-specific app for your accessory to see if you can control it from there. If you can, then you can turn your attention to troubleshooting HomeKit.
Suppose your accessory is available in another HomeKit app. In that case, you can check for firmware updates that may address the problem or refer to HomeKit-specific steps provided by the manufacturer.
Home or away
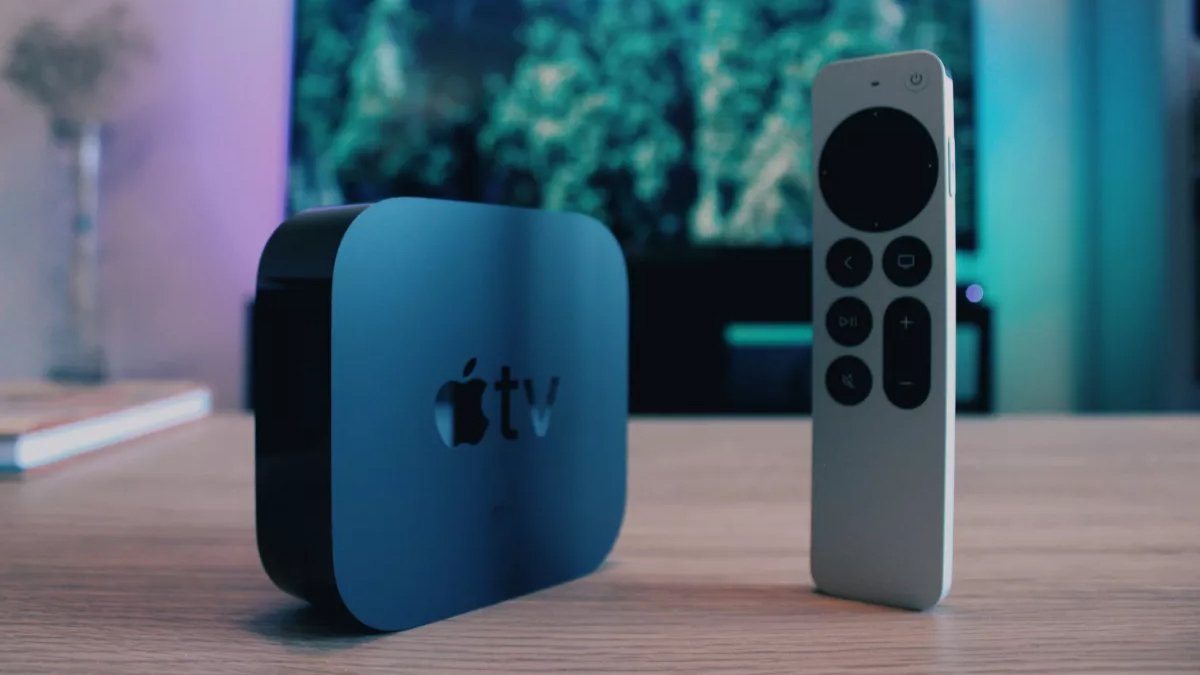
If your HomeKit accessory only shows No Response when you are not home, you may need a HomeKit hub. HomeKit hubs bridge the gap between the accessory and the internet, allowing you to access your gear while out and about while also letting you create scenes and automation.
There are currently three HomeKit hubs available: the Apple TV (4th generation or later), HomePod, and HomePod mini. HomeKit hubs, even on standby, will handle all of the connections in the background automatically when you sign into your iCloud account during the setup process for the device.
If you already have one of these devices in your home, you can check their HomeKit status in the Home app on iOS. An active HomeKit hub will be displayed as Connected in the Home app, and if you have other hubs in the home, they will show as Standby.
If your hub isn't showing Connected or displayed at all, you will have to enable it on that specific device. As you might have guessed, we have a guide for that, too: How to make your Apple TV or HomePod a HomeKit hub.
Reboot all the things
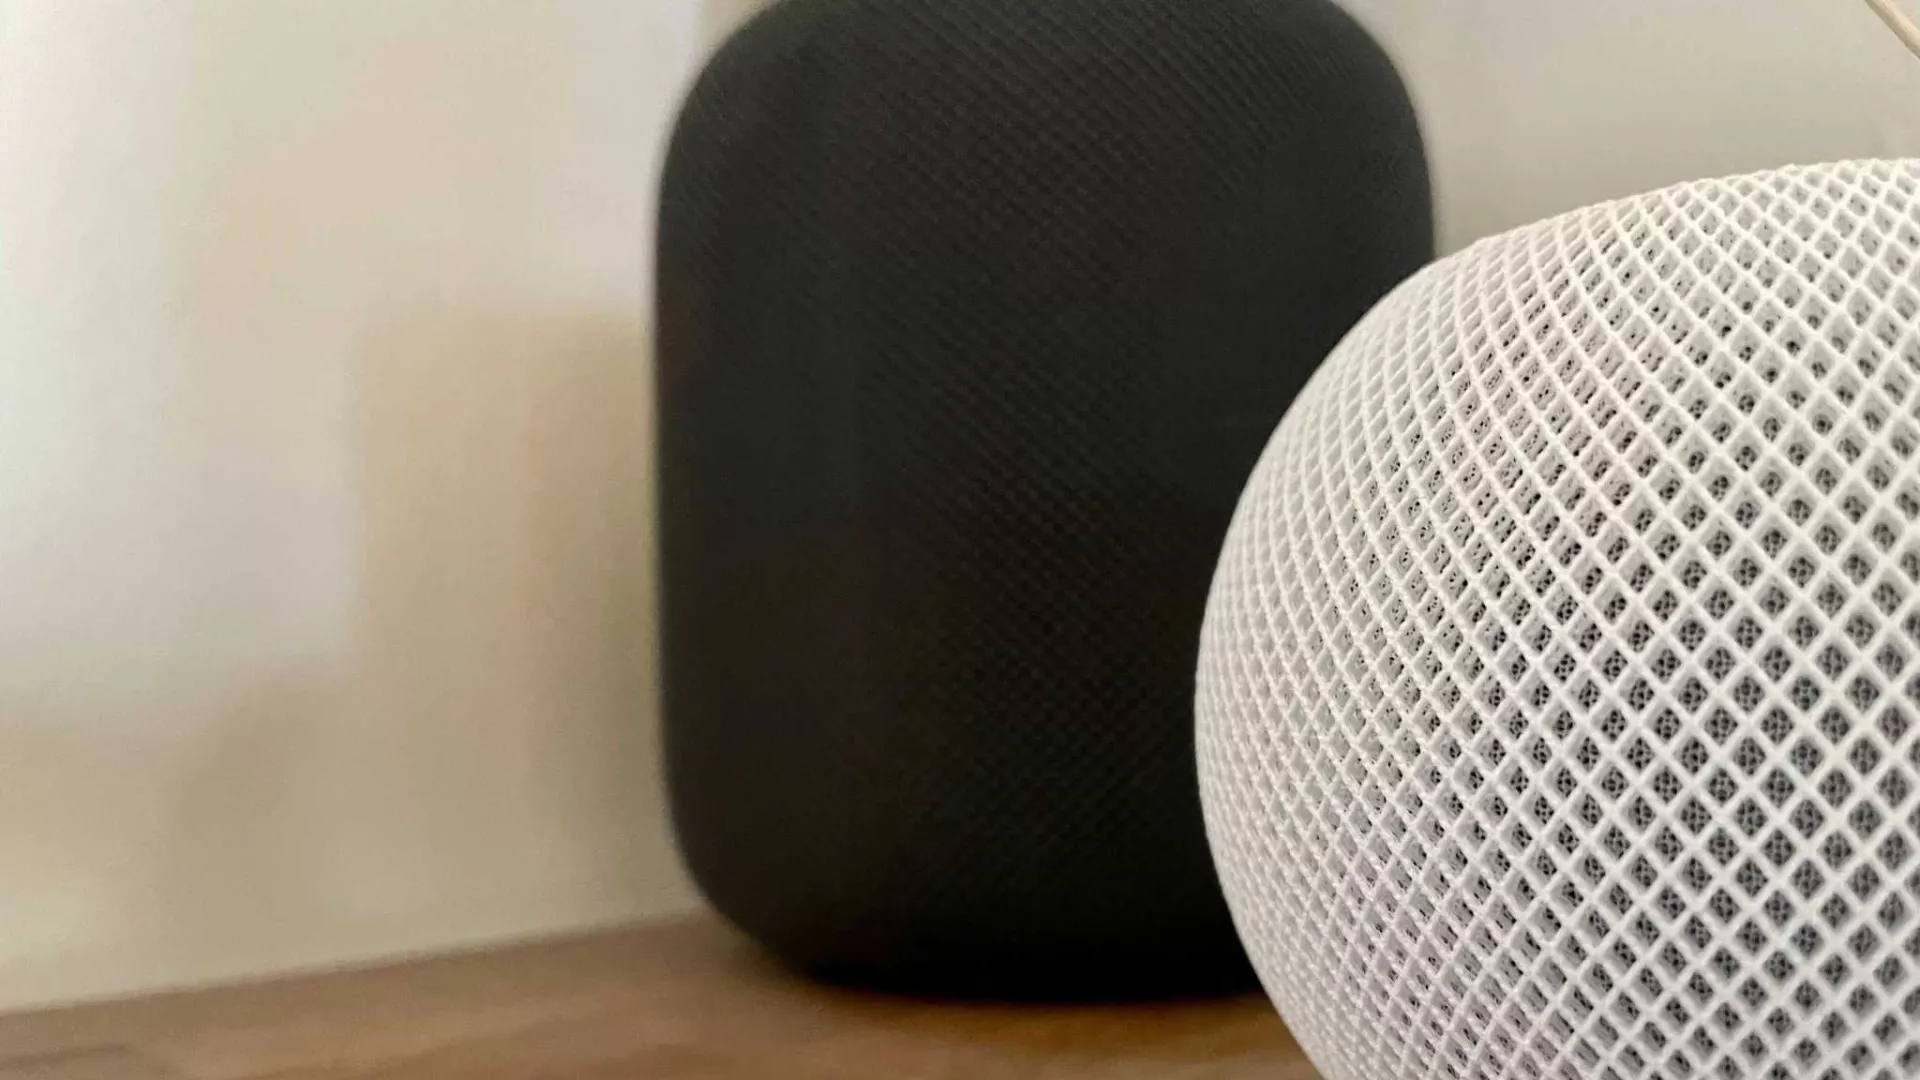
As with most problems, sometimes a simple reboot is all it takes to get things back up and running. For HomeKit troubleshooting, rebooting your HomeKit hub, iOS device, and even the accessory itself is one of the quickest and easiest ways to make an unresponsive accessory available again.
We suggest starting with your iPhone and iPad. Follow the steps outlined in the guide How to reboot or reset your iPhone and iPad if you need help.
Rebooting a HomeKit accessory usually requires unplugging it from the wall or removing its batteries. You can also use the associated app if it is connected to your home network and if the app can see it.
Rebooting an Apple TV requires unplugging it, using the on-device menus, or using a combination of buttons on the Siri remote. Here's How to restart or put your Apple TV to sleep with the Siri Remote.
For the HomePod, you can simply unplug it or use the Home app. Restarting it via the Home app can be a little dangerous, though, as you will be presented with options to restart or reset the HomePod, so make sure that you pay attention to the steps outlined in the guide How to restart or reset your HomePod or HomePod mini.
Go the distance
Most HomeKit accessories on the market use wireless radios to communicate with your home network. Common wireless types are Wi-Fi, Thread Bluetooth, ZigBee, and RF, all of which are limited in their maximum range. If you have just a single accessory that comes and goes, it may be a victim of a spotty signal.
Fixing the issue can be as simple as moving the accessory to a different location or relocating your HomeKit hub. There are a few other tools that you can use to help diagnose an accessory's connection, most of which you may already have.
For Wi-Fi connections, check the app or web portal you use to manage your router. Most modern routers will display signal strength as an easy-to-read icon or as a description like Excellent. Some routers will show strength in numerical forms, such as -50 dBm, and the lower the number, the better your signal is. If your signal is at or above -70 dBm, you may experience connectivity issues.
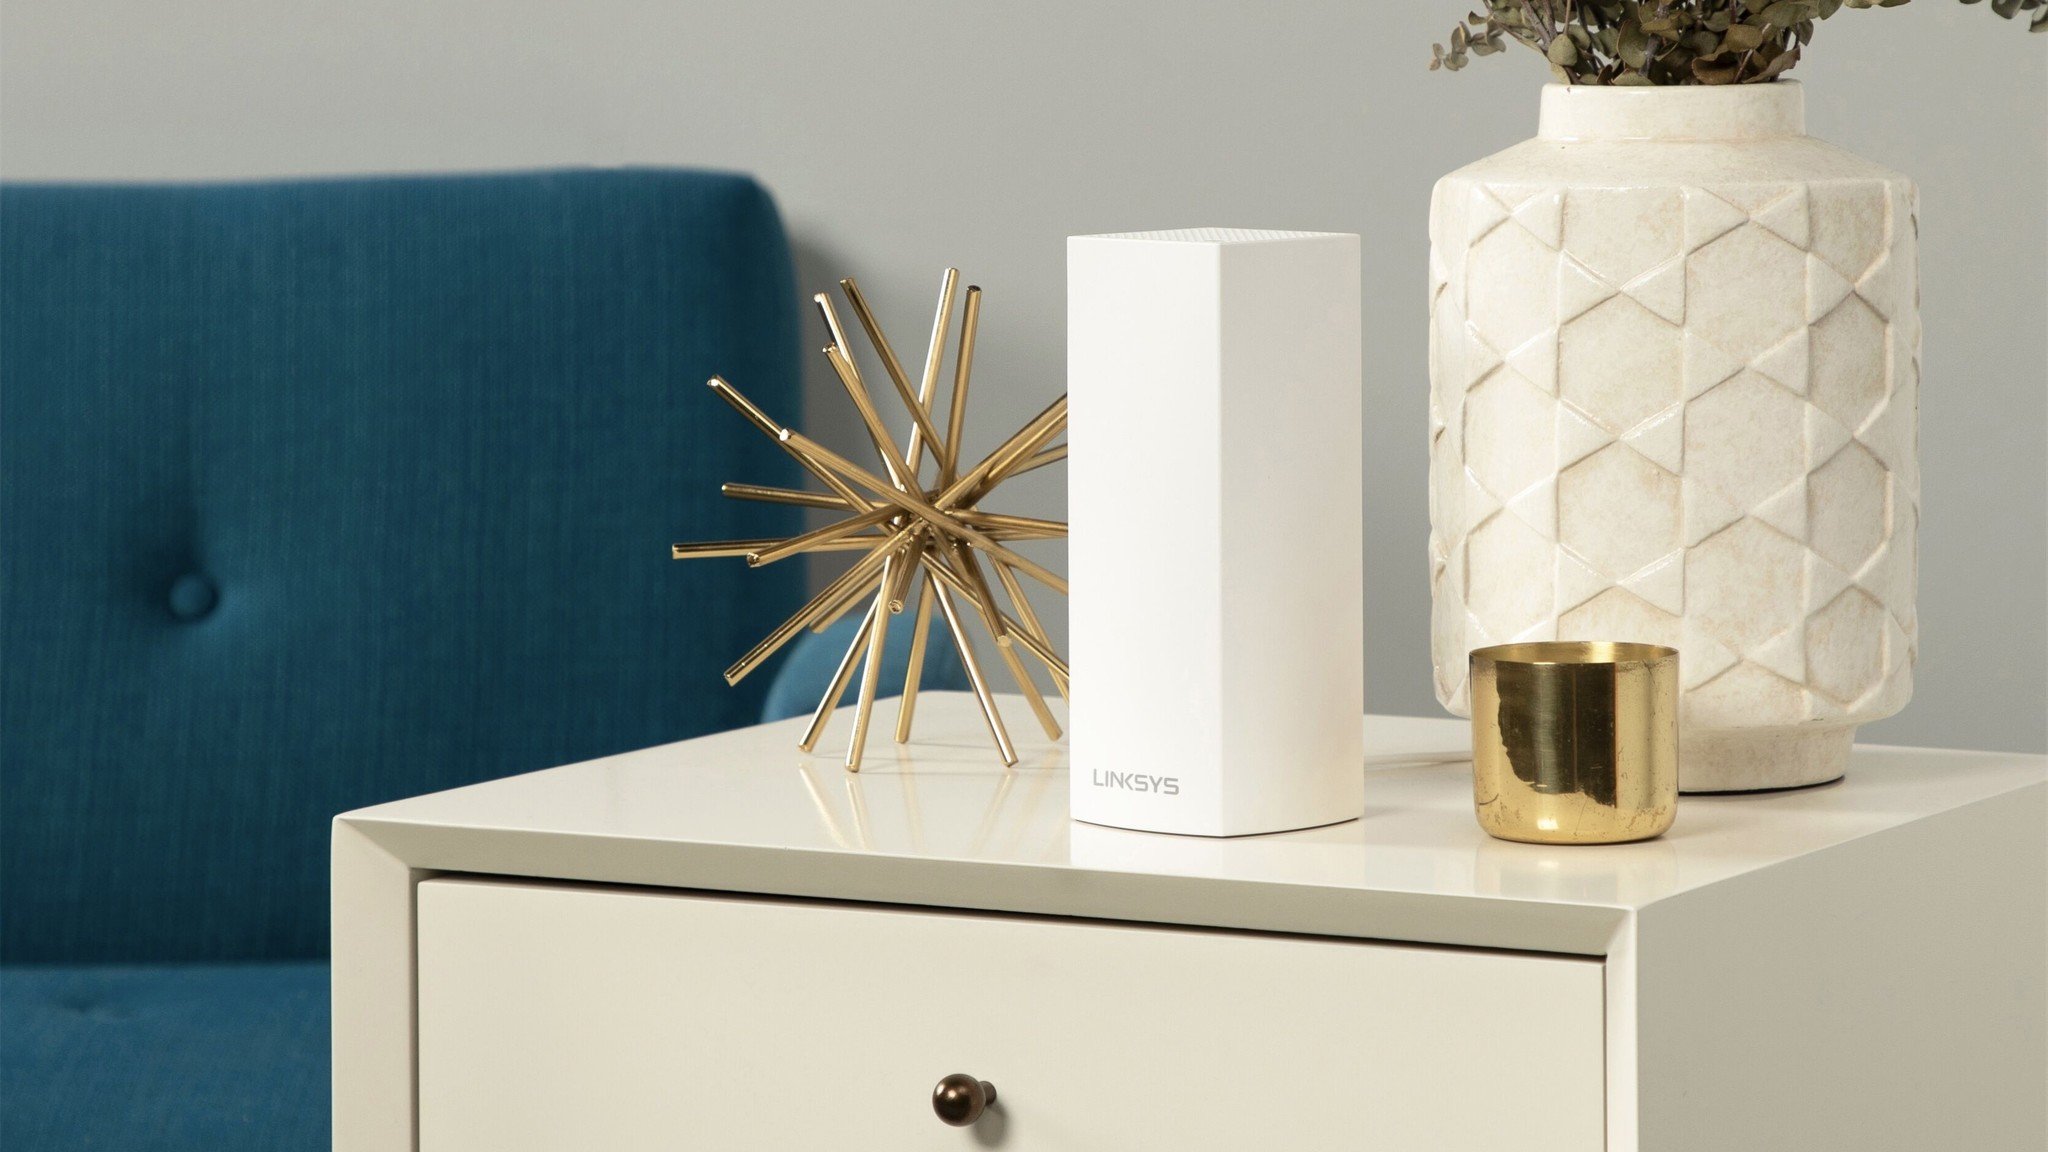
Consider looking into the best Mesh Wi-Fi router kits if your signal isn't strong and you cannot move your accessories, hub, or router. These routers have multiple access points spread throughout the home to extend range, and some also support HomeKit Secure Router features.
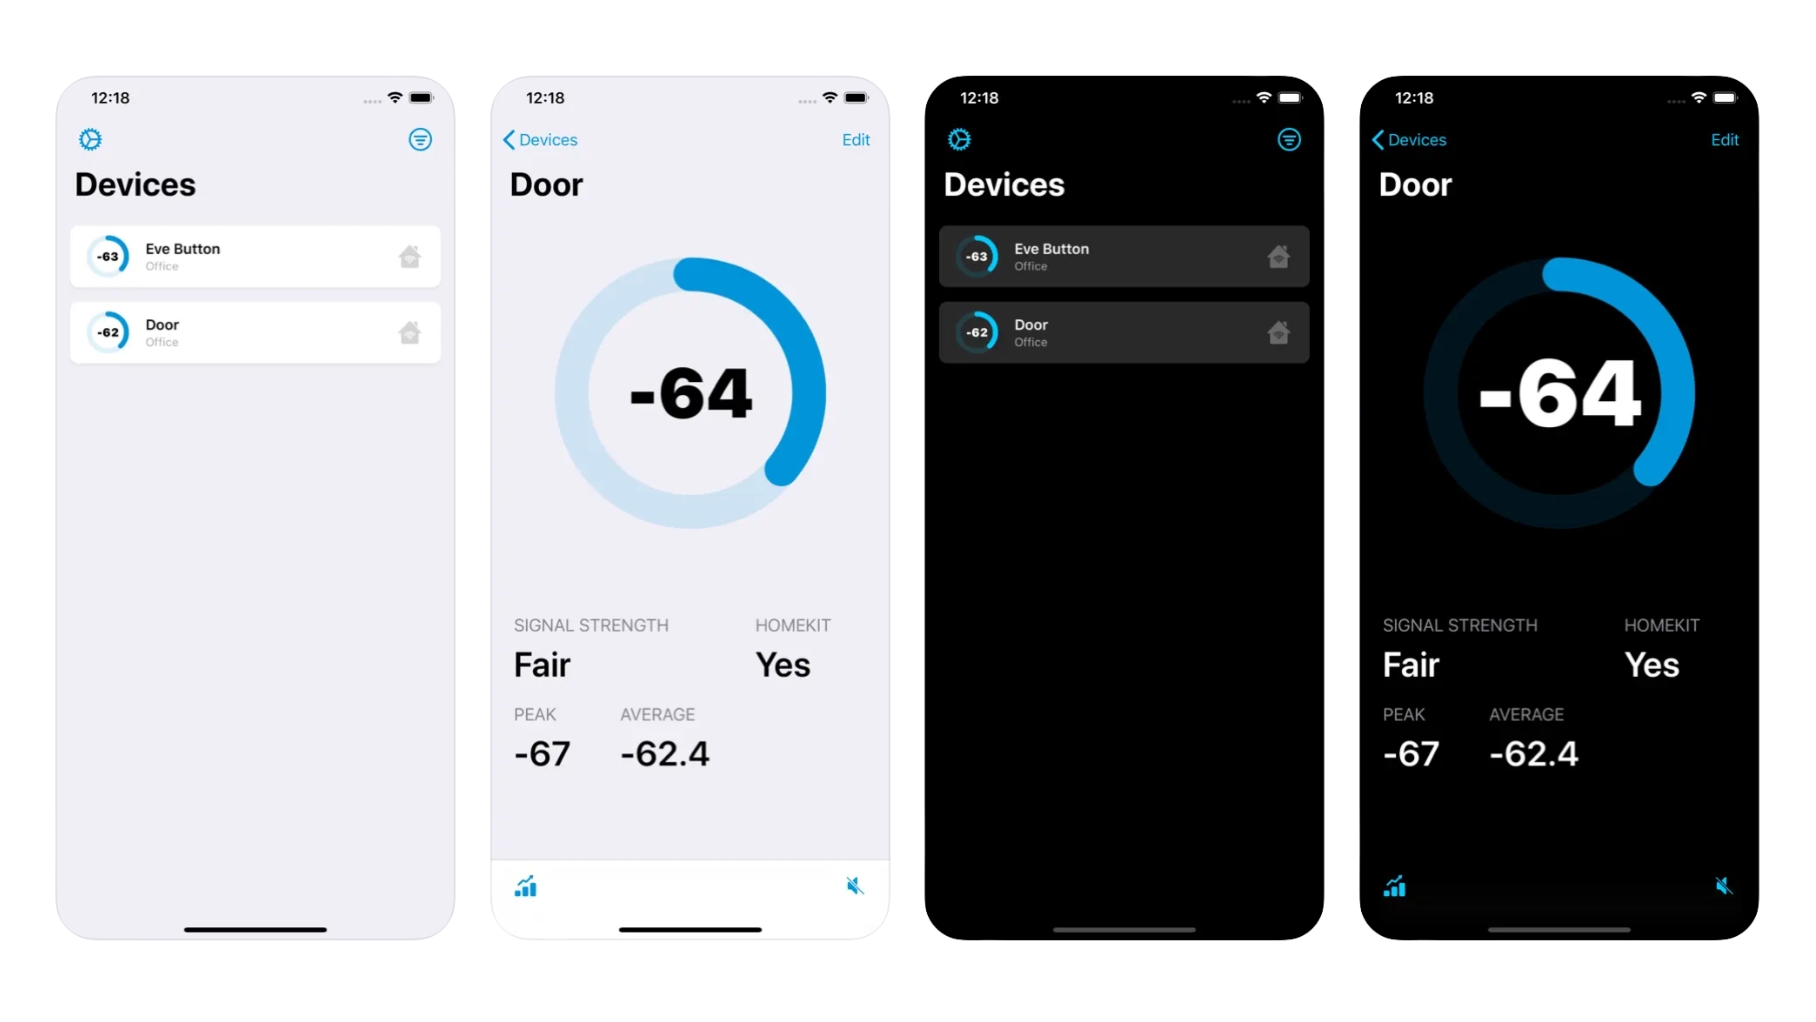
For Bluetooth and Thread accessories, you will likely need a third-party HomeKit app to check signal strength. We recommend the HomeScan for HomeKit app for Bluetooth devices, as it is tailored for HomeKit, and comes with a handy companion Apple Watch app that makes diagnosing a connection even more straightforward.
The HomeScan app will display strength in numerical form, and just like with Wi-Fi connections, a signal around -70 dBm or above can cause inconsistent performance. If you have a HomeKit hub, you will need to ensure that you measure strength in relation to where your HomeKit hub is. You can do this by setting your iPhone on or near your Apple TV, or HomePod, then using the Apple Watch while standing near your HomeKit accessory.
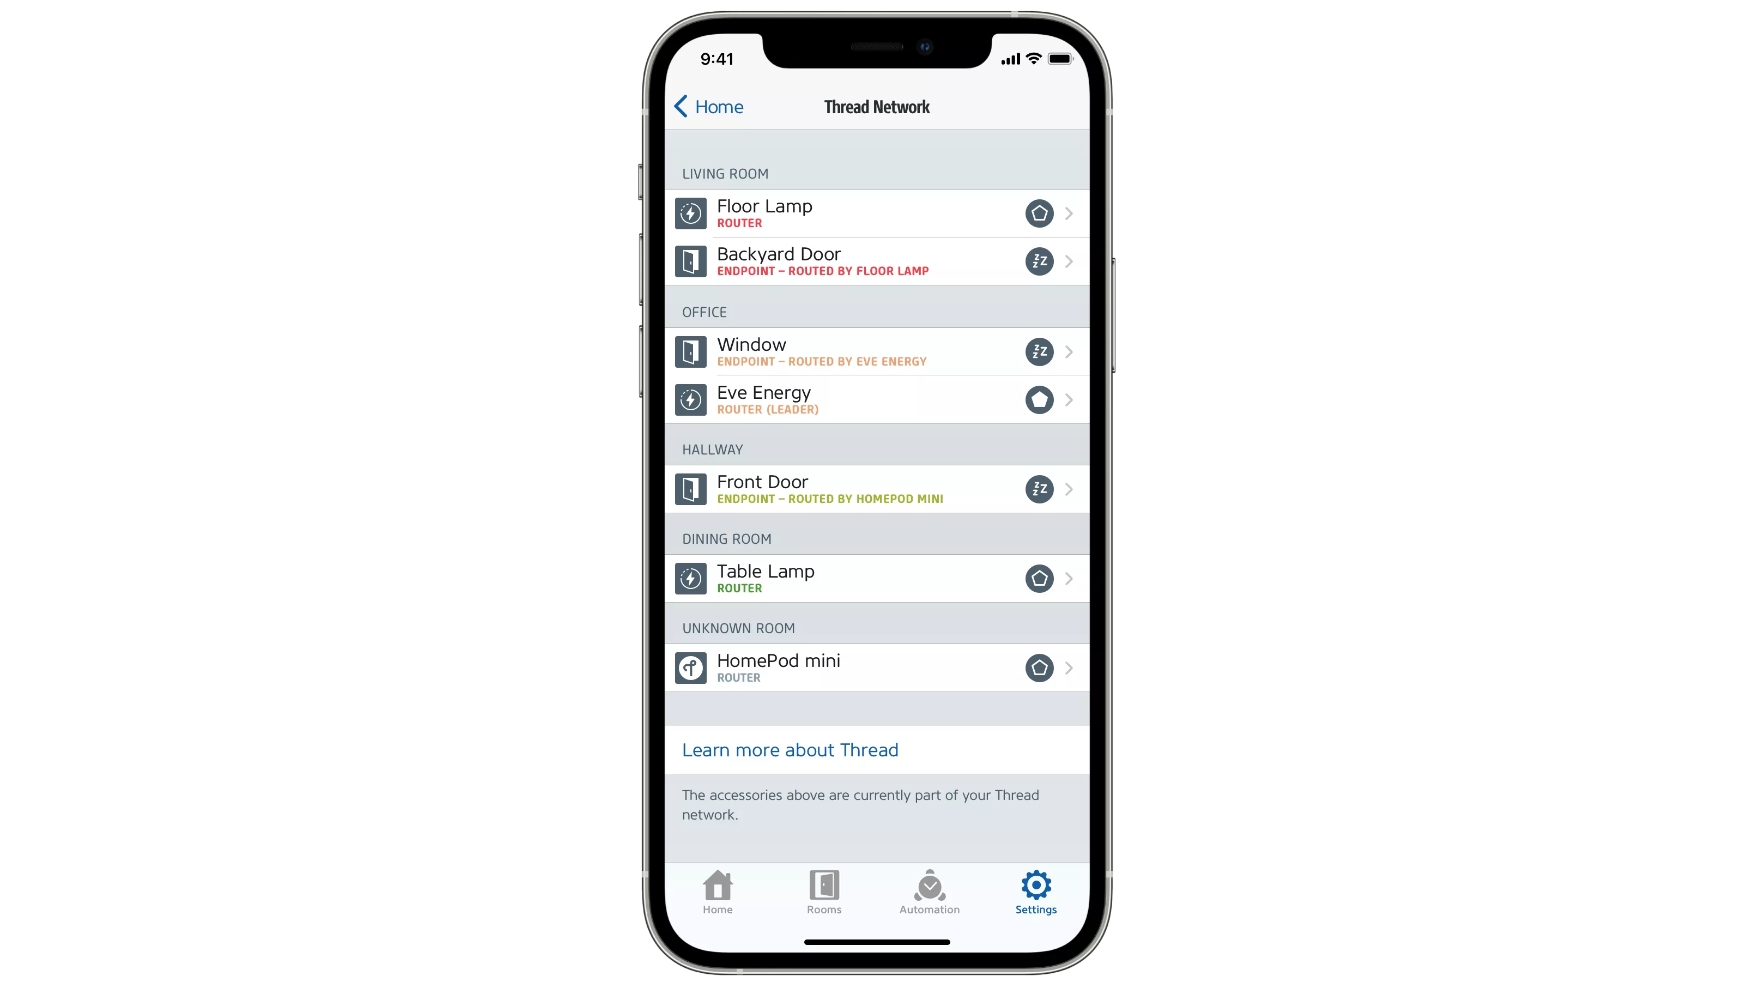
Currently, Thread accessory status is limited to basic information only in apps like Eve for HomeKit. In the Eve for HomeKit app, you can see the Transport status (whether or not it is connected via Thread or Bluetooth) and you can see signal strength indicated in terms such as Excellent.
ZigBee and RF accessories communicate to a dedicated hub, and as such, signal strength, if available, will be reported through the accompanying app. The most popular brand that uses ZigBee is Philips Hue, which uses it for its line of light bulbs and lamps, and for RF, Lutron's Caseta line is one of the most well-known.
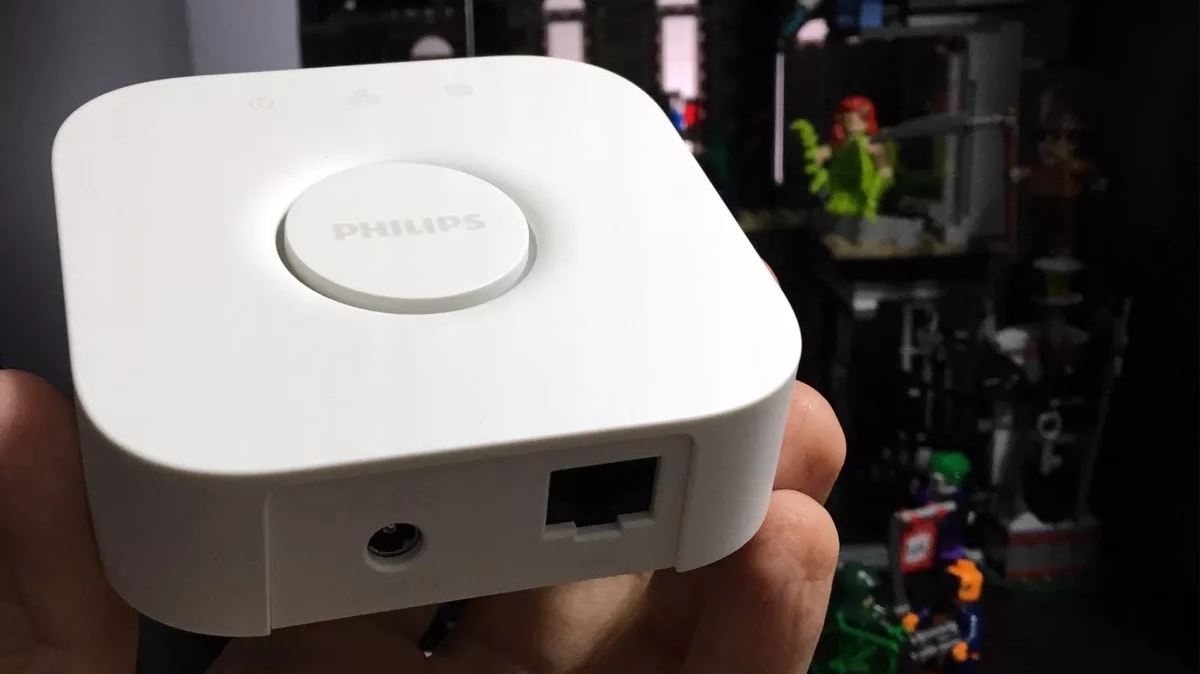
In most cases, these types of accessories utilize a form of mesh networking that extends coverage in the home by allowing accessories to connect to one another. However, these radios are generally low power, meaning they have a shorter range and are affected by walls and materials within the home.
If you cannot move your accessories or the dedicated hub, adding a brand-specific range extender or another accessory in between may help. You can also try changing the hub's channel that it operates on if the manufacturer's app supports it.
The nuclear option
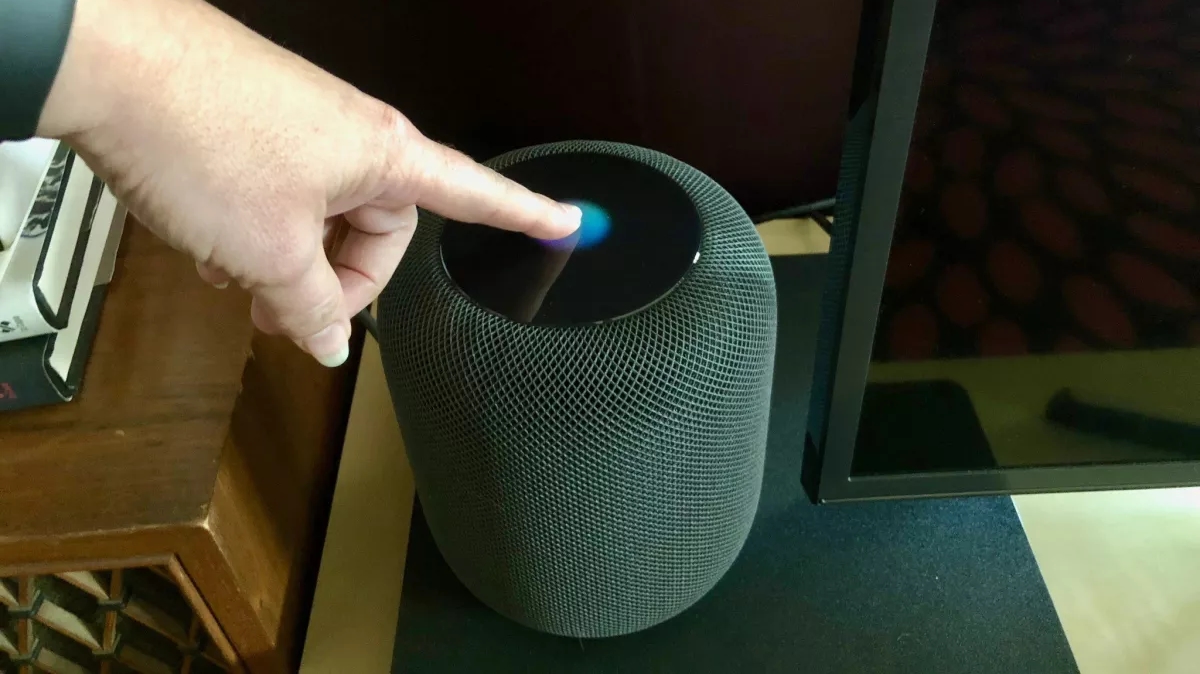
If all else fails, resetting your HomeKit accessory or HomeKit home may be the only solution. When resetting an accessory, it will revert to the original settings, removing it from HomeKit and your home network. This process varies, but typical methods include holding a button on the device for a few seconds or removing it from the manufacturer's app. Once reset, you will need to add it to your network by following our guide on How to set up your HomeKit accessories.
Resetting your HomeKit home should be the last step you attempt, as it will remove the problematic accessory and all of your accessories, scenes, and automation. Since there is no backup and restore process provided by the Home app, this option means that you will need to set up everything again, starting from scratch, which is the most time-consuming. Some third-party apps, like Controller for HomeKit, can back up your automation and scenes but will not restore your accessories. If you want to go to this extreme, see our guide on How to remove a home from the Home app.
No more No Response
As you can see, there are quite a few options that you can take to combat the No Response message in the Home app — so don't give up hope! Whether it is rebooting your HomeKit hub, adjusting the distance between devices, or a simple reset, you can solve your frustrations — if you have the patience. Once you solve the issue, you will be back to living that sweet, smart home life with all of the best HomeKit accessories.


