Home renovation projects are notorious for being money pits - but they don’t have to be. While it is all too easy to overspend, it is possible to renovate a house on a budget - if only I’d have known that back when we started out fixing up our own homes…
Our latest project was a sorely neglected Edwardian cottage that hadn’t been touched since the 1950s. We had to strip the whole thing back to its bare bones and start again. We also added extensions to give us a bigger kitchen, spare room, and an extra bedroom upstairs.
I made a list of all the house renovation costs we overspent on when it came to bringing our last few homes into the present to share with you so that you can avoid doing the same.
1. Being indecisive about our color scheme
We repainted our living room, bedroom, and spare room so many times that we ended up spending way too much on painting the house - we really should have researched how to choose the perfect paint colors for every room before we started out.
Despite buying more color sample pots than any reasonable people should, and covering the walls with patches of them before proceeding to check on how they changed with the light throughout the course of the day, we still ended up changing the entire scheme at least three times which really added up cost-wise.
It sounds silly now, but the main issue was that we didn’t give enough thought to how we wanted the room to end up looking in terms of flooring and furnishings, or how the color scheme would work as a whole.
We should have spent some time creating a moodboard and included everything from the types of fabrics we wanted to the shades of carpet we were opting for. Even the hues we were painting the cabinetry to house game consoles had an effect. If we had done this we wouldn't have wasted so much time and money.
Incidentally, we ended up going for Manna Ash from Fired Earth for the snug and bedroom, as well as for the alcoves in the living room - it’s a really soft pink with gray undertones and it pairs well with loads of other colors.

2. Over-prioritizing the wrong things
When we renovated our first house, a two-bedroom Victorian terrace, we were still pretty new to fixing up homes and more than a little naive about how much everything would end up costing. We got completely carried away with some of the finer details, desperate that our first project would be perfect, but as a result we paid way too much for the wrong things.
A good example is our light switches and electrical outlets. Rather than going for cost-effective white standard covers, we splashed out on high-end brushed chrome versions and while one or two might not have added up to much when you consider how many outlets you end up having in the average house, the outlay was pretty considerable. We should have just used these super smart covers for the principal rooms such as the living room and dining room, and stuck to cheaper, standard fittings for the less public-facing rooms, such as the utility room and bedrooms.
If you fancy including a few eye-catching light switch plates in your renovation project, the Amerock Mulholland Decorative Light Switch Plates from Target offer good value for money.
3. Splashing out on real stone floors
In our first renovation project, we went for large-format limestone tile in the bathroom - not just for the floors but all up the walls too. They looked stunning, but they certainly didn’t help with keeping our new bathroom cost down. Add to that the fact that we had to call in the help of a professional to fit them as they were too heavy and hard to cut for us to feel confident we wouldn’t damage them by trying to fit them ourselves, and they gobbled up a large portion of our bathroom budget.
This time round we opted for porcelain tiles instead - lighter, cheaper, and far easier to lay ourselves.
The Wells Stone Porcelain Stone Look Wall & Floor Tile from Wayfair would have produced a similar look at a fraction of the cost.
Three beautiful cost-effective alternatives to real stone tiles
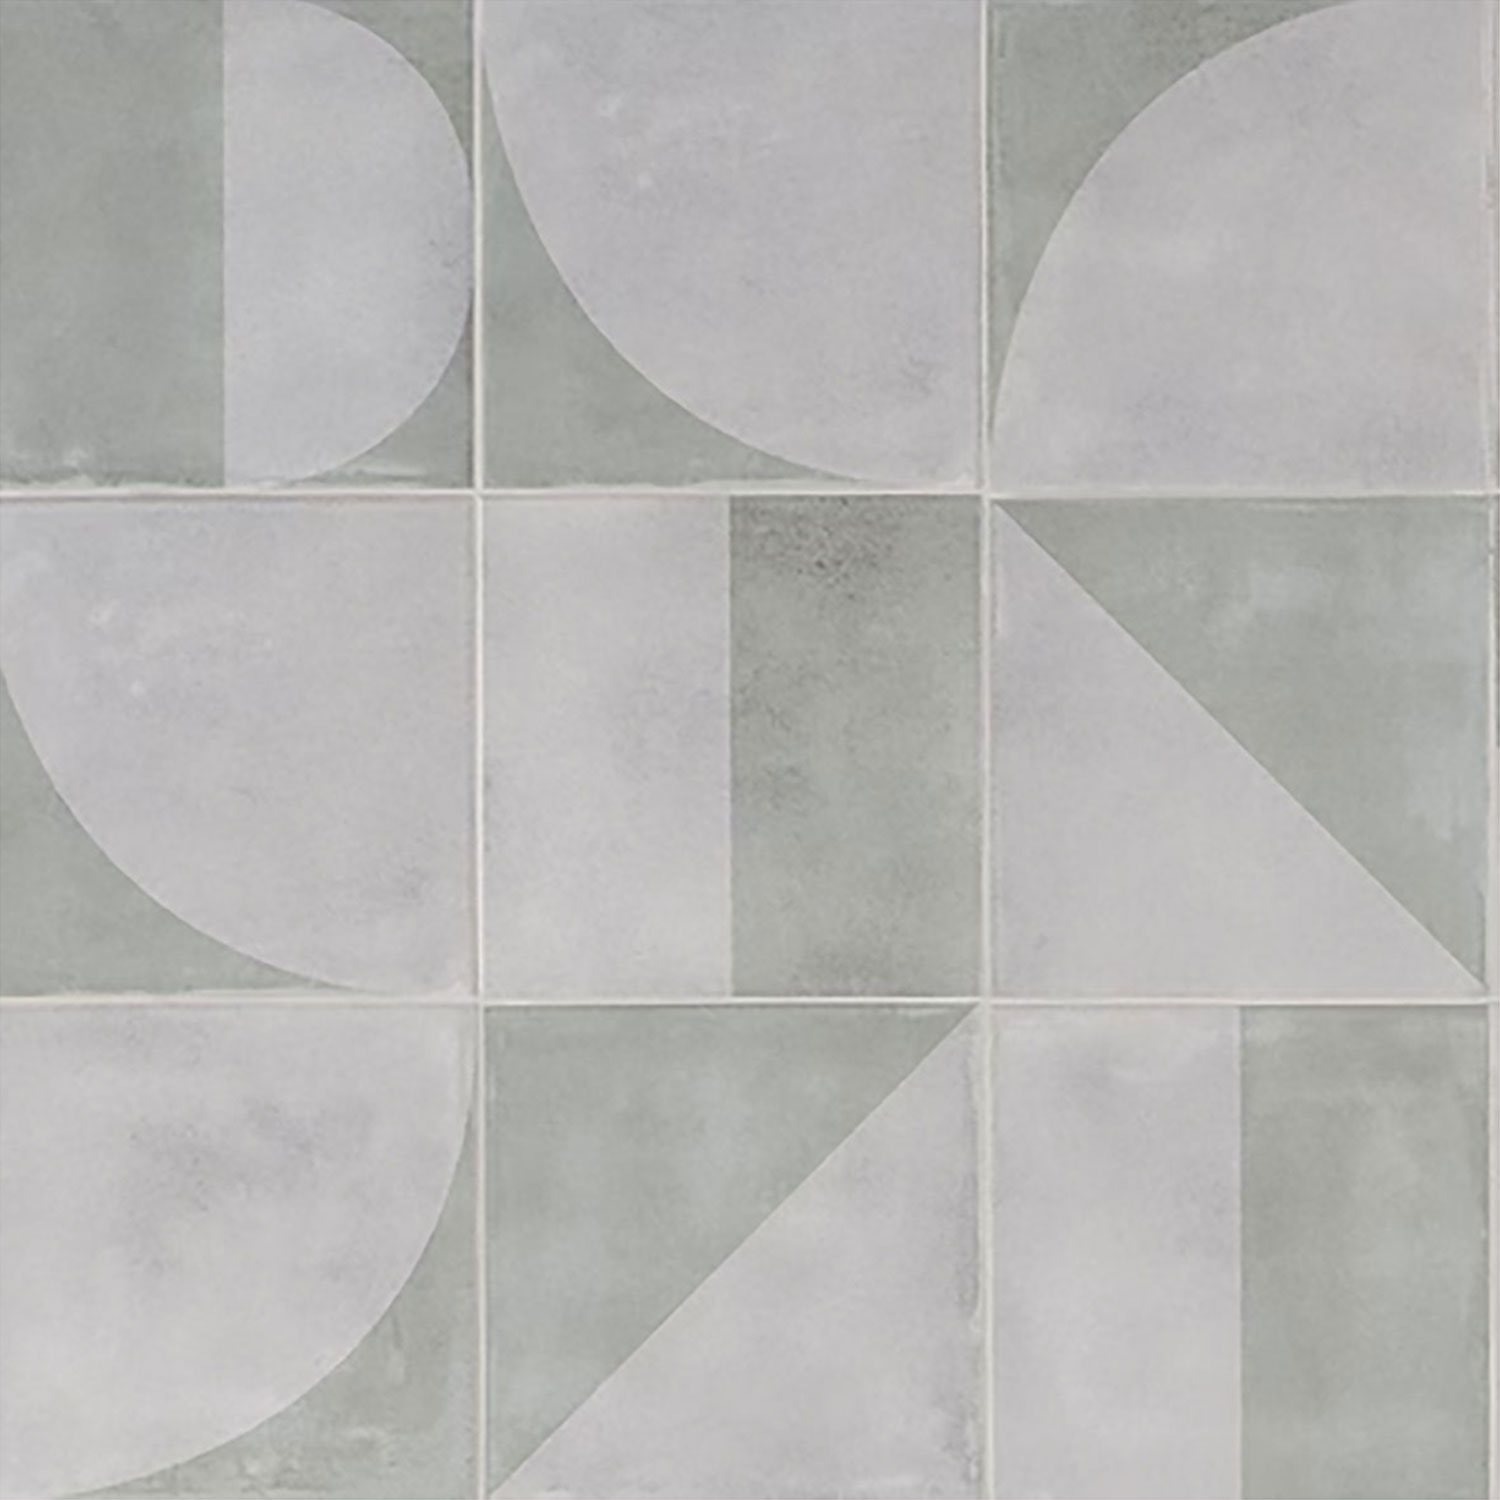
Price: $6.62/square ft
These 8" x 8" porcelain tiles offer a soft, concrete-effect finish and an encaustic look that would suit modern and classic bathroom schemes alike. If you want to inject a little rustic chic these would be ideal and, given their relatively small size, even those new to DIY should find them easy to fit.
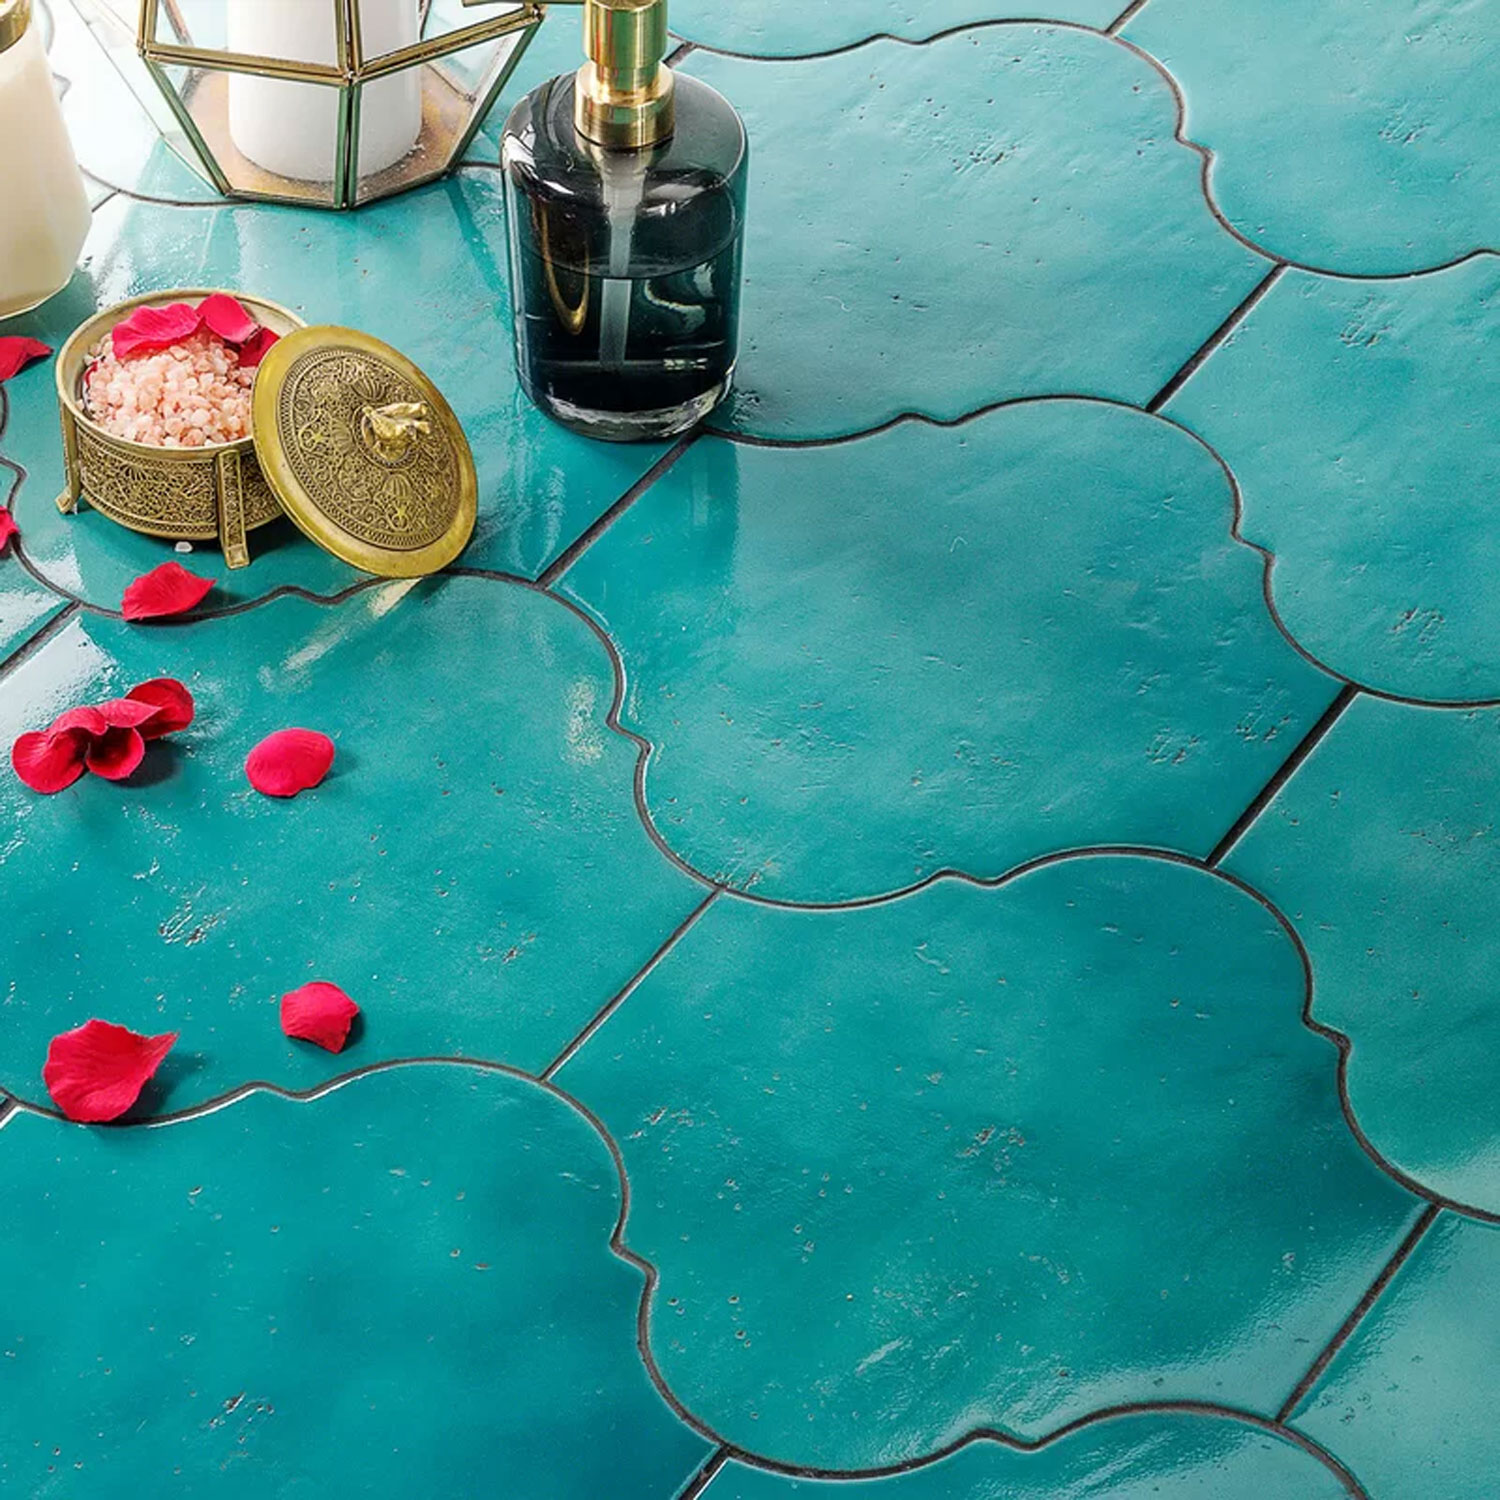
Price: $11.98/square ft
It can be hard to add character to the bathroom, but opting for something like this fired clay-look tile will give an instant lift to even the blandest of spaces. We love the bright teal shade with its Mediterranean vibes, but it is also available in three other colors, including an inky black.
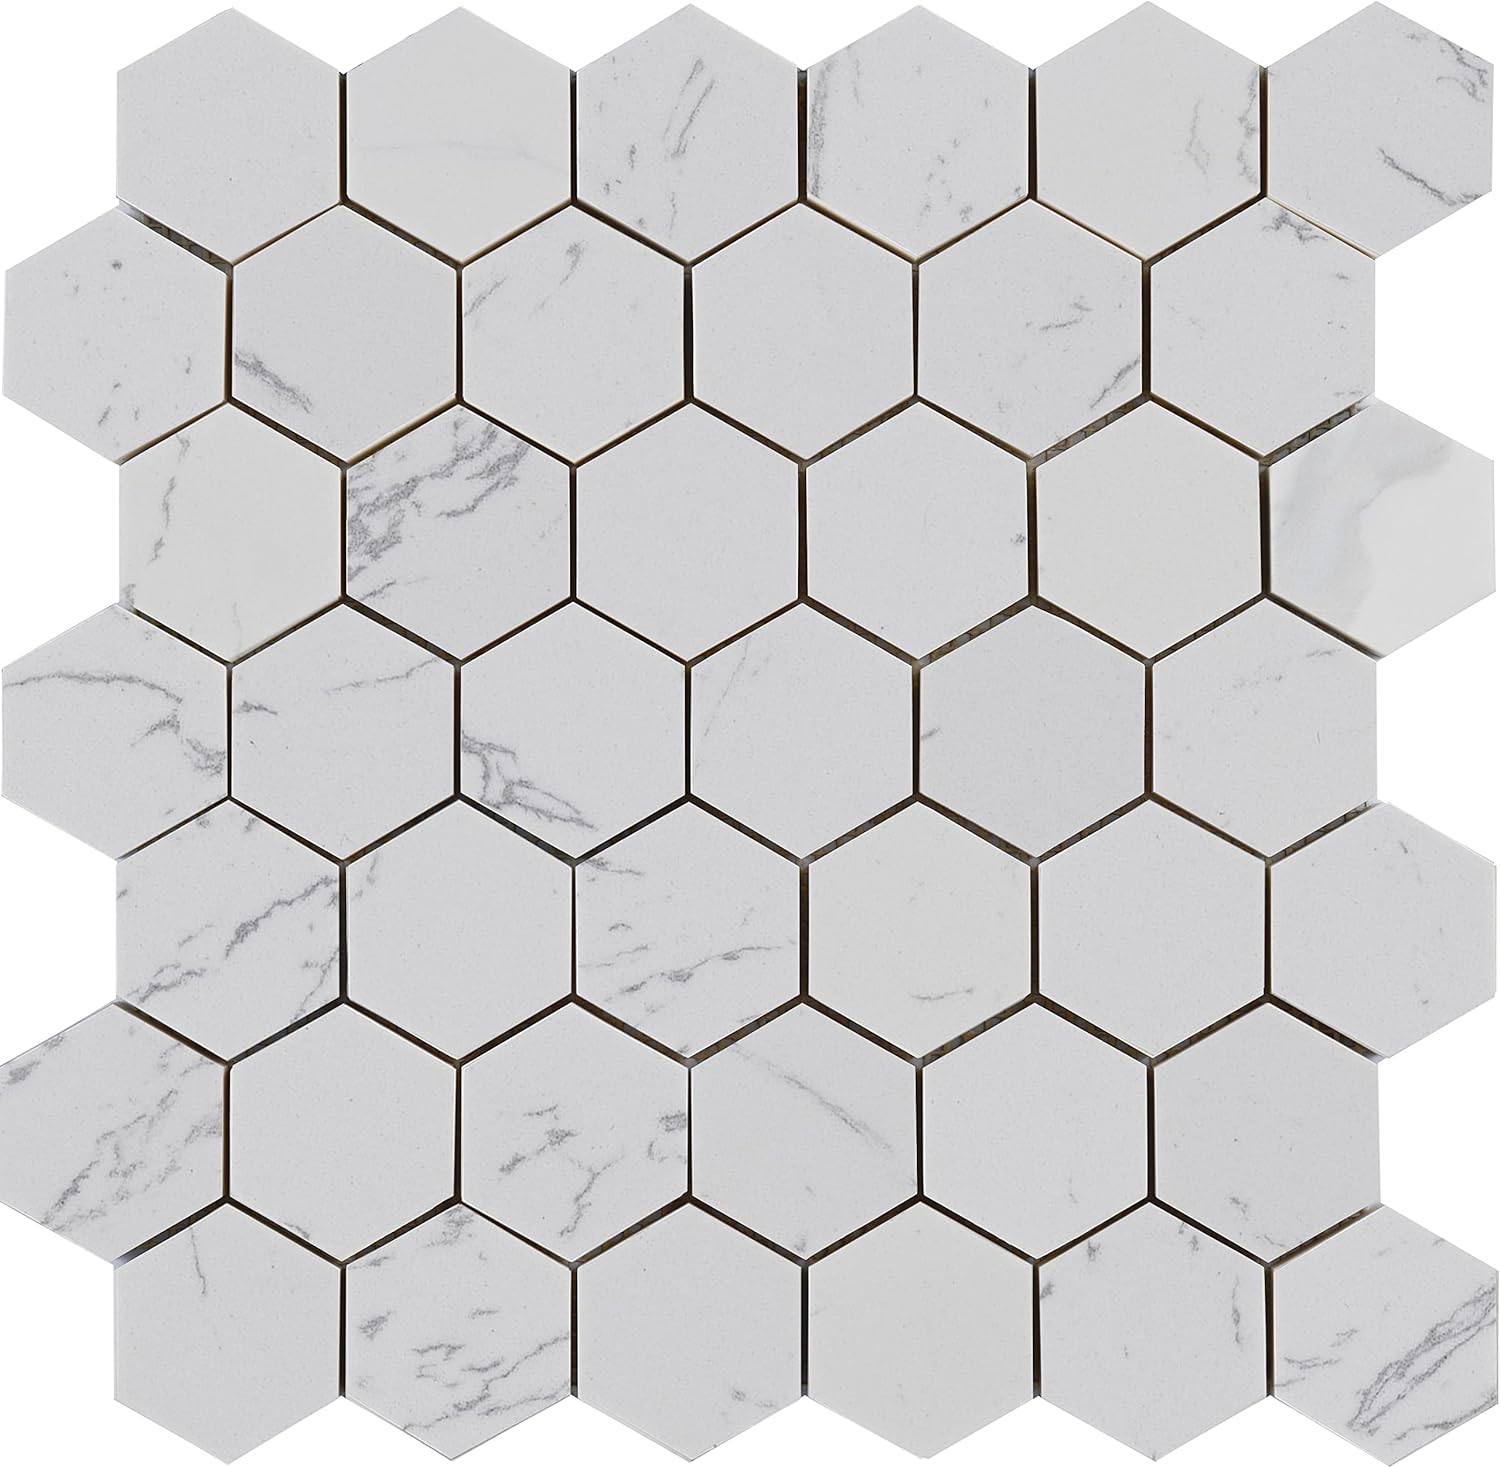
Price: $10.99/square ft
If it is a little hotel chic you are after in your bathroom, look no further than these stylish engineered marble mosaic sheets of tile. These would be ideal for family bathrooms as they have a honed non-slip finish. While they might look fiddly to fit, each sheet covers 1 square ft making for quick installation.
4. Opting for reclaimed roof tiles
We were really keen that our double-story extension would tie in perfectly with the existing house and spent ages scouring salvage yards for reclaimed bricks that would match the old ones. While this wasn’t the cheapest option, I am so glad we did as they really add so much to the external look of the finished house.
But this is the part where we went wrong - we did the same when it came to the roof tiles for the double-story section of our extension, opting for reclaimed clay to tie in with the originals. This is where we definitely overspent - right up there on the two-storey roof we really can’t see those tiles and concrete look-a-likes or machine-made clay probably would have done the job just fine for a fraction of the cost. For the one-story kitchen extension, on the other hand, the real slates were a good investment as they are plain for all to see.
5. Overlooking the disposal of the old stuff
Don’t underestimate how much it will cost you to get rid of the huge amount of waste that is produced from a renovation project. Whether you are ripping out bathrooms or an old kitchen, or simply stripping out one room, you are going to need a way of disposing of the resulting mess.
We ended up ordering around five or six dumpsters and, when you consider that each cost upwards of $200, this made a considerable dent in our finances - especially as we hadn’t factored it in.
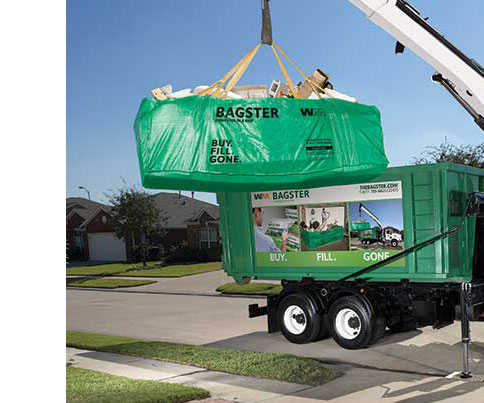
In many cases dumpster hire is unavoidable, but if you are renovating on a smaller scale it is well worth considering a dumpster bag instead.
Bagster bags hold up to 3,300 pounds of debris or waste. You can pick up a bagster bag from Lowes for around $30 and arrange to have it collected from your home when it is full. Bear in mind you will need to pay for collection and the amount you are charged is based on your area. Expect quotes of between $100-$300.
If you are hesitant about buying a fixer-upper, you should know that, despite the disruption to everyday life and unexpected costs, we are excited to do it all again. There are a whole host of ways to cut renovation costs and next time around we’ll step into our project fully armed with them.


