Whether you're a first-time Fitbit buyer or returning to the brand, it can be a little overwhelming to figure out how to use it properly. Fitbit walks you through the setup via its app, but there are more obscure tricks you have to find for yourself.
The Fitbit Help hub probably has all the information you need, but no one wants to trawl through dozens of help pages. So we're here to guide you through the main Fitbit tips and tricks you need to know that might not be immediately obvious, from activating Google apps to turning off annoying functions.
For simplicity's sake, this Fitbit beginner's guide will focus on the latest models: the Charge 6, Sense 2, and Versa 4. Some of our Fitbit tips and tricks will also apply to older models like the Charge 5 and Versa 3, but not all of them.
Migrate your Fitbit account to Google
After acquiring Fitbit, Google started transitioning Fitbit accounts into Google accounts. Now, newer Fitbit devices require a Google account to function, and starting in 2025, legacy Fitbit accounts will no longer work on any Fitbit.
You may as well make the jump if you haven't already, so follow our guide on how to migrate your Fitbit account to your Google account in the Fitbit app. It'll take you through your initial Fitbit setup as you decide what data to share with Google and other connected apps.
Start wearing your Fitbit non-stop
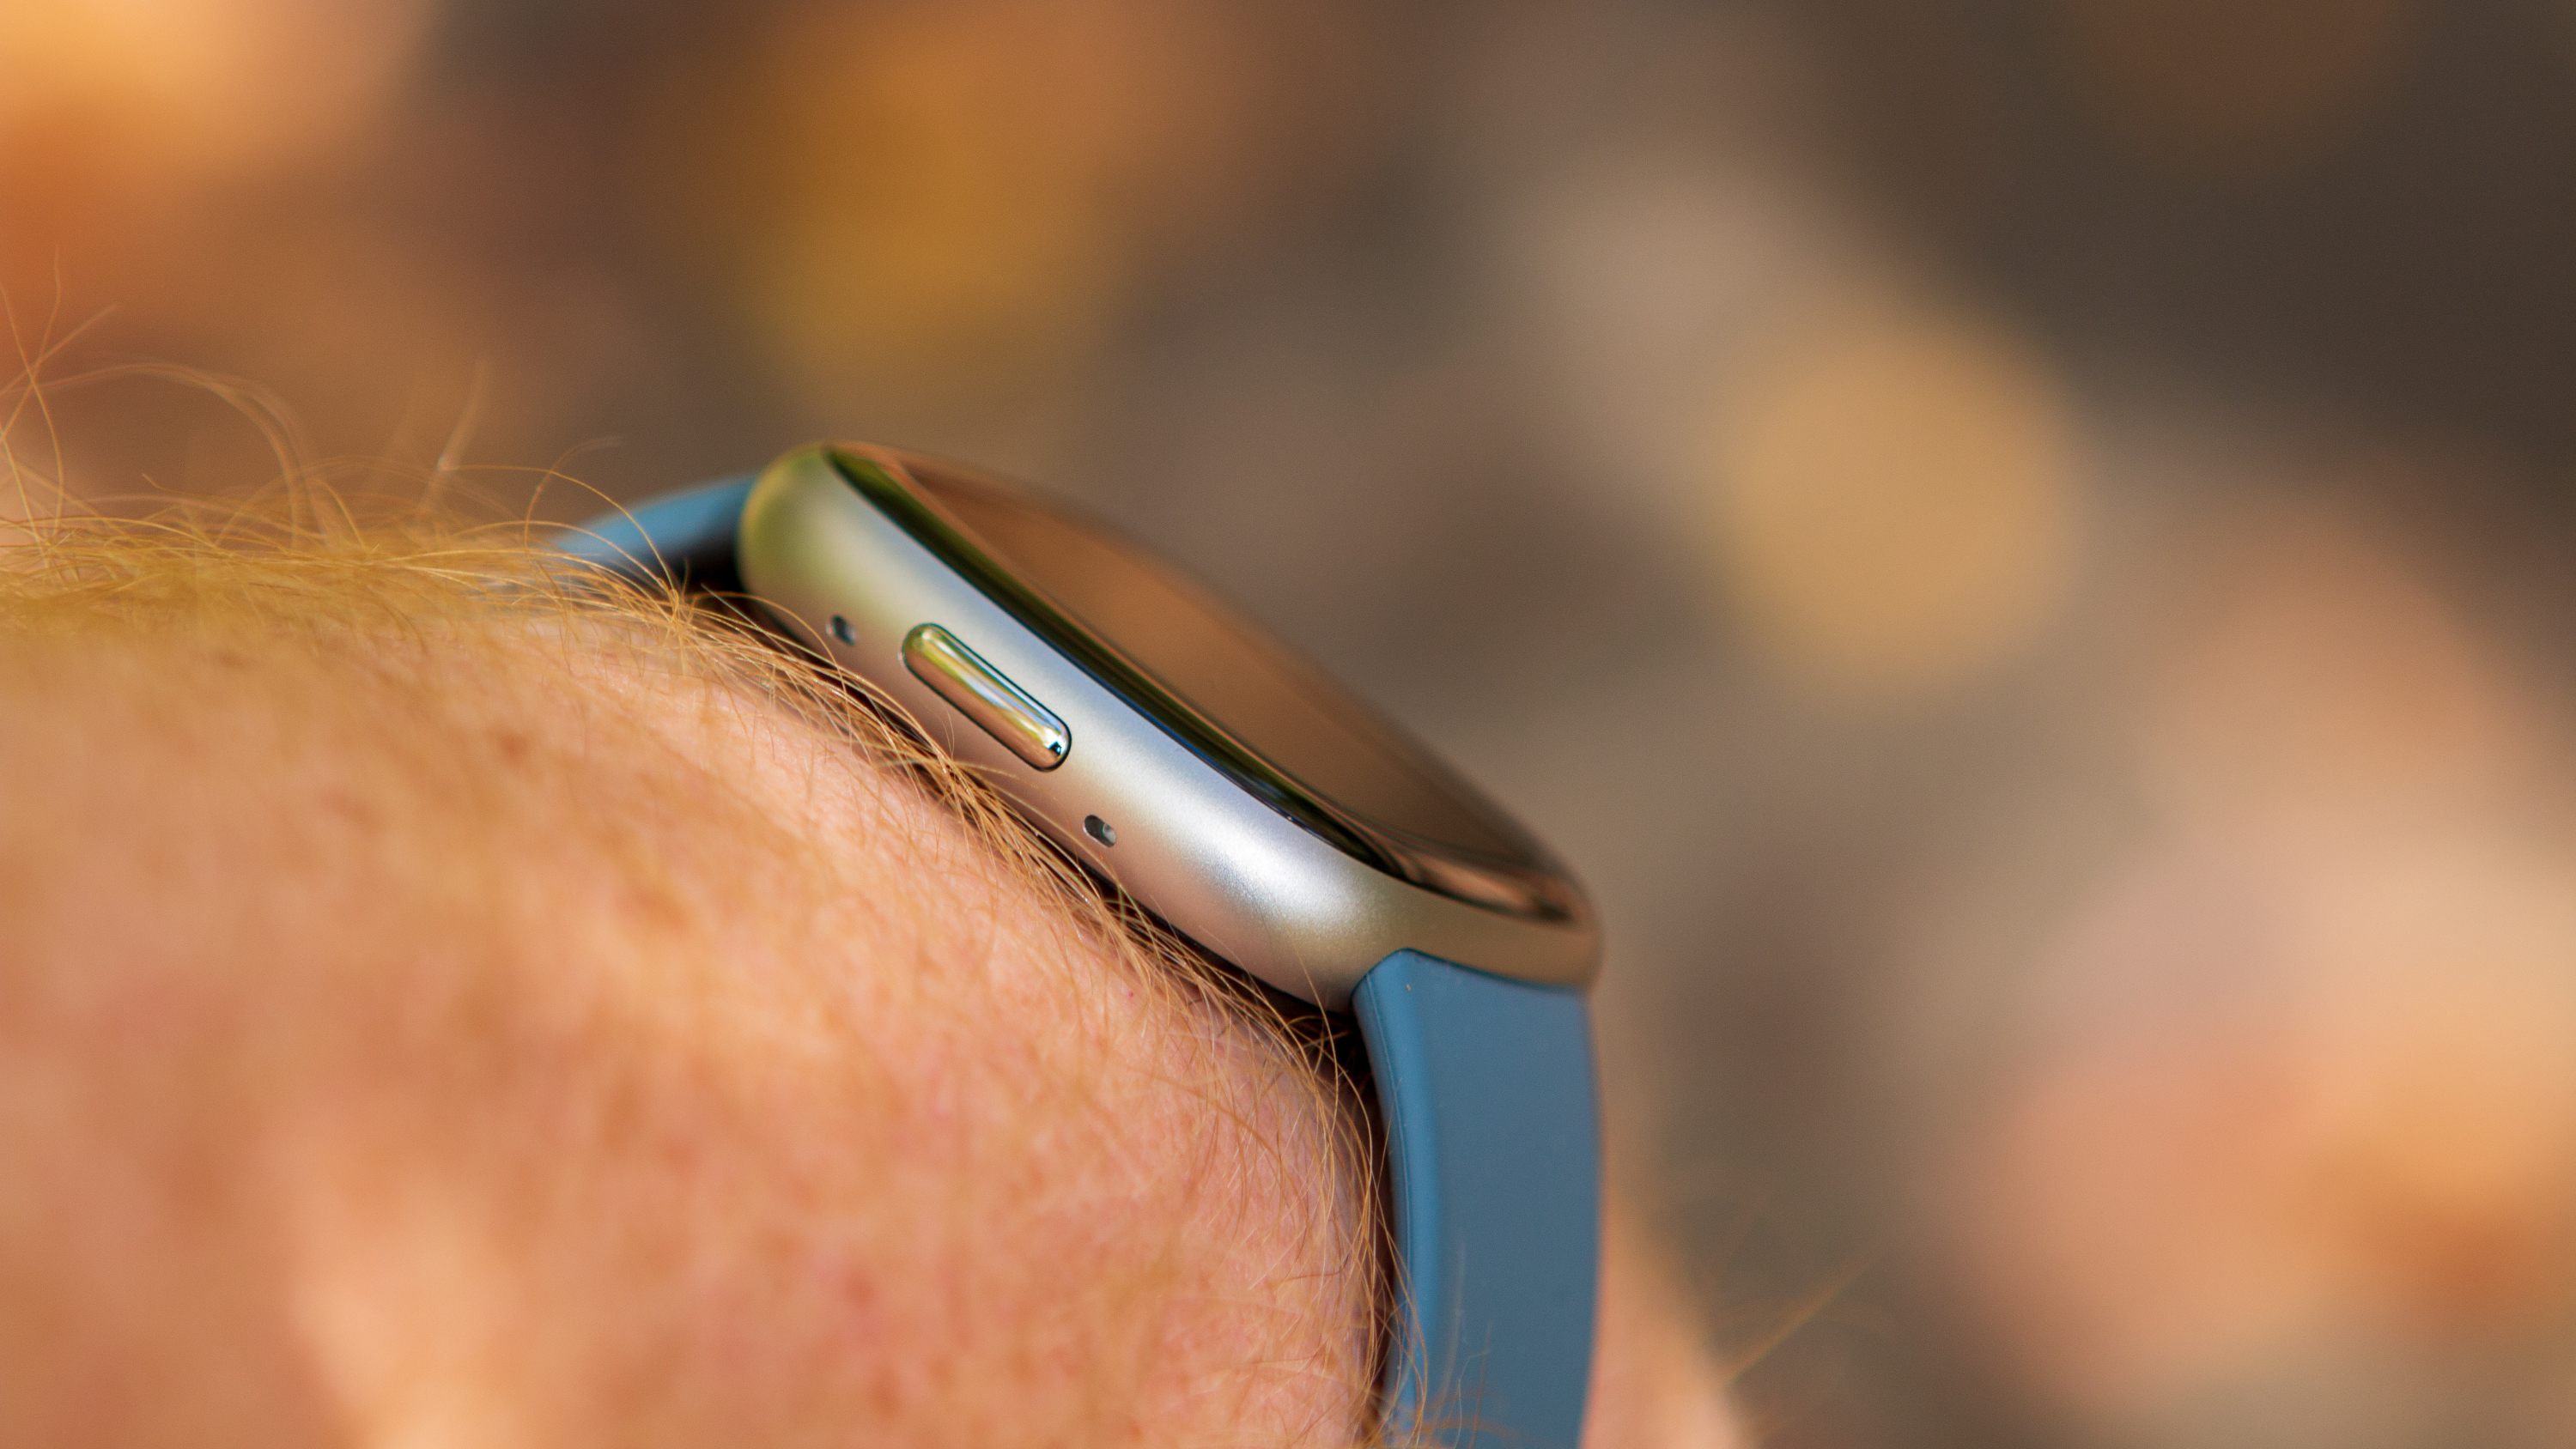
People buy Fitbits for fitness tracking, health tracking, or both. If you're fine using it for step counting and tracking workouts alone, you can leave it off at night or when you're stationary. Otherwise, though, you're going to want to wear your Fitbit as much as possible to get the most out of it.
Why? Because most key Fitbit Premium features require you to wear the device non-stop and lack the context to judge your health if you stop. A stress management score with the Sense 2 requires a full 24 hours of cEDA tracking, for example.
The Daily Readiness Score — telling you whether to work out and for how long based on your tiredness and soreness — requires at least four full days and nights, and may take weeks for Fitbit to properly calculate. And a full Wellness Report requires a whole month of continuous tracking. Skip wearing your tracker for too long, and Fitbit will leave a bunch of app health fields blank.
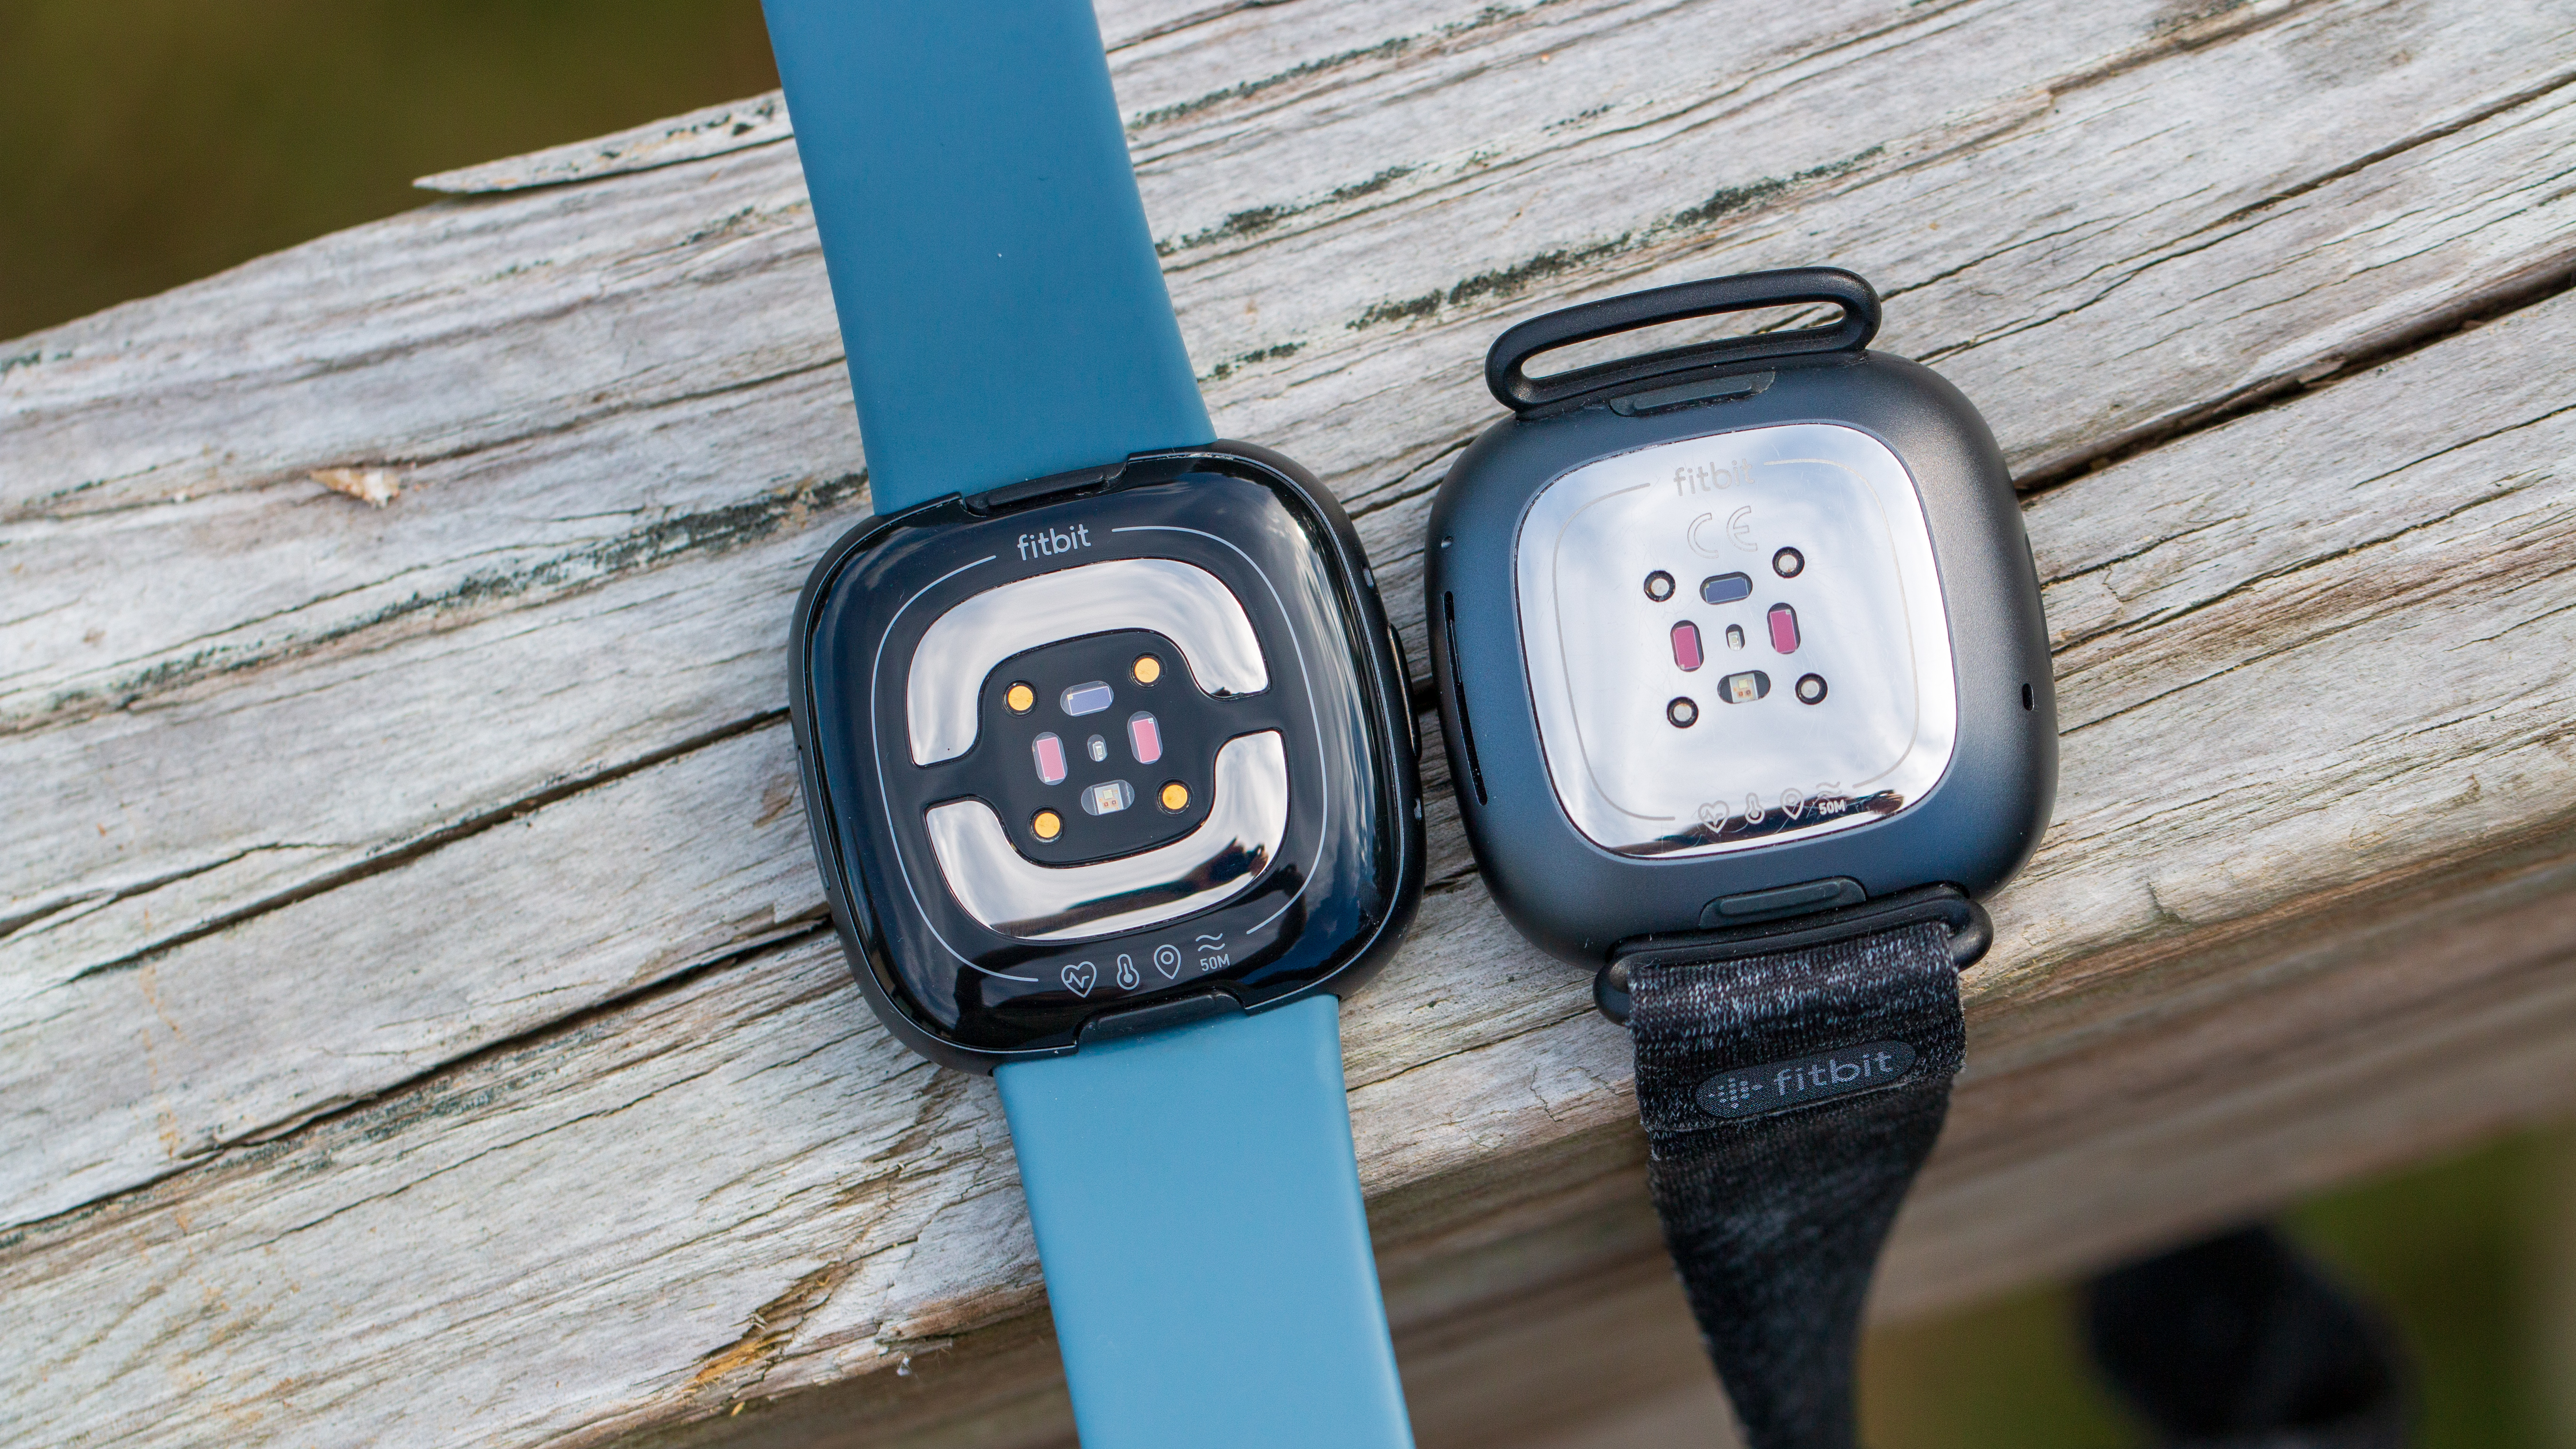
Plus, your Fitbit measures more data at night. The Charge 6 continuously tracks heart rate data during the day, but only during sleep tracking does it measure blood oxygen, heart rate variance, passive AFib detection, breathing rate, and skin temperature levels. That's the juicy health data that many fitness trackers lack.
Customize your Today tab
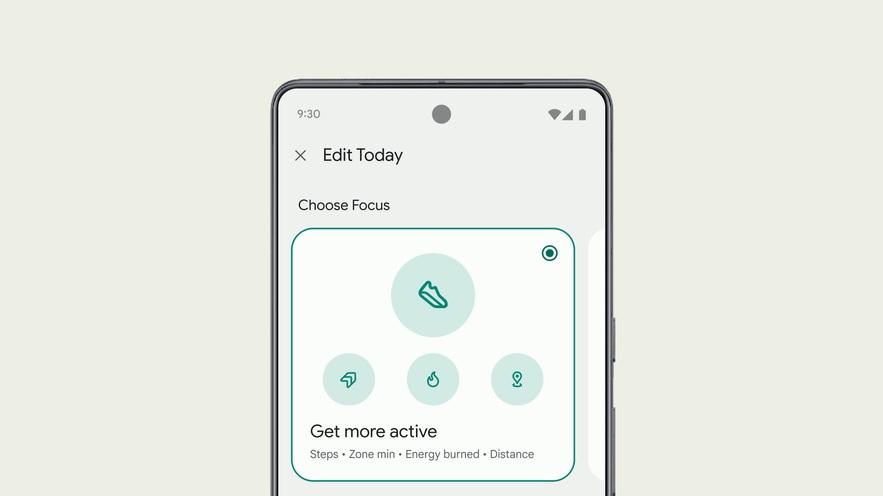
The Fitbit Today tab is the first thing you see when you open the app, showing all of the latest data taken from your device. You can decide what data shows up on top, based on your priorities.
In the top-right corner under your profile picture, tap the small pencil icon to open the Editor mode. There, you'll choose your Focus, whether it be Activity (the default), Sleep, Weight, Stress, Heart Health, or Custom.
Then, underneath the Focus, you can choose the widget order and toggle off specific metrics. For example, if you have no plans to track weight or nutrition with the Fitbit app — you'd need to do so manually — then you can and should make those invisible.
Set a Fitbit Premium cancellation/renewal reminder
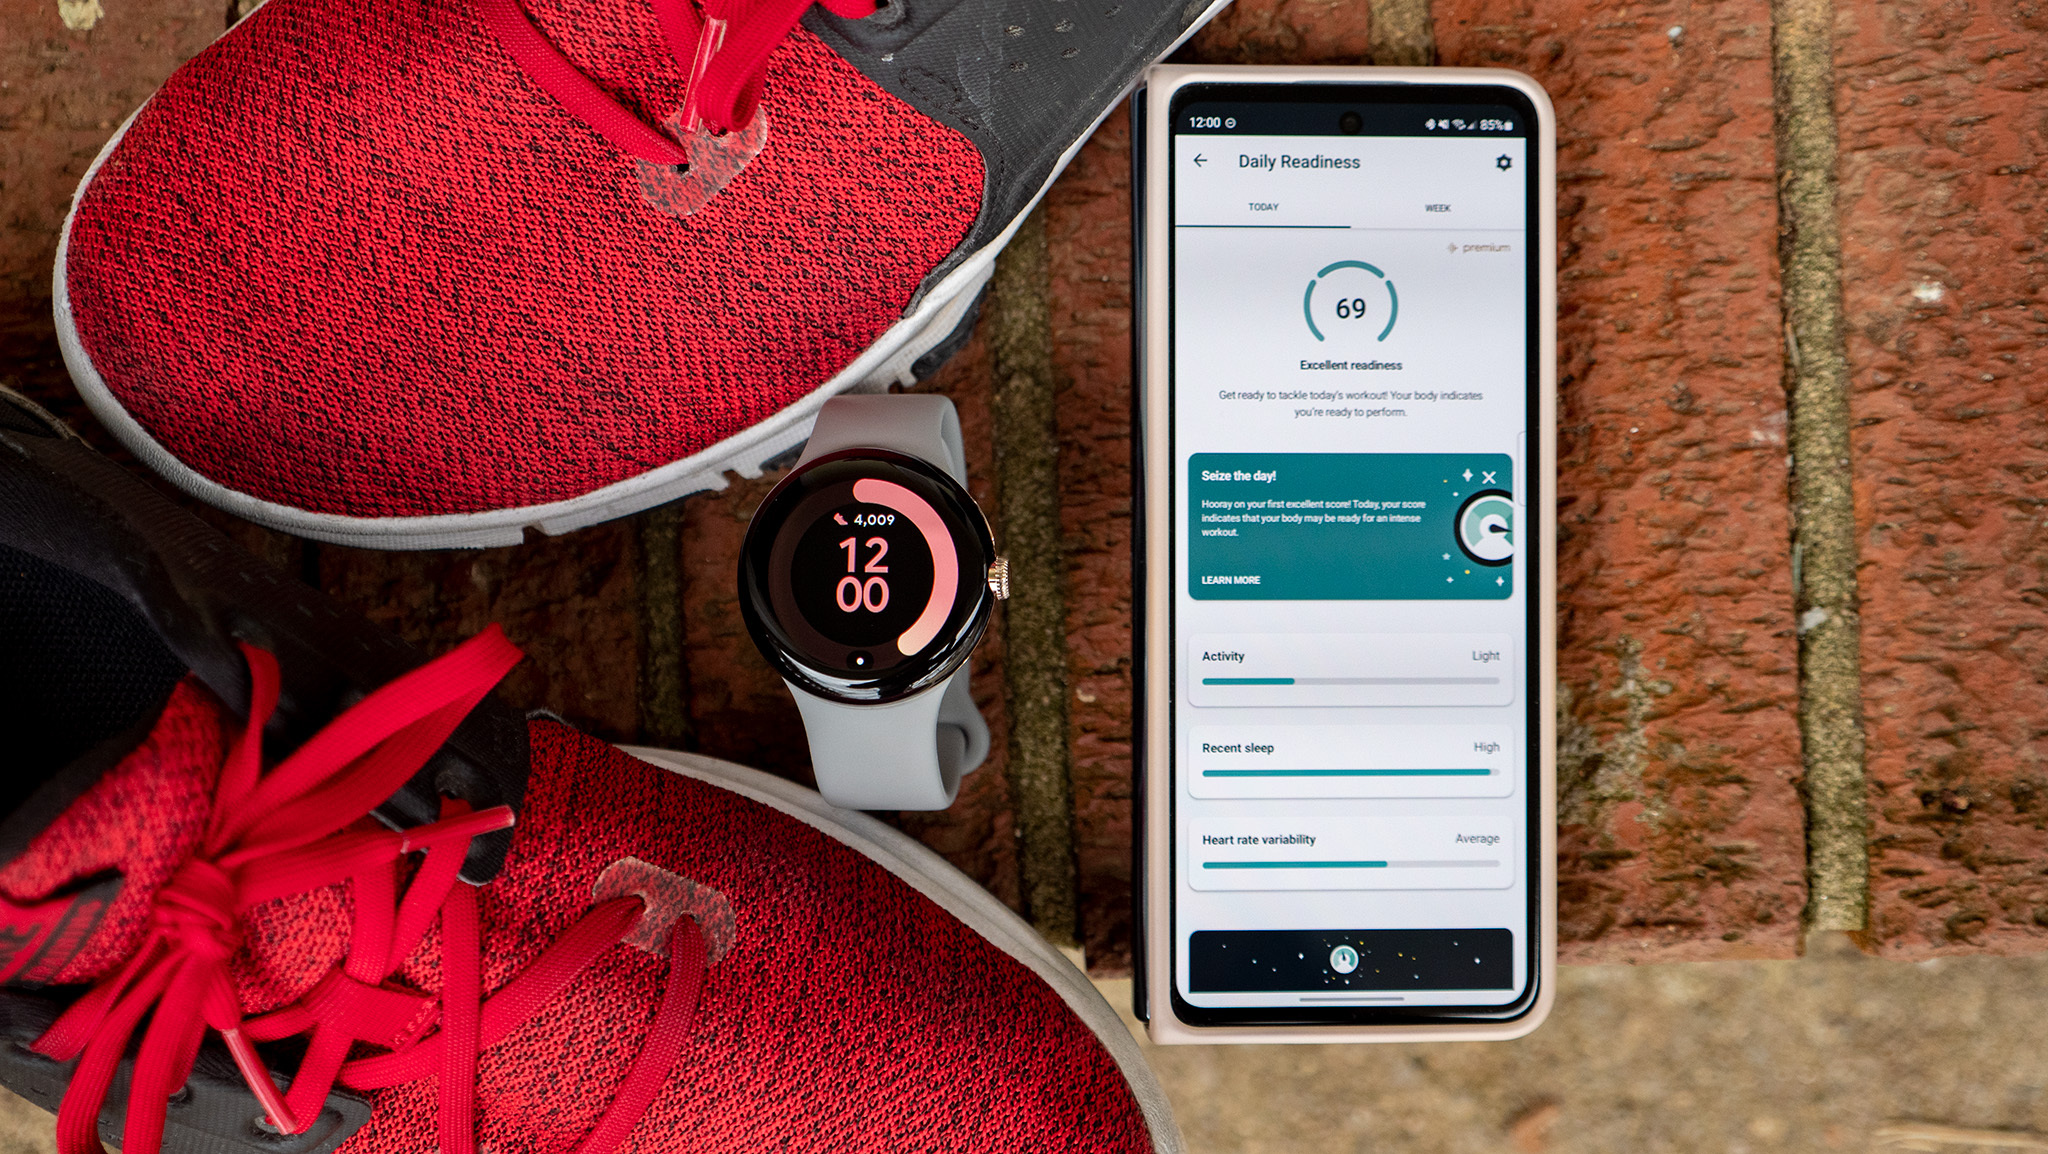
There is a long-standing debate on whether or not Fitbit Premium is worth the annual subscription. Your Fitbit functions perfectly well without it, but long-term health trends, workouts, meditations, and your Daily Readiness Score are all locked behind a paywall.
Every new Fitbit today comes with six months of free Fitbit Premium, as Fitbit tries to hook you into becoming dependent on these tools. You'll also have to give Fitbit your credit card info, and six months later, you're on the hook for either $9.99/month or $79.99/year. Our bet is that most people forget to cancel it.
That's why, after you activate your Fitbit, your first step should be to go into your calendar app and create a reminder one week before the six-month deadline. At that point, you'll know whether or not you use Premium enough to keep paying, and you can decide to (A) cancel or (B) switch from monthly to annual to save yourself $40 over the year.
Sync your Fitbit data to (or from) your favorite app
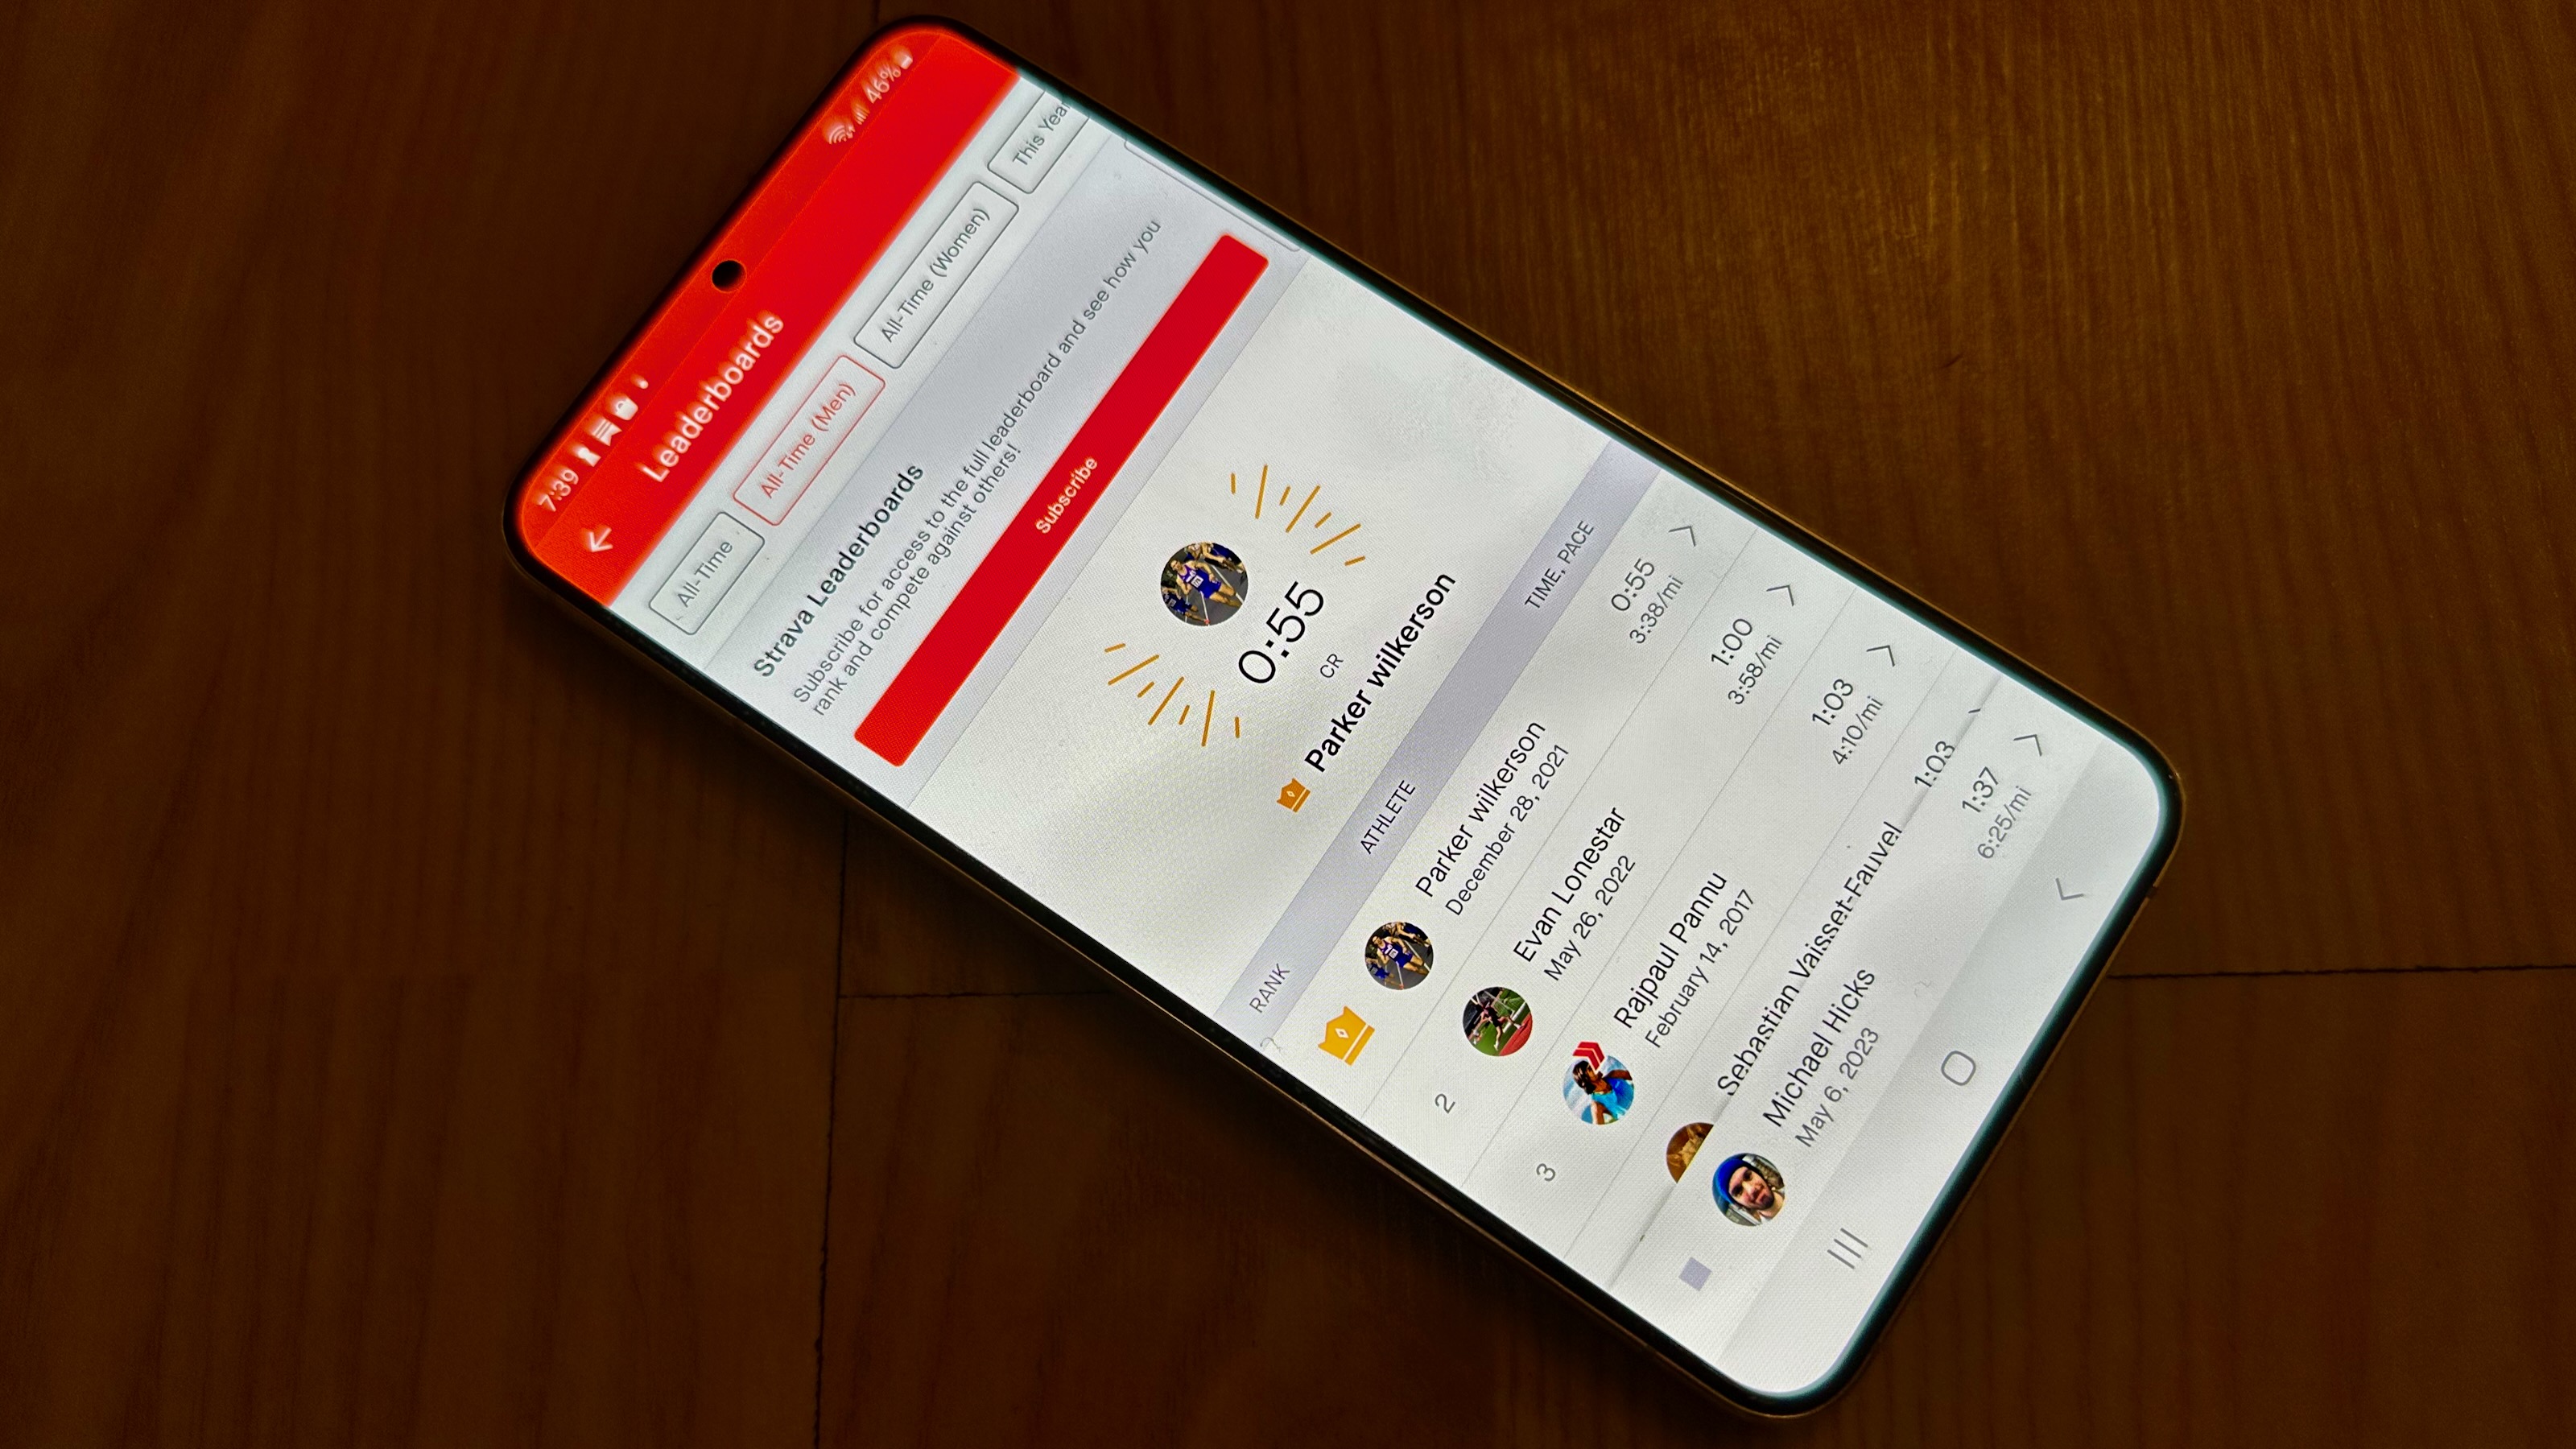
Unless you're a couch-to-5Ker who's new to working out, you probably already have a favorite fitness app. While you can use the redesigned Fitbit app natively to track workouts, you may prefer to sync the data to another app like Strava, where you already have fitness buddies.
If you use Strava, you can go to strava.fitbit.com/ and log into your account to sync the two. Other fitness apps like Runkeeper and MyFitnessPal have dedicated "Apps" or "Connect" sections in their own settings where you can select Fitbit and then log into your Google account to sync them.
Fitbit doesn't play nice with other fitness apps, either for Android or iOS. If you have an Android phone, you have a ready-made solution: Health Connect. It's an app that can sync Fitbit with Google Fit, Samsung Health, Oura, Pelaton, and several other well-known brands. We have a guide on how to use Google Health Connect to set up the connection, but it doesn't take long.
Apple Fitness Plus is a major competitor to Fitbit Premium. If you want your Fitbit data to go to Apple Health, you have two options. The first is to use an intermediary like Strava that can sync with the Health app, but this will only send specific data like workouts. For a full transfer, there's a paid app called "Sync Solver: Fitbit to Health" that will send your calories, sleep summaries, steps, and so on to Health.
Lastly, if you own a Withings smart scale, you may want to send your weigh-ins and body fat percentages to the Fitbit app to improve its recommendations and health reports. In that case, go to fitbit.com/weight/withings and follow the steps.
Adjust your daily goals and move reminders
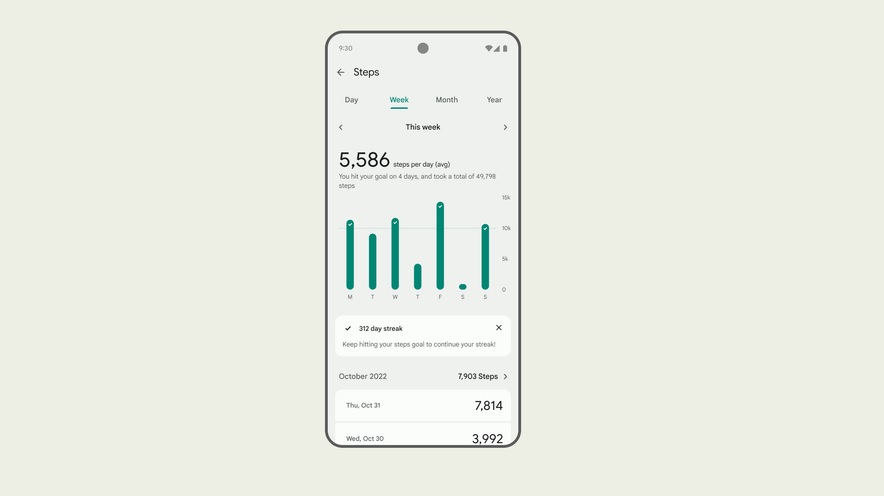
In the Fitbit app, tap your account photo in the top-right corner, then Fitbit settings > Activity & Wellness. Here, you can adjust your goals for your time spent asleep, weight and body fat percentage goals, how many days a week you want to exercise, how long before your Fitbit auto-recognizes a workout (15 minutes is the default), and your target heart rate zones for workouts.
Even if you don't touch these, everyone should look at the Daily Activity tab. Here, you'll adjust your daily steps, distance, and weekly Active Zone Minutes goals.
We've written in the past about the benefits of walking 10,000 steps a day, but studies show that 6,000–8,000 is a more reasonable target with noticeable benefits as you try to start a Fitbit step streak.
You shouldn't aim for less than 150 Active Zone Minutes per week — it's generally agreed to be a baseline for staying healthy — you may want to challenge yourself to push even harder. As a runner, I personally aim for at least 250 AZMs and usually hit above 300.
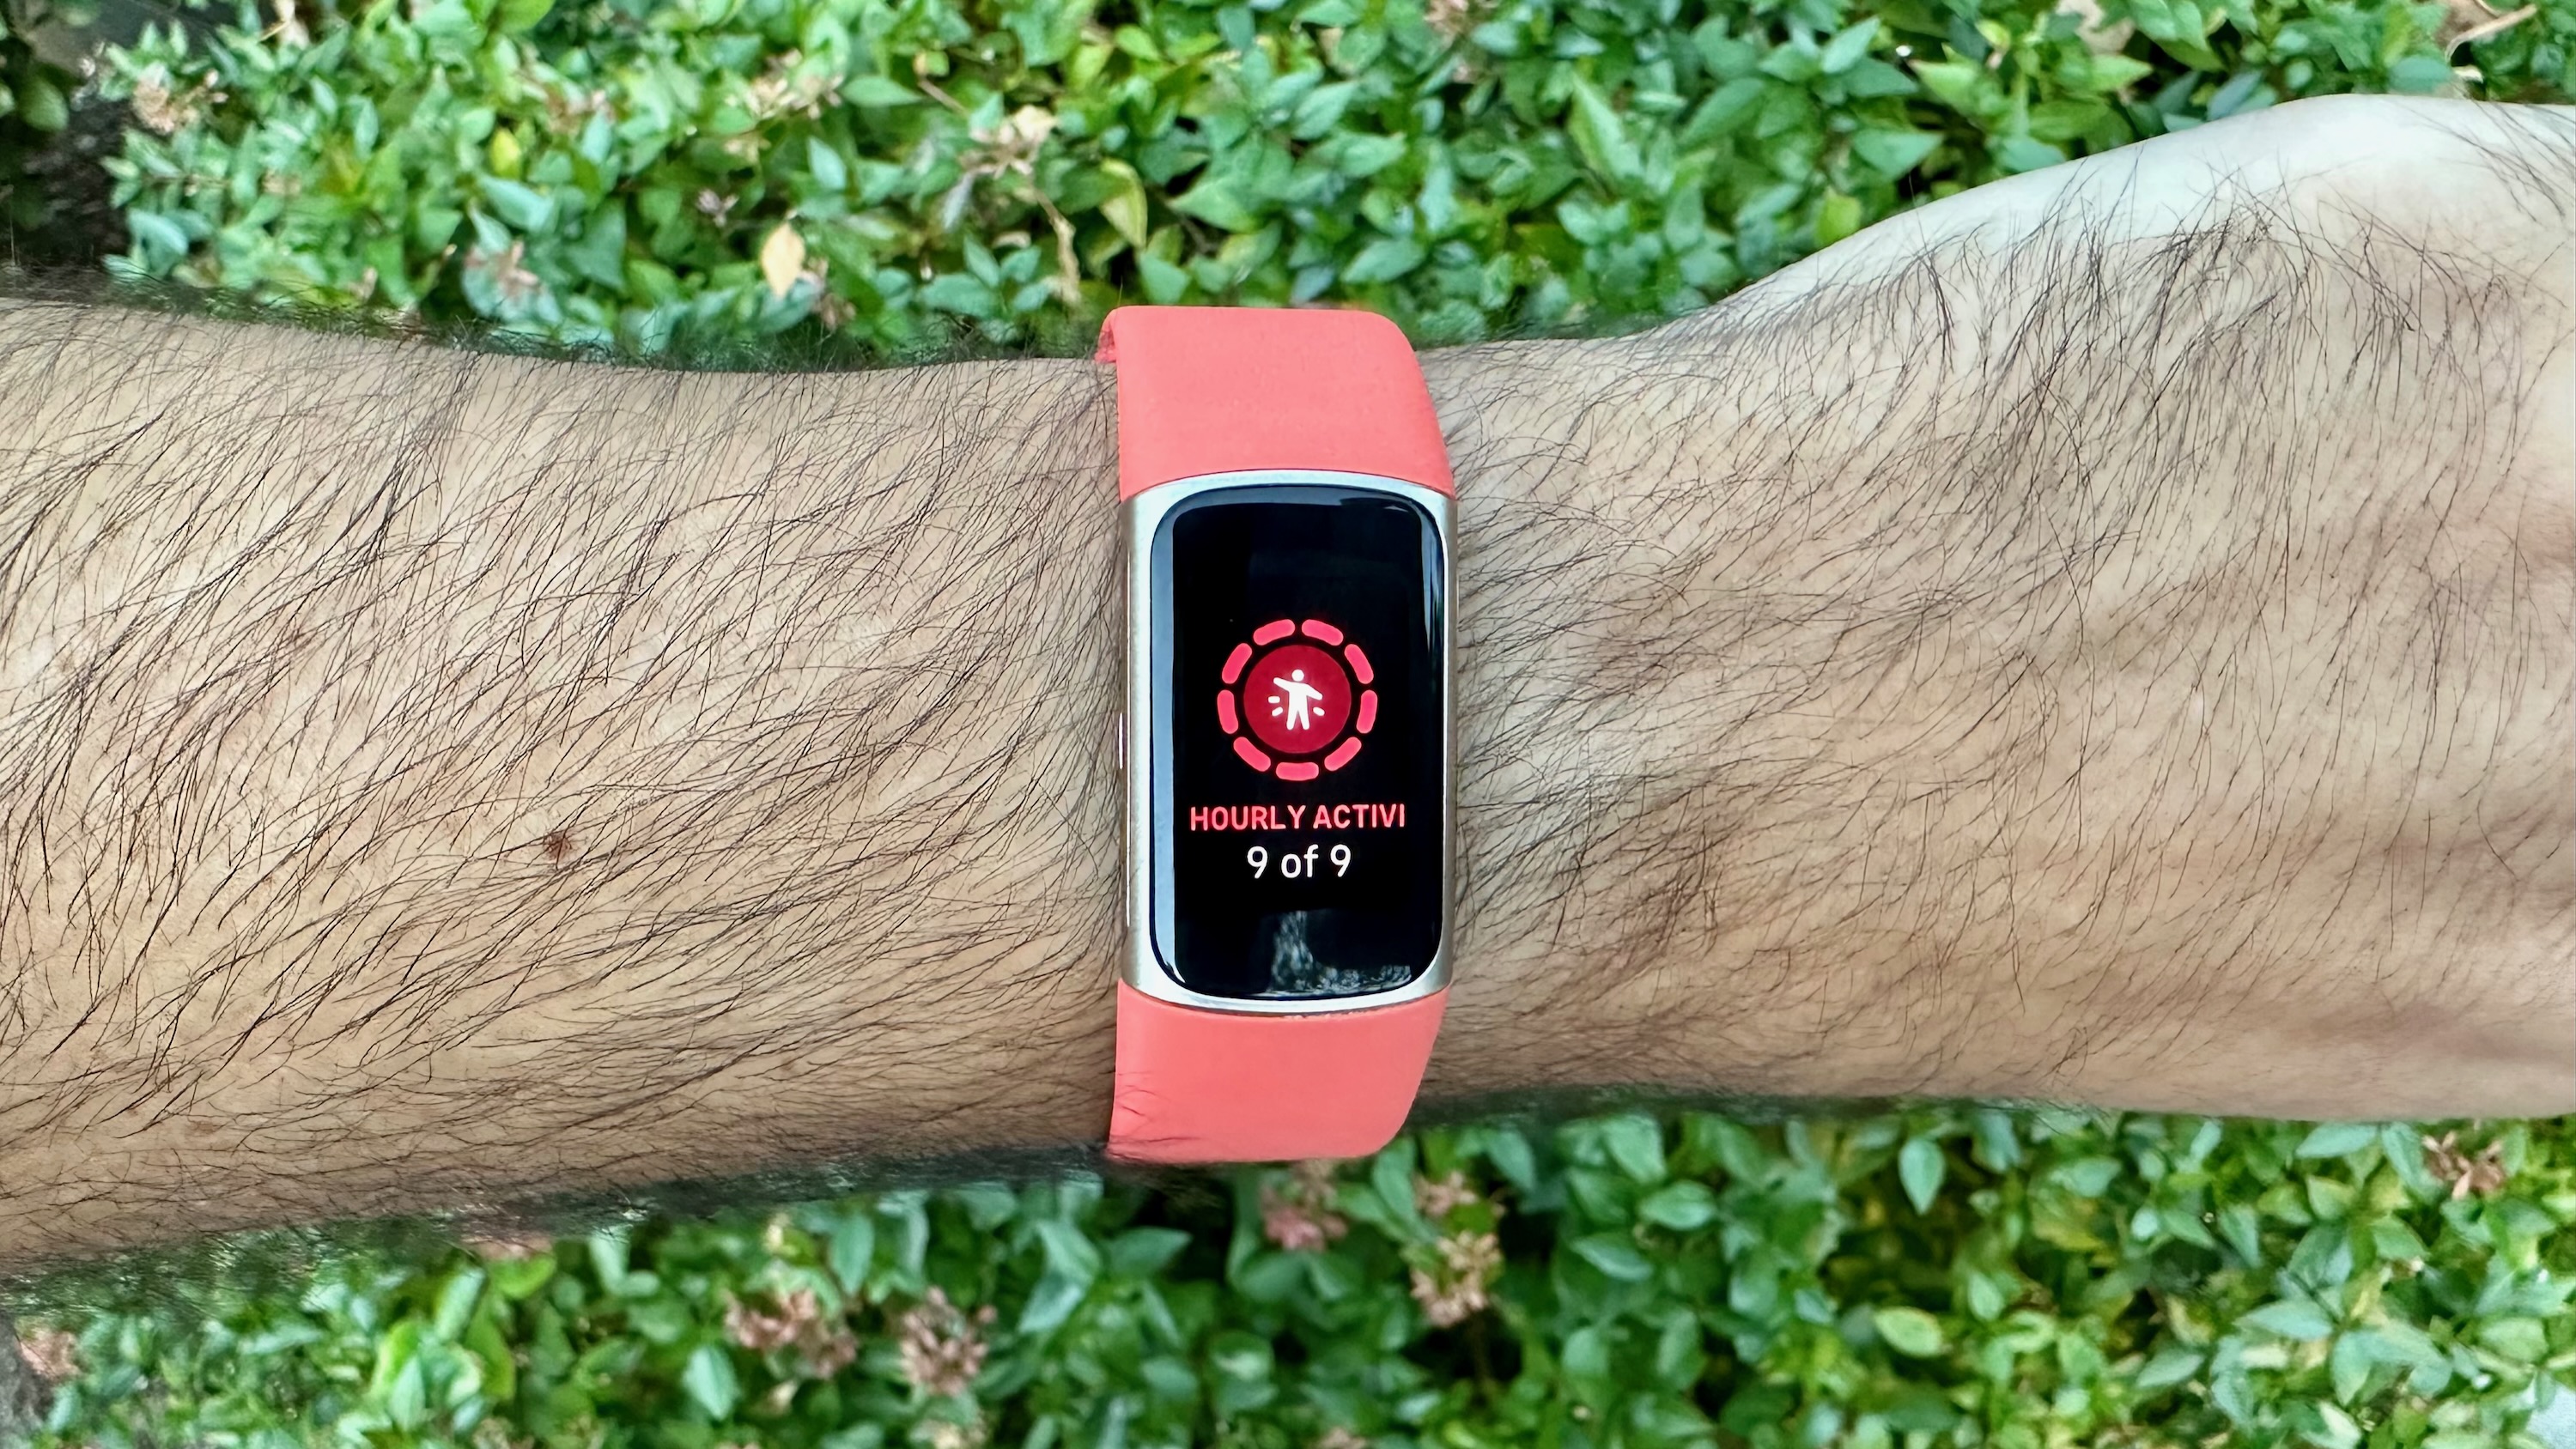
In this same view, you can tap Hourly Activity Goal to turn off Move Reminders or adjust how many hours you're expected to move. With this feature on, Fitbit demands that you walk 250 steps every hour, reminding you of your goal at the 50-minute mark — and you can't adjust this step goal to be shorter.
Some Fitbit users within our staff call this feature annoying and immediately turn it off, while others among us recognize that the annoyance is the point since sitting too much causes serious health problems, and Fitbit is prodding us into being healthier. For a compromise, you can narrow the window of reminders to, say, 12p to 5p so that it's more manageable and you have time to wake up first.
Activate your heart health tools
In the Fitbit app, tap the You tab and look under Health assessments. There, you'll see the option to turn on passive irregular heart rhythm (AFib) notifications and activate the electrocardiogram (ECG) for active AFib readings.
In both cases, Fitbit will attempt to detect signs of heart issues that typically signal the possibility of serious conditions like blood clots or heart failure. A Fitbit isn't medical-grade in terms of accuracy, but passive detection during sleep tracking is likely to pick up at least some sign of it, and you can take 30-second active readings with the ECG. You just have to activate these tools on your phone first.
Make Google Maps appear automatically on your wrist
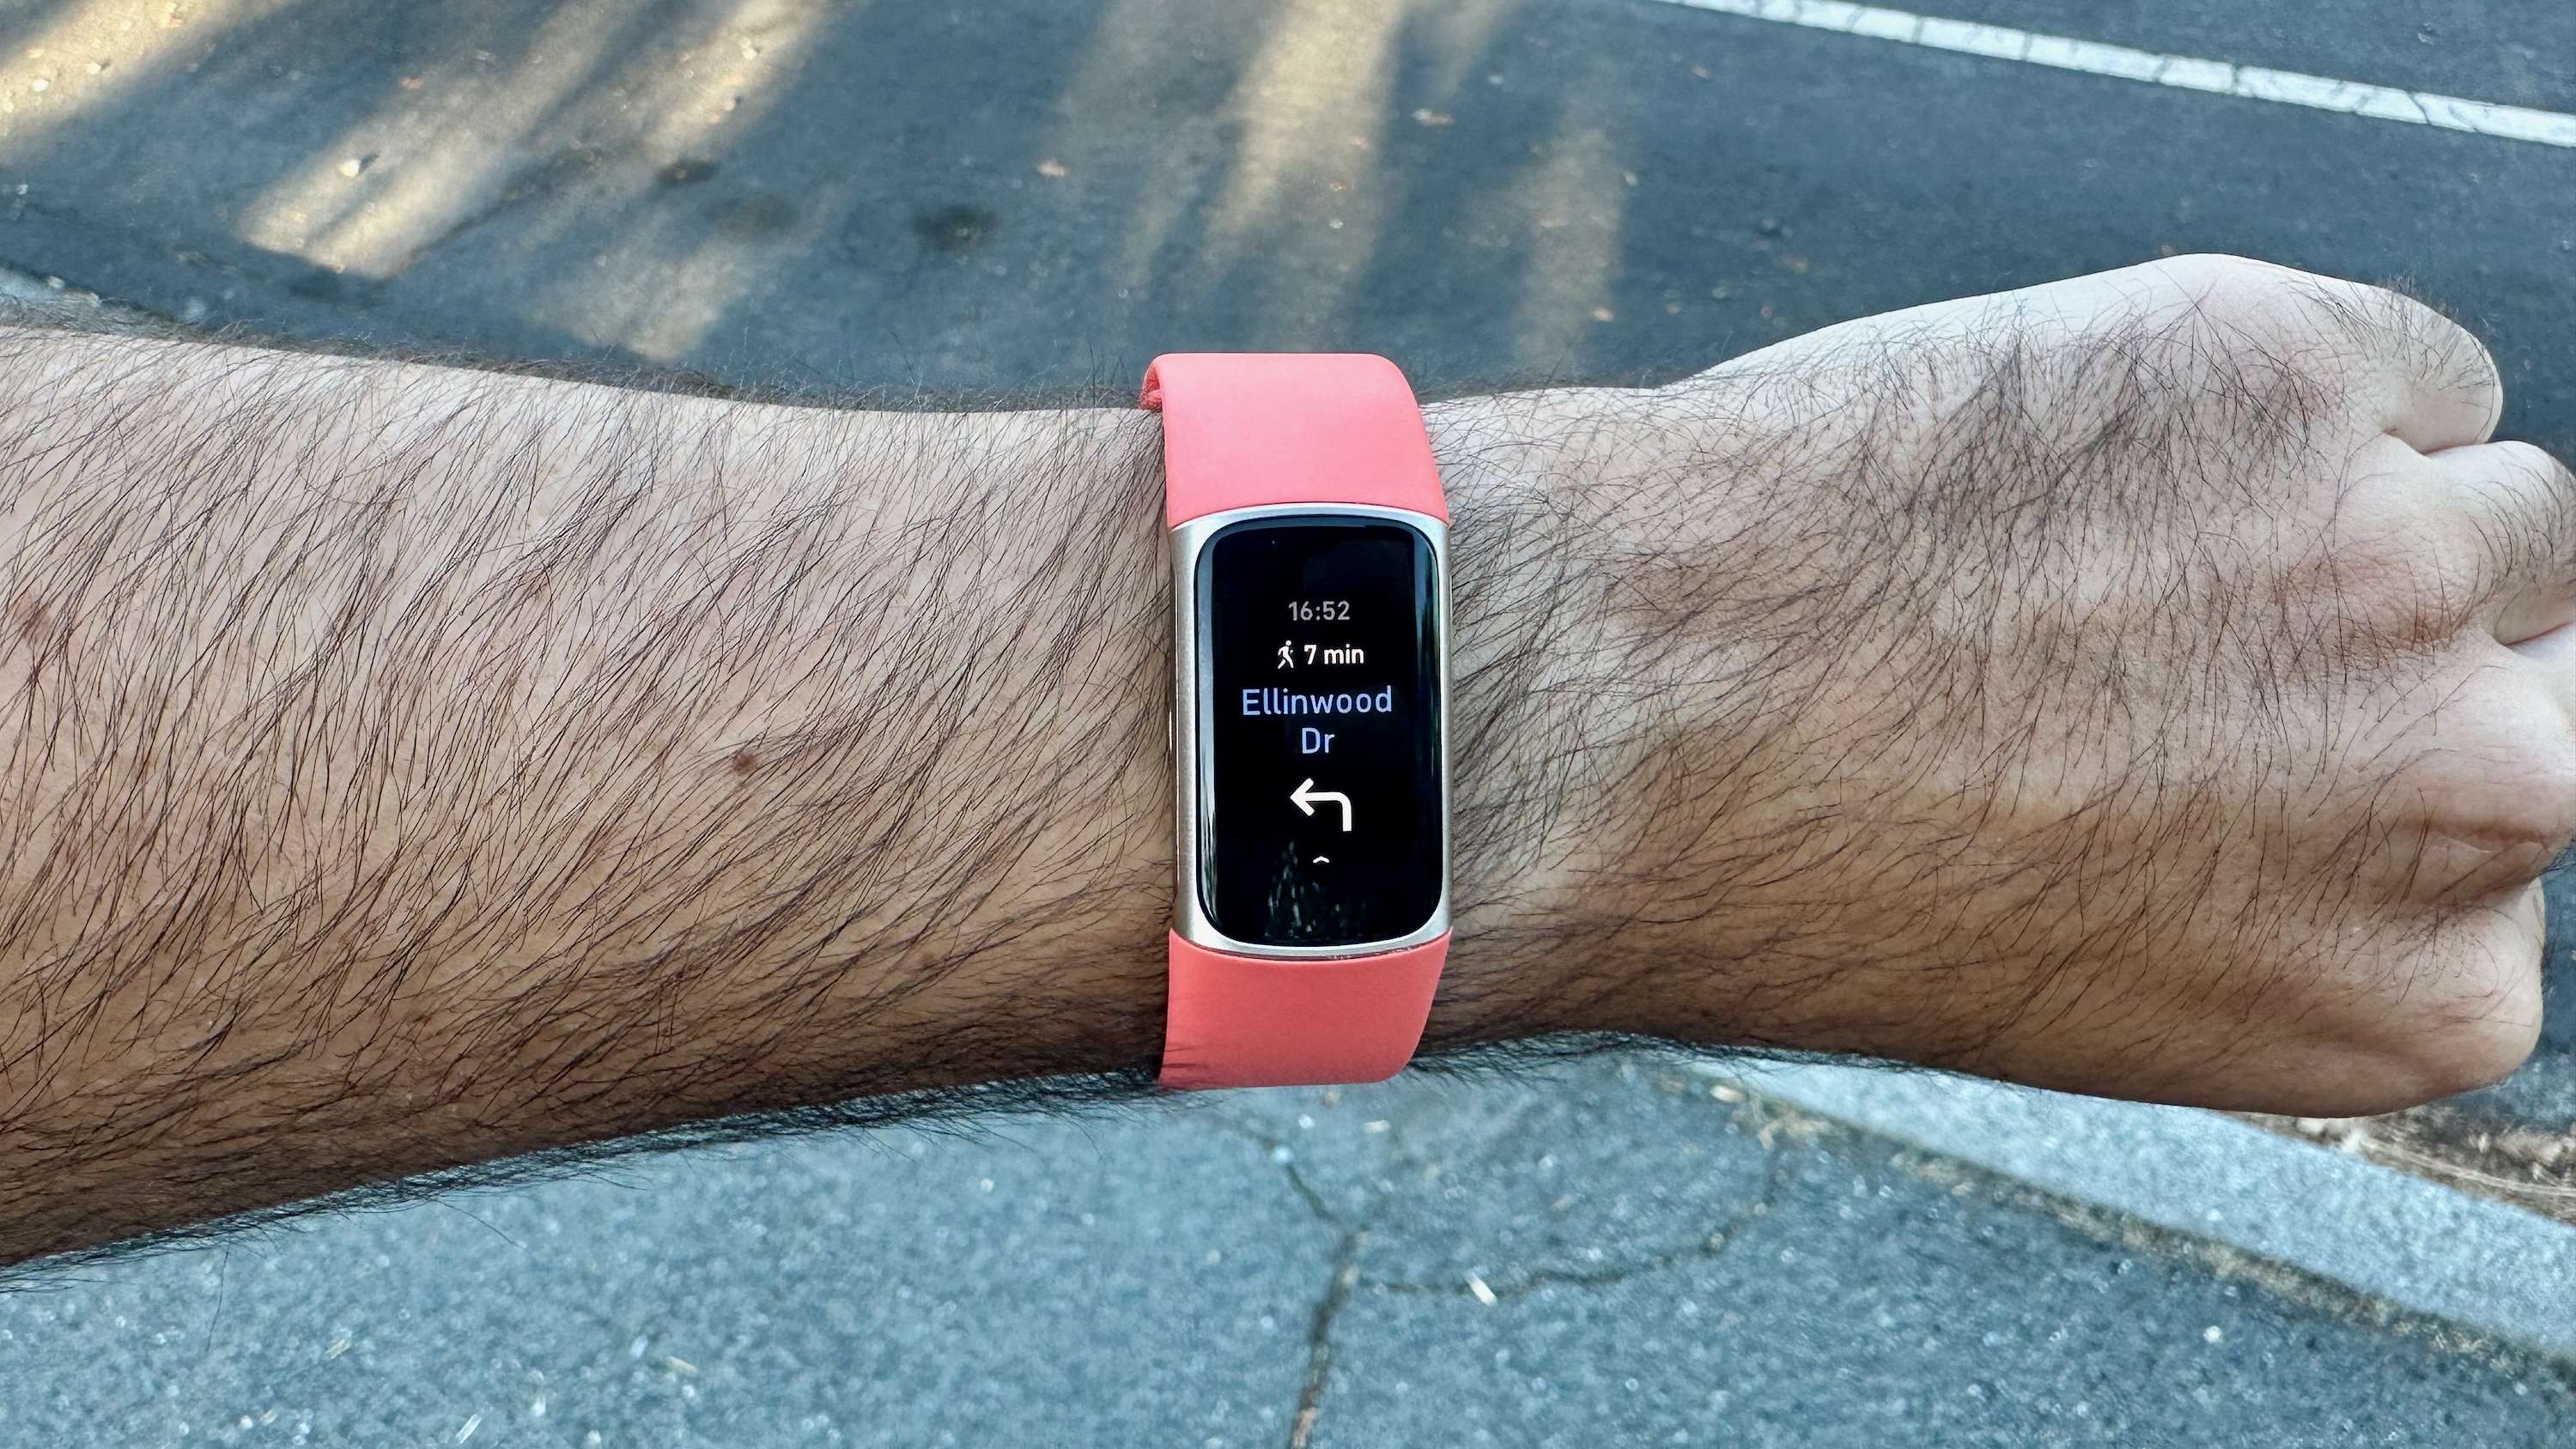
Since Google acquired Fitbit, the wearable brand has left behind most third-party partners in favor of Google's own apps. It's been a controversial shift in some ways, but we'll freely say that having Google Maps on a Fitbit is a great perk.
The Sense 2, Versa 4, and Charge 6 all support Google Maps, though not a proper app; instead, they're set up to auto-sync to your phone's directions, displaying an arrow and distance to your next turn or destination.
Our how-to guide will walk you through every step, but essentially, you just need to tap the top-left icon in the Fitbit Today tab, tap your connected device's name, and then tap the Google Maps icon. It'll take you through the steps to sync Maps to Fitbit, and then you can decide which type of directions show up on your wrist. We'd recommend enabling Walking and Cycling but not Driving if you already have an infotainment screen in your car.
Set up Google Wallet for tap-to-pay
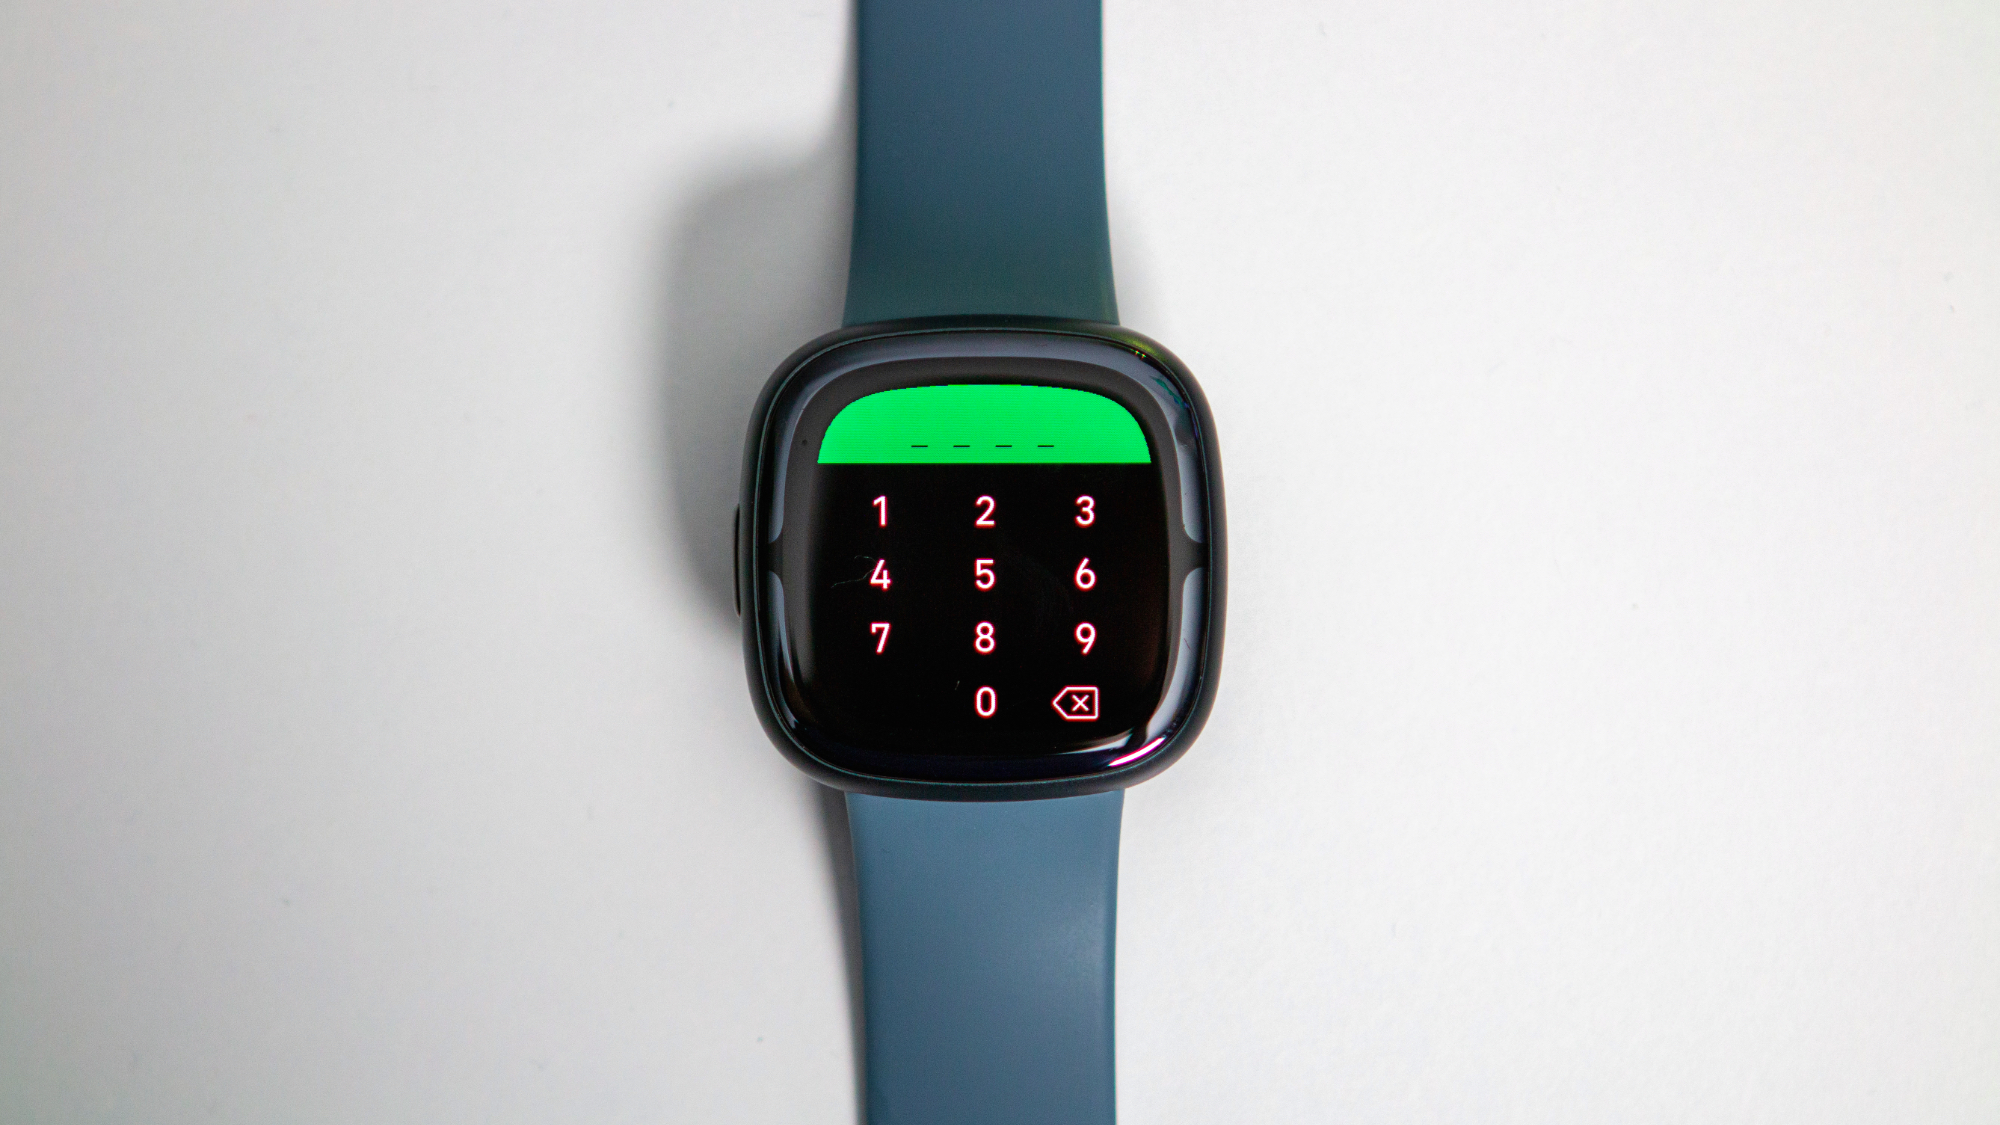
Older Fitbit trackers use Fitbit Pay, and our old guide on how to add a card to Fitbit Pay should hopefully still apply. Otherwise, newer Fitbits have transitioned to Google Pay, with the same tap-to-pay function but the upside of using your Google account's stored credit cards.
We have a separate Google Wallet on Fitbit setup guide you can follow for the latest models. As with Google Maps, you need to tap your device icon to find the Wallet icon. If you've used Fitbit Pay in the past, you'll need to choose Switch to Wallet first, but then everyone will need to sign into their Google account, select a credit card from their Wallet, and then add a PIN to their Fitbit to protect payments.
Once active, Wallet can be found on the Versa 4 or Sense 2 by tapping the side button and scrolling through the list of apps, or you can set Google Wallet as a shortcut. On the Charge 6, Wallet is the default shortcut when you double-tap the haptic button, or you can swipe down from the main watch face to find it.
You'll then have to enter your PIN. The larger Sense/Versa display gives you a full number pad, while the tiny Charge 6 display makes you swipe up and down through each number. It's slow, so take that into account if you don't want to annoy the people behind you in line.
Stream your music playlist (if you're lucky)
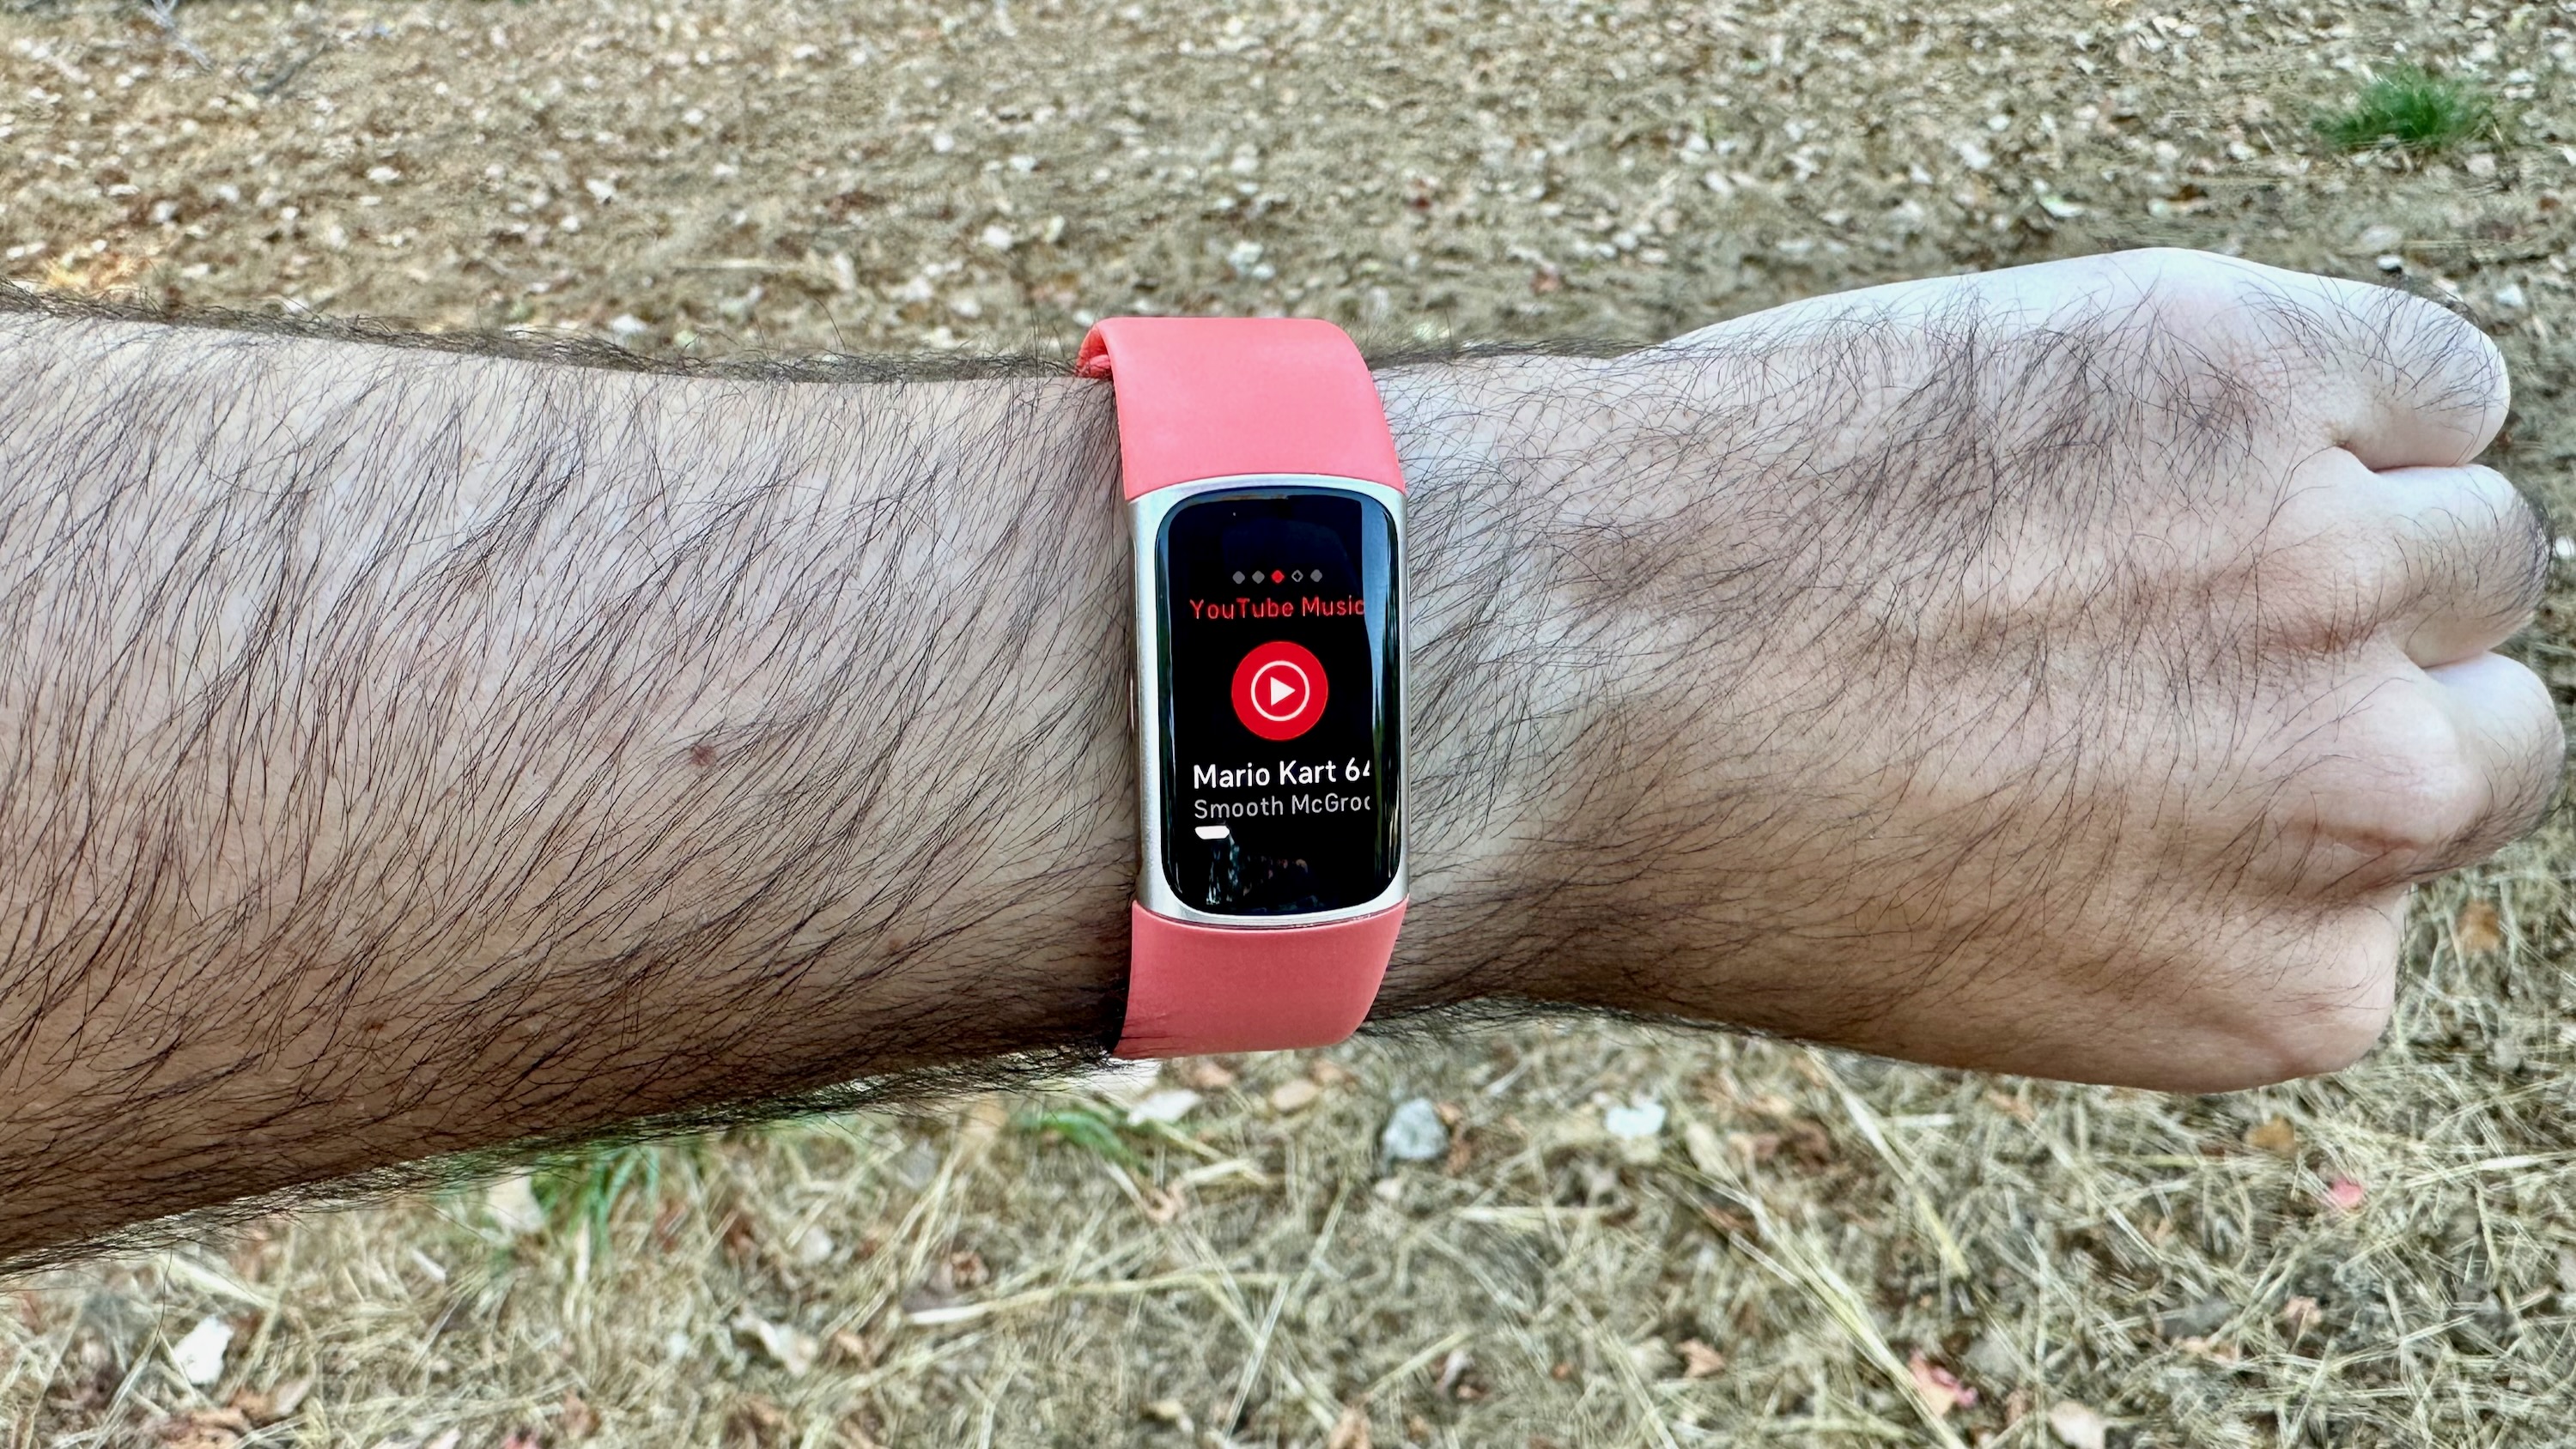
Almost all of the best fitness trackers control your phone's music over Bluetooth, but after the release of the Fitbit Sense and Versa 3, Google took control of Fitbit and removed this basic functionality from the Sense 2 and Versa 4. With those and the Inspire 3, you have no way to control your phone's music.
With the latest Fitbit Charge 6, Google revealed why it did so: to make YouTube Music Premium (yes, you need a subscription) the only music option available on Fitbit and to try and force Fitbit customers to switch to its own service.
The exclusivity is aggravating to people who use other music streaming apps, but if you're willing to subscribe, then you can Play/Pause a song, change the volume, skip to the next song, or find a new recent playlist with the YouTube Music widget, which you'll find when you swipe left from the Charge 6's main watch face. To activate it, go to the same Fitbit app menu as Wallet and Maps, then sign in.
Update your watch face and turn on AOD
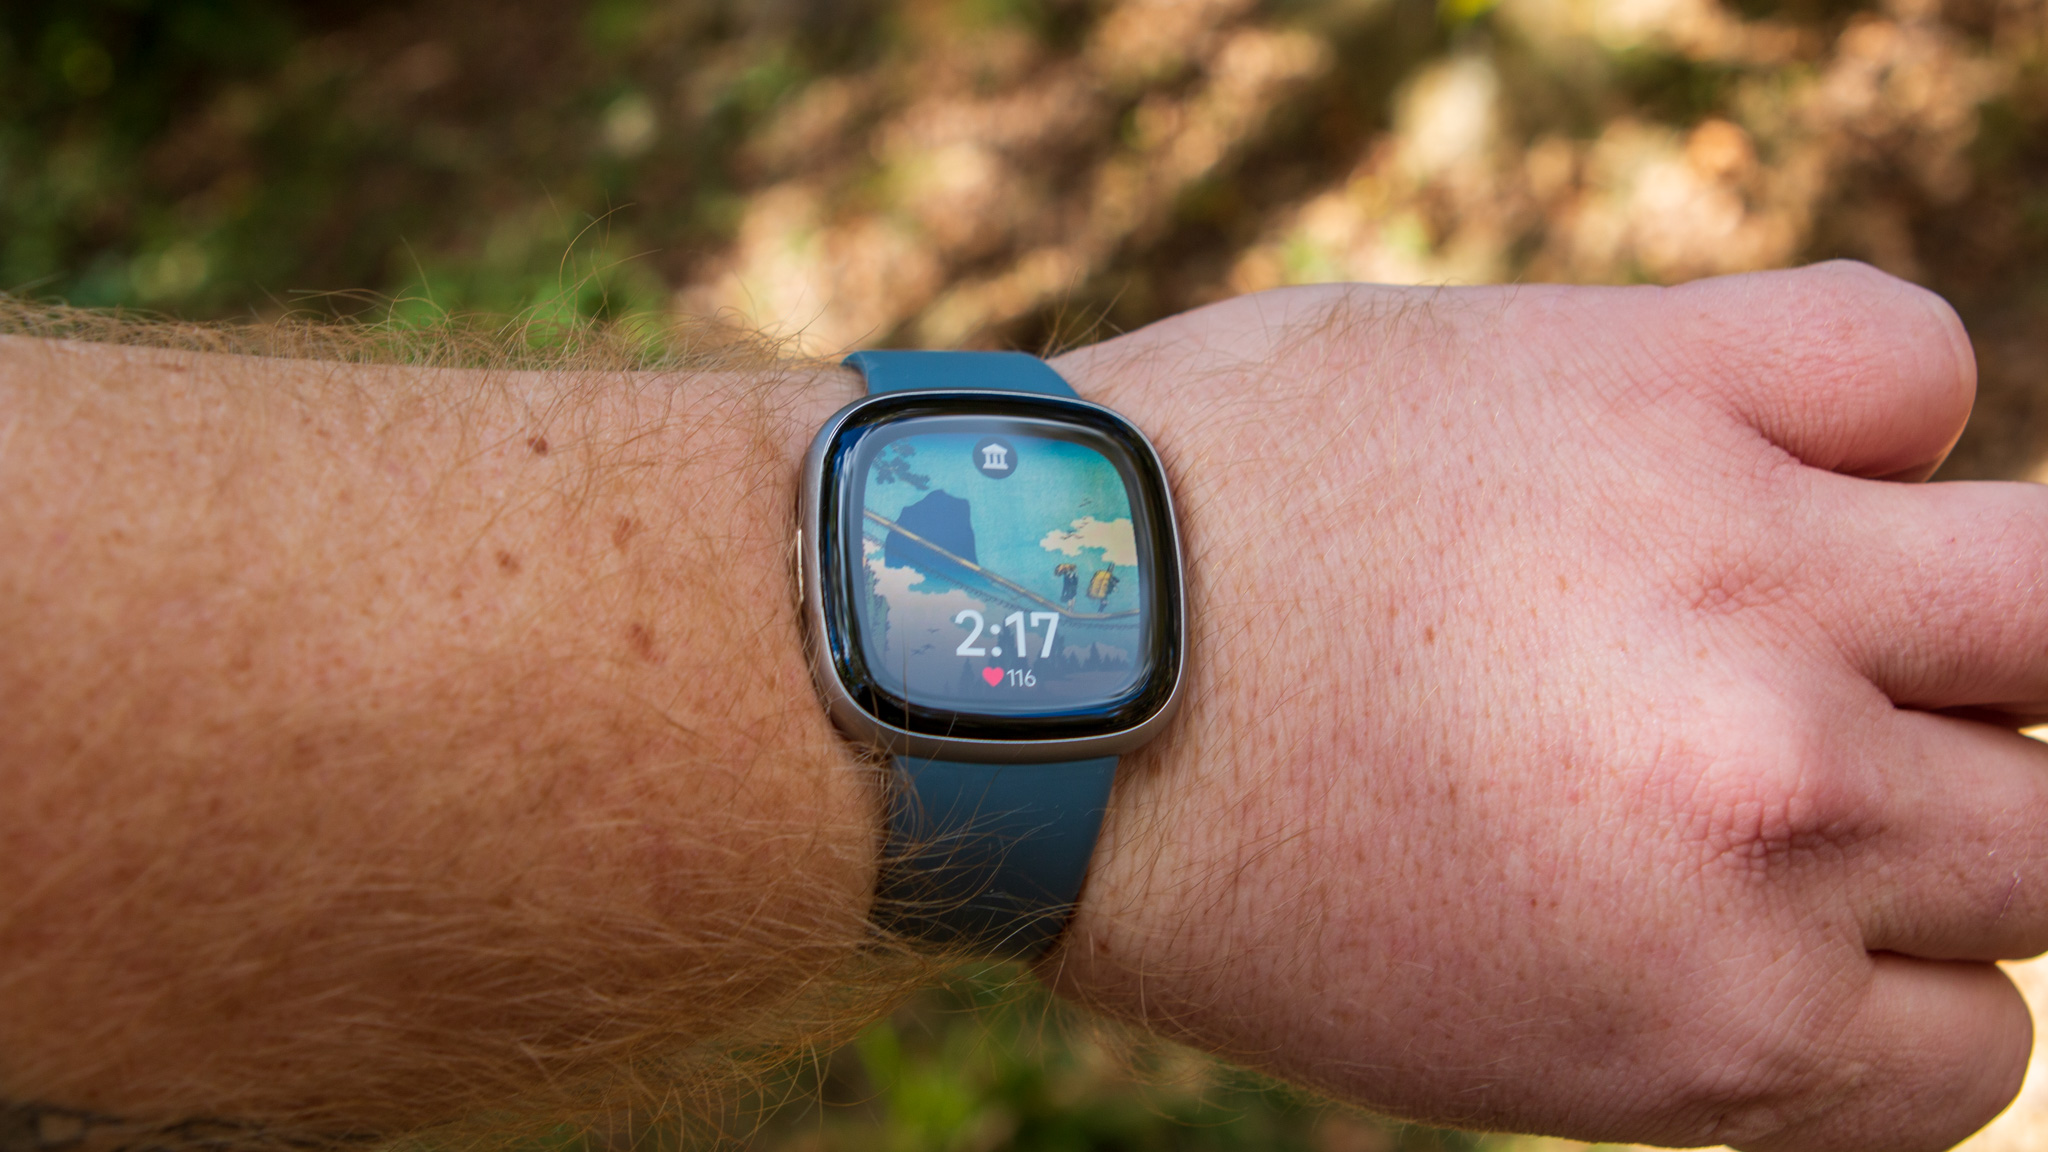
Fitbit usually picks a stylish watch face as the default option, so you don't have to switch if you don't want to. But it's nice to check out your options before you commit!
To update your Fitbit's watch face, you'll once again need to tap the top-left button showing your device's percentage, then tap your device's name. Select Gallery > Clocks to see every official watch face available for your device.
Choose any watch face and hit Install to send it to your device. Fitbit Sense and Versa watches can save five watch faces at a time, while the Charge 6 will only remember one at a time.
Stay on the watch face screen until it finishes installing, then tap Customize to change things like the clock color, whether your current heart rate is always visible — which might stress some users out — and what other data besides Steps pops up when you tap the display.
Each watch face has its own custom Always-On Display (AOD) setting that matches the clock font. To turn AOD on or off, simply swipe down on the Sense 2 or Versa 4 to pull up your Quick Settings and tap the Clock icon. On the Charge 6, you have to swipe down until you find Settings, then Display Settings > AOD.
Balance battery life and better UI
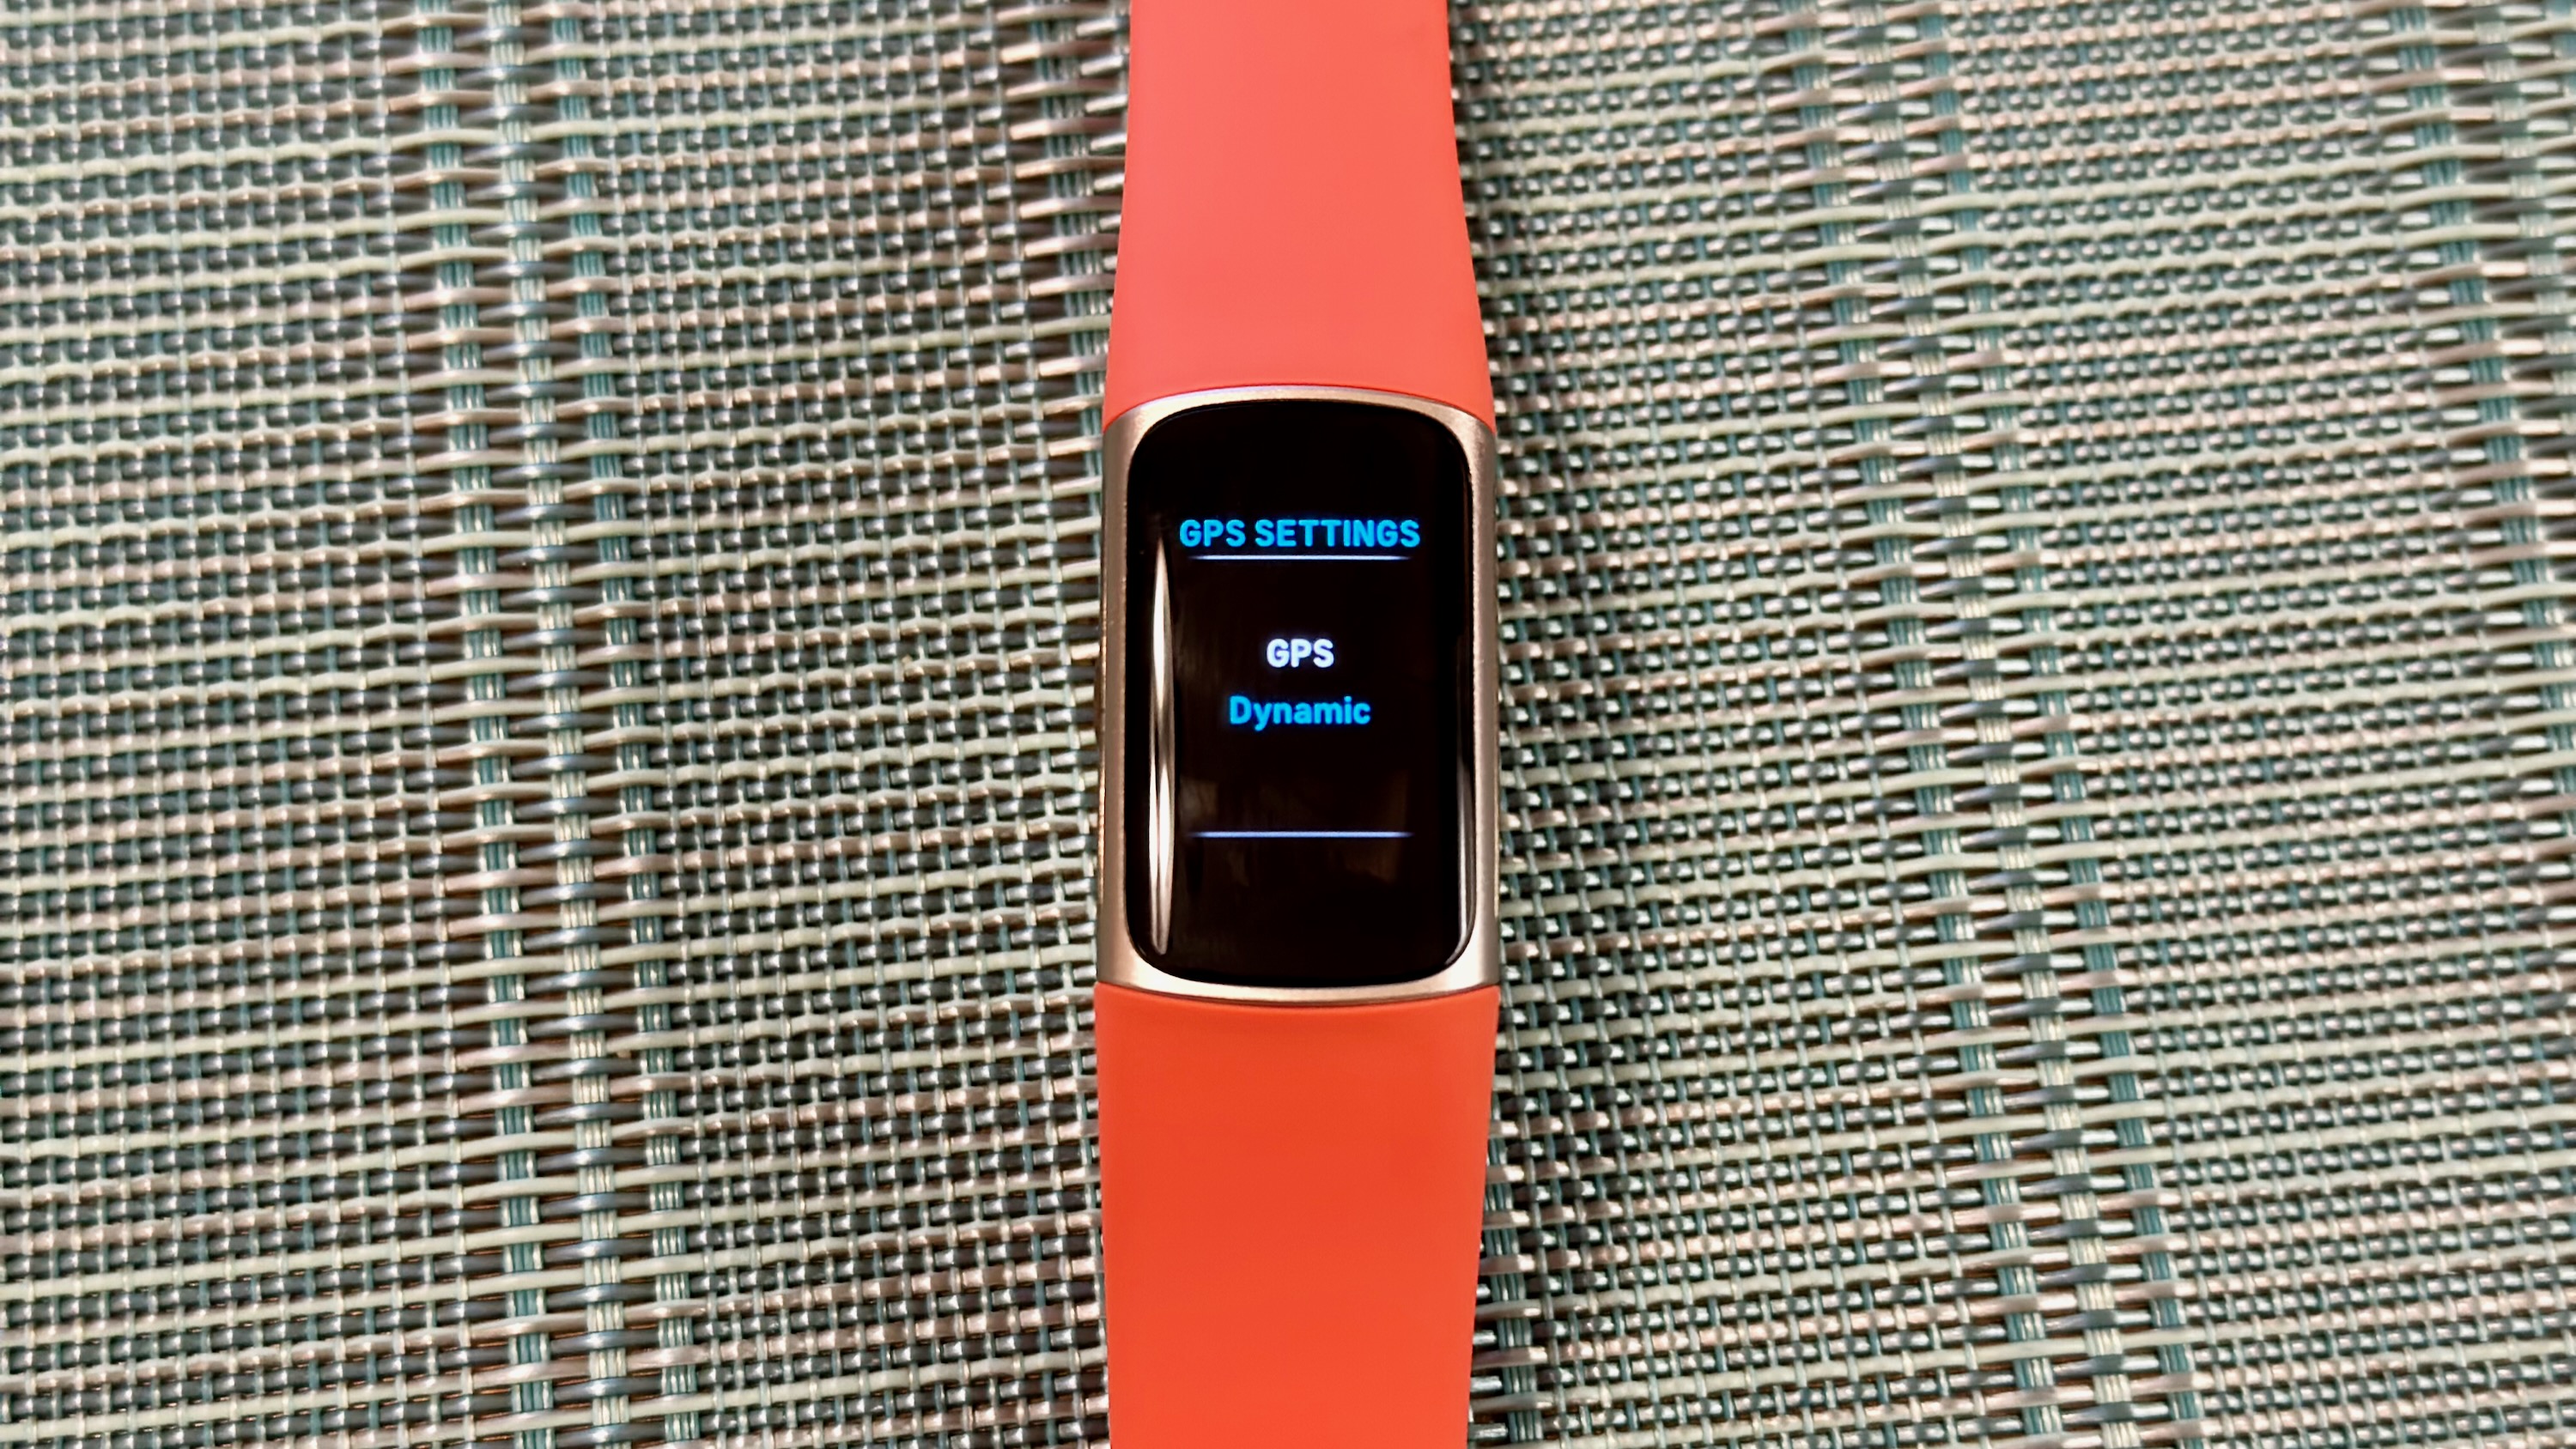
Most Fitbits are rated to last about 6–10 days in ideal conditions, but that number dips depending on the settings and sensors you activate. You can make sure your Fitbit lasts as long as possible, but this could make your Fitbit annoying to use or less useful to you.
These are the main factors to consider:
- If you run with your phone, you may want to use Connected or Dynamic GPS instead of built-in GPS tracking. In our tests, Fitbit's built-in GPS didn't do much better than a smartphone's GPS and continuous GPS can kill a Charge 6 or Versa 4 in five or 12 hours, respectively.
- In Settings, you can Dim or Brighten your display, deactivate AOD, and change your screen time-out duration. We recommend a Long time-out, even if it hurts the battery, so you're not constantly having to shake your wrist or squeeze the haptic button when you take too long.
- You may want to Uninstall the SpO2 app. Blood oxygen readings use a decent chunk of battery life. In the Gallery, where you change your watch face, tap Apps at the top to find and remove SpO2.
- You can reduce the number of times your Fitbit display lights up per day by tapping Notifications in the device menu and changing which phone notifications are allowed to show up on your wrist.
Connect your Charge 6 to your Peloton
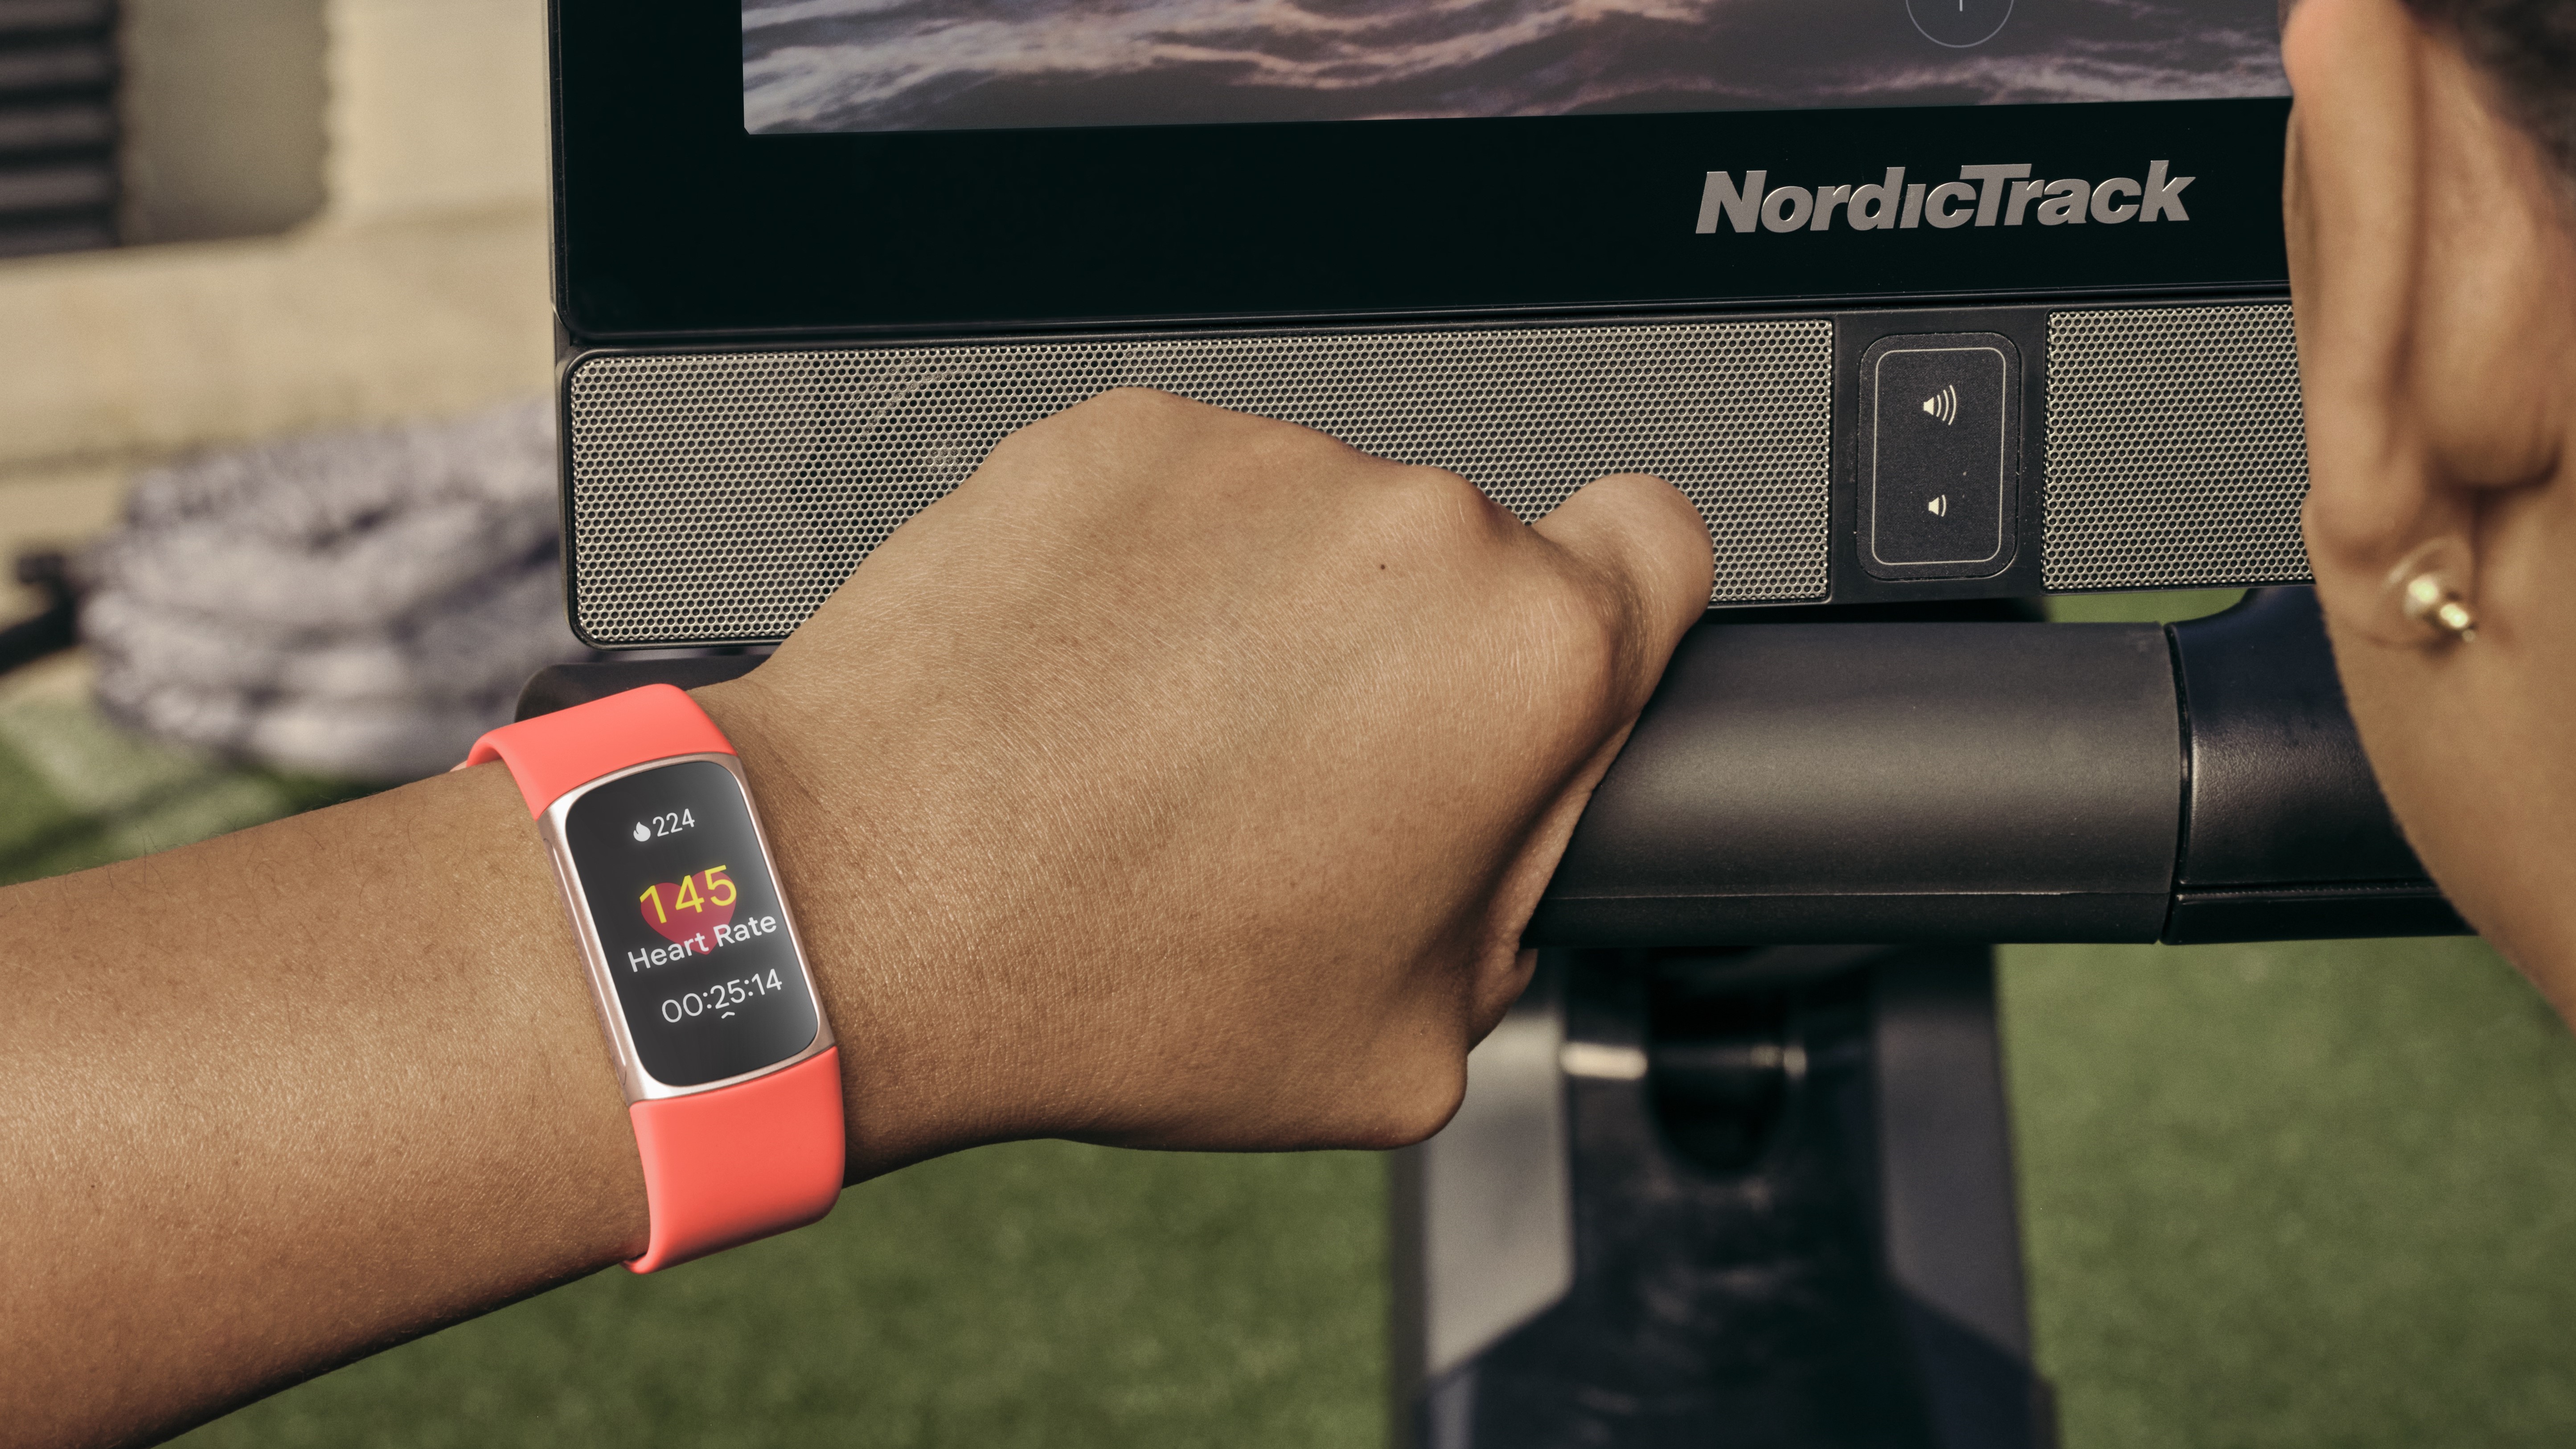
Another exclusive Fitbit Charge 6 feature (sorry, Versa and Sense owners) is the ability to broadcast your heart rate on supported exercise equipment or third-party apps. Specifically, Fitbit has partnered with Nordic, Peloton, Concept2, and Tonal, with the possibility of other compatible tech down the line.
On your Charge 6, swipe down from the watch face until you see HR on equipment and tap it. This essentially puts the tracker in active Bluetooth pairing mode; now, go to your exercise equipment, activate the Bluetooth search function, and select the Charge 6. Back on the tracker, tap Share to confirm the connection.
Your Charge 6 will keep broadcasting as you start a tracked workout, then stop sharing with the equipment once you end the exercise.
Start a video workout
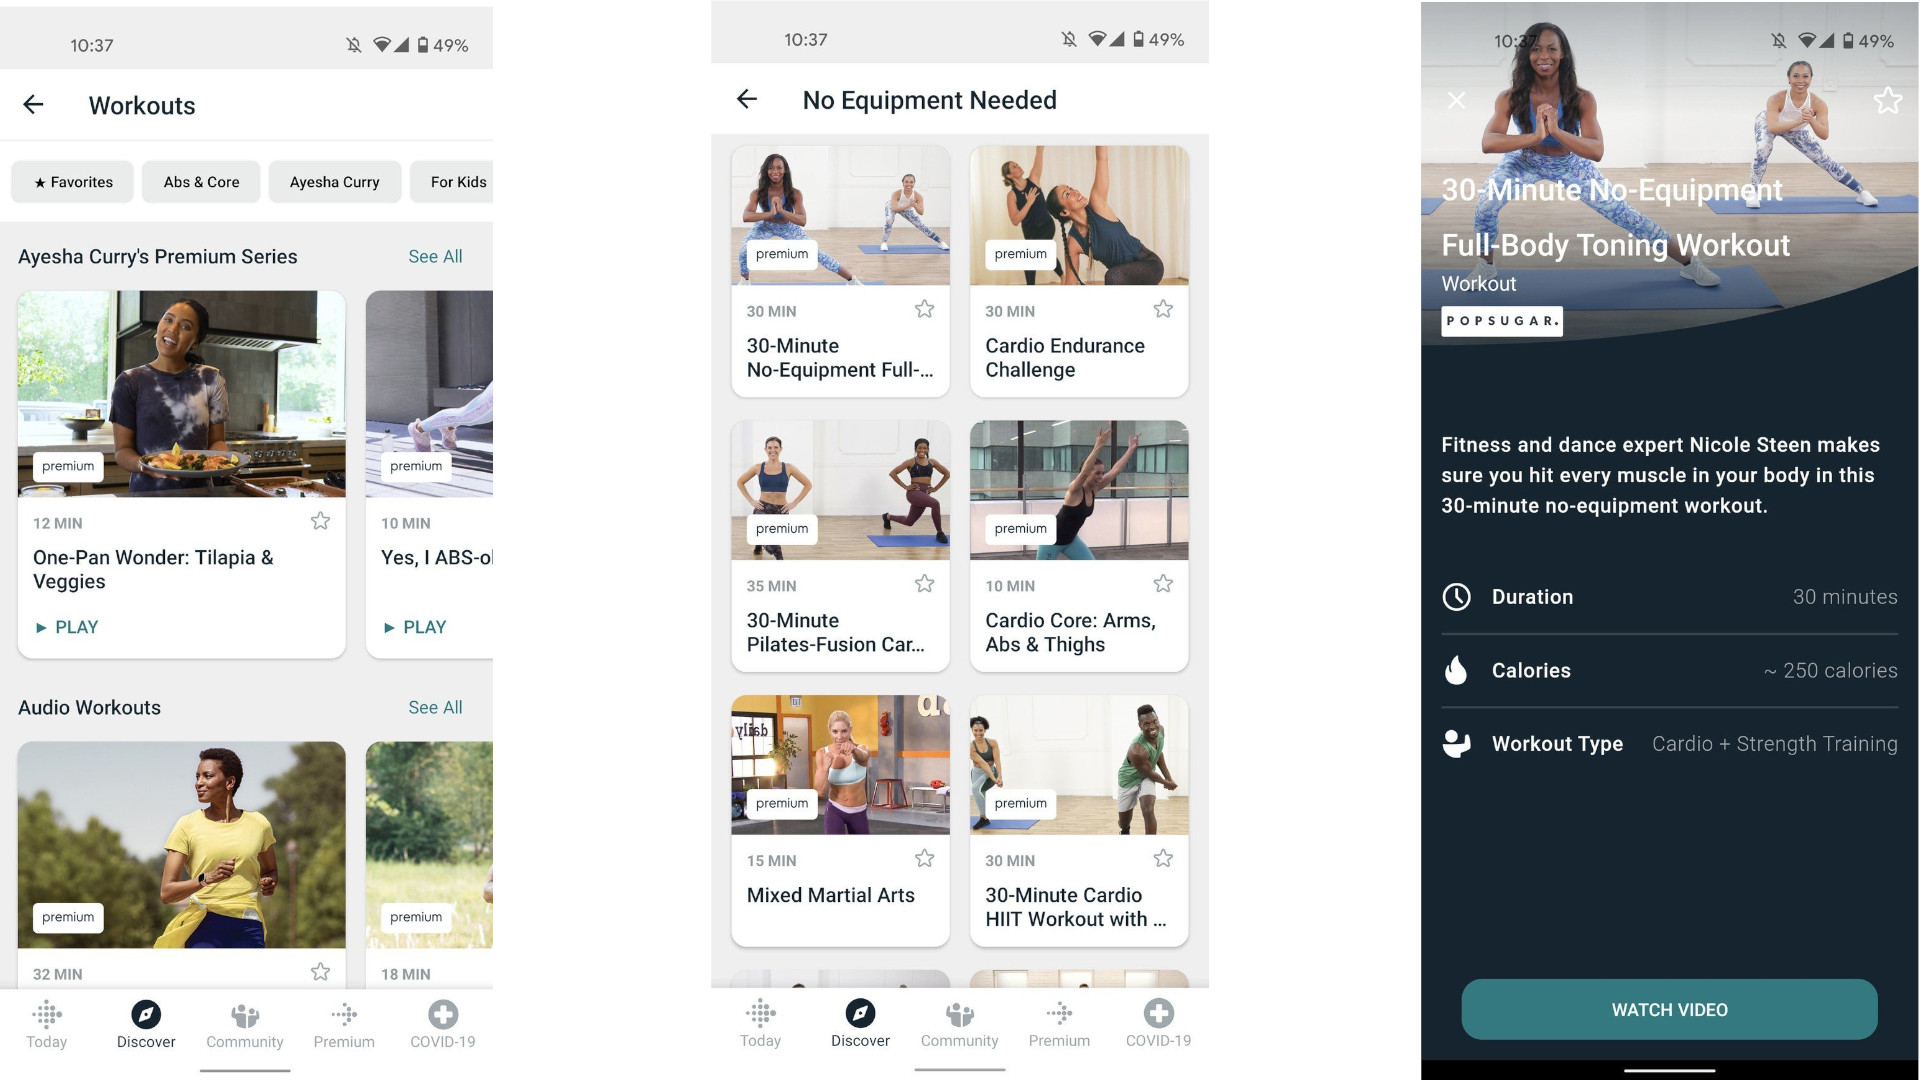
If you want to make the most of Fitbit Premium (while the free trial lasts, at least), then take advantage of the hundreds of guided workouts or meditations in the Fitbit app under the Coach tab.
You'll find full-body workouts, yoga, dance cardio, pre-run warmups, post-run stretches, strength training with at-home tools like kettlebells and dumbbells, and a ton of other workouts in the 10-to-40-minute range, targeting everyone from beginners to serious athletes with "bootcamp challenges."
Whichever of the best Fitbit trackers you buy, you're getting an impressive amount of health and fitness-tracking tech packed into a petite band or squircle frame. Most of the smarts are handled in your Fitbit phone app via Premium, so just keep that in mind if you didn't realize you'd have to (eventually) pay for the privilege of accessing your watch data.
We didn't talk much about the Pixel Watch 2 here, a Google smartwatch with Fitbit Premium tech packed inside. In some ways, it's now the "best" Fitbit available, but it's not available for iOS users and has a one-day battery. It also comes with six months of Fitbit Premium, but you can always switch to another Wear OS fitness app once the trial ends.
If you're still deciding whether or not to buy a new Fitbit, you can check our general guide on the best fitness smartwatches of the year across all brands. Our Fitbit tips and tricks guide shows the best that Fitbit has to offer; now's the time to decide if they're enough to tempt you compared to other brands with a different focus.


