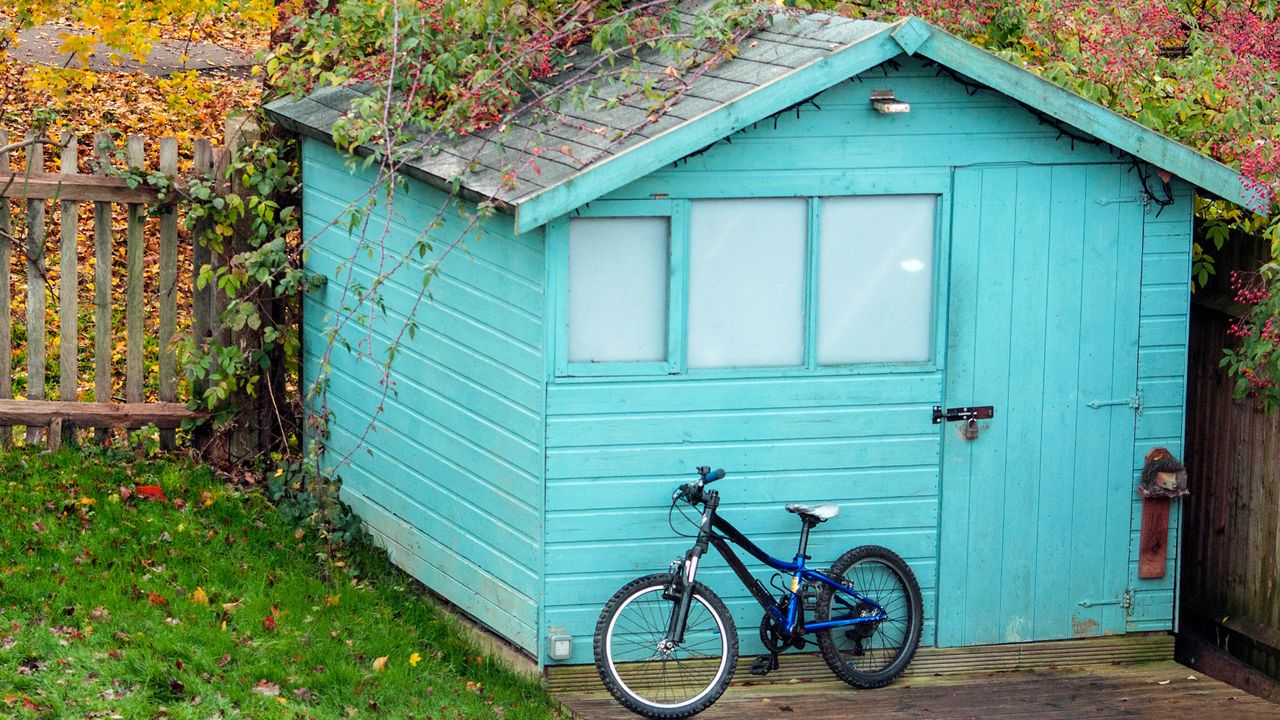
As the weather gets colder and we spend more time indoors, it's easy to forget about our gardens and the structures in them. Before you cozy up with a hot chocolate and a good book, take time to prepare your shed for winter. Without proper preparation, you could face a nasty surprise come spring: shed rot.
This common problem destroys timber structures from the inside out, weakening wood until your shed becomes unsafe or completely unusable. The good news is that preventing shed rot takes minimal effort and cost if you act now.
Follow these three steps to keep your shed rot-free all winter.
What is shed rot?
Shed rot occurs when a shed’s timber decays and decomposes as a result of fungi feeding on moist wood. The wood can become spongy or flaky, leading to the wood becoming soft and structurally weakening the structure.
Don’t worry, there are easy preventative measures to help you avoid costly damage.
1. Keep moisture at bay
Damp in the air and the ground creates the conditions for fungi to thrive and rot to set in, so how do you keep that moisture from taking hold?
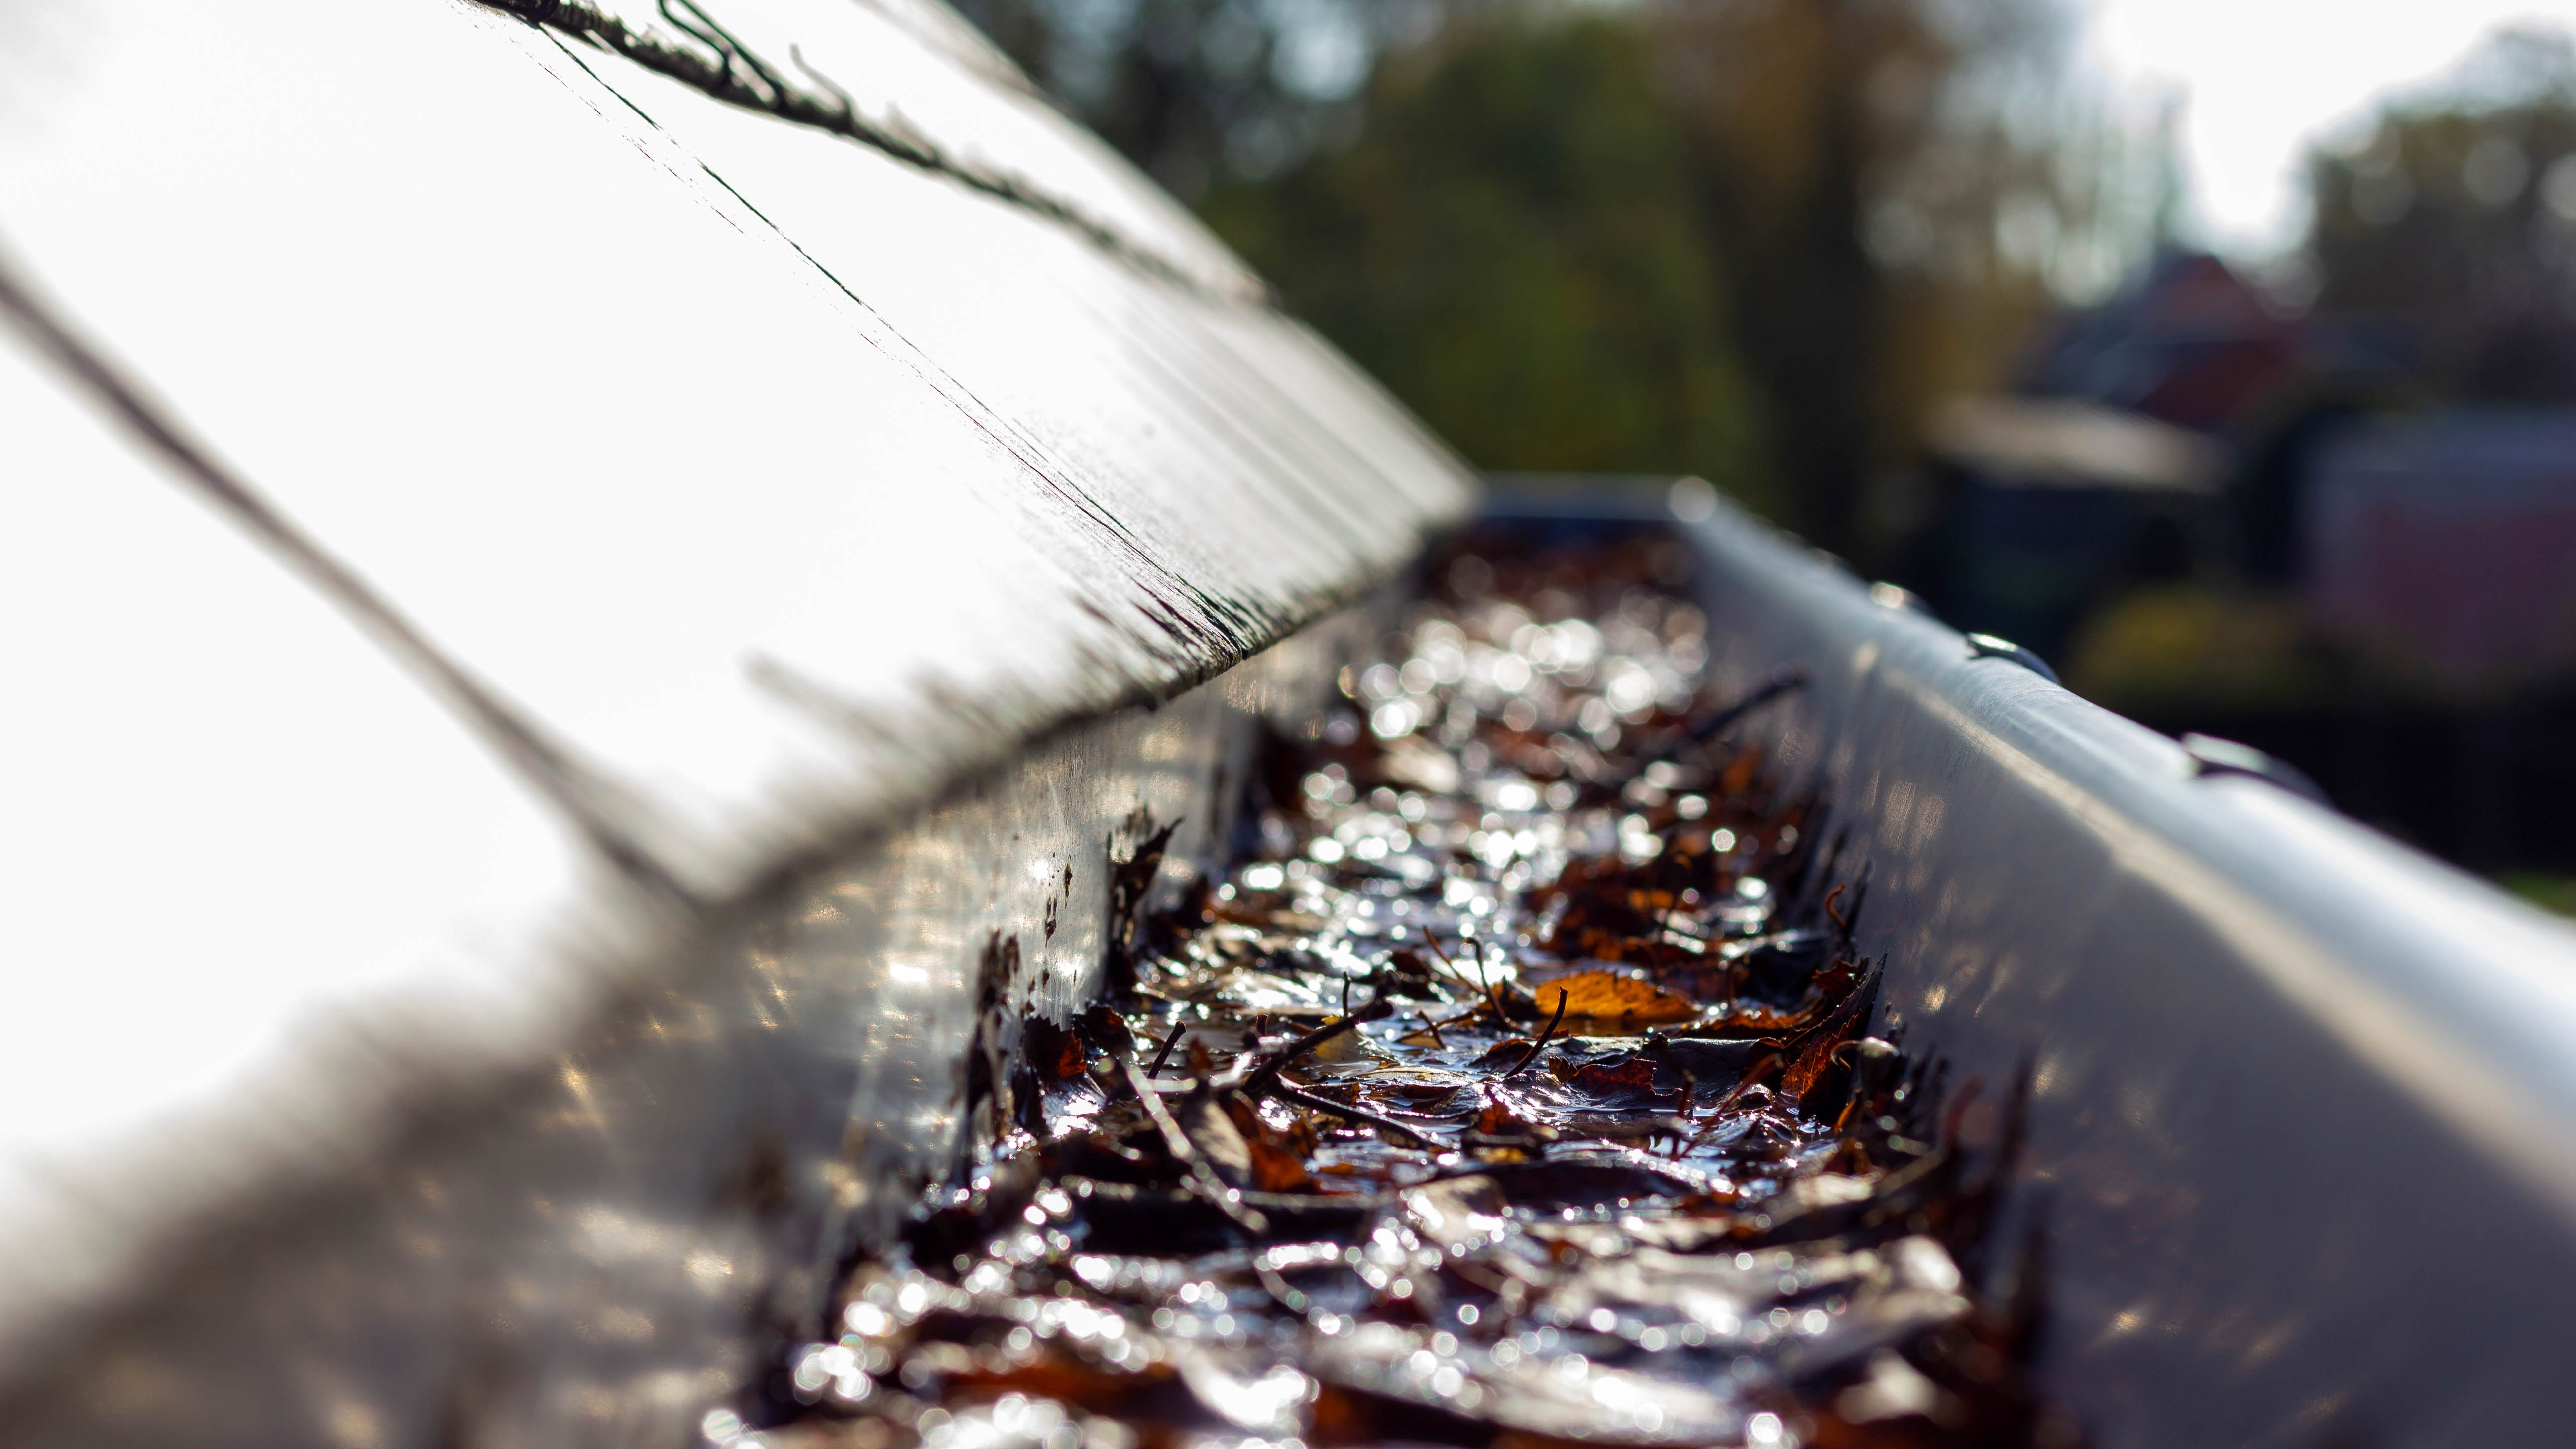
Guttering can help direct unwanted moisture away from the wood and so lessens the effect of water build up affecting the shed base, and checking the gutters from time to time to remove any build up will keep water from backing up.
Remove any accumulation of leaves, soil, weeds, and other debris from around the shed. The pressure of the wet matter against the wood hampers air flow and can create a sponge effect, further dampening the timber.
Lastly, on those dry, bright days that call you out for a winter walk, open the shed door for a few hours to decrease moisture.
2. Waterproof it
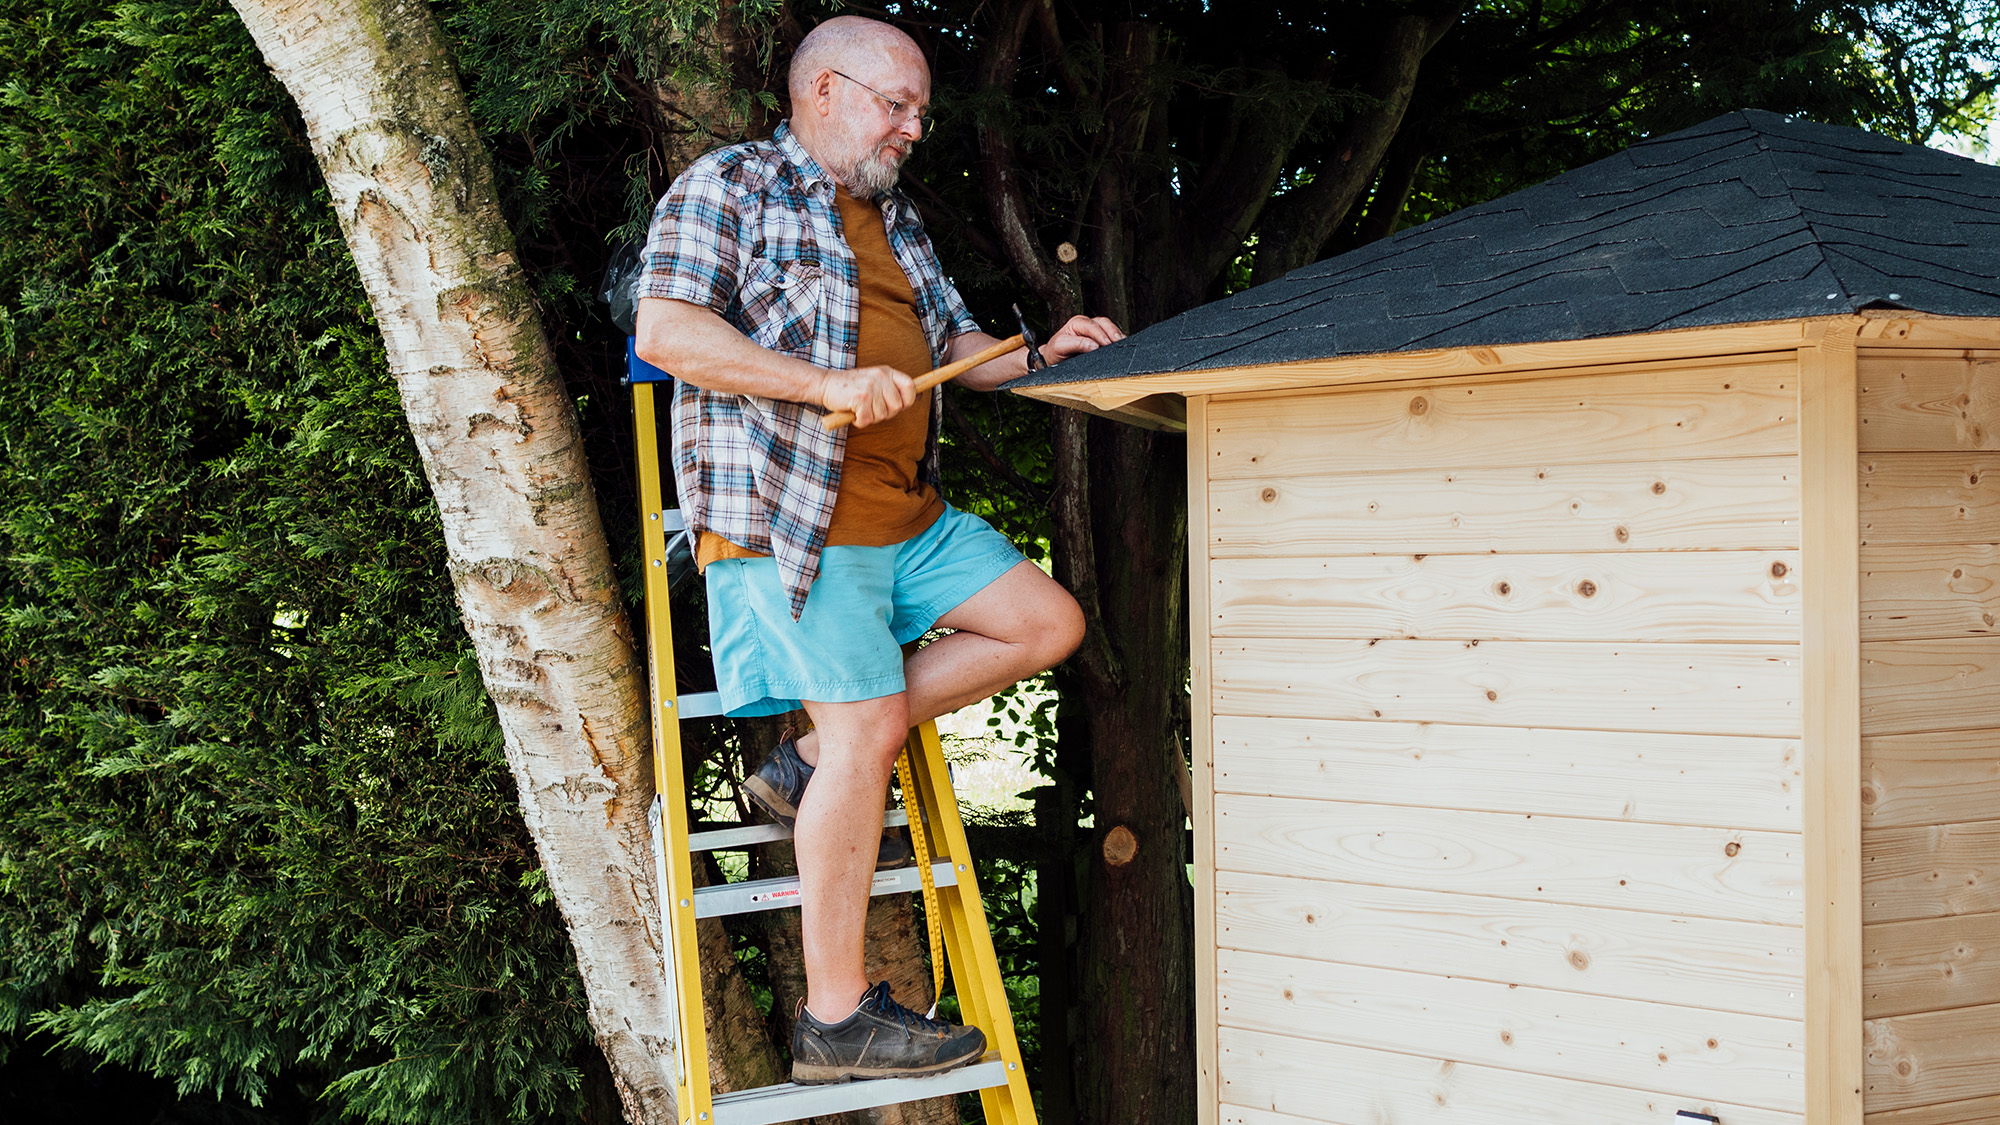
While your shed may have been waterproofed before, the coating breaks down over time, so it’s important to re-waterproof your shed yearly, using either a shed treatment or wood preservative.
You can make your waterproofing friendly to the environment by choosing a preservative that’s water-based. These products contain fewer toxic chemicals than oil-based alternatives, dry faster, and won't harm surrounding plants or soil when it rains.
When you’re waterproofing, be sure to inspect the roof for any holes or tears. If you notice any, make sure to patch them up right away. Even the smallest hole can cause serious rot damage if water sneaks in. Also, replace any sections that seem nearly worn out.
3. Raise the base

If you can spare a little more expense and effort and your shed rests directly on the soil, consider installing a base. When a shed sits right on the ground, it can easily soak up moisture.
If your shed is new, you can create a base from paving slabs laid over compacted sand or gravel. If your shed is older and can’t be lifted, you can divert excess moisture with a perimeter drain and by extending the overhang of the roof so it carries water further from the base.

Follow Tom's Guide on Google News and add us as a preferred source to get our up-to-date news, analysis, and reviews in your feeds. Make sure to click the Follow button!