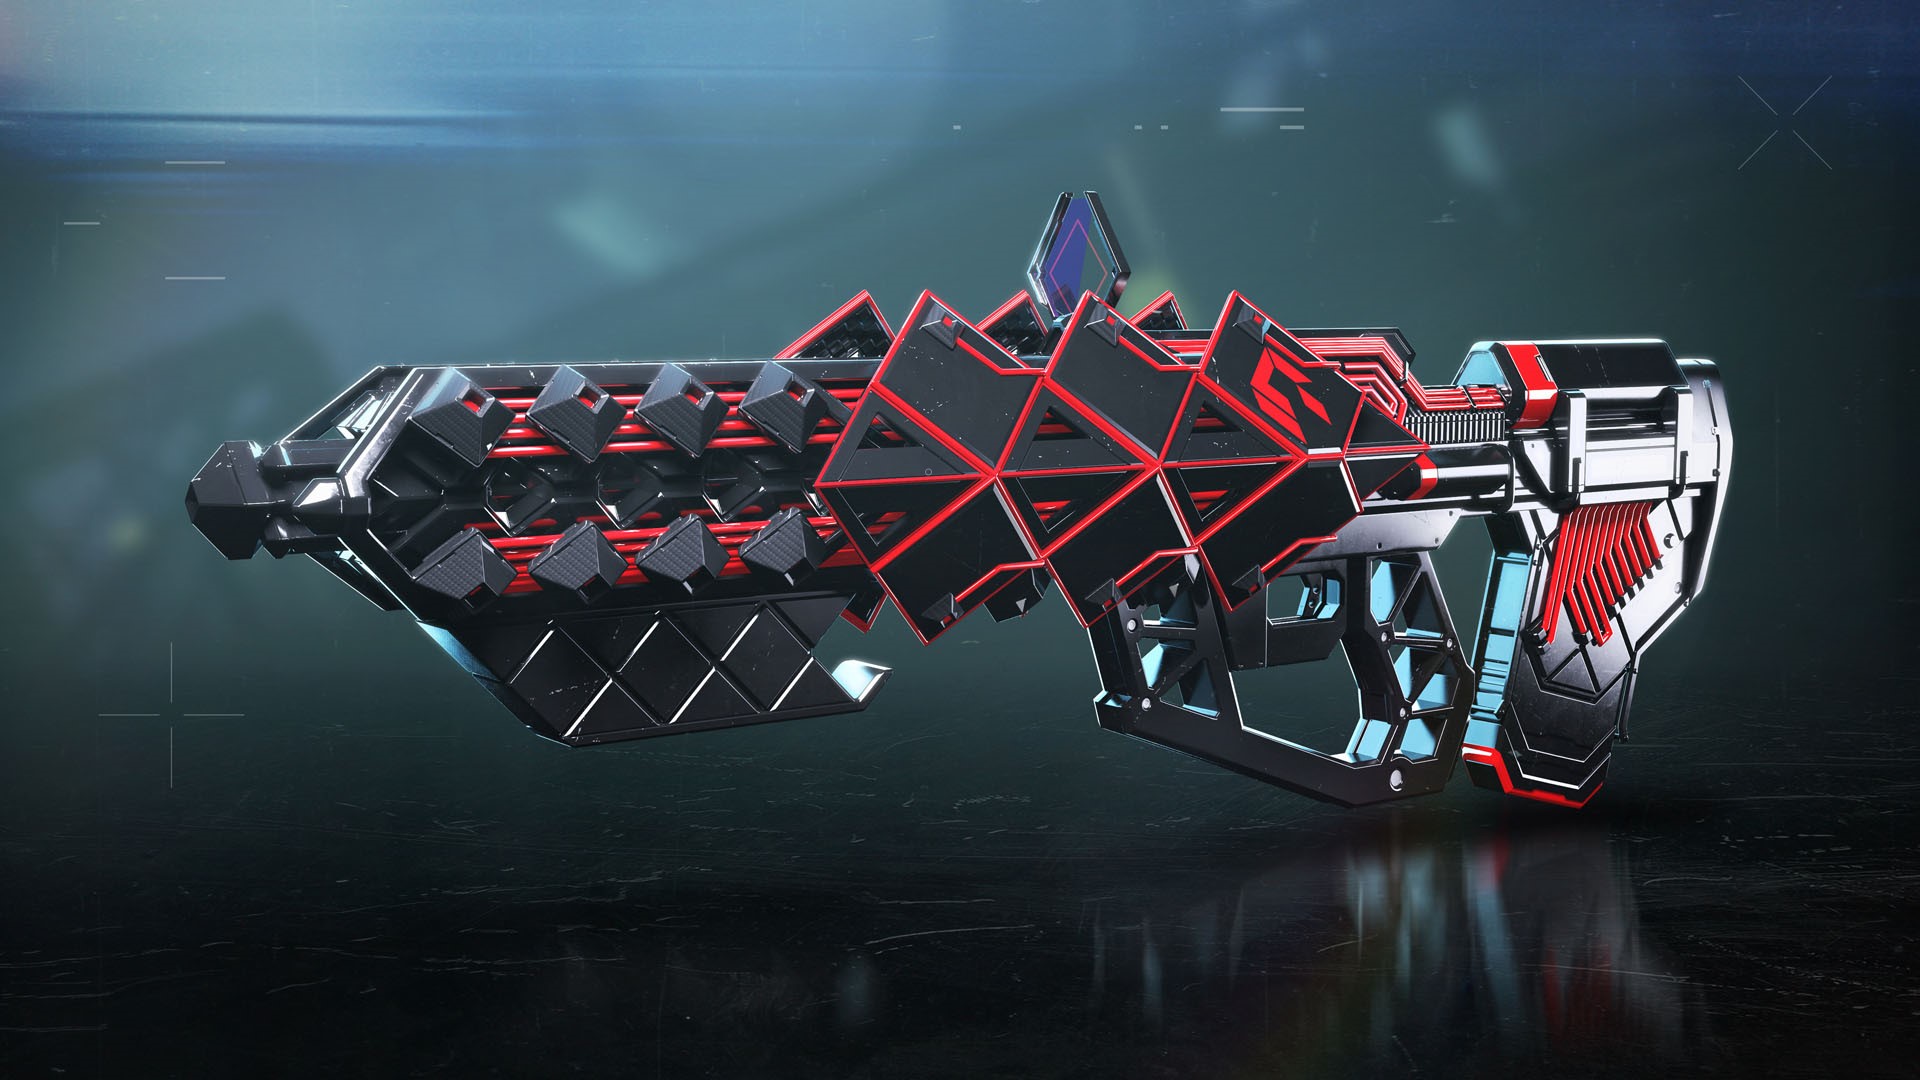
So you've just unlocked Outbreak Perfected by completing the newly returned Zero Hour exotic mission in Destiny 2, but now you need to tackle the Outbreak Refined quests to unlock its brand new perks. Though perhaps not quite as horrible as it used to be, this exotic mission is still very challenging, especially if you're not familiar with its puzzles and lovely little quirks like the murderous cleaning bot, TR3-VR.
To top things off, there are Zero Hour switches you need to locate in the Legend version of the mission, too, if you want to complete those weekly quests from Ada-1. Unlike shooting the blights in Whisper, these puzzles are more complicated, and what's worse is that you have to do them on the clock. So, here's how to complete Outbreak Refined 1 and where you need to go to find the first set of switches.
How to complete Outbreak Refined 1

After you've received the Asset Protection quest from Ada-1 in the Tower Annex and have completed the Zero Hour mission, you'll get the Outbreak Refined 1 quest. Similar to the Whispers of the Taken quests for the Whisper of the Worm mission, you'll need to complete them in order to earn additional perks you can attach to Outbreak Perfected.
The first step of Outbreak Refined 1 is pretty simple:
- Defeat Fallen in the Cosmodrome to claim 20 Inert SIVA Clusters
You don't need to do this with Outbreak Perfected; they're just a random drop. The quickest way is to complete lost sectors like Exodus Garden 2A.
Where to find the first set of Zero Hour switches

Once you've got your Inert SIVA Clusters, you'll be directed to "Toggle the first set of switches" in Zero Hour on Legend difficulty. Zero Hour is tough, but Legend difficulty is even harder, so I'd recommend bringing a full fireteam. You'll need to finish the mission on Legend after you successfully complete this step, but honestly, I'd recommend activating these switches in a separate Legend run and then restarting. You only get 20 minutes and doing this eats into them. I'd also familiarise yourself with these steps first.
After you complete the combat section with the Fallen tank in the hangar, you'll drop down into a dark elevator shaft and crawl through a vent into another hangar area called the Covert Passage. You'll spy some vents just below you—drop down, run over the far wall, and turn around to see an open vent cover which is usually blocked in the regular version of Zero Hour.
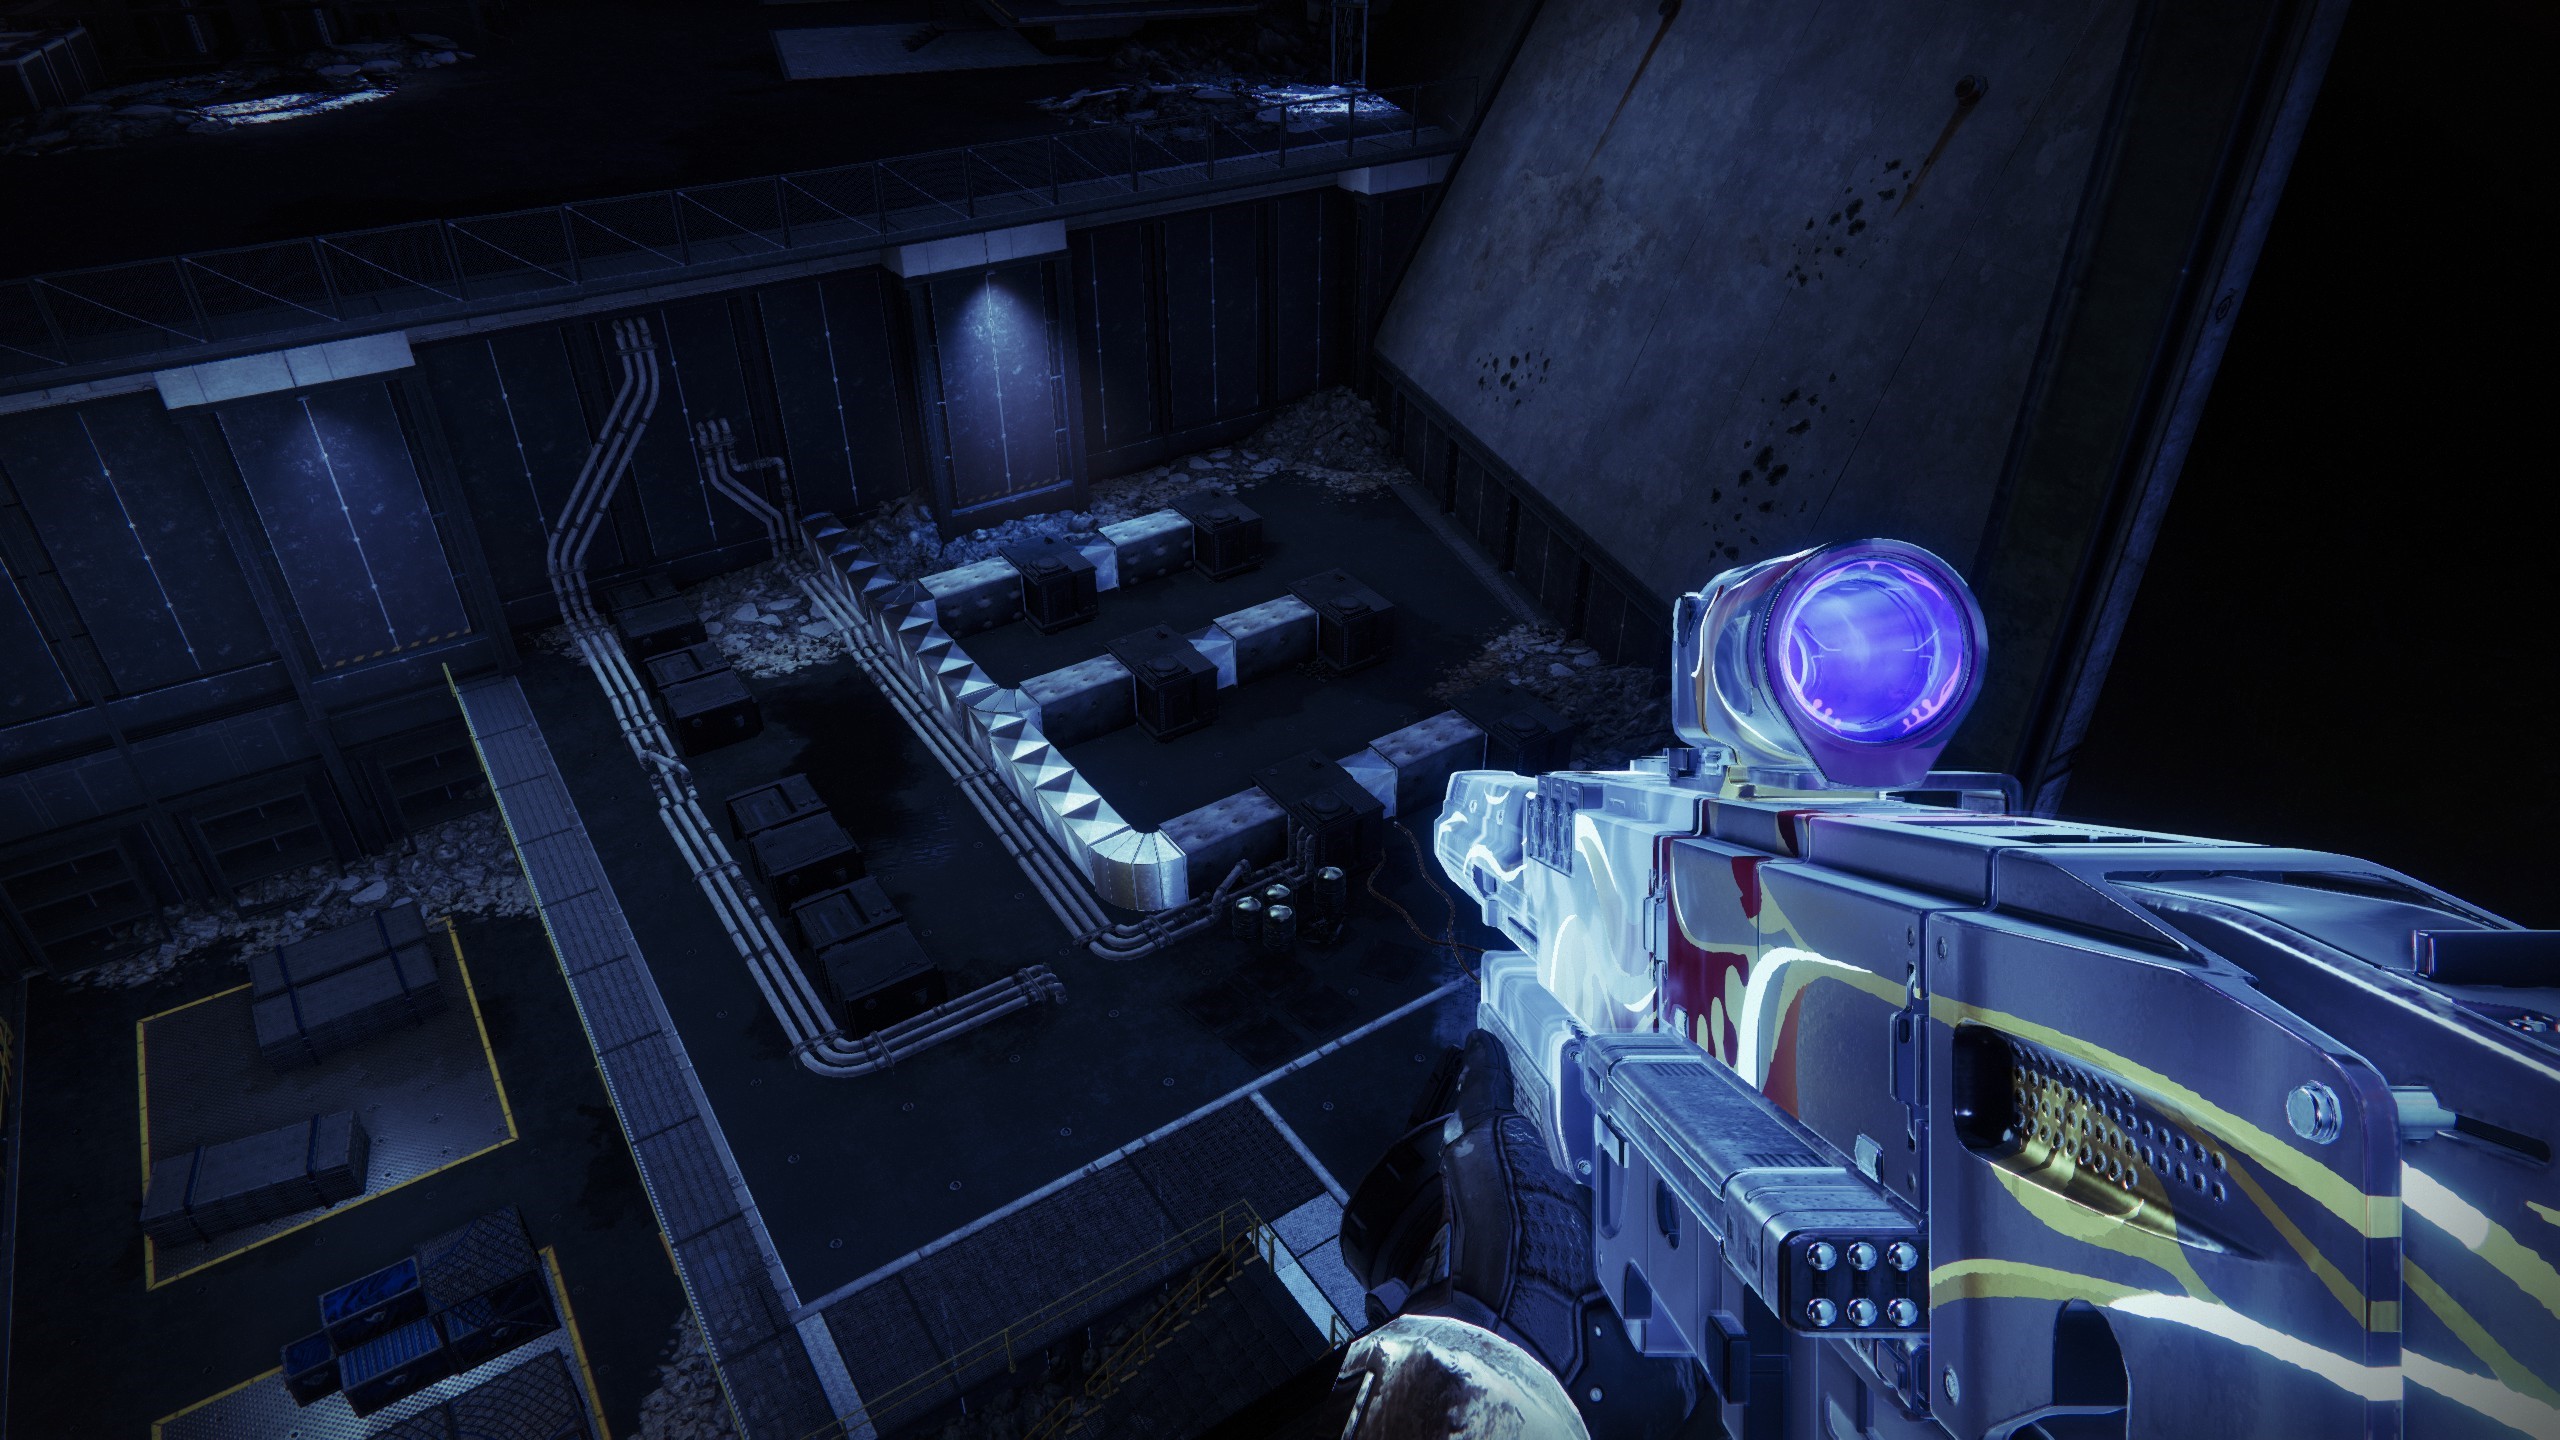
Drop down again into a small darkened room and look for another vent with a destructible cover. Head through this and drop down a final time onto a walkway above a couple of resilient captain enemies. Defeat them, and you're ready to start flipping switches:
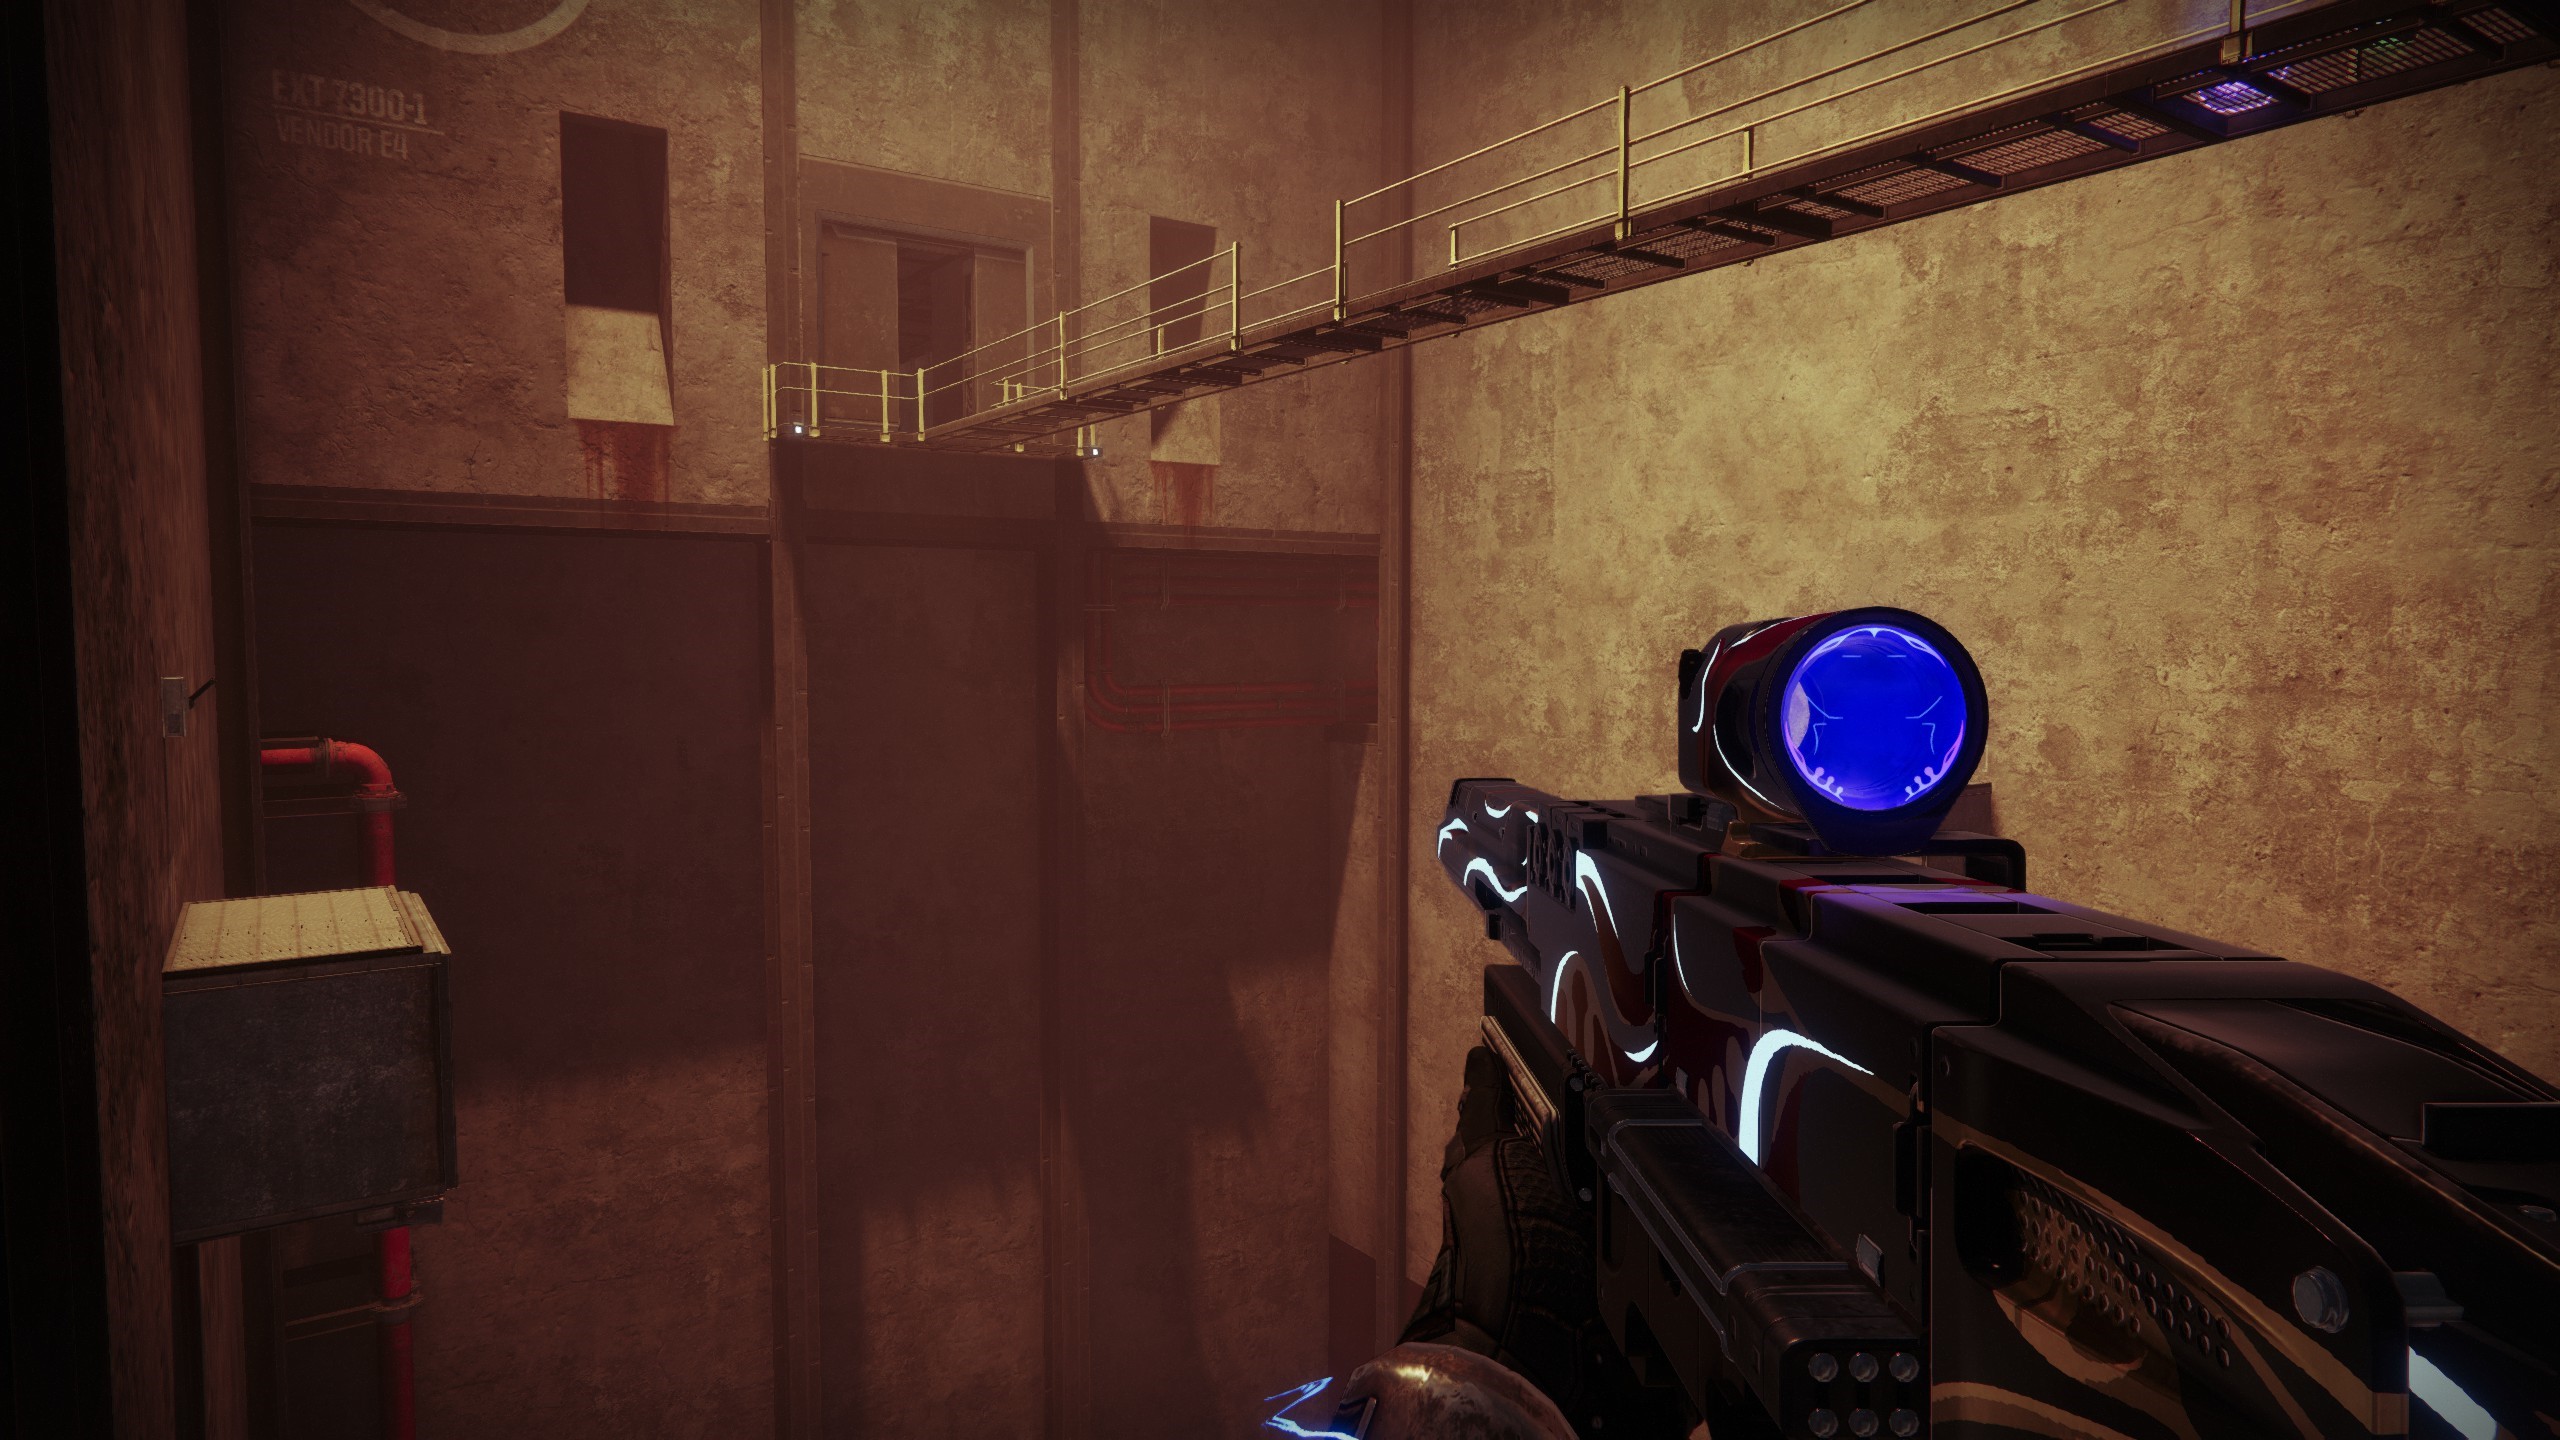
- Drop down onto the platform with the first switch, next to the lowest walkway, but don't touch it yet
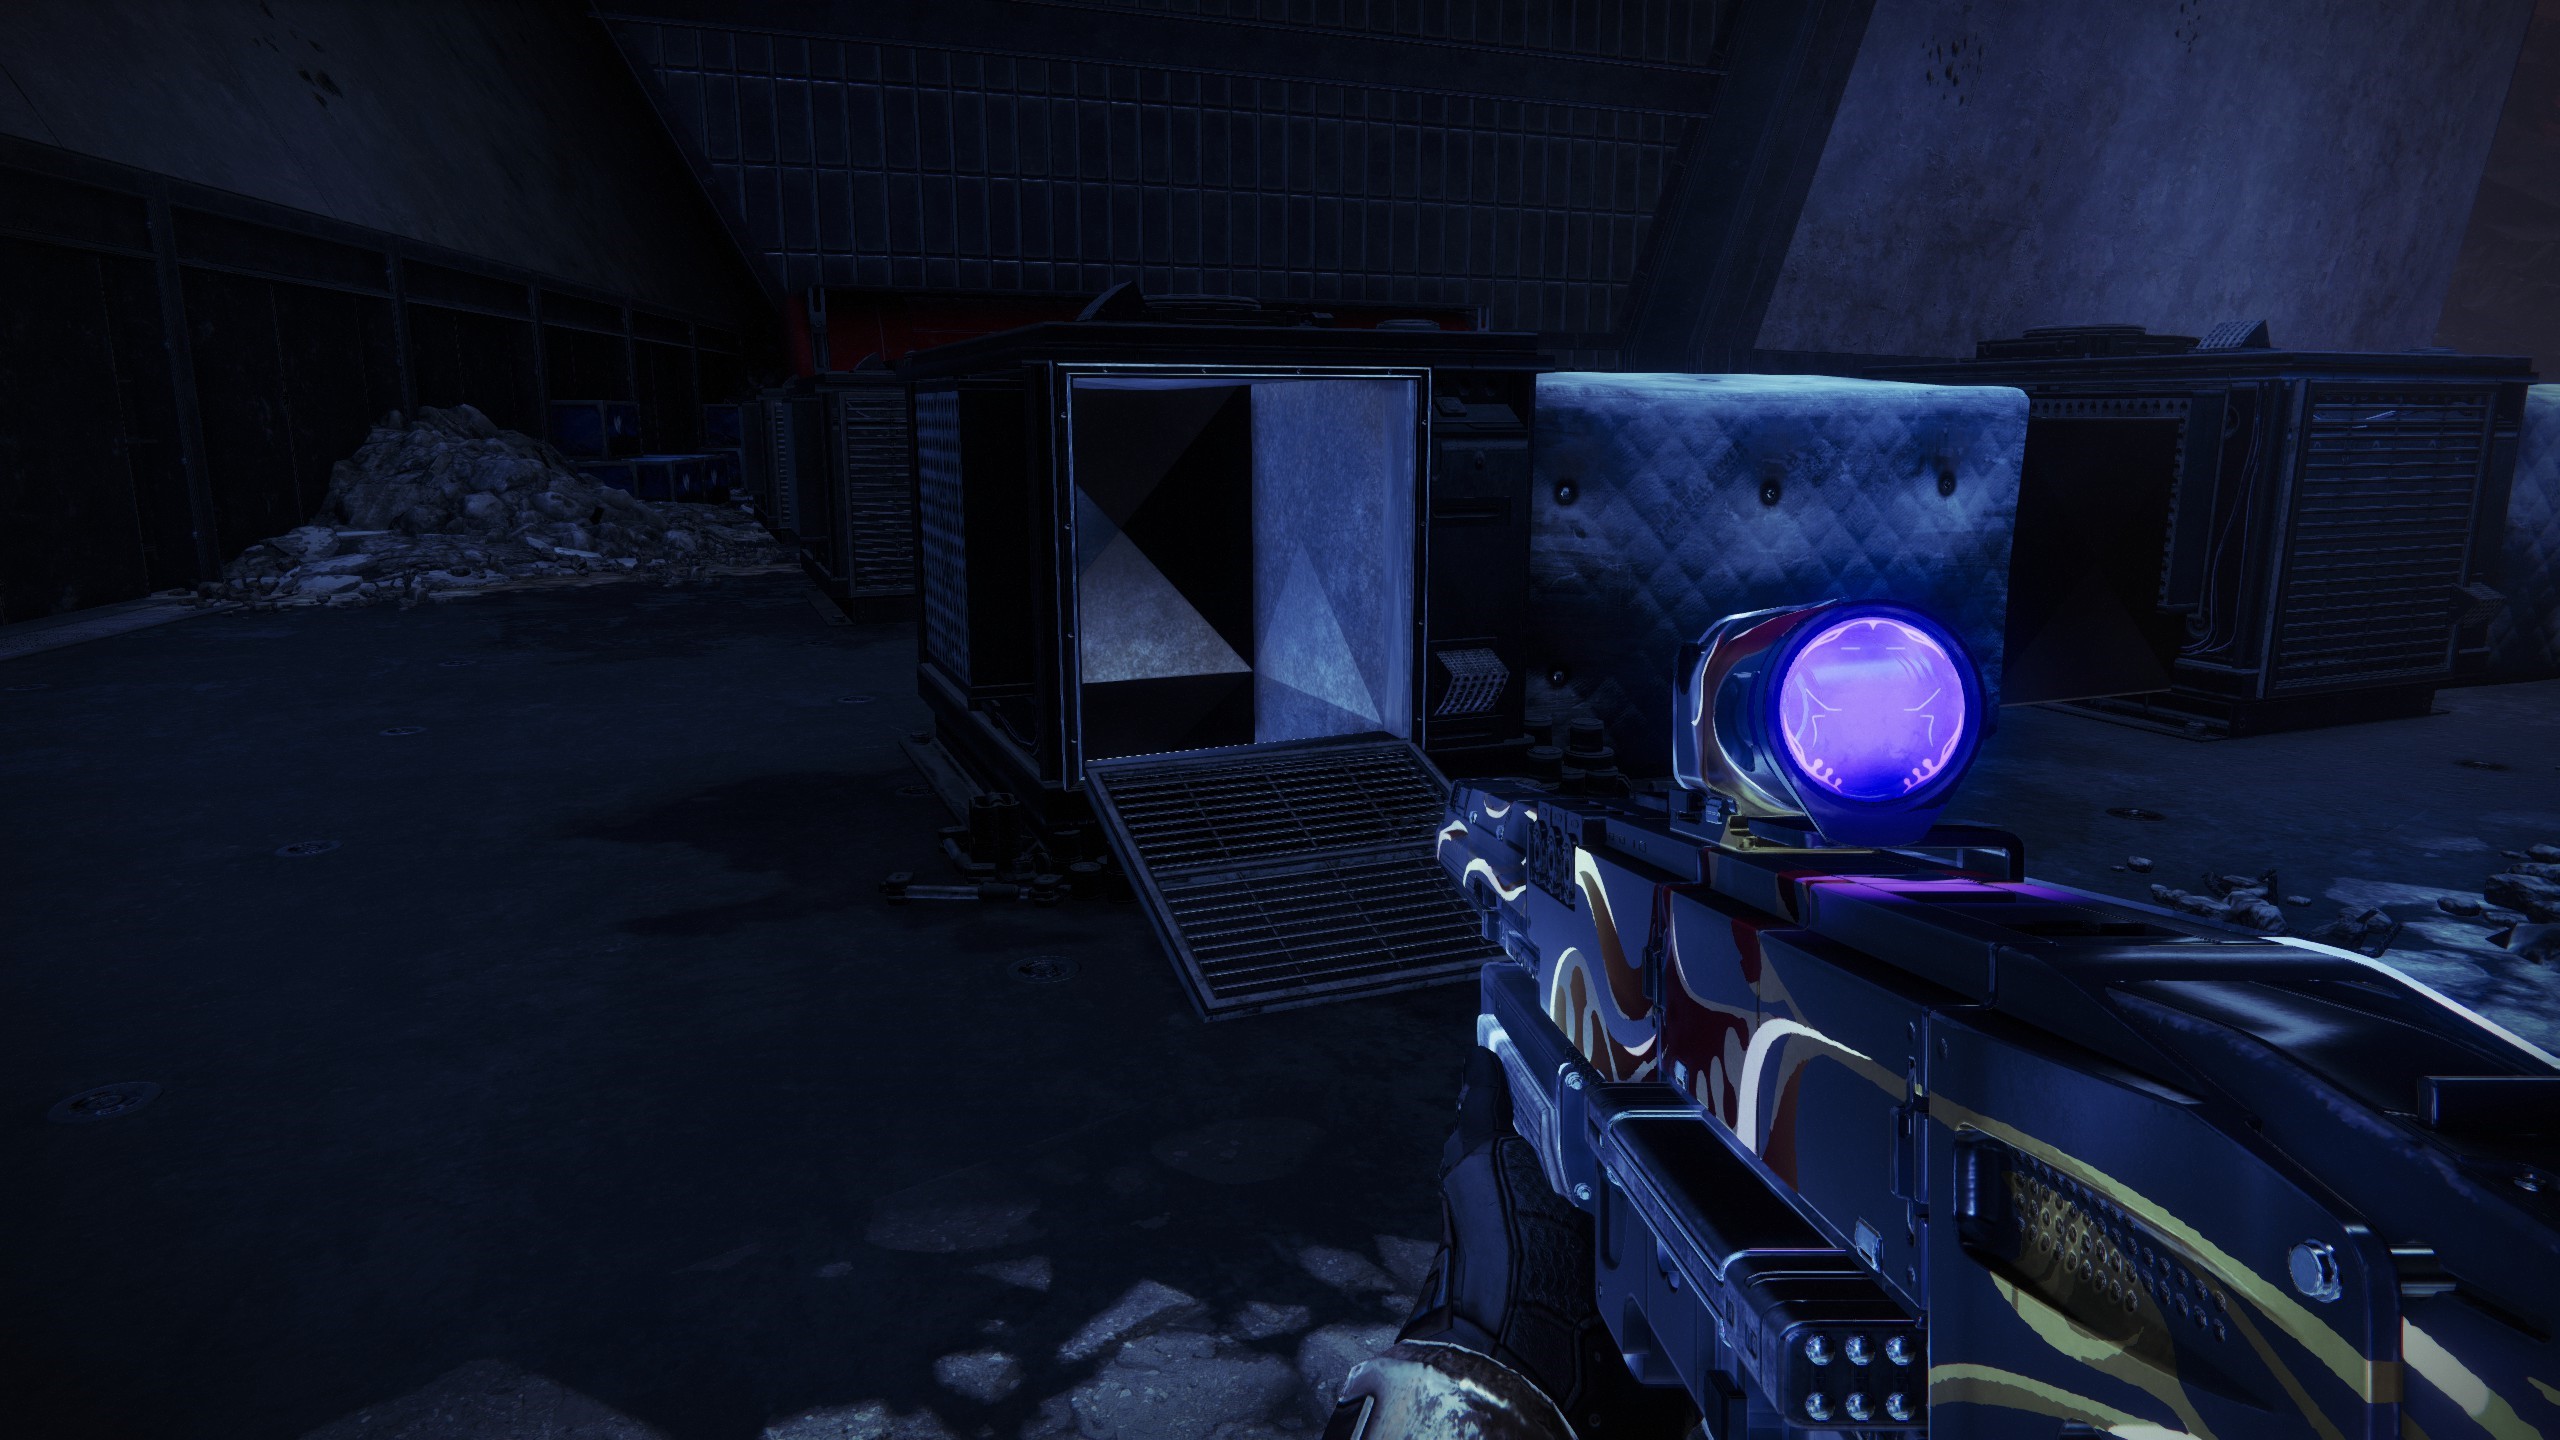
- Turn left and jump over to the red pipes in the corner to find another switch—activate this one since it opens a hatch you'll need in a sec
- Now jump or glide diagonally across the room to the opening in the far corner
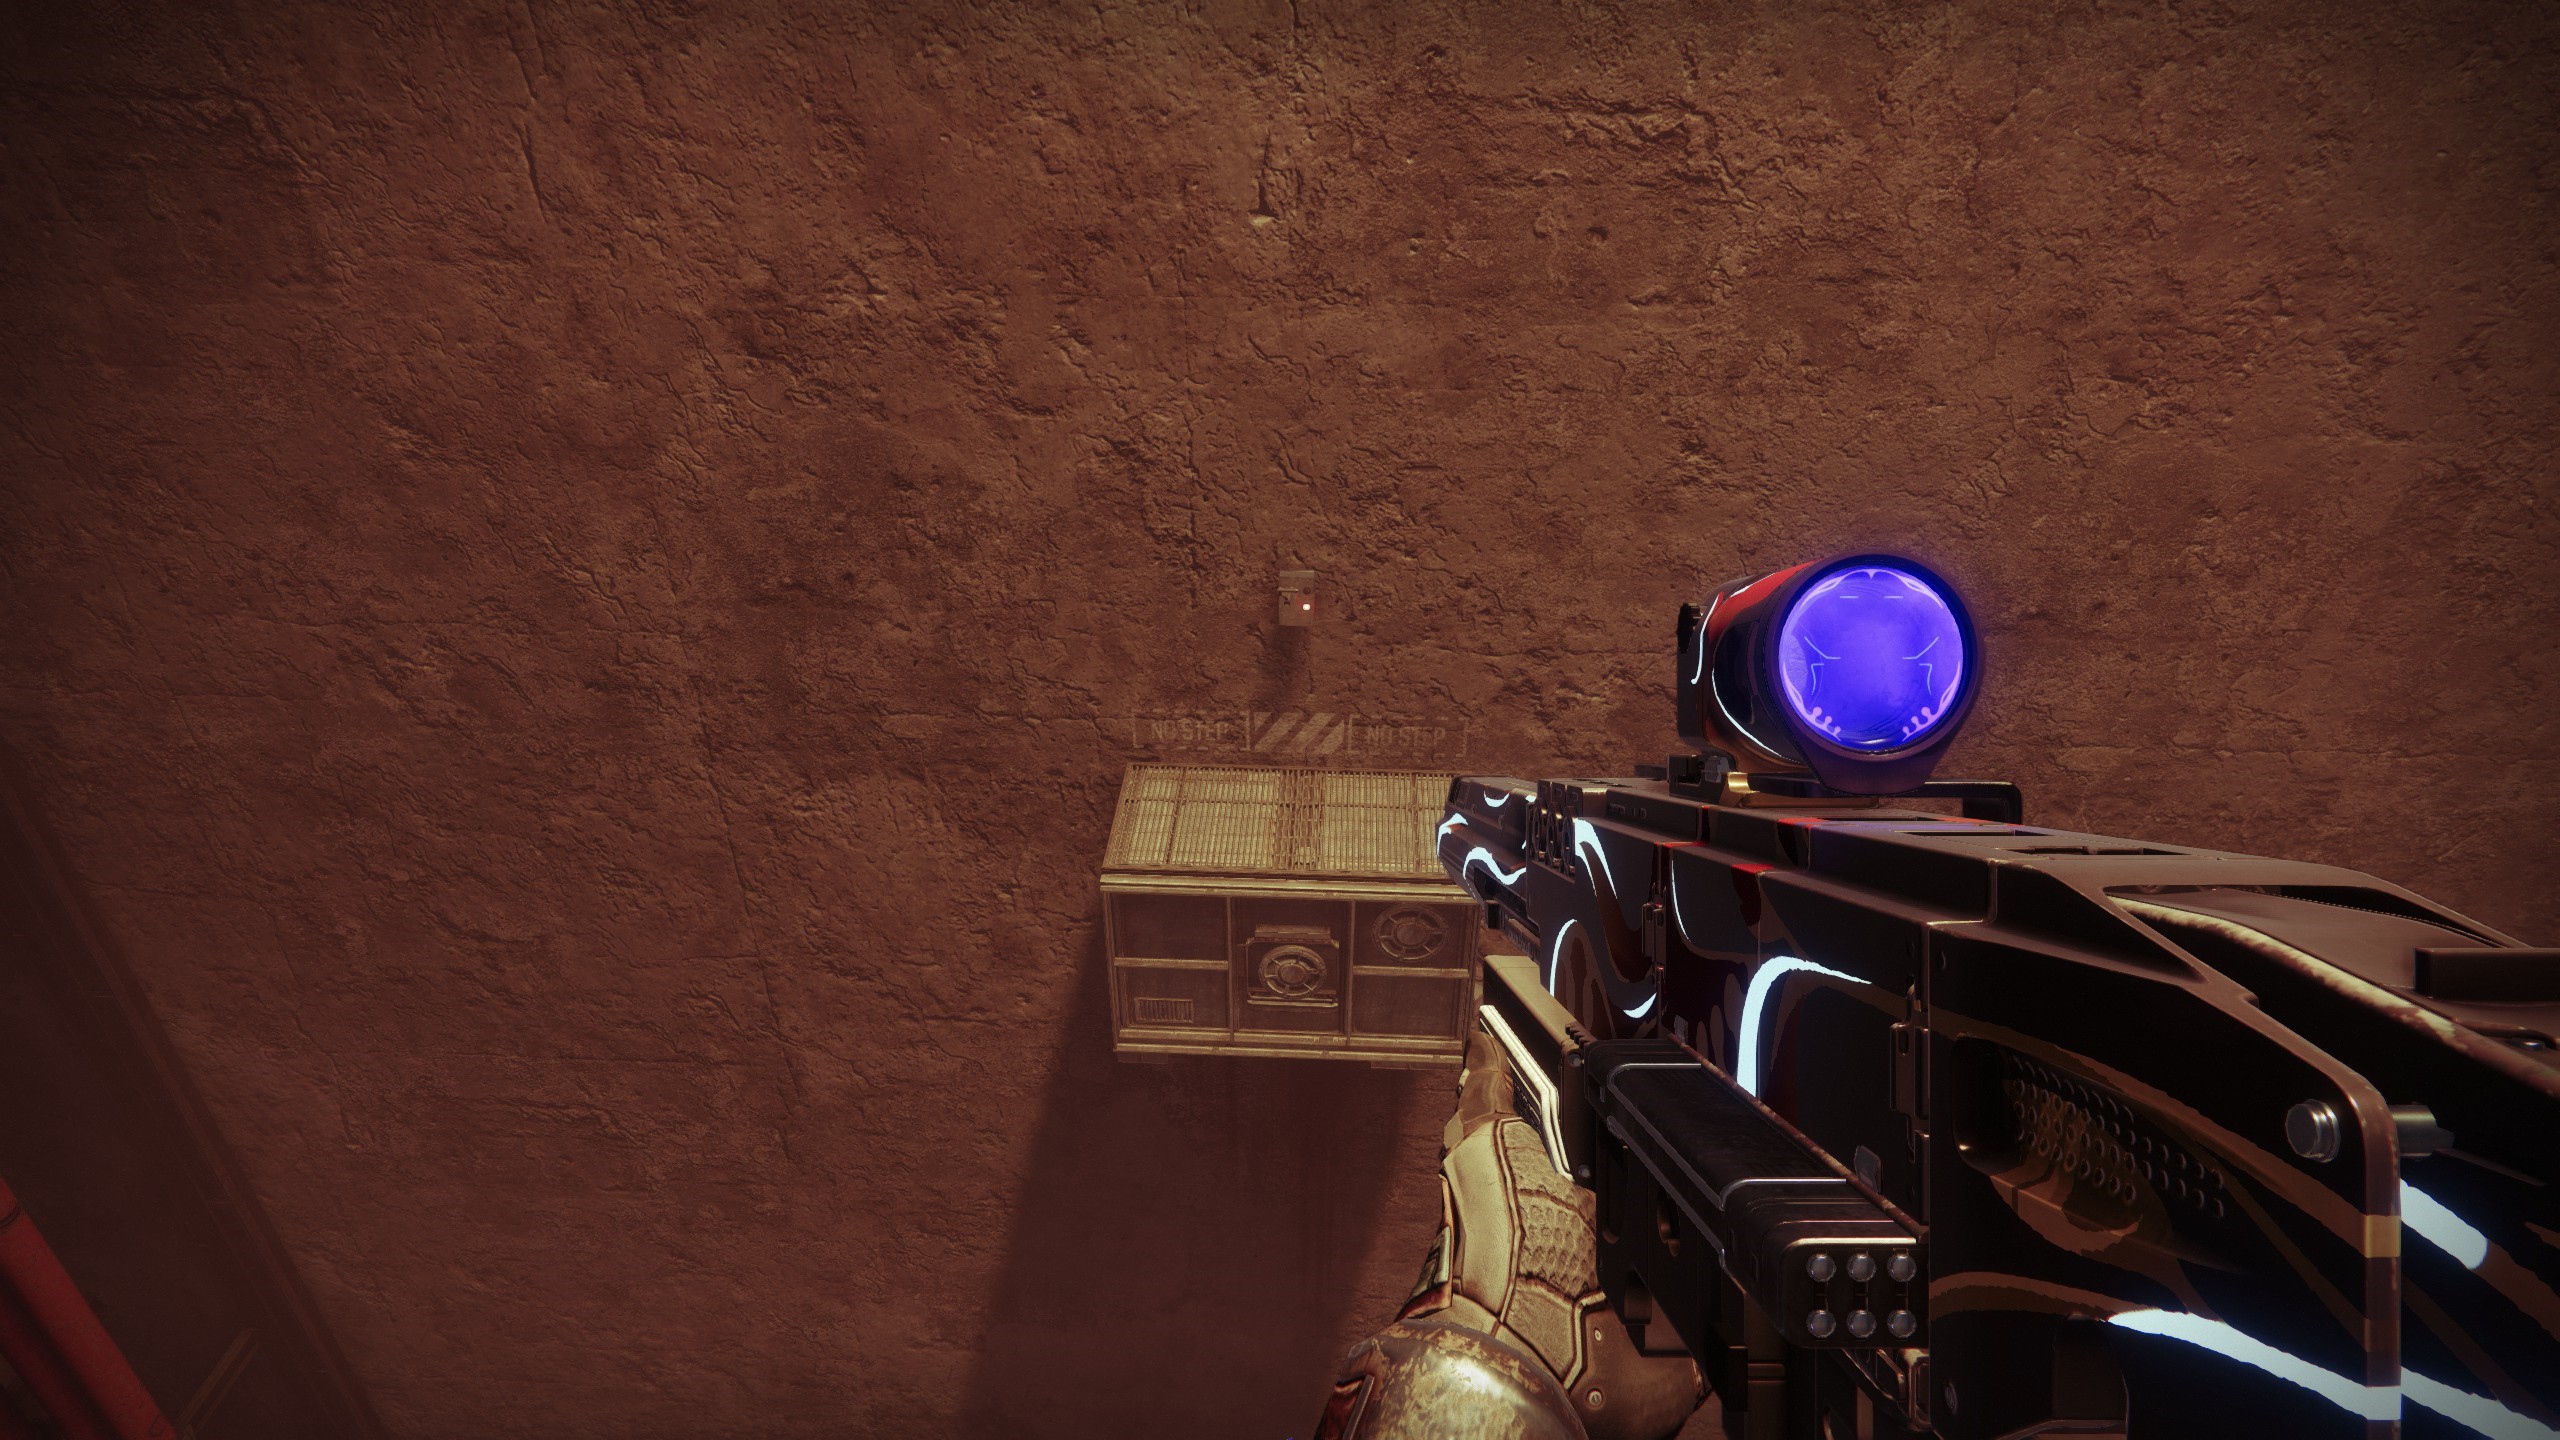
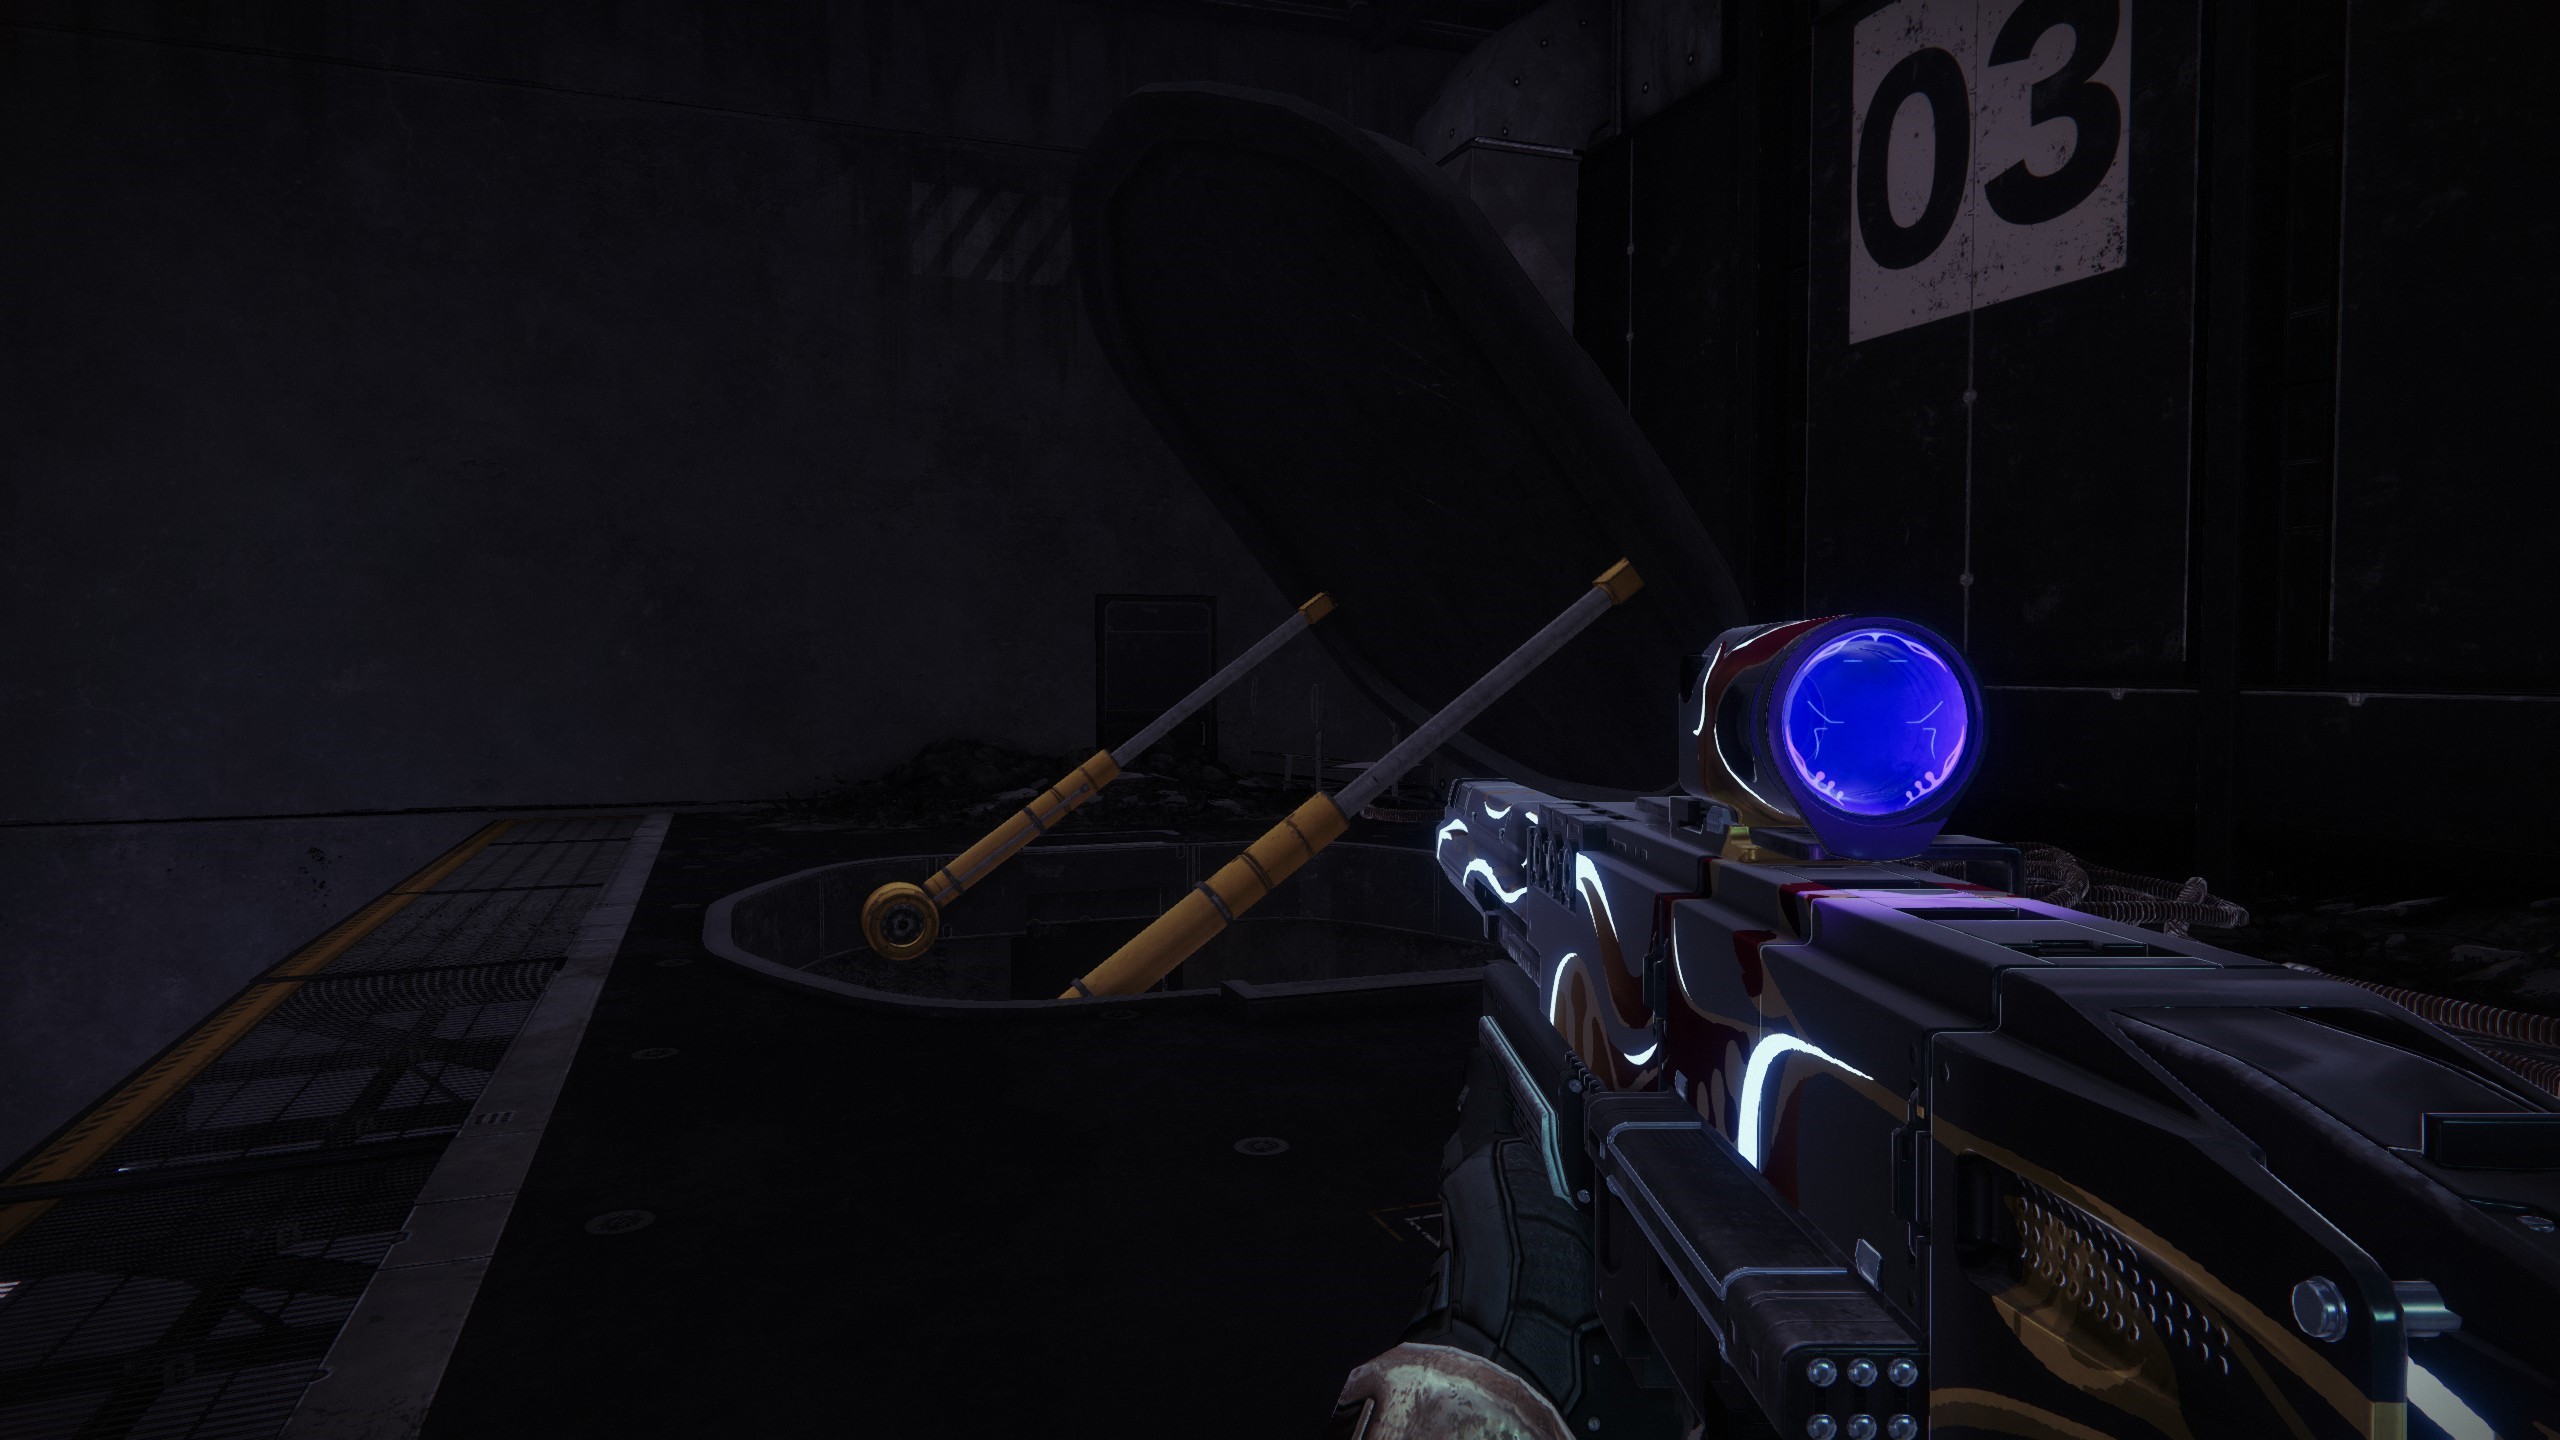
- Follow the corridor under the pipe, climb the watery slope, and then turn left to spot the hatch you opened earlier
- Instead of dropping through it, jump on top of it, and climb the shaft directly above using the sloped ledges
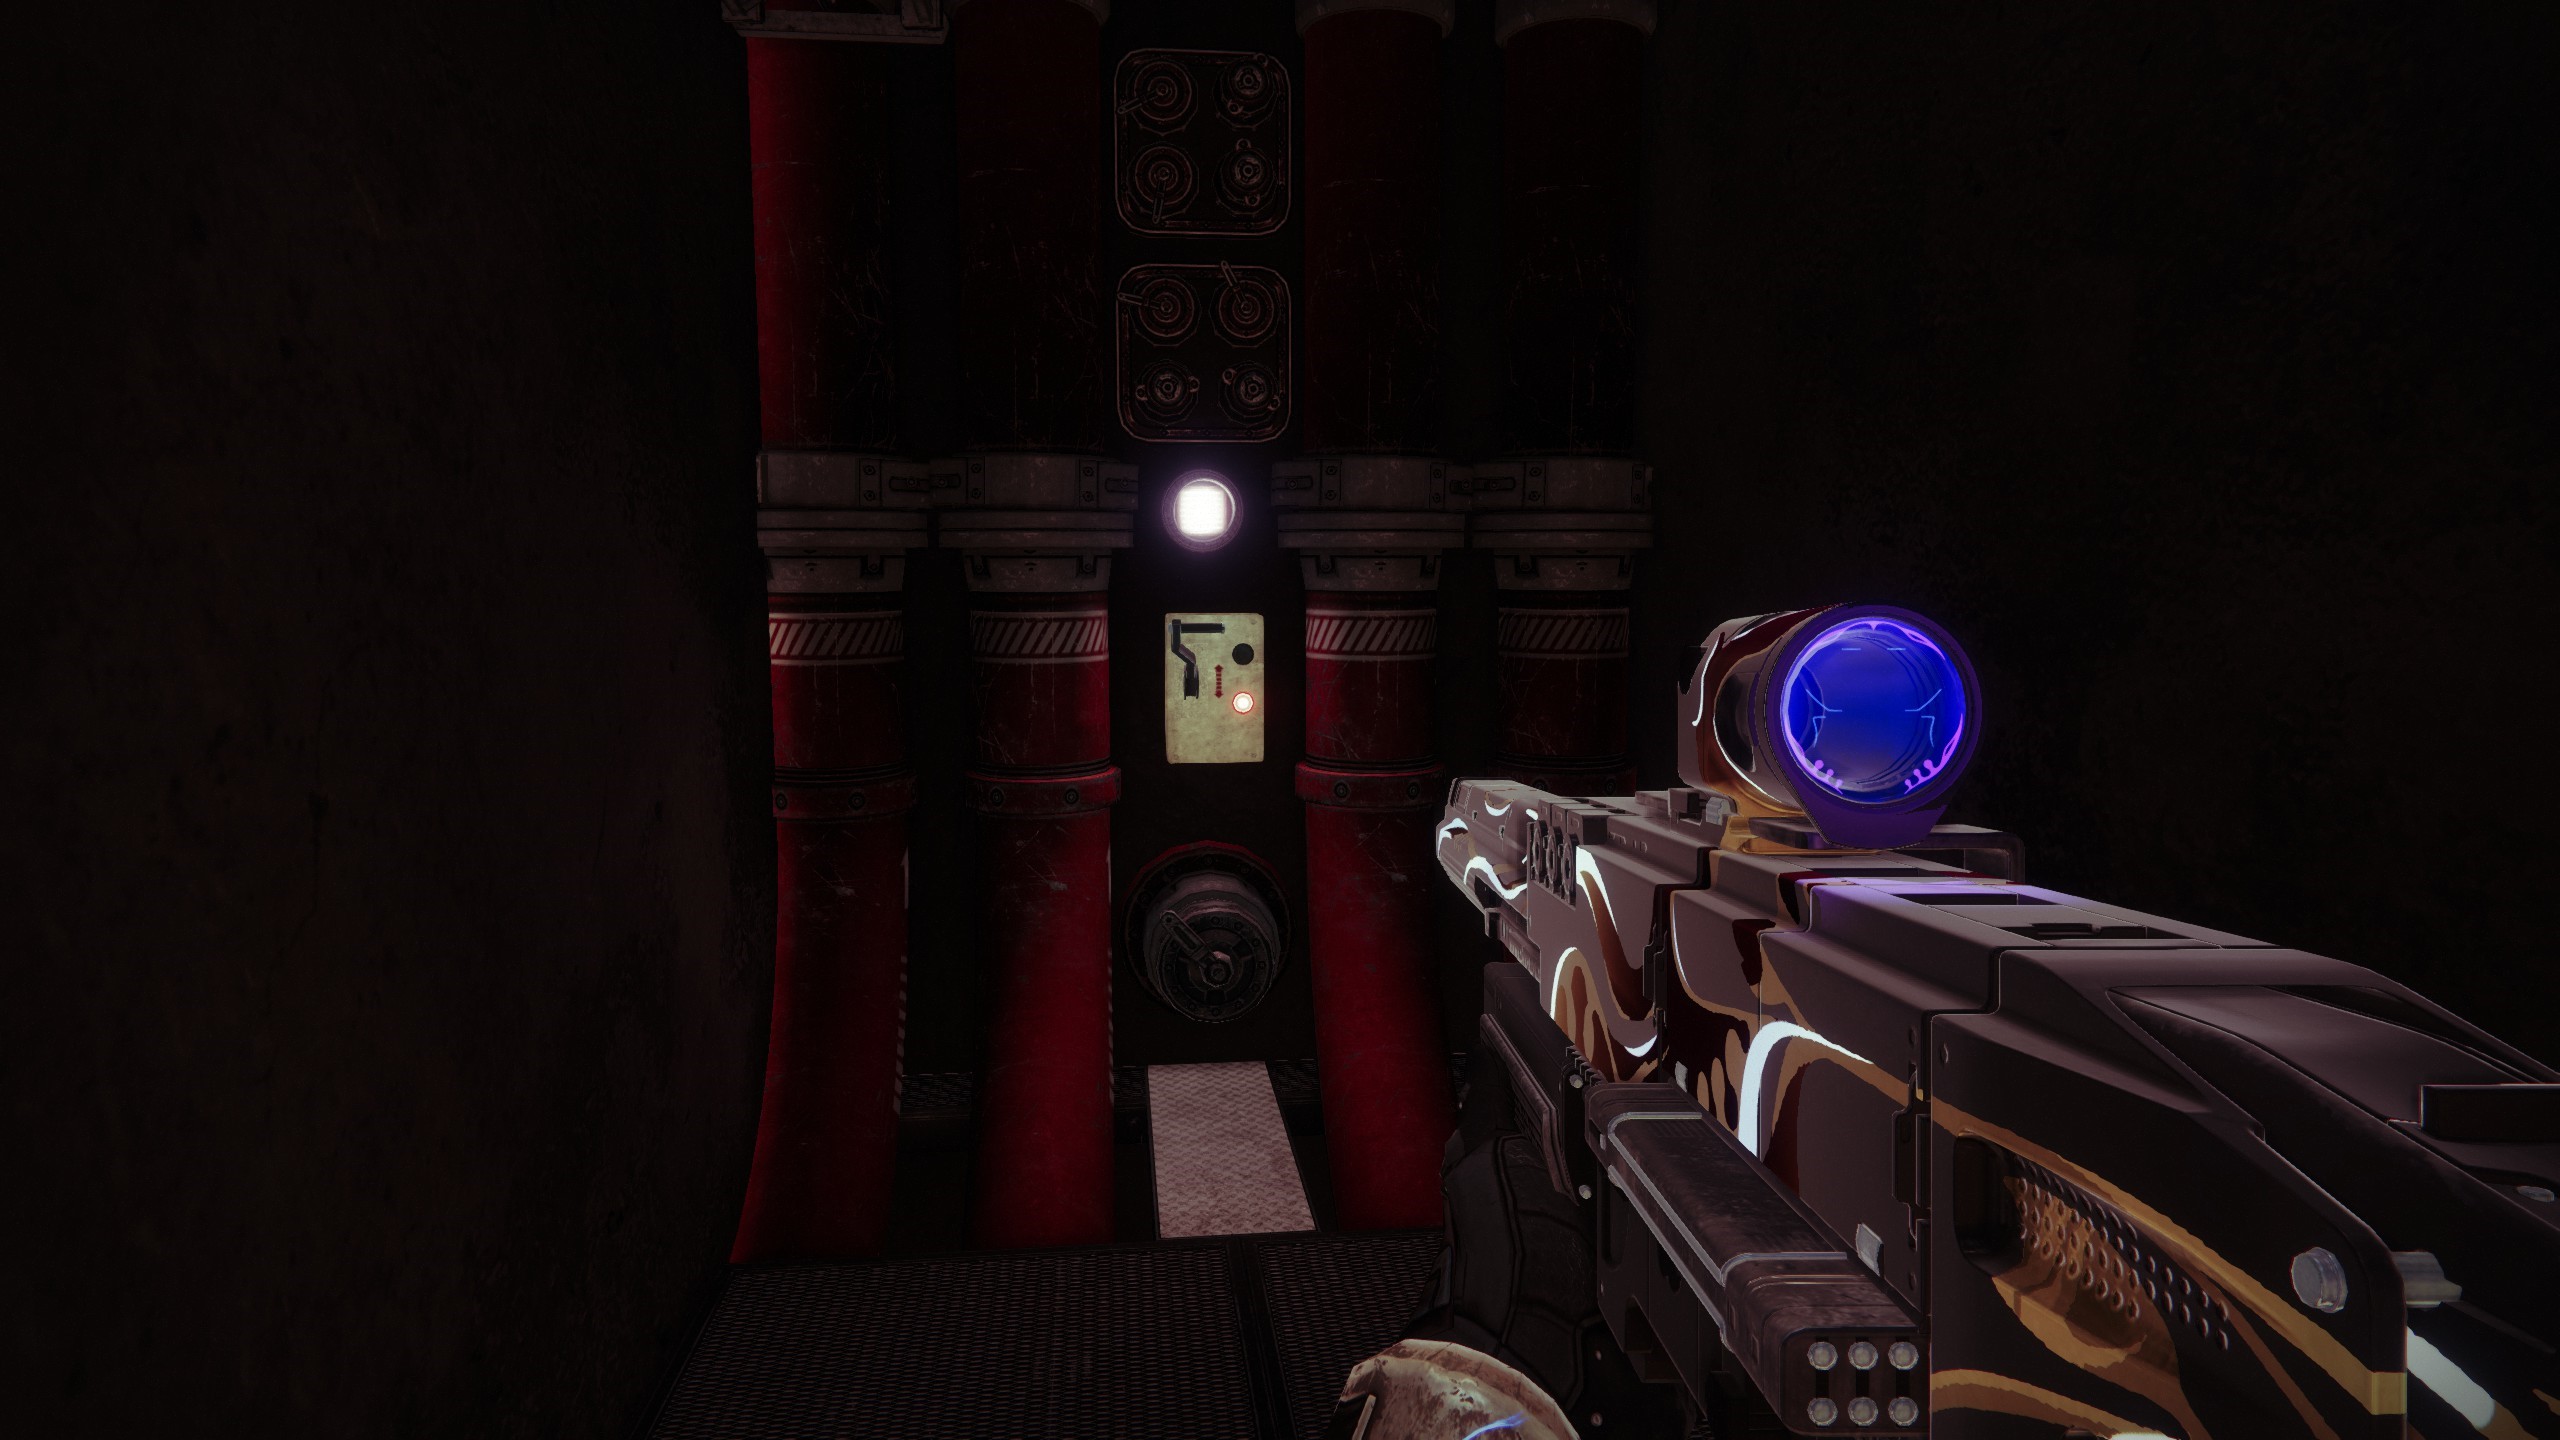
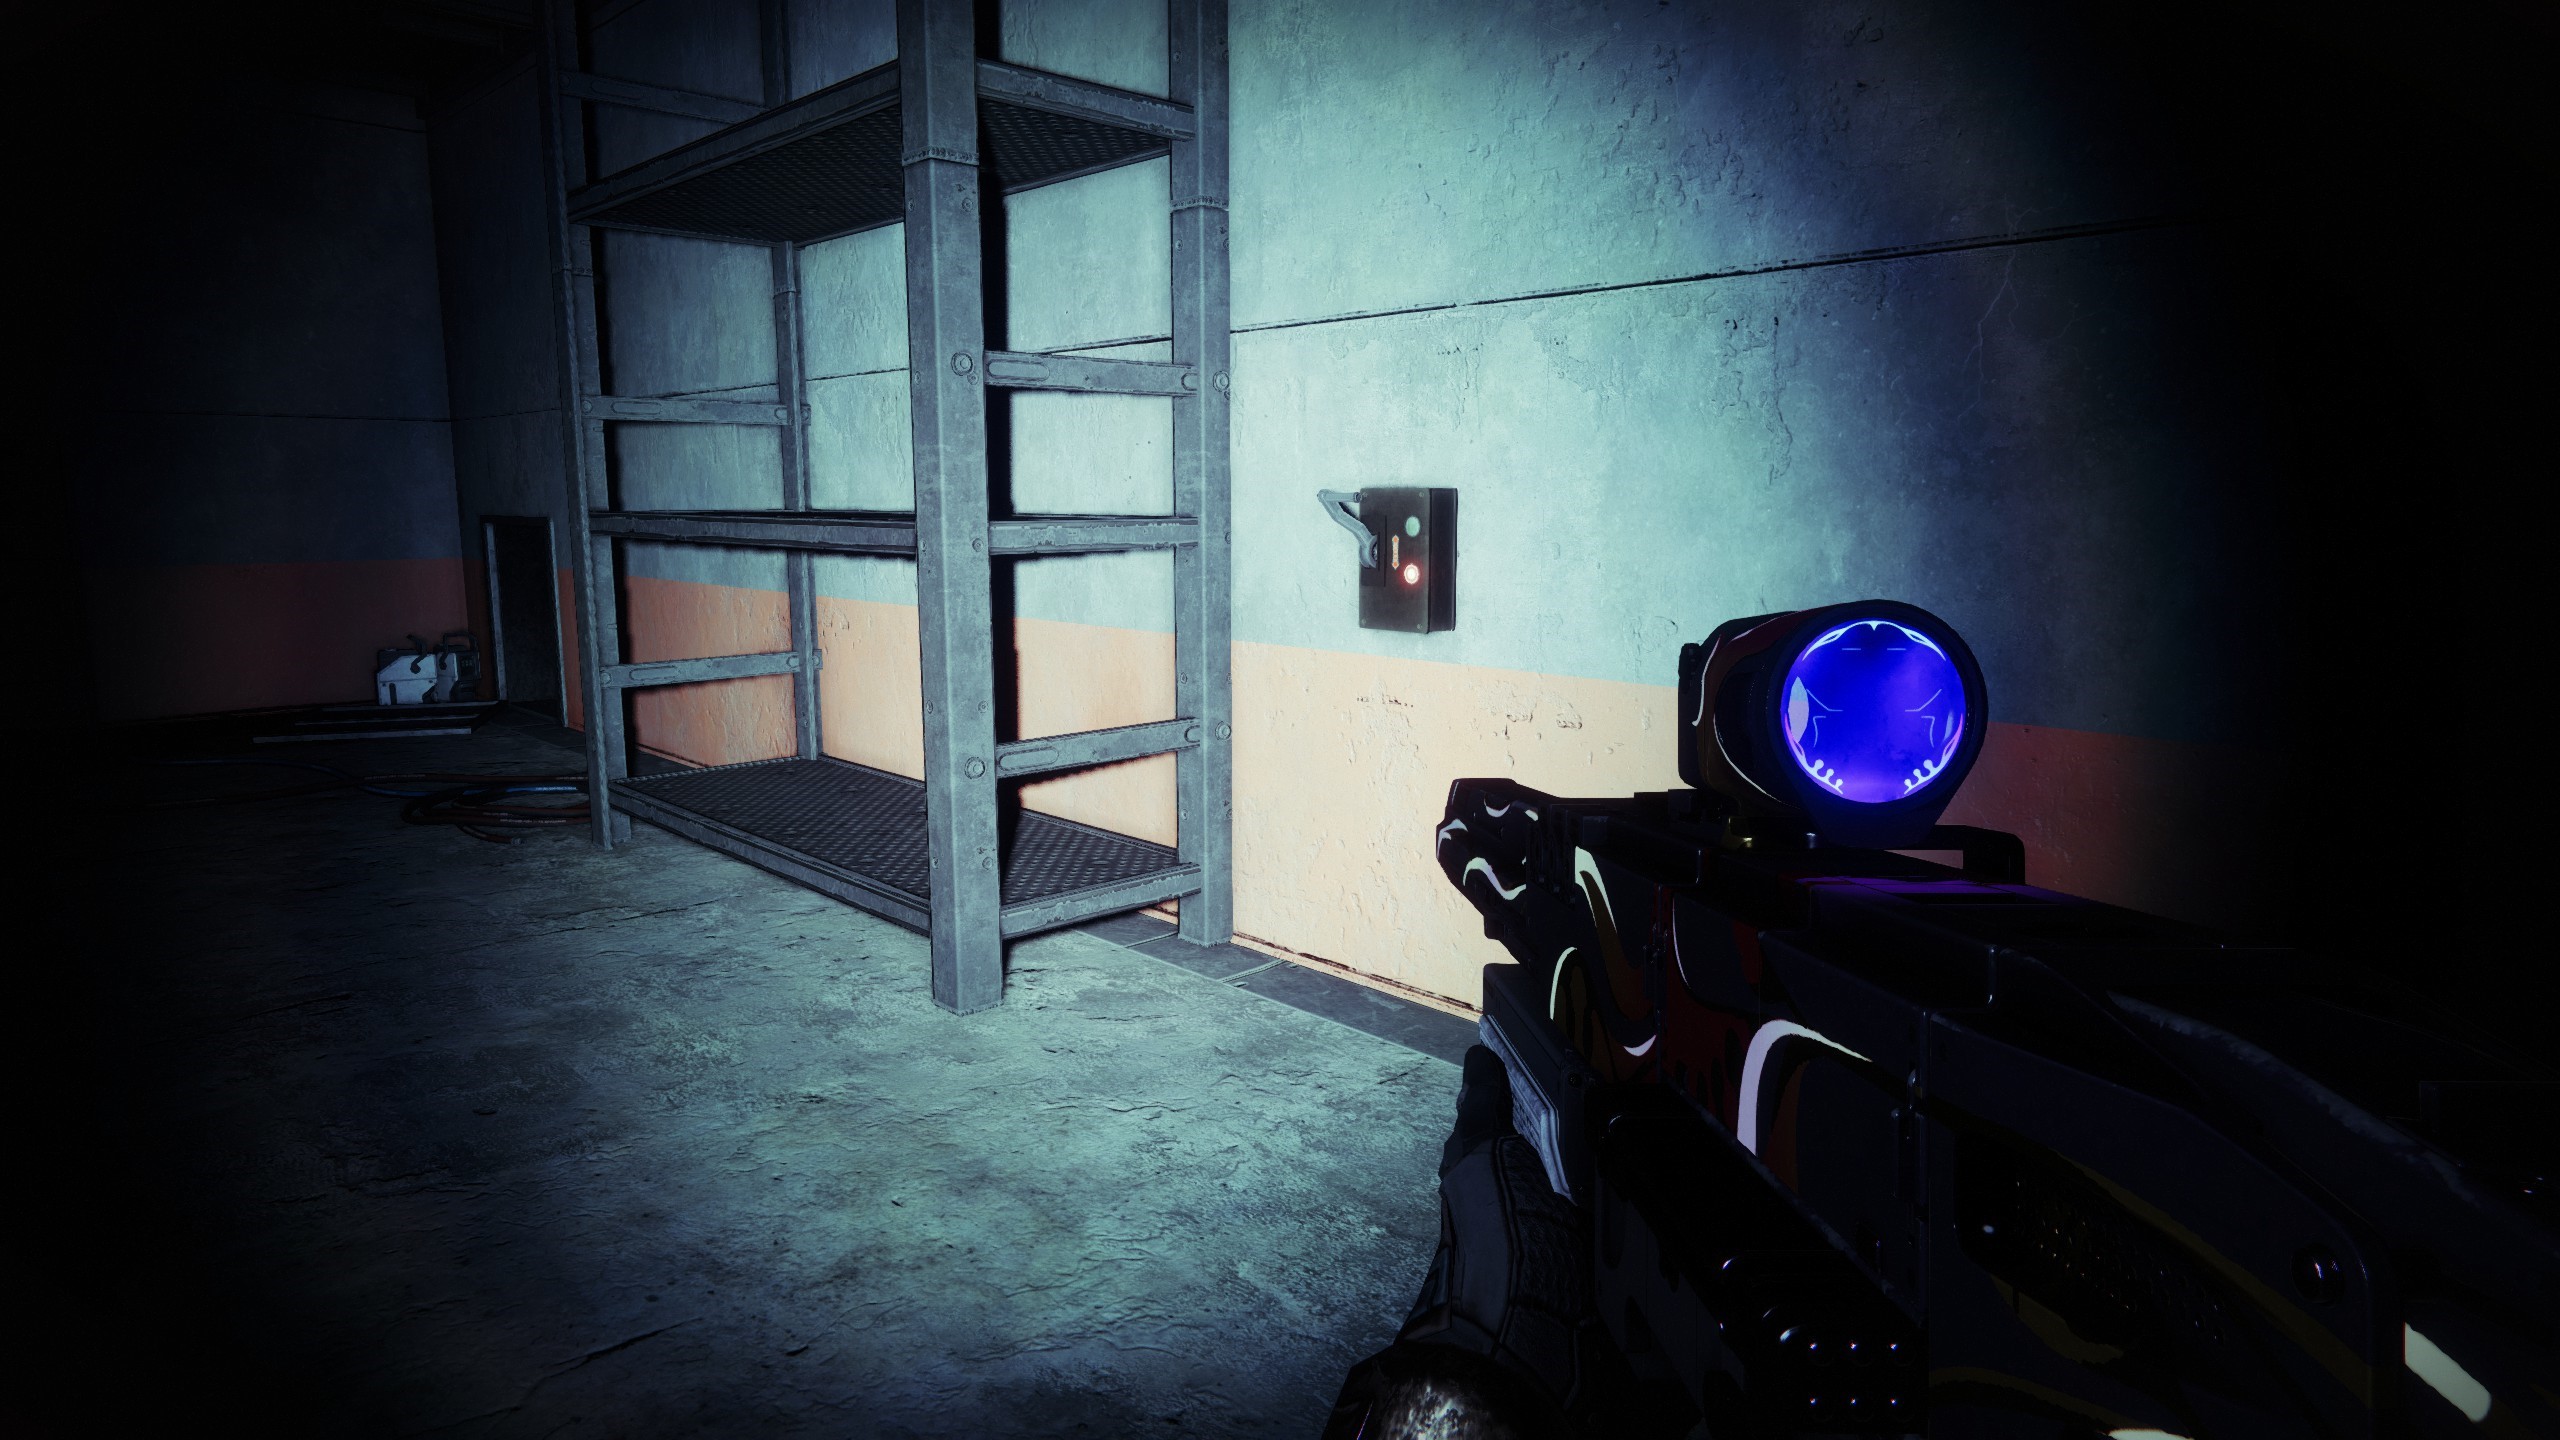
- You'll find a vent at the top leading into a room with the second switch
- Now this is important: activating this switch gives you the Catalyst Switch Primed timer for 30 seconds. Once you hit this switch, you need to get back to the first switch I mentioned and activate that before the time runs out
Do this and you'll get the next stage of the quest to complete the mission on Legend. It's worth noting you can do this in the opposite order, i.e activate the first switch I mentioned and make it to the second switch before the timer runs out instead, but the way I've described above is the easiest. If you're struggling to picture the process, this video from Ninja Pups shows how to do it both ways:
Thankfully, you don't have to do this in the same run as completing the mission on Legend, so it's something you can work up to. If you're struggling, I recommend trying Riskrunner since it gives you extra arc resistance, which is good in an activity with arc threat and lots of arc-firing Fallen.