When a heatwave hits, we’re usually worried about what temperature to set the AC to stay cool or how often we should water our lawn to keep it from turning to straw. However, there’s a secret enemy we shouldn’t forget, one that thrives in high heat and humidity.
While we’re battling the heat to stay cool, the mold in your bathroom is having a holiday and making the most of the extreme weather. But according to one expert, it’s not our ability to clean and remove mold properly that is letting us down; it’s all to do with the sealant.
How damaged caulking encourages mold

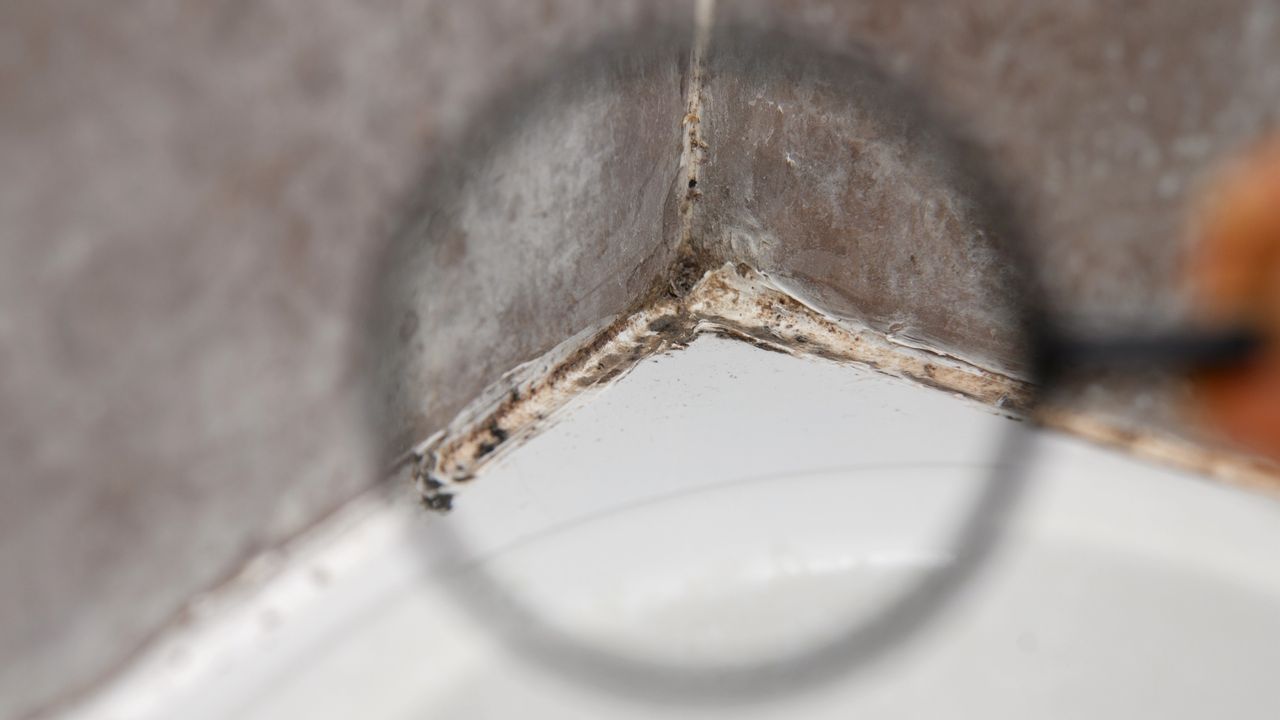
I know firsthand how mold loves a steamy bathroom and thrives in moisture and heat. What’s more, it can be a challenge to remove, especially when it takes root behind sealant.
This is the exact problem that Guy Chapman, a silicone sealant specialist at United Silicones, says occurs when microscopic water penetration occurs behind the sealant, which he says “no amount of bleach can fix.”
When the caulking is first fitted, if the job is done correctly, it should provide a perfect seal; however, over time, this can change.
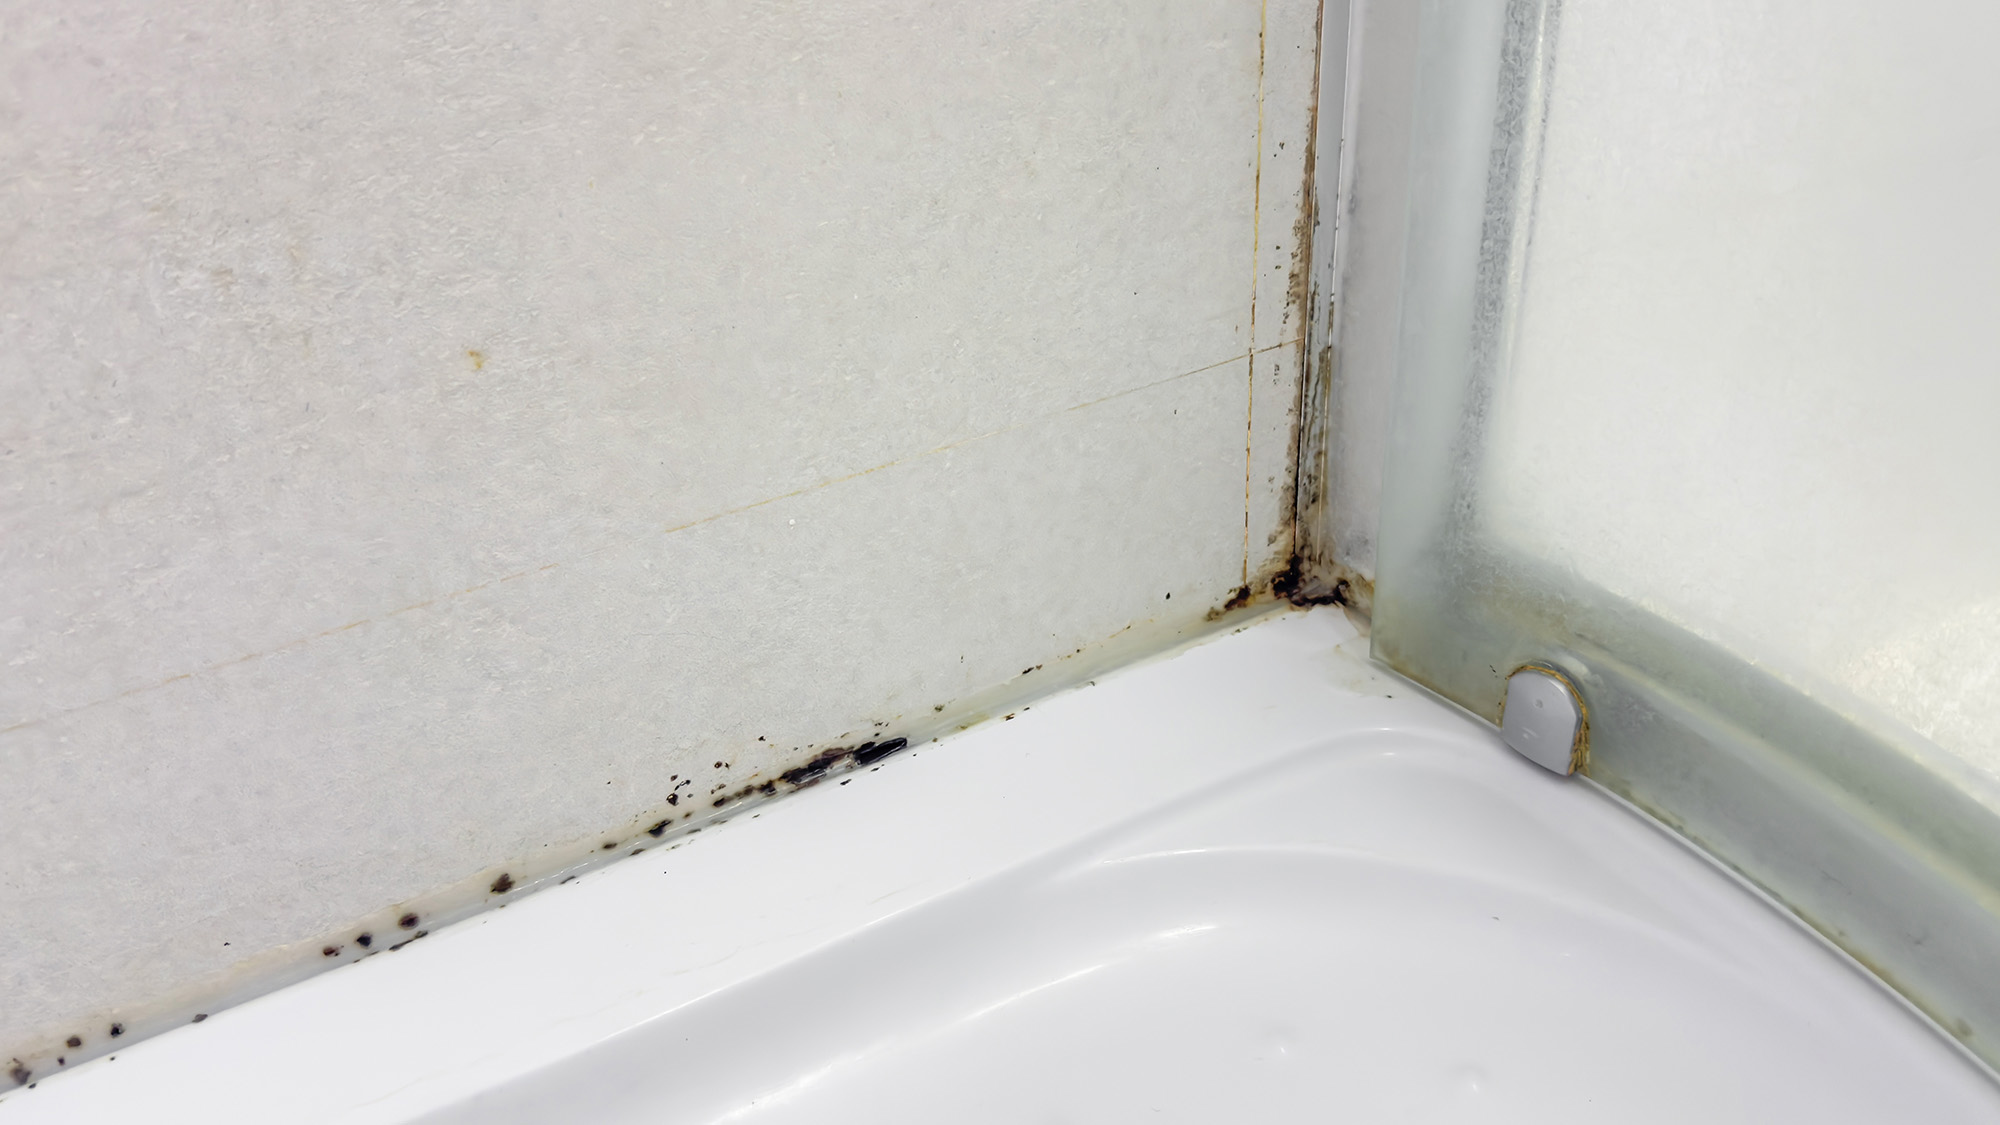
“Standard bathroom sealant looks solid, but over time it shrinks, stiffens and pulls away from the bath edge by fractions of a millimeter,” he explains. “Moisture gets trapped behind it, creating the perfect dark, damp environment for mold spores to grow. Once that happens, surface cleaning is pointless; the mold just keeps coming back.”
When mold becomes a permanent problem
Chapman explains that the critical failure point usually appears 6-12 months after installation, and often goes unnoticed. And apart from in a heatwave when humidity is often higher, it can also be a problem later in the year.
“As temperatures drop and bathrooms cool faster than the rest of the house, condensation increases and accelerates the problem,” he says.
When this happens, he explains that homeowners unknowingly cross the line from cleanable mold to permanent growth.
An alternative to ripping out and reapplying sealant
But instead of ripping out the sealant or reapplying chemicals, Chapman recommends a simple physical barrier — an inexpensive, self-adhesive silicone bath strip.
“This works because it doesn’t rely on chemical resistance,” he says. “It physically seals over the vulnerable joint, preventing water from ever reaching the failing sealant underneath.”
However, for the silicon strip to keep moisture out, it needs to be applied correctly.
How to fit silicone strips
Here’s what Chapman suggests when fitting silicone strips.
1. After cleaning, leave the bath edge to dry for at least 12 hours. Any trapped moisture will compromise adhesion.
2. Apply the silicone strip directly over the existing sealant, pressing firmly along the joint to create a continuous waterproof cap.
How do silicone strips outperform sealant?
Silicone sheet material behaves very differently from sealant compounds, according to Chapman: “It doesn’t shrink, crack or become porous over time. Once applied, it creates a stable moisture barrier that mold simply can’t penetrate.”
Unlike traditional sealants, which cure, age and degrade, silicone strips remain flexible indefinitely, even with constant exposure to hot water. The result is a permanent solution rather than a cleaning cycle.
"For less than the cost of a coffee, you’re stopping mold at the structural level,” and he adds, “It’s one of the simplest preventative fixes in the home, and one of the most effective.”