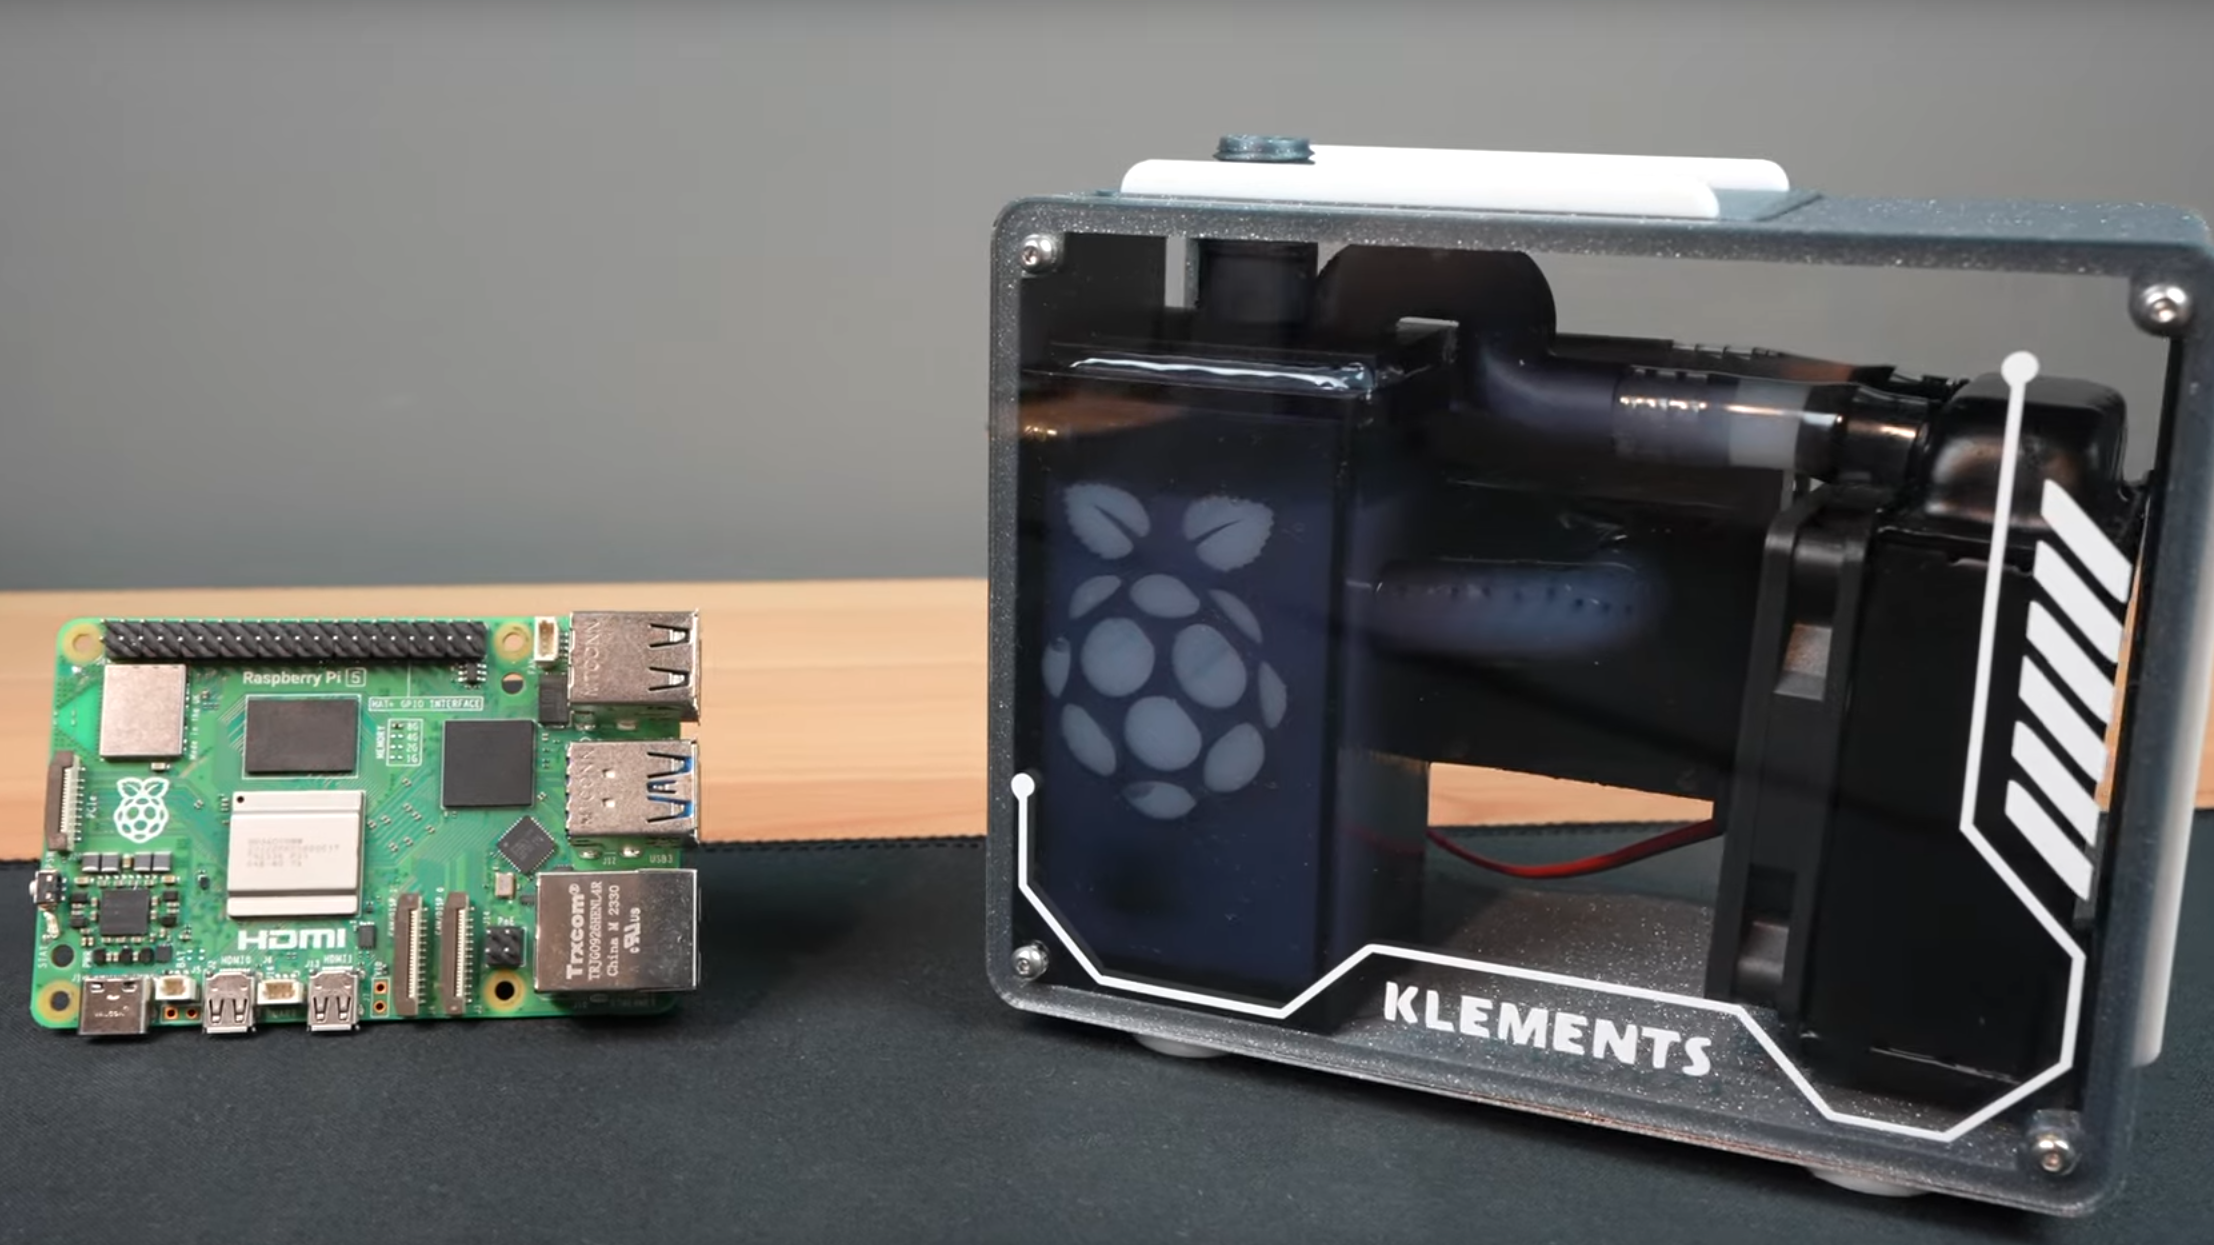
Earlier today, YouTuber Michael Klements uploaded a detailed build log showcasing his custom, water-cooled Raspberry Pi 5 case, including an open loop and acrylic side panel, at a footprint competitive with the best retail Pi 5 cases. This was accomplished using lots of retail hardware, including an existing (overkill) Pi 5 open loop cooler and many custom bits and pieces, including case and reservoir shell made with 3D printing and laser cutting.
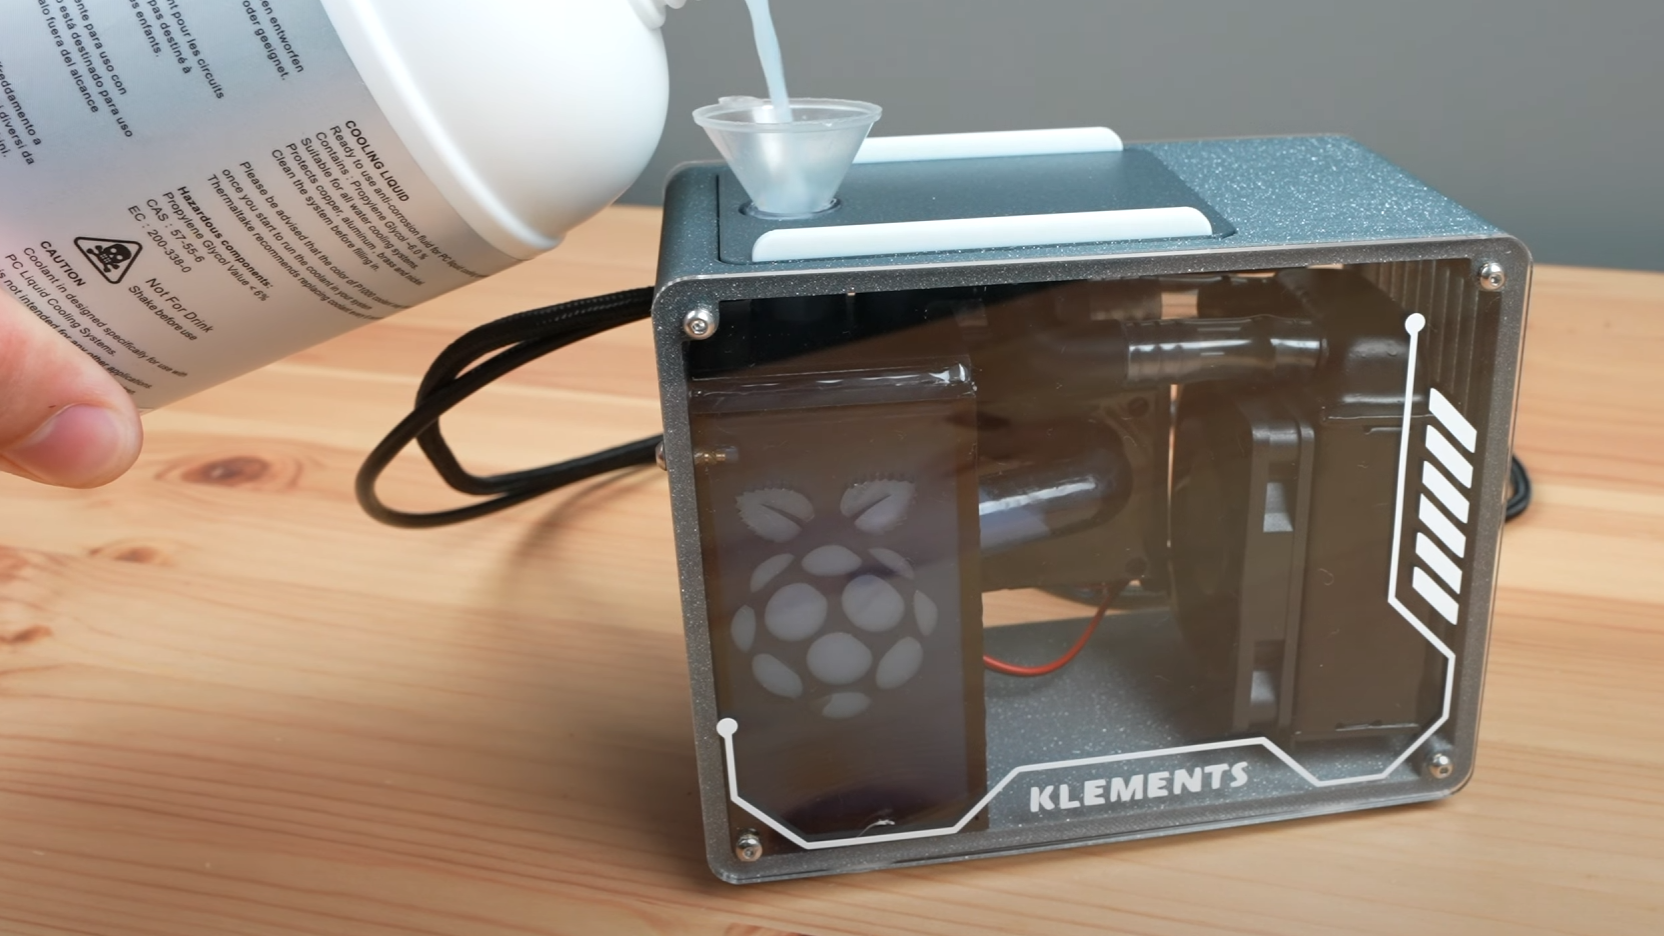
Of the original Water Cooling Kit for Raspberry Pi 5 design we reviewed, the most influential, unaltered piece is the original copper heatsink base. Otherwise, the fan and reservoir have been rebuilt and reprinted into a compact all-in-one design that still includes a slot that can be opened to fill or empty the combined reservoir and pump.

The final design, like the original Raspberry Pi 5, fits cleanly in a single hand and still maintains all the core cooling features one would expect of a device with liquid cooling, albeit in a much smaller form factor than anyone should consider practical. After all, it's not like Pi 5 cases were particularly hot or noisy before this— we aren't running 14th Gens in these, you know? Practical or not, the final "Klements" Raspberry Pi 5 case design is remarkable and looks as good as, if not better, the best retail Pi 5 cases.
If I had to pick a critique, it would be based on a stated design intention that the Raspberry Pi logo visible on the combined radiator and pump, which is a cut-out, be more emphasized with coolant using high-contrast color. A single LED would also do the trick, with or without vibrant coolant liquid. The final design is showcased with white coolant, which is visible but still dim without more available lighting (ambient or otherwise). Alternatively, one could use UV reactive coolant, which would require more frequent refilling of the loop to maintain its glow.
Considering how much of its stated goals this project meets— and how stylish the final build and its Raspberry Pi symbol still look— I don't wish to overstate my criticism or point out small ways the design could have been iterated on, based on the stated intent. The entire design process, as laid out in the original video and companion blog post with benchmarks, showcases what is easily one of the best, highest-effort Raspberry Pi cases we've ever seen.


