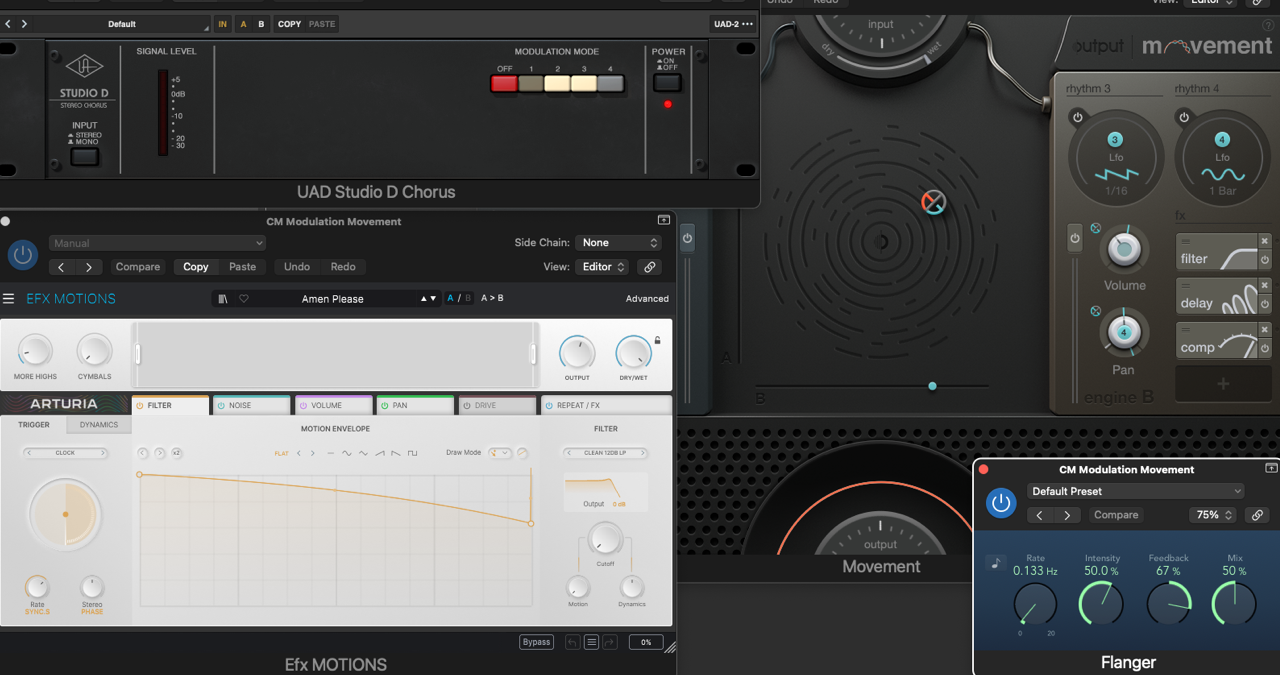
How many times have you listened back to a mix and found yourself wondering why it sounds flat or thin when compared to commercial releases? Worse still, maybe you are listening back and thinking that they sound a bit boring and lacking in interest. This complaint is more common than any of us might wish to admit, but the process for creating thick textures or inducing movement to your work is not as difficult as you might think…
Moreover, anyone using a regular DAW will have plenty of tools available by default, so we set about using those effects to seriously improve our overall sound.
If we reduce our musical construct to the bare-bones, part of the problem for any musician producing music with a DAW, is that you sometimes have to take off your musicians hat, and be a little more adventurous.
This means shifting your mindset outside of what you might regard as the usual ‘band’ construct, employing both subtle and overtly obvious modulation effects, to make the soundstage appear bigger than it actually is.
If you are used to programming your own synthesiser sounds, you may experience similar issues. When starting from scratch, sounds can feel very flat, if compared to the impressive onboard preset palette, where the sounds are designed to show off a product to its greatest extent.
More often than not, there will be effects employed to thicken and bolster the sound, adding an impressive layer to the top of the sonic cake.
If you’re not sure where to make a start, or you’re having problems distinguishing your flanger from your phaser, we’re here to help. Over a series of features, we’re going to look at the main contenders for thickening your track’s identity, while adding movement and interest to the musical level of your performance, so strap in as we head to the next phase!
Rousing chorus effects
One thing that is always incredibly helpful when dealing with effects are descriptions that easily and succinctly describe them. Chorus is one modulation effect that does this quite accurately, but surprisingly we don't tend to think about its effect on our tracks as acutely as the name suggests.
The chorus effect arguably does exactly what it says on the tin. Reflecting its literal interpretation, chorus relates to a choir. If you have a single singer or voice, the sound might be very beautiful and pure, but the texture will not necessarily be very thick or broad.
Add more singers, alongside our singular singer, and if they all sing the same note, there will be subtle deviation of tuning and timbre, which naturally makes the sound and texture thicker.
This is exactly what the chorus effect does, but operating artificially. Wonderful as it might be to clone artists inside your computer, all a chorus does (in either plugin or hardware form) is take the initial signal, reproduce it, delay it by around 15-35 milliseconds, detune it, and play it back to you, alongside the original signal.
The short delay in the reproduced or cloned signal is fairly crucial, as without this we would hear phasing - which is a cool effect in its own right, but only when we want it! However, there’s a little more to it than first meets the ear.
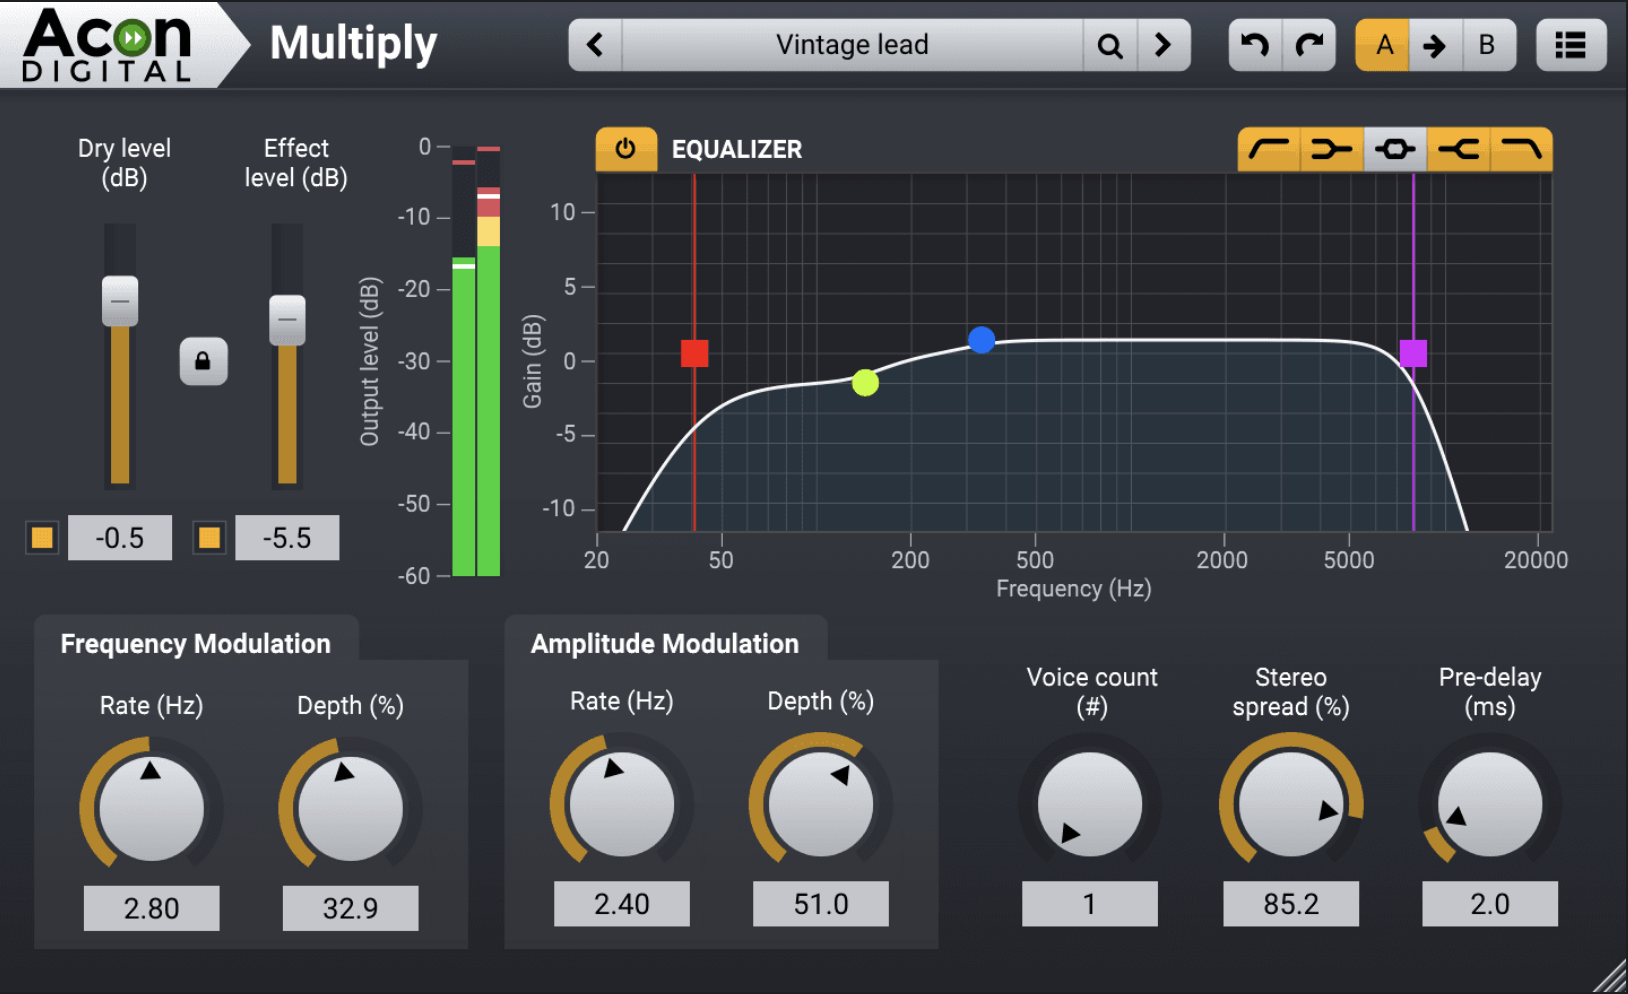
One of the essential thickening agents available from chorus is the application of pitch modulation. If you’re a synthesist, this may feel like a familiar concept, as it’s the same sort of modulation that you might employ to create vibrato on a synthesiser.
While it might seem odd, chorus effects employ a low frequency oscillator, in much the same way that synths do. It might not be overtly obvious that this is the process at play, but you will most likely see a pot or control which is labelled 'Rate'. That’s the speed of the LFO.
If you take a really basic instrument signal such as a sustained guitar note or synth note and apply chorus, you should hear the basic meandering modulation of the chorus, as you apply it. Change the Rate parameter, and you will hear the speed of modulation change.
All about the imaging
If you’re using chorus within your DAW, you are likely to be confronted by the usual question, when plugging in the plugin; Mono or stereo?
If you are lucky enough to be working in an environment where your head is in the sweet spot, between your monitors, you should hear the difference between the options fairly quickly.
A mono chorus will place the detuned signal on top of the existing signal, whereas most stereo chorus effects will place the existing signal in the centre of your stereo field, with detuned signals on the left and the right.
This obviously sounds wonderful, particularly as the LFO element will probably modulate the left and right signal in opposite phase, so as the left pitch rises, the right pitch will fall, and vice versa. Clever stuff!
If you have the opportunity to play around with the Rate control, you will also likely notice that increasing to a higher setting induces a pitch-tremolo effect. This might tickle your production fancy, but as a rule for thickening textures, slower rates will be far more useful and effective.
It’s getting intense!
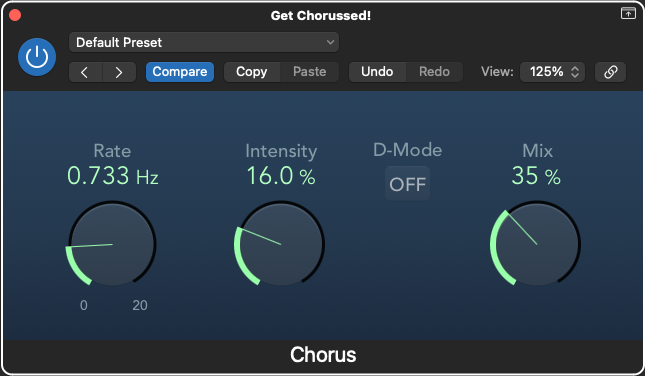
Alongside the rate control, you should also see an Intensity control. The higher this parameter is increased, the more extreme the tuning variation of your duplicated signals will be.
If you set the Intensity control to a fairly subtle amount, you’ll achieve classic chorus, where the original signal is subtly detuned in to a pleasing sound.
Extend to the extreme, and you should quickly hear your chorus move to a position which could be described as drunken haze! It could be what you want, but you’ll have to make that decision within your own production setting.
Thickening and blending
Having grasped these basics, the only decision remaining, at least at the raw signal level, is how much of this chorus modulation you want to feed in to your signal.
If you’re using your chorus plugin on an instrument channel in your DAW, you should have the option to balance the mix, or wet/dry status, against your original signal.
Keep this parameter too low, and you won’t get the full thickening benefit. Go too high, and you’ll mostly hear the modulated signal, hence the sweet spot for your chorus tends to be somewhere around the halfway point. At the very least, it’s a good starting point, and one that can be adjusted from there.
The important thing to do is always listen, rather than adjust with your eyes. Chorus is a beautiful effect when used nicely, but it can also sound horrible if over applied… unless that’s what you want?
Another dimension!
Some of the most beloved and classic chorus effects from yesteryear came from Roland. It has had skin-in-the-chorus-game for many years, both through its Boss guitar pedals, which have often been redeployed for use with synthesisers, and its line of rack-mounted effects units.
The Boss CE-1 is one of the most highly prized chorus pedals, originally produced in 1976. A secondhand pedal will set you back a fair bit of wedge, as will the even more impressive Roland Dimension-D rack mounted chorus unit.
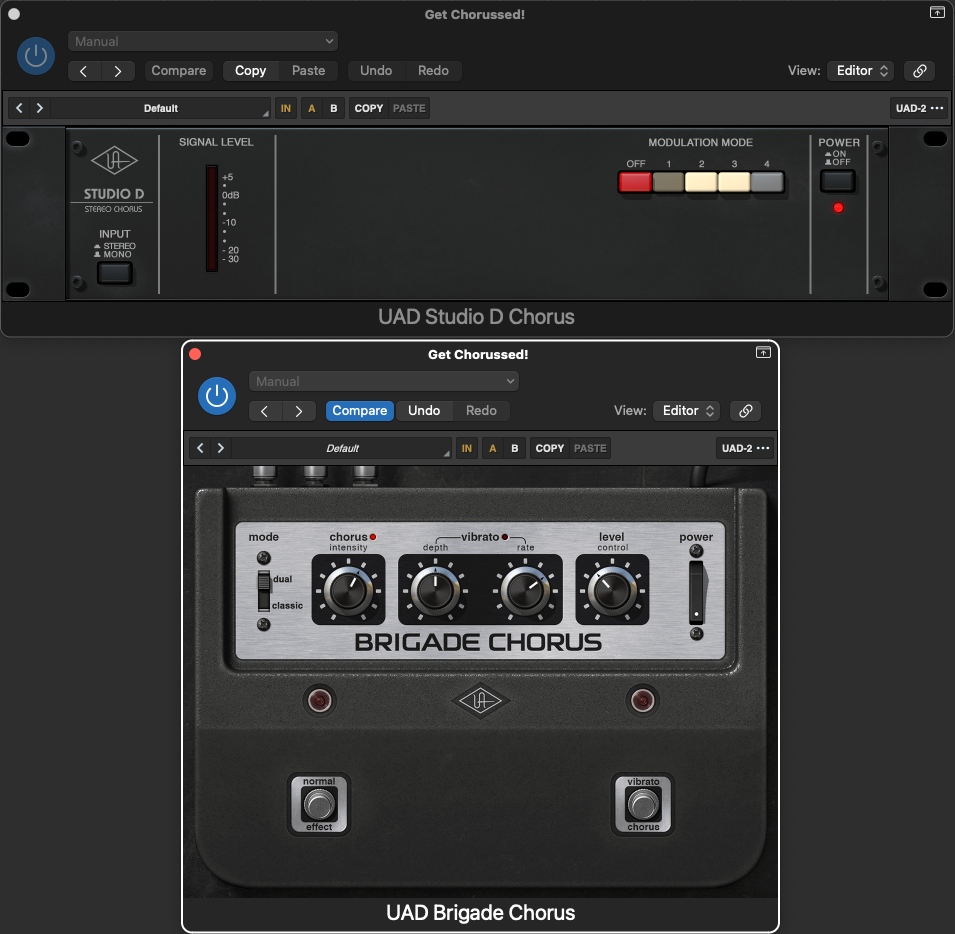
Thankfully, both of these devices are available in software form, from a number of different companies.
Taking note of the popularity of these devices, Roland placed a similarly impressive chorus effect on their Juno 6/60/106 synthesisers, to assist with the thickening of texture. Thankfully you don't need to spend a small fortune on a Juno to get the chorus effect, as the chorus section alone is also available from a number of different software suppliers.
In our next instalment, we're going to be looking at phasing and flanging. See you there.

