Caulking is a skill that every DIY-er should have in their locker. But while it’s easy enough to do, caulk can stand out like a sore thumb if left in its raw, natural state. So you might want to disguise it with paint - but can you paint over caulk or is it a big no-no?
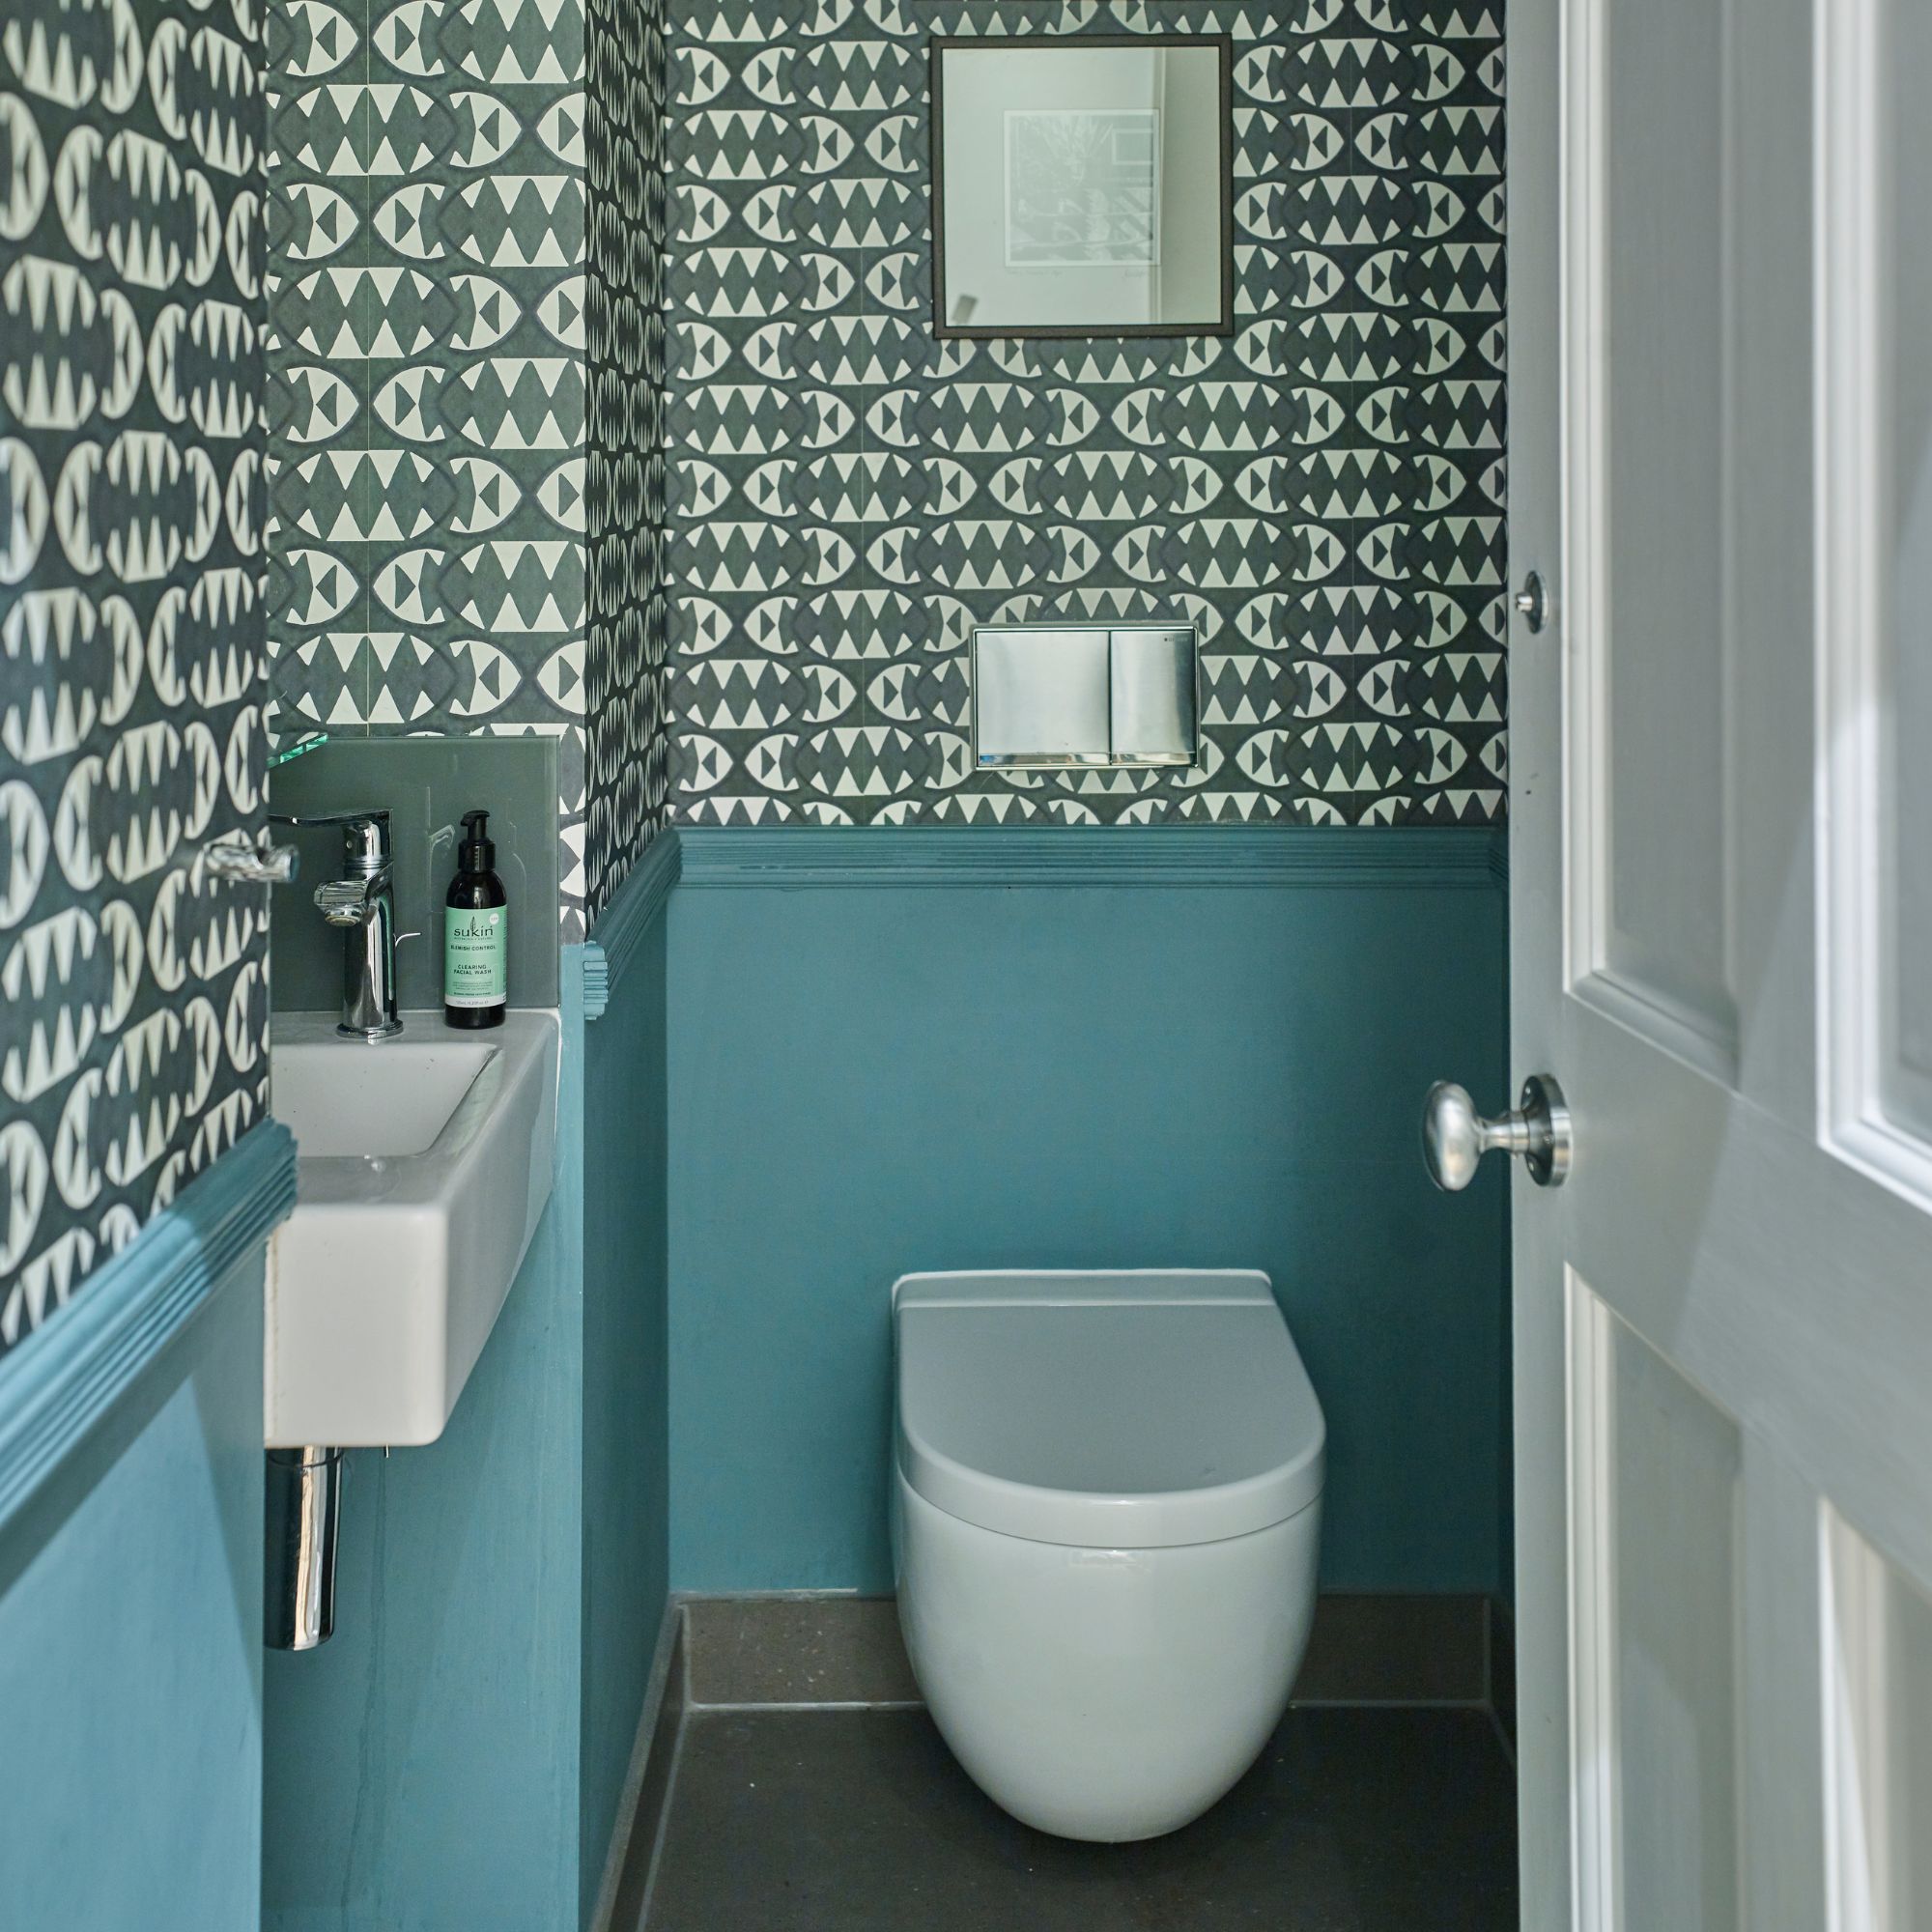
Whether you’ve bought caulk to smarten up the edges of your wall panelling ideas or give your skirting boards their chance to really shine, you’ll know that caulk is typically only available in white, black, or clear. But even if you opt for clear caulk, it can still be visible to the naked eye. That’s why painting it can really work in your favour.
However, depending on the type of caulk you use, it can be impossible to paint over (especially with silicone caulk. However, if you choose decorator or painter’s caulk, you should be able to paint over it as long as you follow these 4 expert-approved tips first.
1. Be patient

If you want to paint over caulk, patience is key. Just as you need to wait for paint to dry properly to avoid any common paint problems, you also need to wait for the caulk to dry before doing anything to it. And this could mean waiting longer than it says on the tube, too.
Emma Bestley, Creative Director and Co-Founder of YesColours, advises, ‘You can usually paint over the caulk in 1-2 hours after applying it; however, we’d recommend waiting 24 hours, depending on the caulk you have used.’
Tim Warren, a DIY expert from Adkwik, adds, ‘This will help to prevent the paint from splitting or cracking over the top of the caulk, as it may still be contracting after the paint has dried if it was not left to cure for long enough.’
By waiting just a bit longer to paint over caulk, you’ll be able to guarantee a slick and seamless finish. After all, painting too fast can cause imperfections, which will stick out like a sore thumb.
You can't paint caulk without some paintbrushes, and this set comes with five different sizes so you can choose the right option for your project.
2. Choose the right caulk

Ultimately, if you want to paint over caulk, you need to make sure that you’re choosing the right caulk in the first place, as it’s generally not advised to paint silicone caulks.
As Emma says, ‘For the best results, opt for paintable caulks like acrylic or latex, which are made to take paint once they're fully cured. Silicone caulks are a bit trickier - they’re often non-paintable and can make the paint crack, peel and craze.’
So, do your research and buy the right caulk for this task. Then, you can then use any paint you like to get the deed done.
This decorator's caulk is made from acrylic, meaning it can be painted. There's also two in this pack, just in case you run out.
3. Clean it first

Many people opt to caulk areas of their homes to add a seamless finish and hide any potential blemishes that occur during the DIY process. However, it’s incredibly easy for this caulk to become an eyesore after painting - especially if you don’t prep it first.
That’s why Tim urges everyone looking to paint over caulk to clean it first. He says, ‘Ensure that the caulk is clear of dust and debris before you begin painting, and any areas where you think there may be too much caulk applied may need to have this removed so you can start again.’
If it’s fresh caulk, you may only need to run a duster over it to remove any small particles. But if you’re looking to paint over old caulk that’s perhaps become covered in mould or mildew, it’s best to clean it with a 1:1 solution of white vinegar and water.
You probably already know the benefits of cleaning with vinegar, but this stuff can also help you clean your caulk before painting it.
4. Use a primer

If you want to ensure a perfect finish or you just really, really want to try and paint silicone caulk, you could also use a primer to provide a substantial base for the paint. This can be any primer you like, whether you buy a whole new tin or use what you already have in the garage (after all, you should never store paint in the shed).
Just be warned that this still might not be enough for a flawless finish if you’ve painted over silicone caulk, as it just really doesn’t like to be painted. You might get lucky, though.
Emma echoes this, warning, ‘If you need to paint over a silicone caulk, it’s important you use a primer that’s made to stick to silicone, though don’t expect it to look perfect.’
You can use any primer to prime your caulk before painting, and you can pick this up while you're buying other homeware.
FAQs
Why does caulk crack when painted?
If you’ve tried to paint over caulk and found that it’s started to crack, there’s a high chance that you’ve tried to paint the wrong kind of caulk. Silicone caulk is extremely difficult to paint as there’s just nothing for the paint to stick to. As a result, you may have to remove the silicone caulk and replace it with decorator’s caulk.
Another option is that it's possible you didn’t leave the caulk to dry for long enough before painting. Although most caulks will advise waiting a couple of hours before painting, it’s well worth waiting at least 24 hours to ensure that it’s fully dry.
Alternatively, you may have simply added too much paint. Just as paint can crack on walls if you’ve painted too many coats on top of each other, the same can occur if you paint too thickly over caulk.
What's the difference between caulk and filler?
The main difference between filler and caulk is that they have two different purposes. While filler is used to fill gaps, cracks, and holes in walls, skirting boards, and more, caulk is generally used as a flexible sealant. It’s also used as a finishing tool to break up harsh lines in DIY projects.
Another difference is that filler is generally used for larger imperfections, while caulk is used for smaller gaps and holes.
Happy painting!


