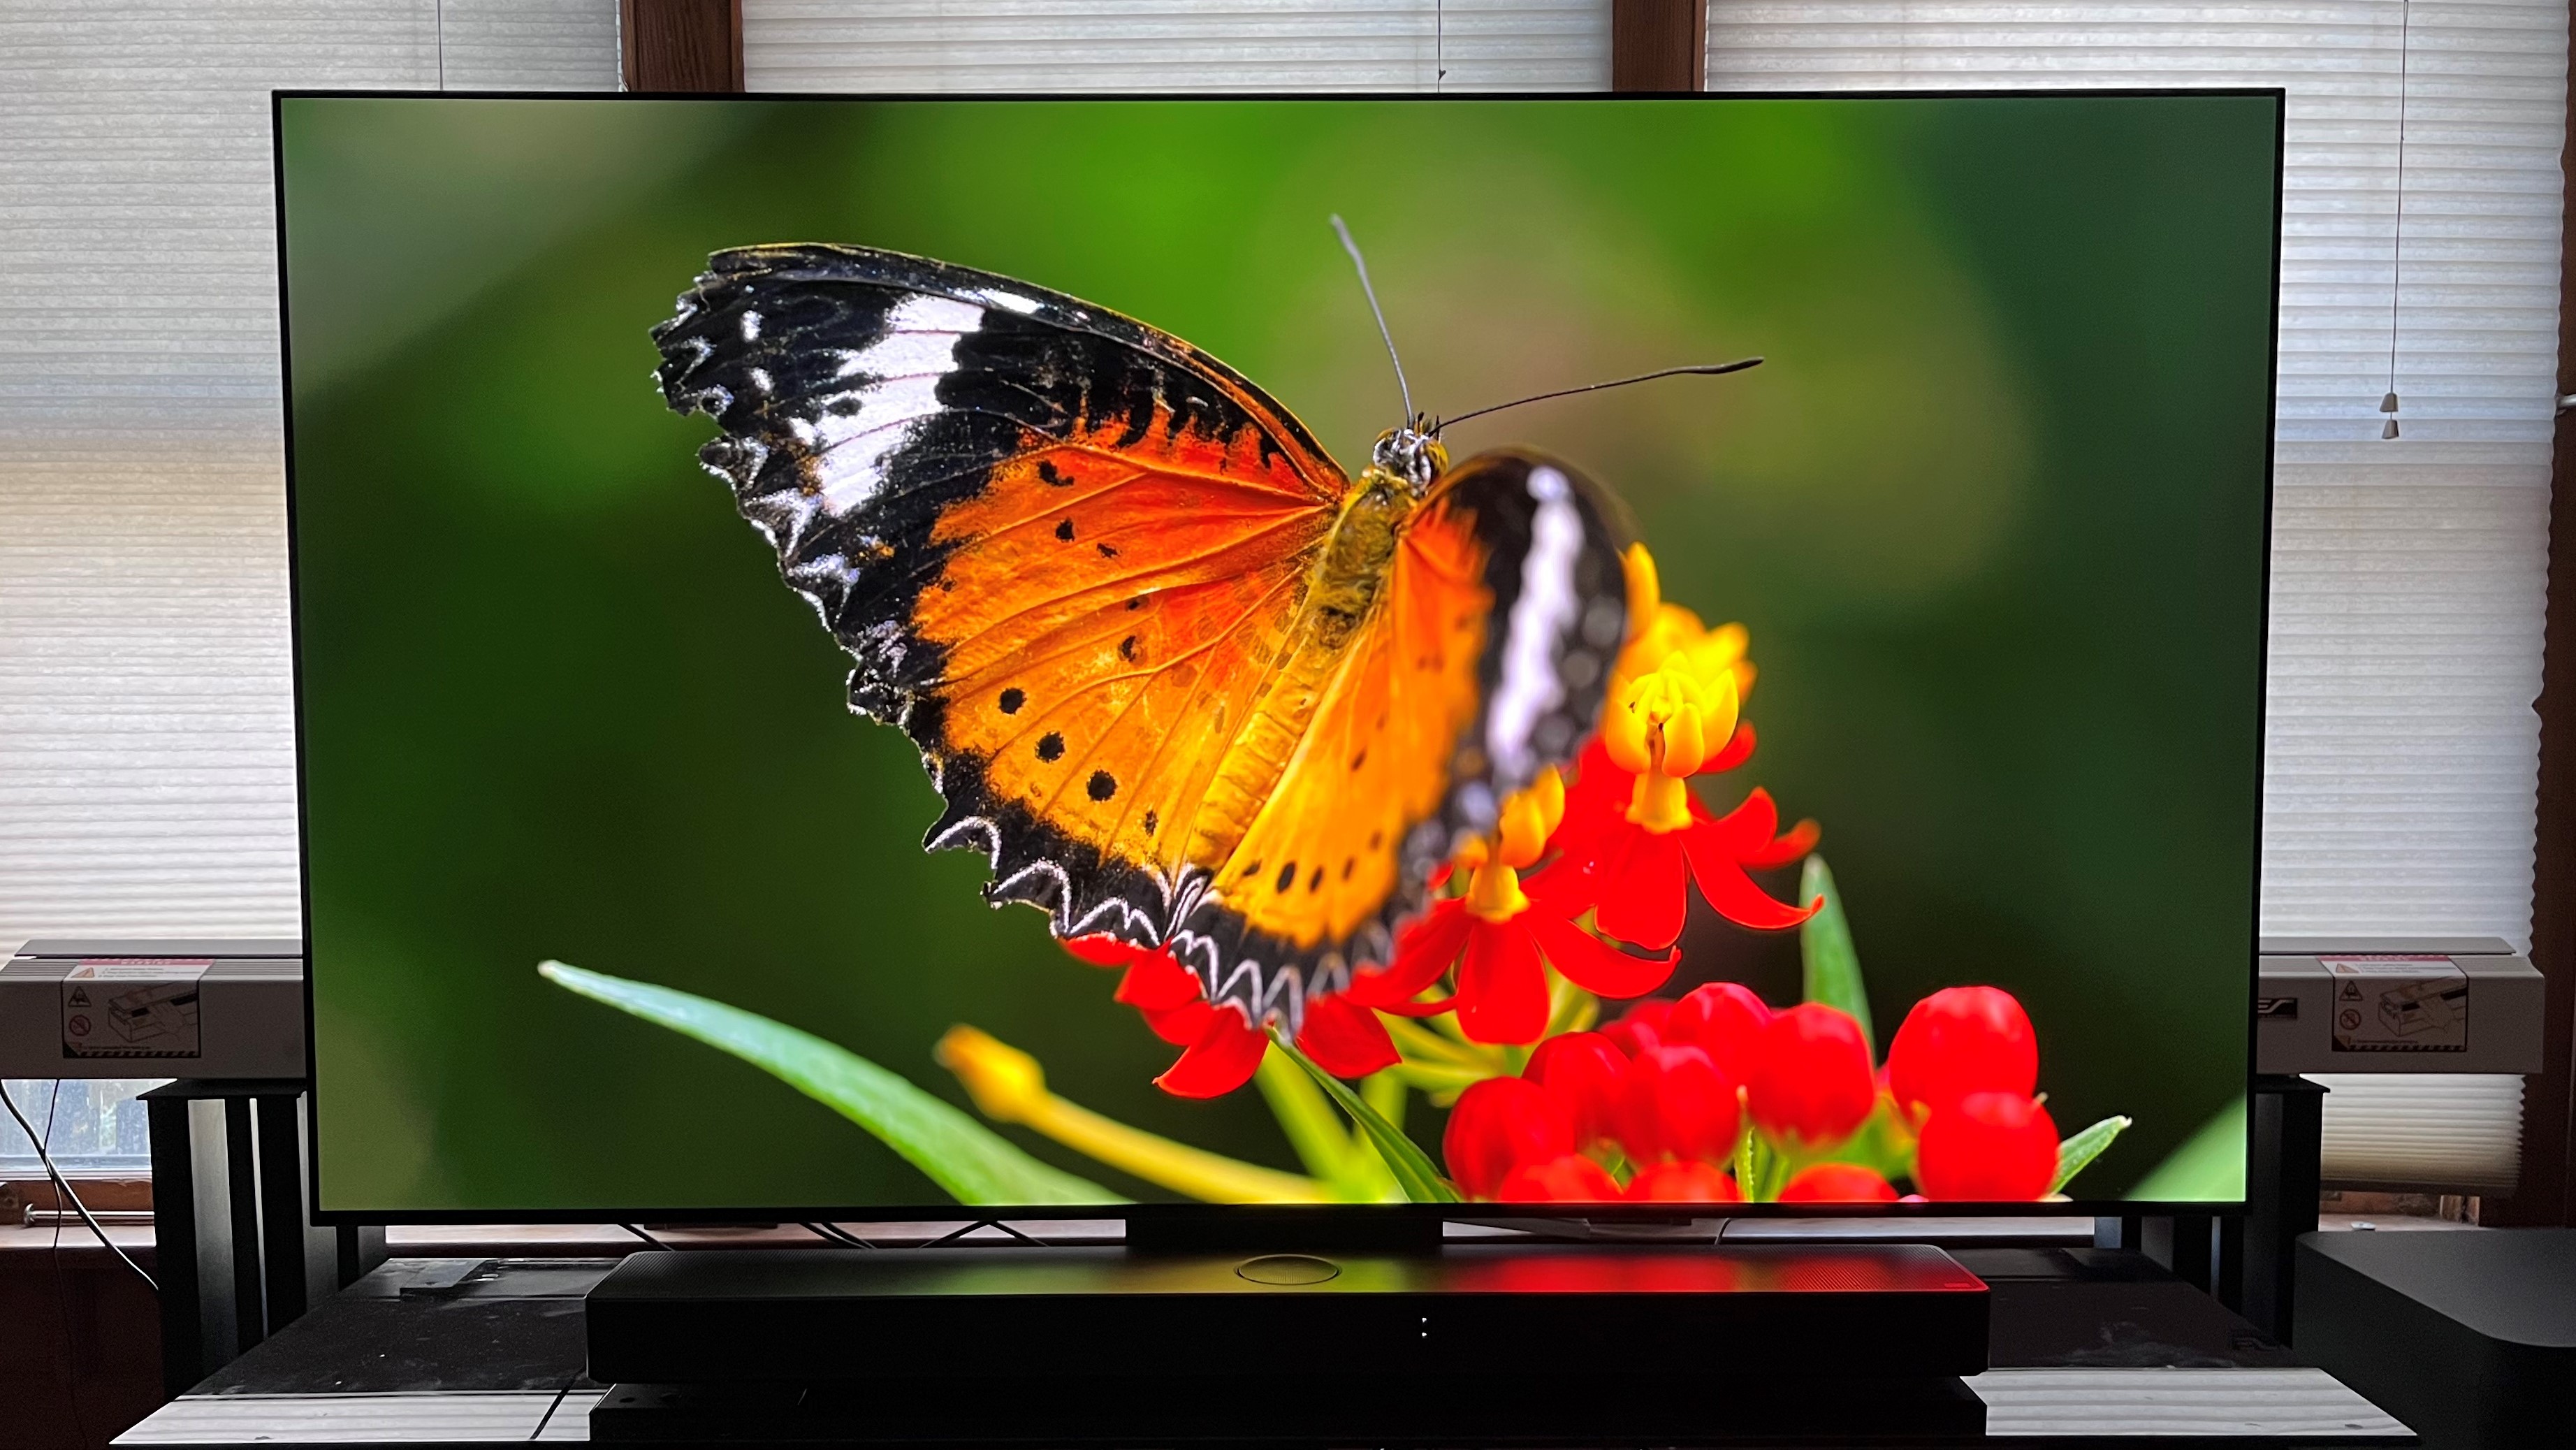
Black Friday and Cyber Monday TV deals present the perfect opportunity to buy a 4K TV at a deeply discounted price. If you were one of the savvy buyers who took advantage of this year’s sales to score one of the best TVs, then you’ve likely received it by now and may already have it up and running.
How is the picture looking, though? New TVs from different brands are almost guaranteed to deliver different picture quality straight out of the box, but there are a few basic setup steps you can take to make sure you’re getting the best performance. I’ll detail those steps below, and also offer advice for those looking to take their TV setup to the next level.
Choose the right picture mode
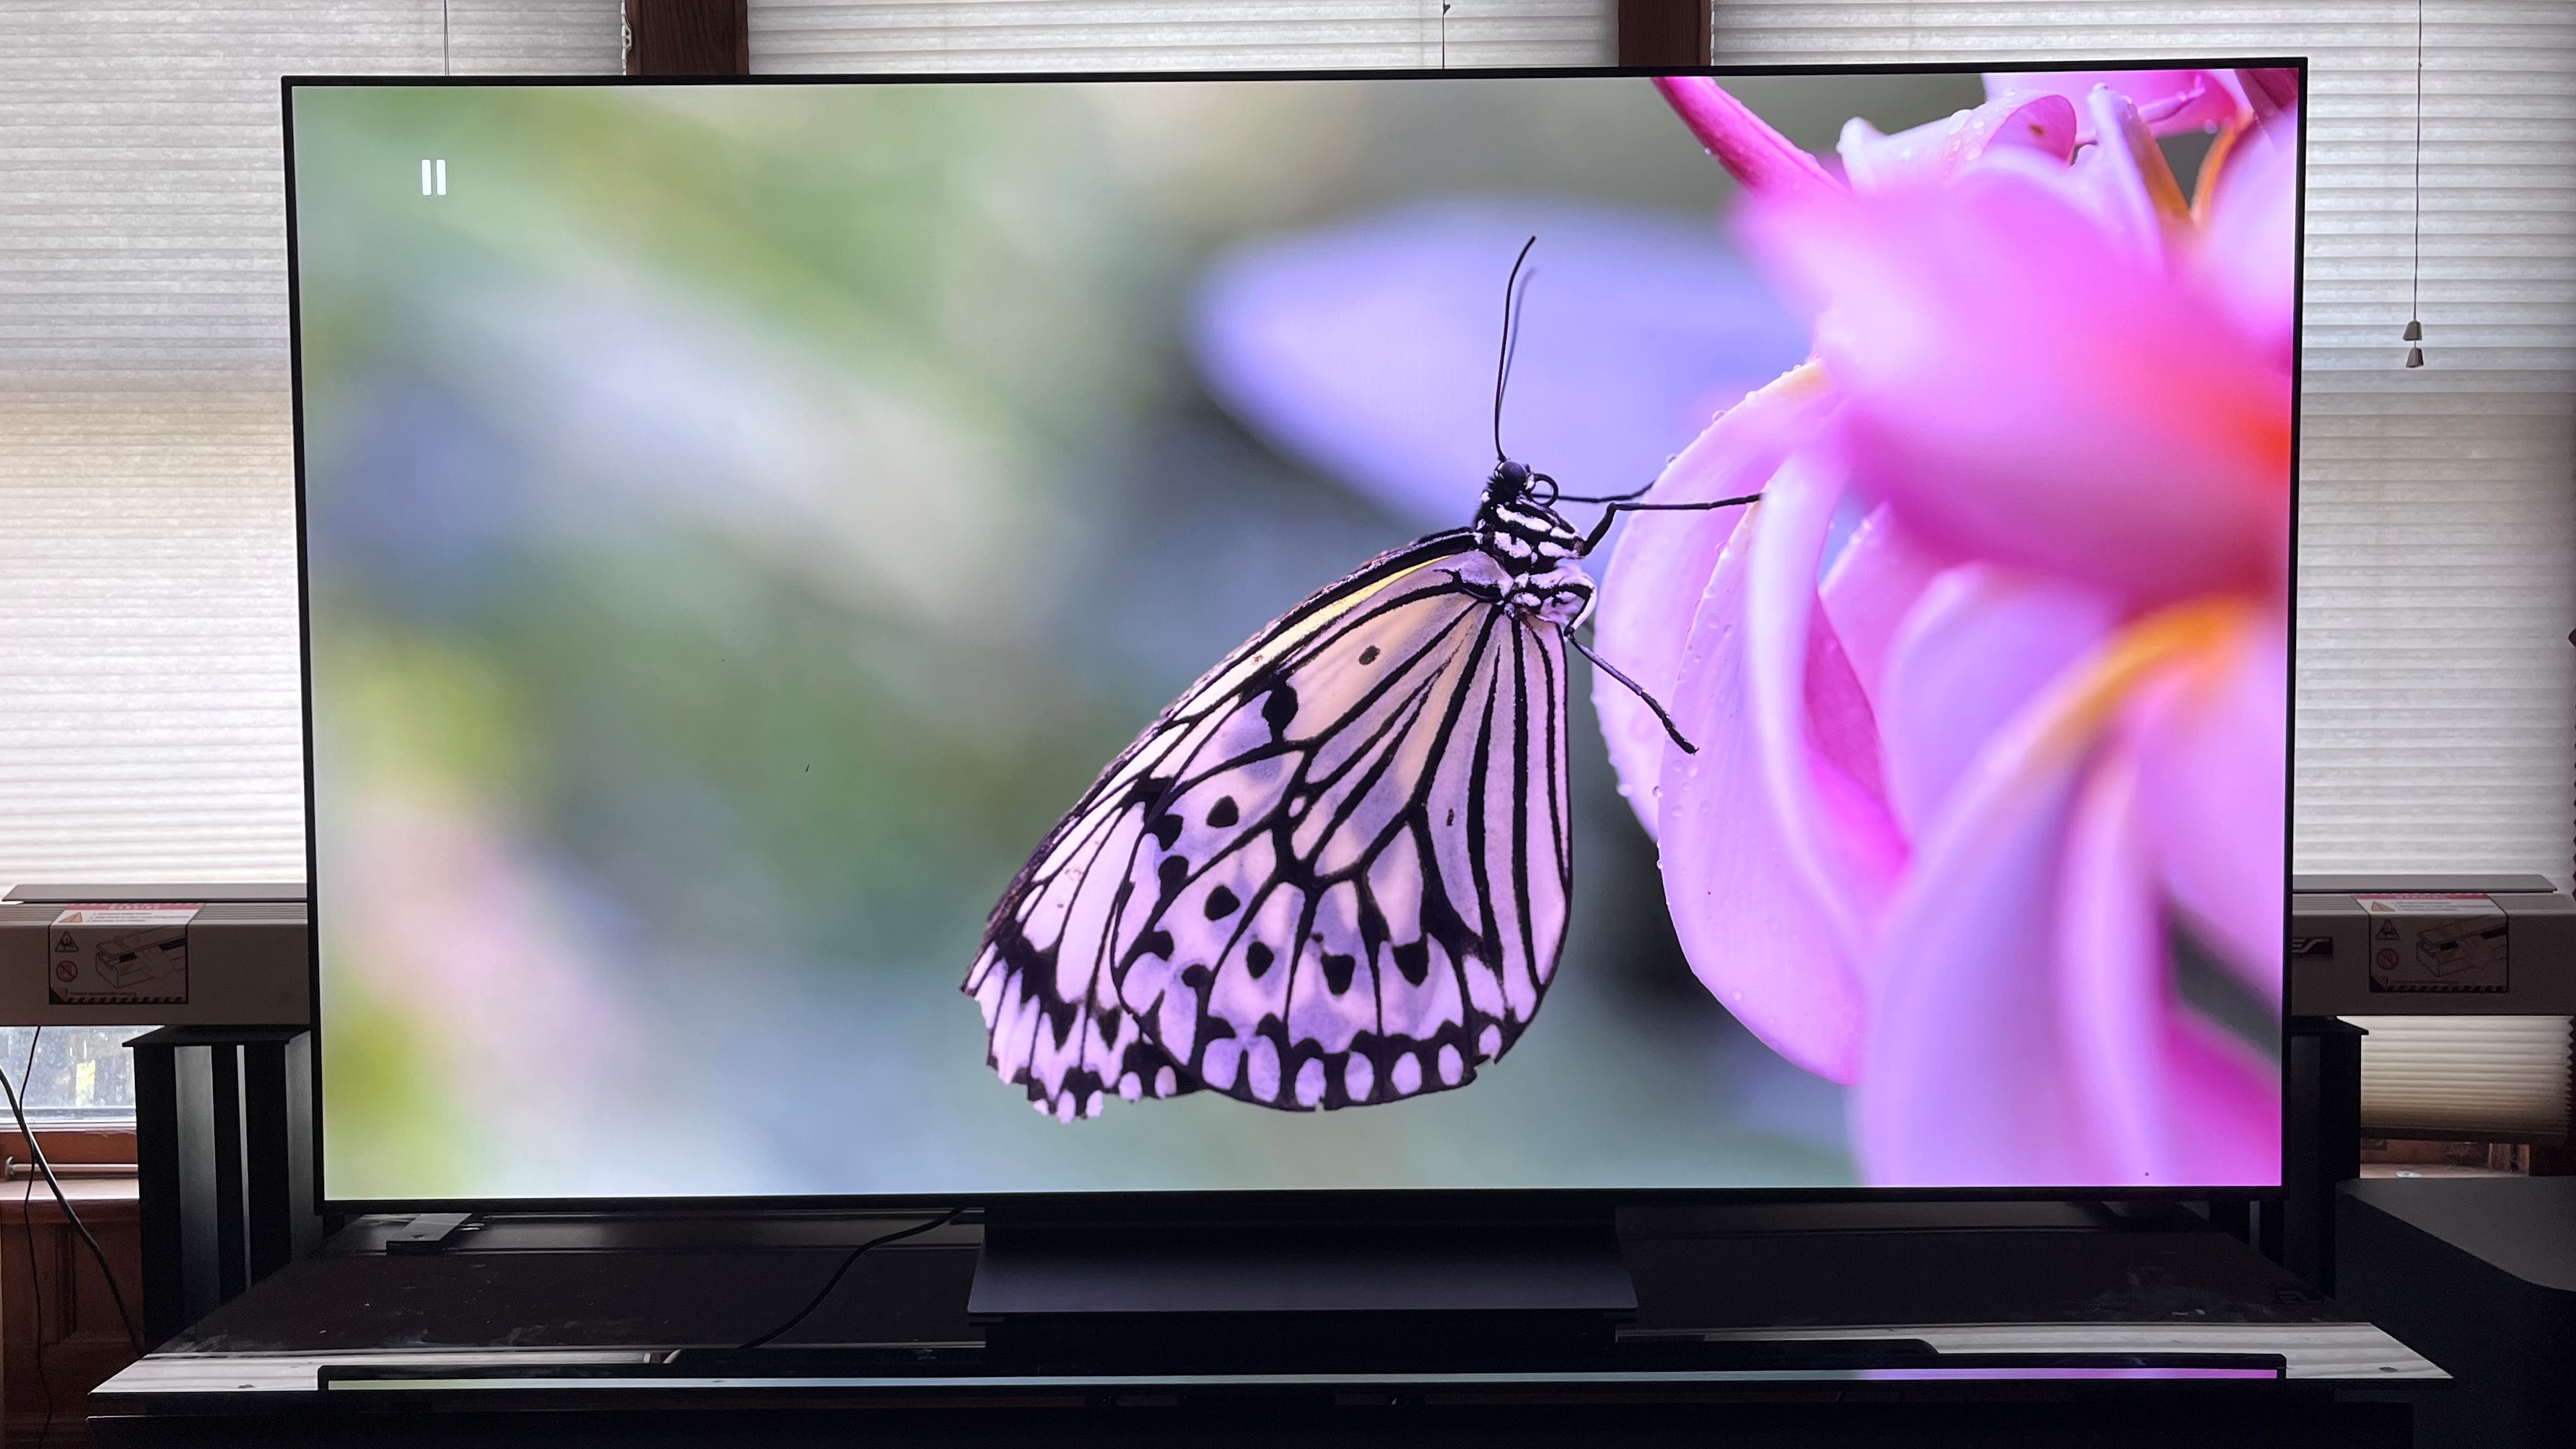
When navigating your TV’s menus, the Picture Settings submenu will have a list of picture presets with names such as Movie, Standard, Sports, Vivid, Game, Eco. etc. A good starting point is to select the Movie mode, which is also sometimes called Cinema or Filmmaker. This should provide the most accurate color and brightness balance of the various presets, and it will also disable the motion smoothing that can make movies and TV shows shot at a 24 frames per second frame rate look like a daytime soap opera (this is what we refer to in the business as the dreaded 'soap opera effect').
If Movie mode looks too dim or muted for your taste, you may prefer the Standard picture mode instead. As its name suggests, Movie is optimized for viewing in a dim or dark environment – similar to a movie theater – while the Standard Mode can be a better option for bright rooms or daytime viewing. The color accuracy won’t be as good as with Movie, but the picture should have a bolder look that can stand out in a well-lit room.
Using your new TV for gaming? While it’s the case that any picture mode can be used for gaming, the Game preset on a TV will reduce the video processing that boosts input lag – an important consideration when playing first-person shooter or other game types where a quick onscreen response to a controller is essential. As an added bonus, this preset on many TVs also activates a special onscreen menu that can be called up to make quick gaming-related adjustments without having to pause the game.
Turn off Eco settings
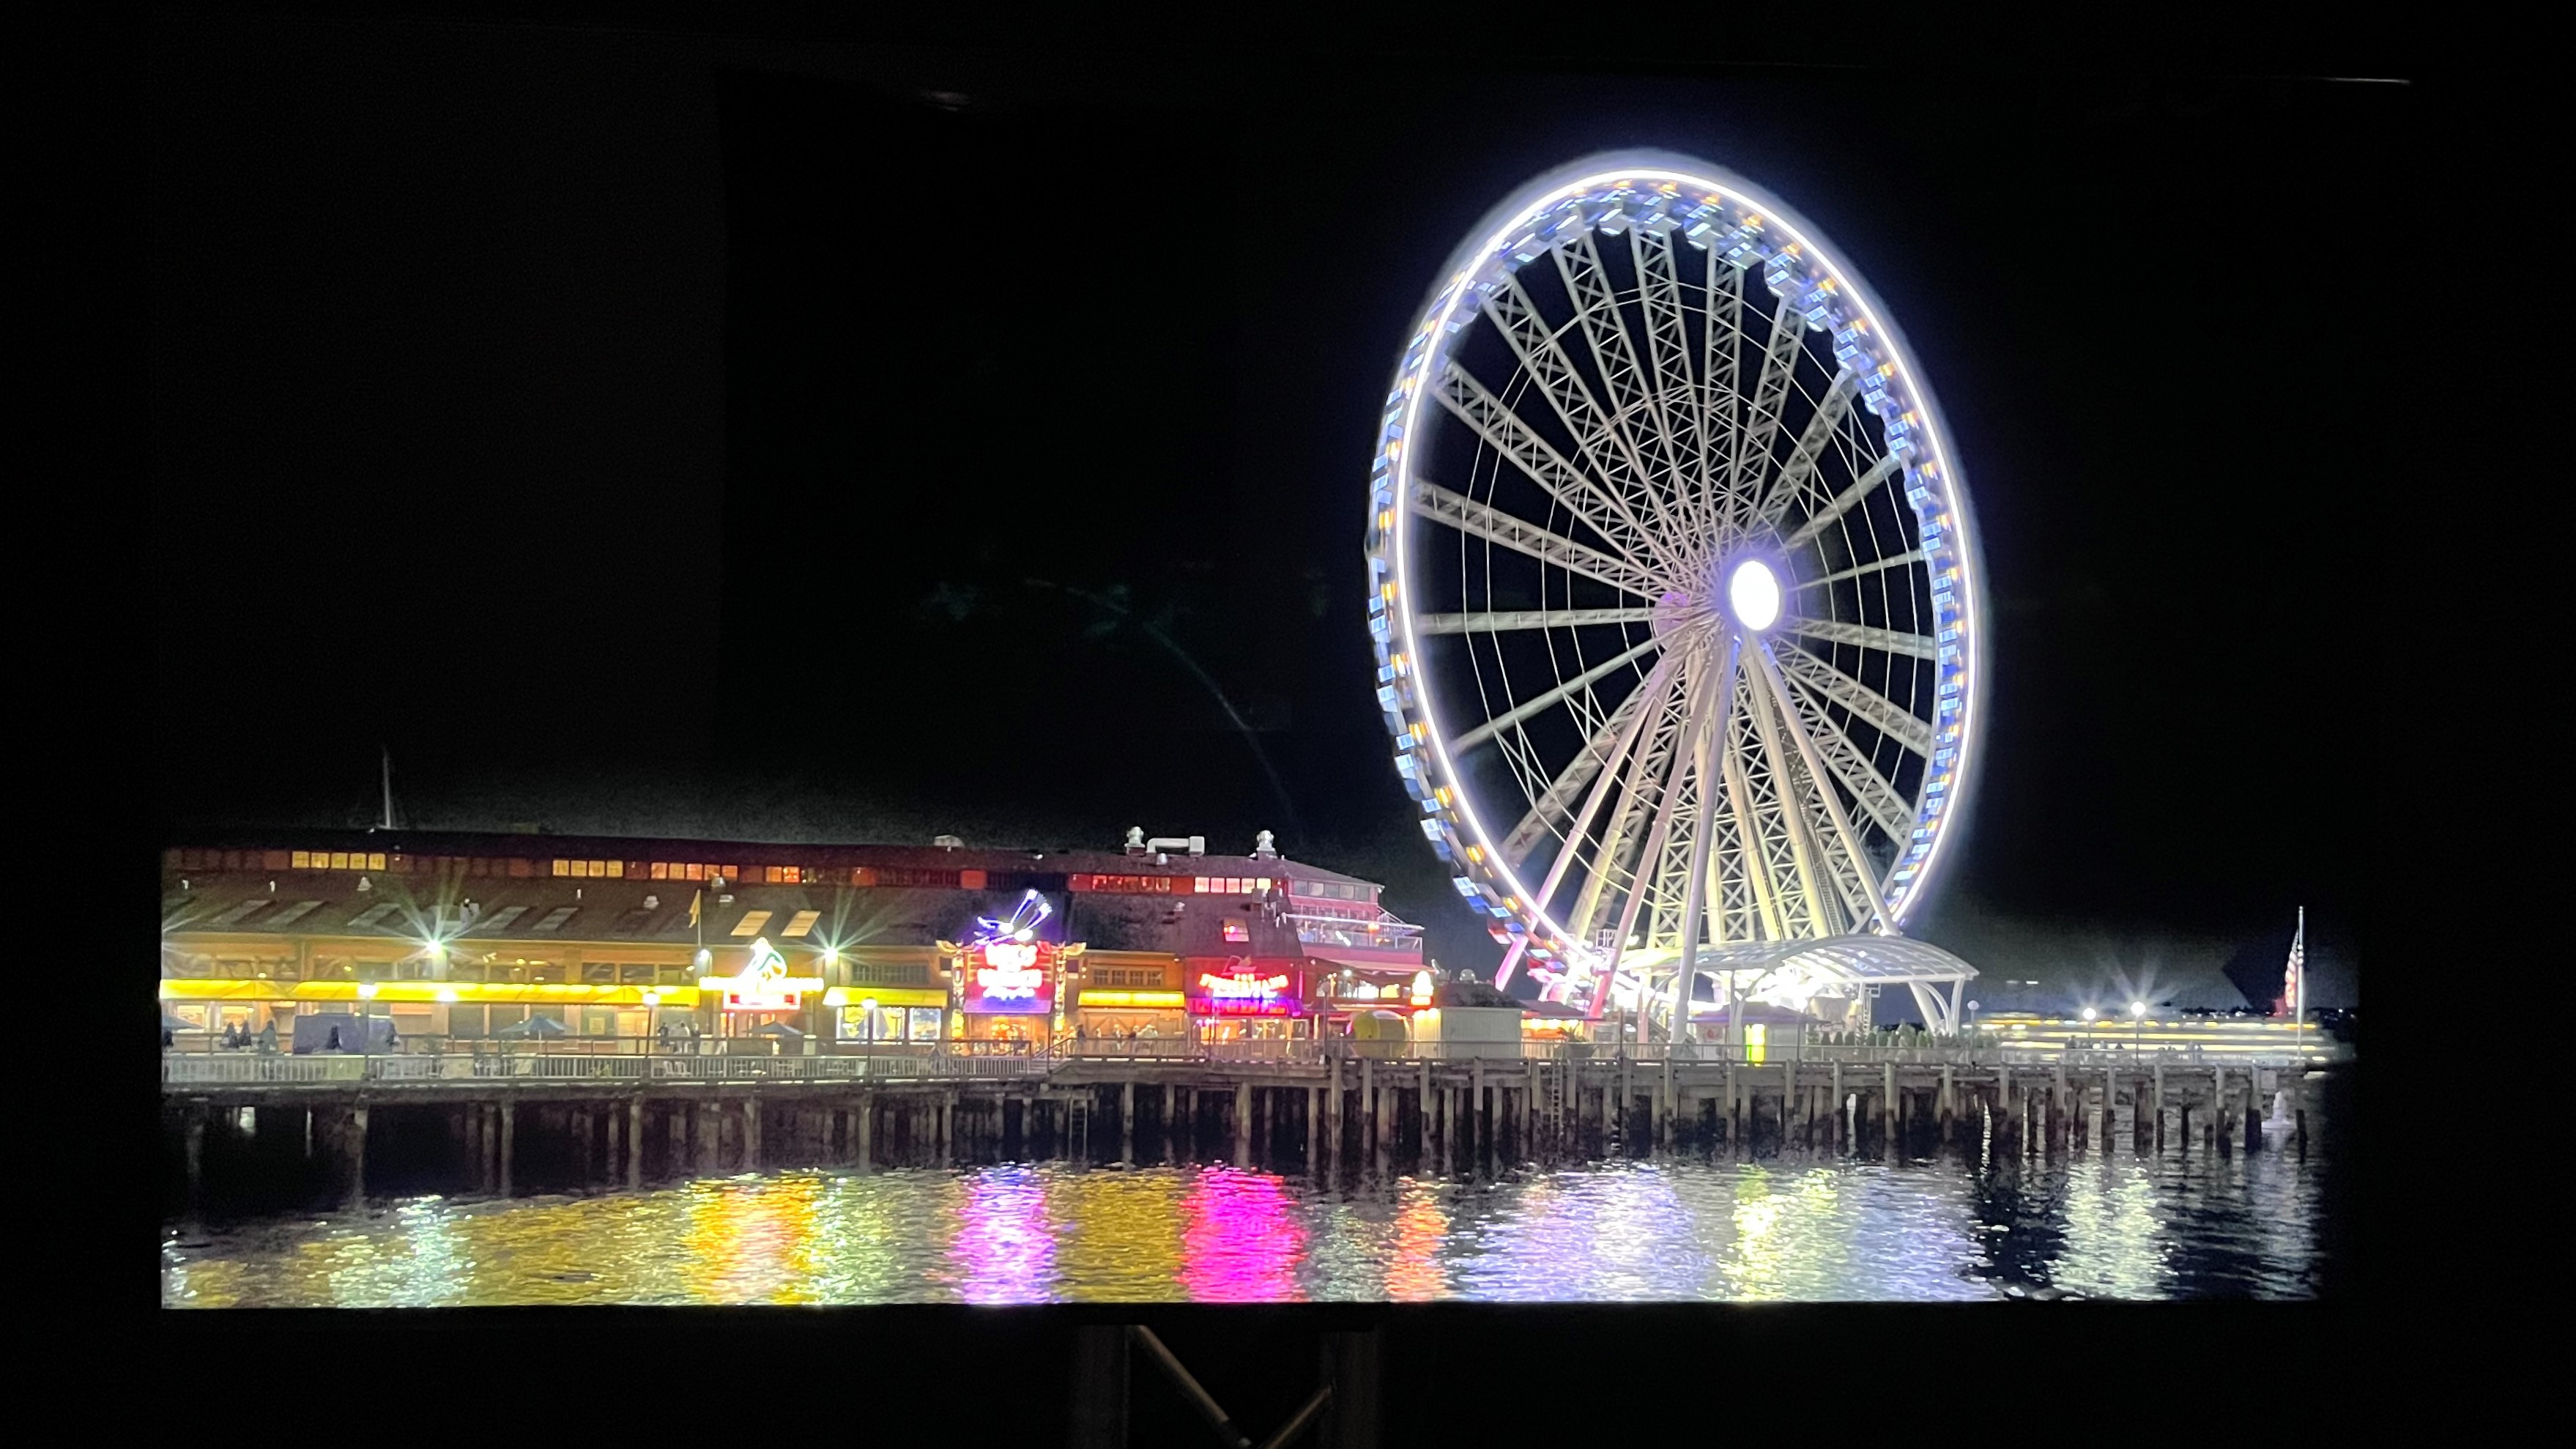
TV makers are required to provide Eco picture settings that help reduce the set’s energy consumption. And while the motivation here is a good one, the Eco mode on a TV typically makes its picture look even more dim than it will appear when Movie mode is selected. Eco modes and related Eco settings are often activated by default, though they can easily be disabled in the TV’s setup menu.
One of those related settings is an ambient light sensor (this will have different names depending on the TV) that automatically adjusts picture brightness based on room lighting levels. A problem with this feature is that it almost always makes pictures look too dark, no matter which of the TV’s picture presets is active. One of your first steps when setting up a new TV should be to identify and disable this feature, although it typically gets disabled by default when the Movie (or similar) picture preset is active.
Turn off motion smoothing
I’ve already mentioned the 'soap opera effect', a visual artifact of the motion processing on TVs that Hollywood filmmakers find so objectionable that it was the impetus for creating the Filmmaker picture mode in the first place. Most picture presets other than Filmmaker, Movie, and the like employ some level of motion smoothing, and it even ends up getting automatically activated in a TV’s Dolby Vision picture mode when displaying movies and shows with Dolby Vision HDR.
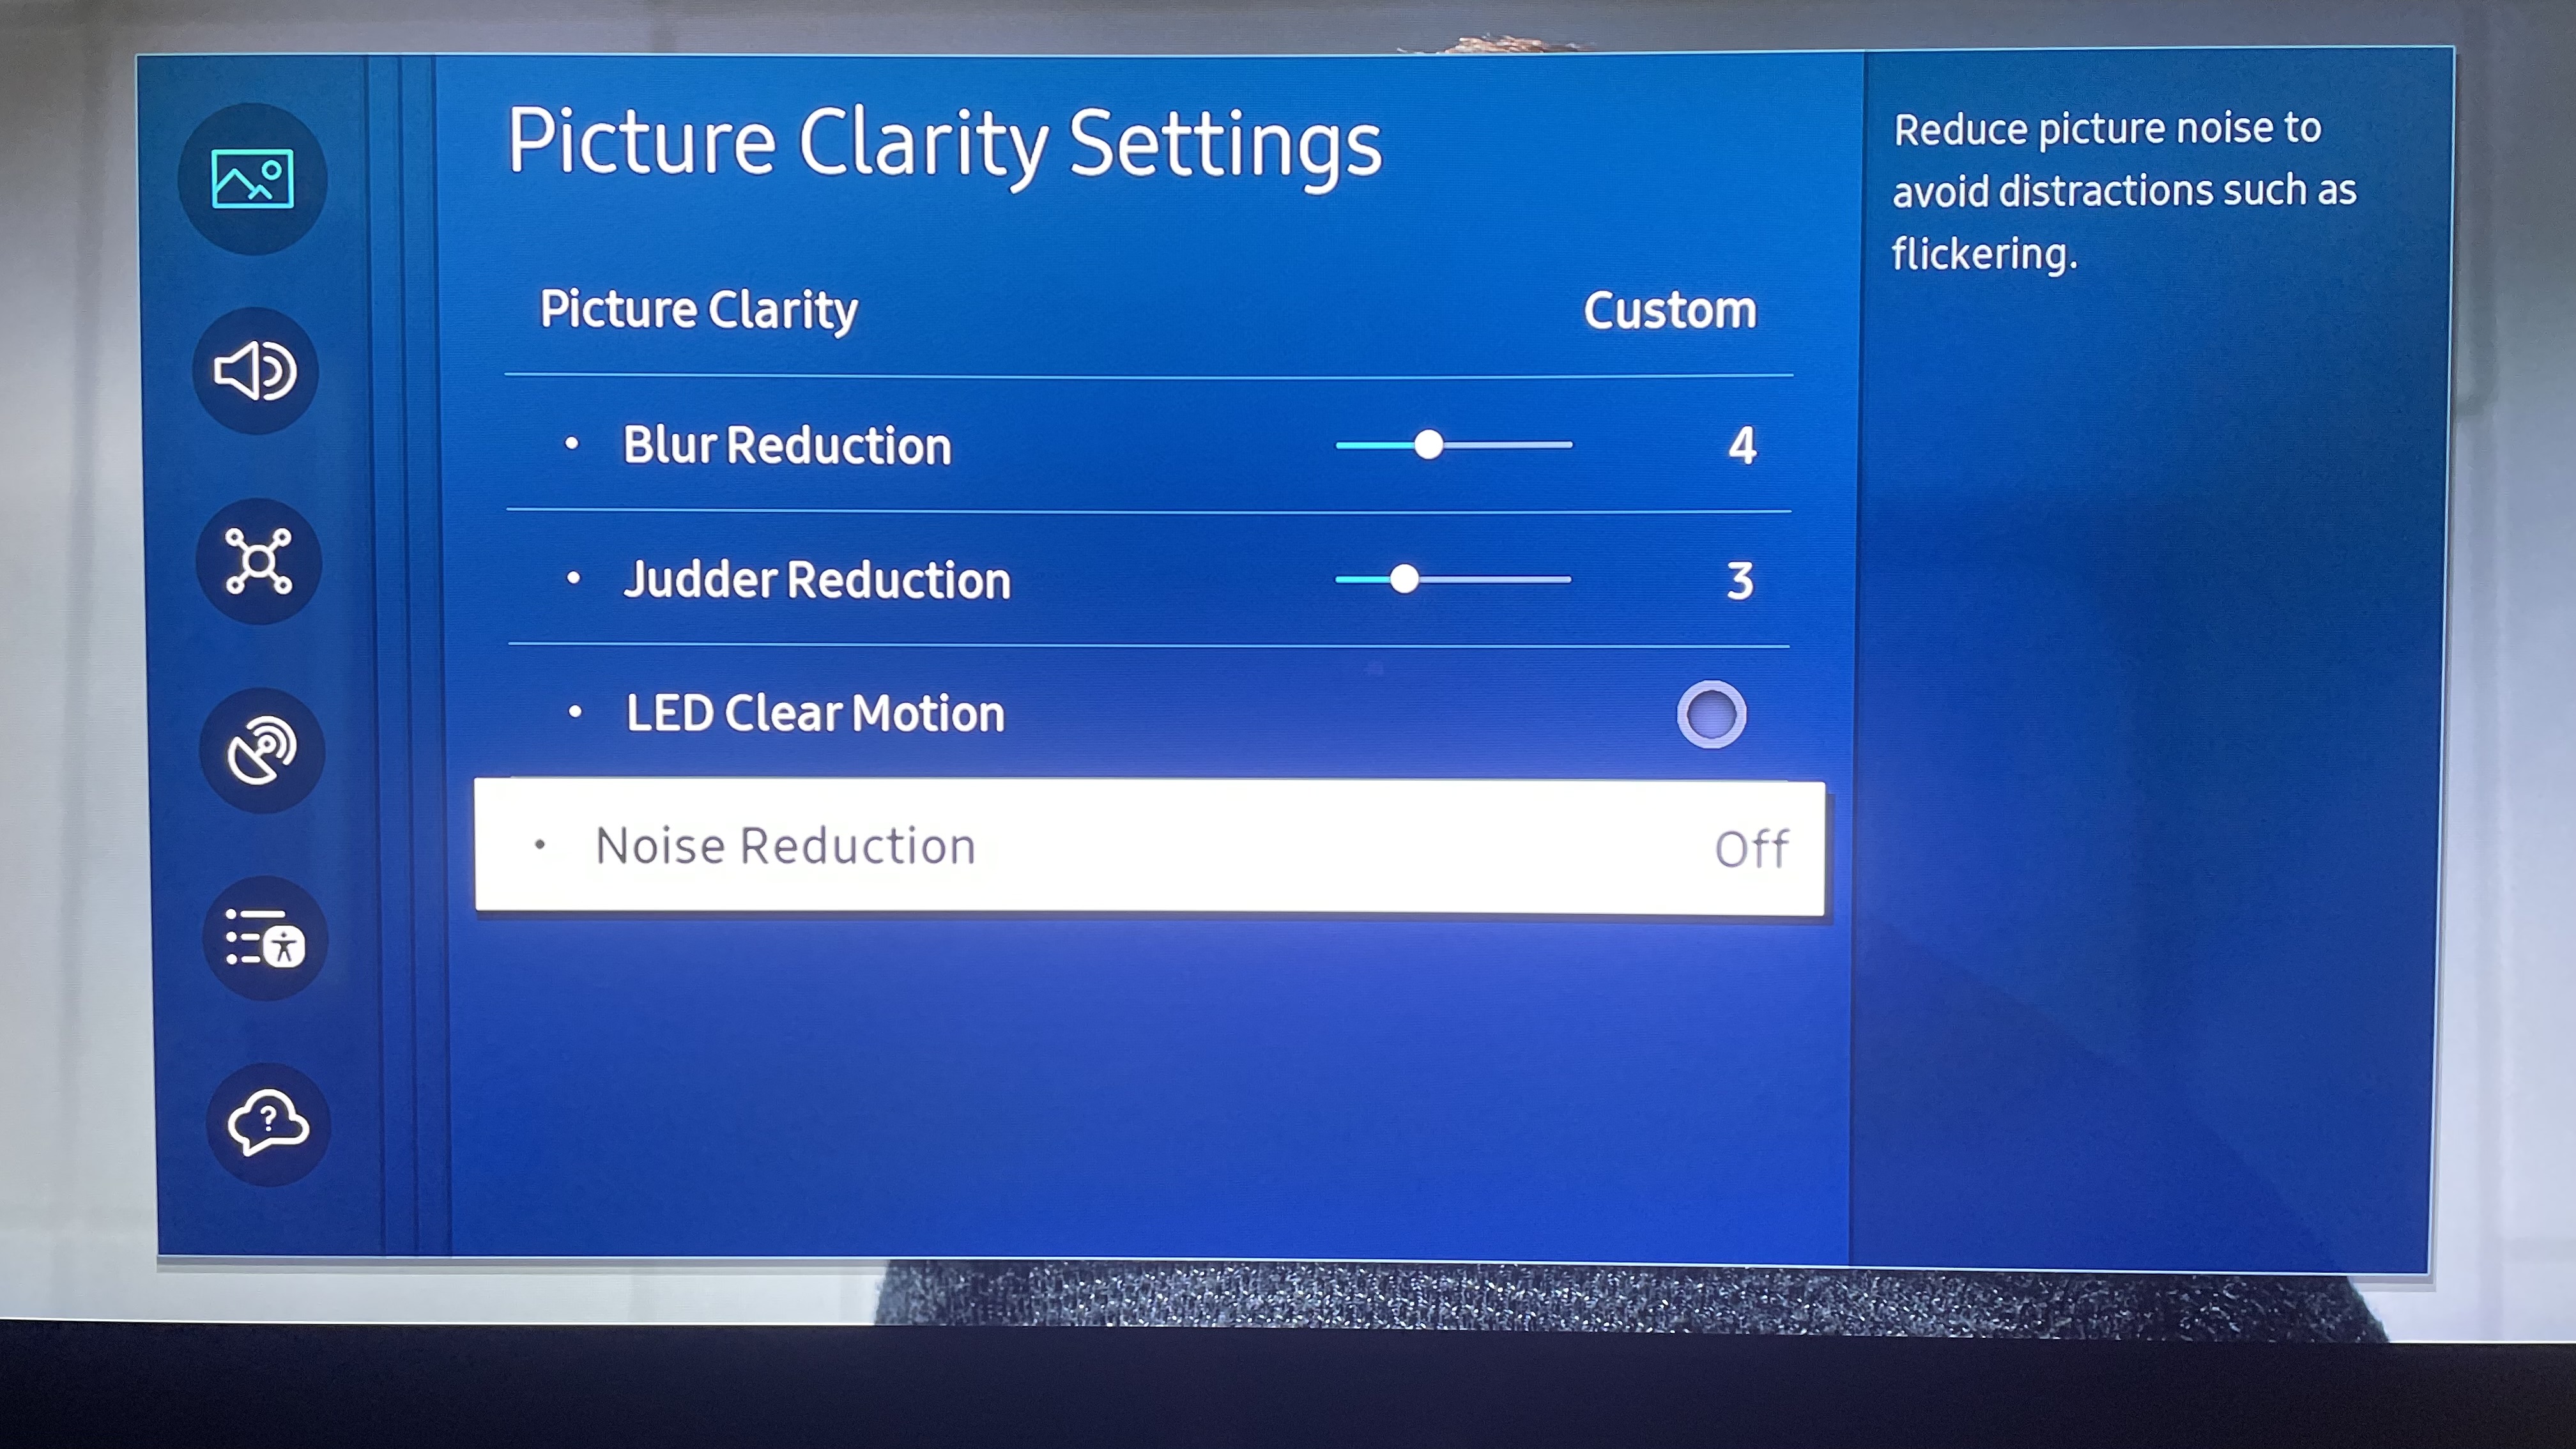
To turn off motion smoothing, you’ll first need to locate the proper adjustment in the TV’s picture menu. This is labeled as ‘Picture Clarity’ on Samsung TVs, ‘Motionflow’ on Sony TVs, with other brands each usually having their own unique name for motion settings. And while I’d generally recommend switching off motion smoothing entirely, some TVs provide variable adjustments for Judder and Blur reduction in the motion settings menu. If this is the case, you can experiment with settings to see what level (three or under is usually an acceptable range) will provide some picture quality benefit without making motion look unnaturally smooth.
Other setup tips
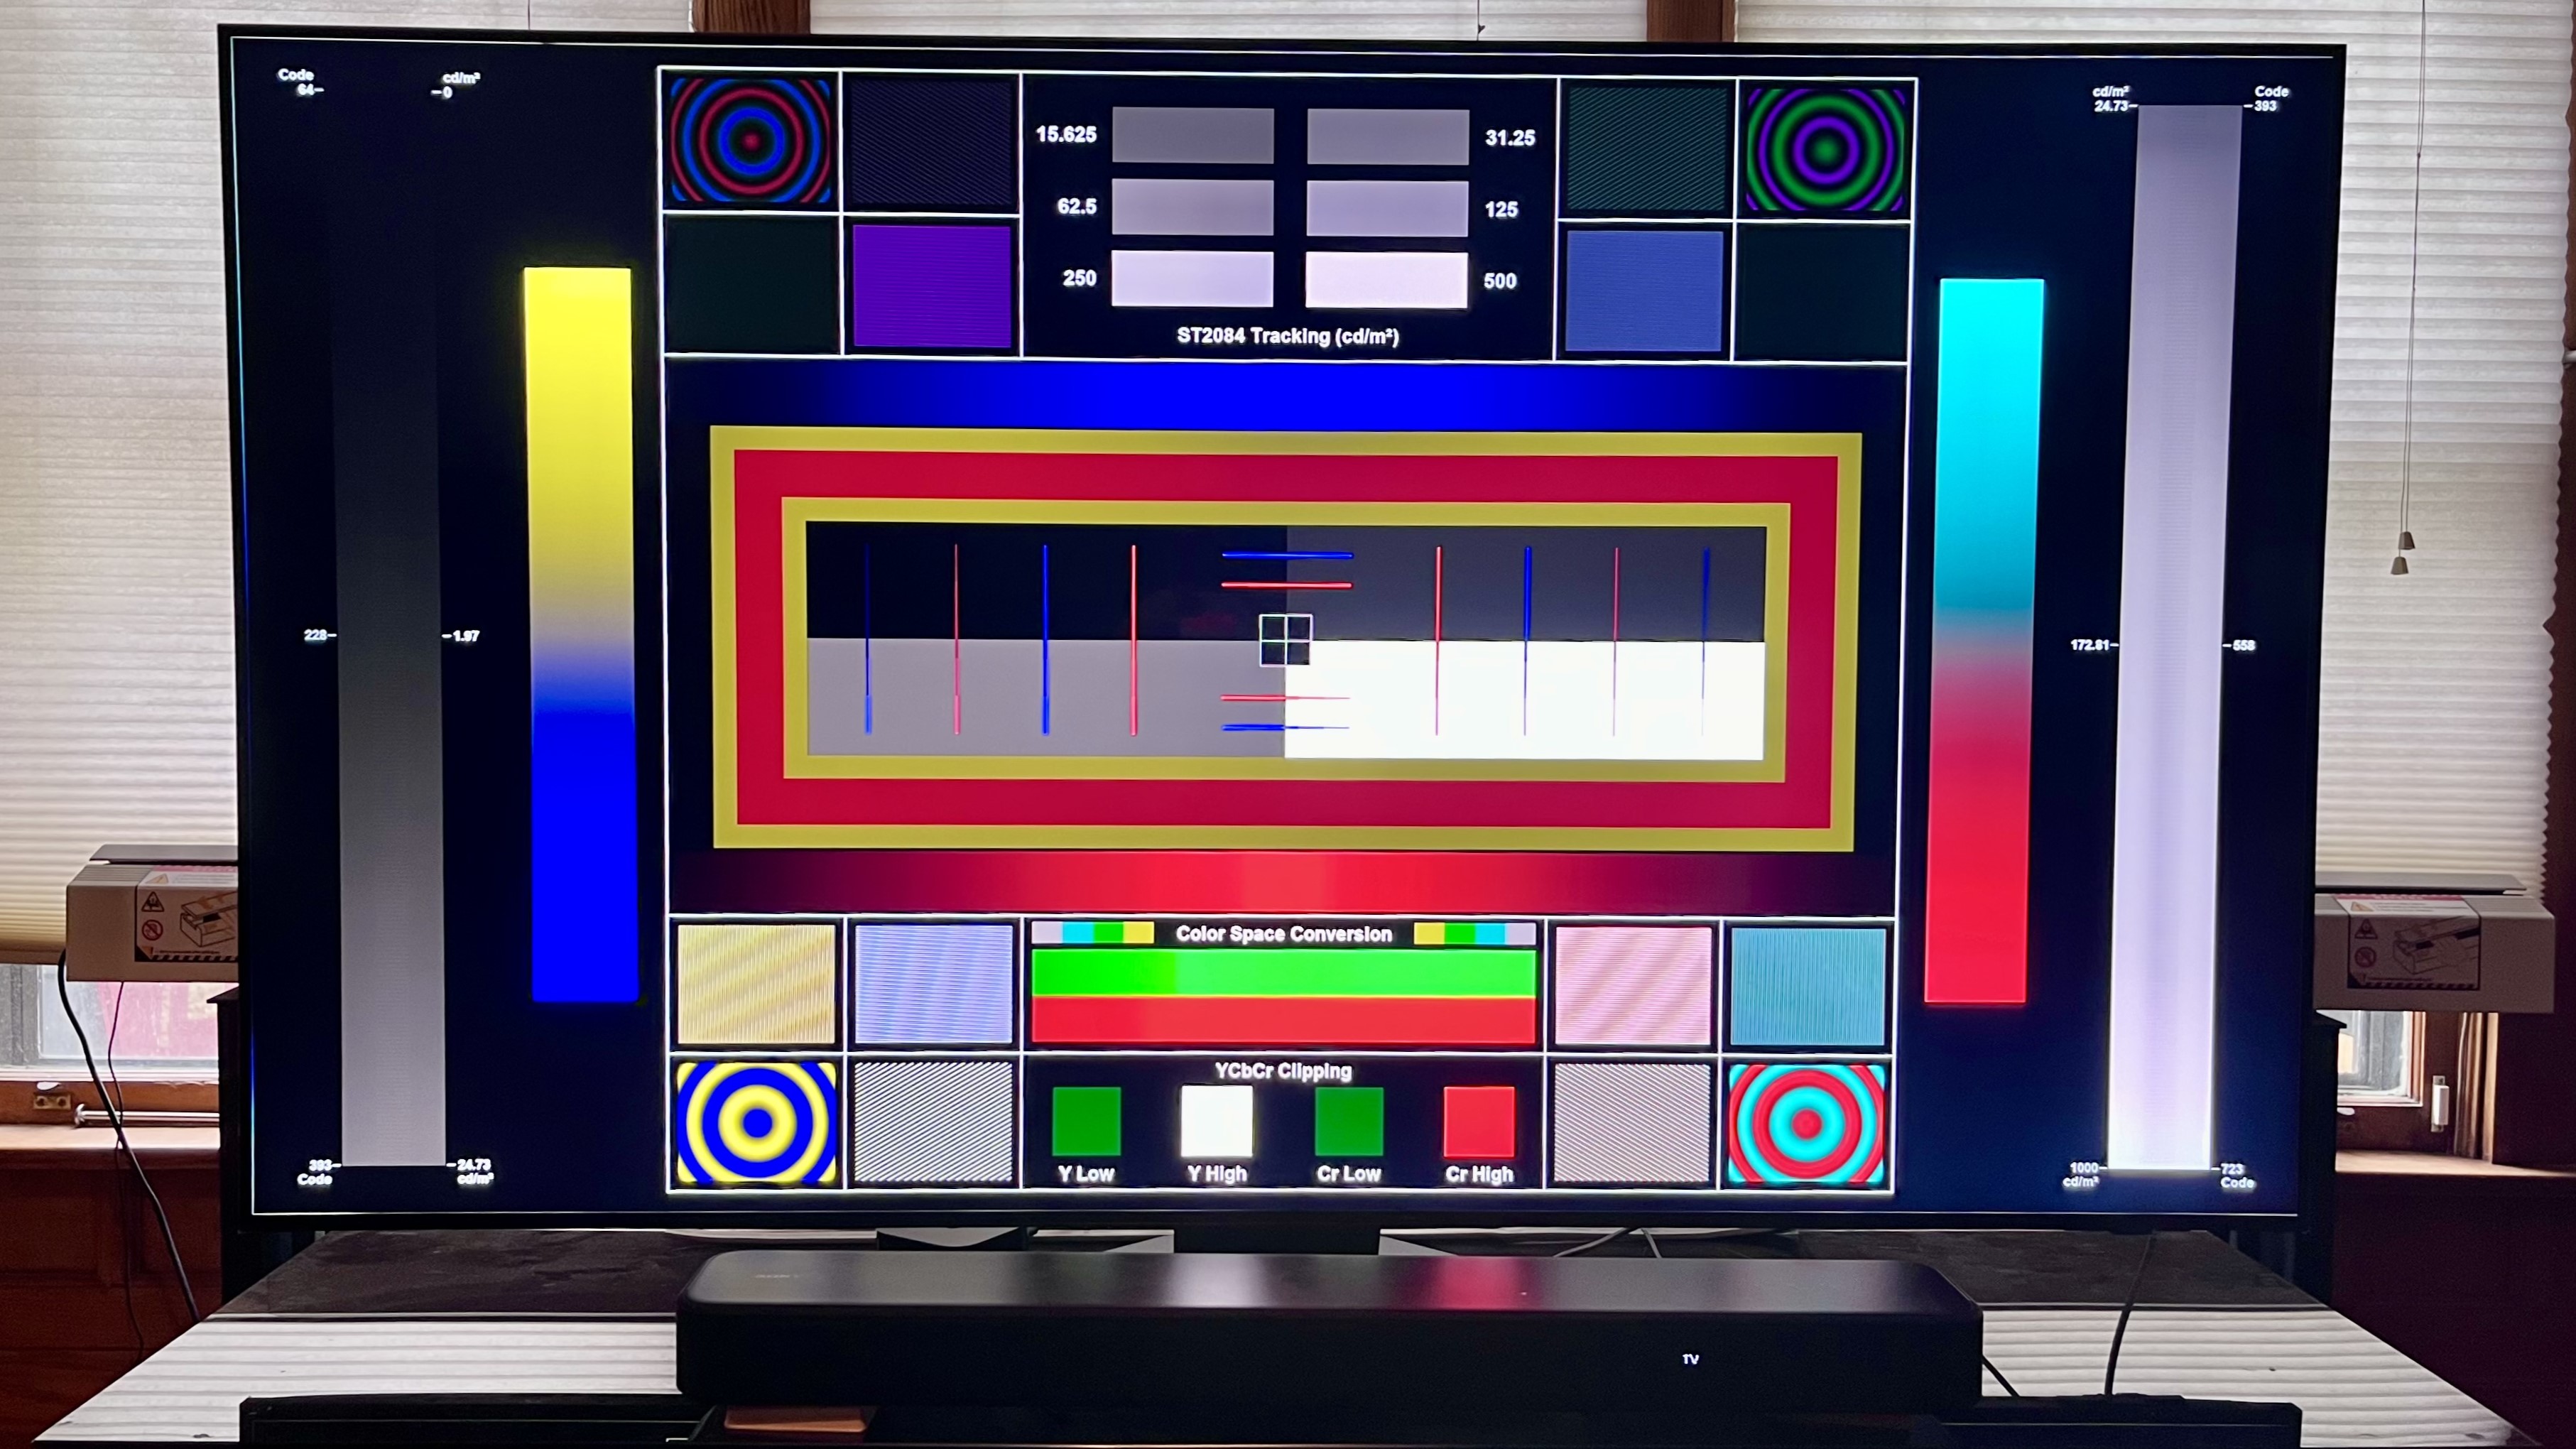
The above setup suggestions are all basic ones, though they can have a profound effect on your TV’s overall picture. If you’re interested in taking TV picture adjustments to the next level, you’ll need to use a test disc such as the Spears & Munsil Ultra HD Benchmark Blu-ray that we use for TV evaluation at TechRadar.
Along with basic test patterns for setting brightness, contrast, color saturation, tint, and sharpness, the Benchmark Blu-ray contains advanced patterns and test clips to evaluate your TV’s handling of various HDR formats, and also includes test tones for audio system setup. If you don’t own a 4K Blu-ray player, those with a Netflix subscription can use the Netflix ‘secret’ video test patterns to make a few basic picture adjustments on the cheap.
Another tip to enhance your TV viewing is to use a backlight placed behind the set. A backlight helps to alleviate eyestrain when watching in a dim or dark room, and it also creates a more immersive experience by extending the screen’s visual field. You can find inexpensive LED lighting strips from brands like Philips Hue, GE Lighting (Cync), and Govee, and some even have a ‘daylight’ preset with a 6,500K color temperature to match your TV’s own Warm color temperature preset.
Finally, a great TV like the one you just bought deserves to be paired with one of the best soundbars. While some TVs such as the Sony A80L OLED provide very good sound quality, the built-in speakers on most TVs aren’t up to the task of delivering the detail and dynamics contained in Dolby Atmos movie soundtracks. You’ll be surprised at how much even a cheap soundbar system can enhance the experience of watching movies on your TV, and it will also go a long way toward increasing dialogue clarity on TV shows.


