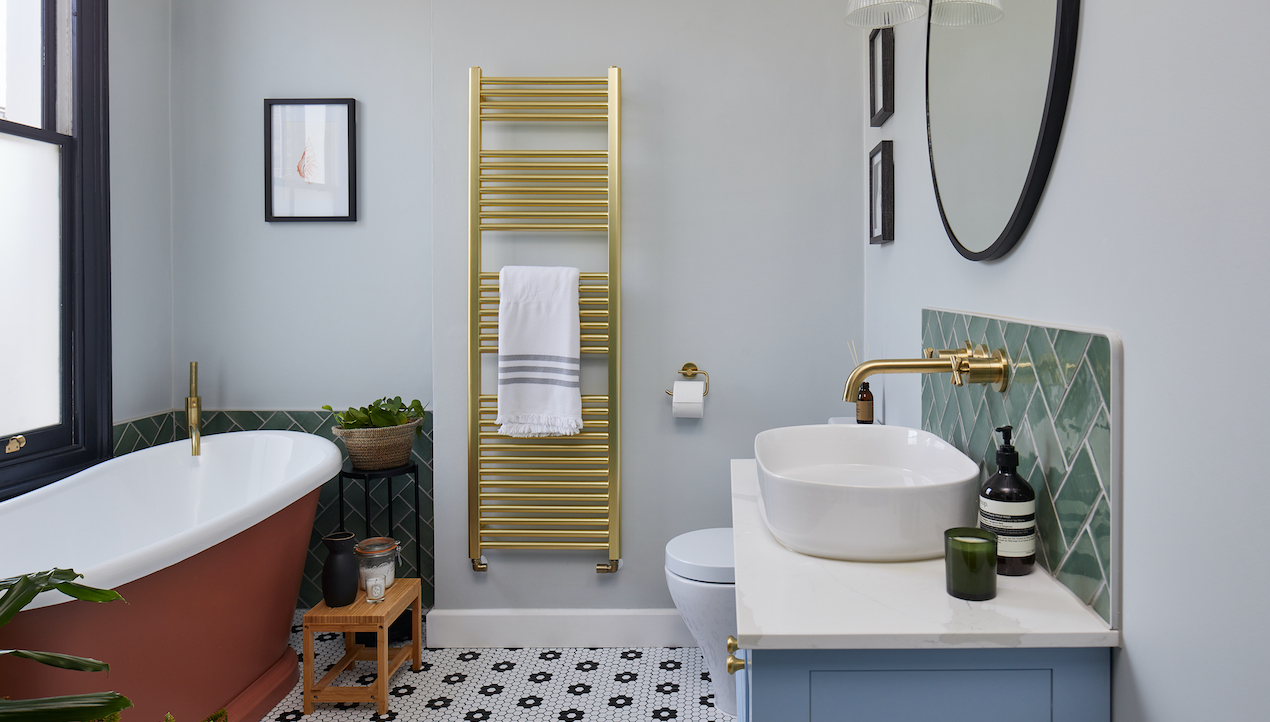
Whether you’re tiling yourself or just in charge of shopping/planning, there are a few rookie bathroom tiling mistakes you’ll want to swerve.
Some general tiling installation mistakes are fairly easy (if expensive) to fix, while others may annoy you for the rest of your days.
As with any renovation project, the secret to successful bathroom tile ideas lies in careful planning. There are so many different types of tiles, ways you can use them and installation vagaries to consider. Cutting corners won’t get you the Instagram-ready space you’re seeking.
‘Tiling a bathroom is an exciting venture but once on, they’re hard to change so you will need to have your wits about you to ensure you get it right first time. Floor and wall tiles can make or break a room and getting it wrong can be a costly mistake to have to correct,’ says Grazzie Wilson at Ca’ Pietra.
Bathroom tile mistakes
Whether you are planning shower tile ideas or to tile your bathroom flooring, many things can go wrong if you don't pay attention.
We asked the experts for their top bathroom tile mistakes and of course their suggestions on how you can do better!
1. Under ordering
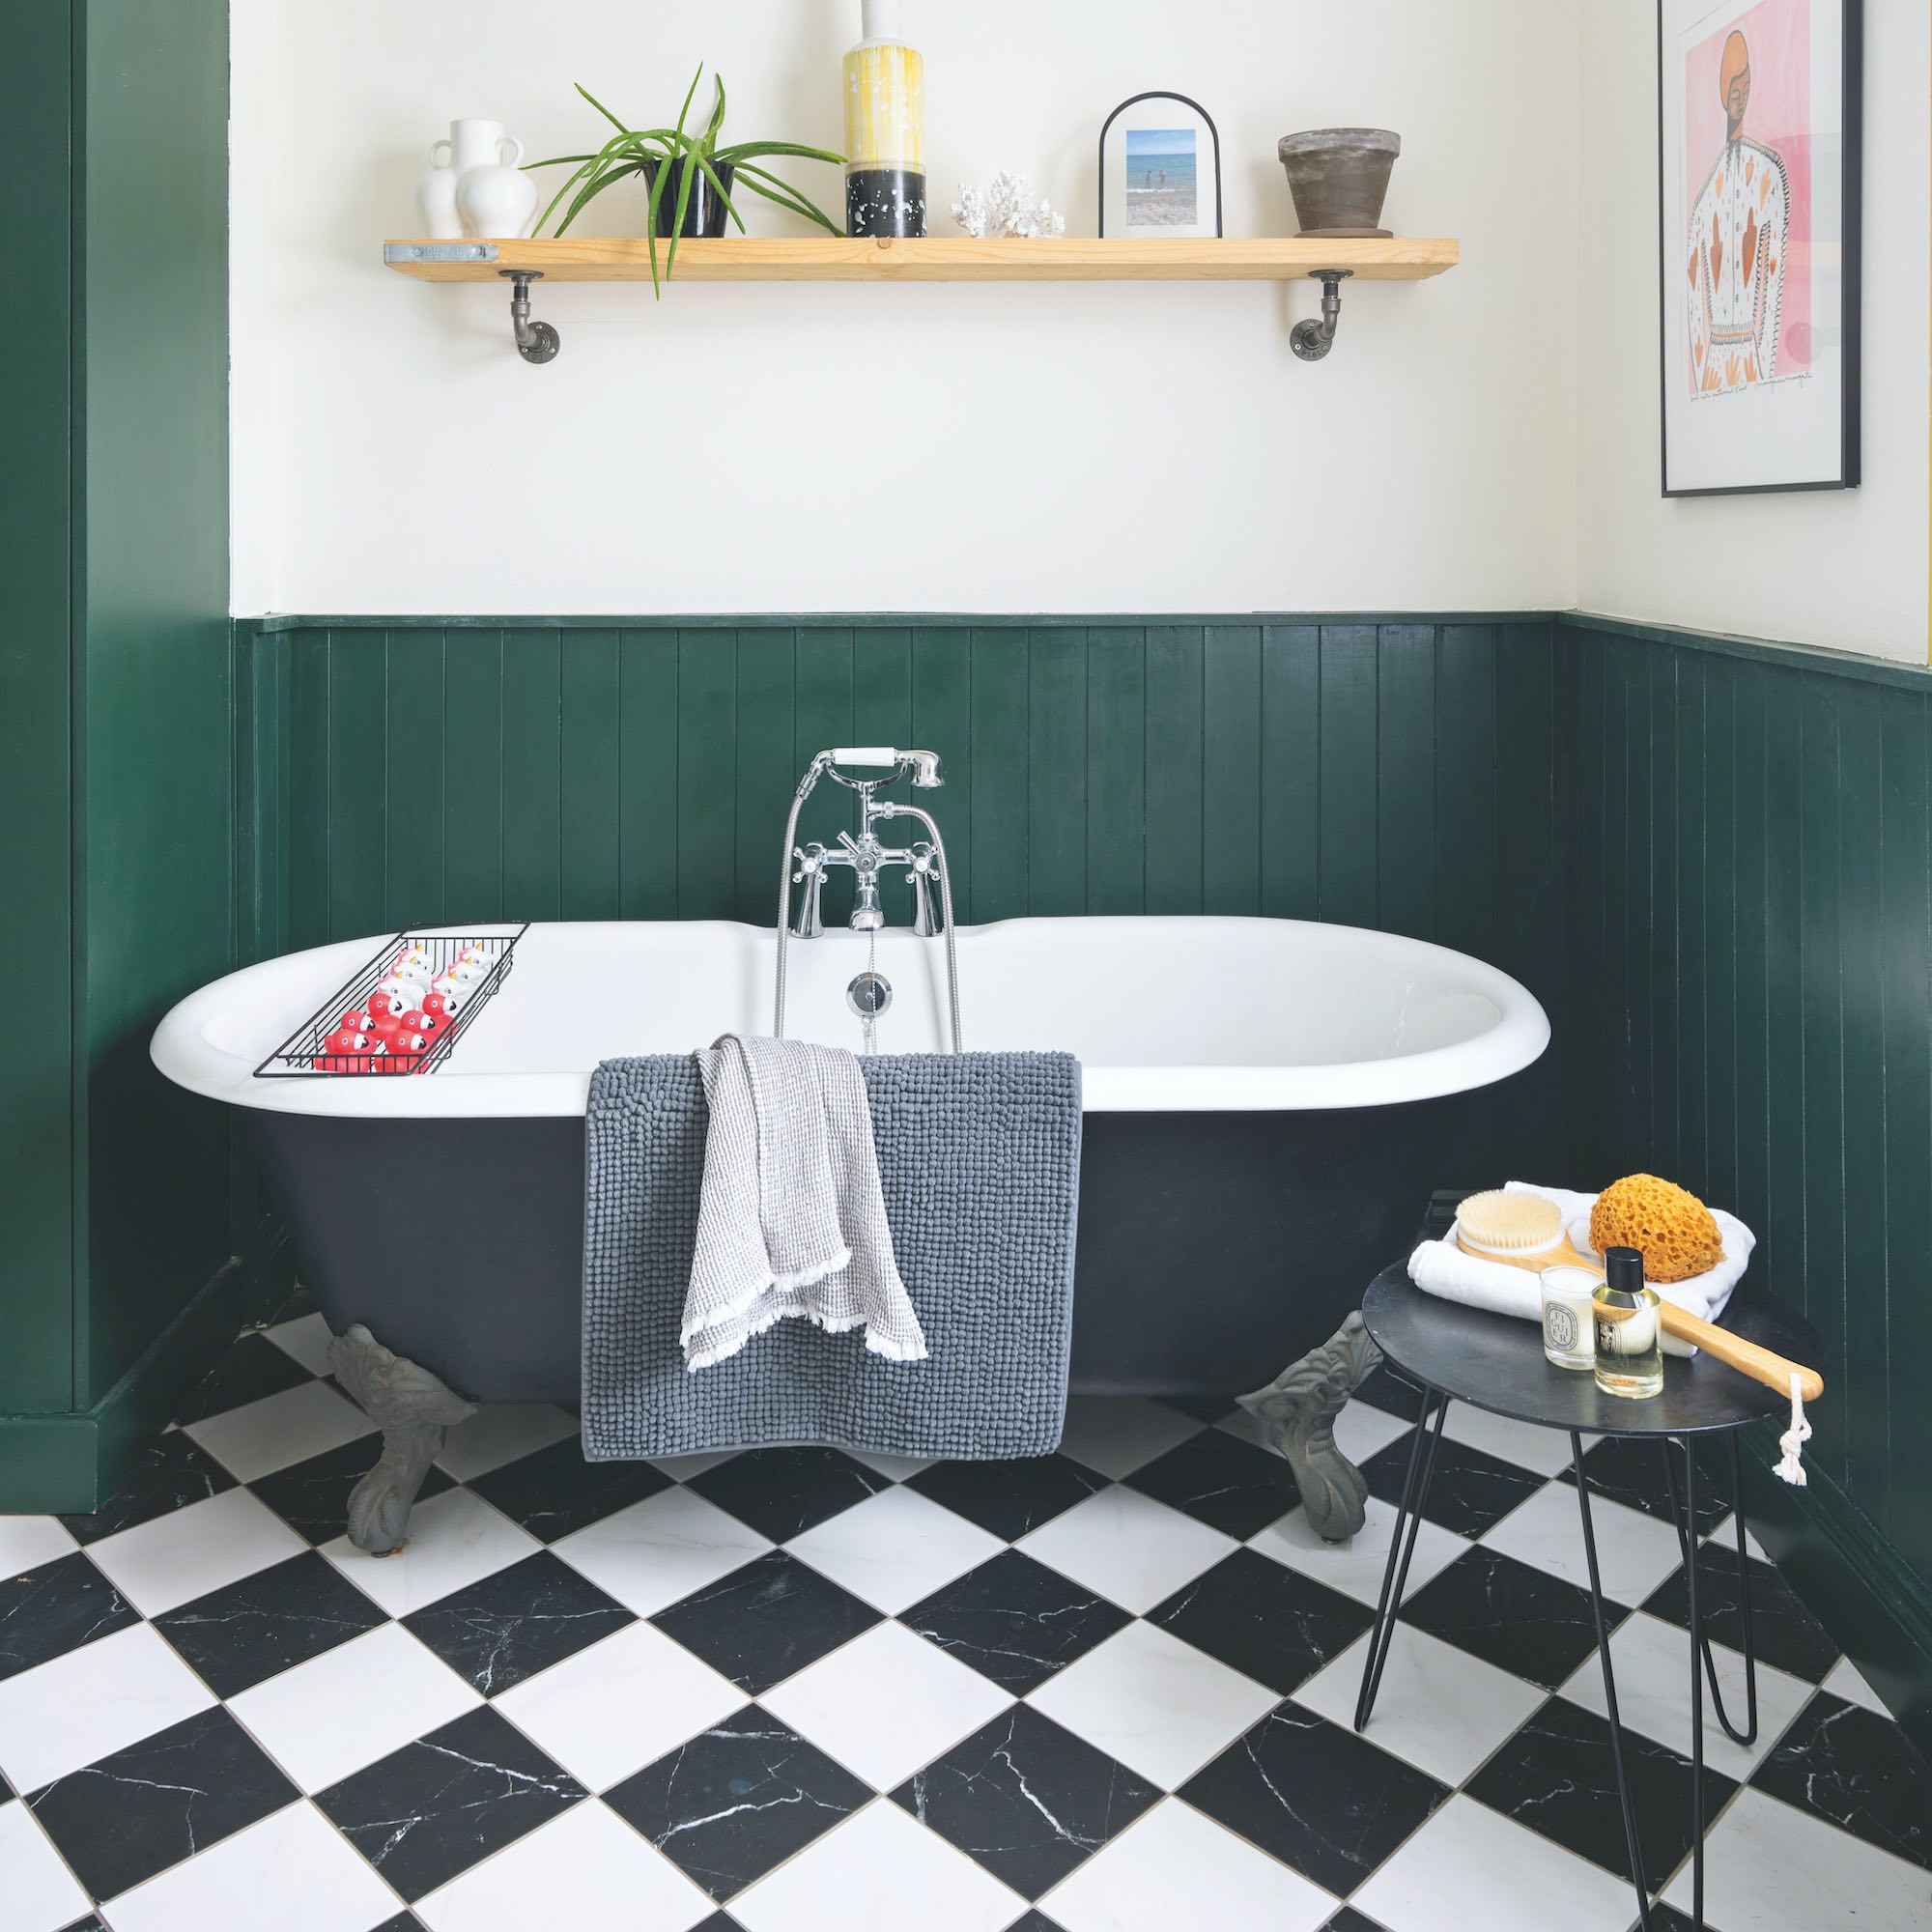
You’ve spent time doing the calculations, you've worked out how much it costs to tile a bathroom and you've ensured you’ve ordered the exact number of tiles, only to get to the end of your bathroom renovation and realise you’re a few tiles short of completing it.
‘A common and sometimes costly mistake when ordering tiles online is not taking into consideration wastage and breakages, which is why we recommend ordering an extra 10% to cover this,’ says Grazzie Wilson at Ca’ Pietra. ‘A small cost for ensuring you have the right amount of tiles to complete your project.’
When it comes to laying tiles in a herringbone formation, Grazzie recommends ordering an extra 15%, to allow for all of those fiddly cuts that need to be made. ‘It’s also worth noting that different batches of tiles can vary in colour too, so that’s why it’s even more important to get it right from the get-go, to prevent any mix-match shades in your design,’ she adds.
2. Over tiling
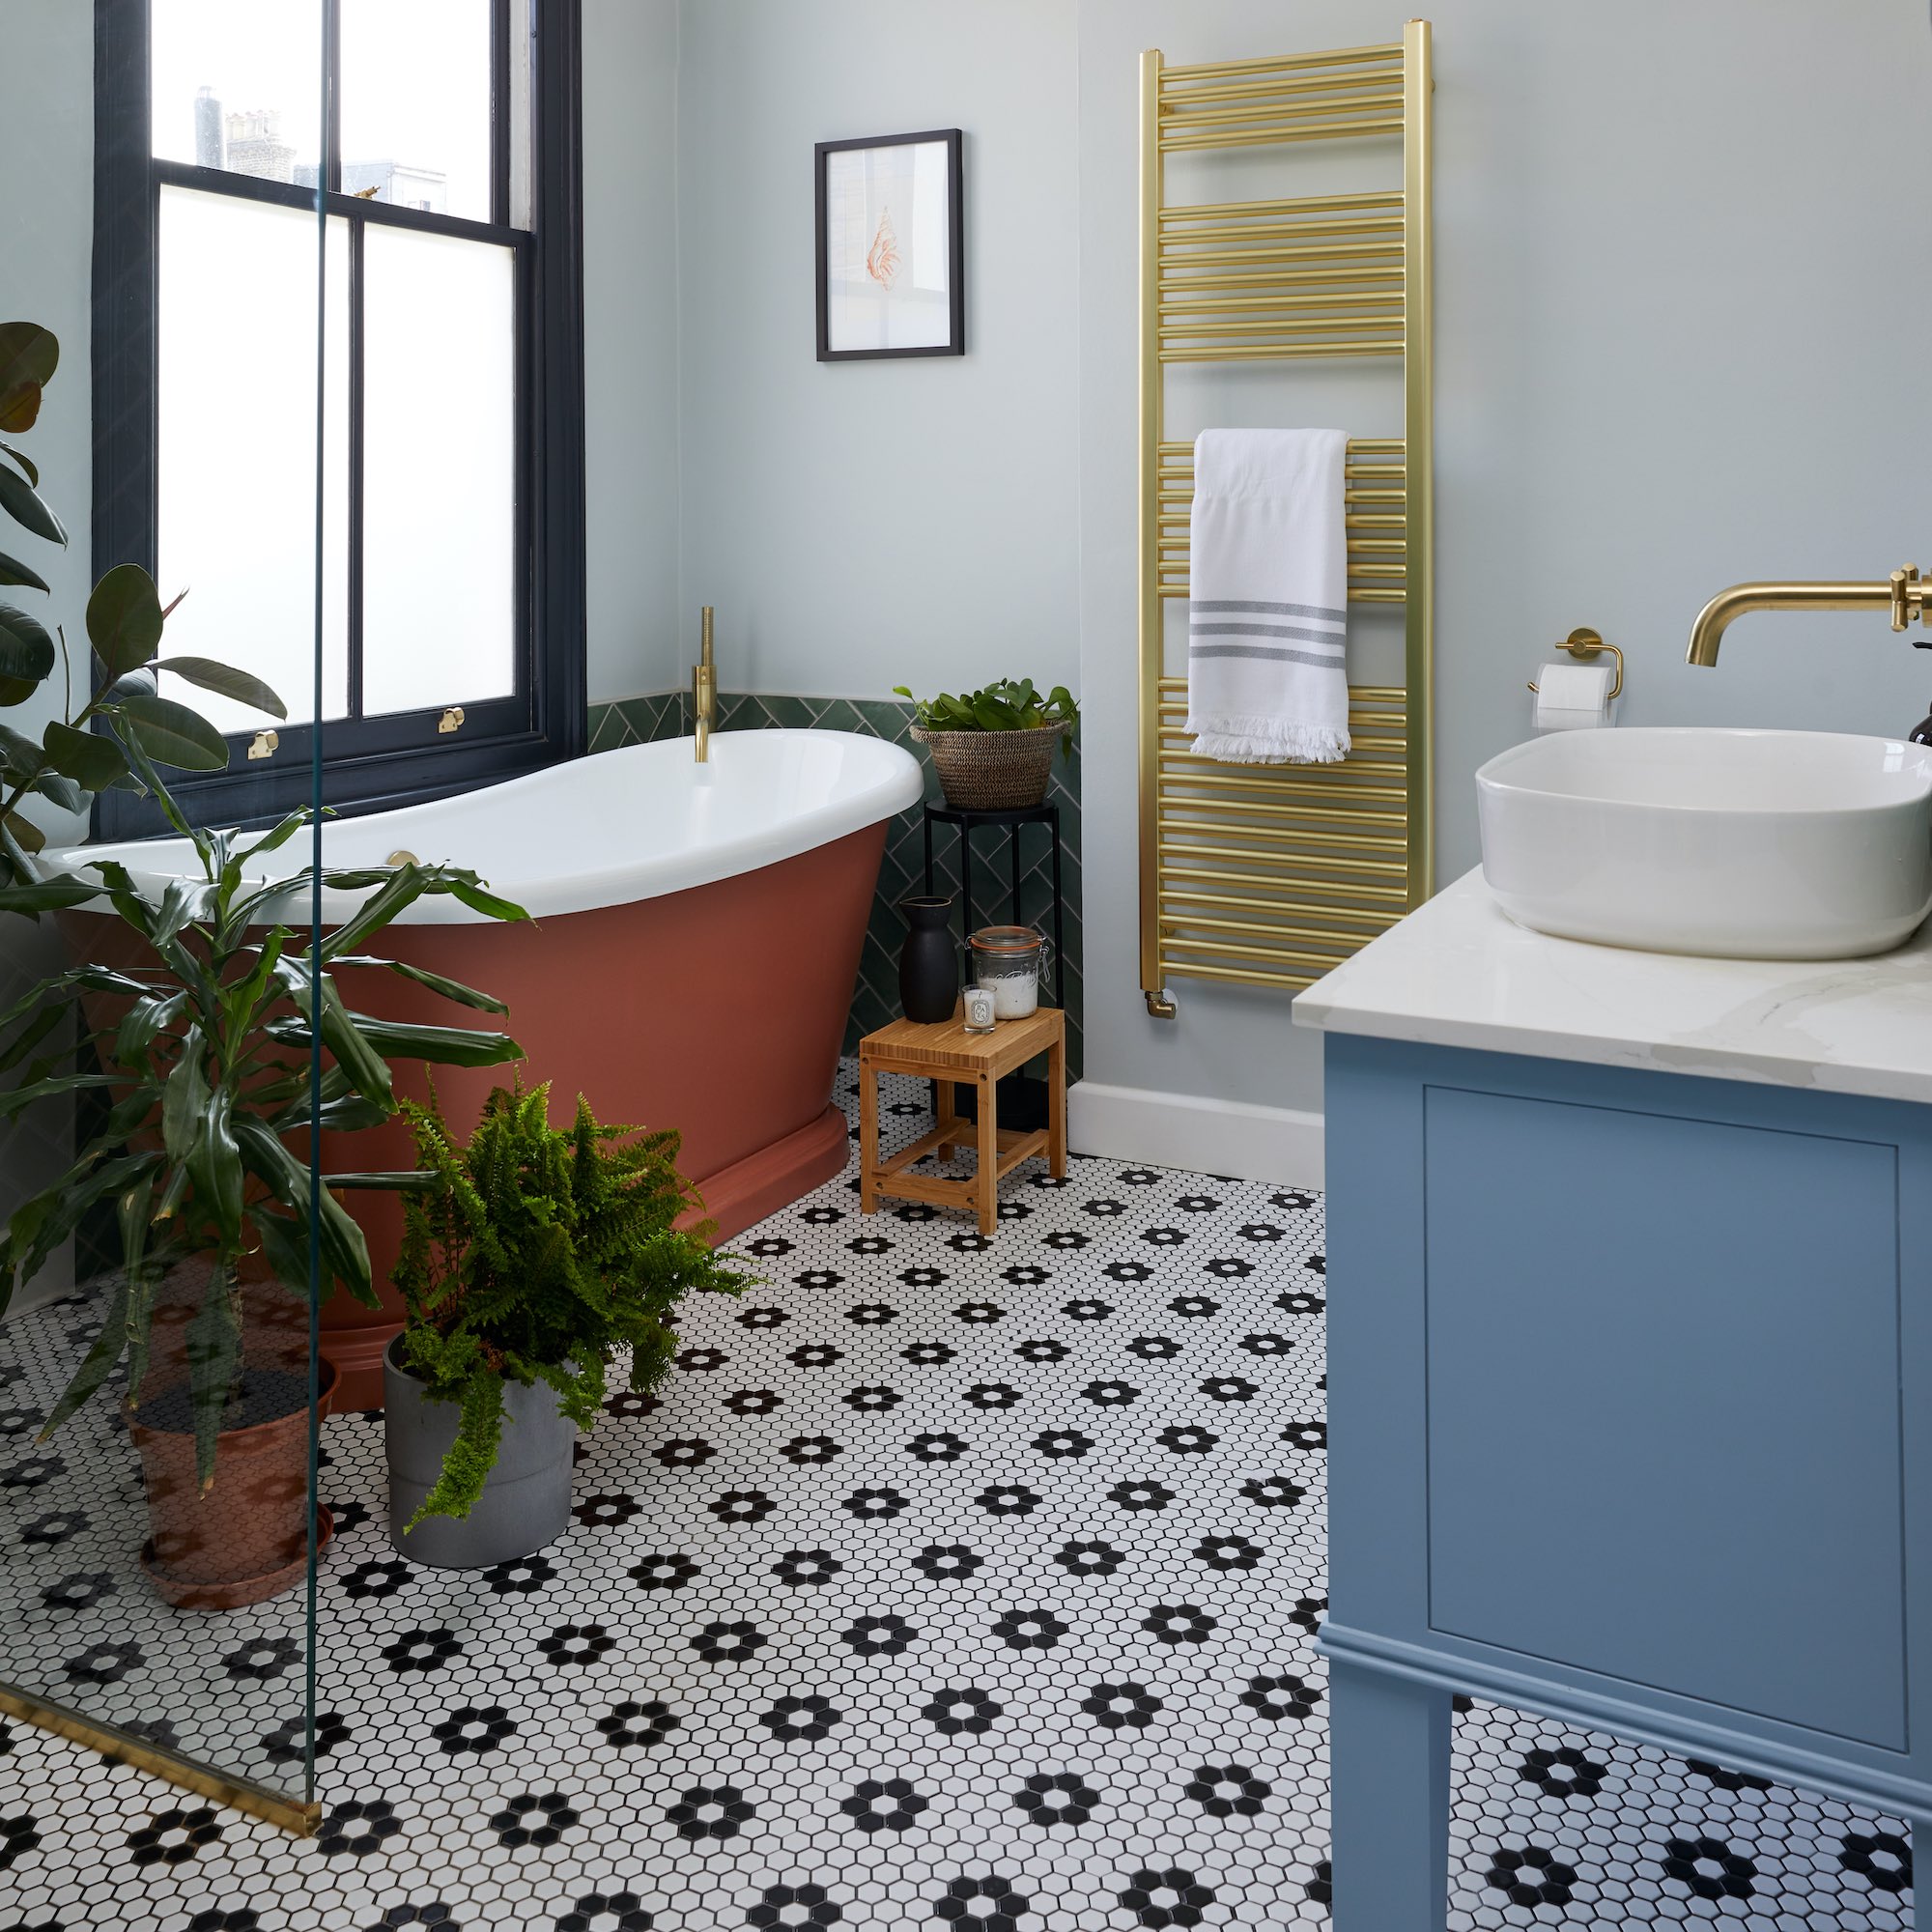
Going OTT with tiles can make your bathroom feel echoey and cold.
‘Mixing tile patterns, shapes and colours has been a popular trend for a while now, and when done correctly, can look fantastic. However, in a bathroom, not every inch of the walls needs to be tiled, especially if it is on the larger size and away from where water will be used,’ says Grazzie Wilson at Ca’ Pietra. ‘Instead, consider bringing in wallpaper or paint to add warmth and texture through the use of colour without having to go overboard with tiles.’
3. Forgetting texture
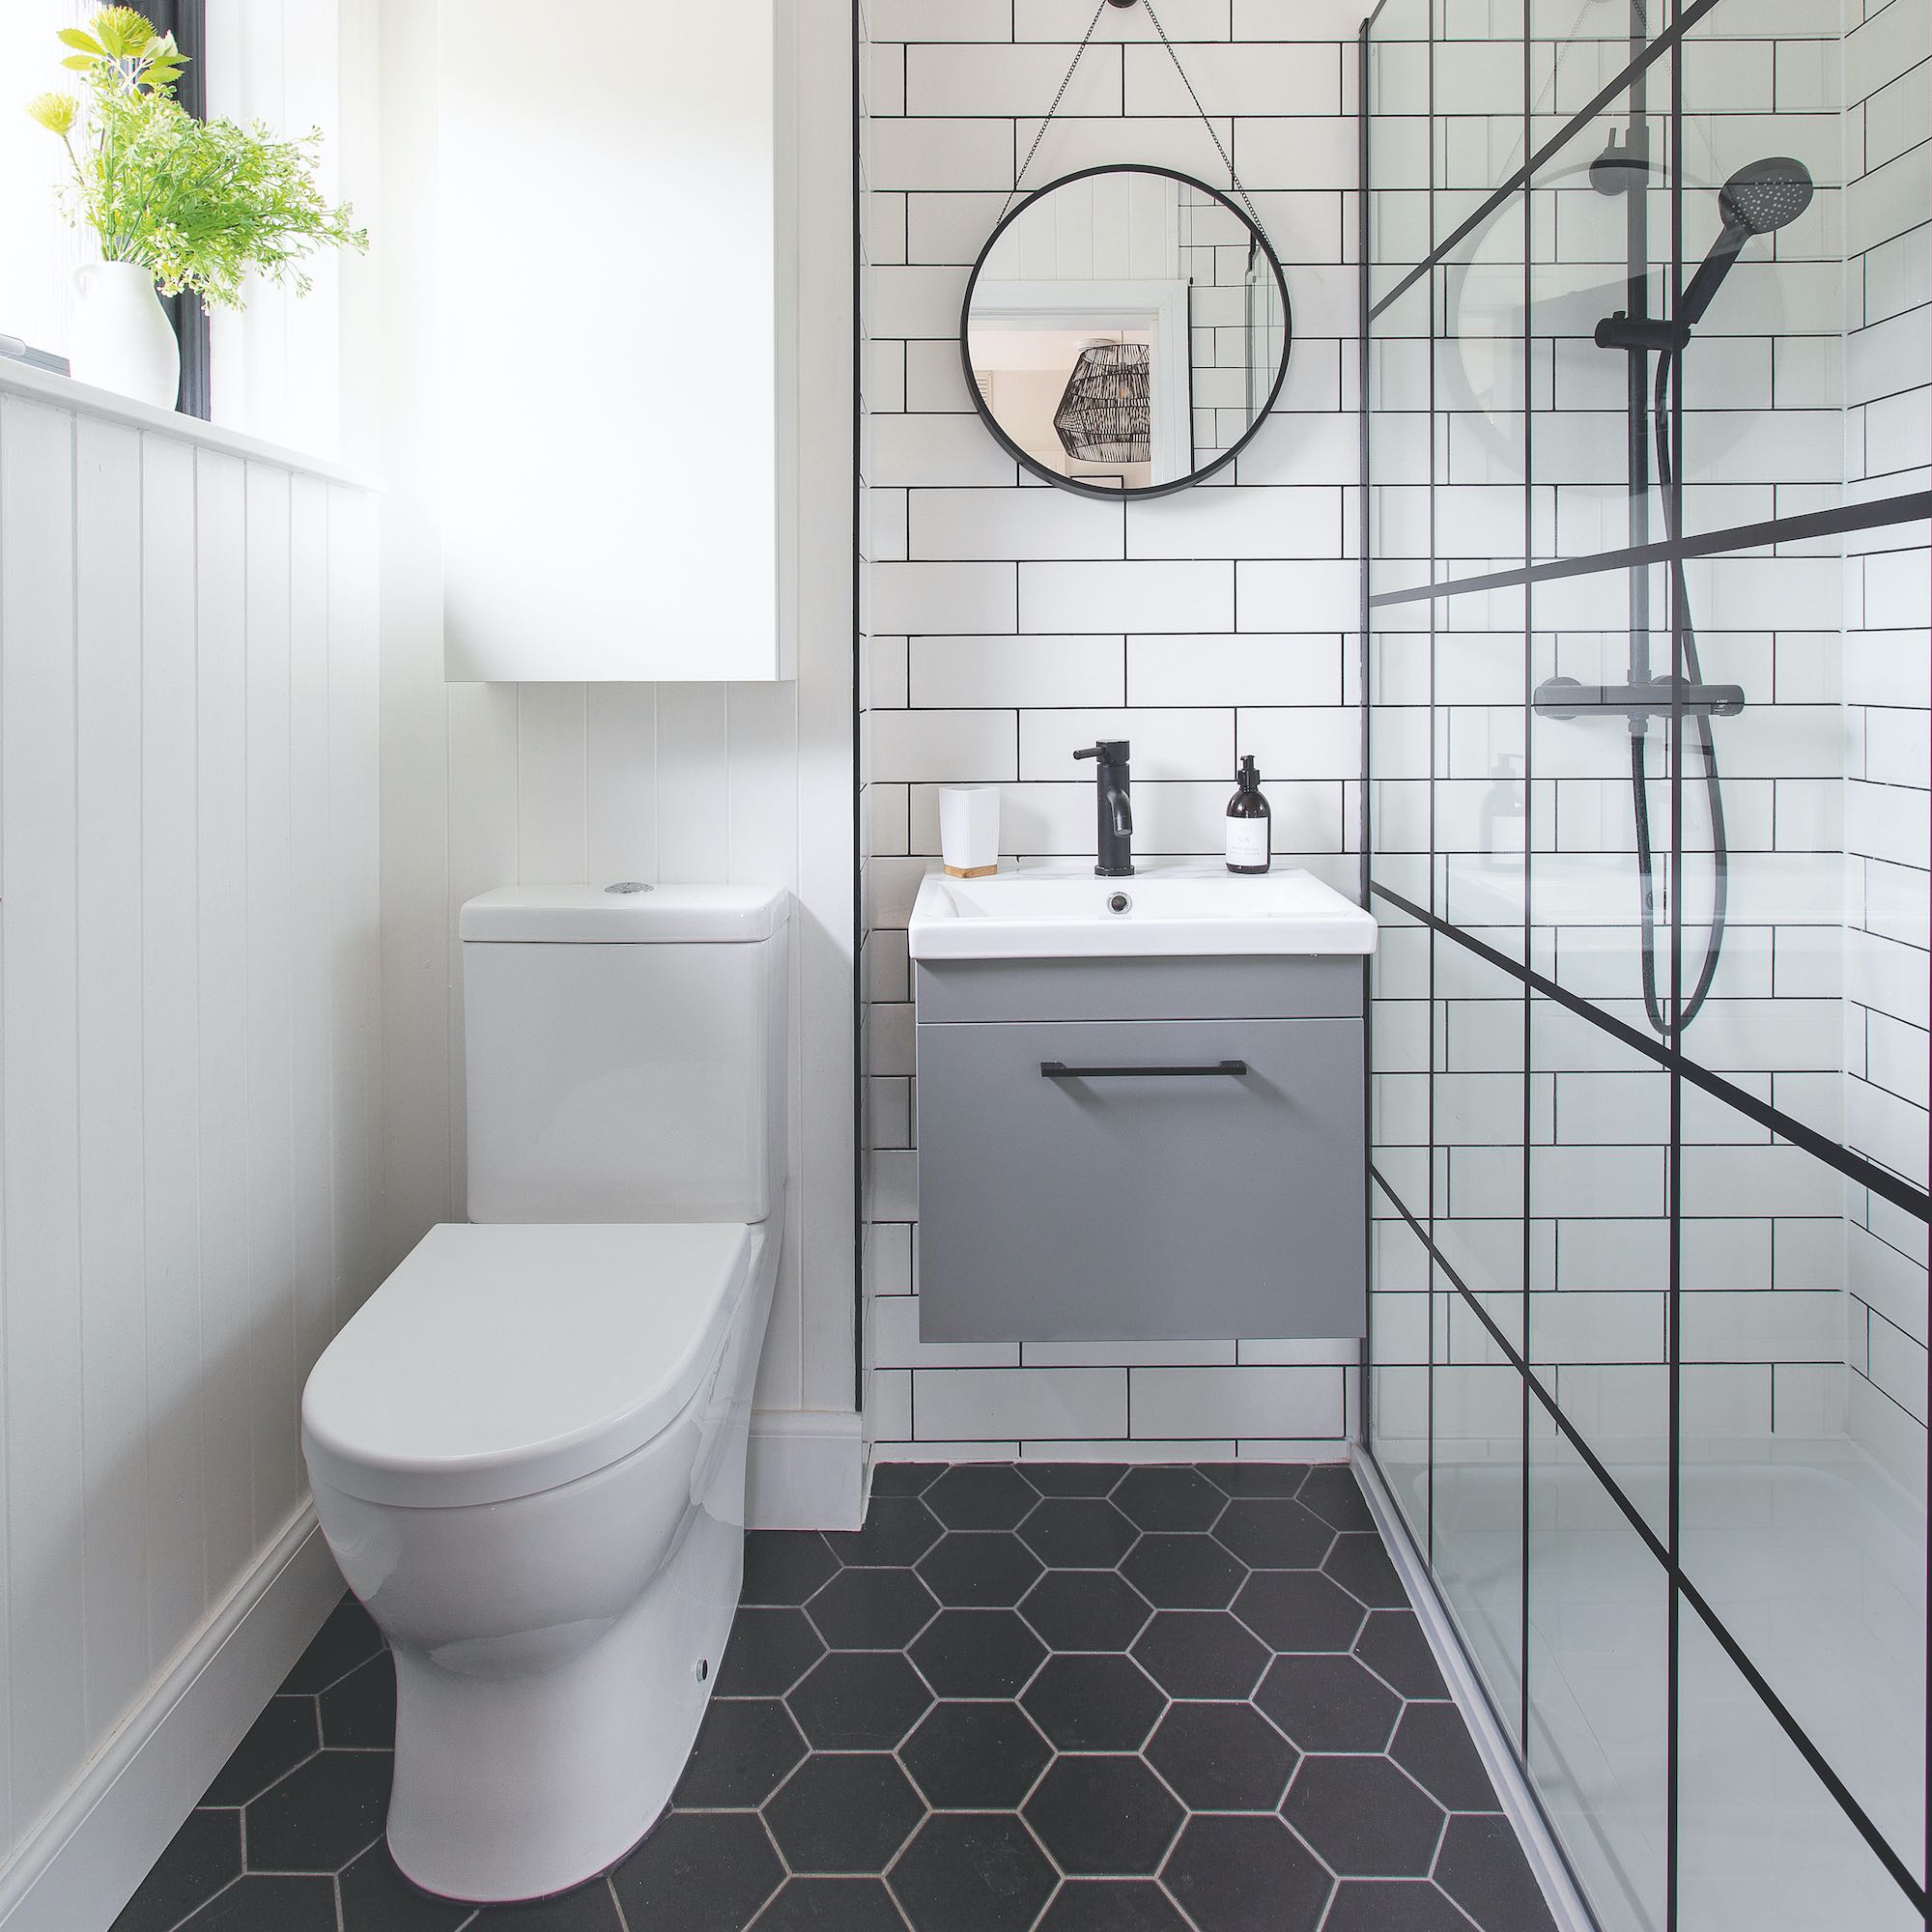
A room full of glossy sleek tiles can be very slick and modern, but again it’s a look that promotes a cold, uninviting ambience. Textured tiles to the rescue. They can be physically textured, for example ribbed, geometric, kit-kat or split-faced tiles. A shaped tile or visually textured designs that have plenty of tonal variation and movement, ideally with a matt finish, also work well.
‘Texture can make a sterile and functional bathroom into a vibrant and welcoming space. It can easily be achieved through the use of natural materials and replicating these on tiles – think wood, marble and other natural stones. Picking a tile that has detailing on can enrich the space quite easily,’ agrees Grazzie Wilson at Ca’ Pietra.
4. Sticking with white grout
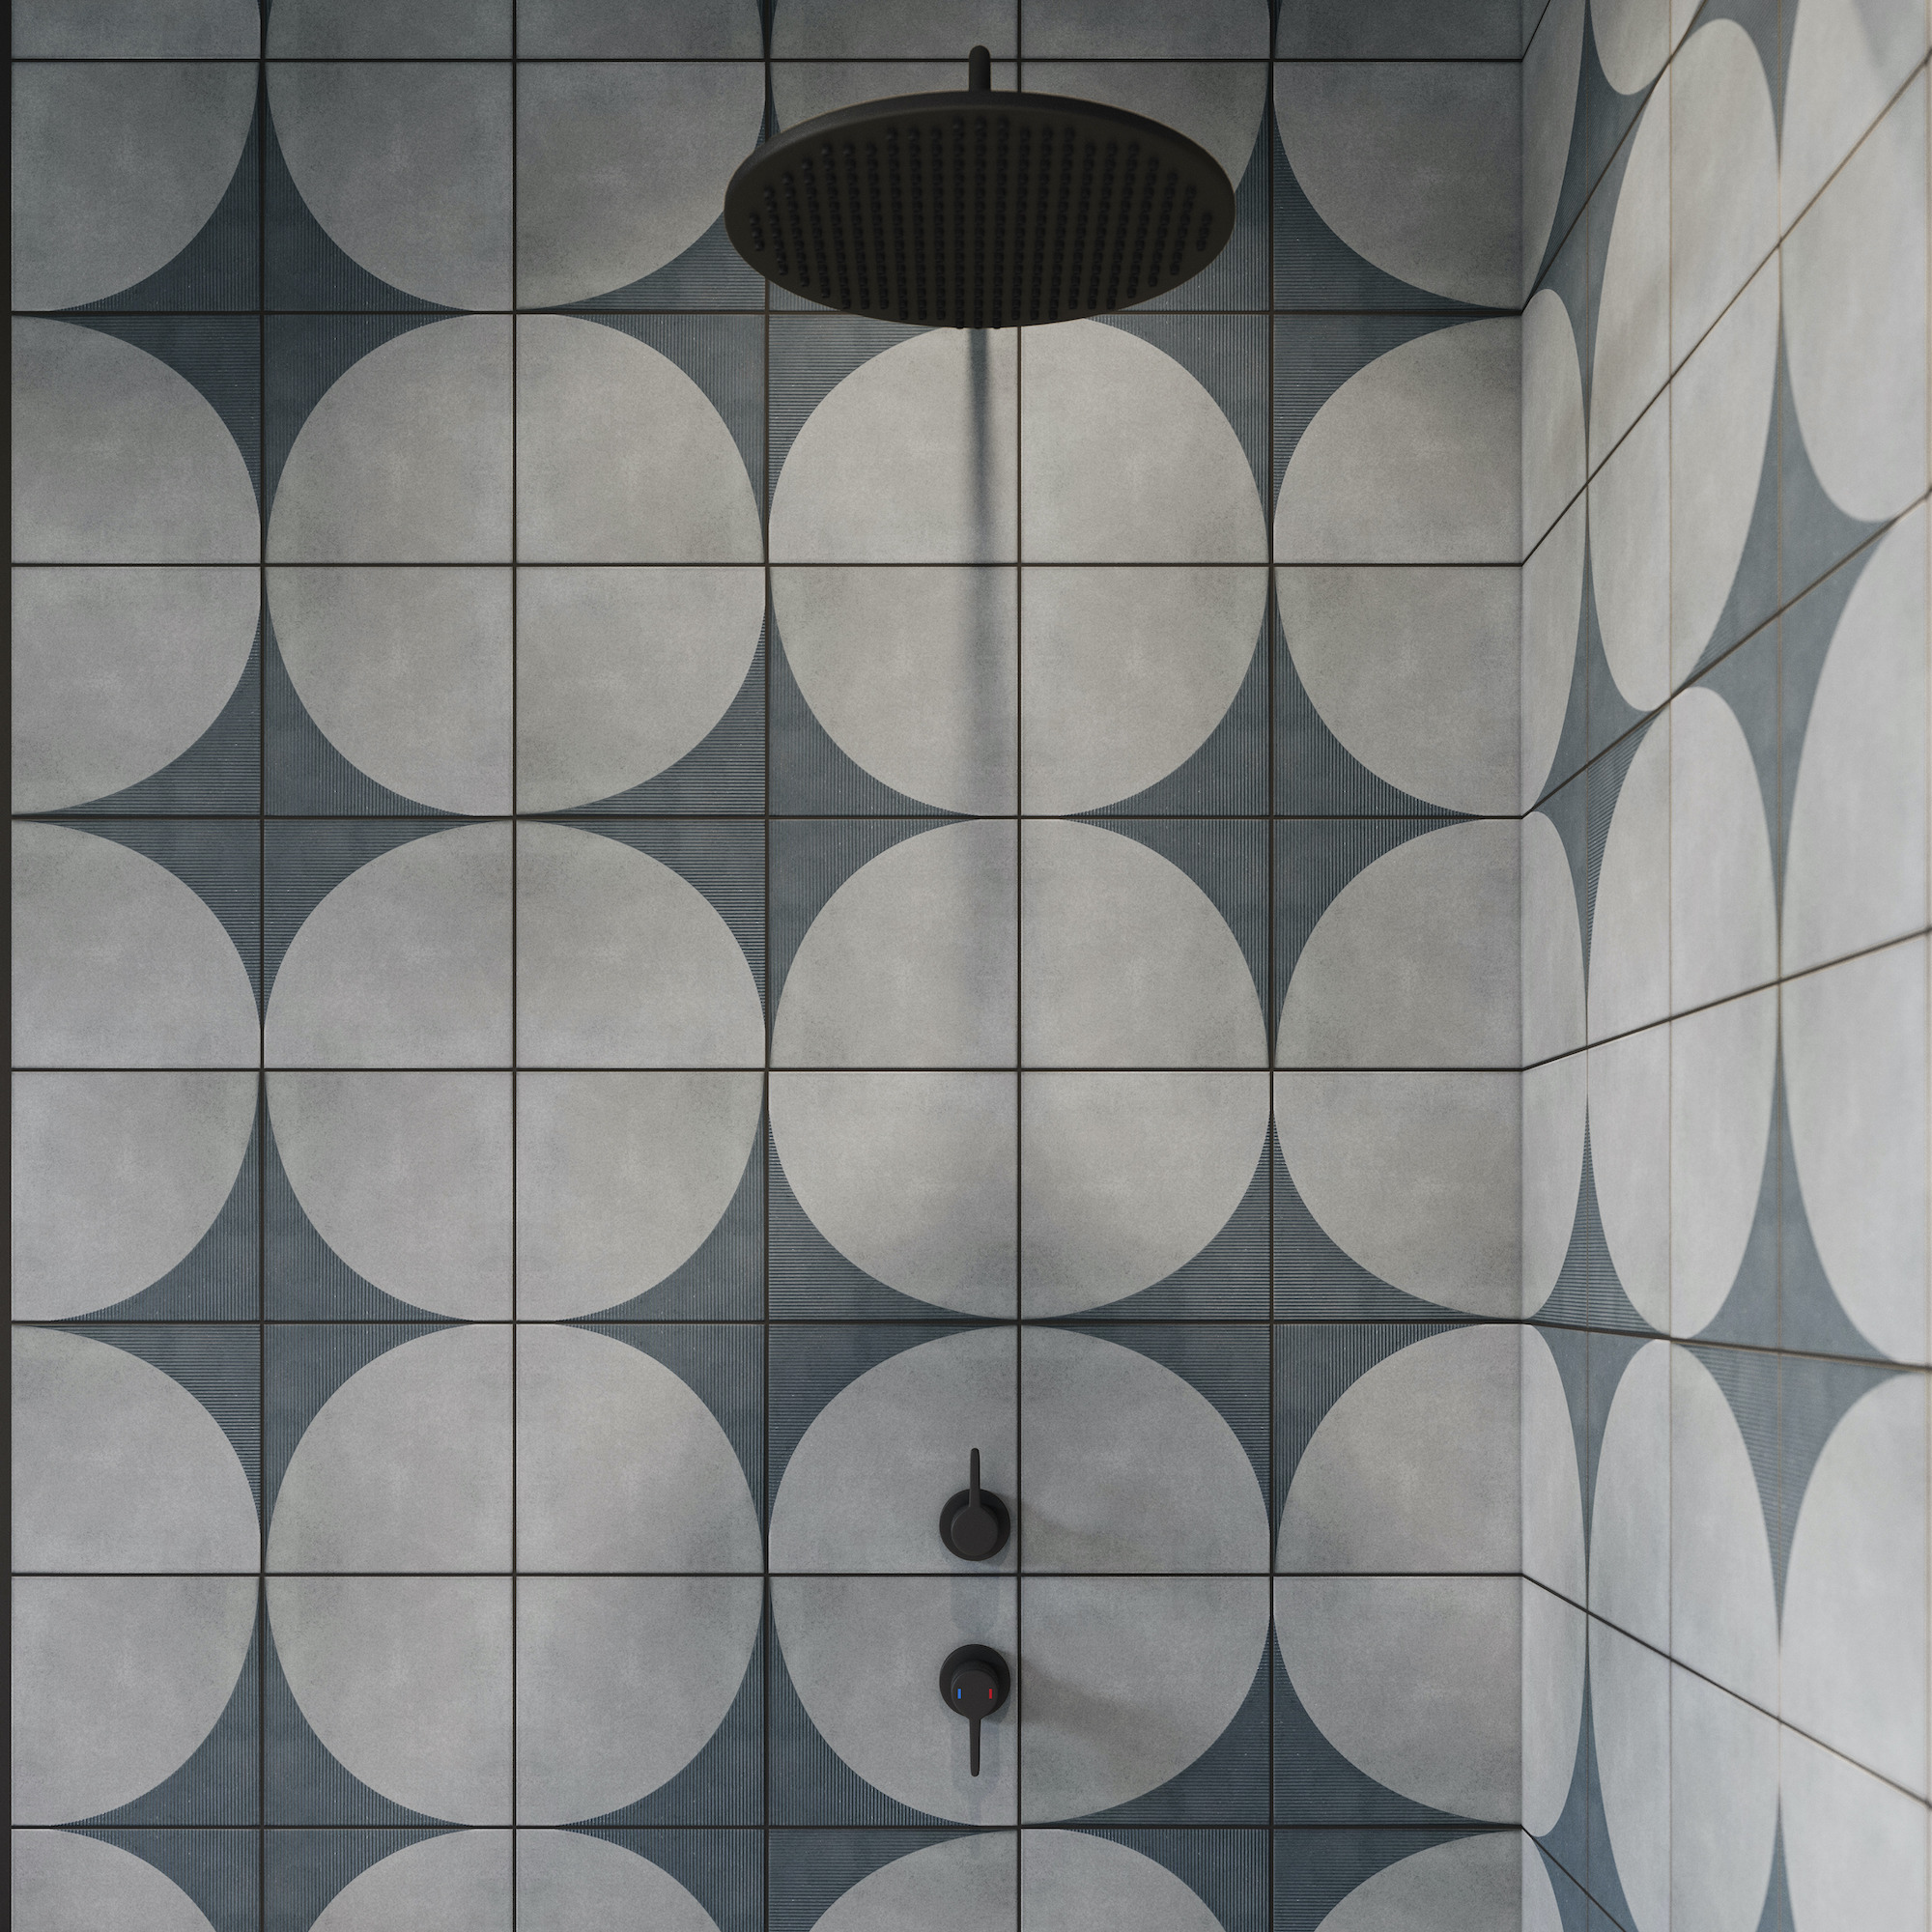
‘While white grout can be a fantastic finish that complements your choice of tile, it does require some maintenance to keep it looking pristine and prevent any blemishes from showing. If you’re willing to dedicate the time each month to cleaning it and keeping your white looking sharp, then it can be a great choice for your bathroom,’ says Harriet Goodacre at Topps Tiles.
It's important to remember that grout is a porous substance and if grout is not properly cared for and cleaned it can attract mould and mildew, which can build up and stain if not dealt with properly. If you’re looking for a slightly lower maintenance bathroom then using a darker shade of grout, such as black or grey, can prove a great solution.
‘Not only can it dramatically impact the look of your room by disguising any marks, but it can also create a defined edge for your tile, adding structure and definition to it,’ adds Harriet.
Harriet recommends grout cleaning fluid like the HG Grout Cleaner from Amazon, no matter what colour you decide to go for. ‘Just make sure you’re using a cleaner that’s compatible with your grout and that you clean it with a specially designed cleaning pad to reduce the risk of damage,’ she adds.
5. Overestimating your tiling skills
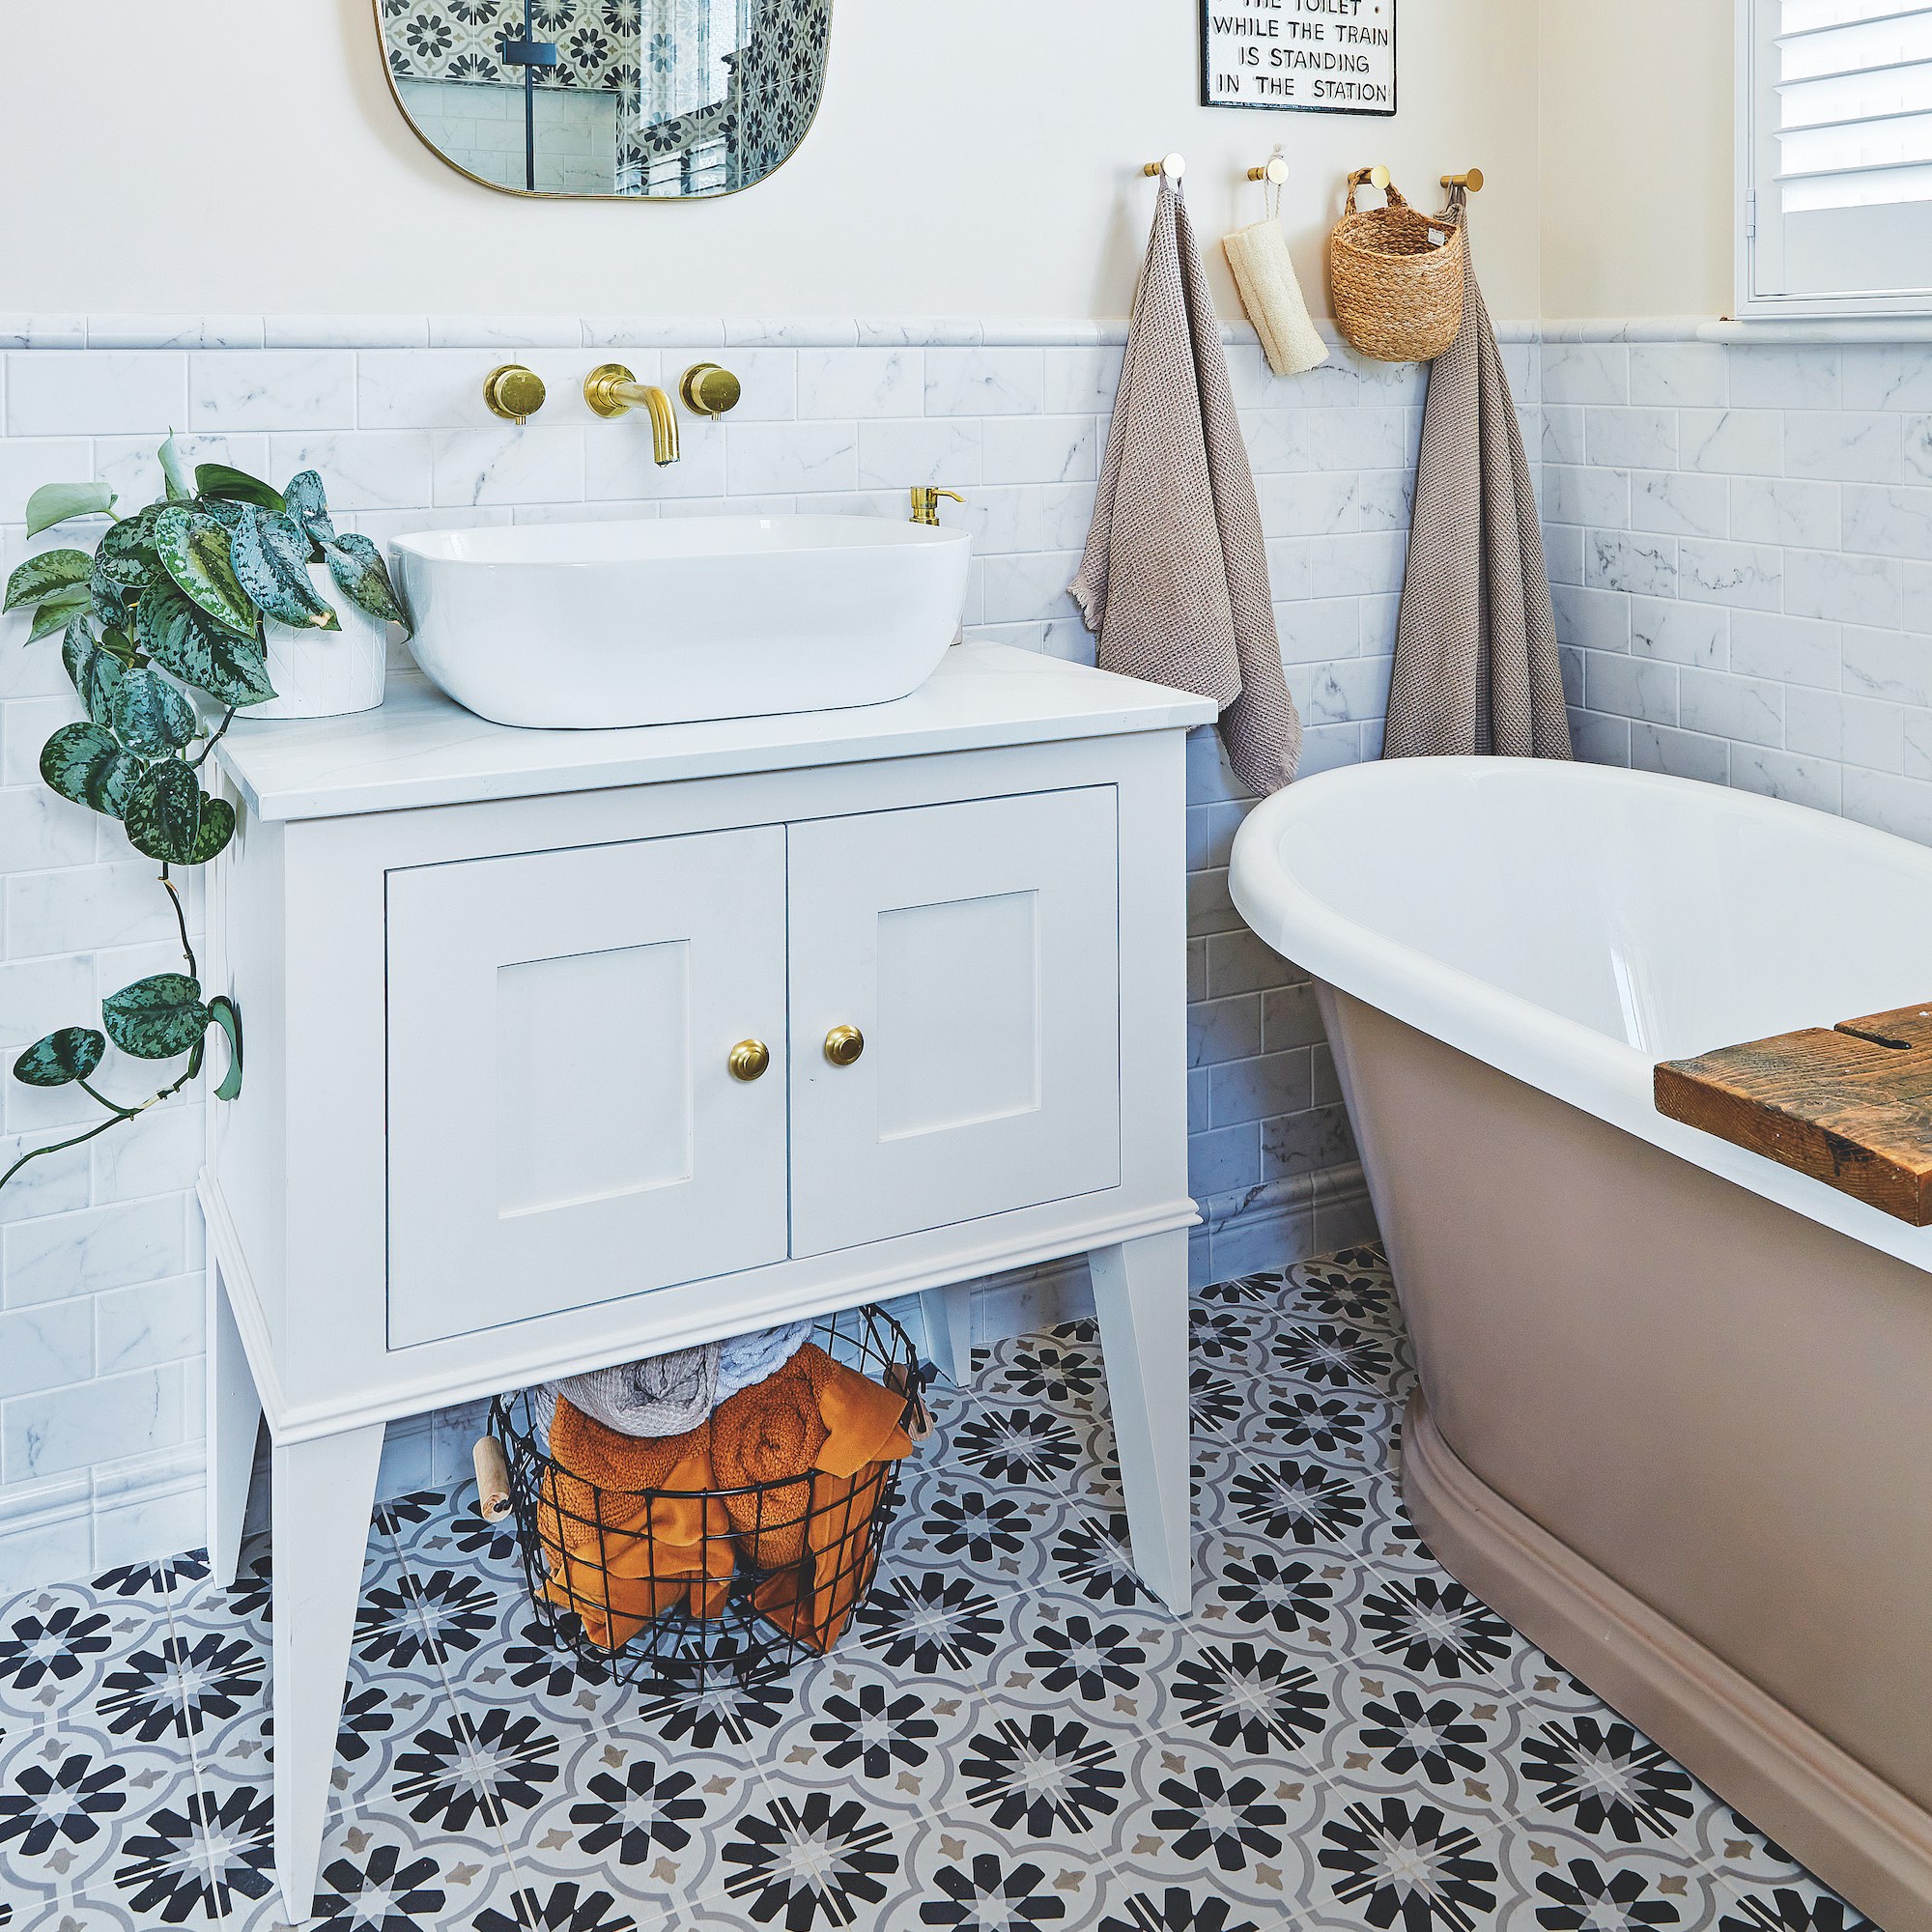
Learning how to tile a bathroom wall or how to tile a bathroom floor is totally DIY-able for many but if you’re hopeless with the tools, you’re better off calling in pros. A bodge job will annoy you on the regs, and you may end up paying twice as much getting someone in to sort out your chaos.
‘The key to tiling success is all in the preparation,’ says Harriet at Topps Tiles. ‘You’ll need to consider all the tools for the job, making sure you have them all ready before you start. And don’t forget to prepare your surface correctly, including marking out where to place your tiles so you can achieve a more professional finish.’
If you are planning on tiling yourself, there are a few specialist tools that will help, such as tile nippers, grout float, notched trowel, tile cutter and tile spacers. Don’t attempt it with a decent spirit level or laser level which you can pick up at B&Q. If you are determined to have a go at tiling yourself invest in kits that include everything you need like the Vitrex 6 piece Tiling kit for £38from B&Q.
6. Not doing a proper tiling plan
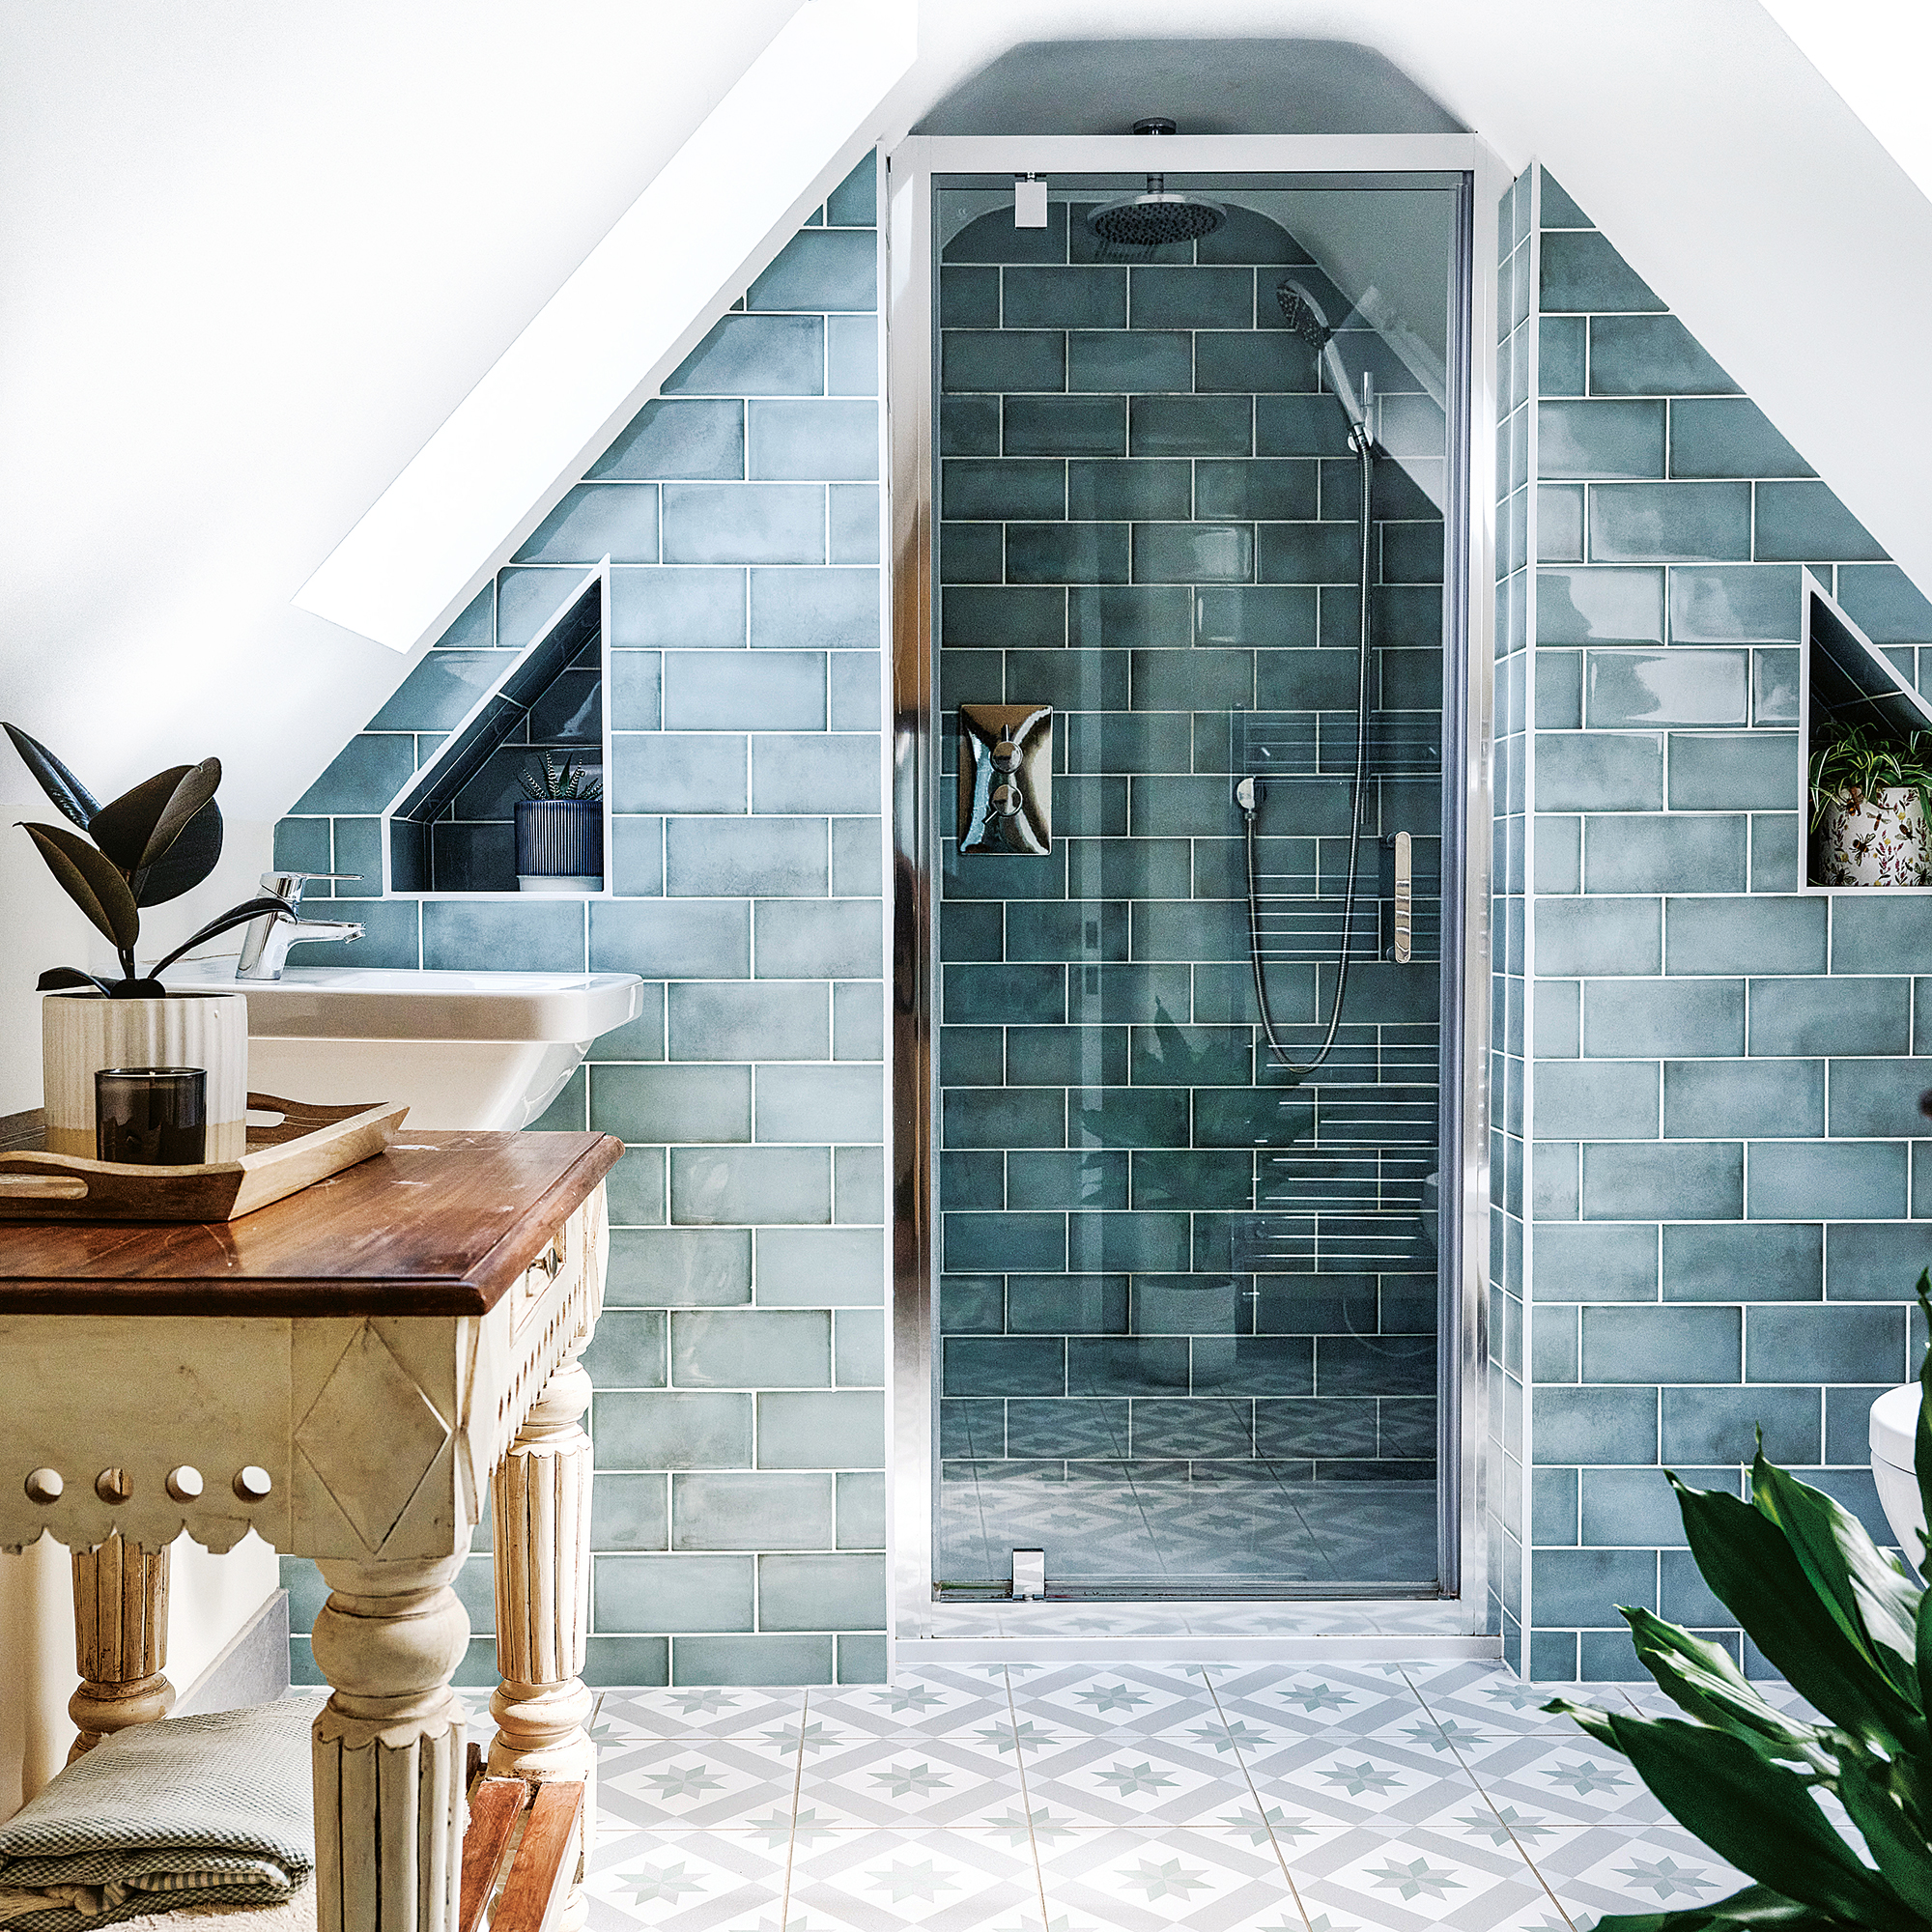
Unless your tiling project is extremely basic, skipping the tiling plan can leave you with awkward cuts, unsightly edges and skinny tiles in obvious places. Taking the time to create a tiling place ahead of securing them to the wall is well worth the effort, regardless of whether you are doing it yourself, or paying a professional.
A tiling plan can easily be done on paper with a scale ruler or you may prefer graph paper. All you need is the dimensions of the space you are tiling, and the size of tiles, remembering to allow for the grout gaps. Drawing the tiles out on the plan will let you work out how many you’ll need in each row, and help arrange it so that you end with a decent half-tile, rather than a skinny strip.
‘If your tiles feature heavy variation in the pattern or colour, you can also do a dry lay, which basically means laying them out on the floor in order to ensure they’ll sit together nicely,’ adds Harriet at Topps Tiles.
7. Not waterproofing behind tiles
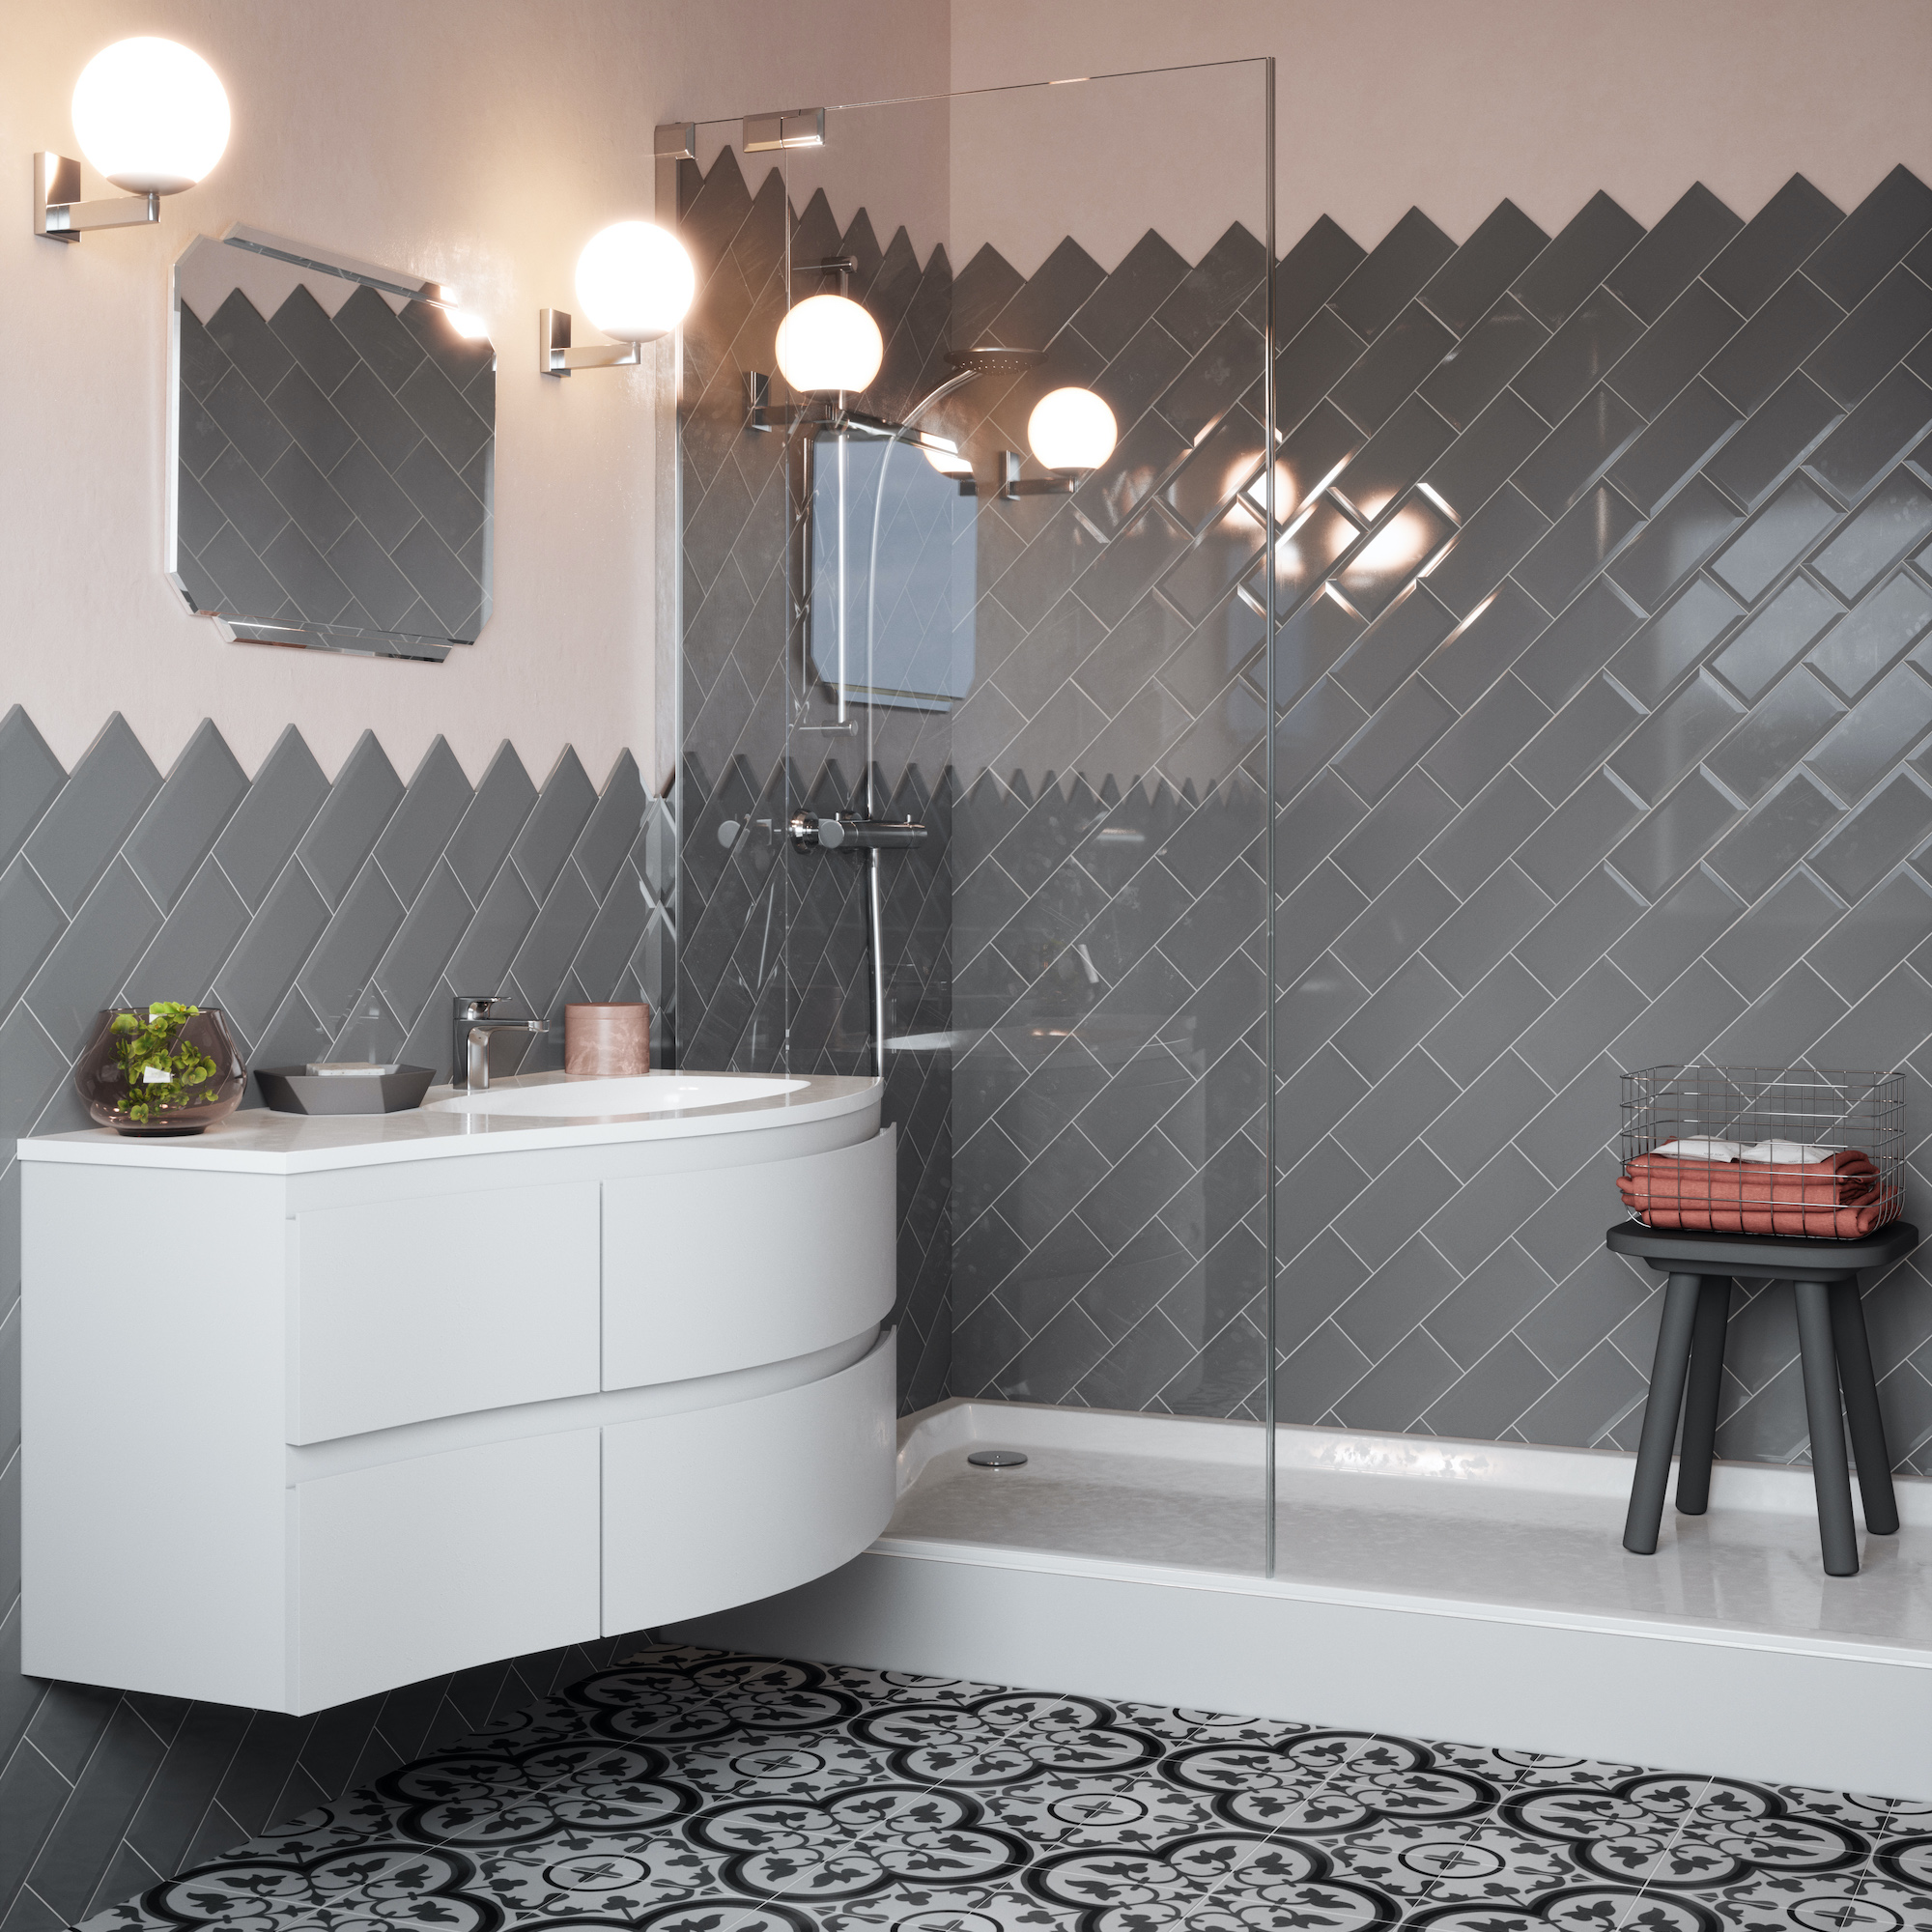
Guidance from the British Standards Institute (BSI) states that surfaces should be waterproofed before tiling in wet areas, such as within a shower area or the walls around a bath with an overhead shower. This is because grout is not 100% waterproof and, in time, moisture can seep behind the tiles and cause long-term damage to the walls, and adjoining rooms, and tiles may fall off. Your home insurance may not cover the cost of repairs if the surface behind the tiling in your wet room ideas or bathroom wasn’t sufficiently waterproofed.
‘The simplest solution is to use a paint-on tanking solution that is inexpensive, albeit messy, and is designed for tiling directly over the top. In larger wet areas it’s often easier to use a specialist tanking kit featuring backer boards that are taped at the joints. Either way, the peace of mind of knowing your walls are safe from water ingress far outweighs the cost,’ says James Bacon at Tile Mountain.
8. Not thinking about tile thickness
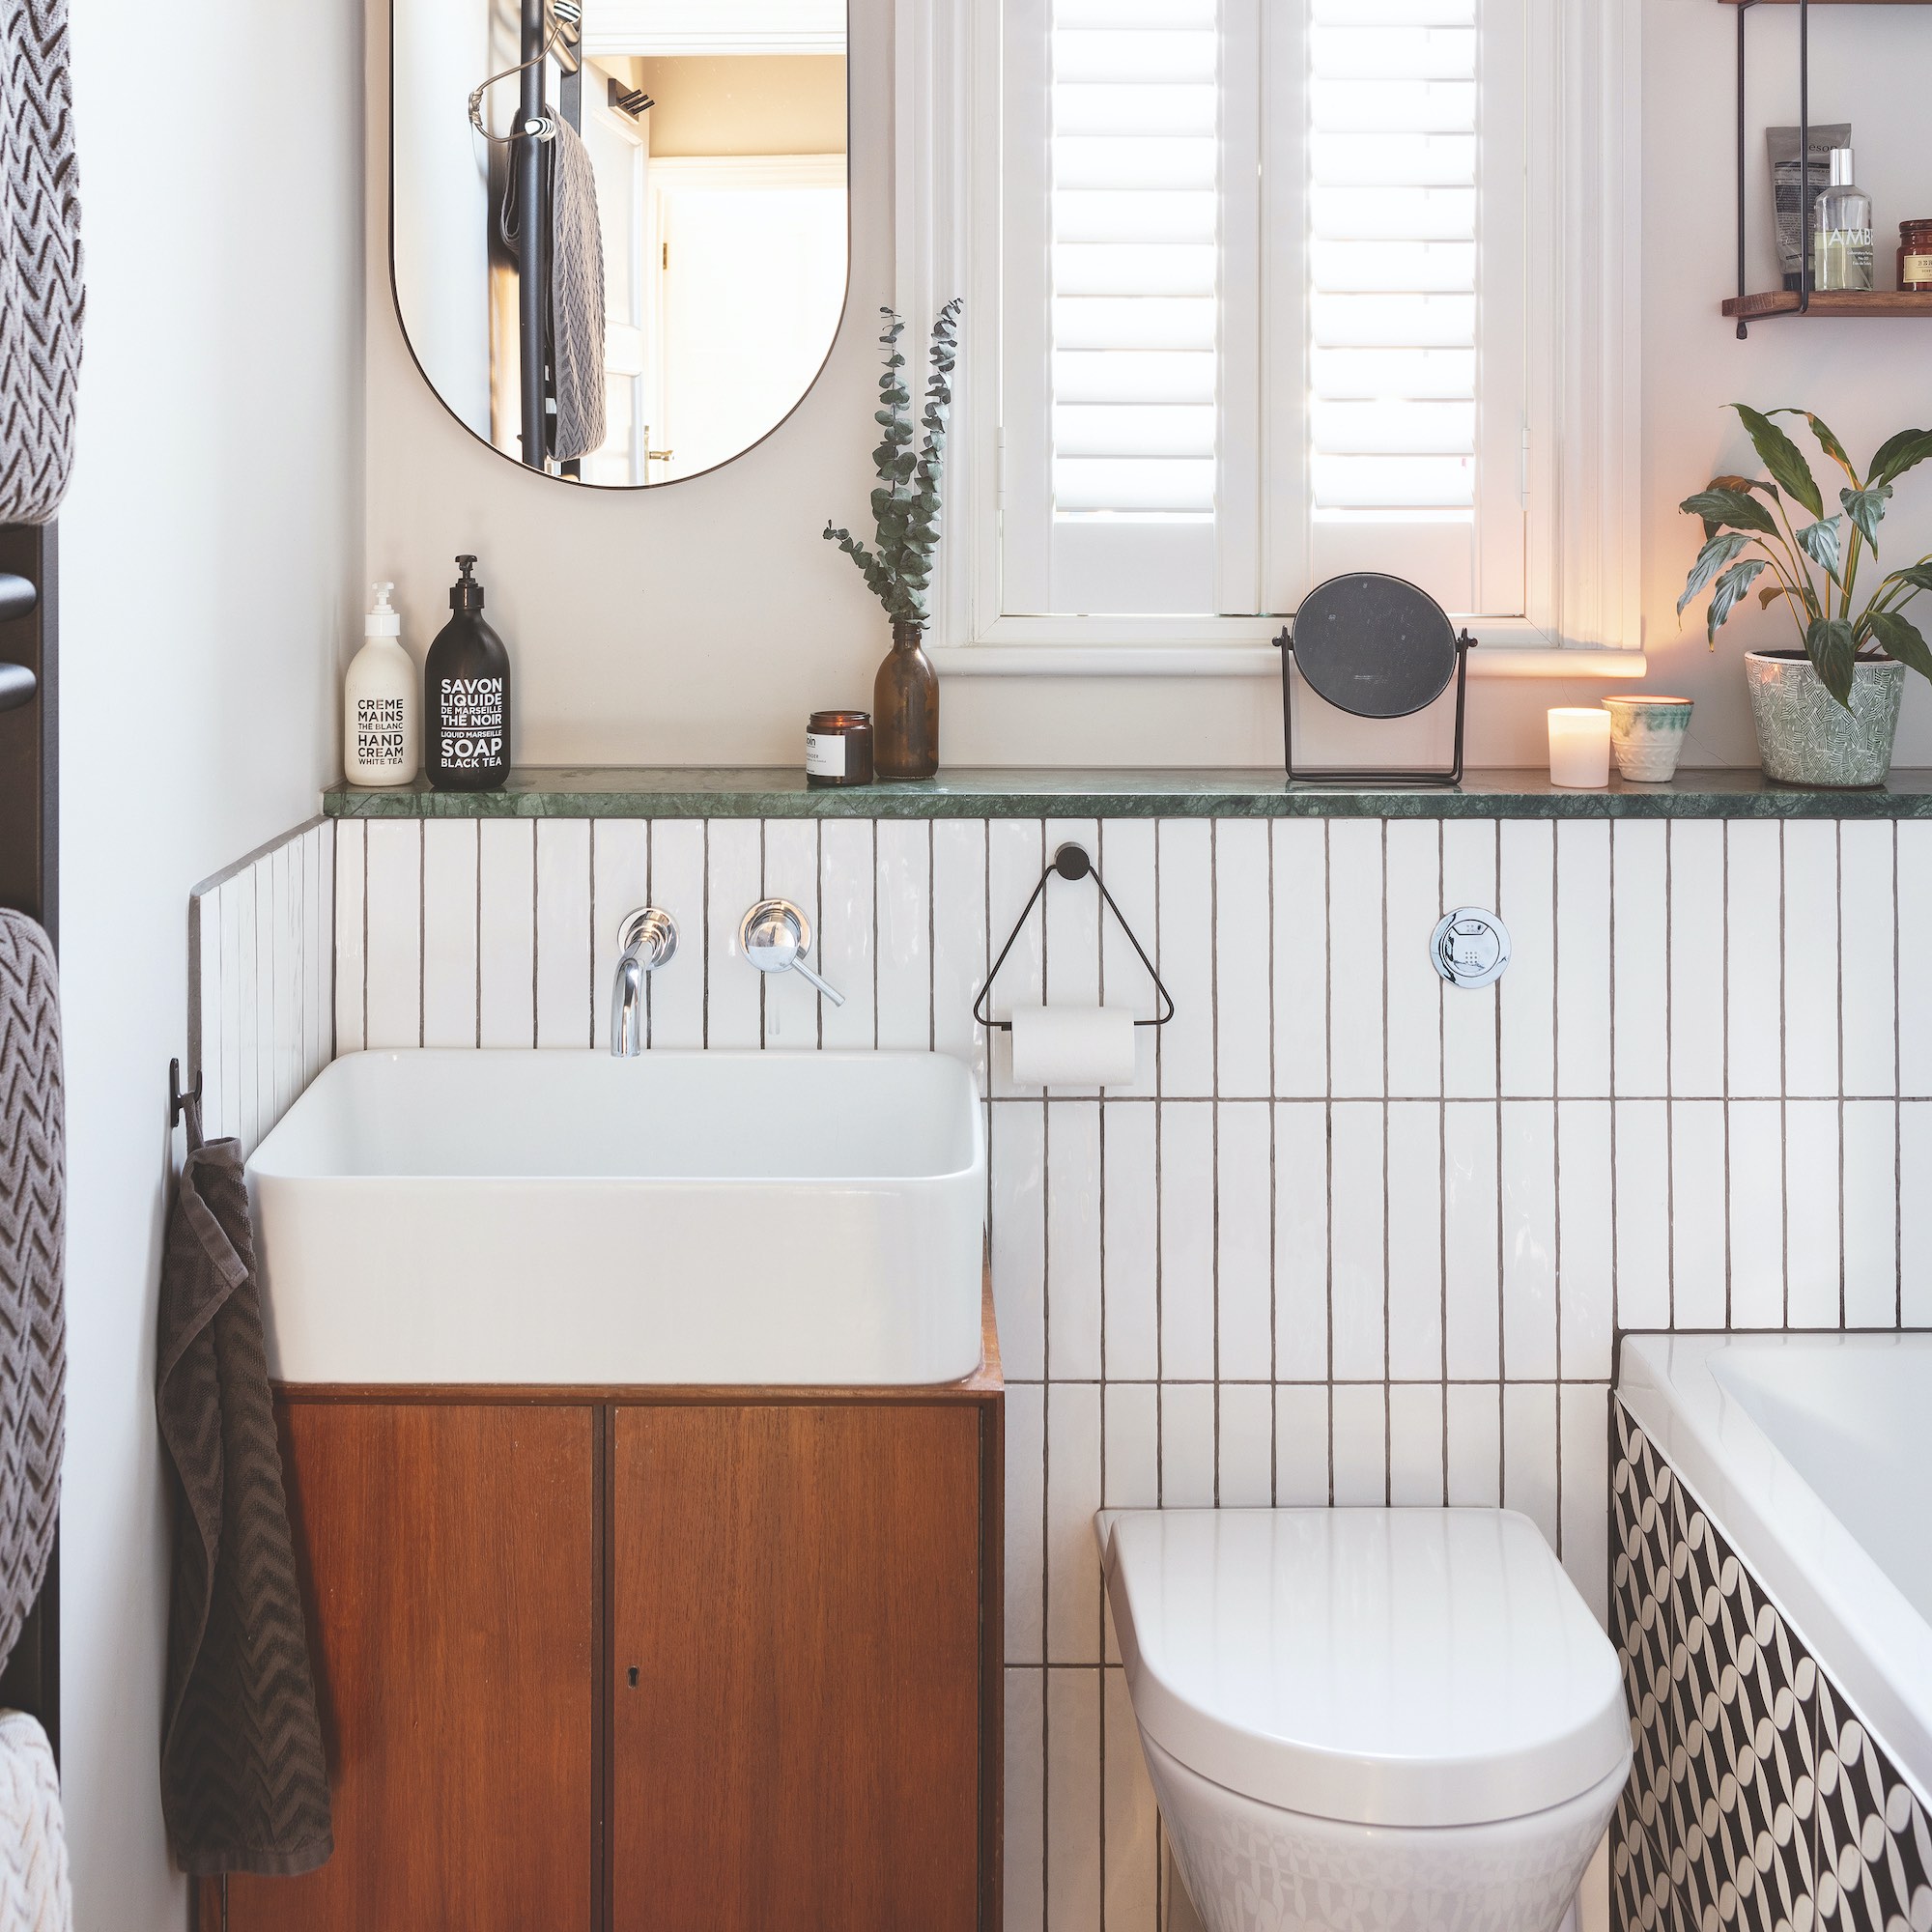
Tile thicknesses vary, usually according to material type. Porcelain and ceramic tiles tend to be the thinnest, around 6-10mm (and even thinner if suitable for wall only), while solid stone and terracotta tiles can range from 12-22mm thick.
Thickness can have an impact on your project in two ways. Firstly, when it comes to bathroom floor tile ideas it can affect the height your floor may end up, which in turn may lead to an unwelcome step up into the bathroom. You may also need to trim the door to stop it from catching on the tiles.
Secondly, thick tiles will be heavier, which can create load-bearing issues, and they may need stronger adhesive to achieve a firm fix on walls. ‘When calculating the finished thickness of a tiled floor, don’t forget to allow for any Anti Fracture Mat, levelling compound, and the adhesive bed required,’ adds says James Bacon at Tile Mountain.
9. Not considering slip ratings
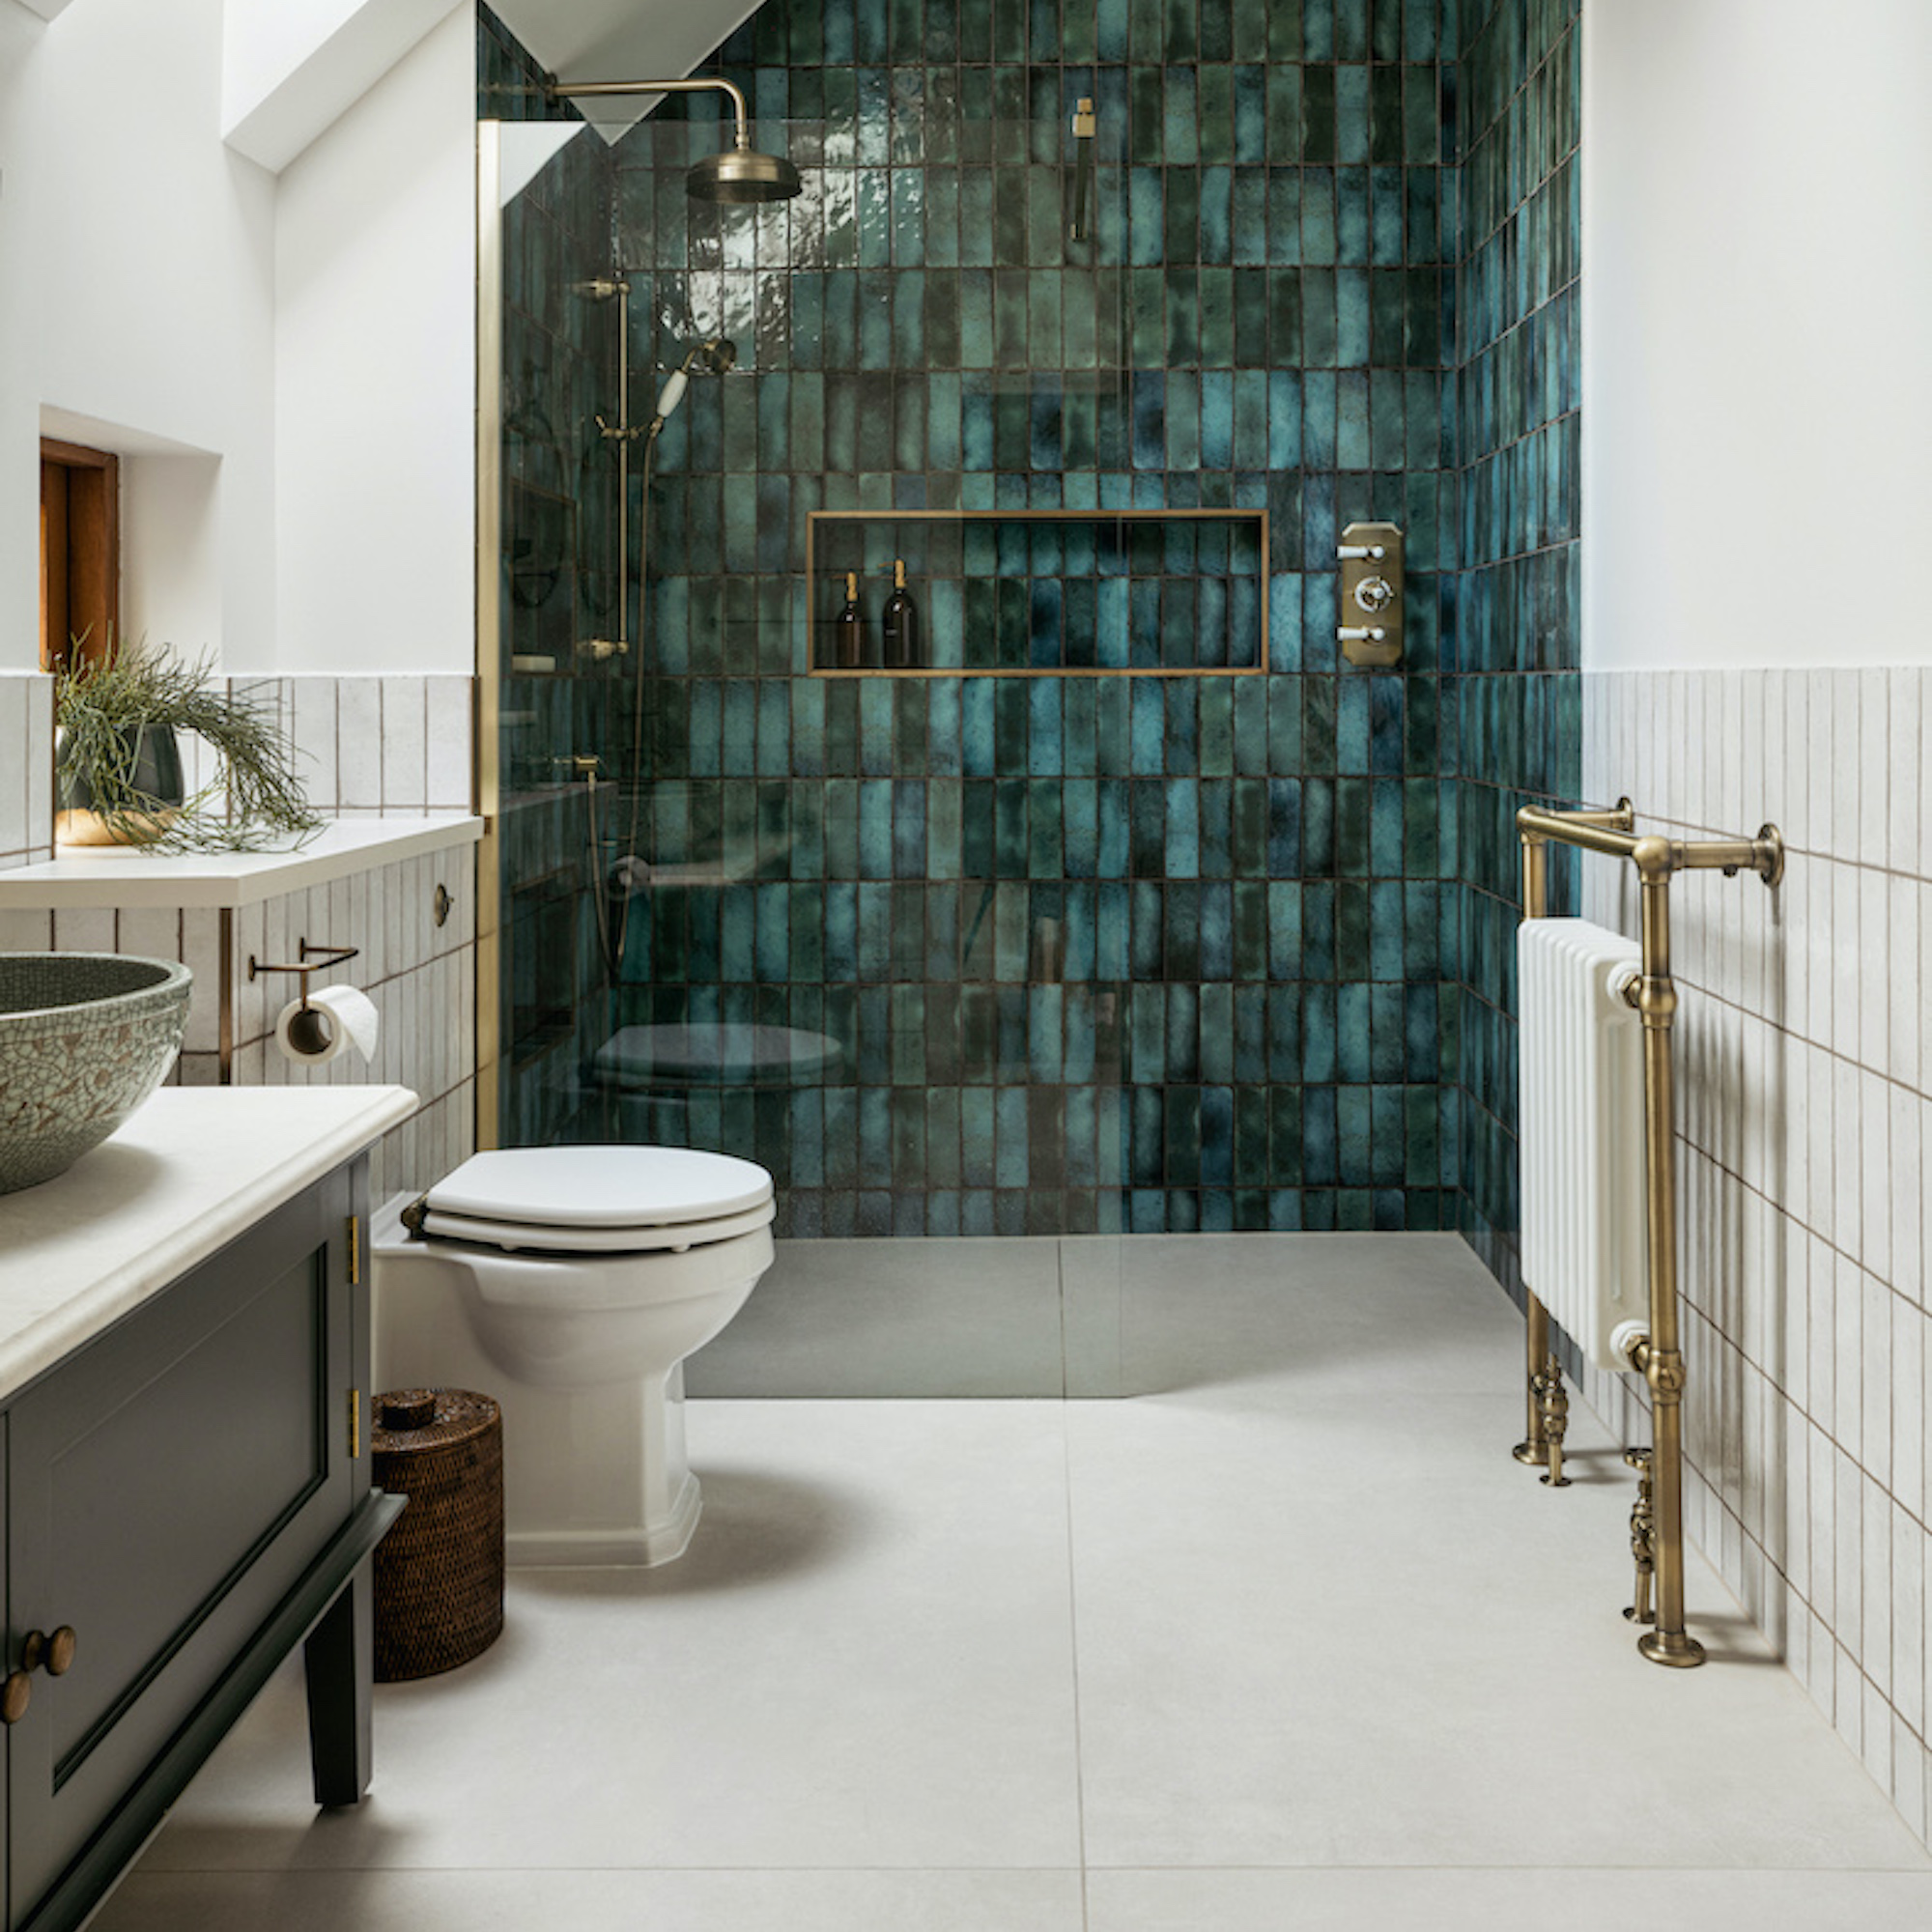
Bathrooms are no stranger to moisture and puddles, so it’s a mistake not to look for slip-resistant tiles, especially in wet room setting and family bathrooms. Traditionally, slip-resistant tiles had a rough texture that wasn’t terribly pleasant or easy to clean but, thanks to manufacturing improvements, it’s now possible to get smoother finishes with grip resistant properties.
‘Slip-resistant tiles are measured on an R scale (ramp test) with R9 offering minimal slip-resistance to R13 providing the highest slip resistance. For a family bathroom aim for a minimum of R11, with R13 offering maximum safety on wet room floors,’ says James Bacon at Tile Mountain.
Floor tiles also come with a PEI rating, which indicates their resistance to abrasions. In a bathroom, tiles with PEI rating of 2 or 3 are suitable, but in a high-traffic area like the kitchen or hallway, opt for 3 or 4.
10. Not installing underfloor heating
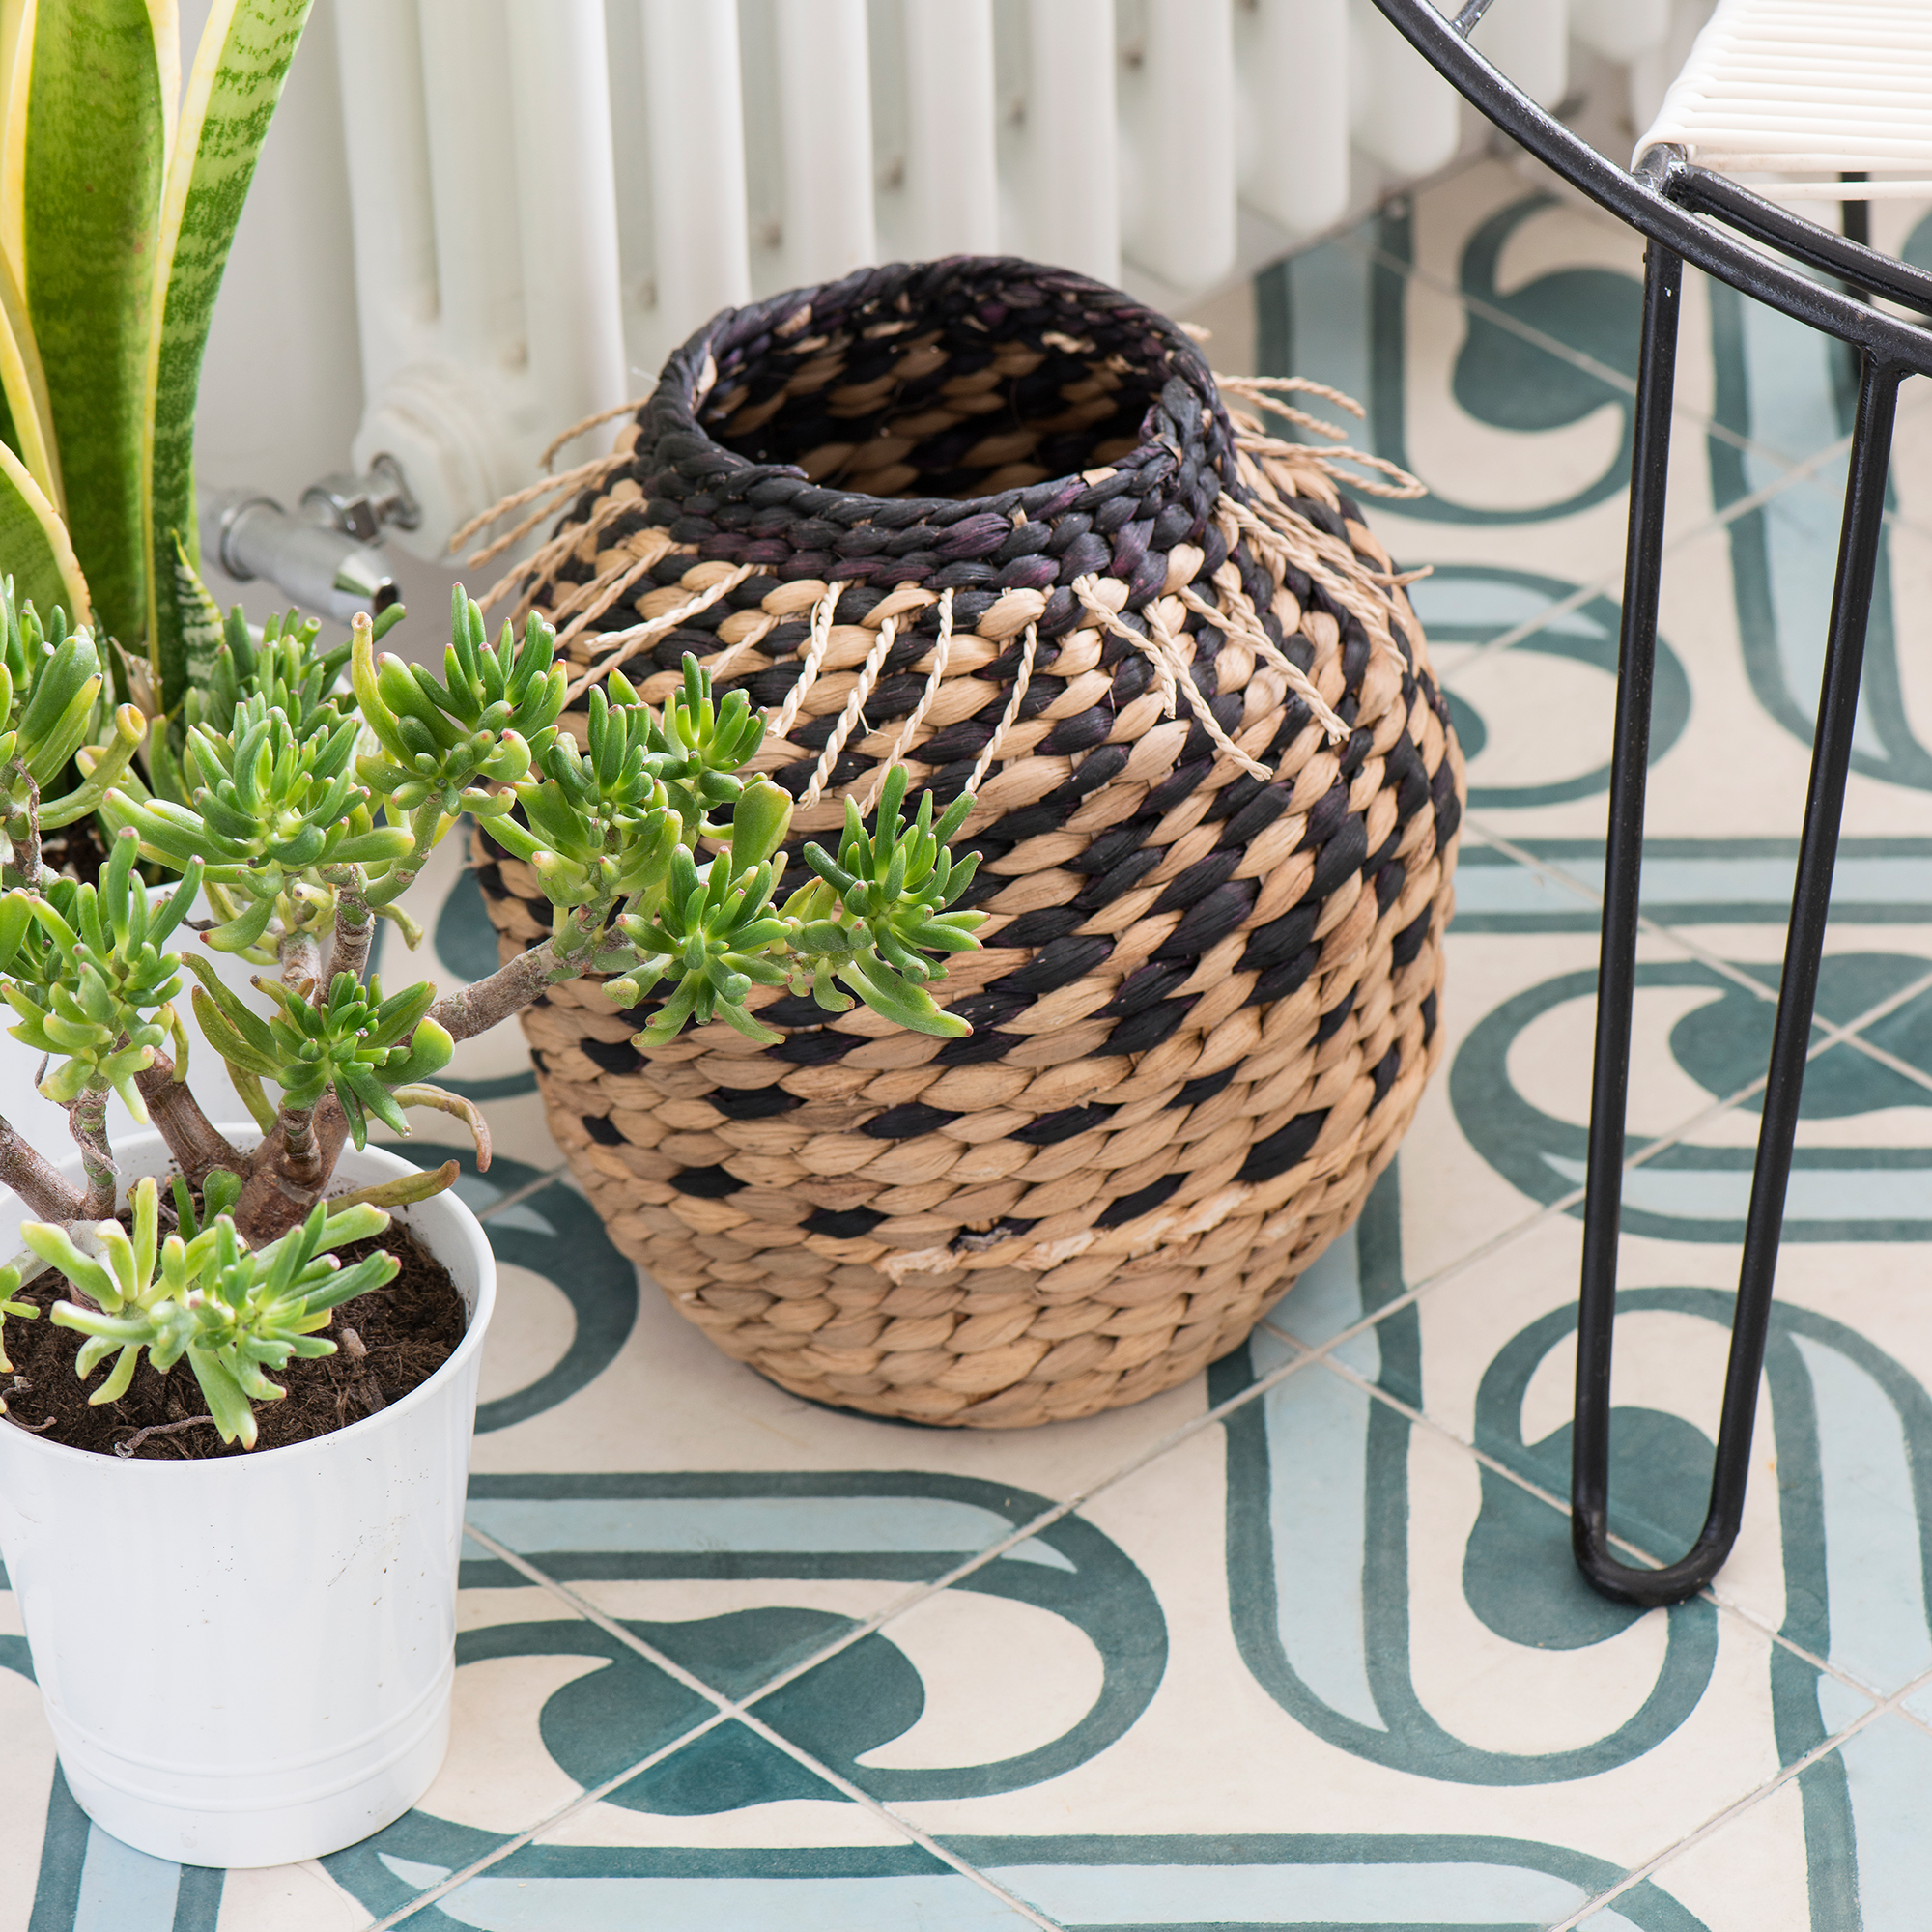
Installing underfloor heating in a bathroom is one of life’s most rewarding luxuries. Once you’ve experienced toasty toes fresh from the shower, you’ll never look back.
‘If you are looking at replacing the flooring or creating an entirely new space in your bathroom, underfloor heating is a great option to warm up the floor as well as the rest of the space. It also gives you the option to forgo traditional-style radiators where space is normally at a premium.
'Both wet and electrical systems can be used in conjunction with tiles but whether each type can be installed in a specific situation will all depend on the subfloor and whether the substrate that will be tiled onto is suitable,’ says James Bacon at Tile Mountain.
As well as avoiding cold feet, underfloor heating can benefit from a safety point as it helps to keep floors dry and less slippery, and, in a well-ventilated bathroom, can also help control moisture levels, preventing mildew and damp issues.
FAQs
How can you tell a bad tile job?
A really bad tile job in the bathroom will be all-too evident. We’re talking about damp patches on the adjacent walls or ceilings below – horror! This will usually be down to a lack of tanking, poorly applied tanking, or insufficient, unevenly applied tile adhesive. Grouting can also fail, especially if air bubbles are not removed during application.
Other signs of a bad tile job include wonky tiles, uneven surfaces (where the adhesive hasn’t been levelled beneath) and awkward cuts. A good tiler will plan the layout to avoid slithers of tiles in the corner or edges of the room. Ugly tile edging is also evidence that a tile job hasn’t been planned properly. If it’s not possible to lay tiles so that the unfinished/raw edges are hidden, tile trim is your BFF.
What not to do when tiling a shower?
The main priority when thinking about what not to do when tiling a shower should be tanking. A waterproof membrane behind you shower tiles is now considered best practice – skip this step at your peril.
Also avoid a silly gap between the top of your tiles and the ceiling. If you can’t achieve a neat connection, consider adding coving or tile trim to hide any unevenness. Shower tiles underfoot should be gently graded for drainage and slip resistant.
If you’re worried about mouldy grout, and you possibly should be even in the most well-ventilated bathroom, go for a darker colour, apply grout sealant and opt for large format tiles with minimal grout gaps. Rectified tiles that are machine cut to achieve the straightest edges are best when aiming for narrow grout lines.


