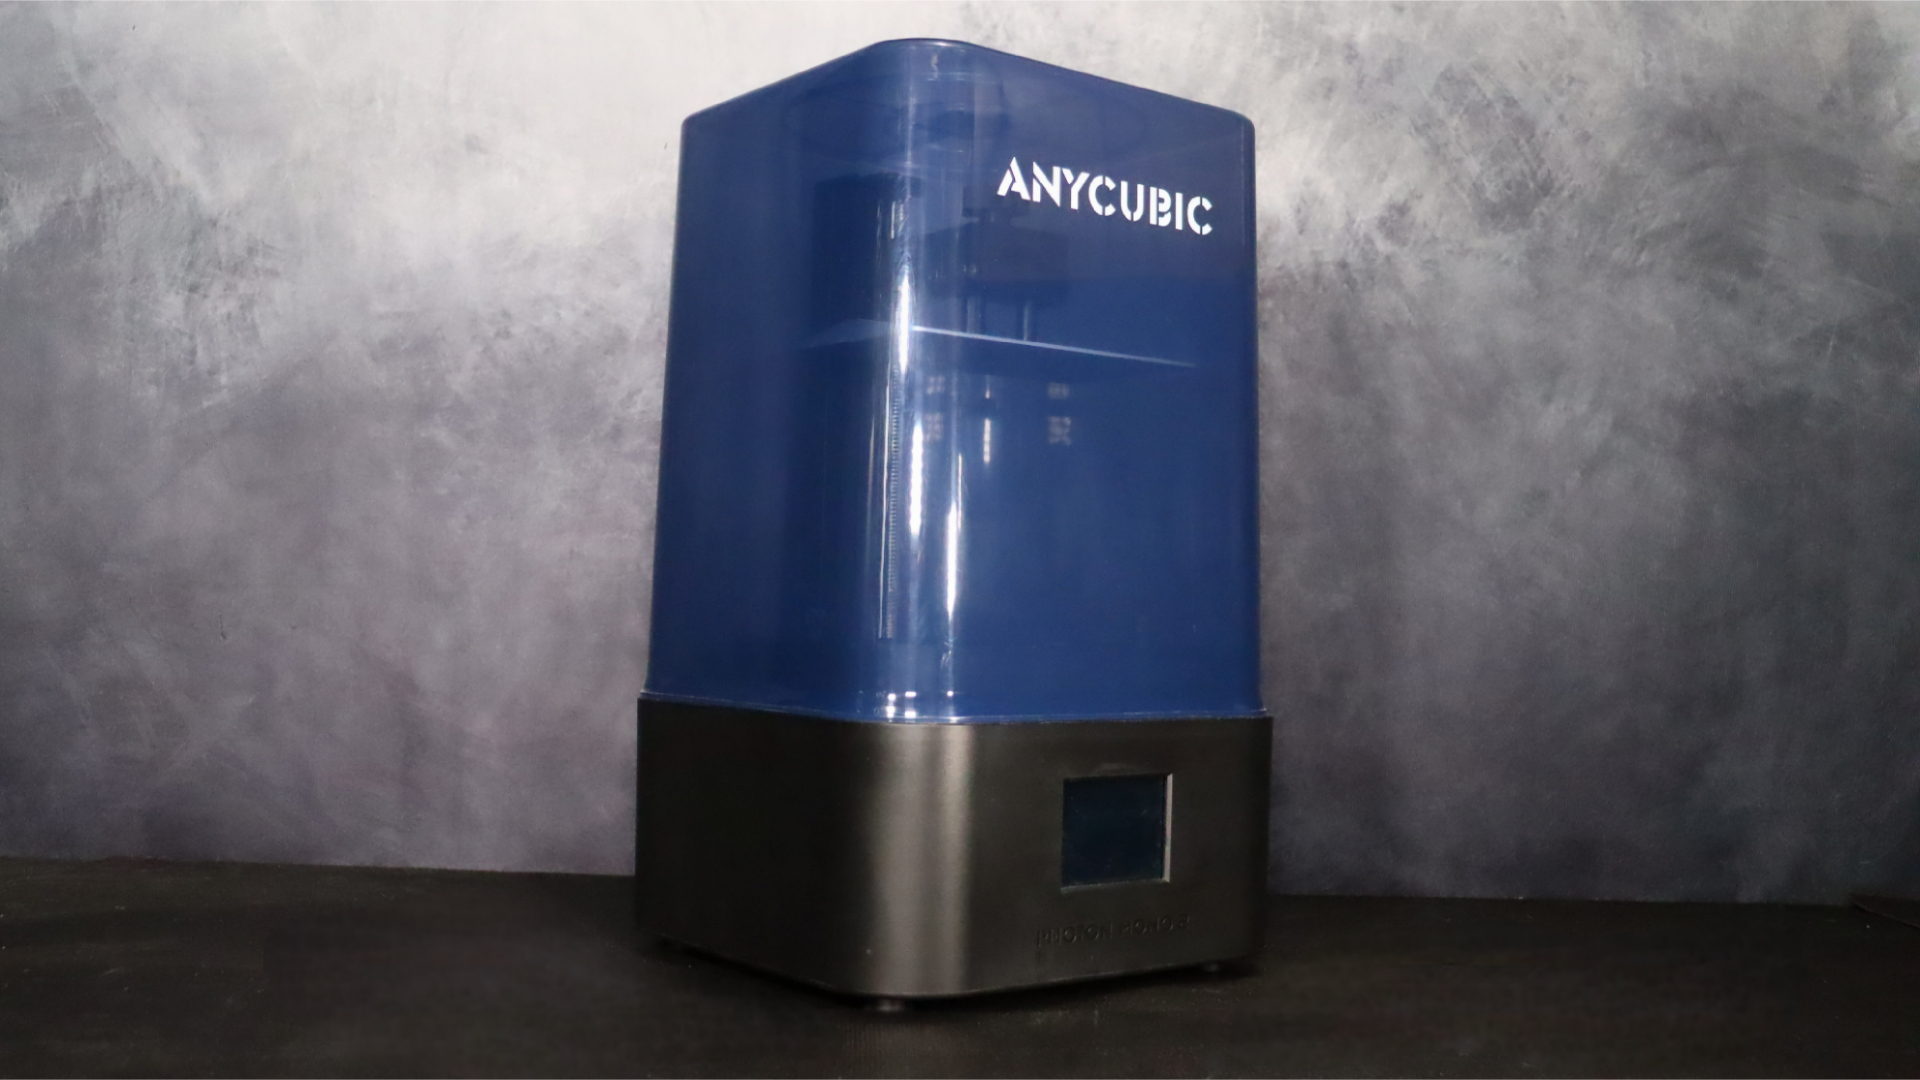
Anycubic, a well-known 3D printer manufacturer, has recently announced the launch of their new entry-level resin printer, the Anycubic Photon Mono 2. This exciting new printer is set to replace the Photon Mono 4k model, which has been a very popular printer since it launched in 2021.
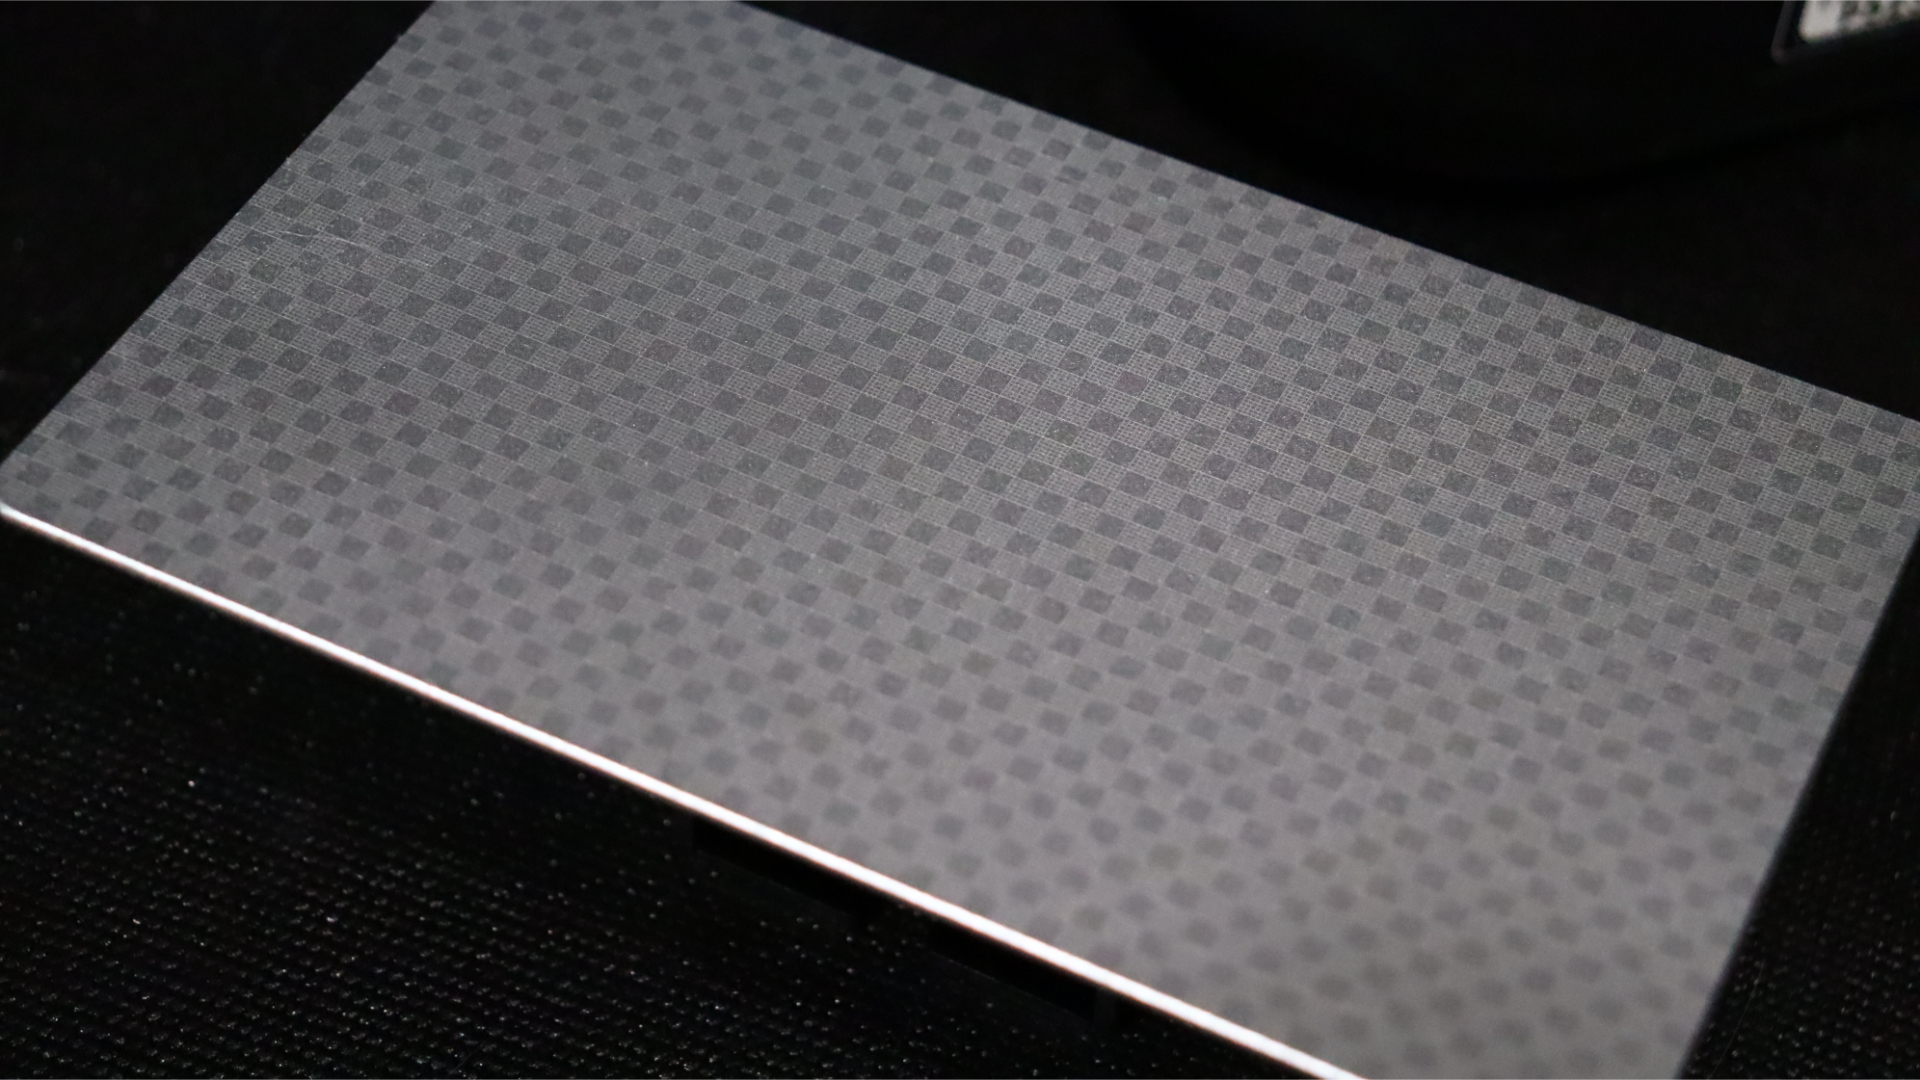
The Photon Mono 2 offers an array of improved features compared to its predecessor, including a higher resolution screen, larger build volume, laser-engraved build plate, and Anycubic's new enhanced LighTurbo Technology. These upgrades promise users with even better performance and print quality than before.
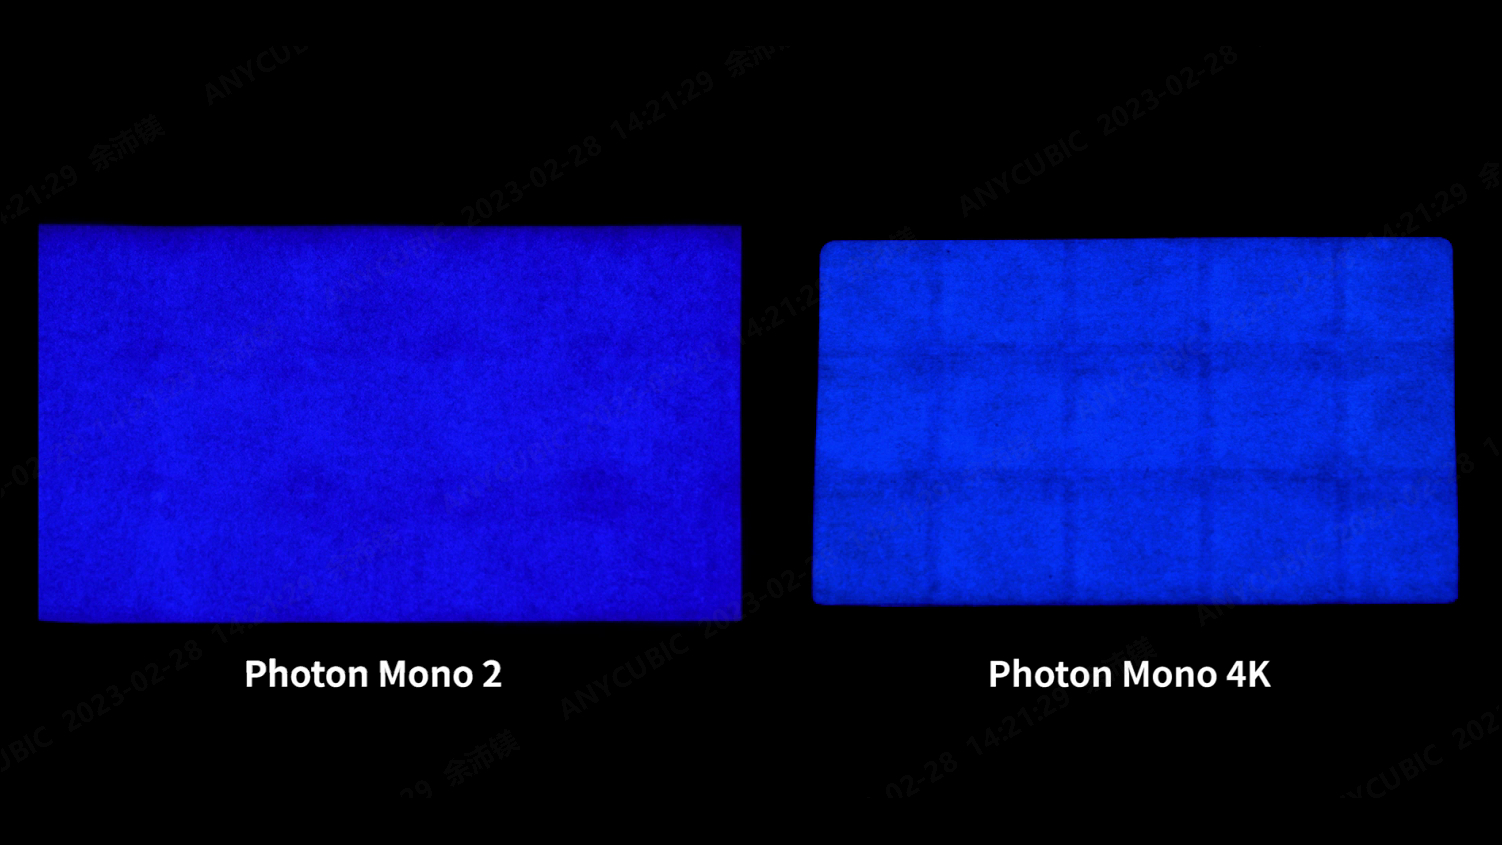
Anycubic's new LighTurbo Technology is also an exciting addition to the Photon Mono 2. Which not only provides a stable and uniform parallel light source but also fixes the grid patterns that appeared on the Photon Mono 4K.
But do all these on-paper upgrades translate into a better printing experience, and how does it stack up against the best 3D printers on the market? We’re going to dive deeper into the new features of the Photon Mono 2 and explore how these upgrades translate to real-world printing results.
Anycubic Photon Mono 2: Setup & design
- Easy to setup.
- Classic design, updated with blue cover.
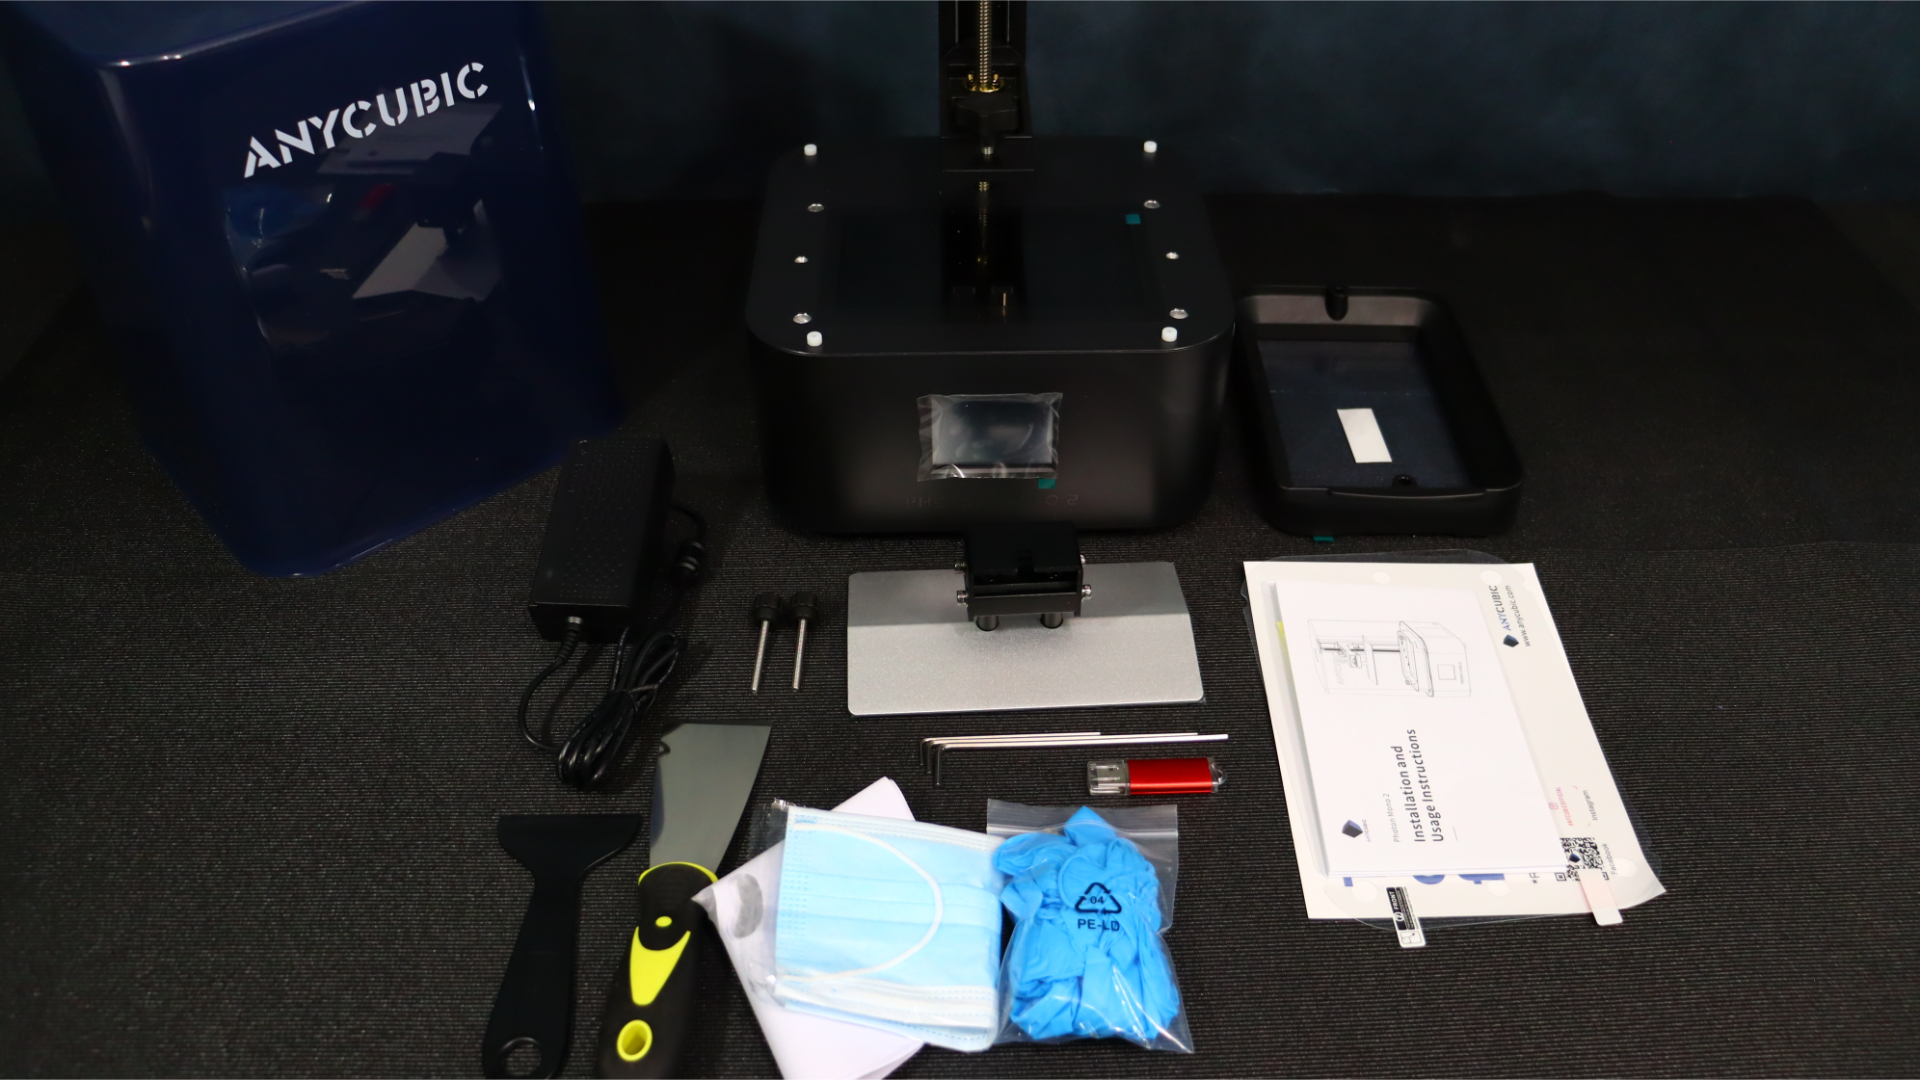
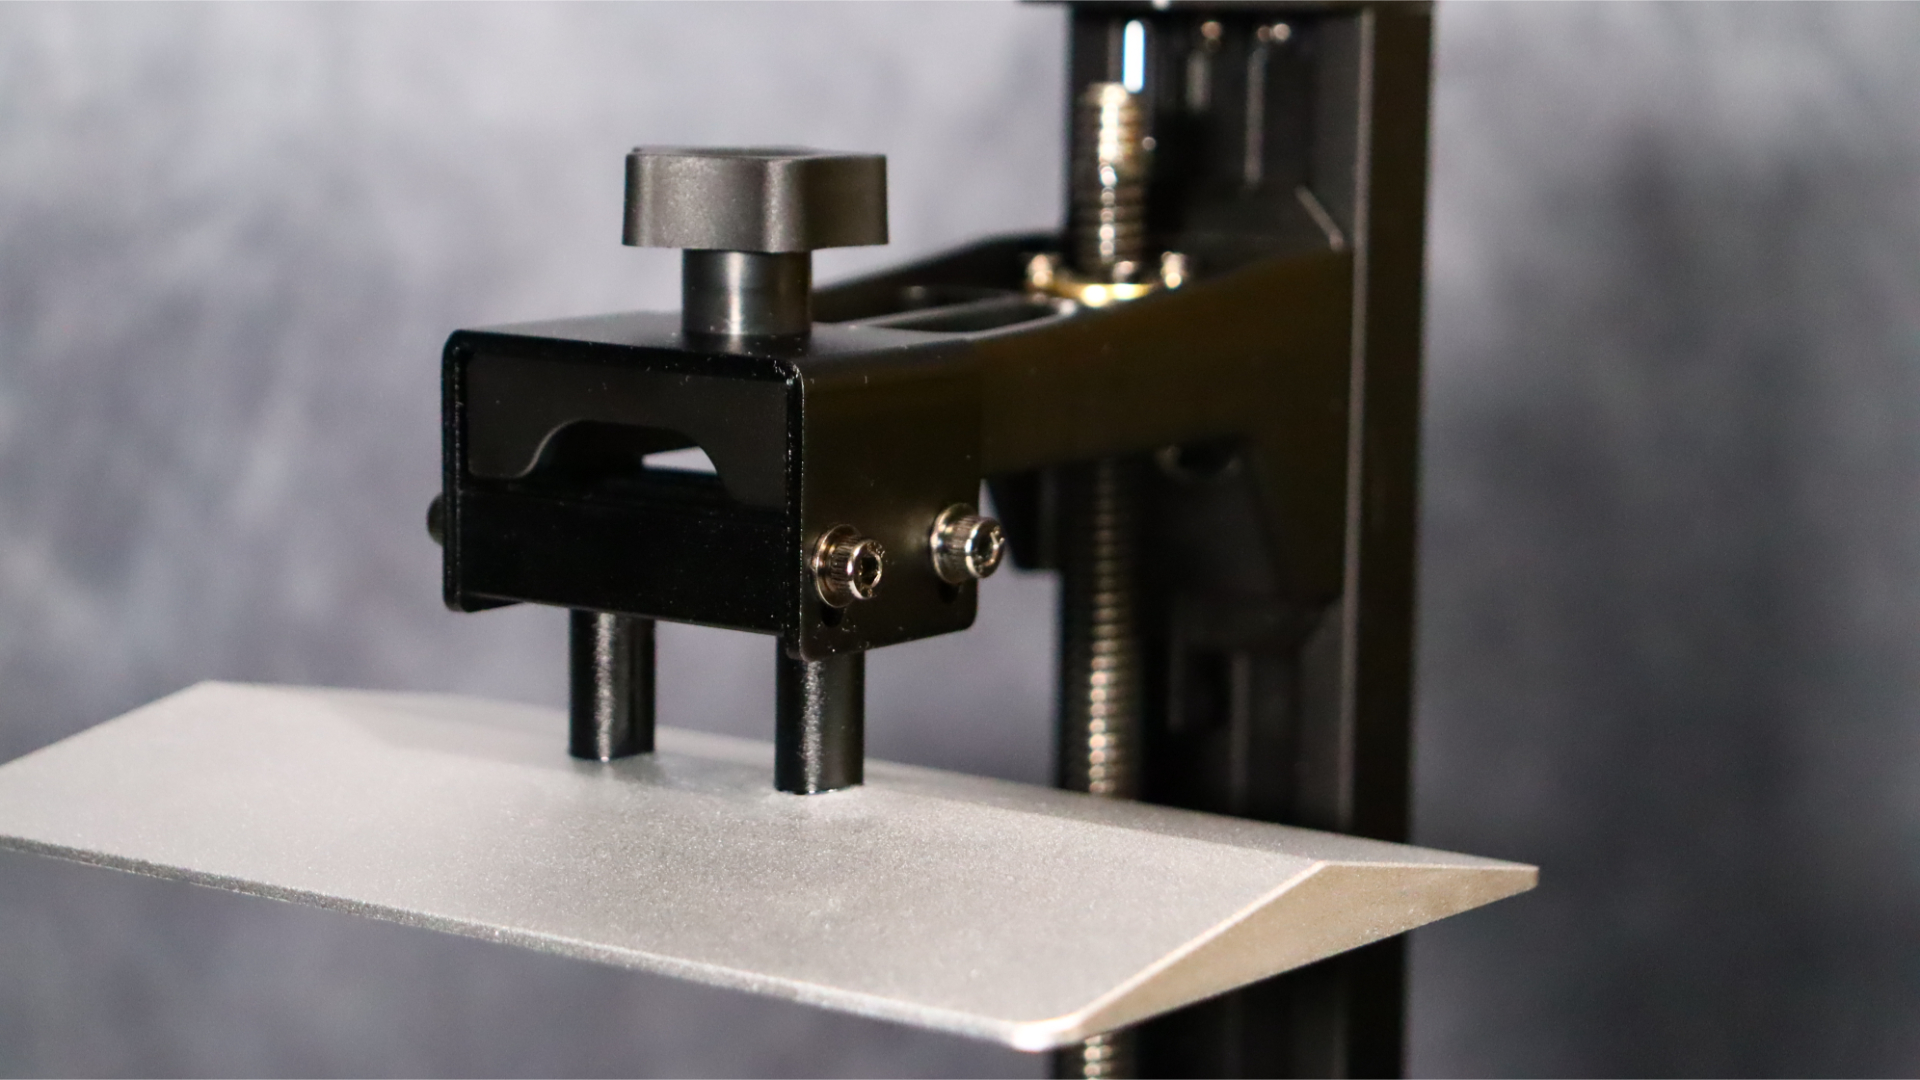
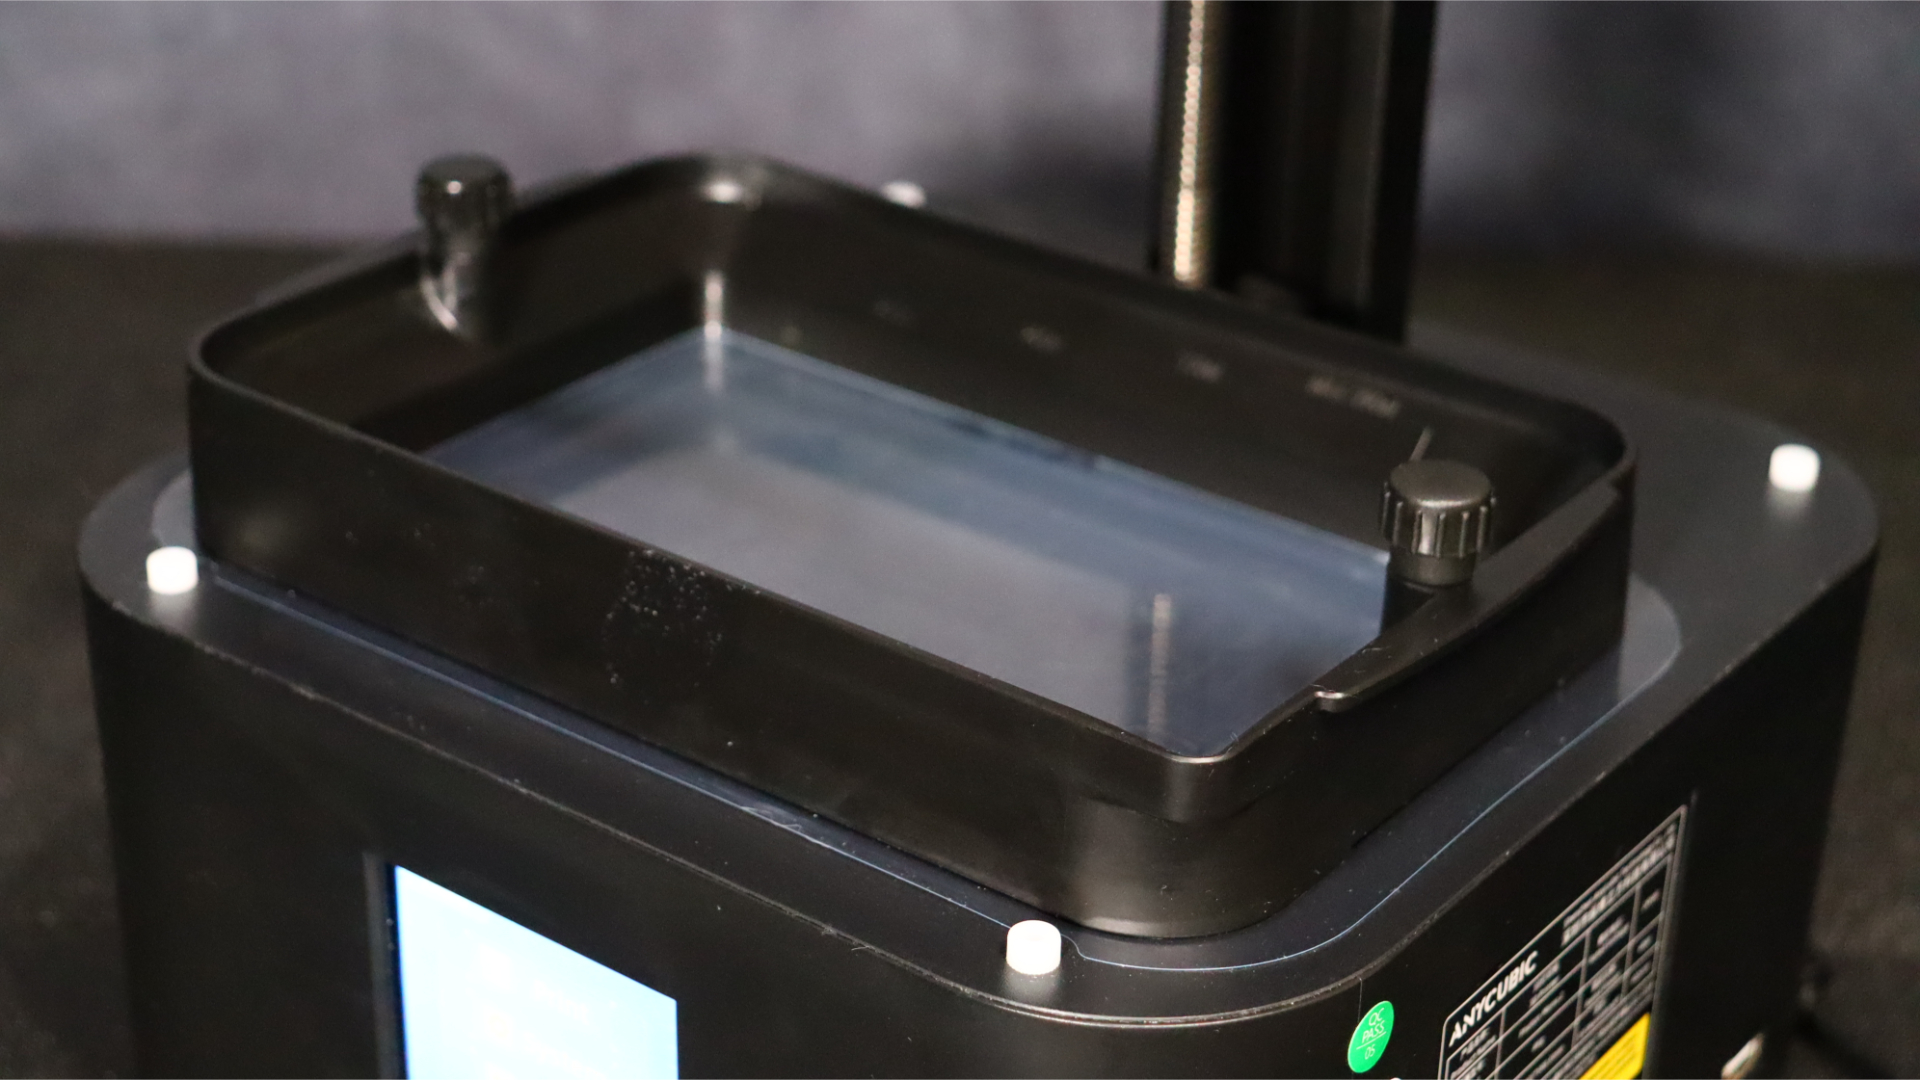
Setting up the Anycubic Photon Mono 2 is a simple and straightforward process, as with previous Photon printers from Anycubic. To get started, you will need to remove everything from the packaging, including the packing foam and protective coverings from the screen and resin vat. Once you have done this, you can install and level the build platform, which is a quick and easy process.
Photon Mono 2 printer
Blue UV Cover
Printing platform
Resin vat
Power supply
Metal spatula
Plastic spatula
USB drive
Gloves x 3 pairs
Resin filters x3
Screen protector
User manual
Hex wrenches
Leveling paper
To level the build platform, loosen the 4 screws on the platform and then home the bed using a piece of standard printer paper to set the bed level. Once the bed is level, you can slightly tighten the screws while holding the bed down. Once you have completed this step, you can press Z=0 on the screen, and the print platform will rise up, allowing you to install the resin vat and start your first print.
Overall, the setup process for the Photon Mono 2 is designed to be simple and user-friendly, making it an ideal option for beginners who are new to resin printing. However, even experienced users will appreciate the ease of use and quick setup time that this printer offers.
When it comes to design, the Anycubic Photon Mono 2 sticks with the classic Anycubic formula by featuring a sleek black base. However, instead of the yellow UV cover that was present on the former Mono 4K, the Mono 2 has a blue-style lid that is reminiscent of the cover on the Anycubic Photon D2 DLP printer. We quite like this change – it gives it a unique look compared to its predecessor and generally looks quite stylish and modern.
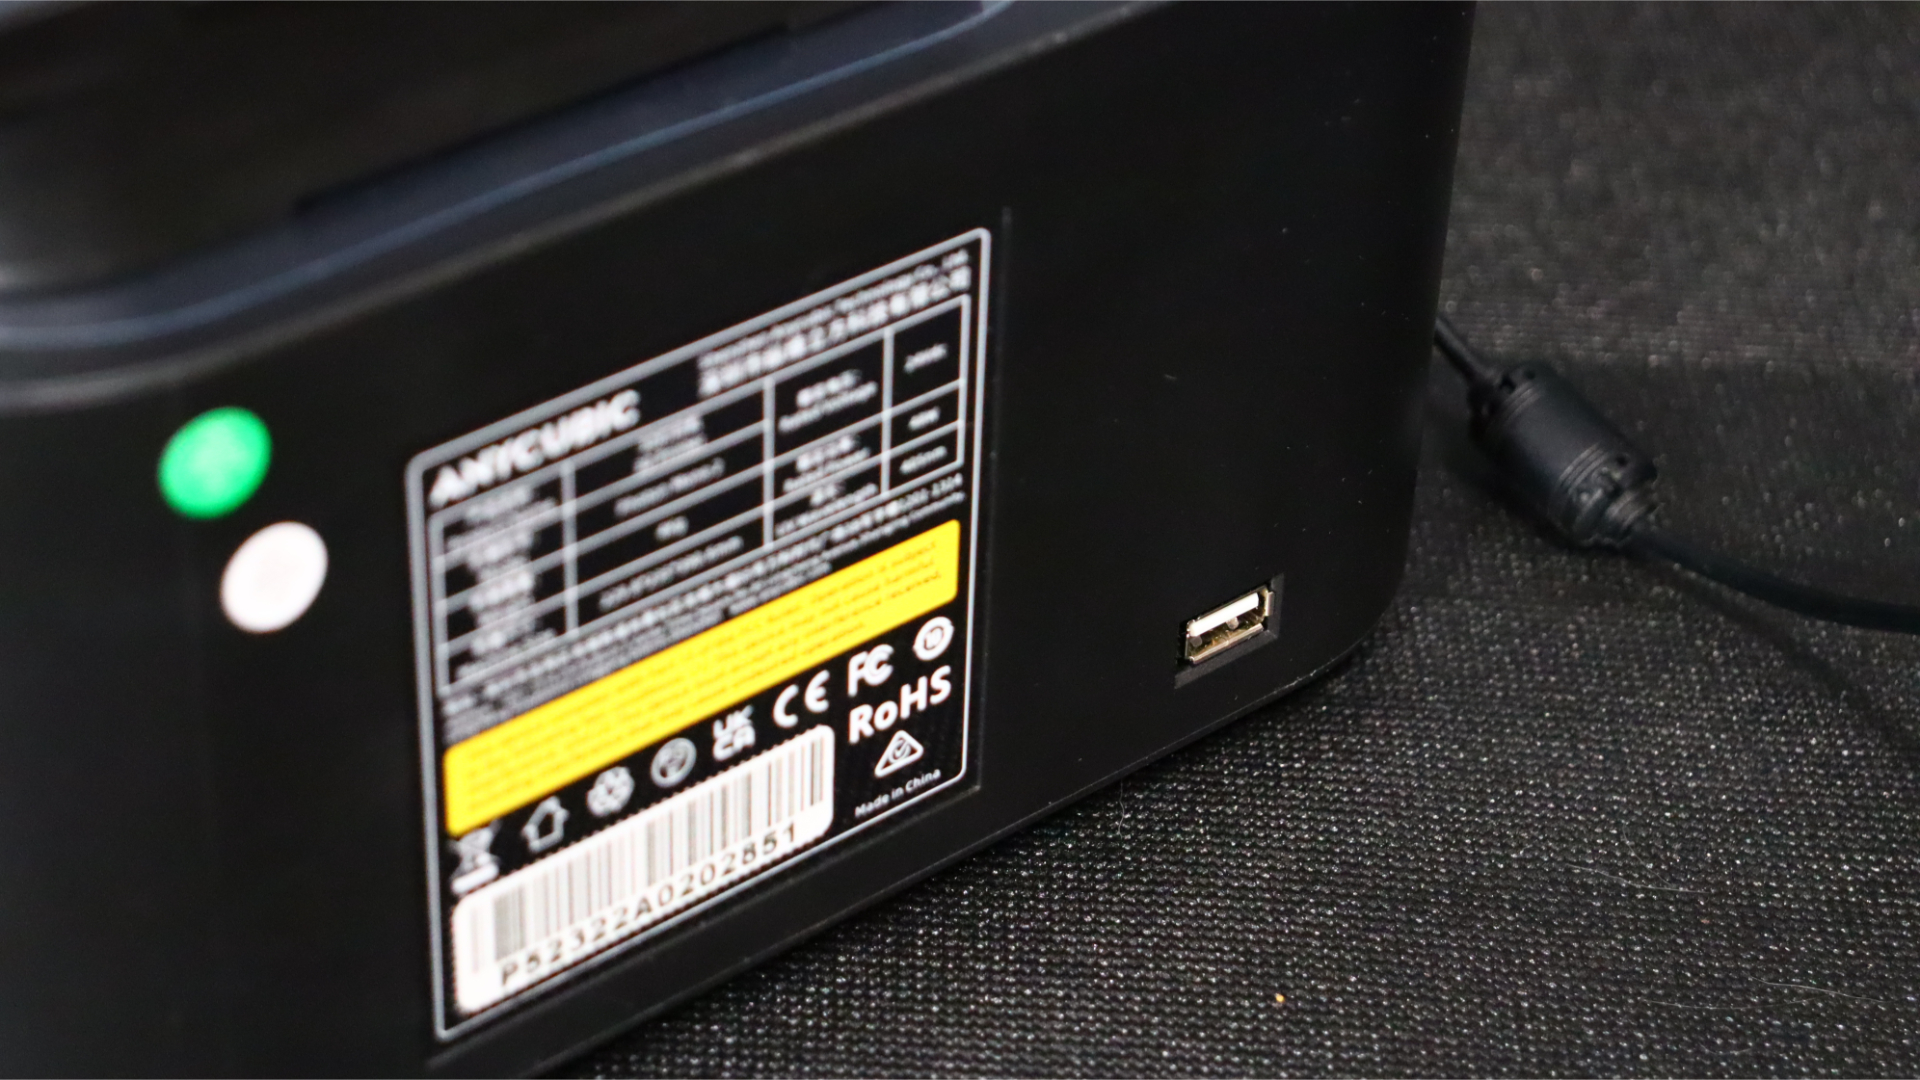
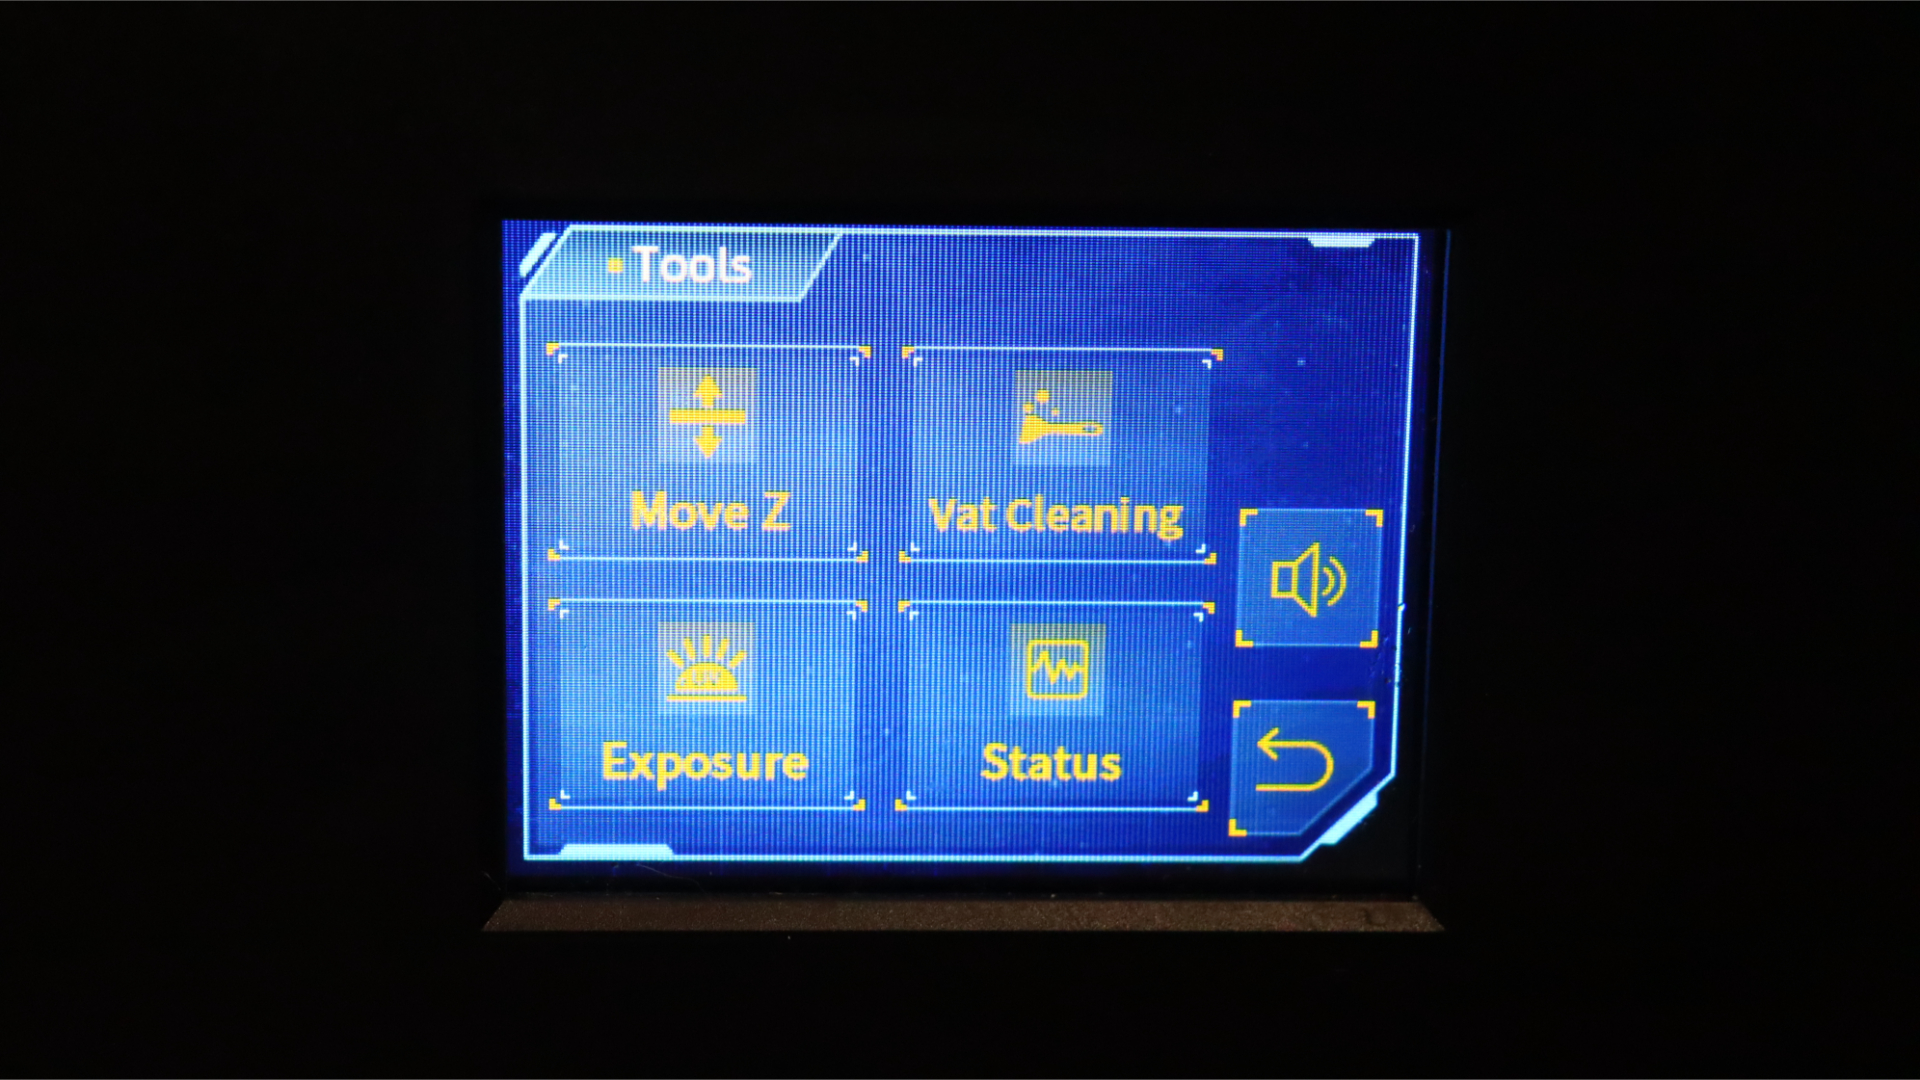
You'll find the USB port on the side of the machine, while the power switch is located on the back. The front is dominated by the 2.8" color touch screen, which is used to control the printer.
Overall, the Anycubic Photon Mono 2 is both stylish and functional, with a focus on user-friendliness and ease of use. Whether you are a seasoned resin printing expert or a newcomer to the world of 3D printing, the Mono 2's design is sure to impress.
Anycubic Photon Mono 2: Specs & features
- 2.8" color touch screen controls
- Auto-levelling
- No WiFi
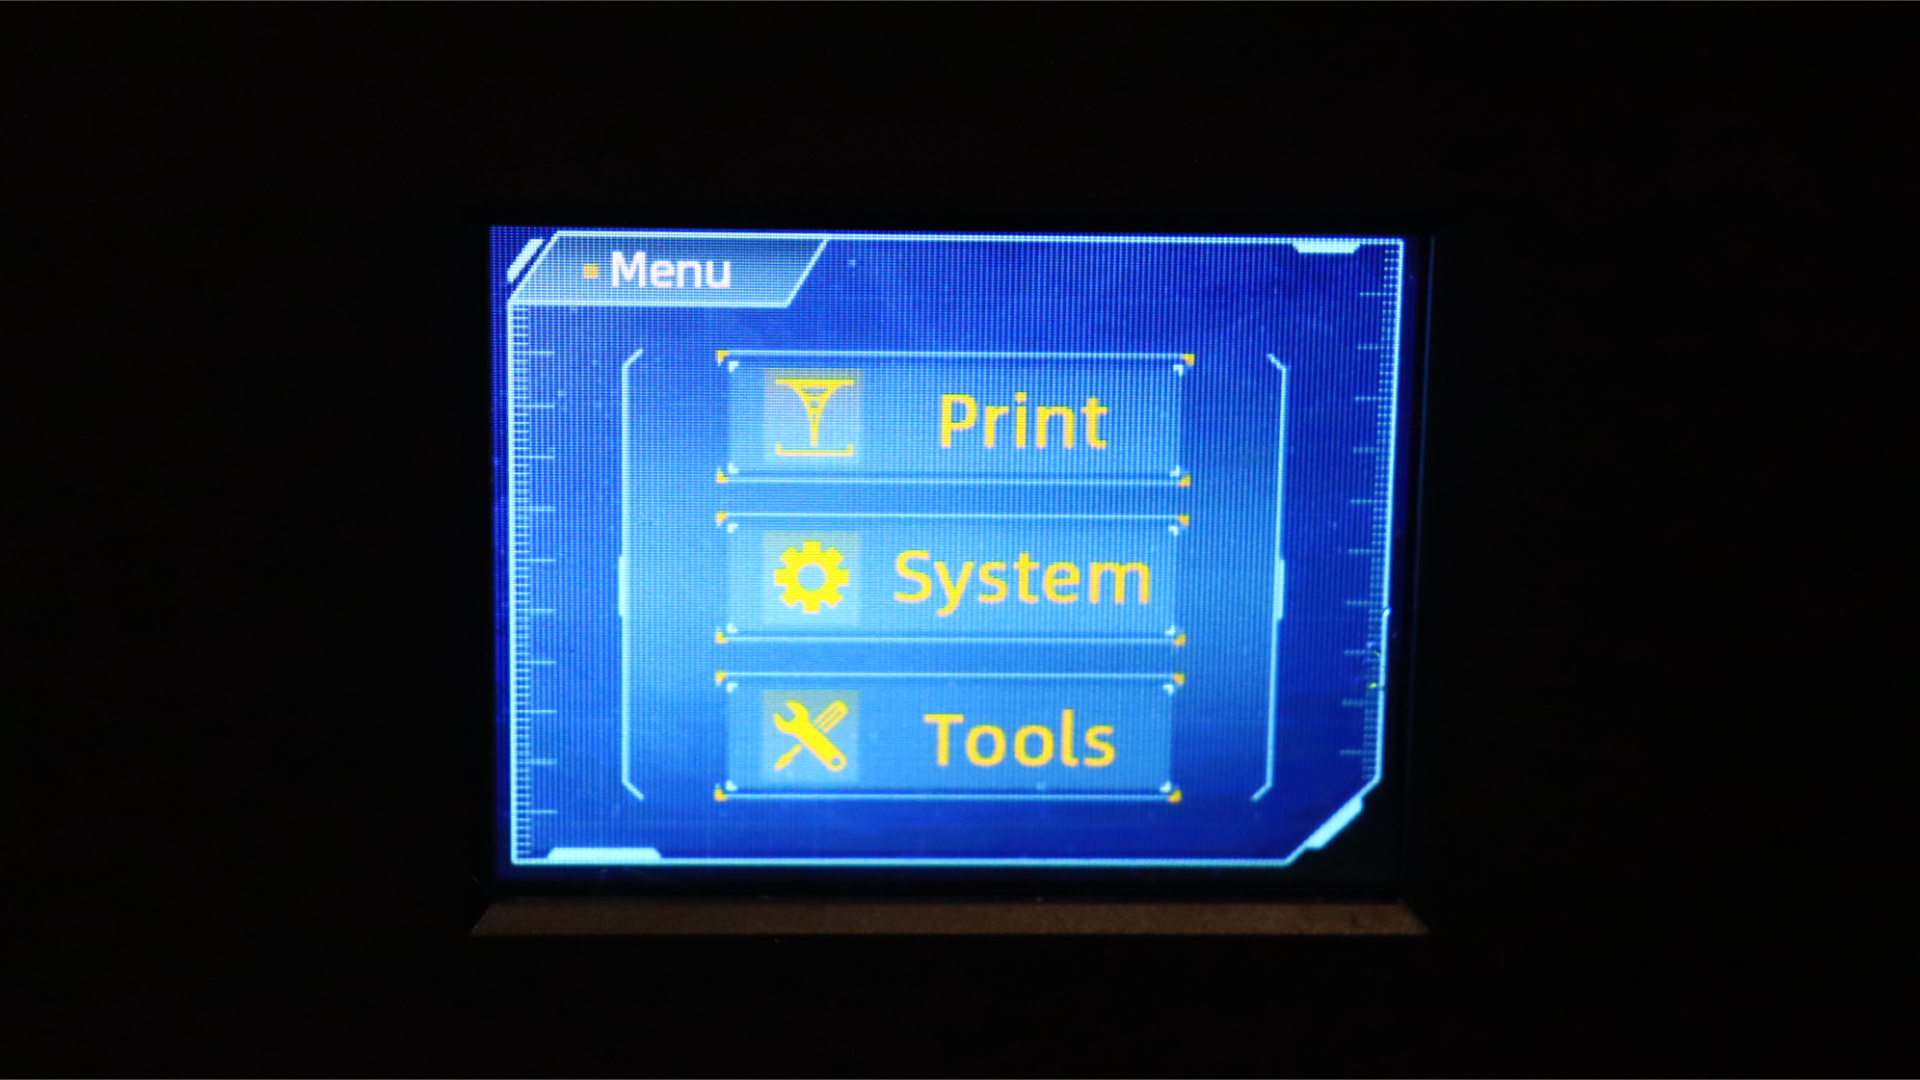
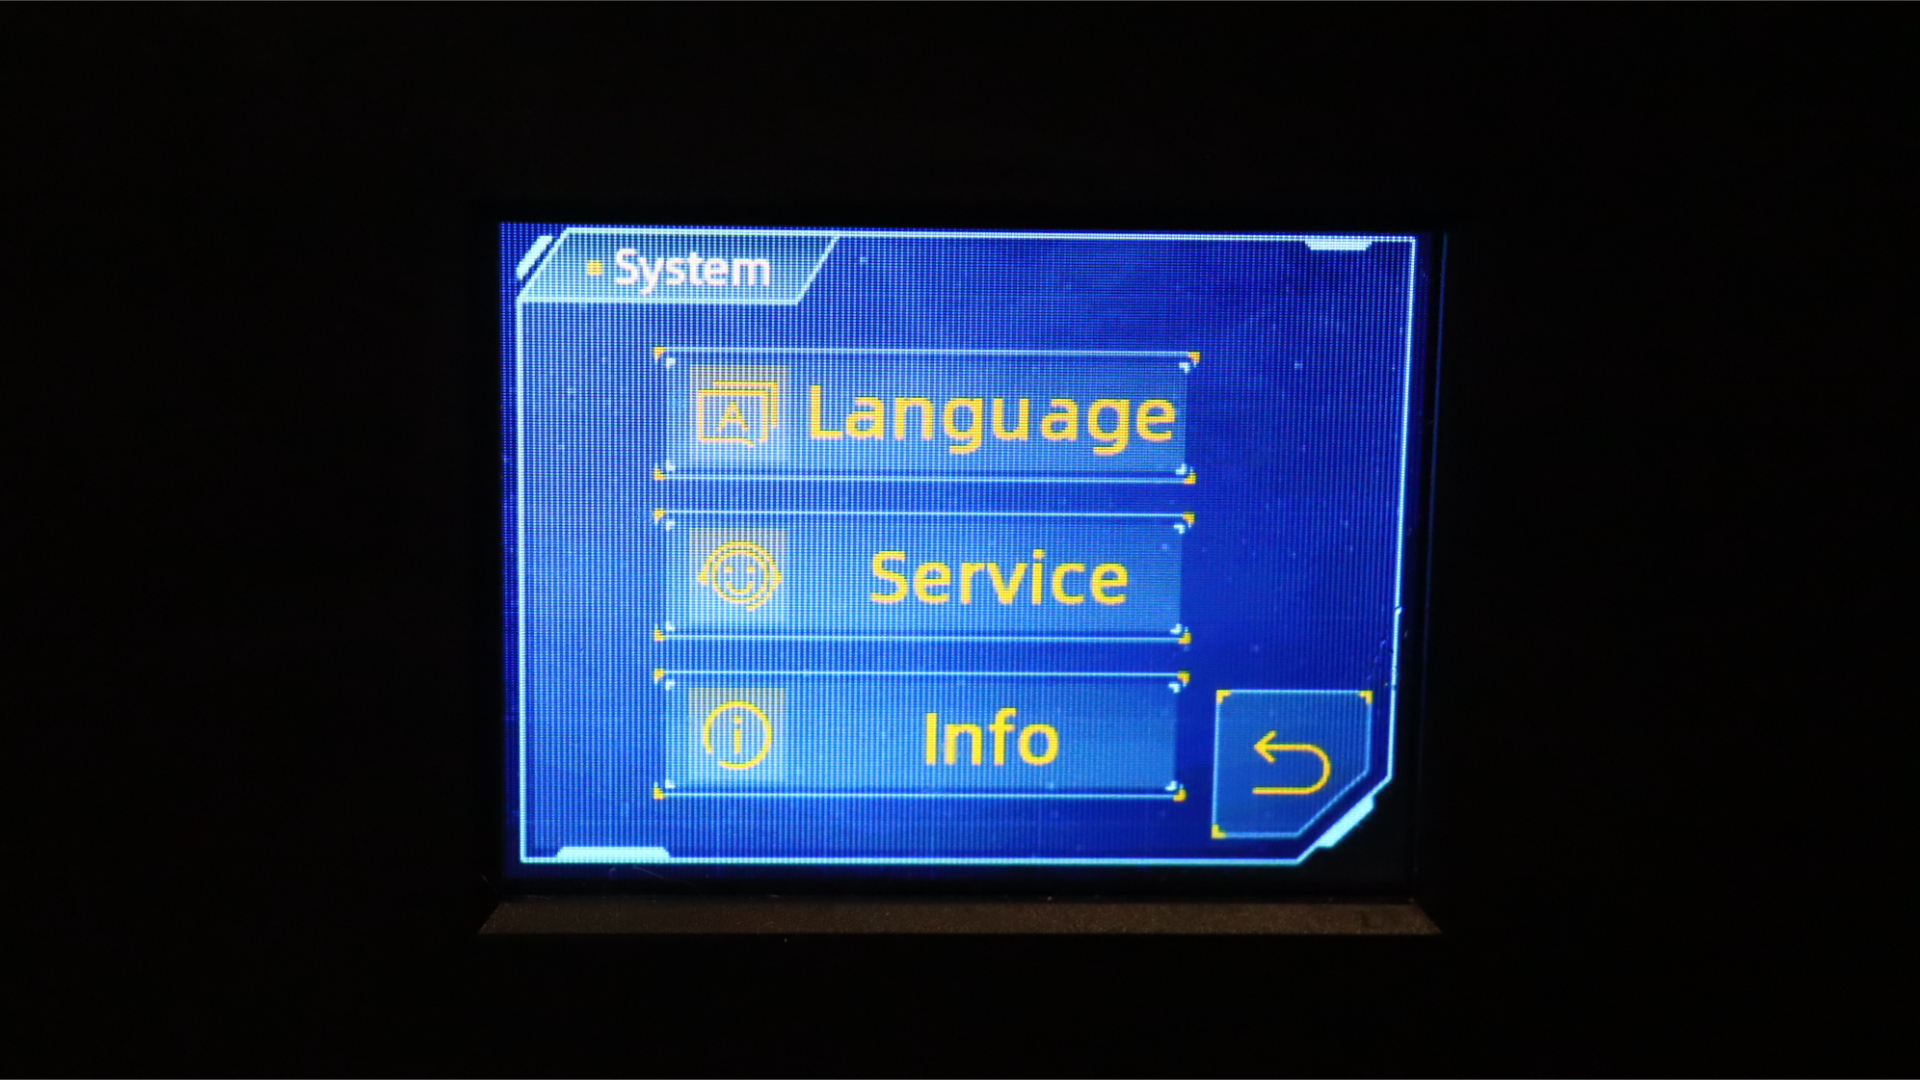
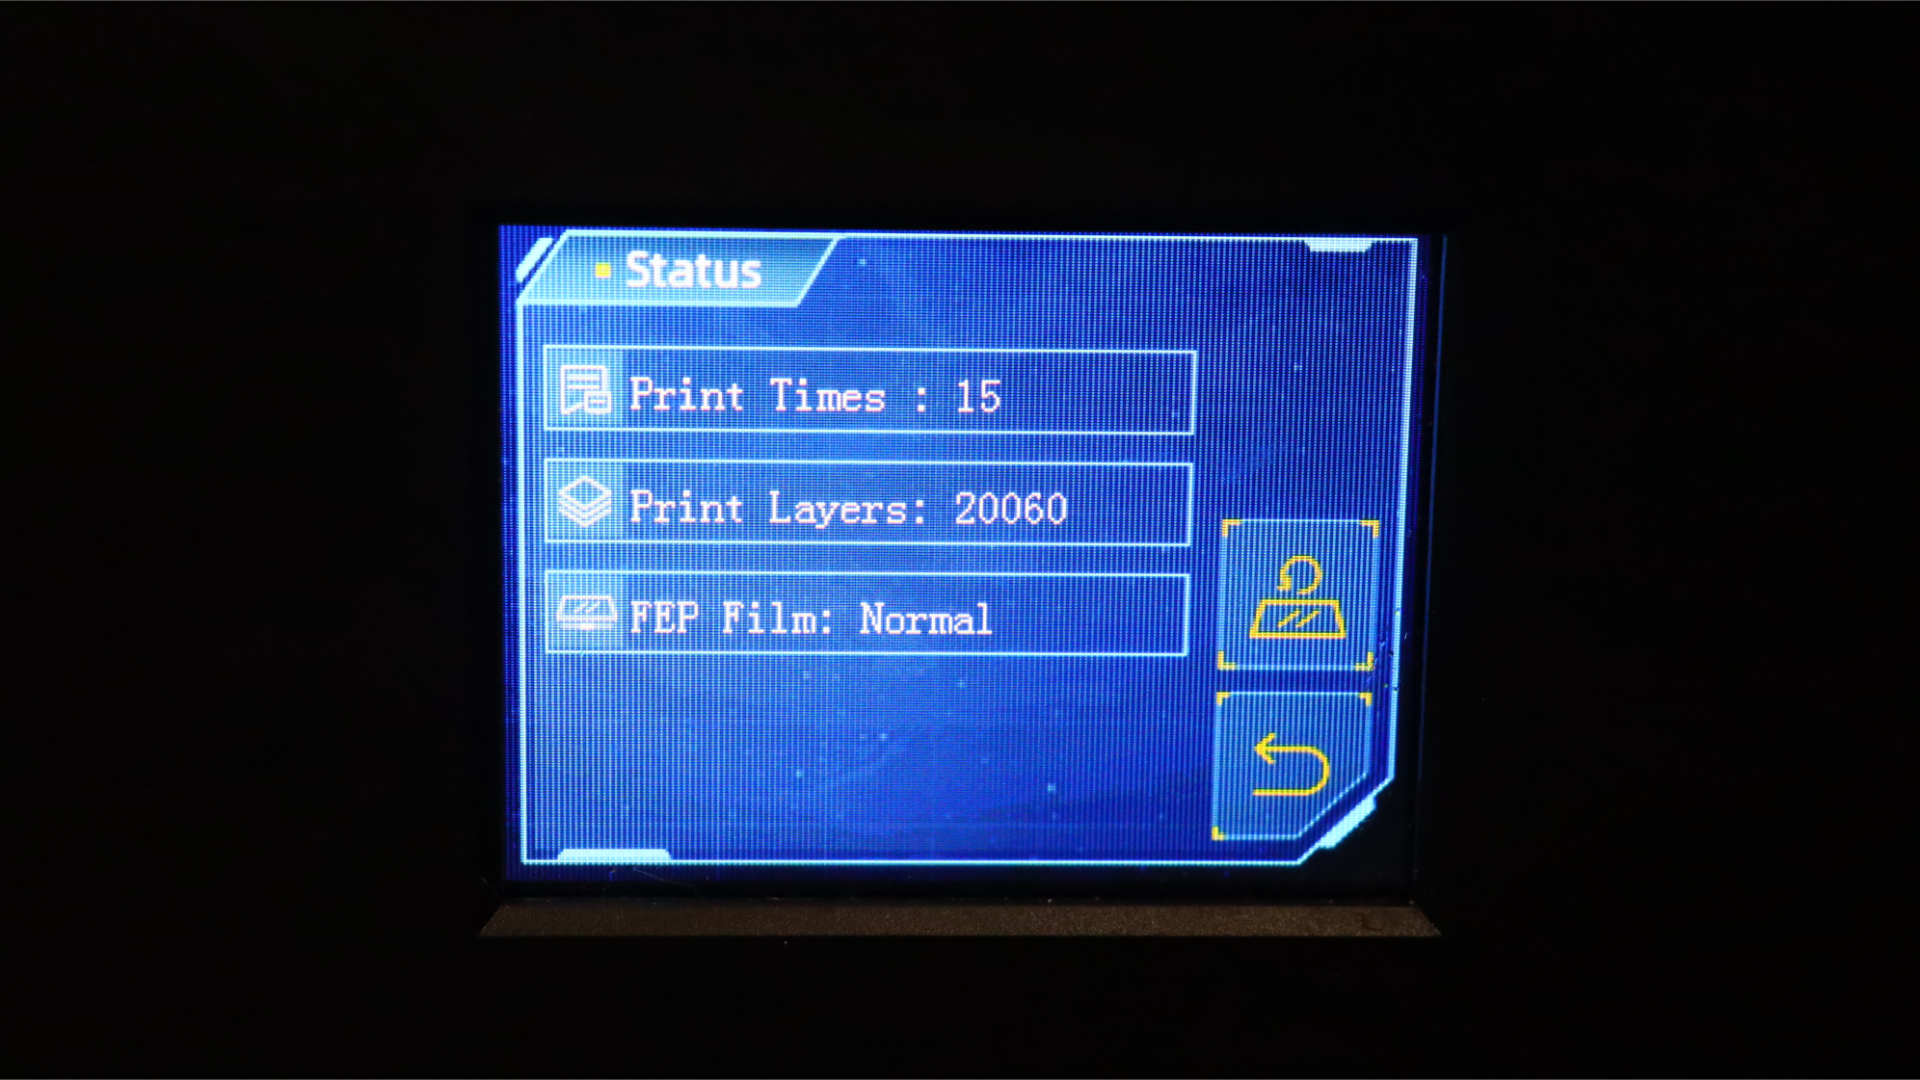
The Mono 2's 2.8-inch color touchscreen features a simple, easy-to-follow menu system that is similar to the one on the Mono 4K. This makes it easy for users to navigate through the printer's settings and options, and to get started with their first print quickly and easily.
Printing technology: MSLA
Build volume: 143 x 89 x 165 mm 6.5 x 5.6 x 3.5 inches
Print resolution: 4K (4098 x 2560 px) 34 microns
Light source: Anycubic LighTurbo 2.0
Build Platform: Laser engraved
Touchscreen: 2.8 inch TFT
Screen size: 6.6 inch
Resin: Standard, water-washable, ABS-like
Connectivity: USB
Dimensions: 15.3 x 9.04 x 9.25 inches
Under the hood, the lighting system has been improved thanks to an upgraded LighTurbo matrix which has more uniform coverage, helping to eliminate layer lines and grid lines. The end result is smoother prints with fewer imperfections.
As we've come to expect from Anycubic printers (and resin printers in general these days), the Mono 2 comes with auto-levelling that makes it super easy to setup and use.
As a cheaper, entry-level printer, the Anycubic Photon Mono 2 doesn't have any WiFi capabilities, so you're going to have to transfer files to the printer via the included USB drive. This process is simple enough.
There aren't really any extra bells or whistles worth mentioning beyond that. This is a simple, beginner friendly printer after all.
Anycubic Photon Mono 2: Print quality & speed
All of our test prints were produced using identical slicer settings, and we encountered no adhesion problems at all. We used Anycubic Water Wash+ resin as well as Chitu Systems Conjure Ridged resin for the prints.
The slicer was adjusted to the suggested parameters with a layer height of 0.05 mm, and the exposure time was reduced from 2.5 seconds to 2.2 seconds for each layer with the water wash resin and 4.4 seconds exposure for the Conjure Ridged resin.
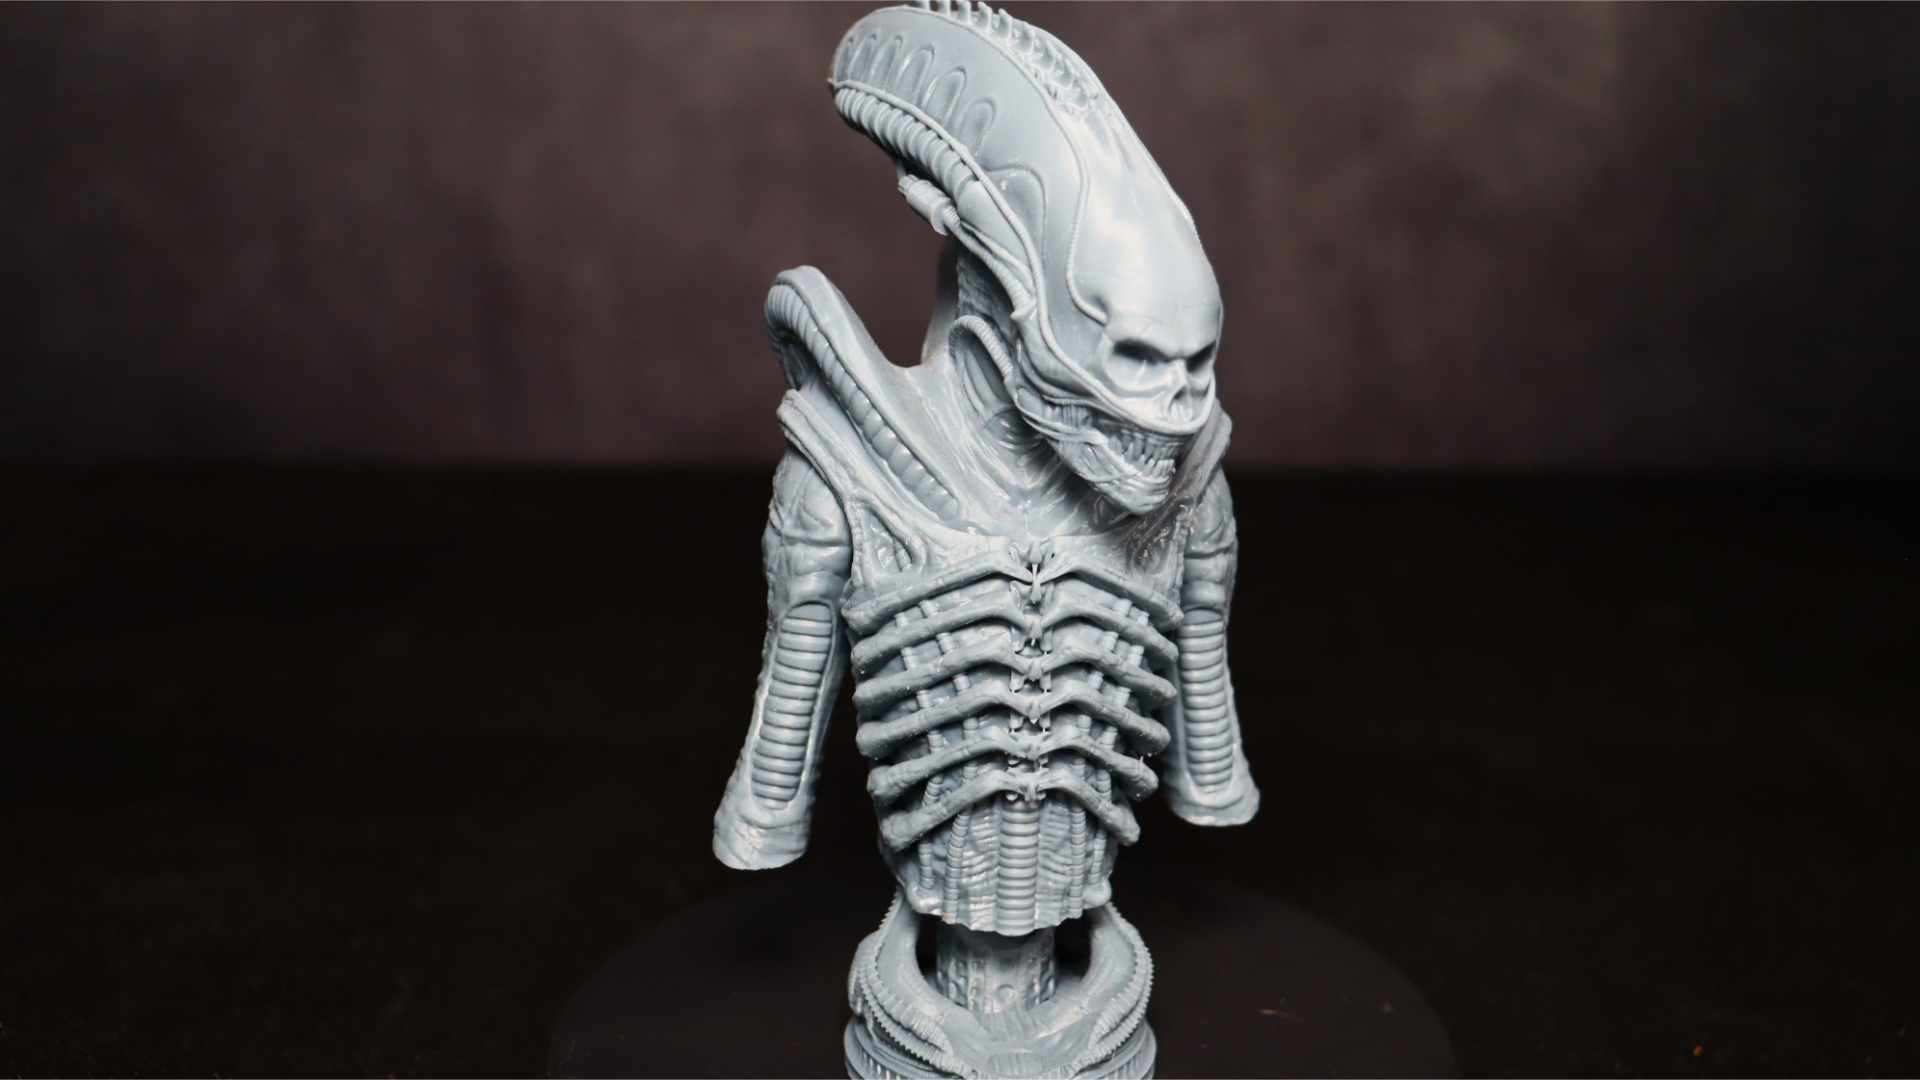
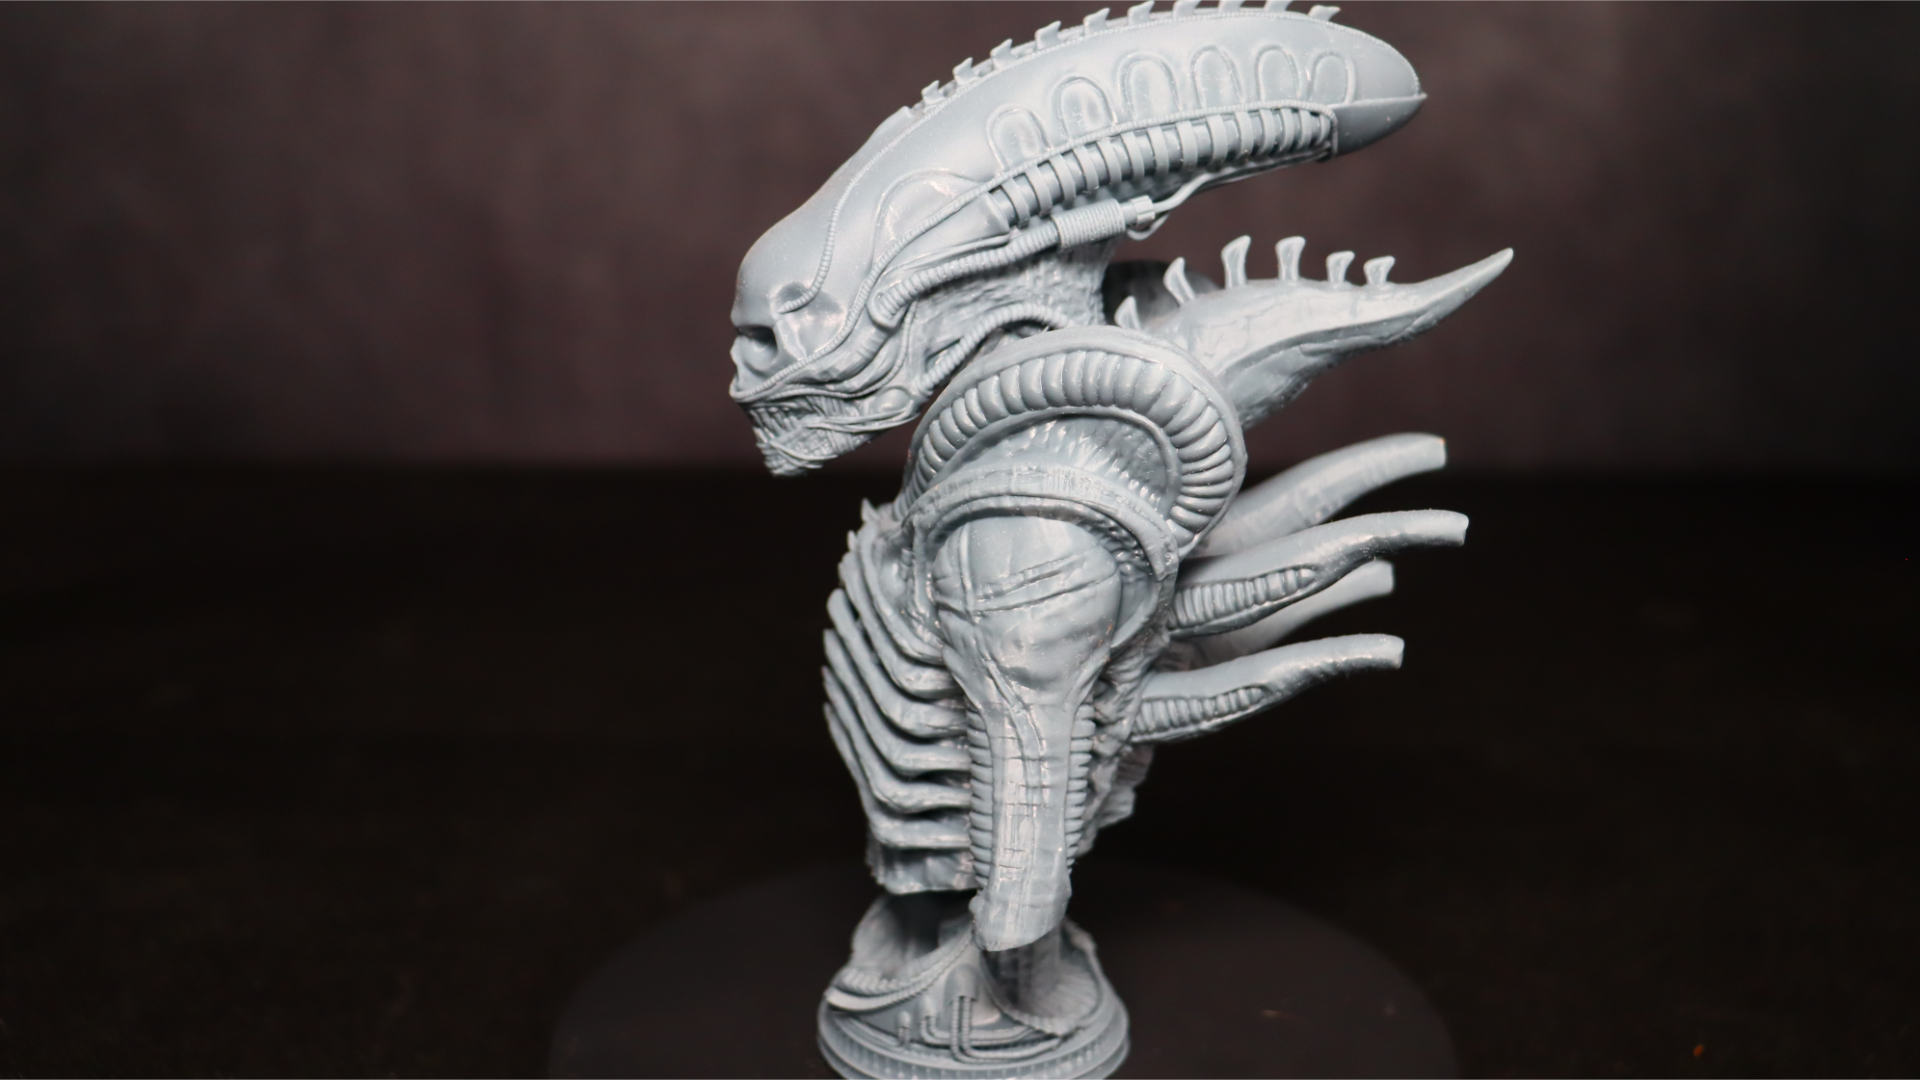
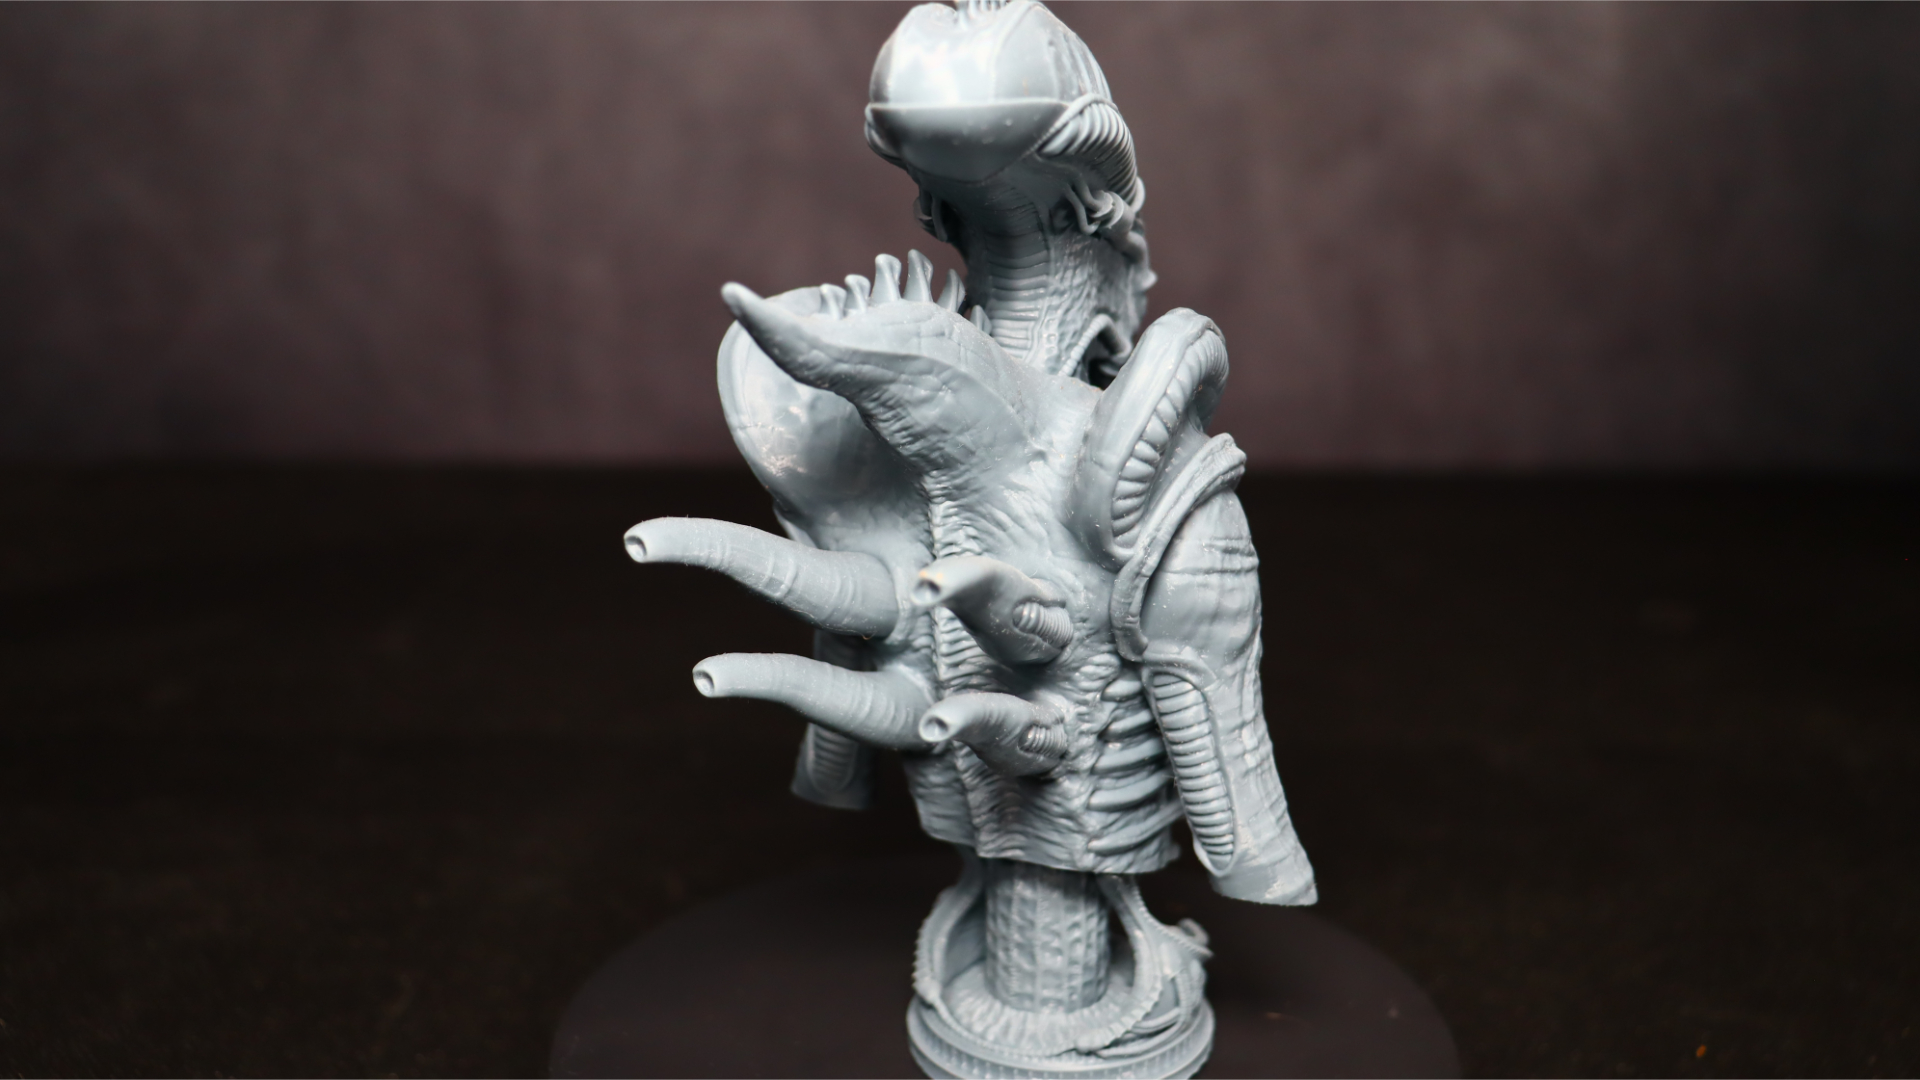
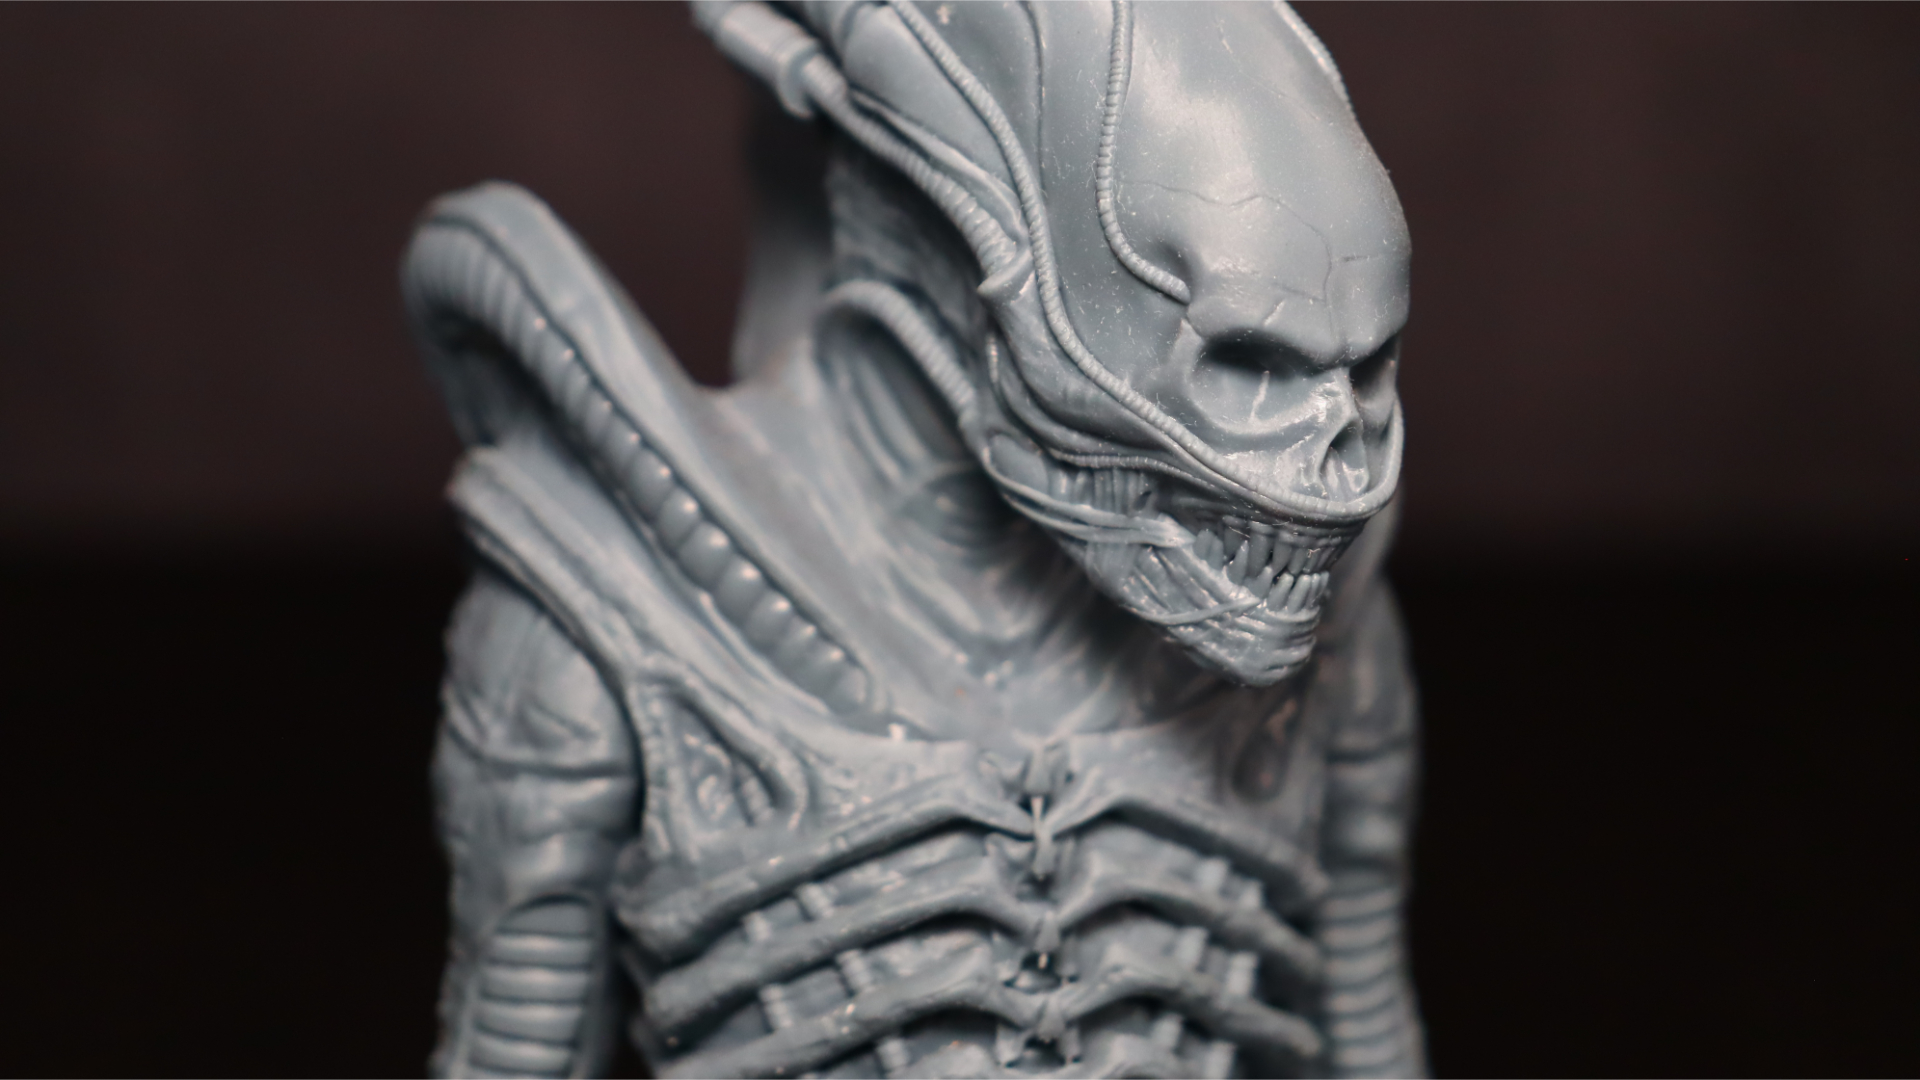
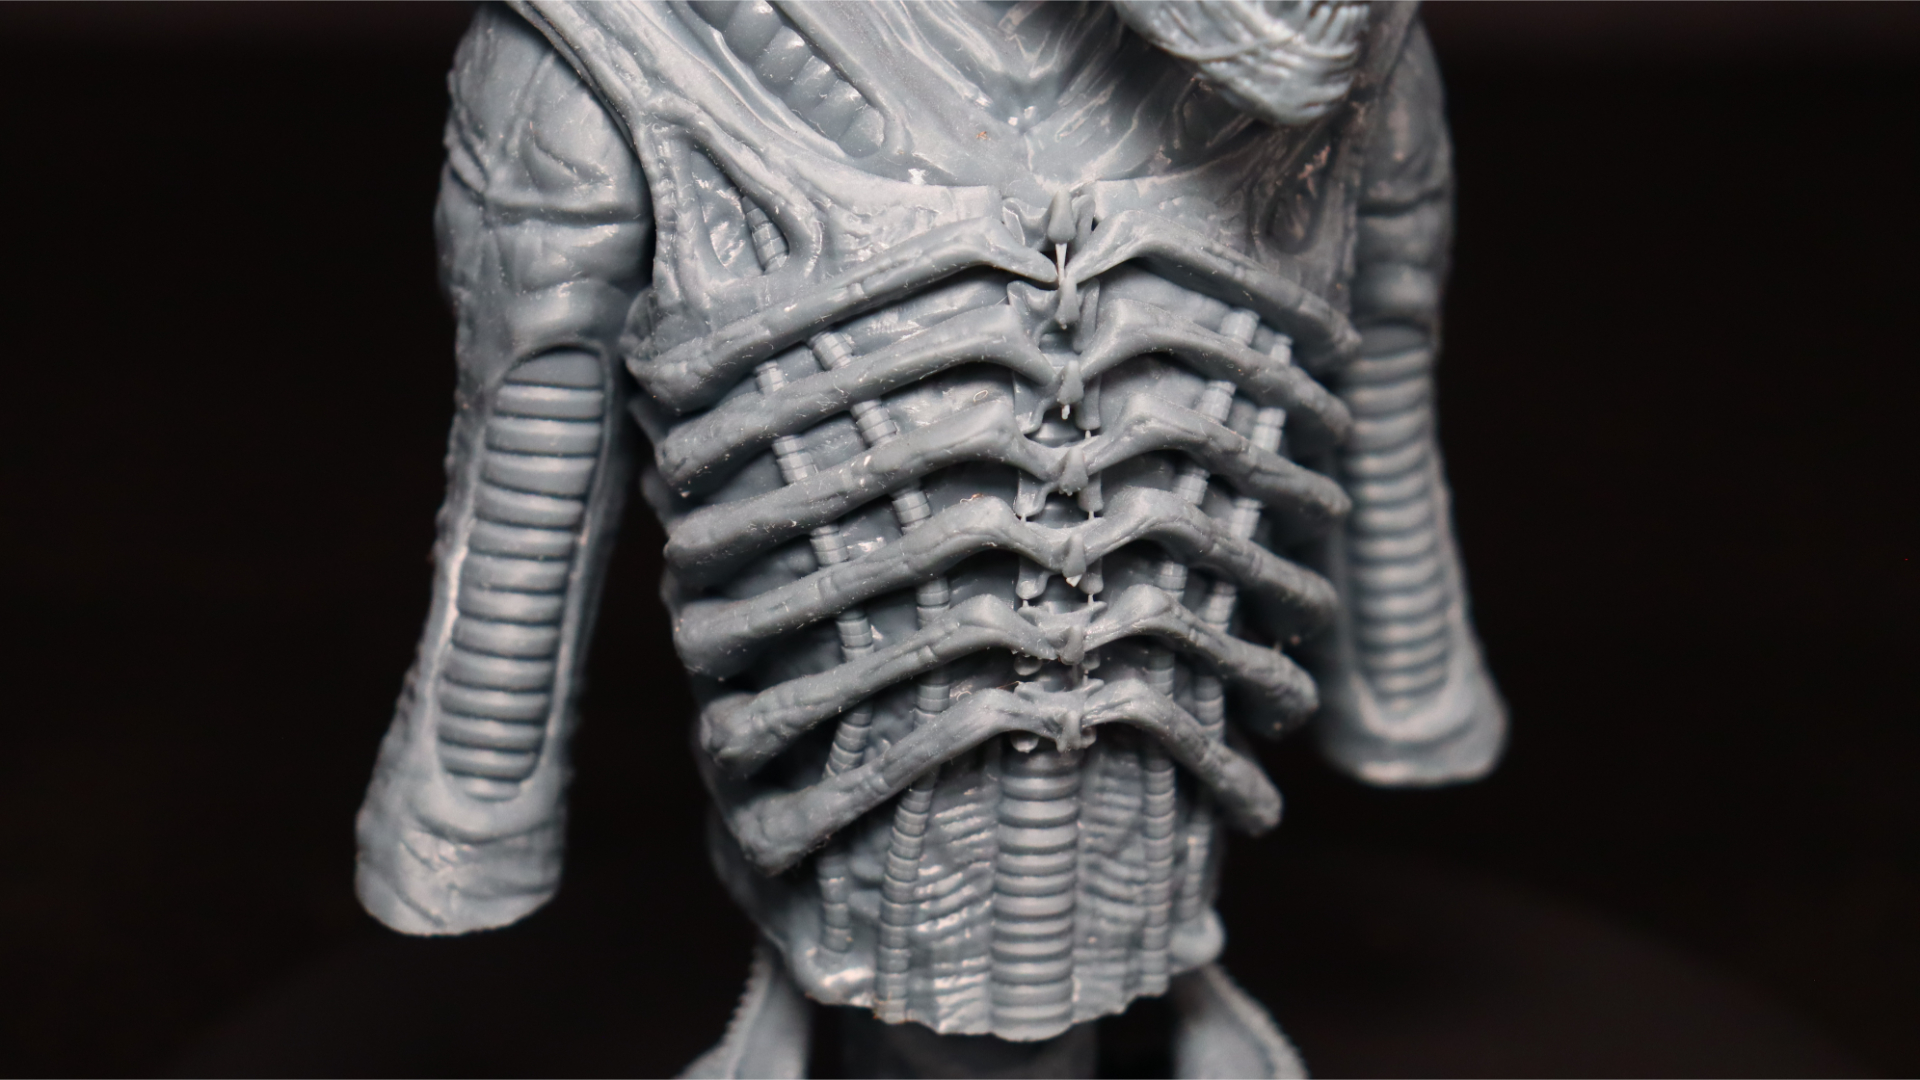
The first model we chose to print was the Xenomorph bust from the popular Fotis Mint collection. This model was in two pieces: the bust itself and the base it sits on. Using Anycubic Waterwash+ resin, the model came out fantastic. The sharper 4K screen really made the details pop. There were no adhesion issues or any problems with any of the parts or supports.
The model took 8.5 hours to print both the bust and the base, and the Anycubic Waterwash+ resin did a great job capturing all the details of the model. The Xenomorph model has a ton of details in the body ribs, and the uncovered head shows the detail of the face normally hidden beneath the dome.
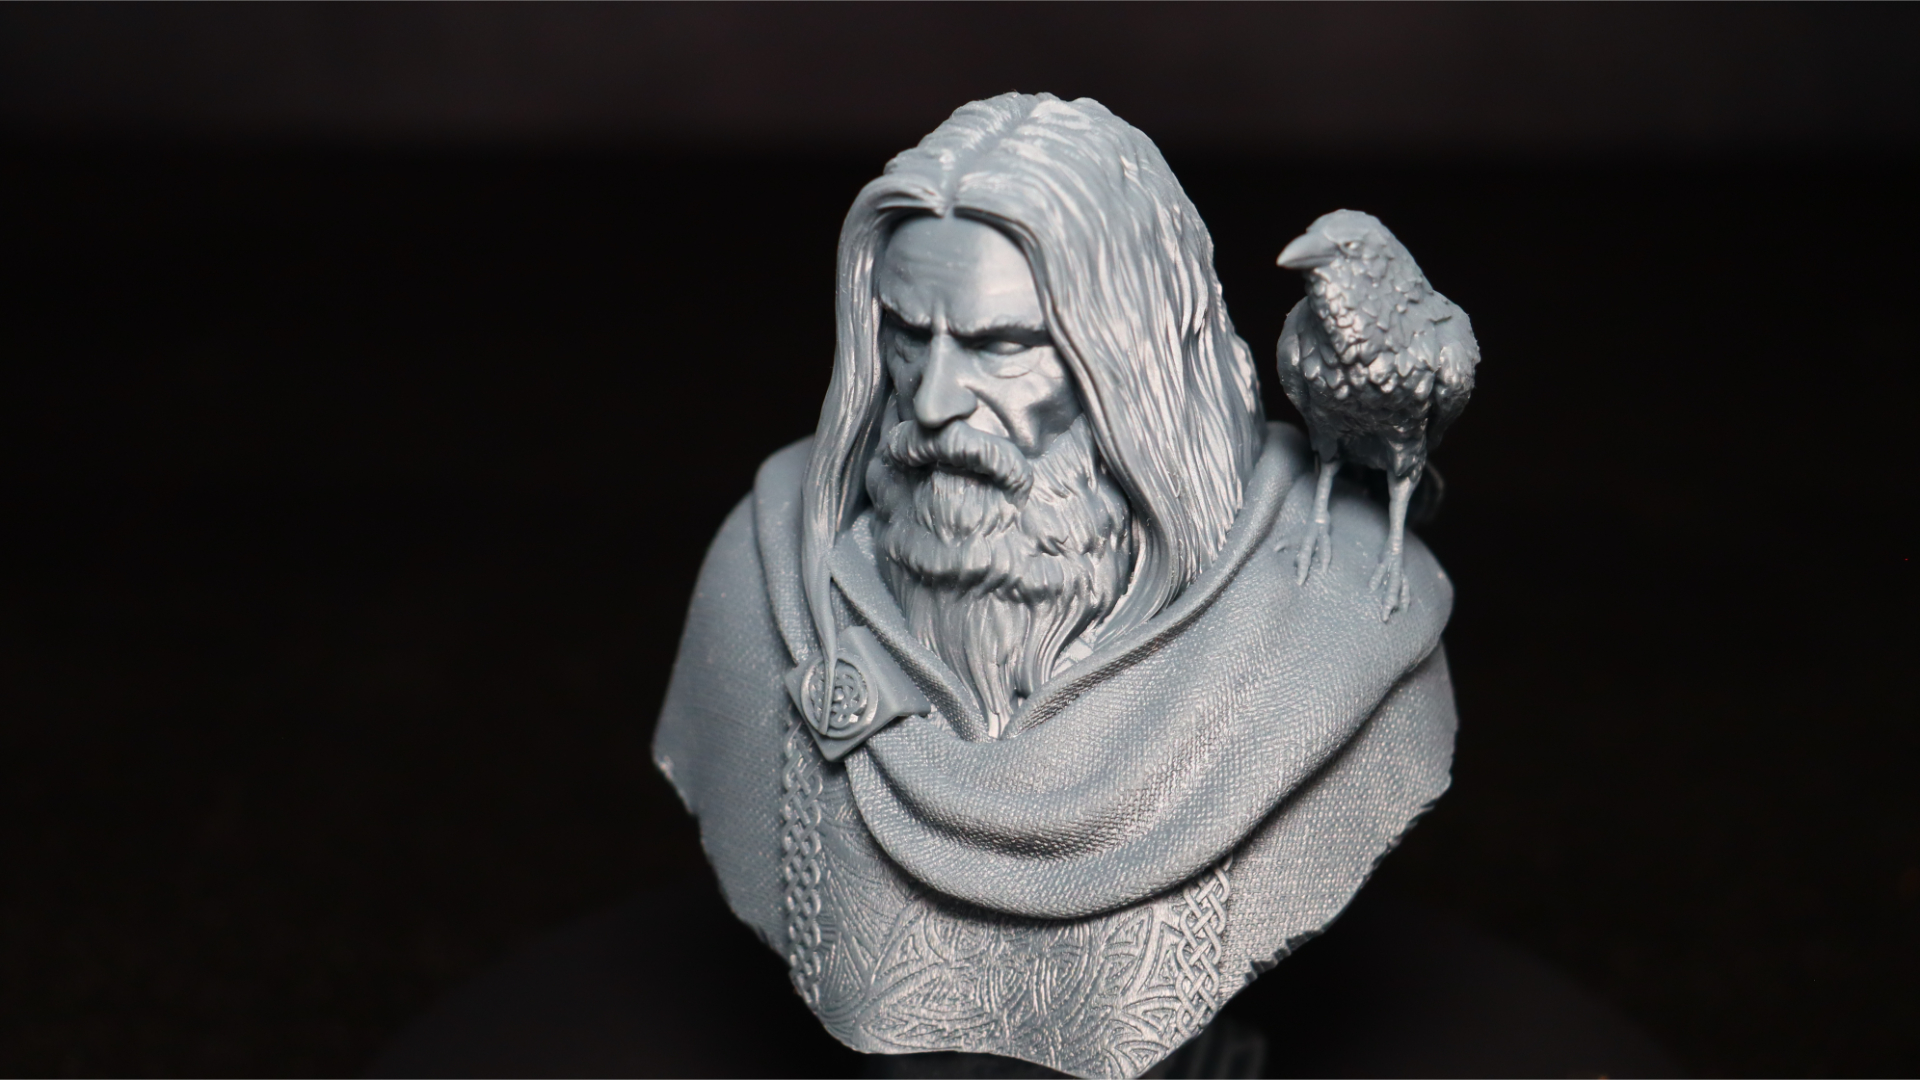
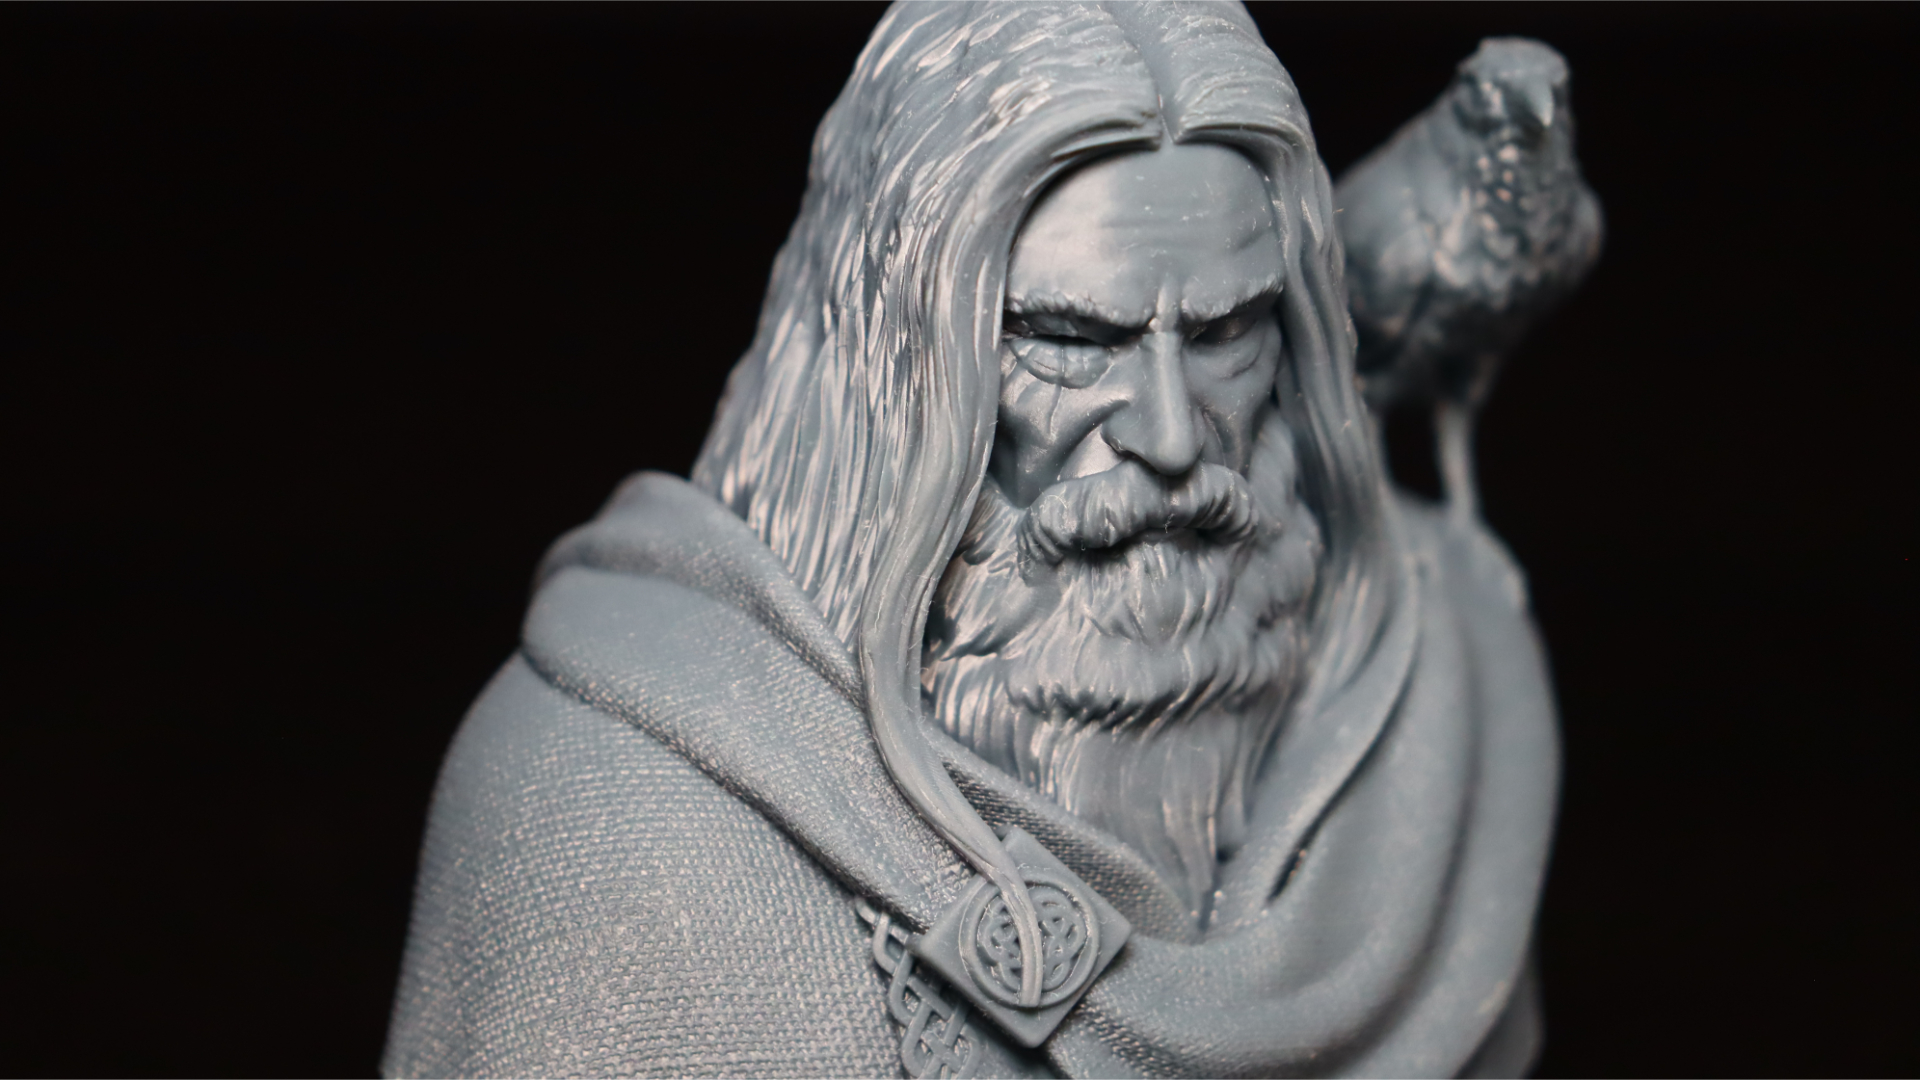
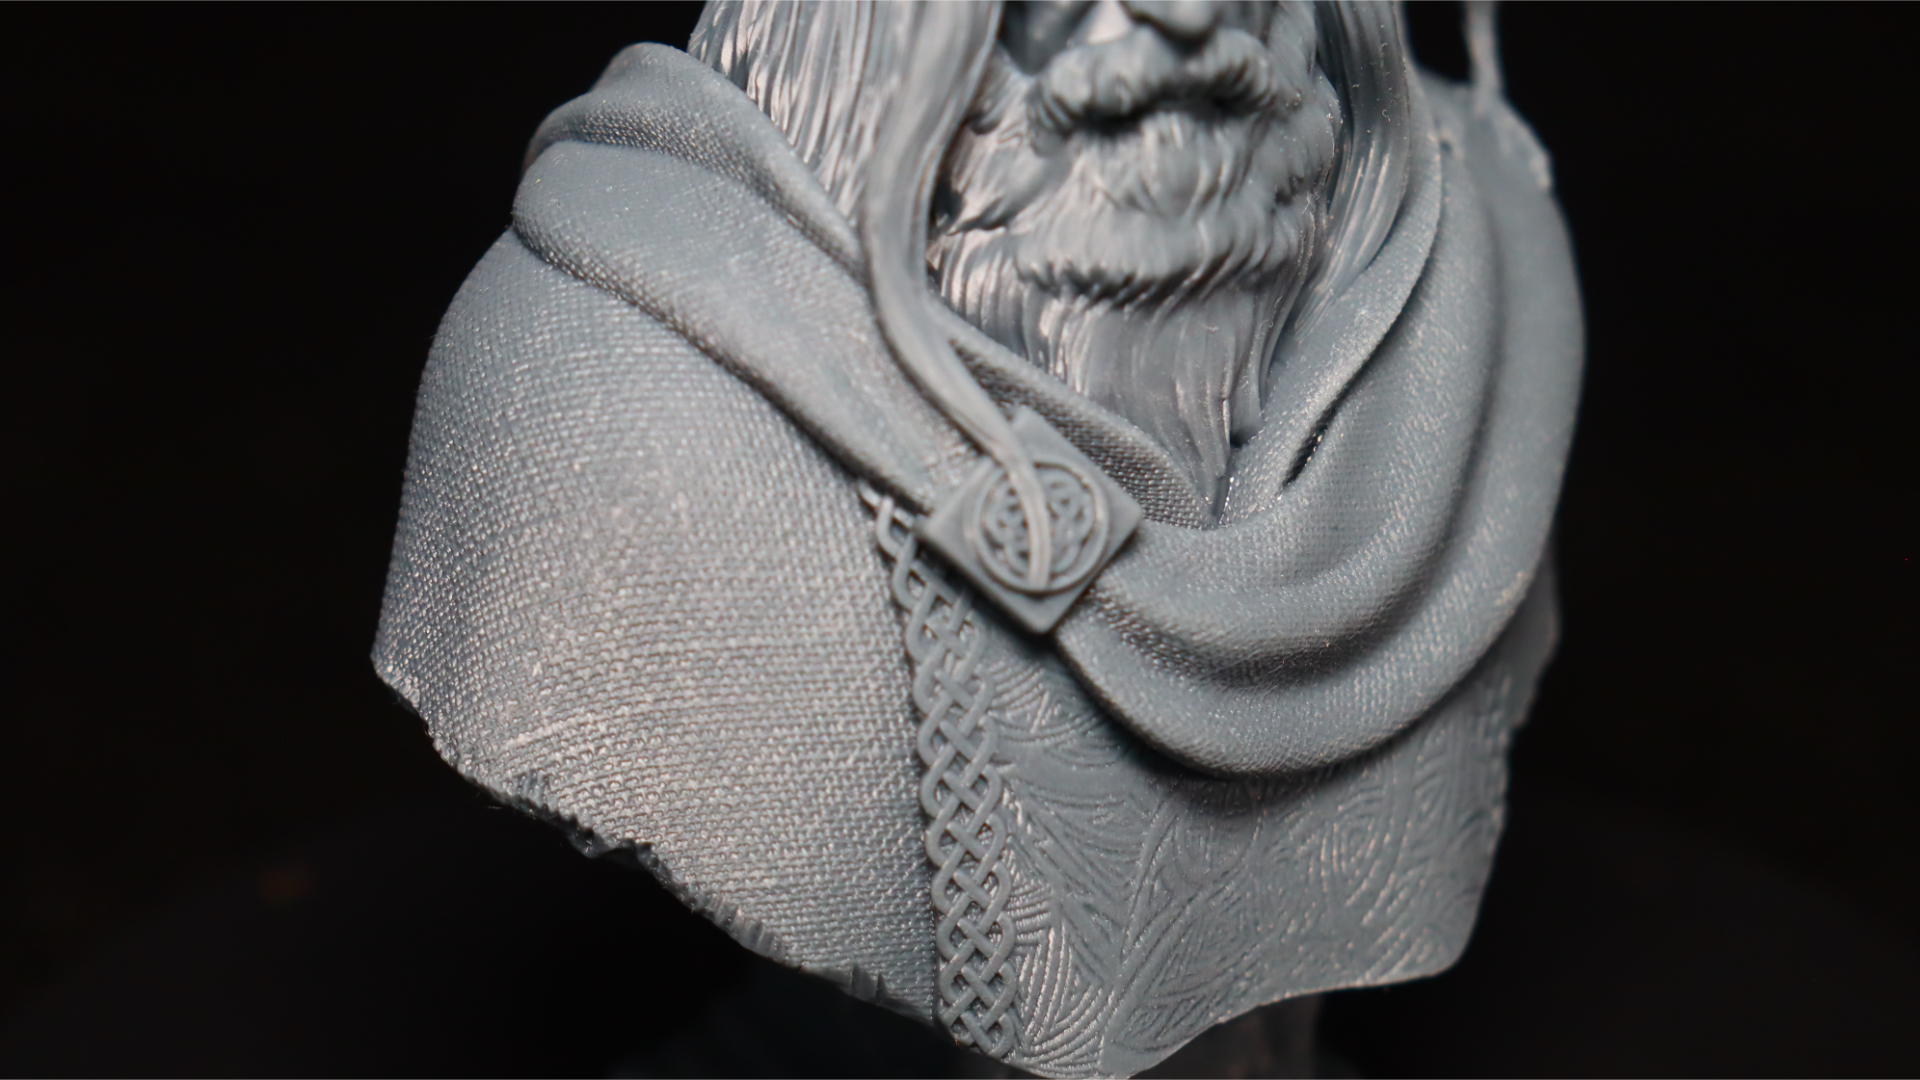
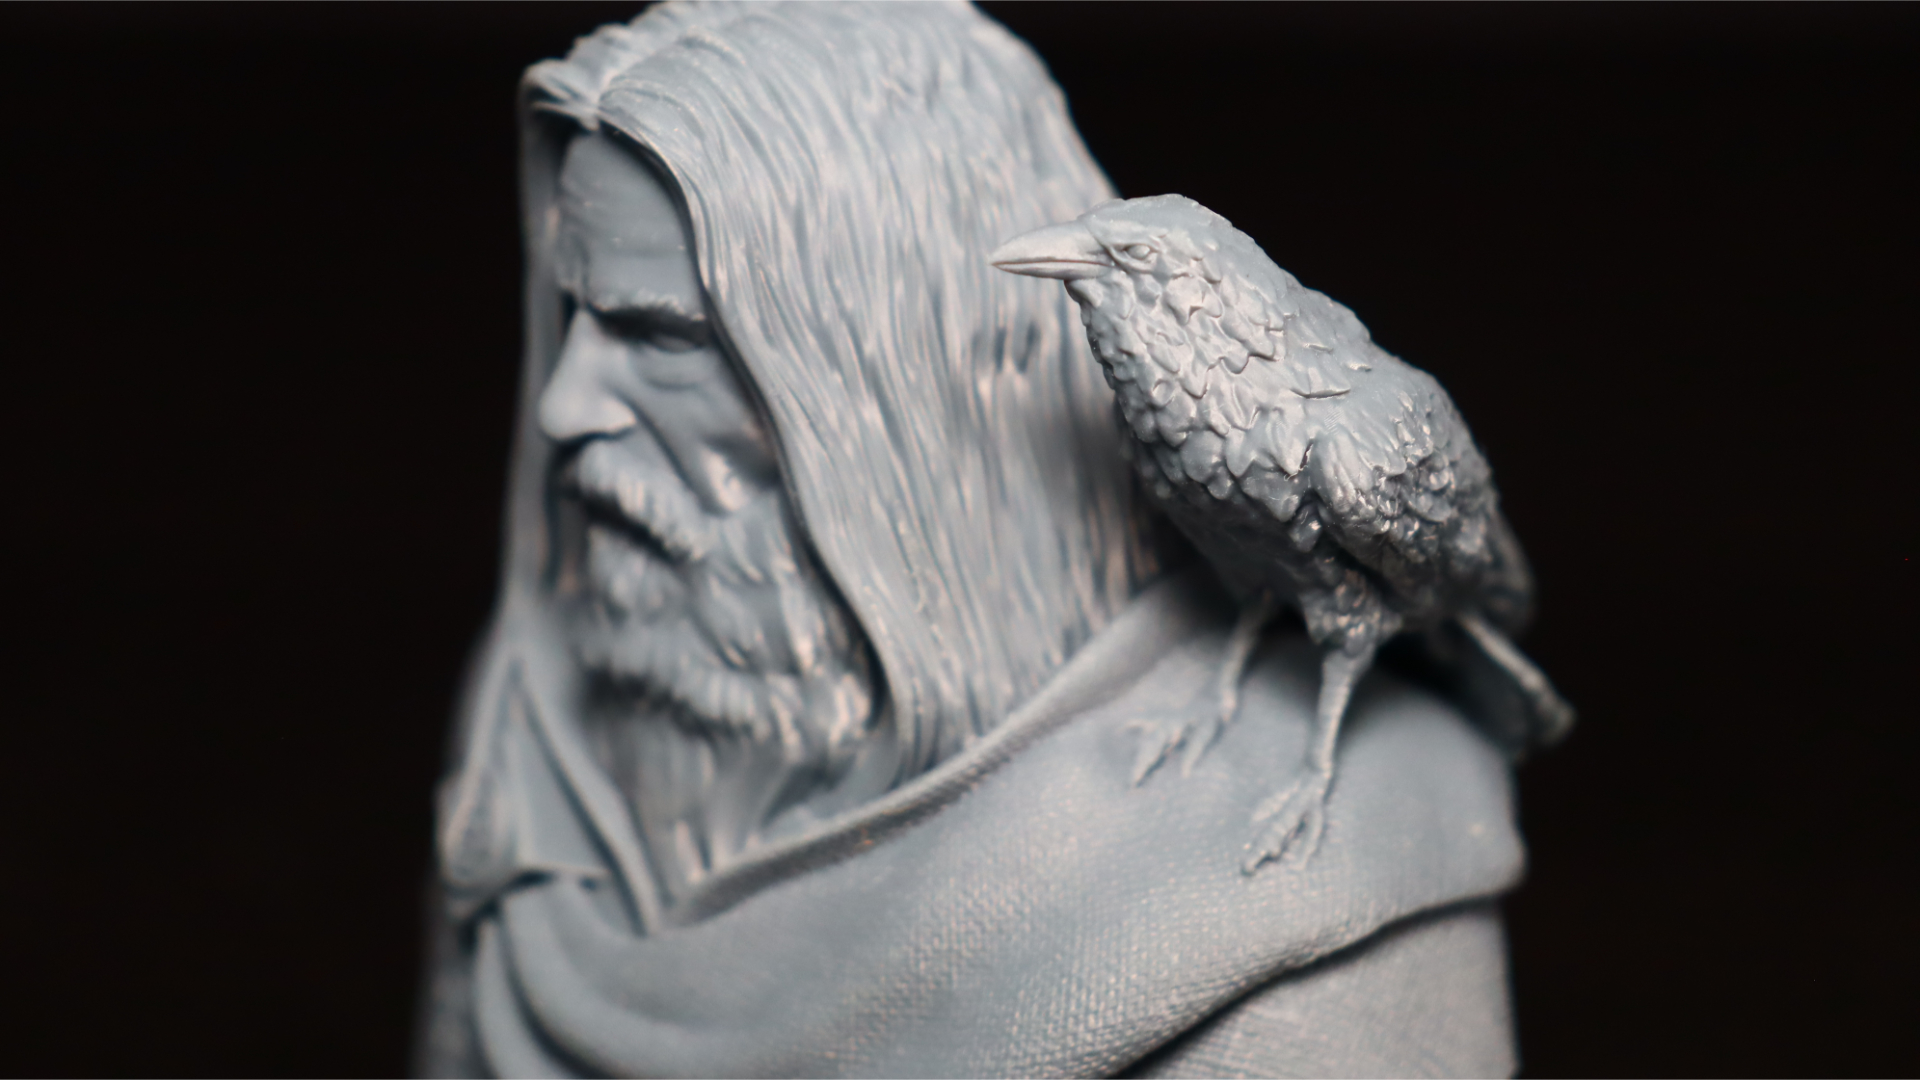
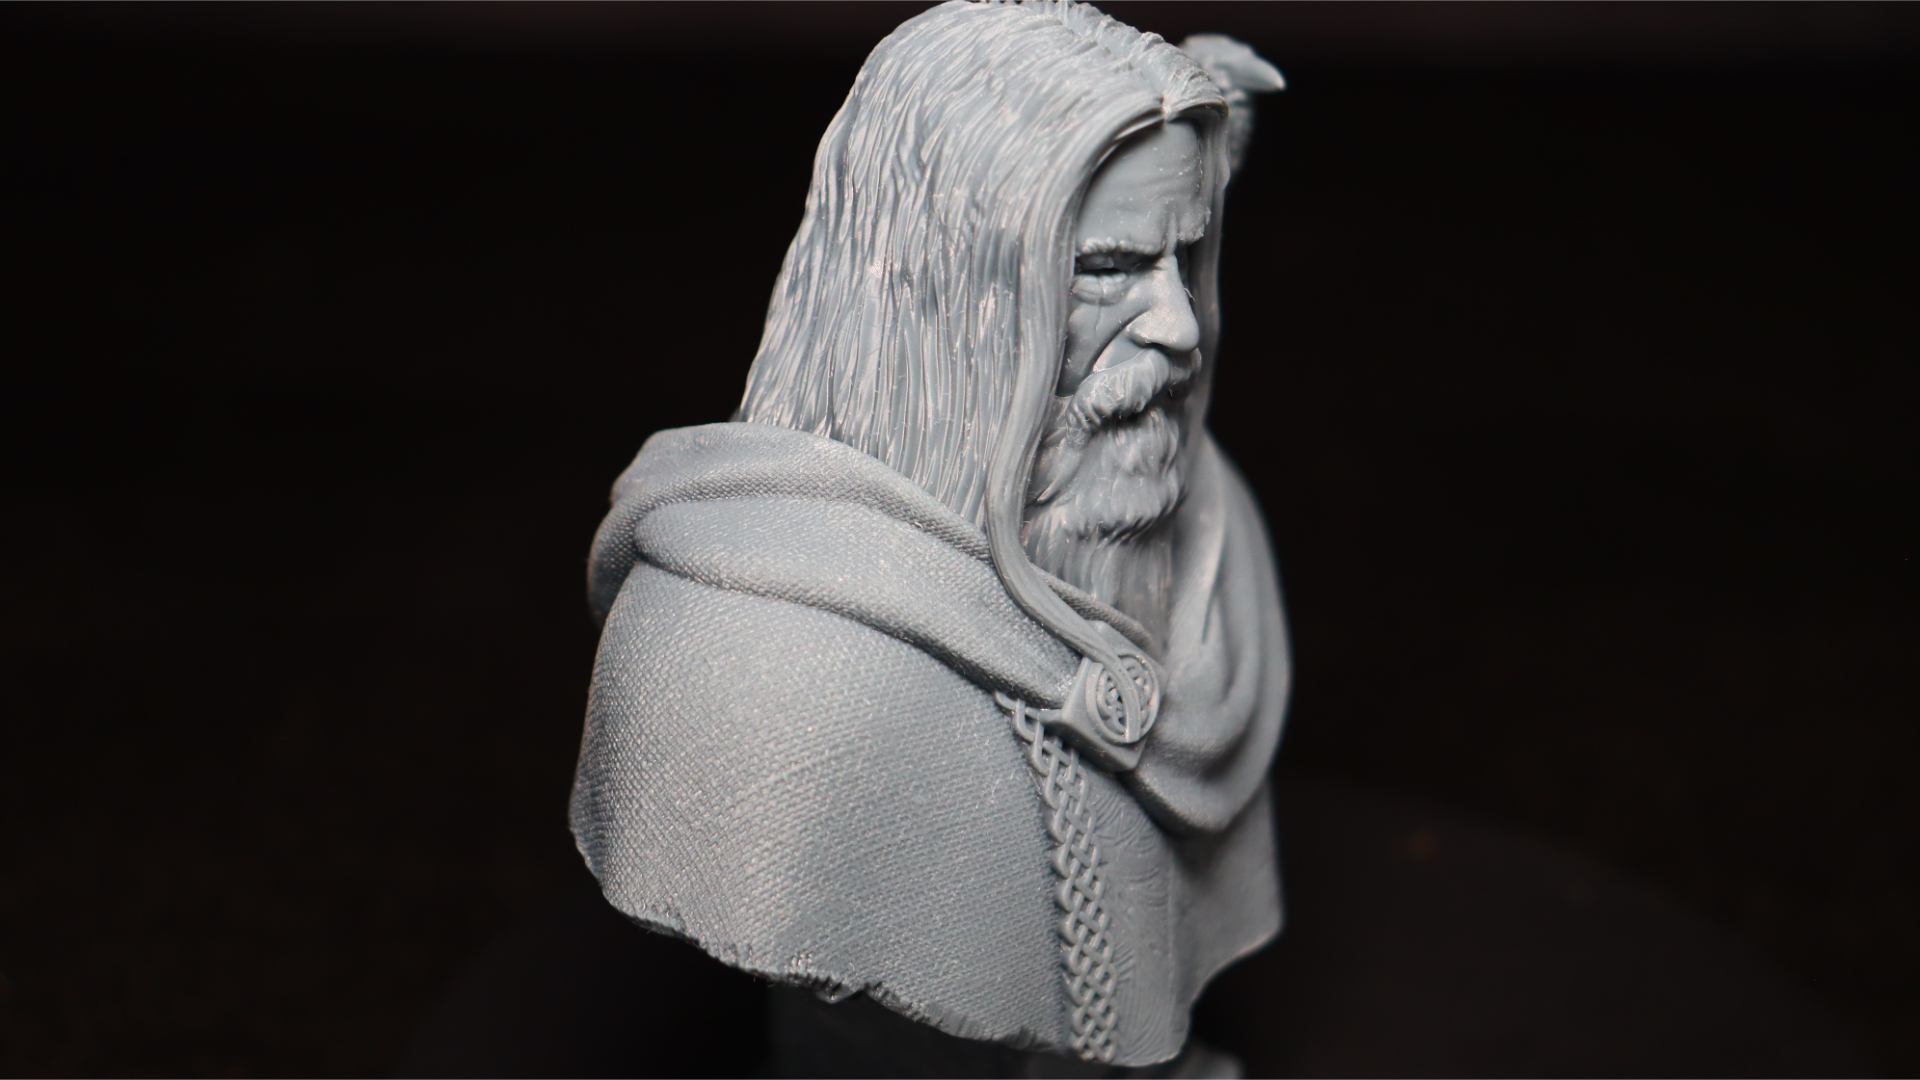
For our next 3D print, we chose the Odin bust from Fotis Mint once again. This model is an excellent showcase of the Photon Mono 2's capabilities in terms of capturing fine details. The level of detail on Odin's cloth cloak is truly impressive, and even the feathers on his raven are rendered sharply and clearly. We used the Anycubic Waterwash+ resin again, which resulted in a high-quality print.
The Odin bust is slightly smaller than the Xenomorph we printed earlier, and it took just over 4 hours to print the bust and base of the model. All in all, we were very pleased with the level of detail that the Photon Mono 2 and Anycubic Waterwash+ resin were able to produce with the Odin bust print.
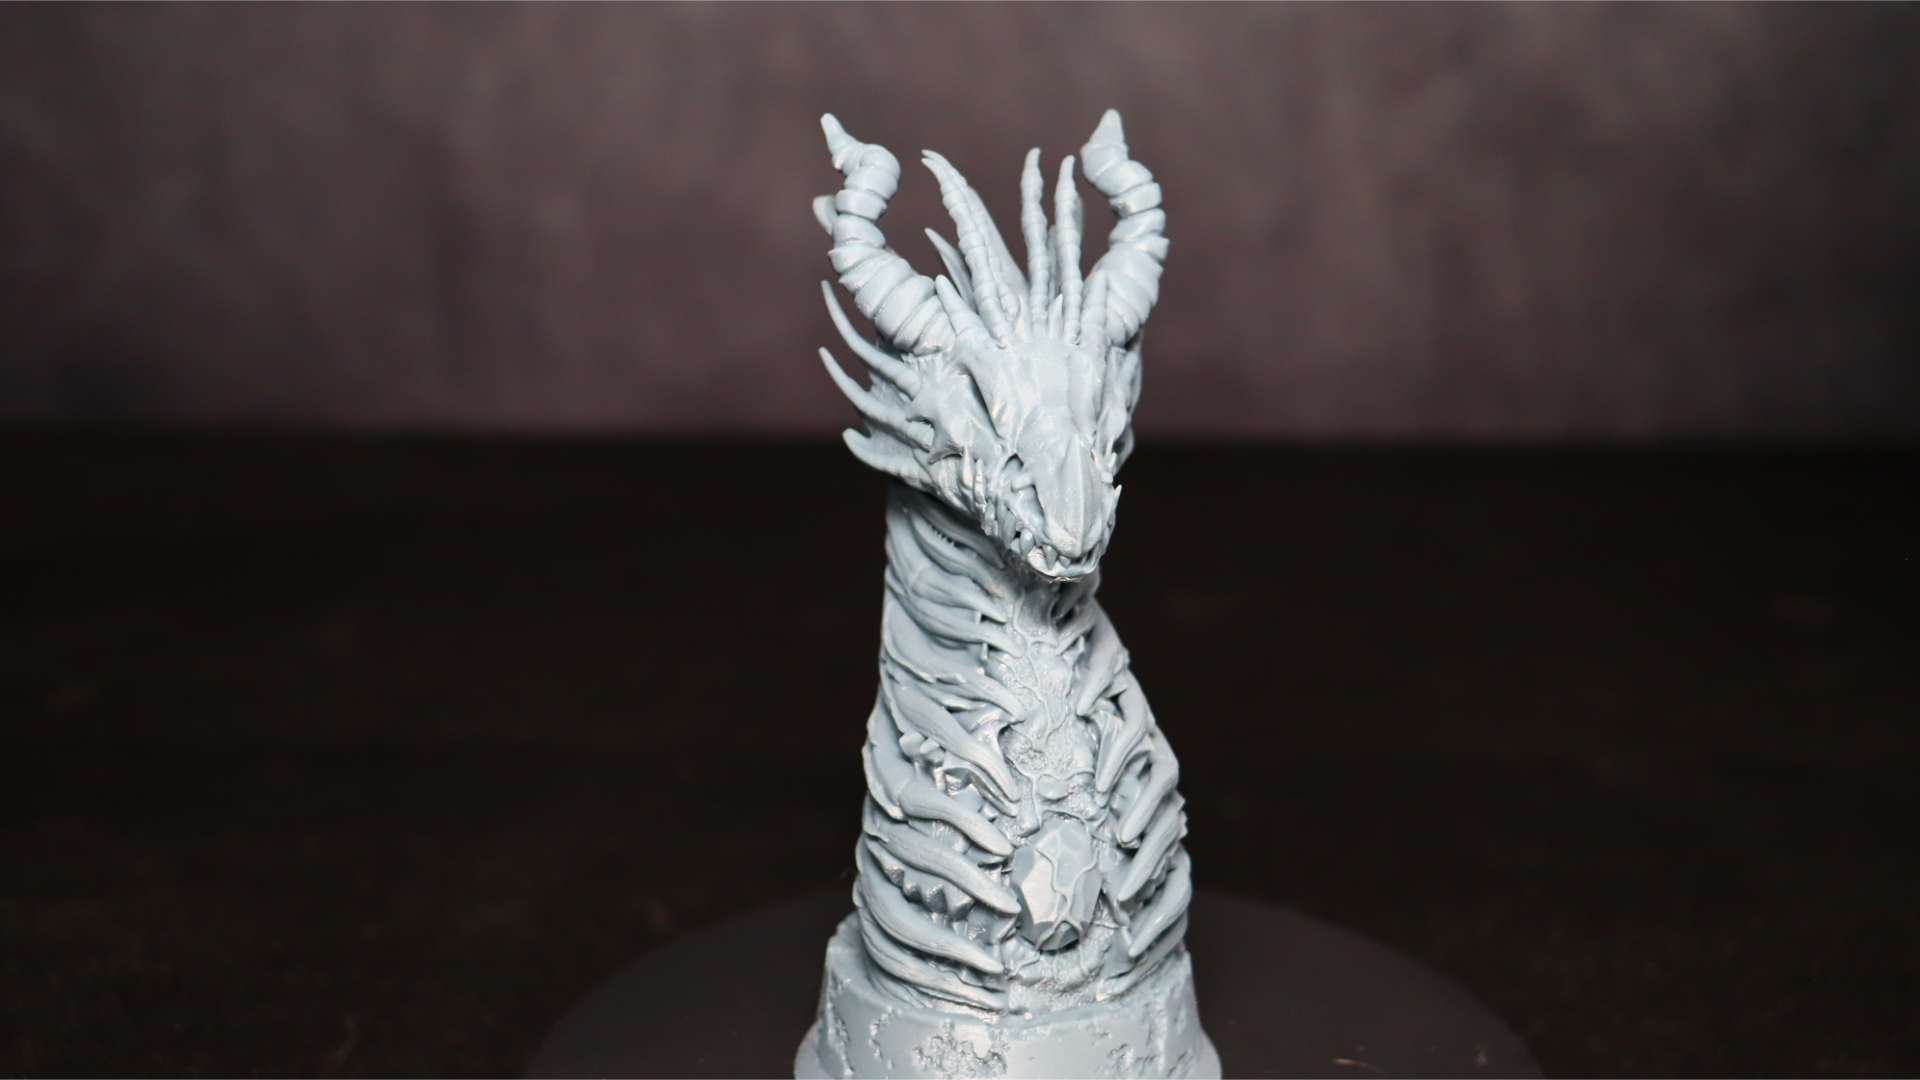
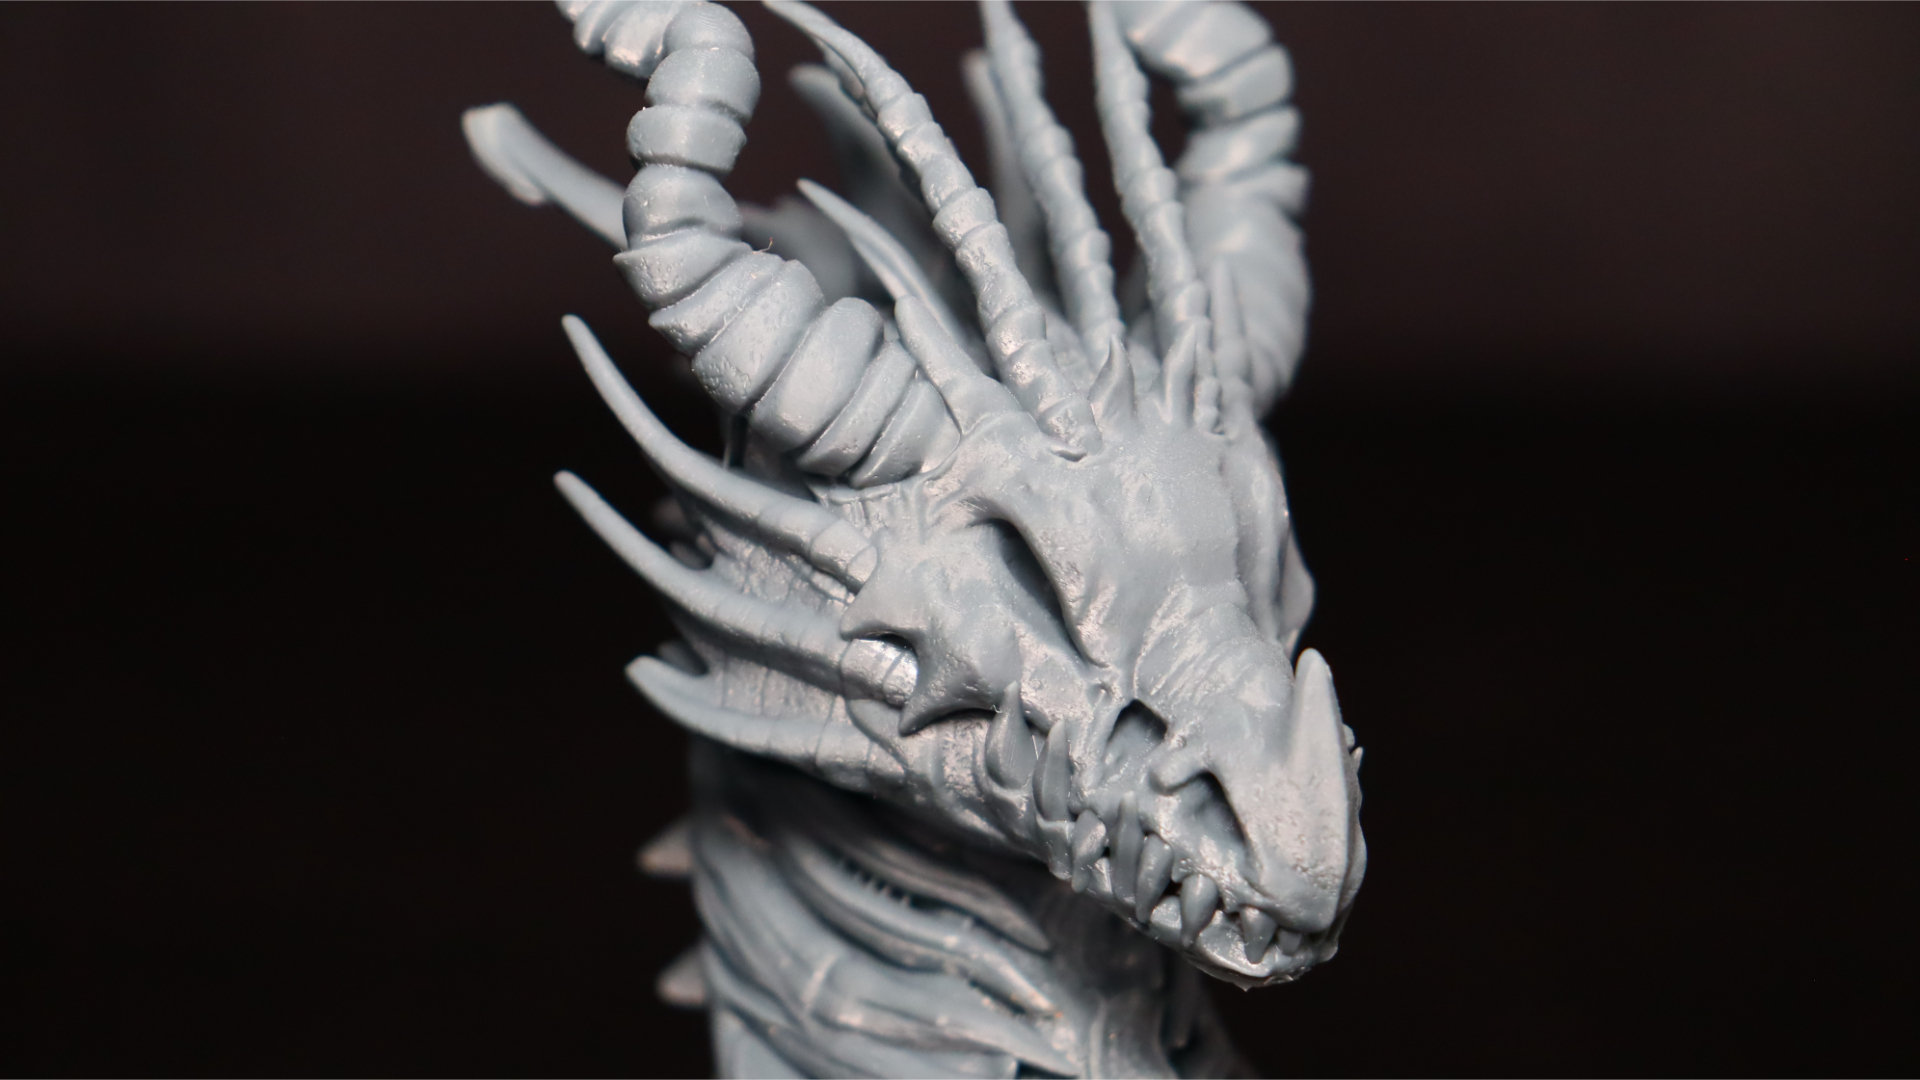
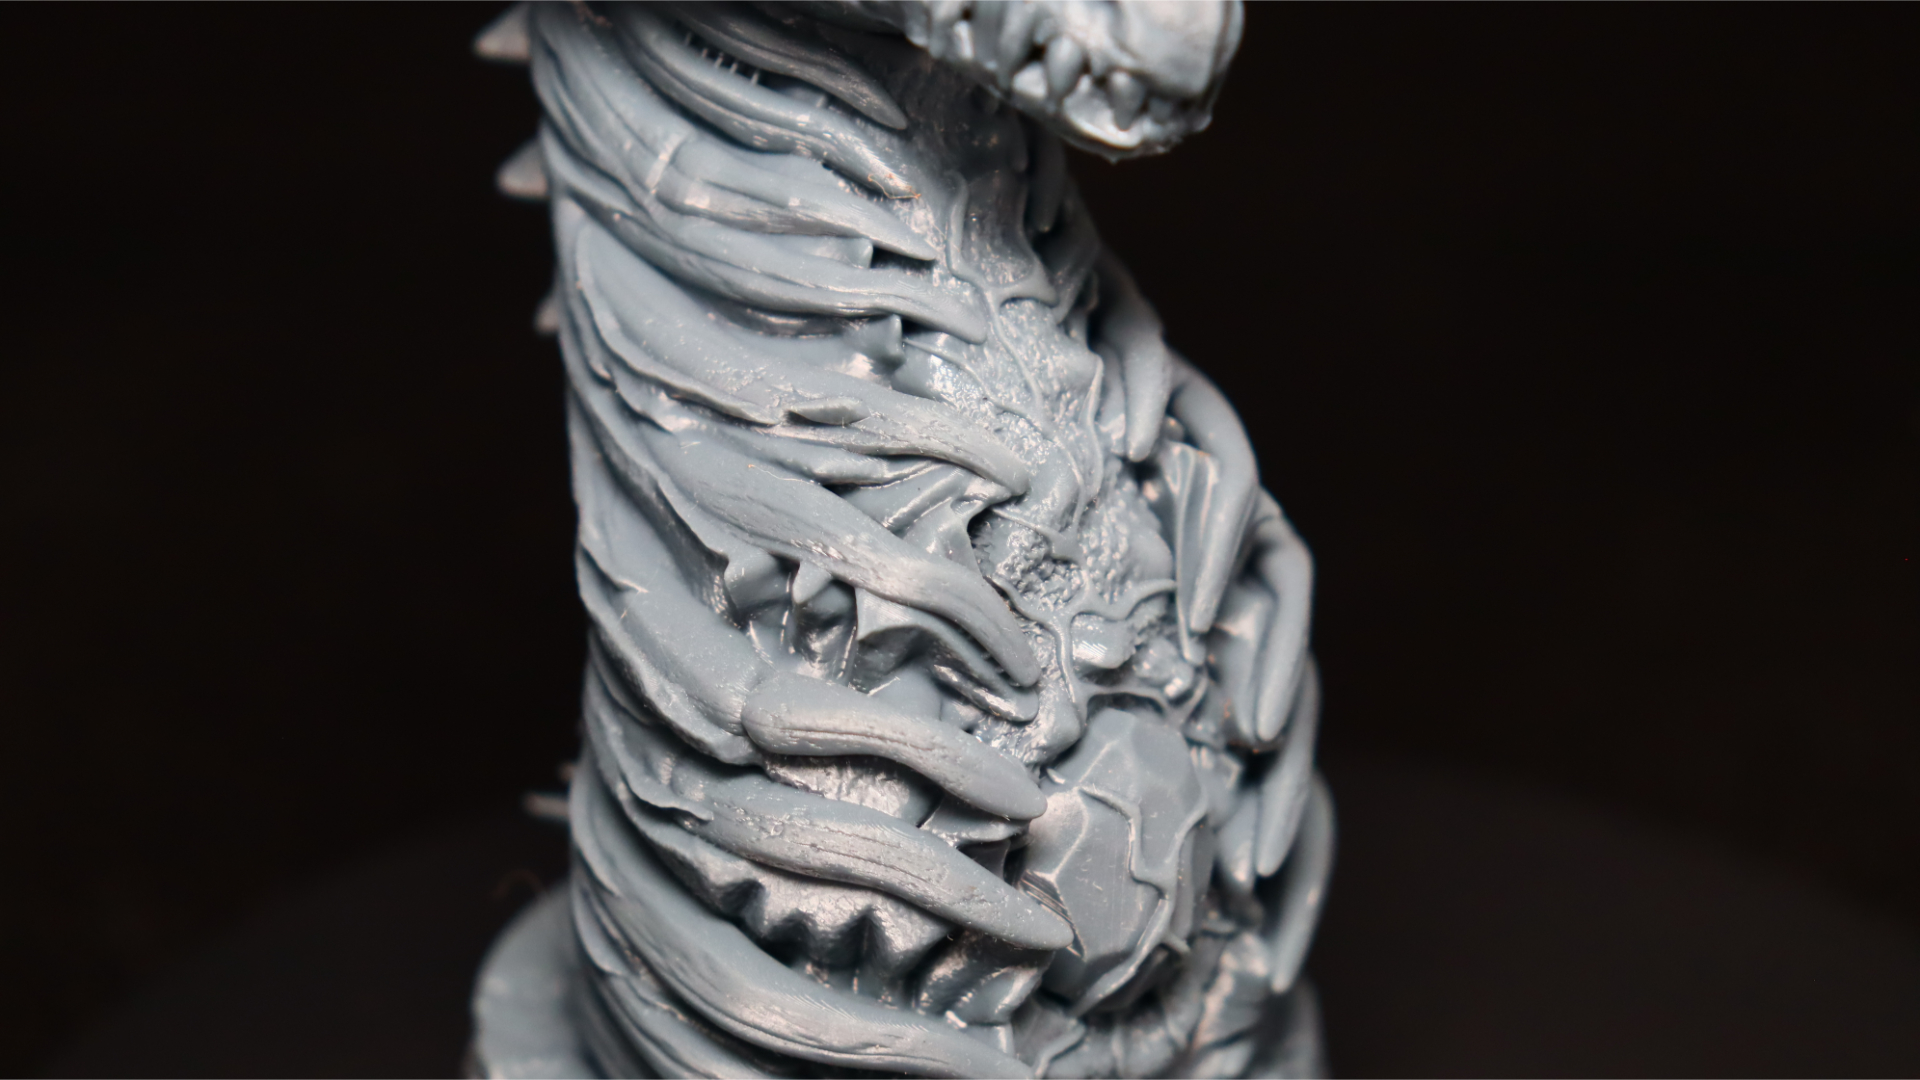

The Forest Dragon model from Fotis was up next. This model boasts intricate detail on the neck and head, making it an excellent candidate for testing the capabilities of the Photon Mono 2. We opted to use Anycubic's new HD resin for this print, and the results were truly spectacular. Thanks to the upgraded screen and the HD resin, every detail was sharp and clear, resulting in a high-quality print that exceeded our expectations.
It took just under 5 and a half hours to print the model, but it was well worth the wait. The final product was stunning, as can be seen in the accompanying pictures.
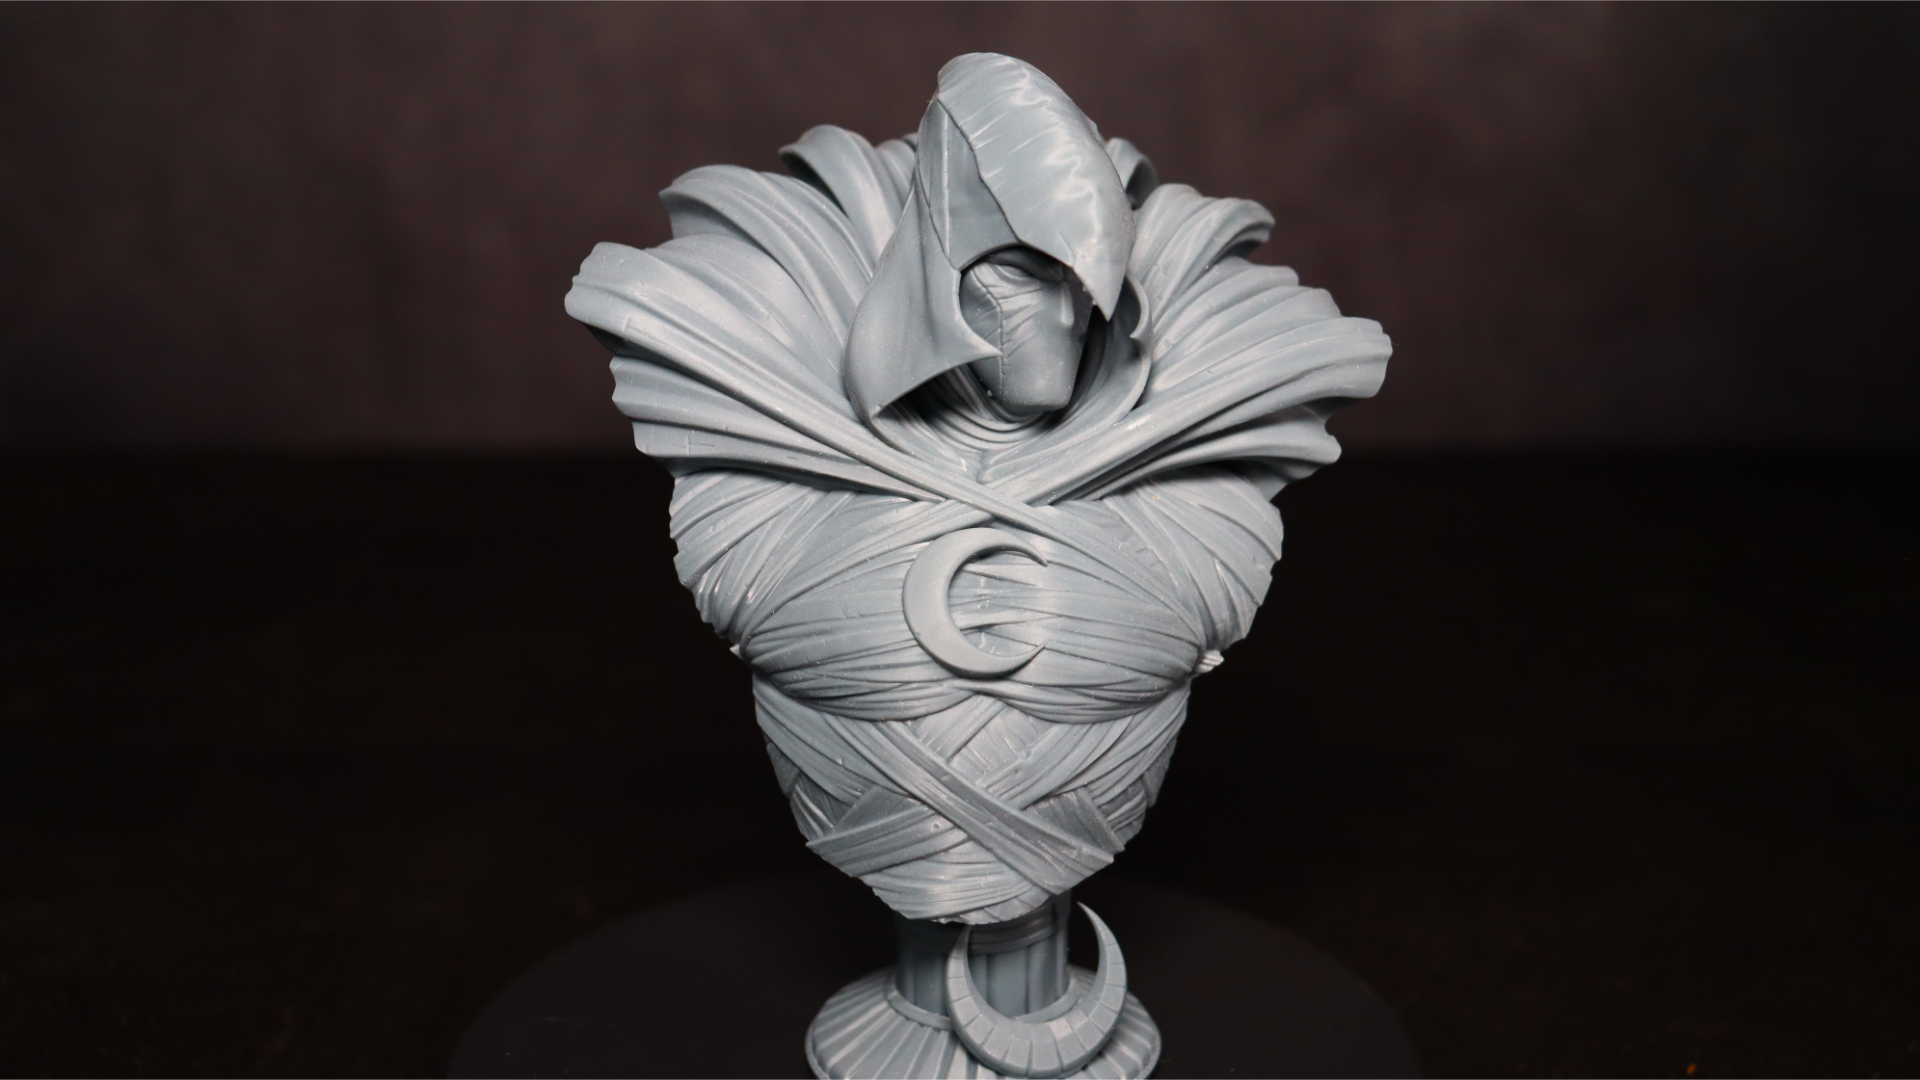
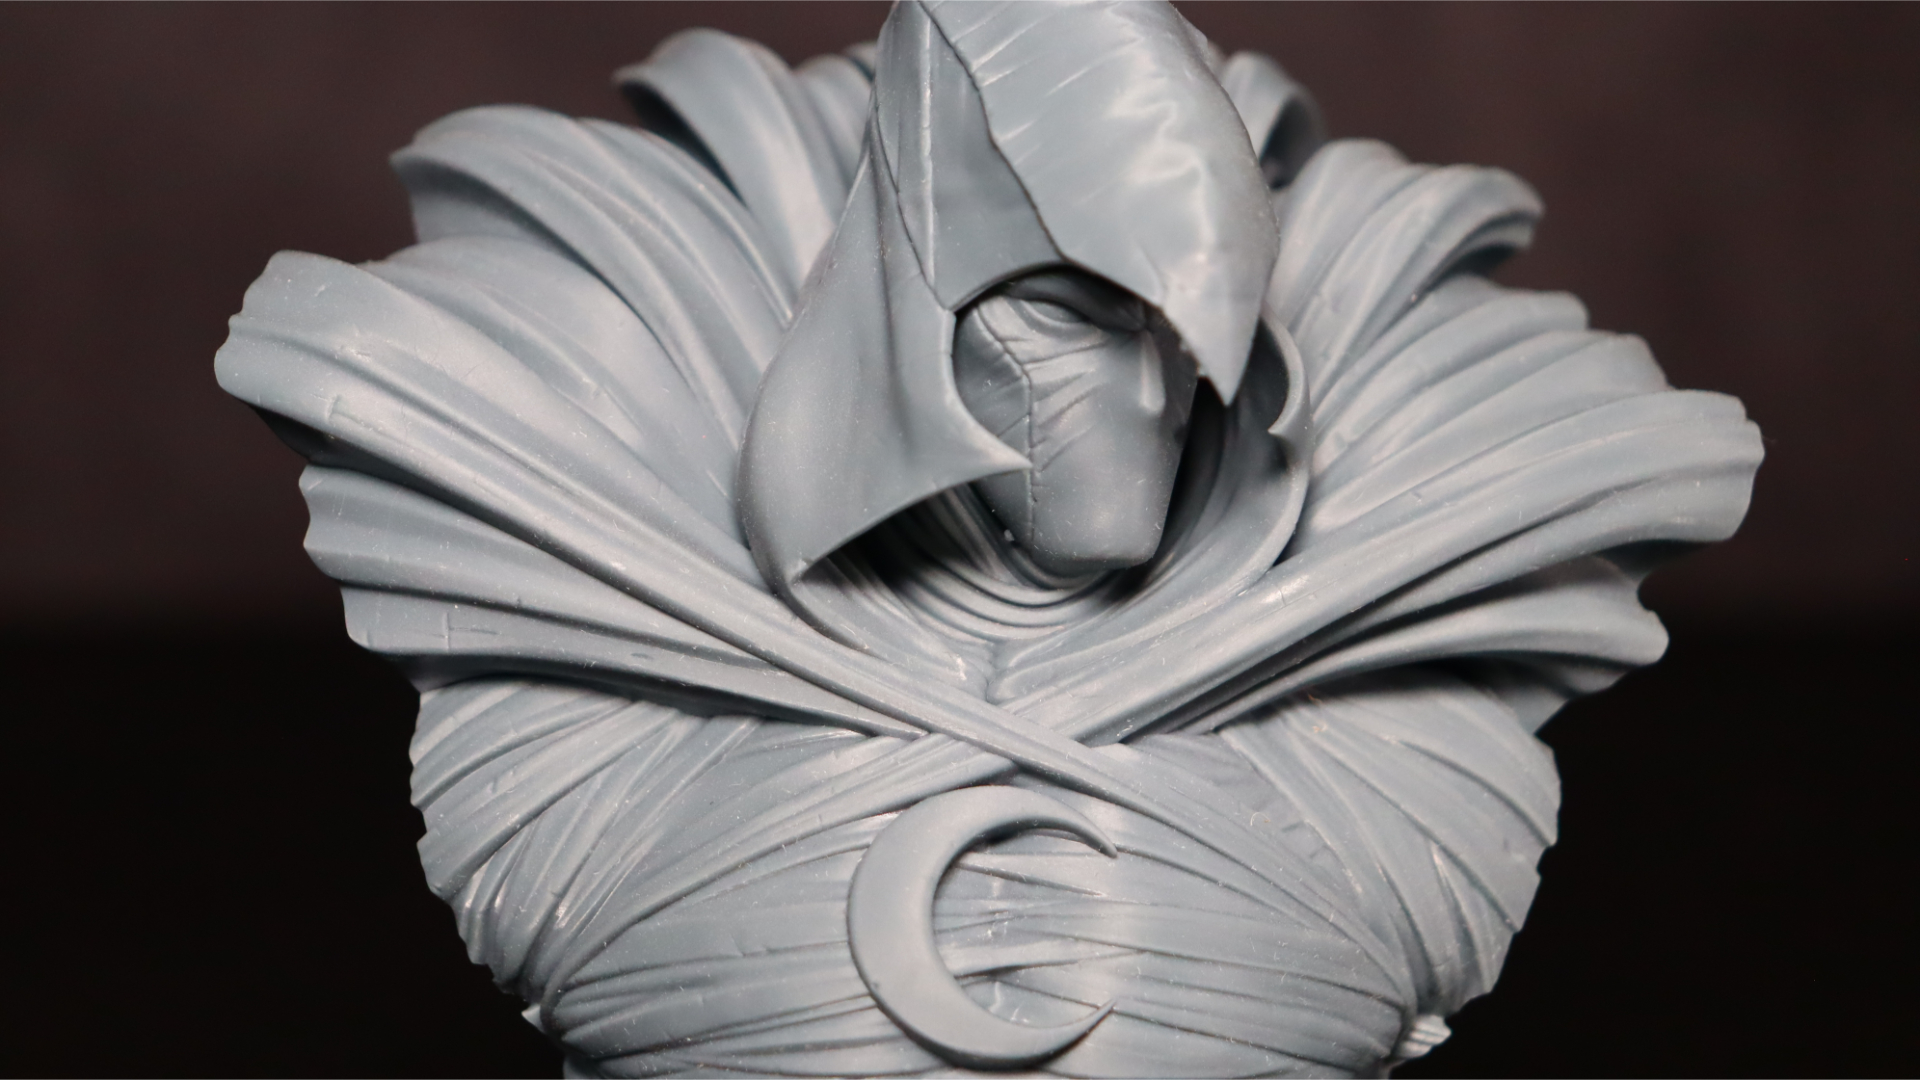
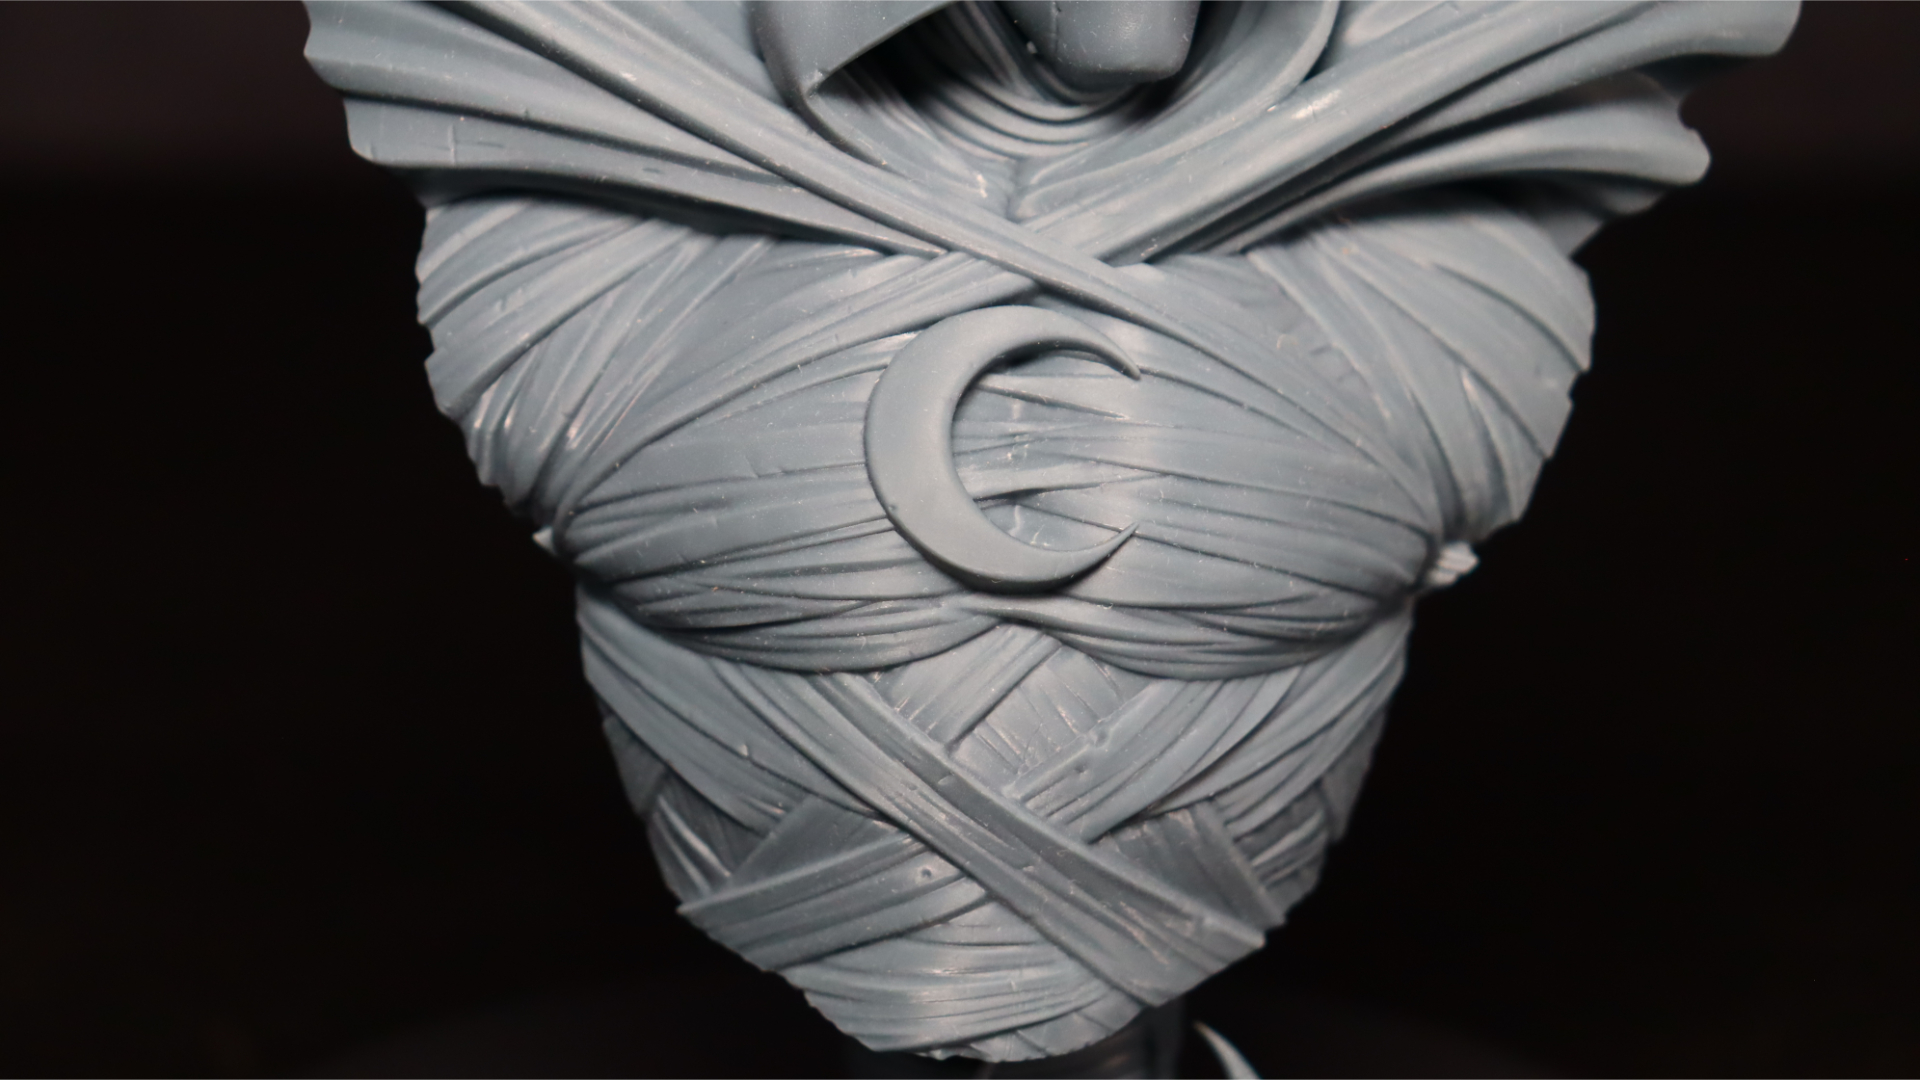
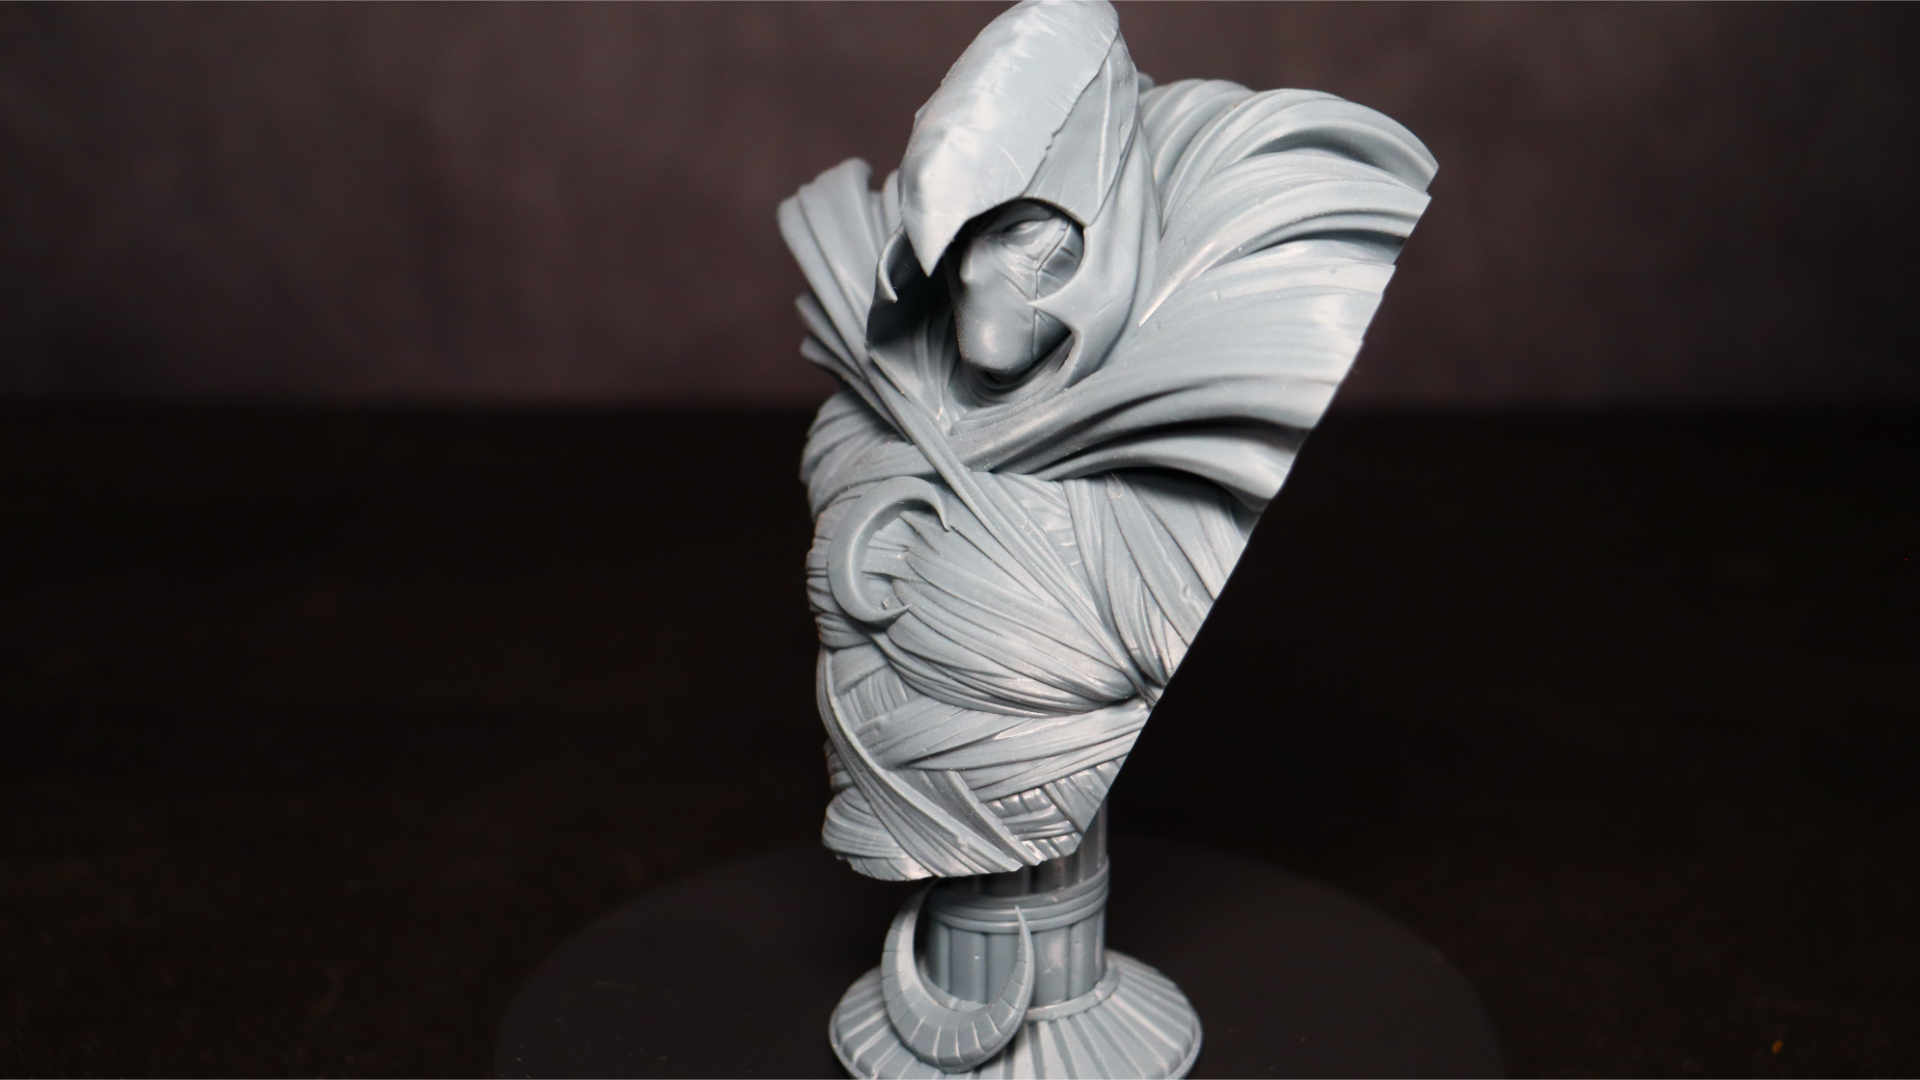
For our next test, we chose the Moon Knight bust. This model is from Eastman, who has a ton of great models available in his collection, and they have become a favorite for testing purposes. The bust and base of this model took just over 5 hours to print. Again, the Photon Mono 2 does not disappoint in terms of the quality of the final print.
The cloth of Moon Knight's suit is clear and sharp, and the 16x anti-aliasing (AA) does a great job of ensuring there are no rough-looking edges or any odd artifacts that can result from absent or poor AA. This model was printed using Anycubic's new HD resin, which does a great job of ensuring all the details of the printed parts are sharp and clear.
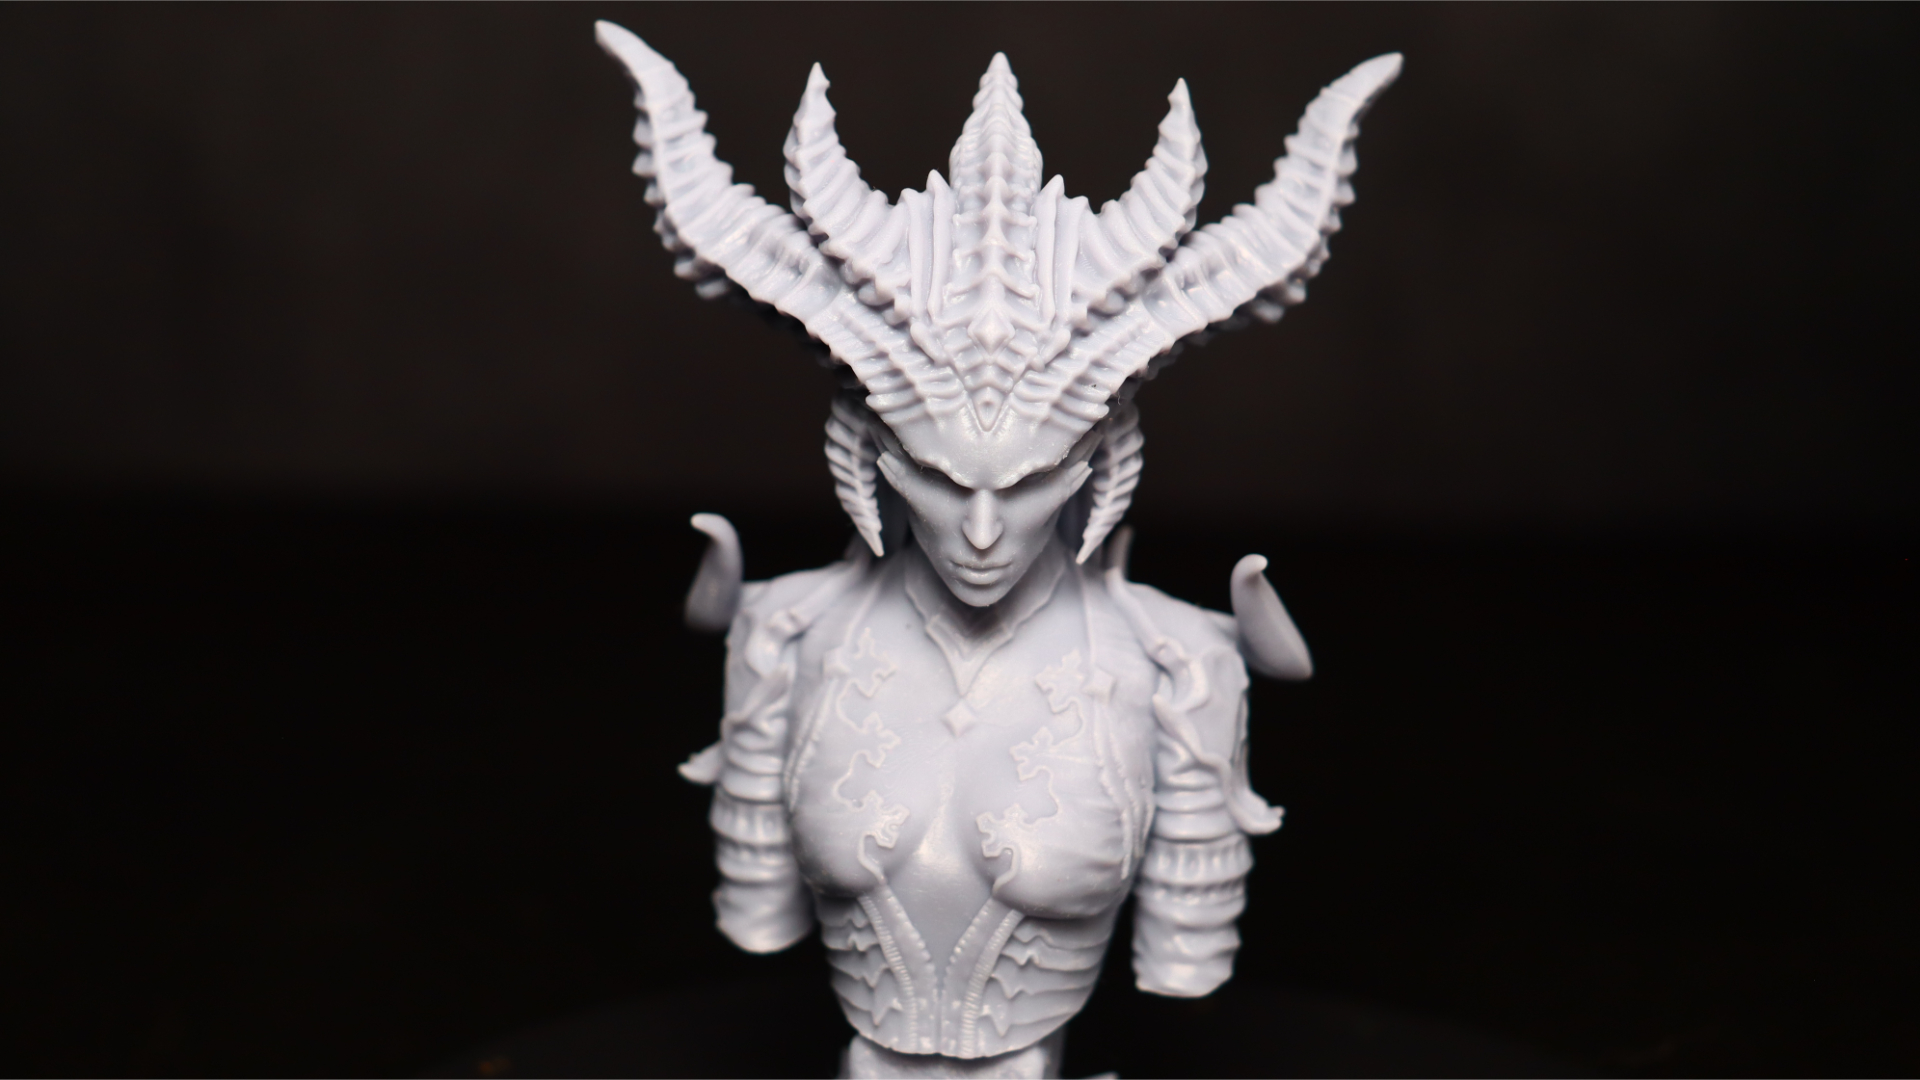
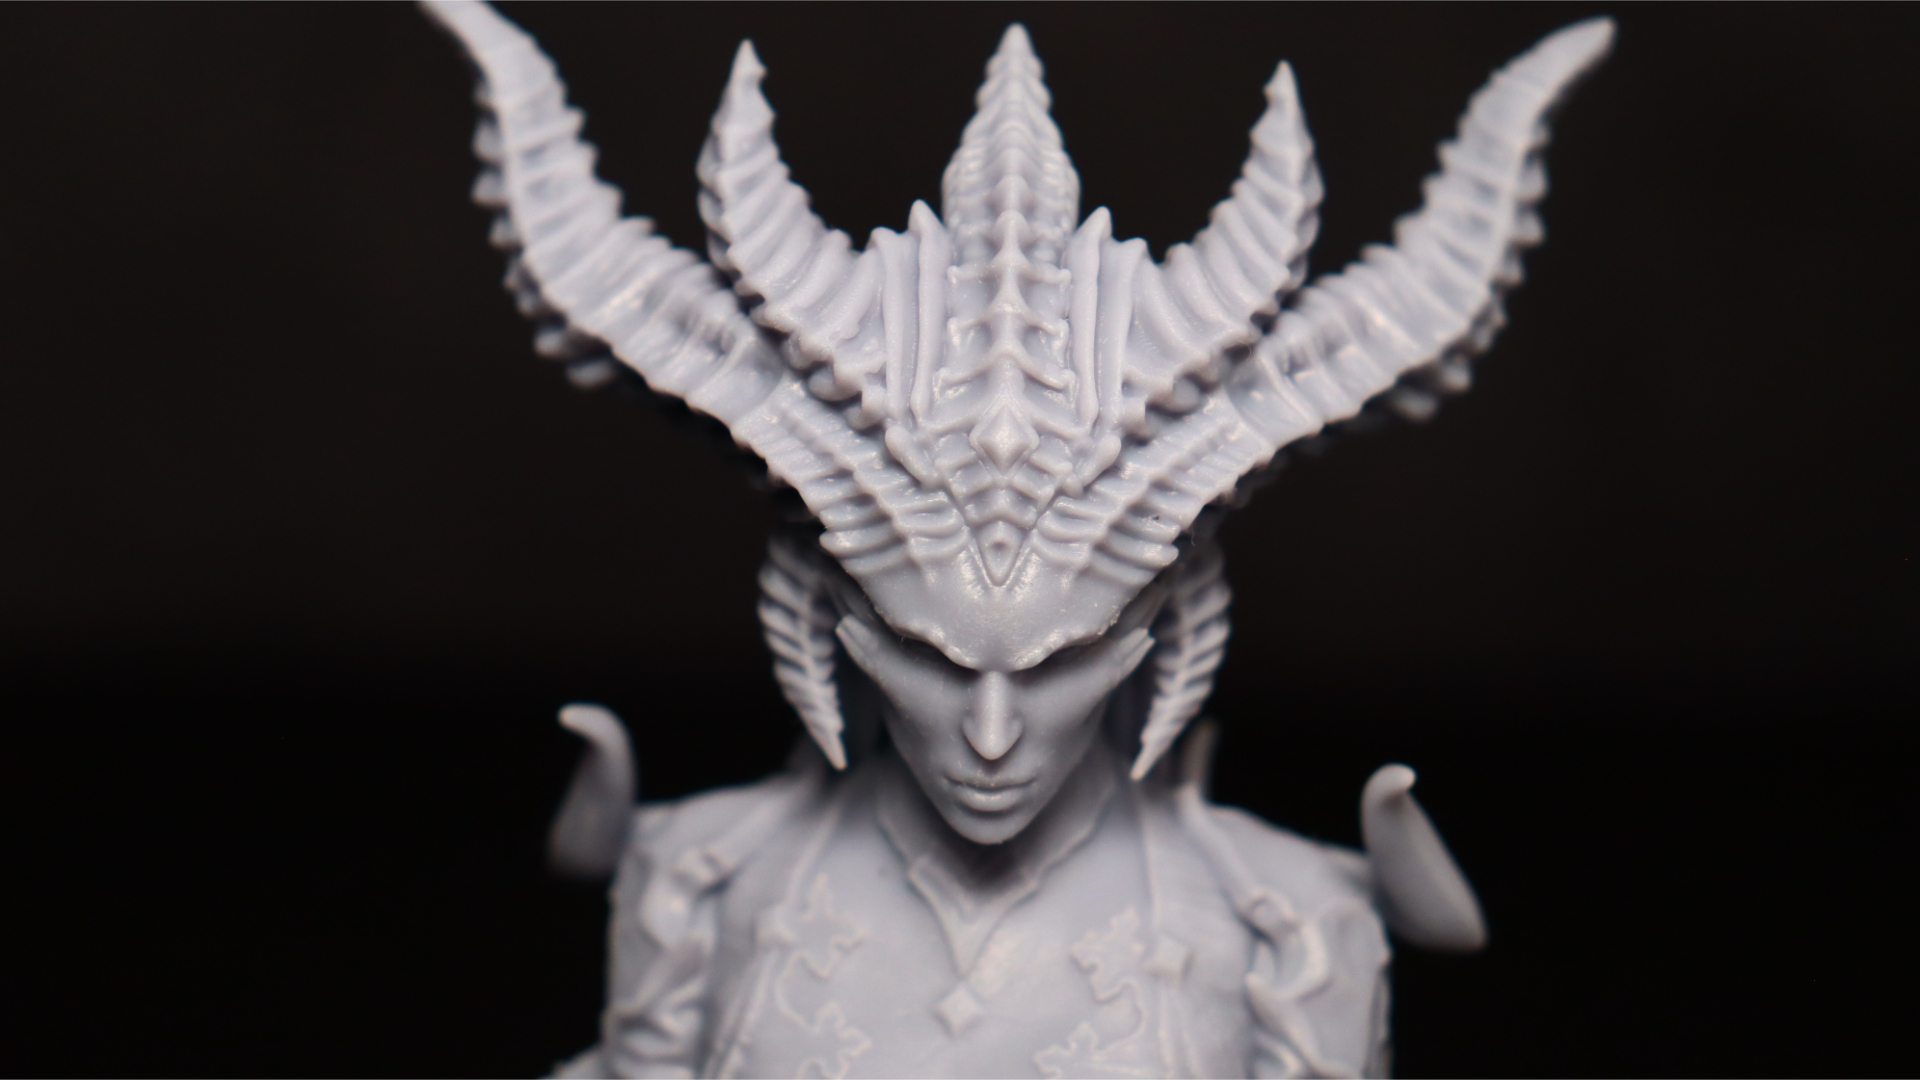
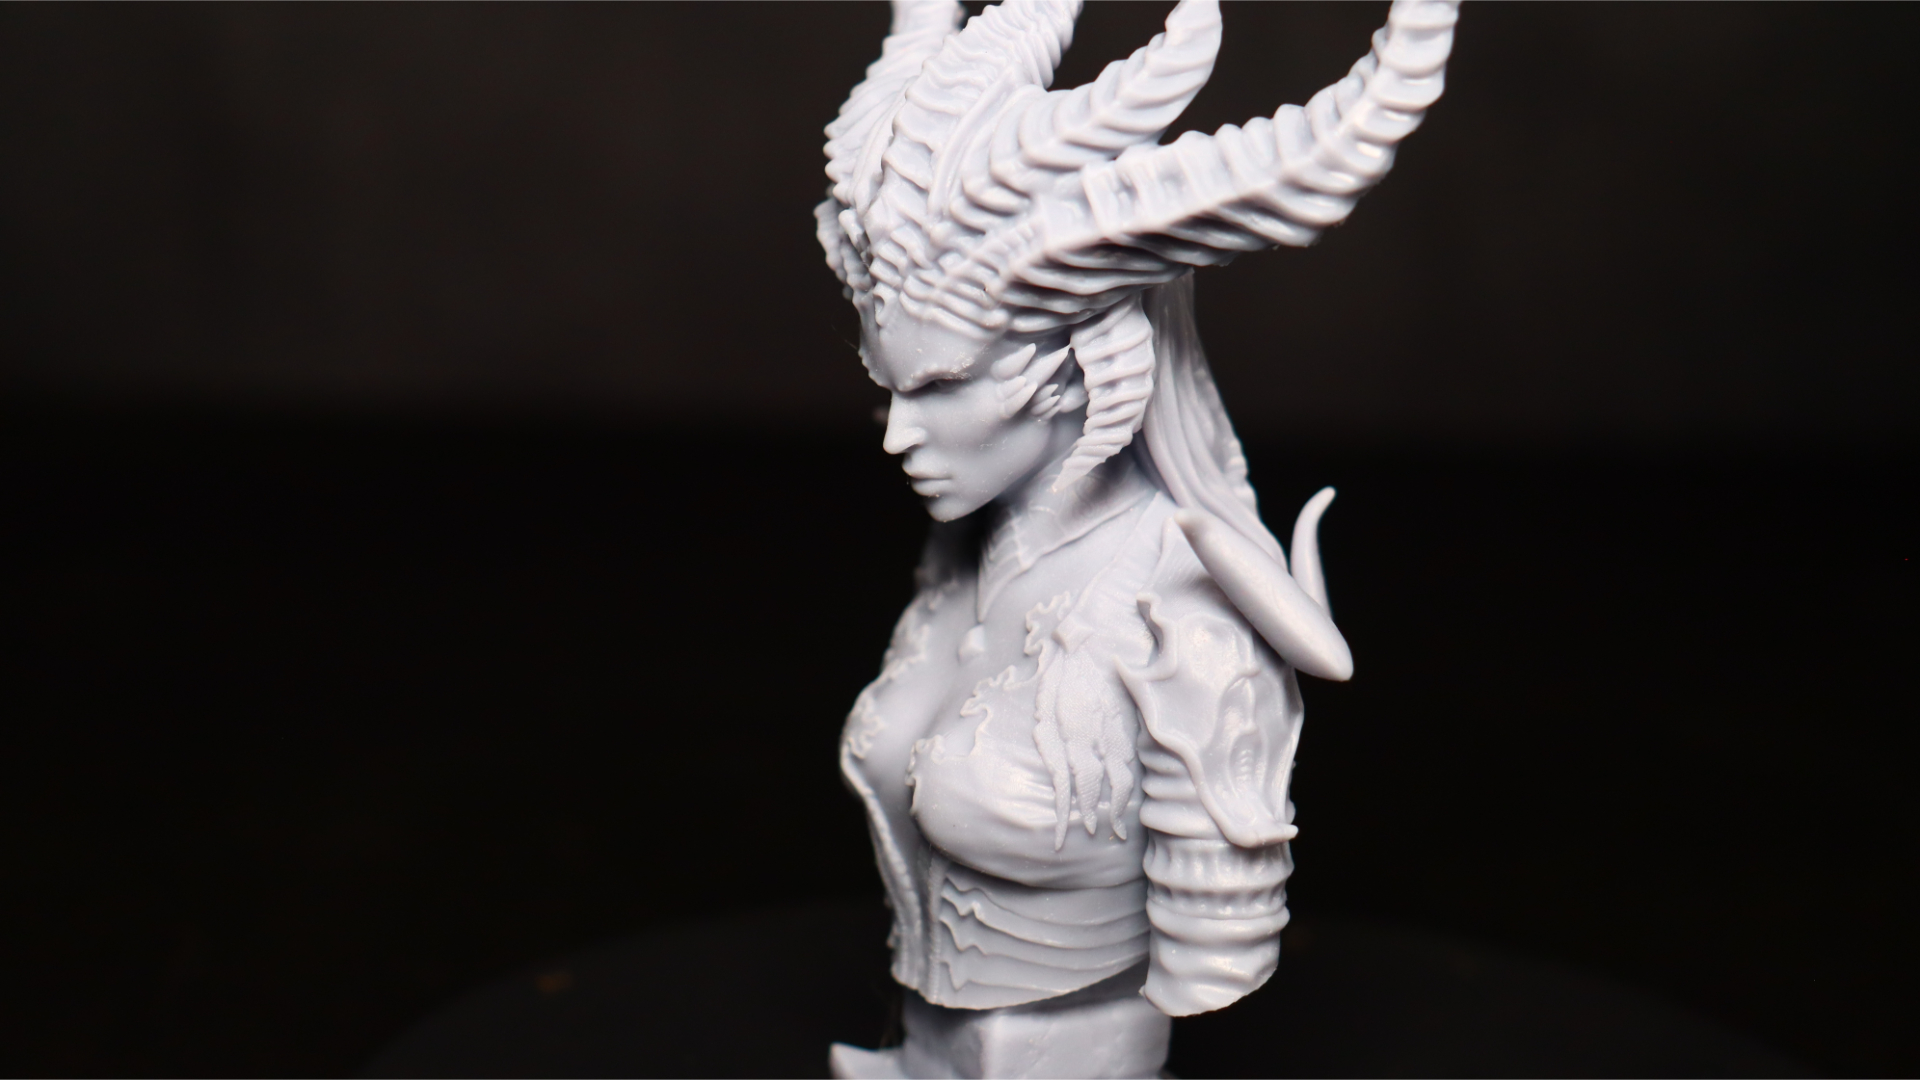
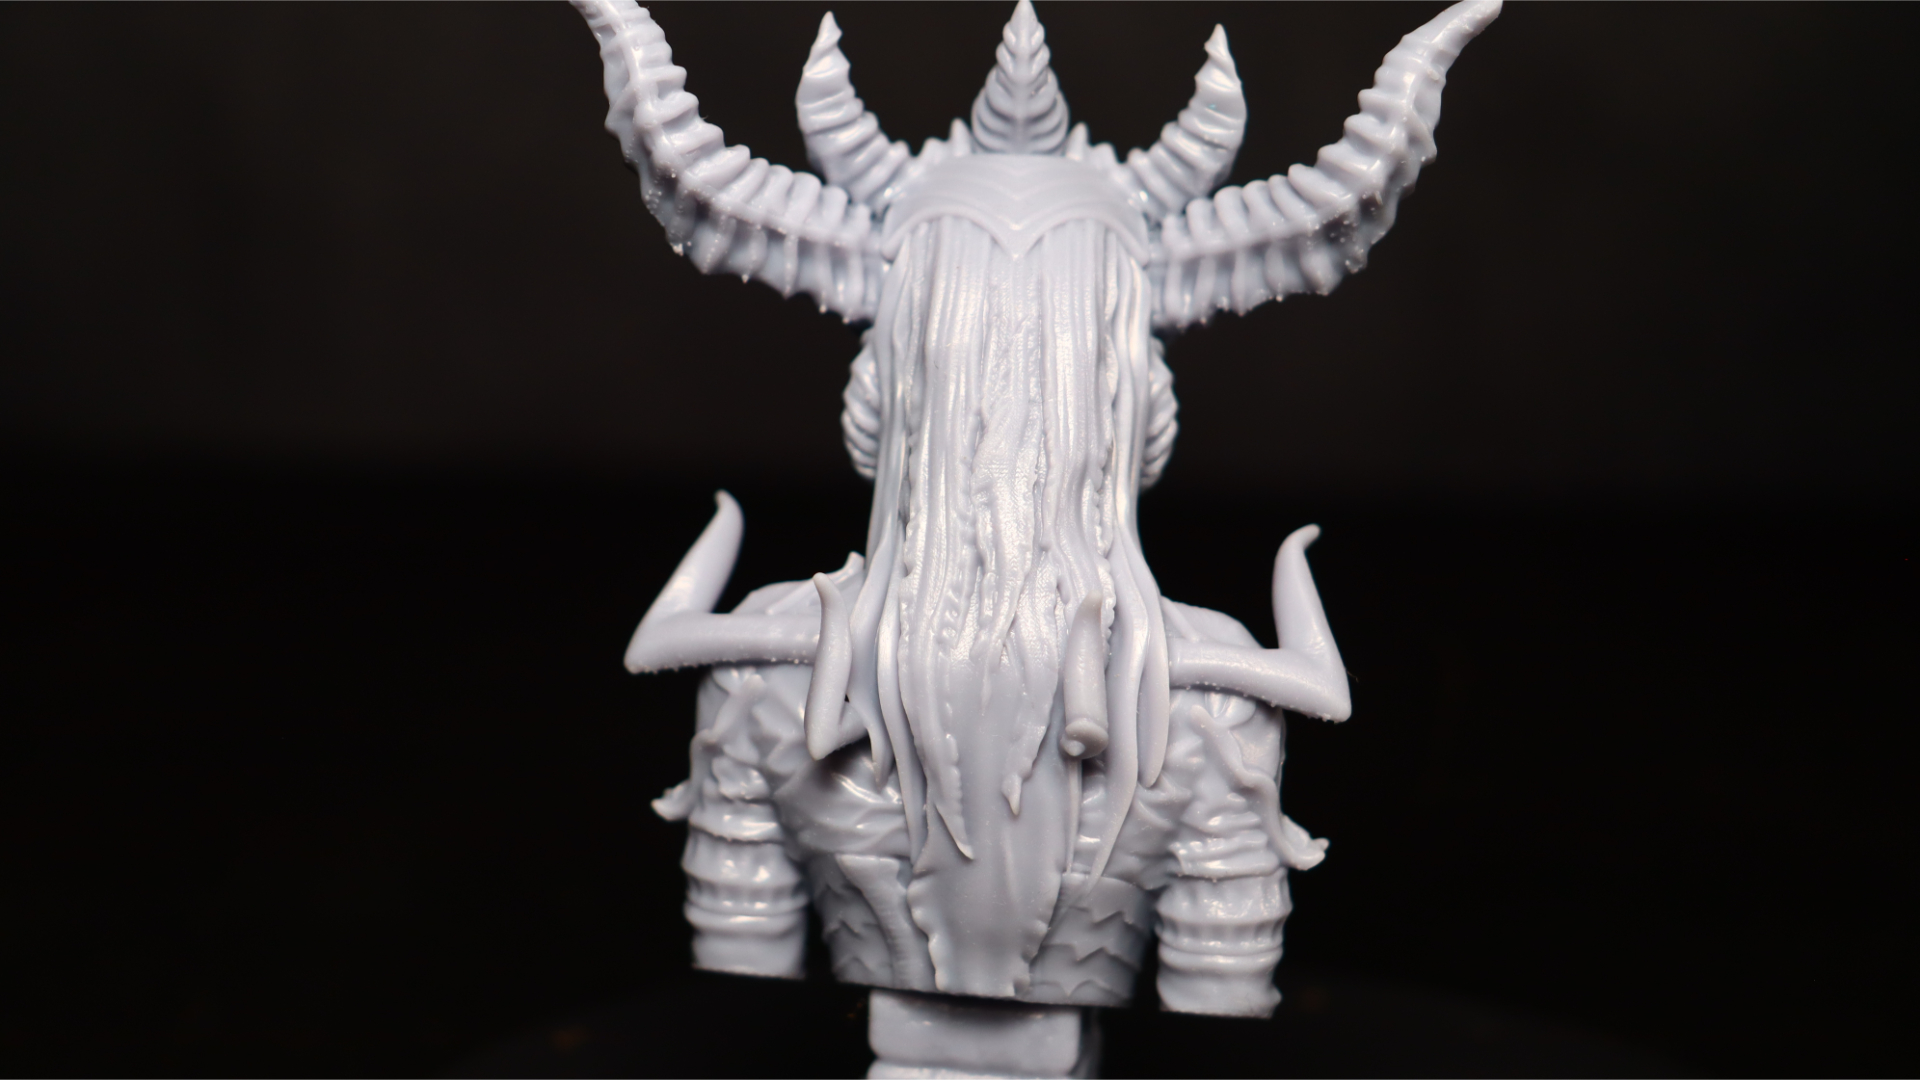
For the final print in our testing, we decided to print one of the new models from Fotis Mint: the Lilith model from the upcoming Diablo 4 game. This time, we used the Chutu Systems Conjure rigid resin, which is designed to be very tough and resistant to breakage, making it ideal for miniatures for tabletop gaming or functional parts.
This resin requires the printer's temperature to be at least 25 to 30 degrees to allow for smooth printing, and it also requires more exposure time than regular resin, at 4.4 seconds vs. 2.2 for most regular resin types. Even with the longer exposure times needed this model only took 3 and a half hours to complete the bust and base.
Even though strong resins can sometimes result in prints that are not as clear as standard resin, the amount of detail that the Photon Mono 2 achieved was excellent.
Anycubic Photon Mono 2: Price & warranty
- $209 MSRP
- 12-month warranty
The Anycubic Photon Mono 2 is reasonably priced with a suggested retail price of $209, though that price can vary significantly depending on where you purchase it. Anycubic itself is offering the Mono 2 at a slight discount of $199 at the moment, while Amazon’s lowest price is $289.99 at time of writing.
Anycubic offers a 12-month warranty on the printer, which can provide peace of mind to users. However, like most 3D printers, there are consumable components that need to be replaced periodically, such as the FEP sheets for the resin vat.
The lifespan of these components can vary, depending on how well they are used and maintained between prints. Additionally, the LCD screen itself will degrade over time with use, and it may need to be replaced after about 2000 hours of operation. Neither of these outlays will be covered by the warranty.
Should you buy the Anycubic Photon Mono 2?
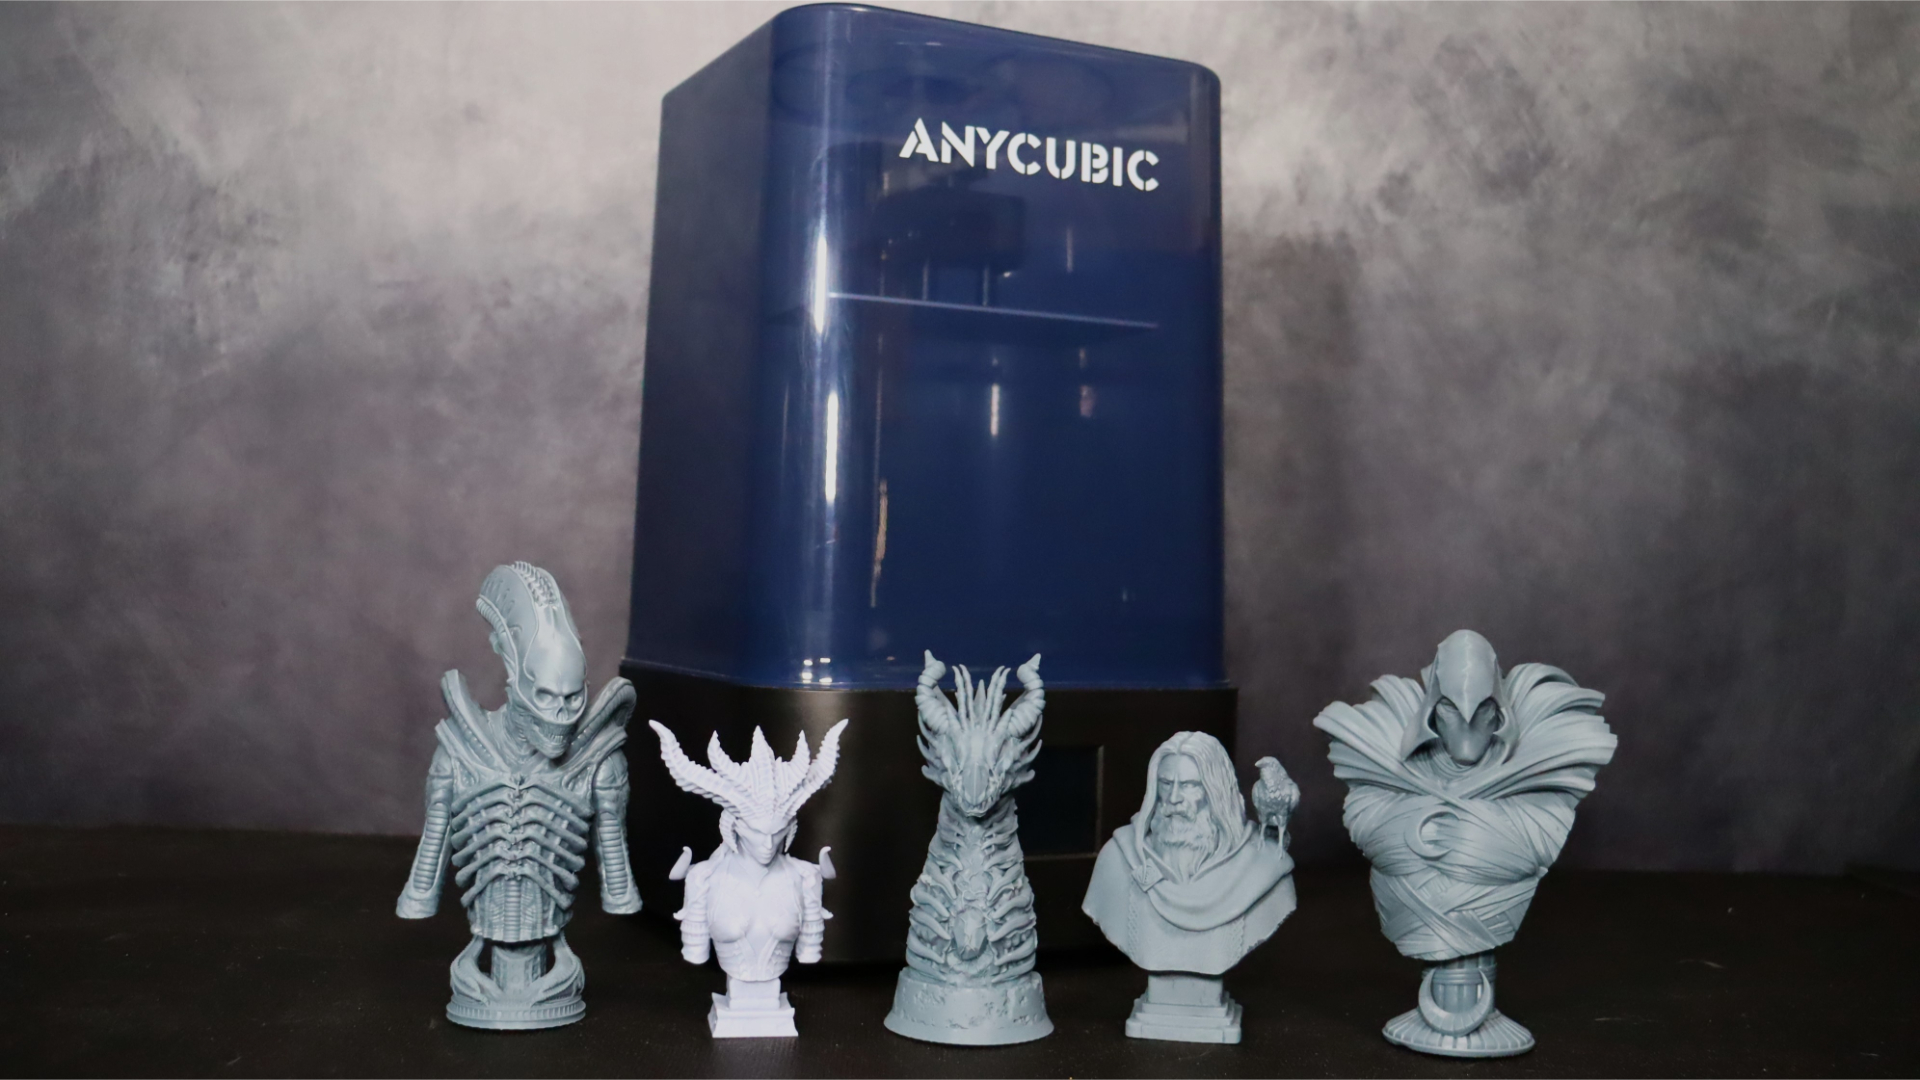
If you're in the market for a high-quality LCD resin printer, whether you're a beginner or an experienced user looking to expand your capabilities, the Anycubic Photon Mono 2 is an excellent choice. We found the Photon Mono 2 is easy to set up and we never ran into any issues when using it.
All the models we printed turned out flawlessly, with no adhesion problems or failed prints. Additionally, the quality of the printed models was exceptional, with excellent detail and sharpness. Based on our testing, we wholeheartedly recommend the Anycubic Photon Mono 2 to anyone looking for an affordable, reliable, and high-quality 3D printer.
If this 3D printer isn't for you
There are numerous options available if the Photon Mono 2 doesn't meet your specific requirements. Ultimately, the choice of a 3D printer will depend on the specific needs of the user, such as budget, printing resolution, build volume, and ease of use, among other factors.
For those seeking a larger build volume or even higher resolution, the Anycubic Photon M3 Premium is an excellent choice that we rated as the best 8K resin printer currently available. At time of writing, it has an MSRP of $719 via the Anycubic store, though it can often be found on sale for less.
If you're looking for even higher quality prints, then you can also check out some of the DLP printers out there, including the Anycubic Photon D2. It costs more than the Mono 2, but the quality of prints you get is staggering. It has an MSRP of $679 via the Anycubic store, but deals regularly bring its cost under $500.


