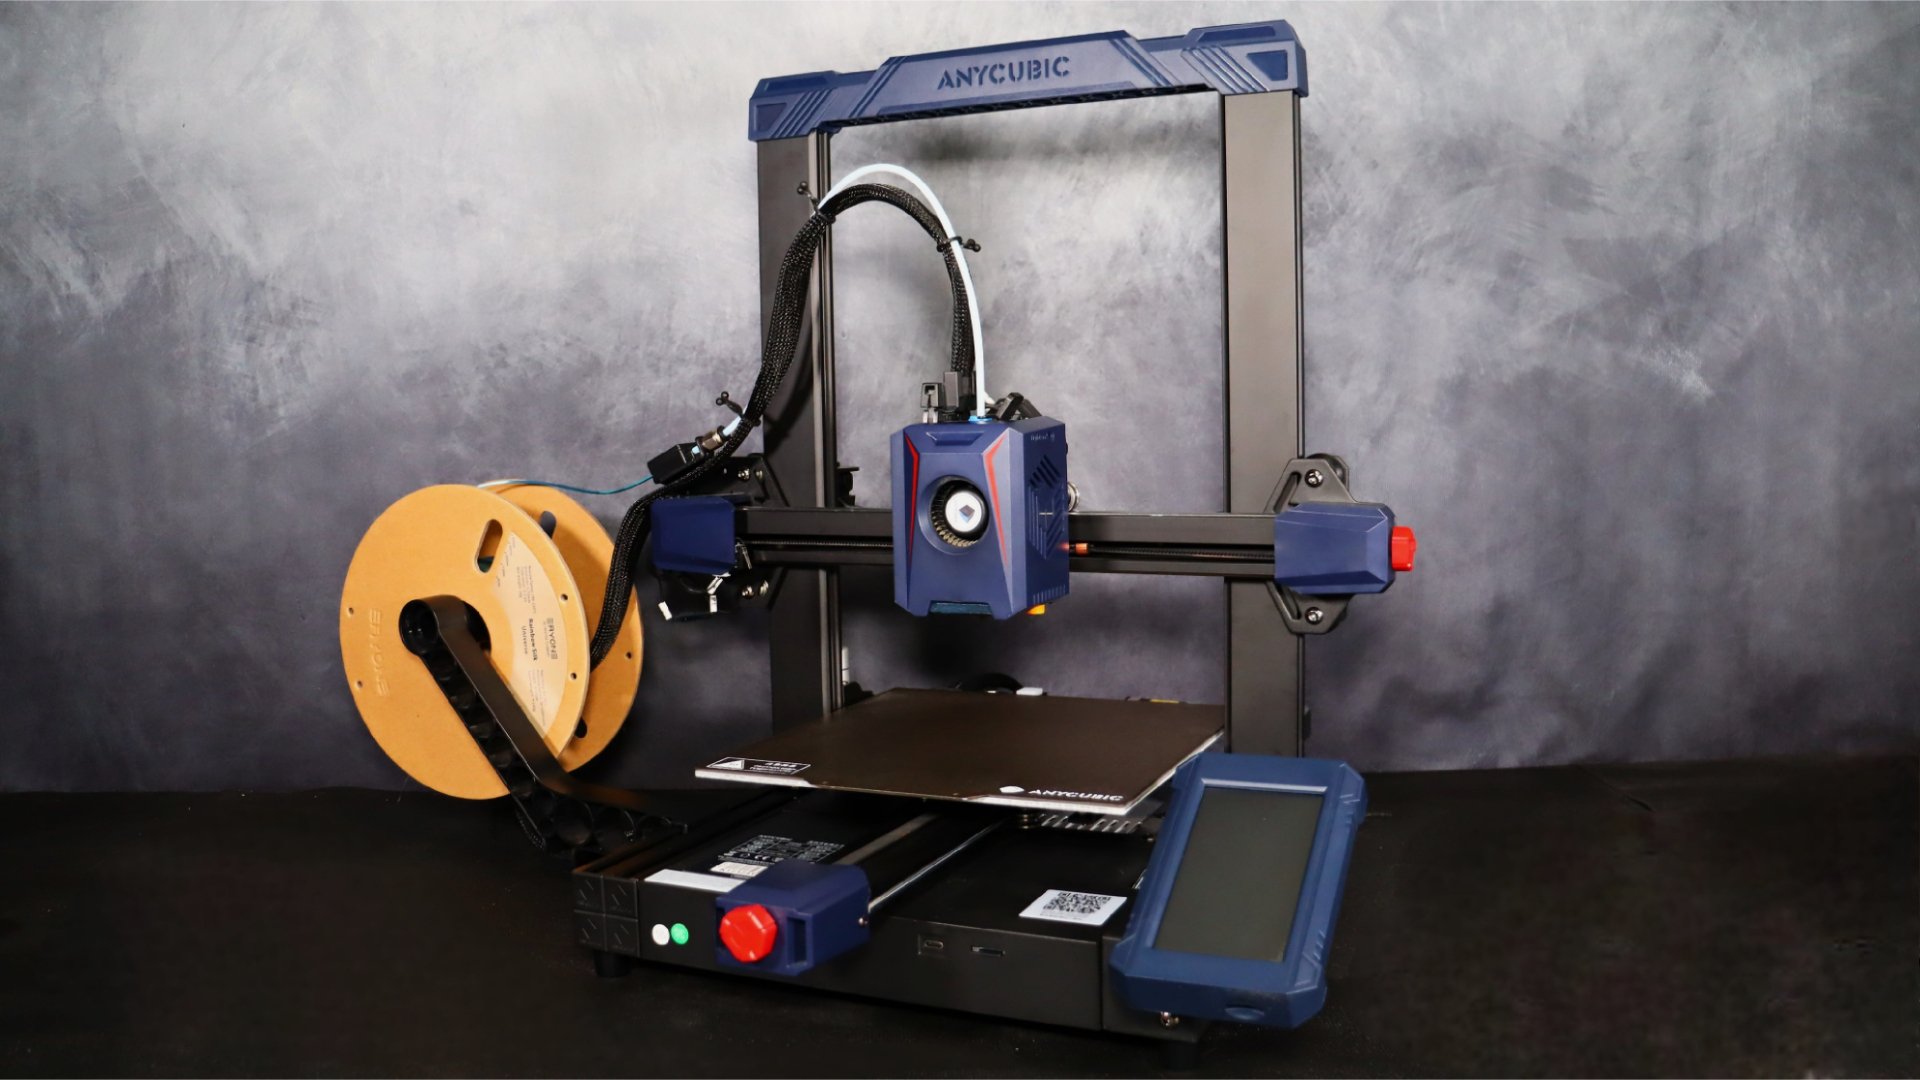
It has been a year since Anycubic launched the Kobra Line of printers and what a year they’ve had, with several of them already littering our roundup of the best 3D printers. Now, Anycubic is introducing the new and updated version, the Kobra 2.
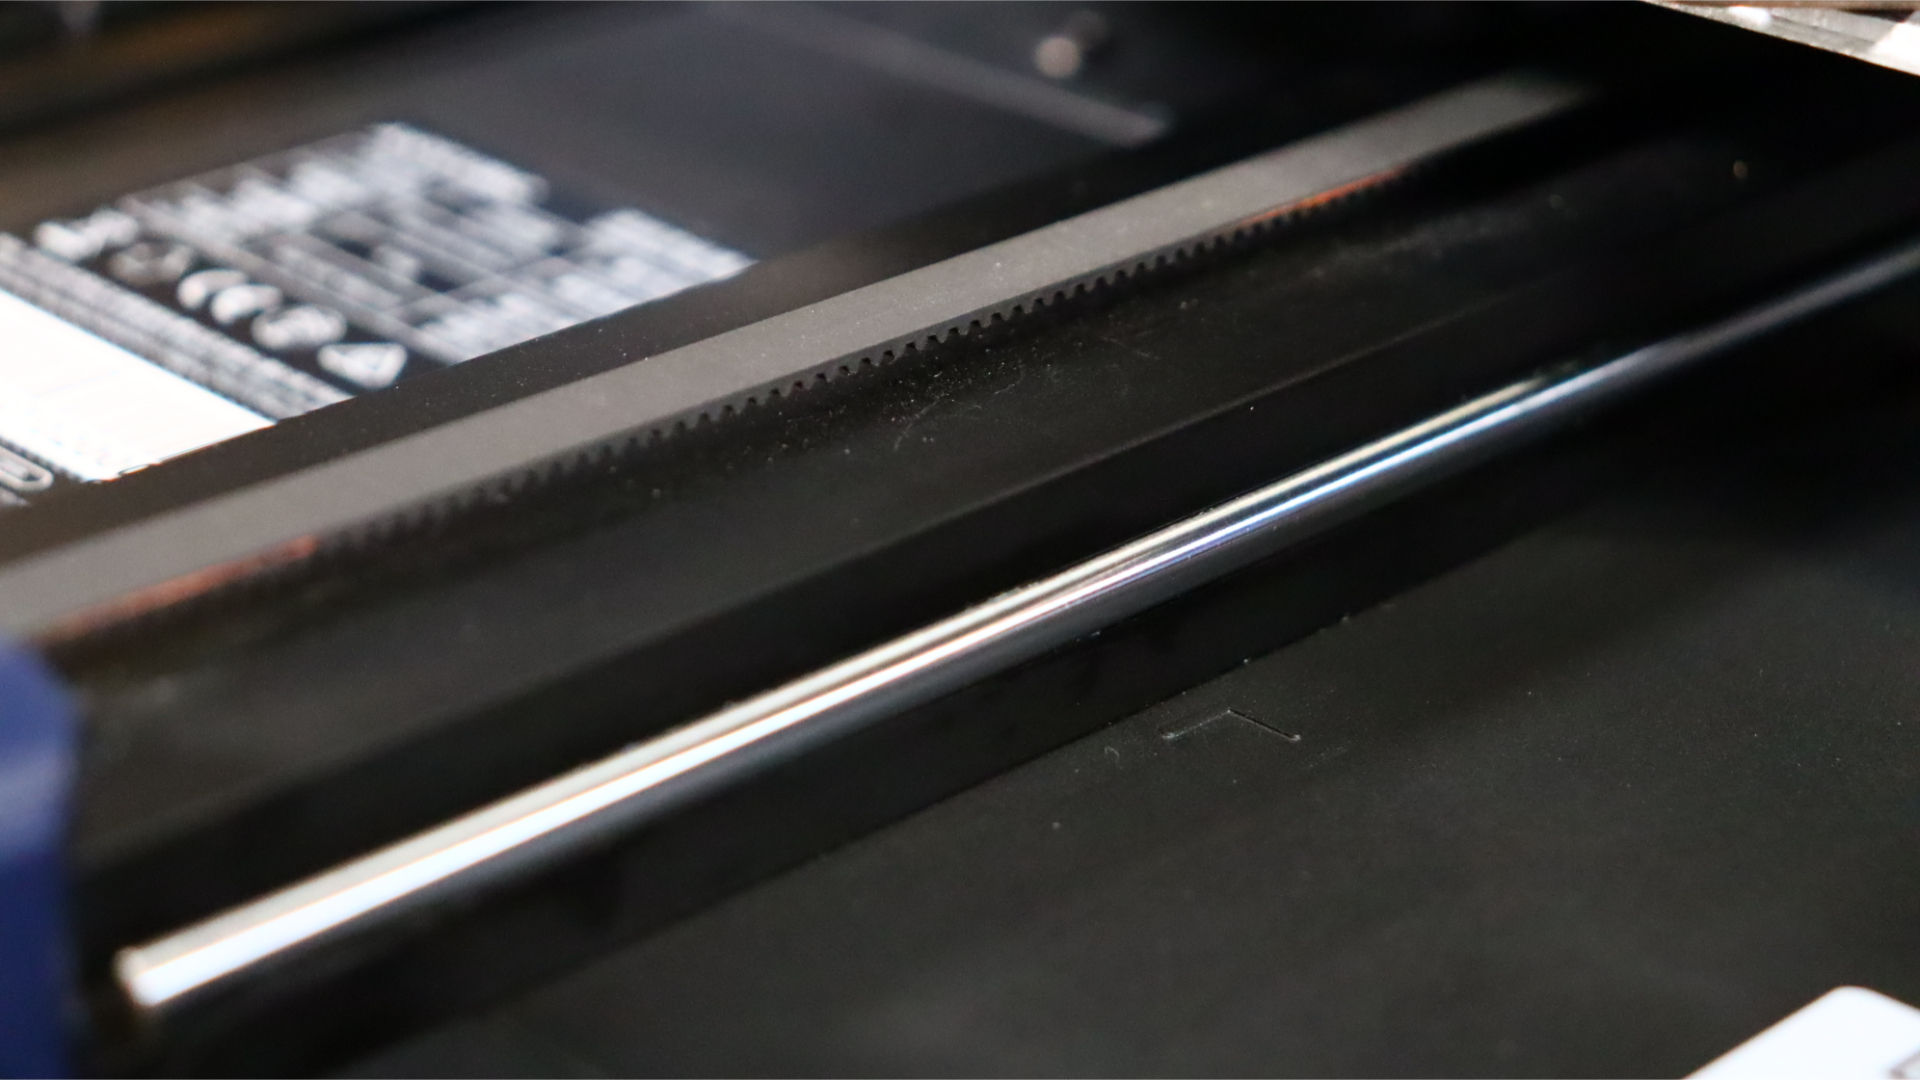
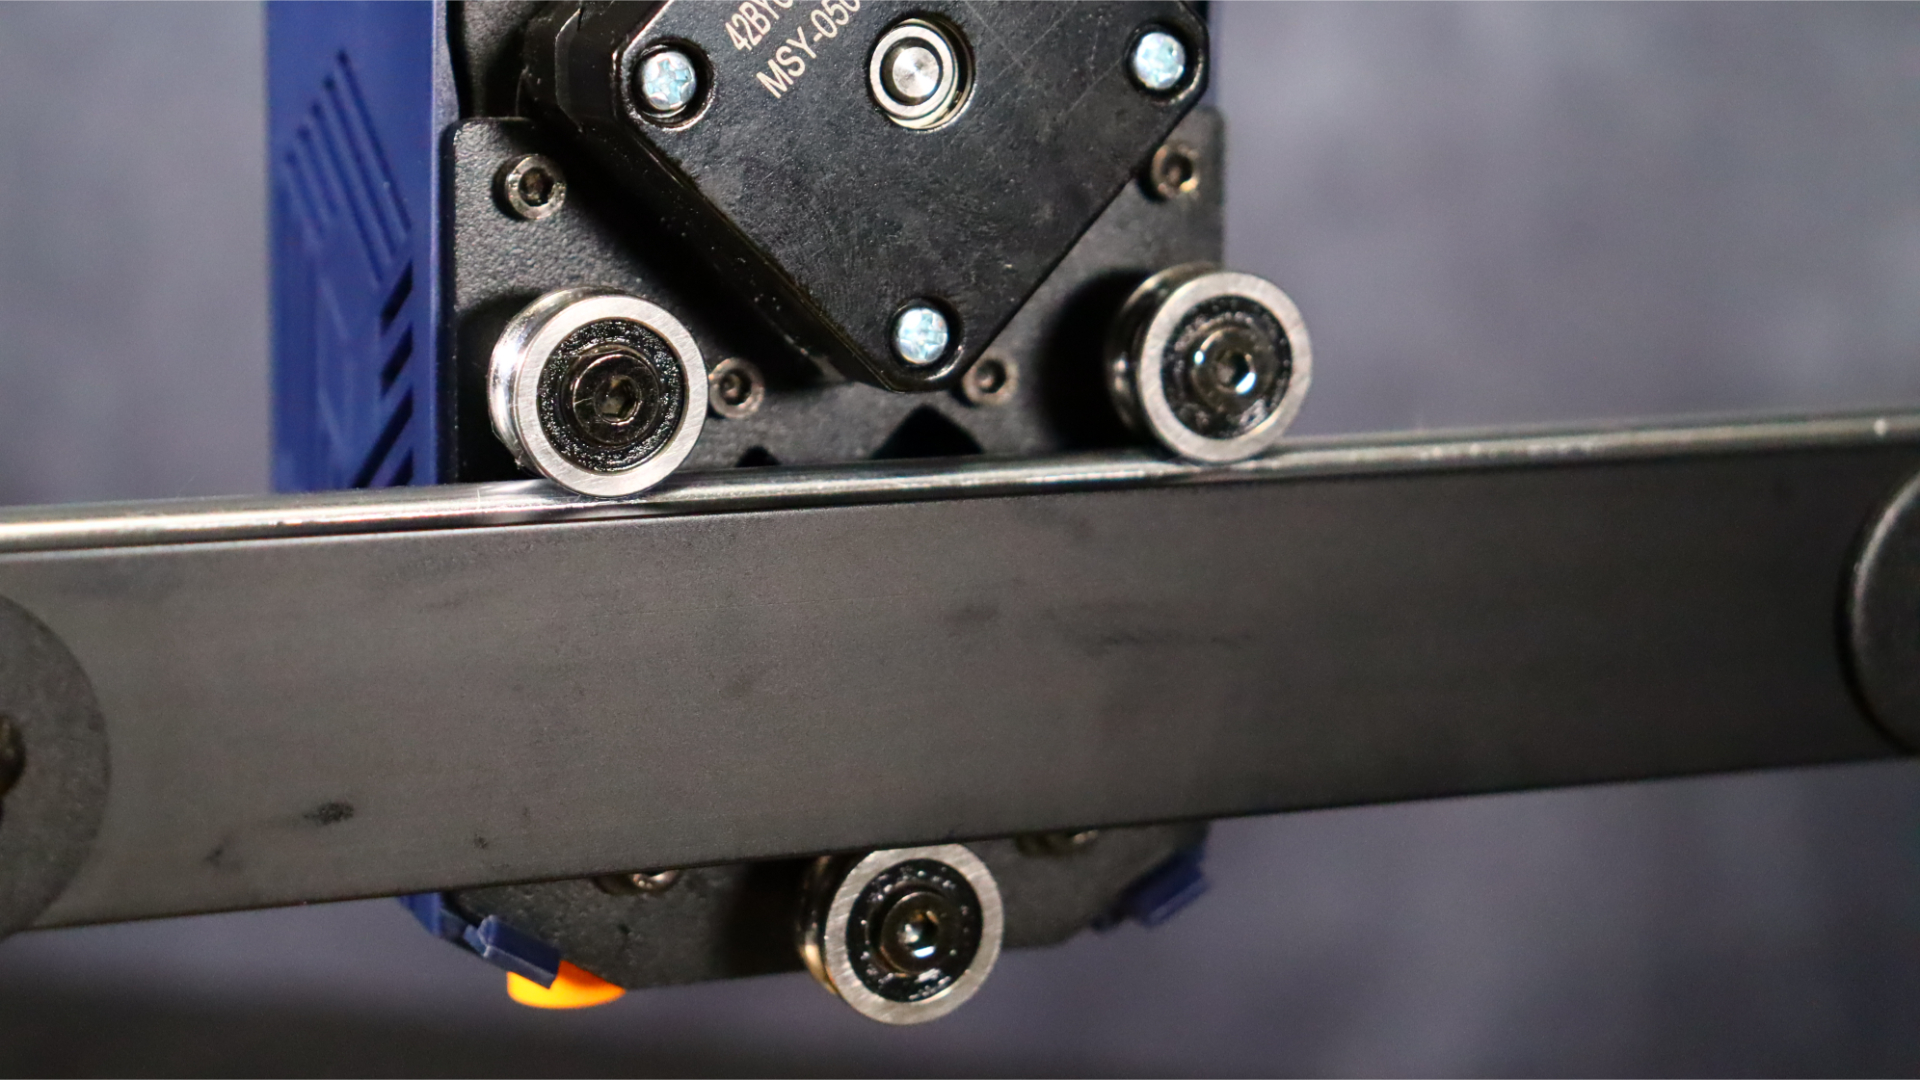
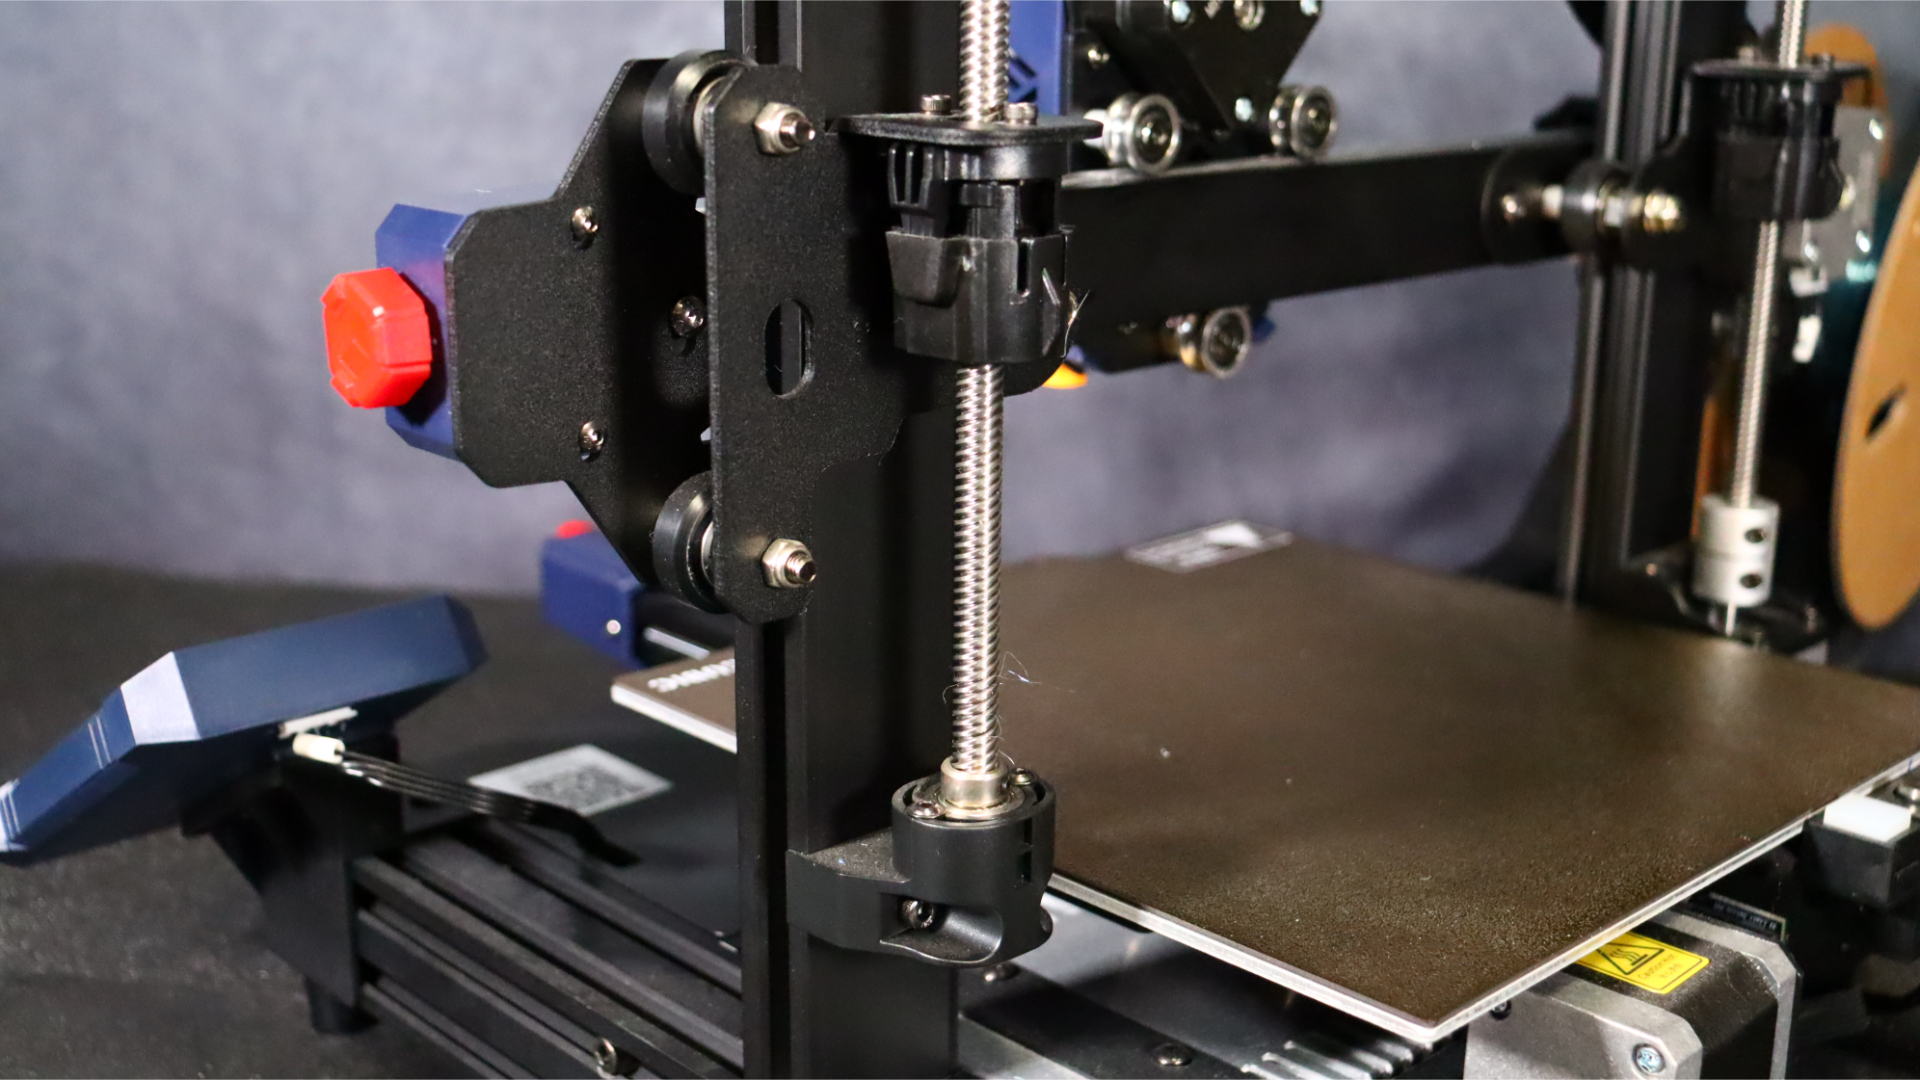
Although the Kobra 2 has the same build volume as its predecessor, it brings significant upgrades to the table. The X and Y axes have been transformed into a rail-like system with metal rollers, offering higher speeds and avoiding the wear issues commonly found in V-wheel setups over time.
The hot end and extruder setup have also undergone an upgrade, featuring a new high-flow hot end and direct drive setup that surpasses the capabilities of the previous Kobra line. As a result of all this, the new Anycubic Kobra 2 is significantly faster than its older siblings, boasting an average print speed of 150 mm/s and a maximum printing speed of 250 mm/s.
With these upgrades, and the ease of use that made the original Kobra such a hit, the Kobra 2 is poised to leave its predecessors behind and establish itself as the new default 3D printer for beginners. Let's put it through its paces.
Anycubic Kobra 2: Setup & design
- Semi-assembled, but still easy to setup
- Auto-levelling
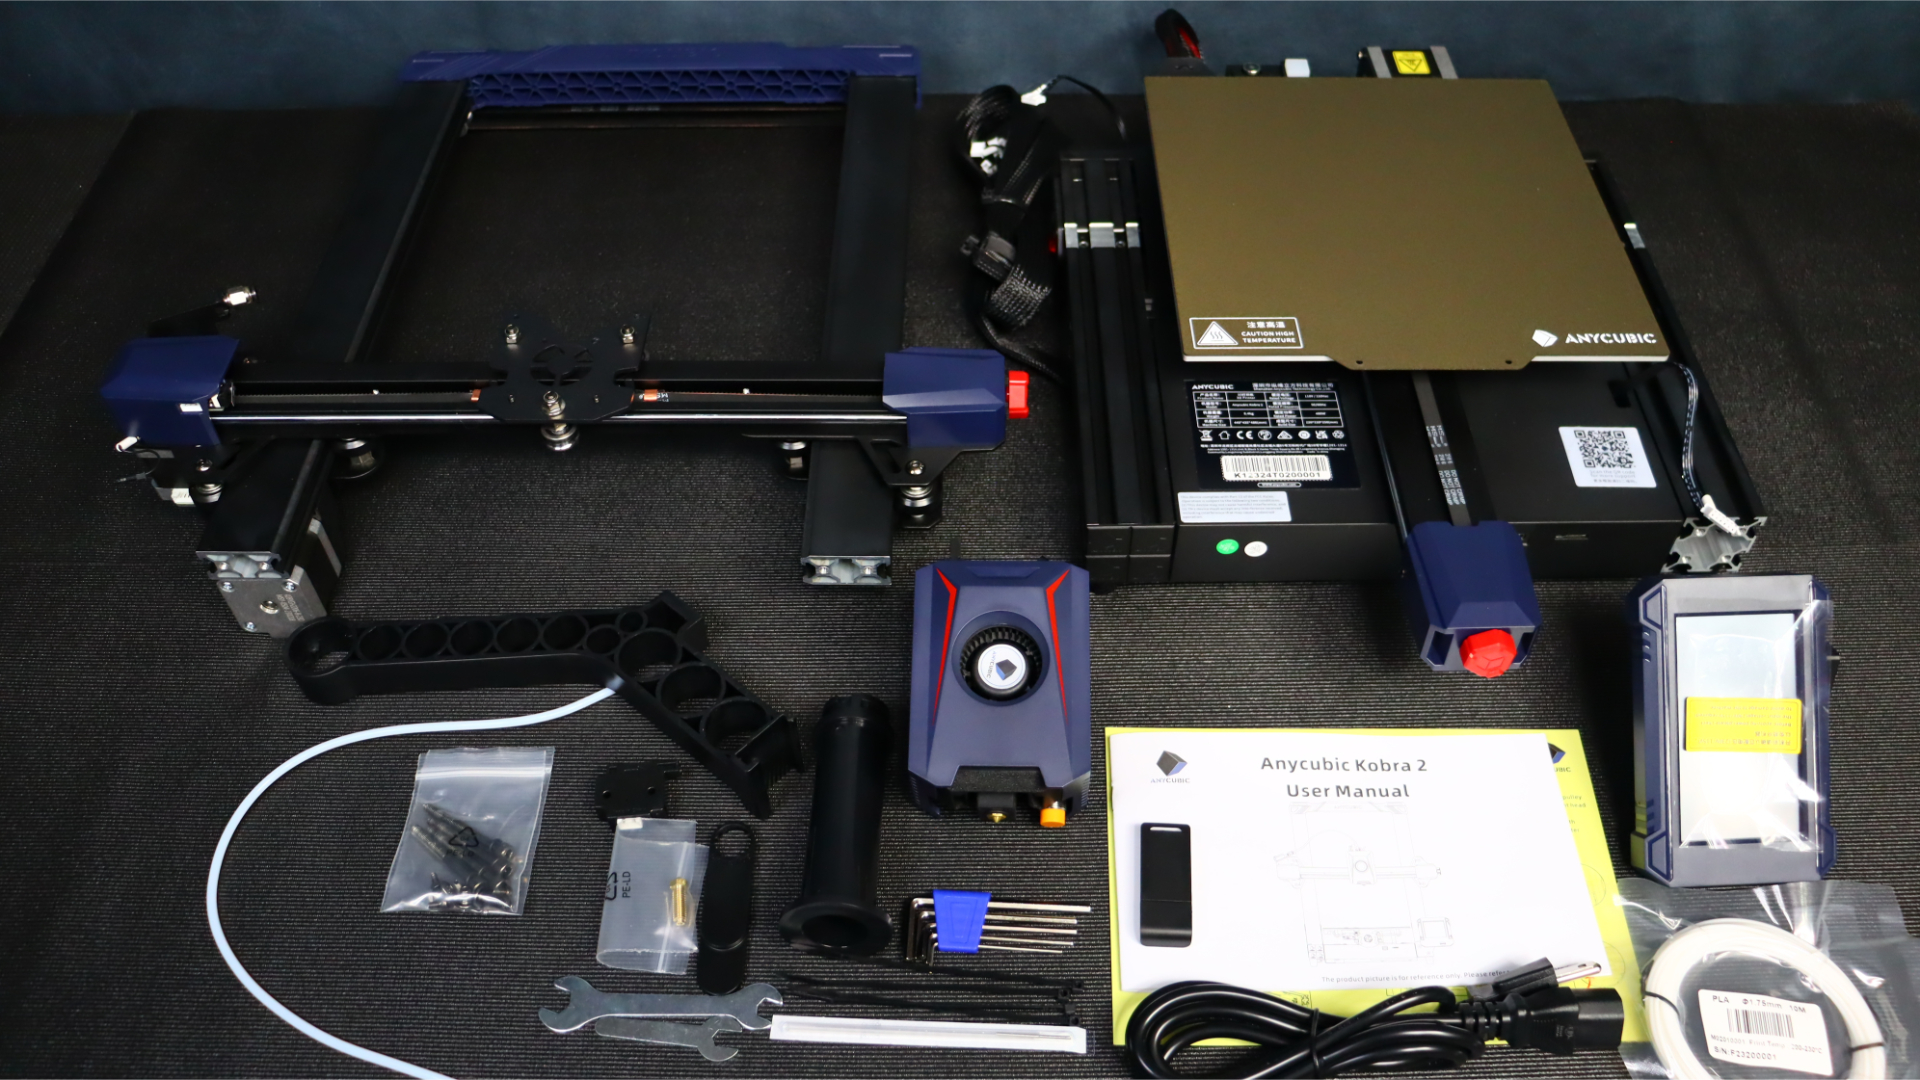
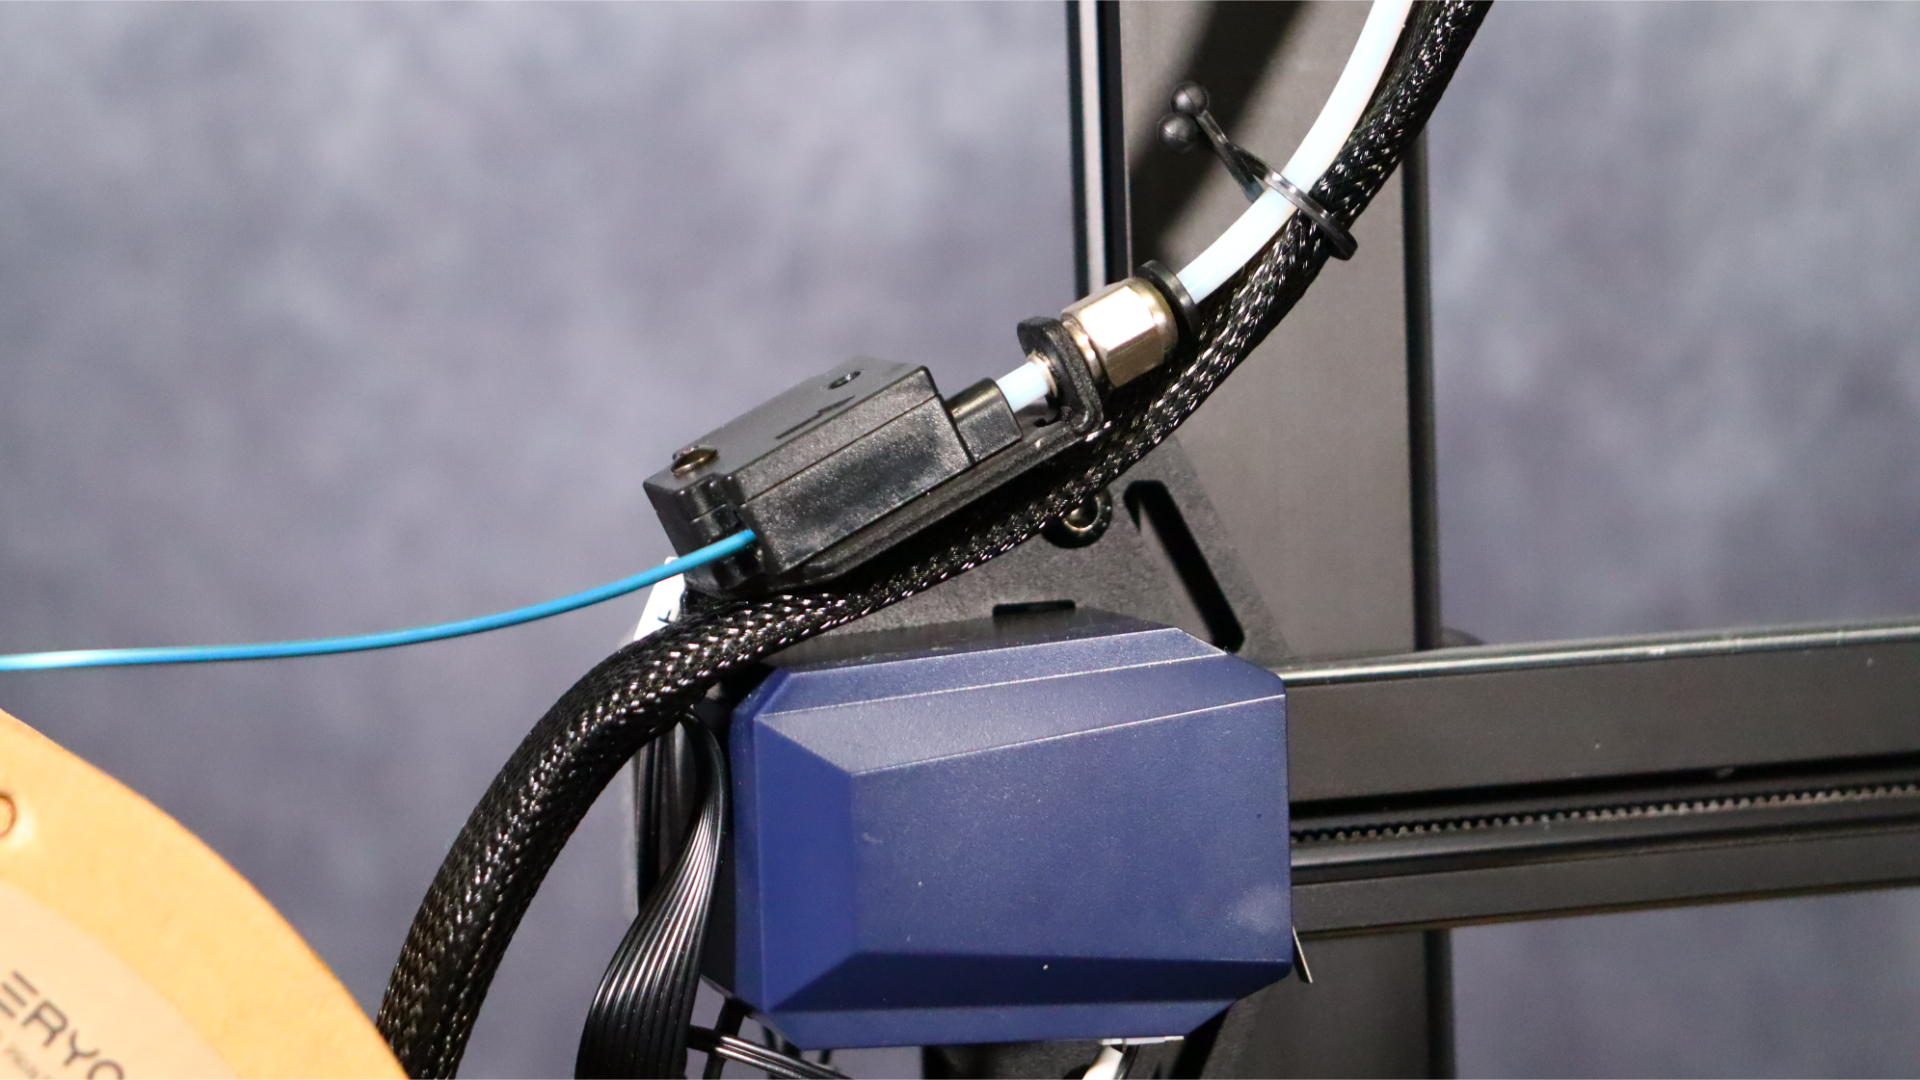
Similar to its predecessor, the Kobra 2 comes partially assembled, requiring only a few steps to complete the assembly process. The first step involves attaching the upright assembly using the four provided screws. Next, you will connect the extruder hot end combo to the X gantry backplate, securing it with the supplied four screws. Afterward, you can proceed to attach the touchscreen bracket along with the touchscreen itself, ensuring the cables are properly connected. Additionally, you will attach the filament run-out sensor and connect the Bowden tube from the sensor bracket to the hot end.
Kobra 2 base
Upright assembly
Direct driver extruder/ hot end
Touchscreen and mount
Filament spool holder
Filament run out sensor
USB card reader
Micro SD card
Spare 0.4mm nozzle
Power cable
Bowden tube
Level sensor height gauge
Cable clips x3
Assembly screws
Assembly tools
User manual
For the remaining assembly steps, you will need to attach the filament spool holder to the side of the printer and connect all the cables to their corresponding plugs. Anycubic has thoughtfully labeled each plug, making the process straightforward.
Once the assembly is complete, you can use the provided cable clips to secure the hot end cable to the Bowden tube, keeping the cables tidy and out of the way during the printing process. The setup process took us approximately 10 minutes to complete.
Once the assembly was done, we powered up the printer and prepared for our first test print. There is no WiFi, so models have to be transferred via either MicroSD card or the USB-C port on front of the device.
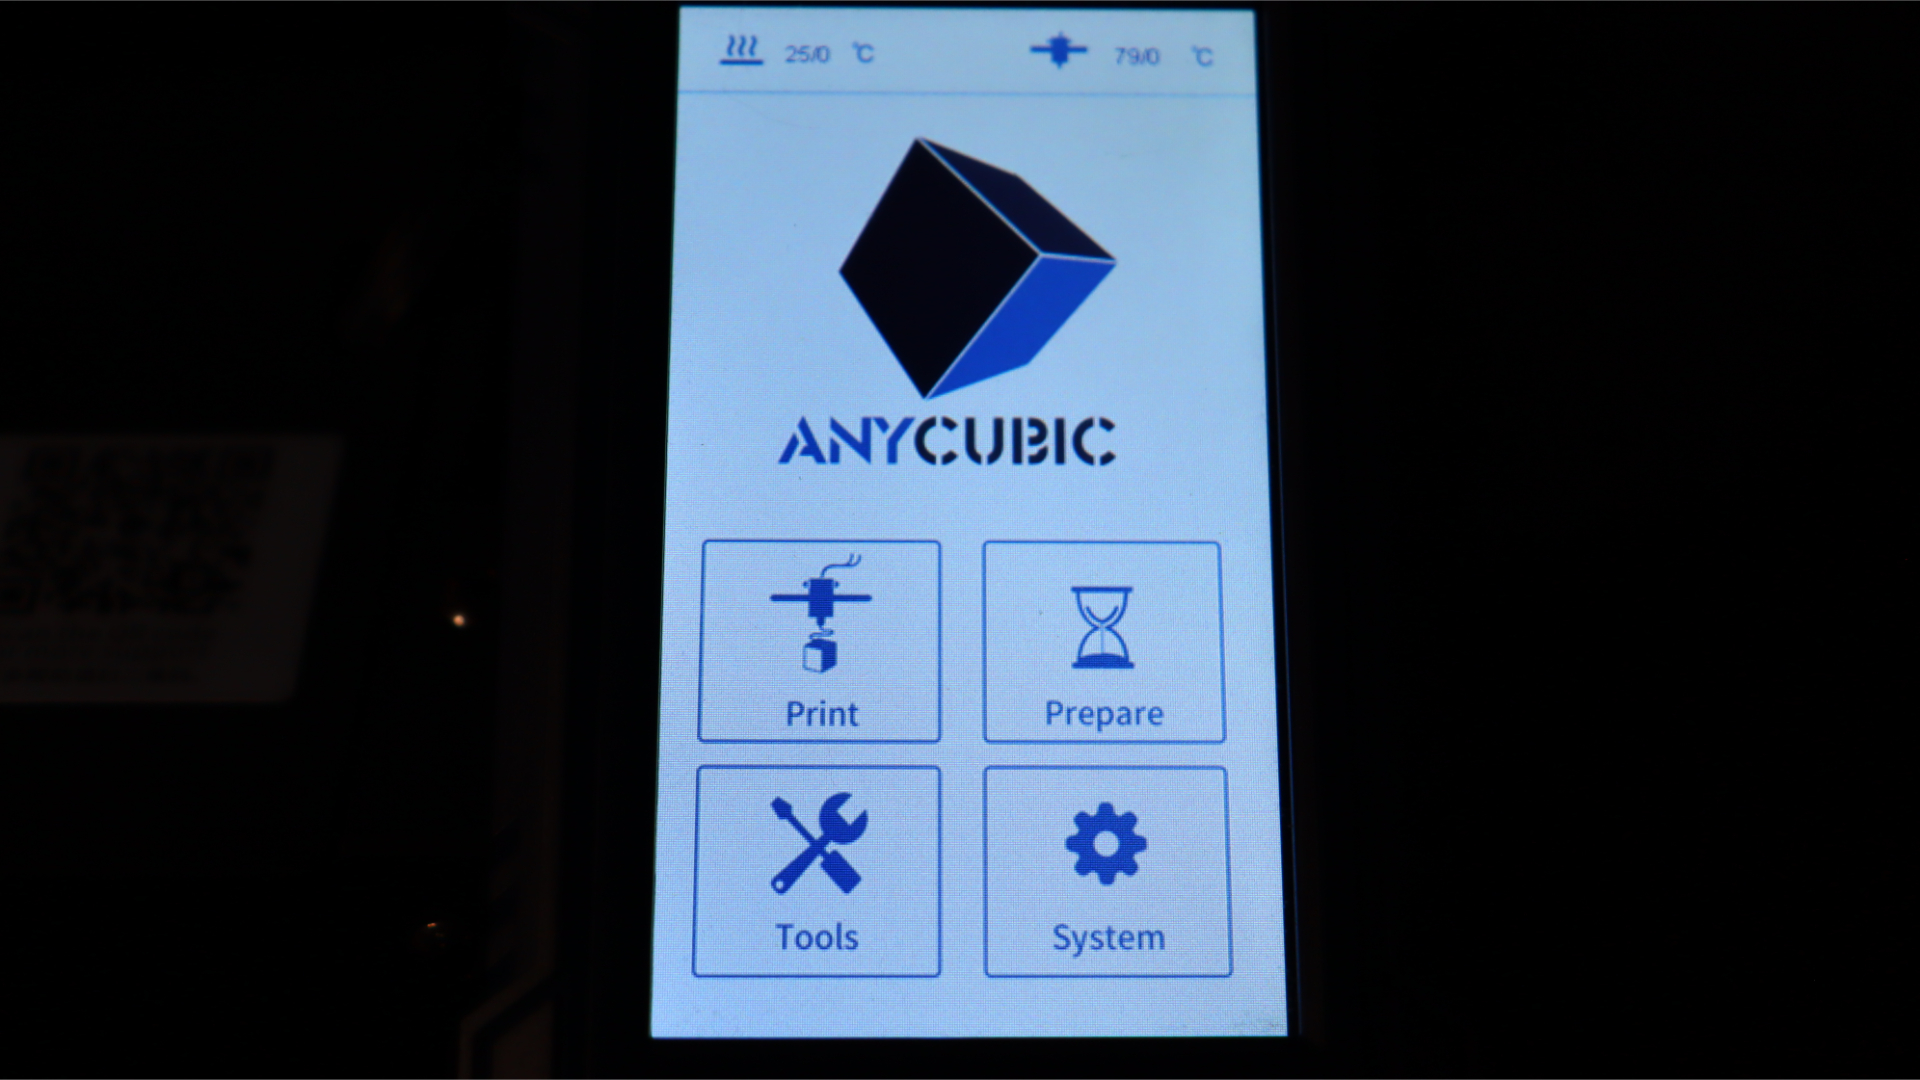
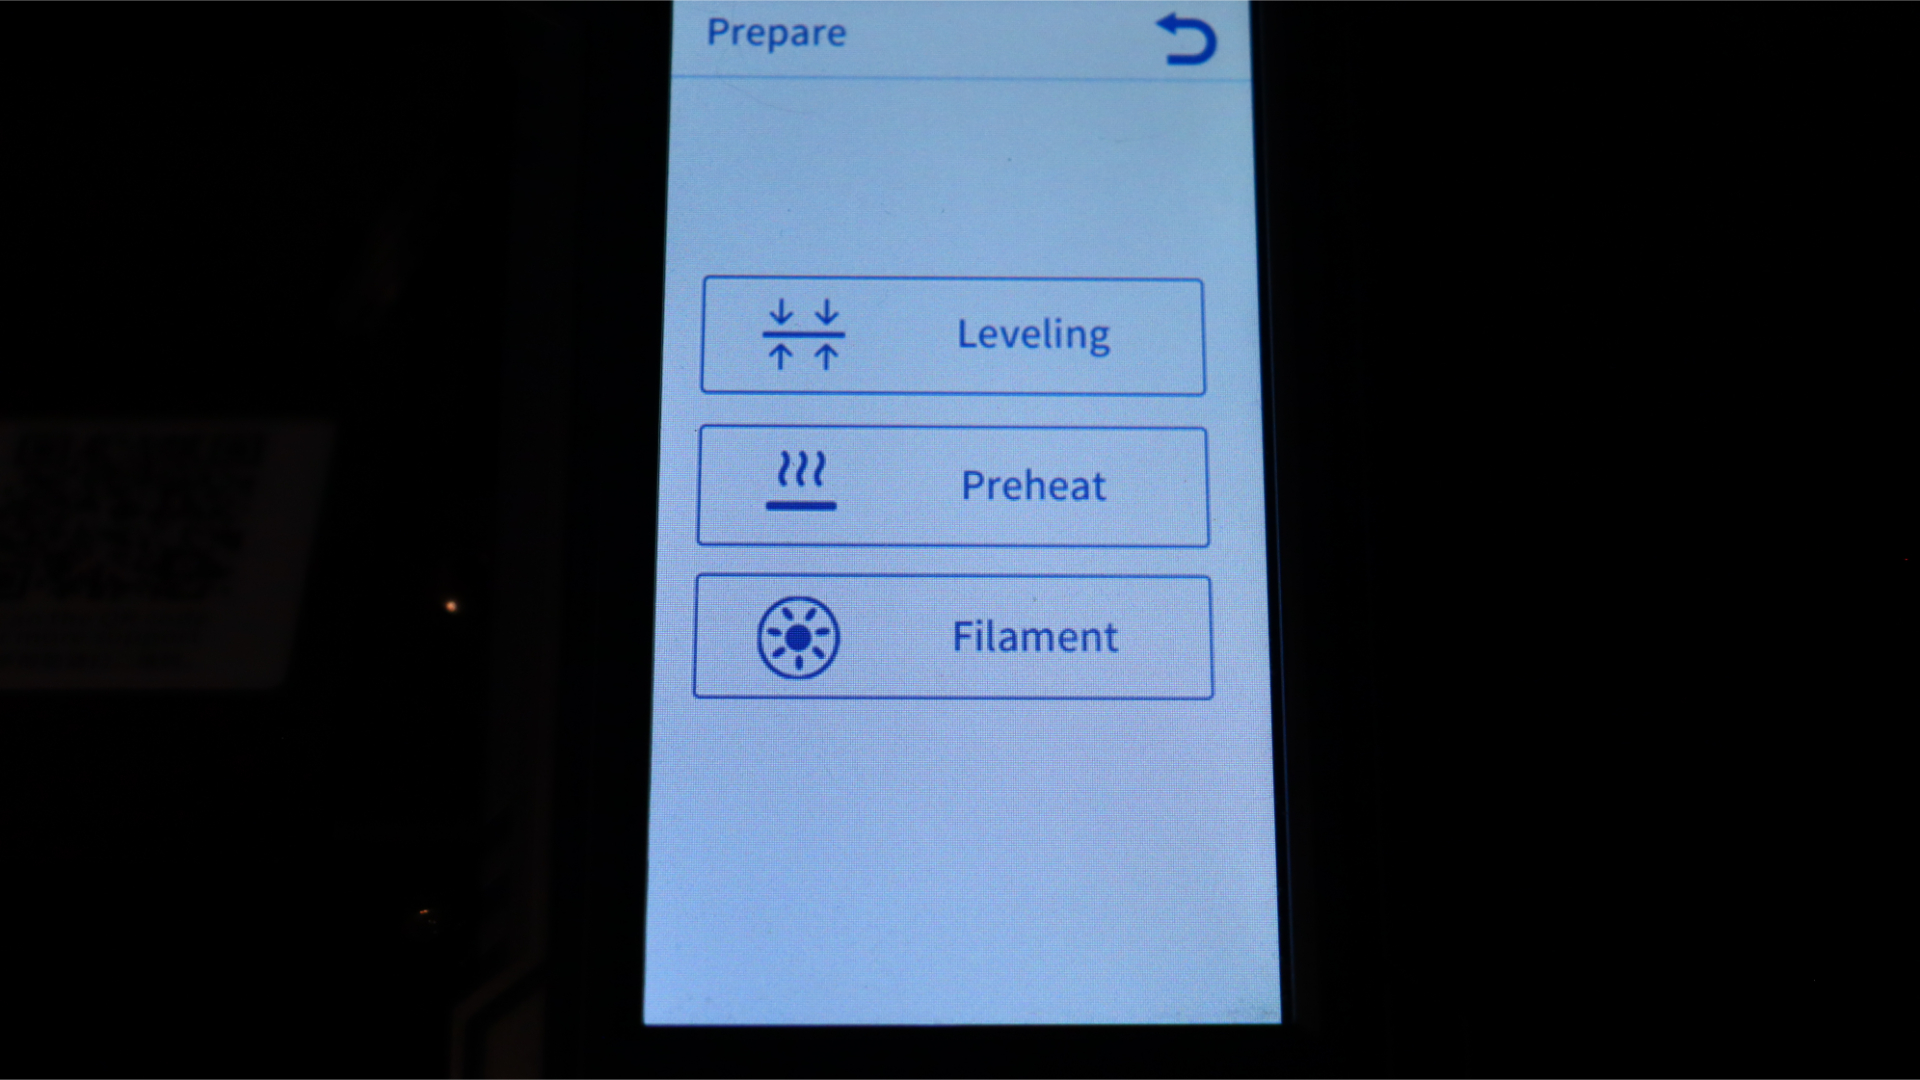
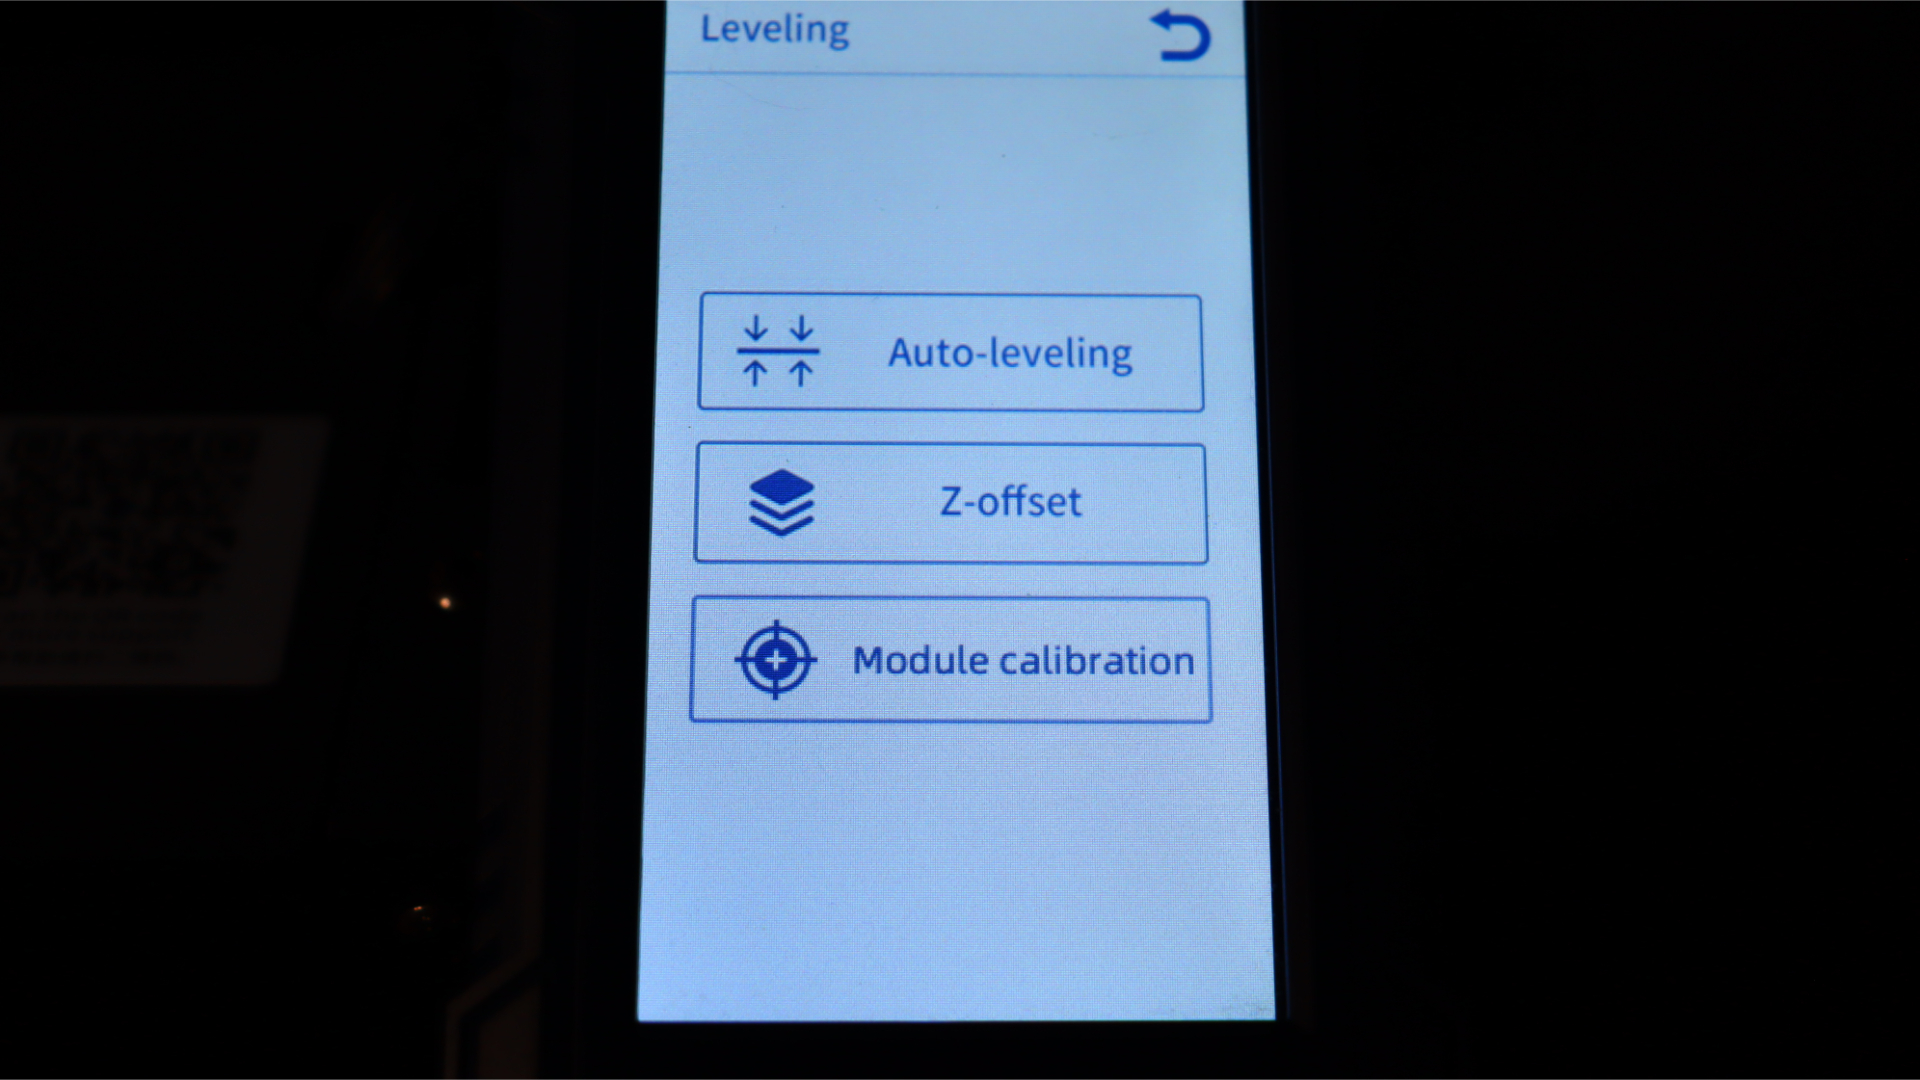
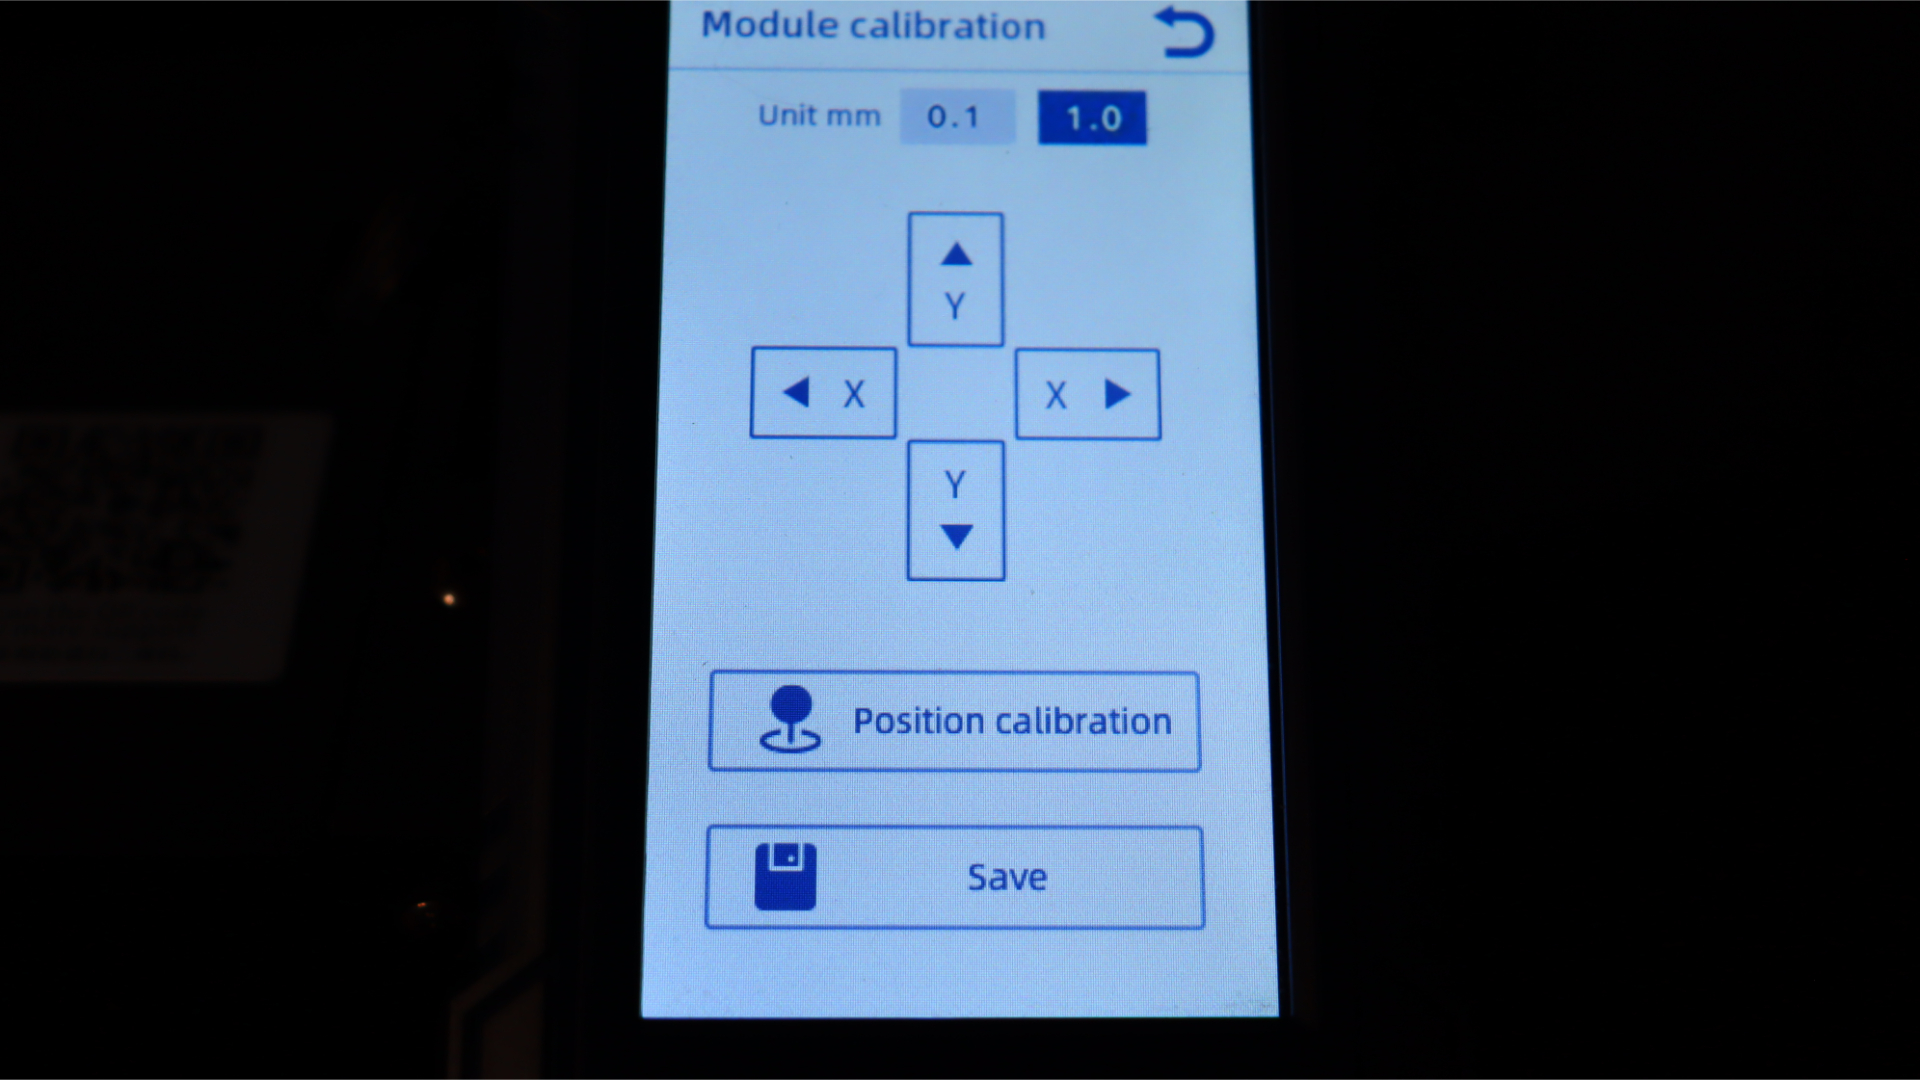
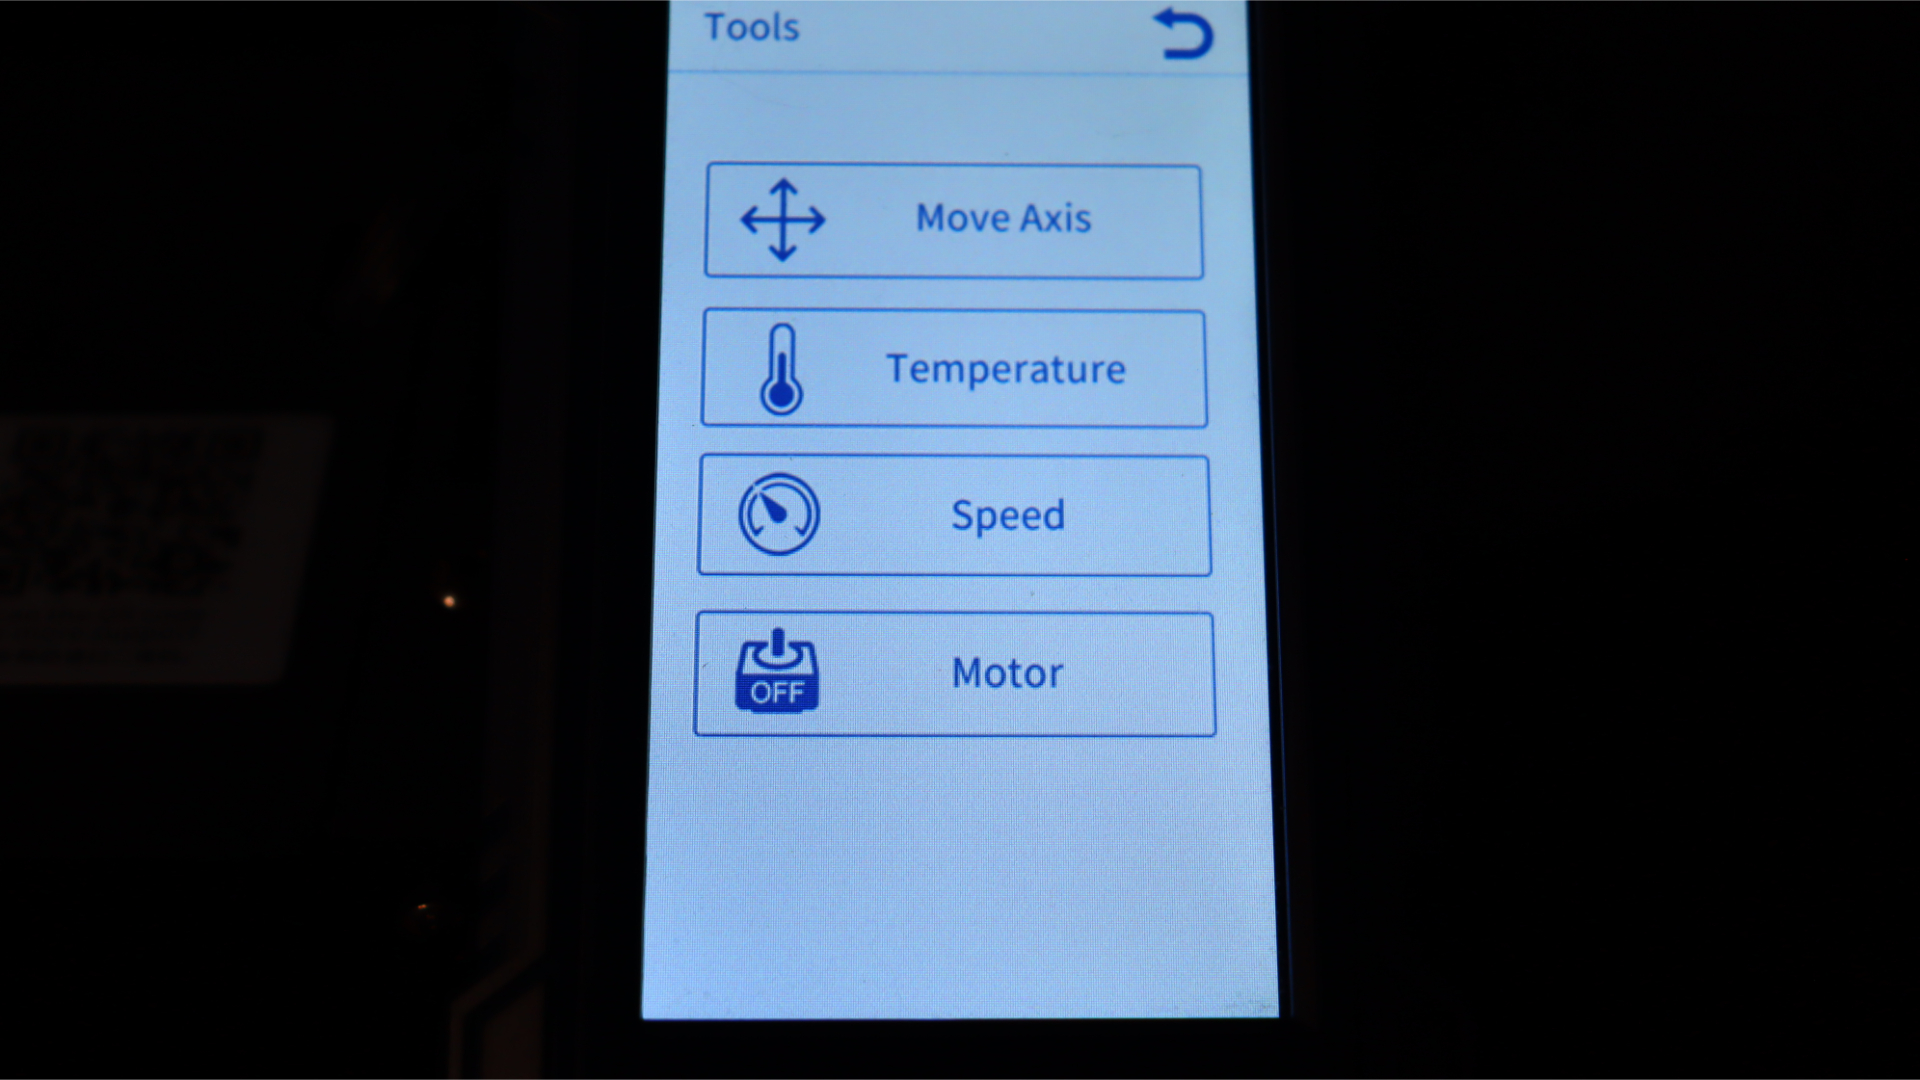
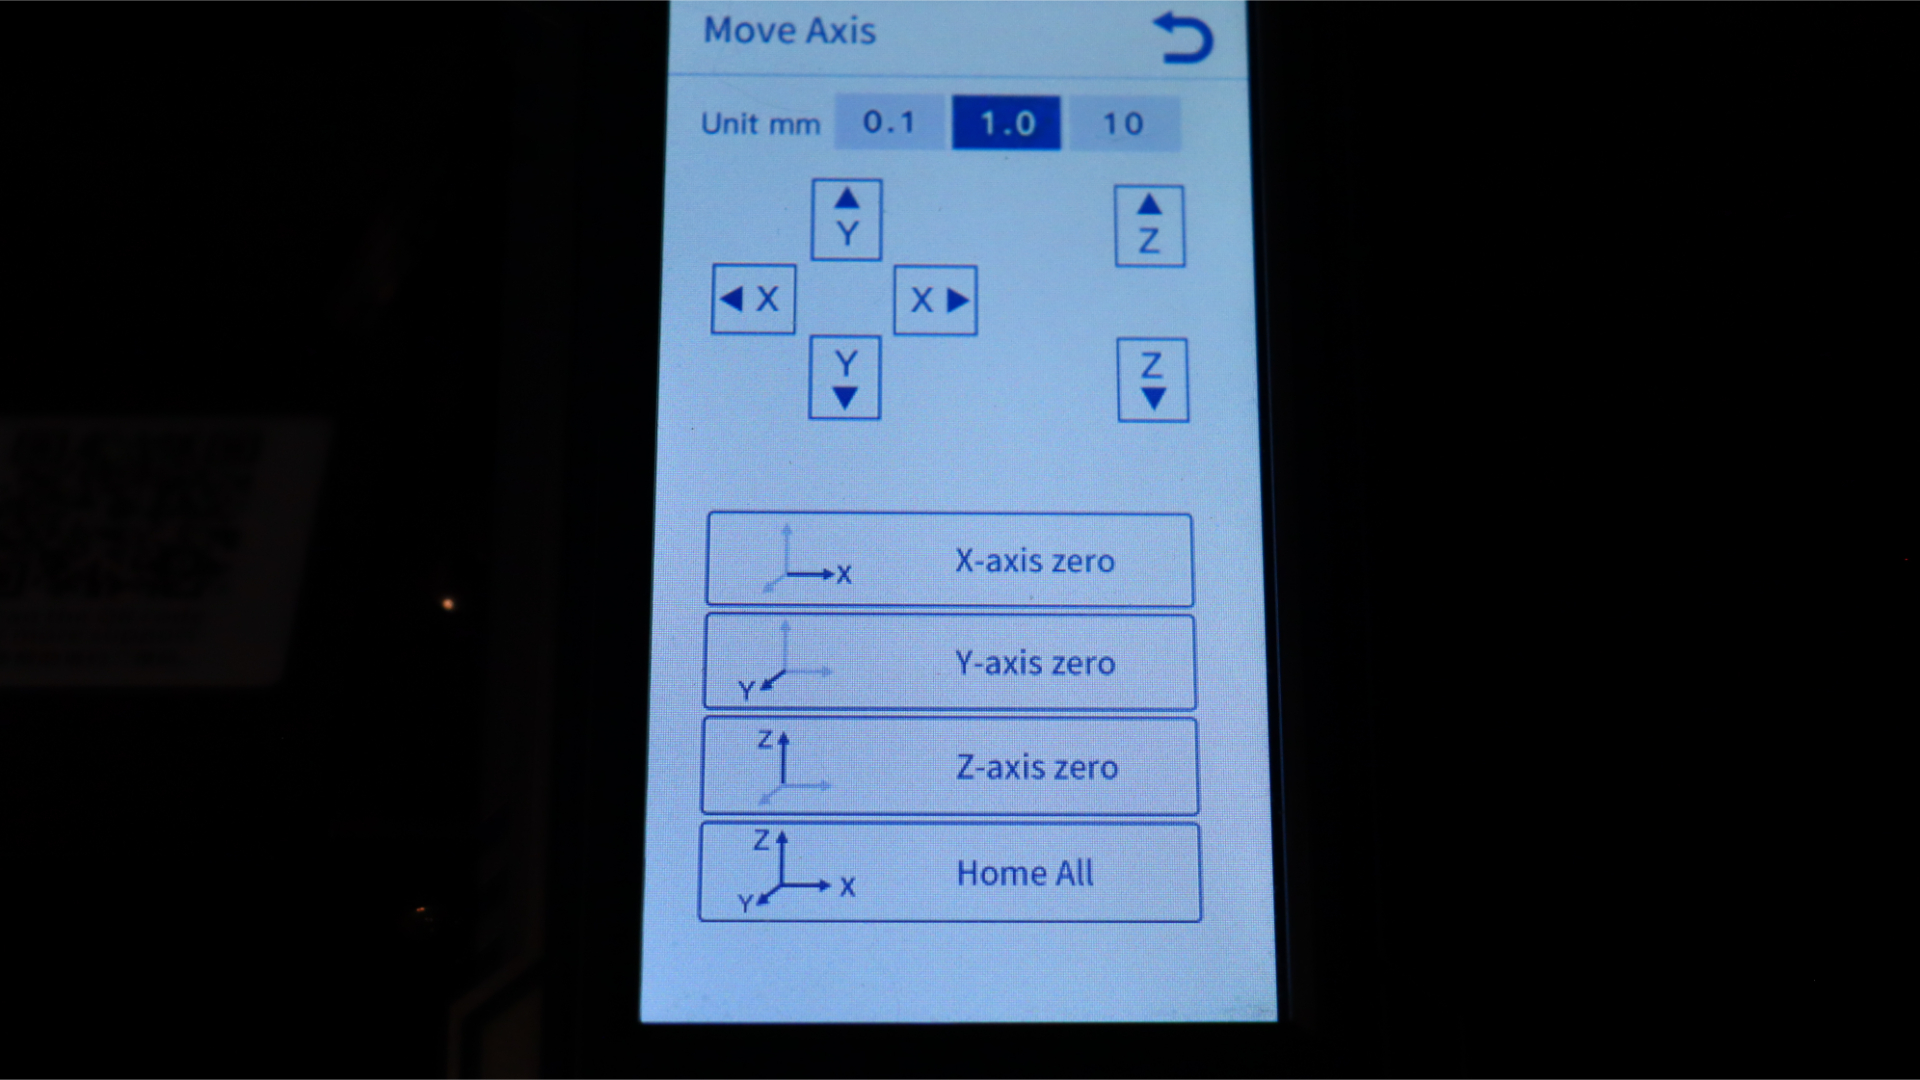
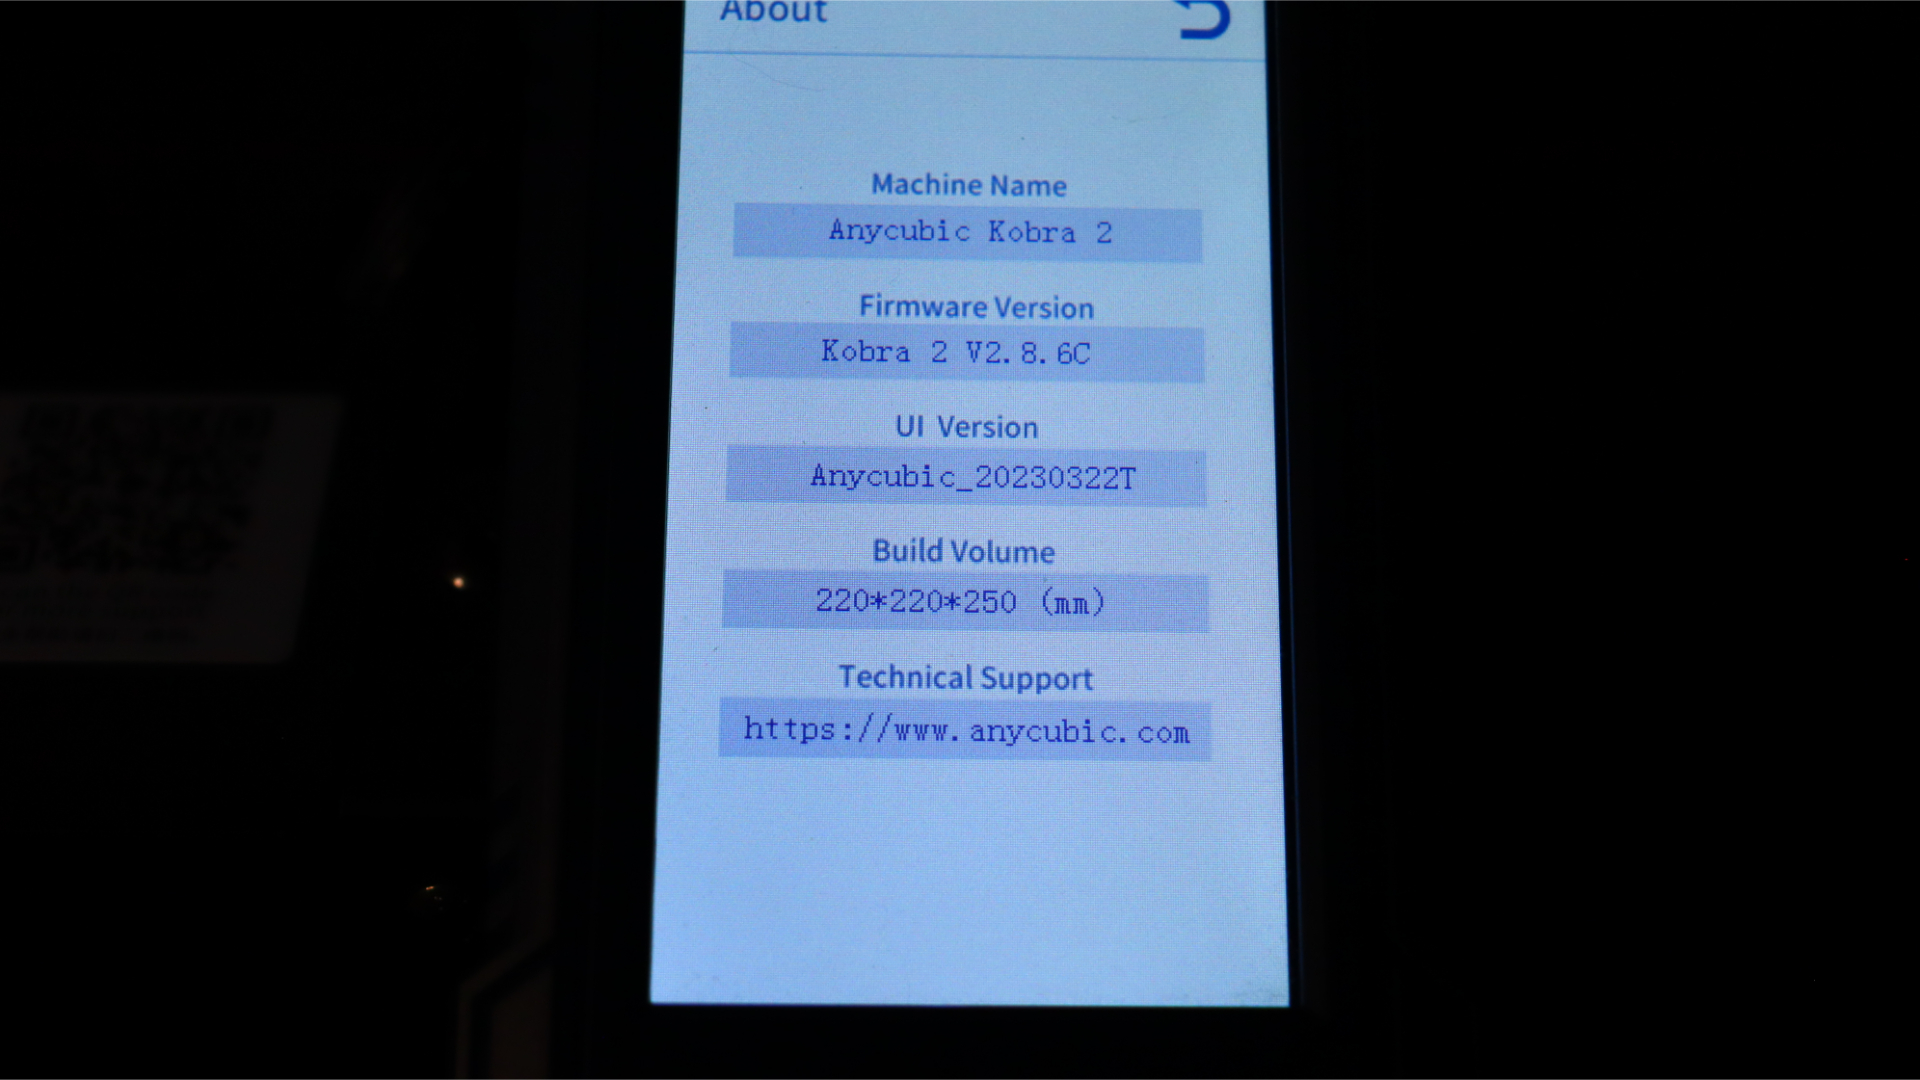
The Kobra 2 shares the same user-friendly touchscreen UI as its predecessor, the Kobra, with only minor changes in the prepare menu. One notable change is the relocation of the auto-leveling option.
Additionally, a new feature allows you to calibrate the nozzle's precise location using the newly introduced calibration pad attached to the back of the print bed. This innovative addition ensures accurate nozzle positioning for optimal printing performance. It’s all very functional, but the UI is starting to feel a little dated and could do with a refresh.
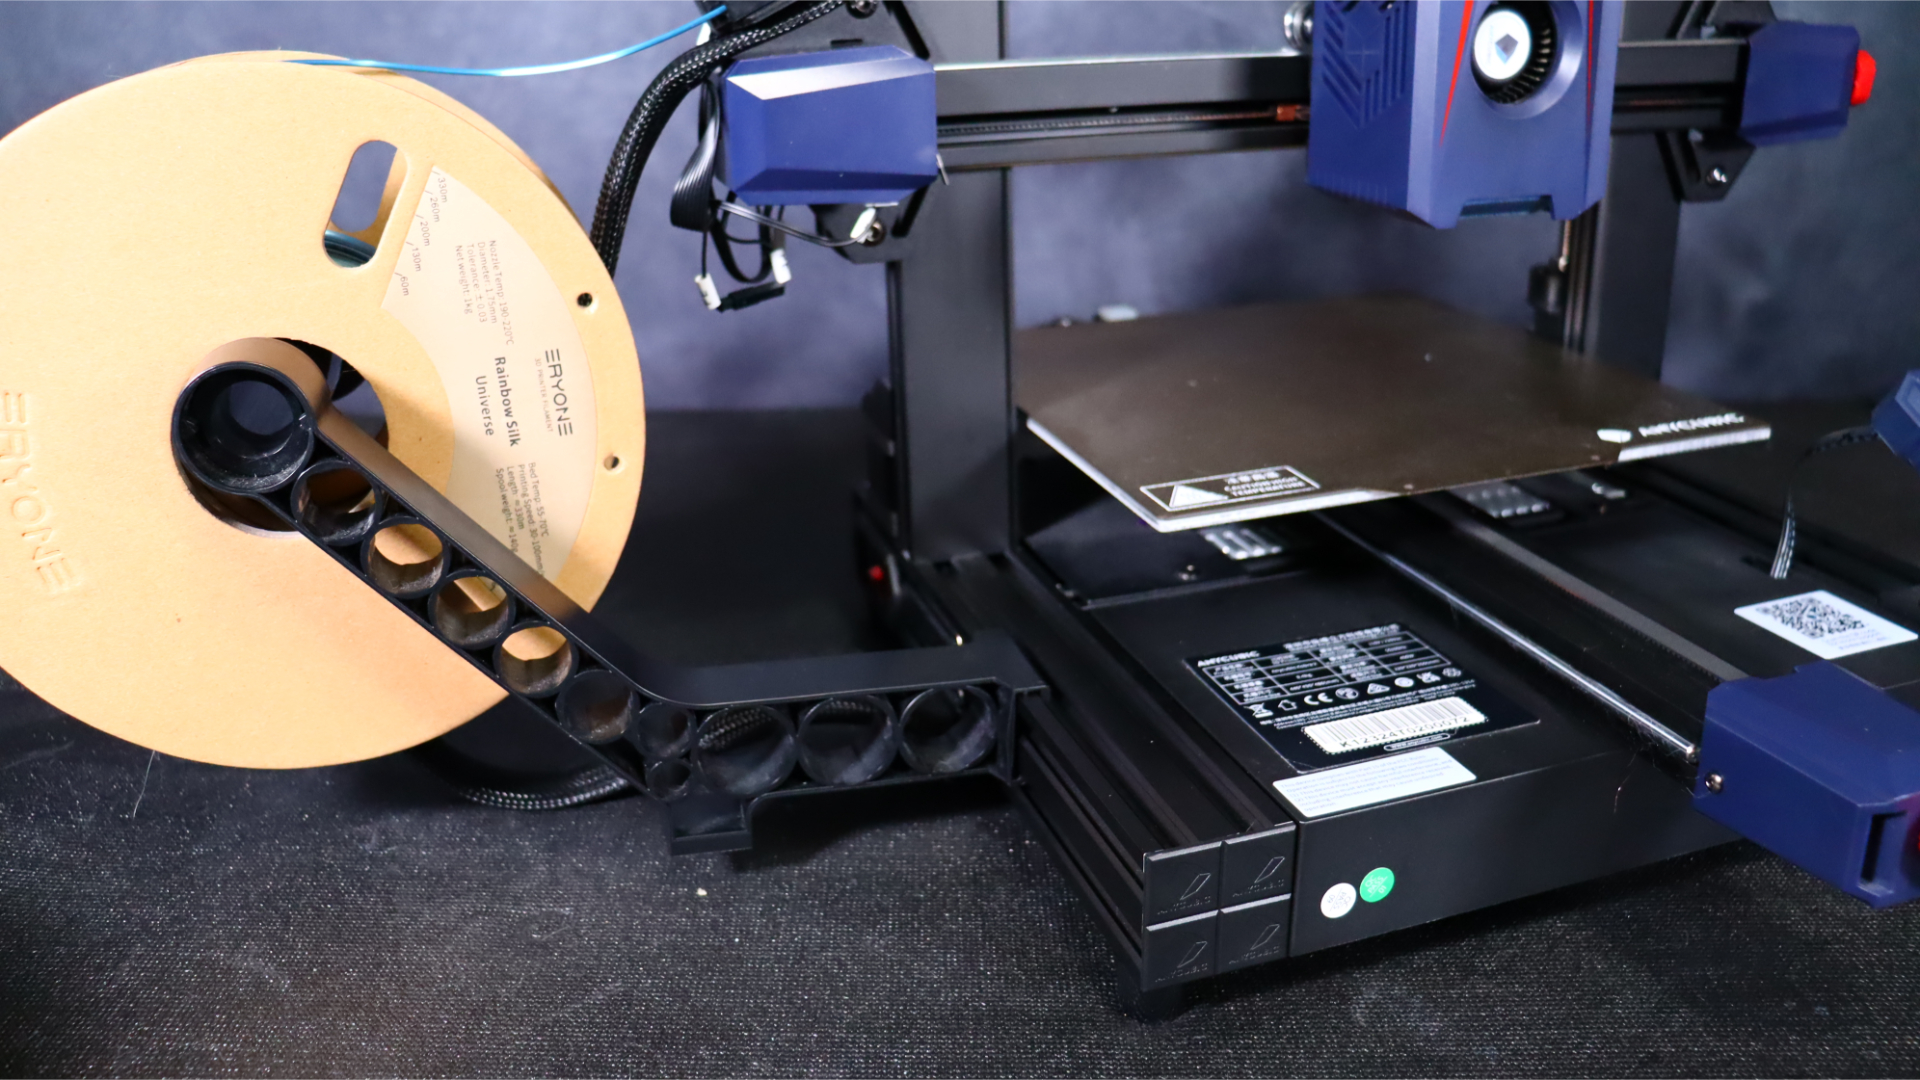
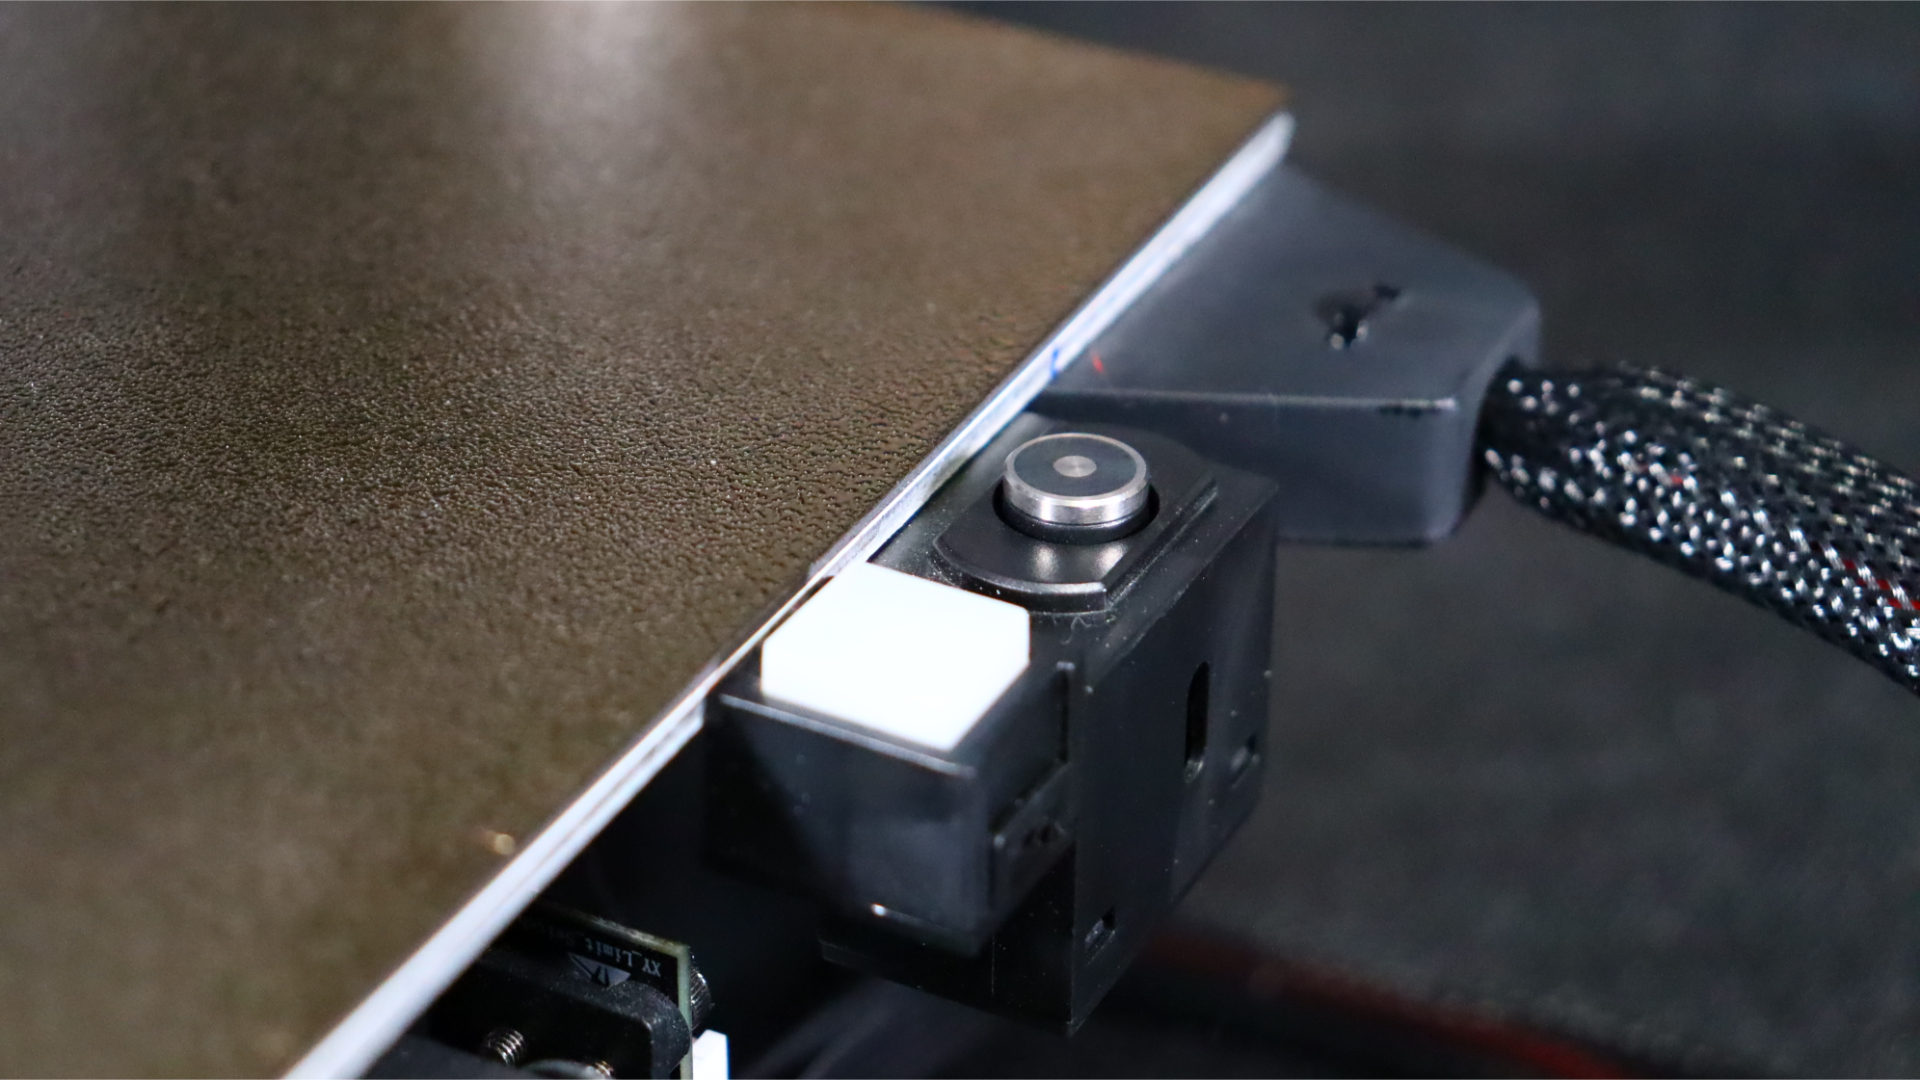
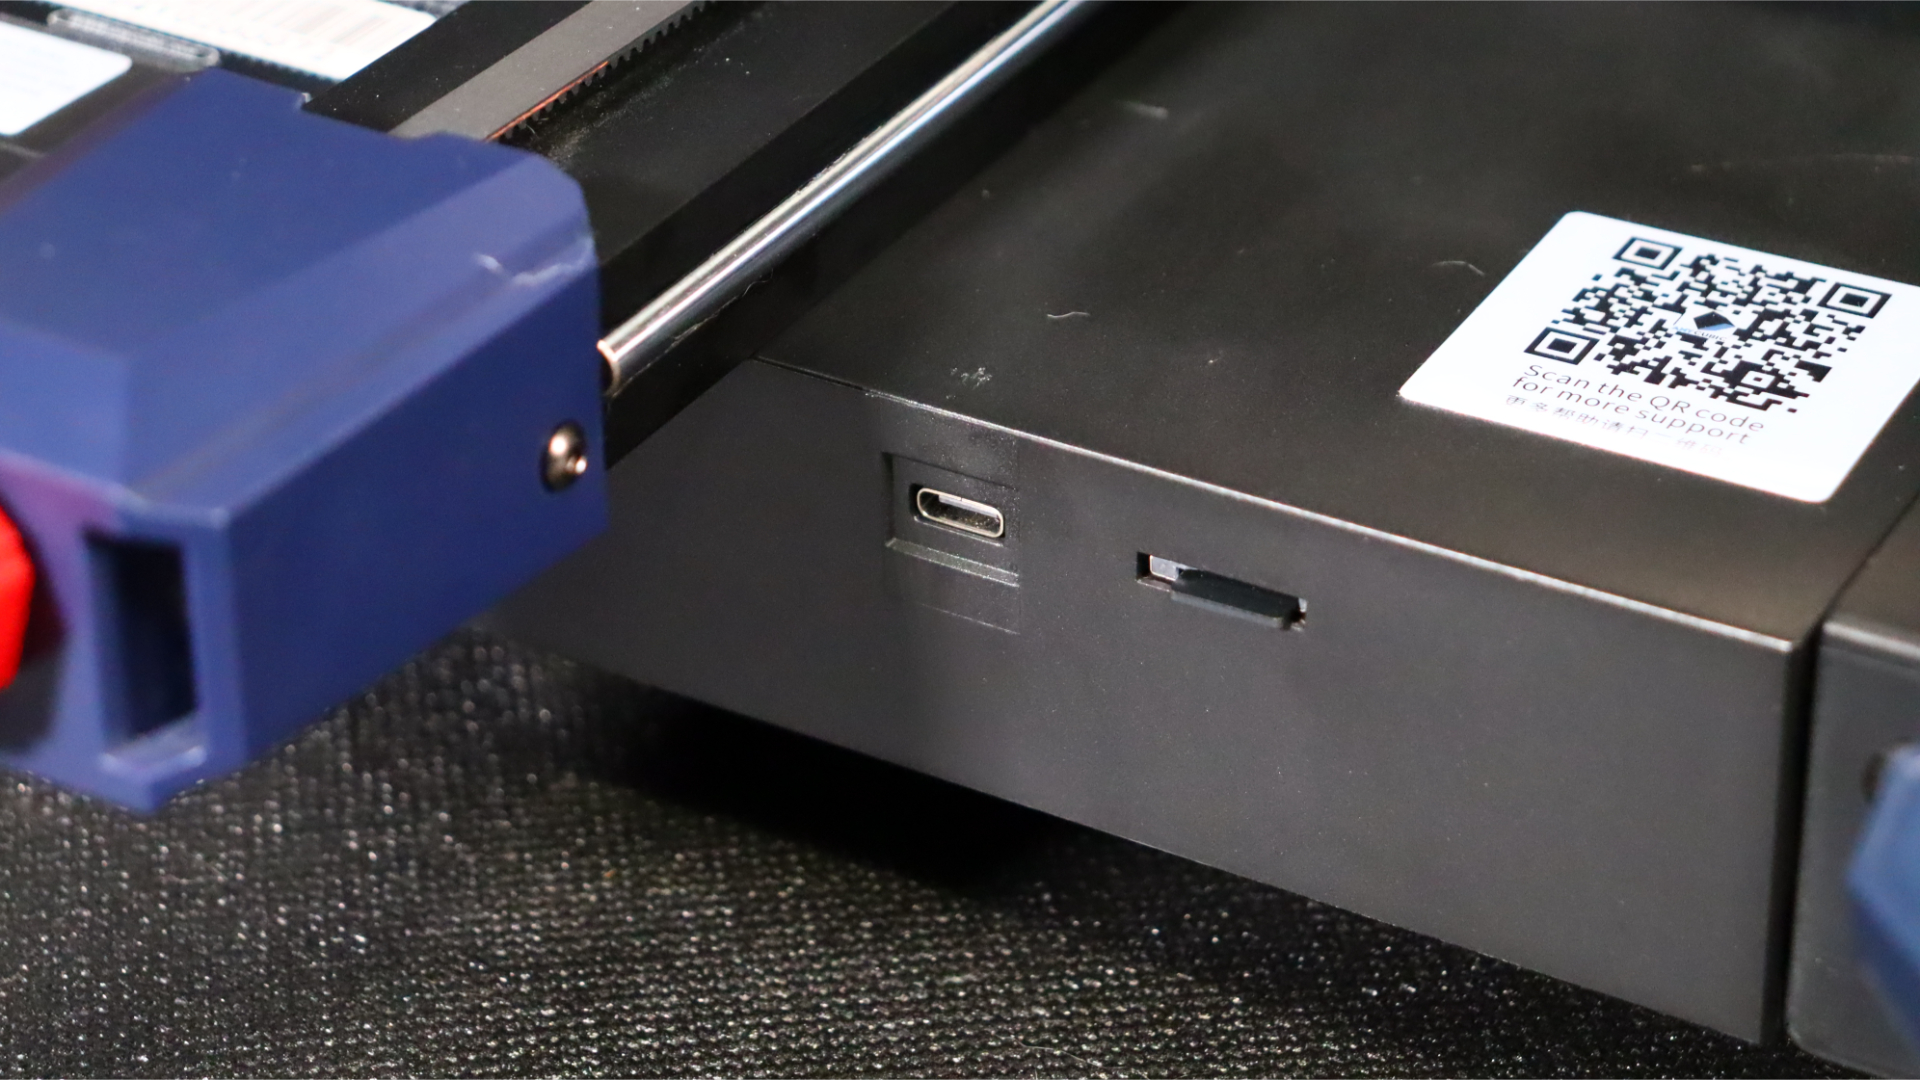
To further enhance the printing process, the Kobra 2 incorporates a silicone wipe pad. Before running the auto-leveling process, the printer utilizes this wipe pad to eliminate any material residue that may have accumulated on the nozzle. This proactive cleaning step ensures a clean and unobstructed nozzle, minimizing the chances of any printing issues and promoting consistent and reliable results.
When it comes to the design of the new Kobra 2, it bears a striking resemblance to the original Kobra, albeit with some notable improvements. One significant change is seen in the X and Y axes, where the traditional V-slot wheels have been replaced with a rail and metal bearing system. This upgrade allows for faster and smoother movement without the concern of wheel wear, which was a common issue in the classic design.
Anycubic Kobra 2: Specs & features
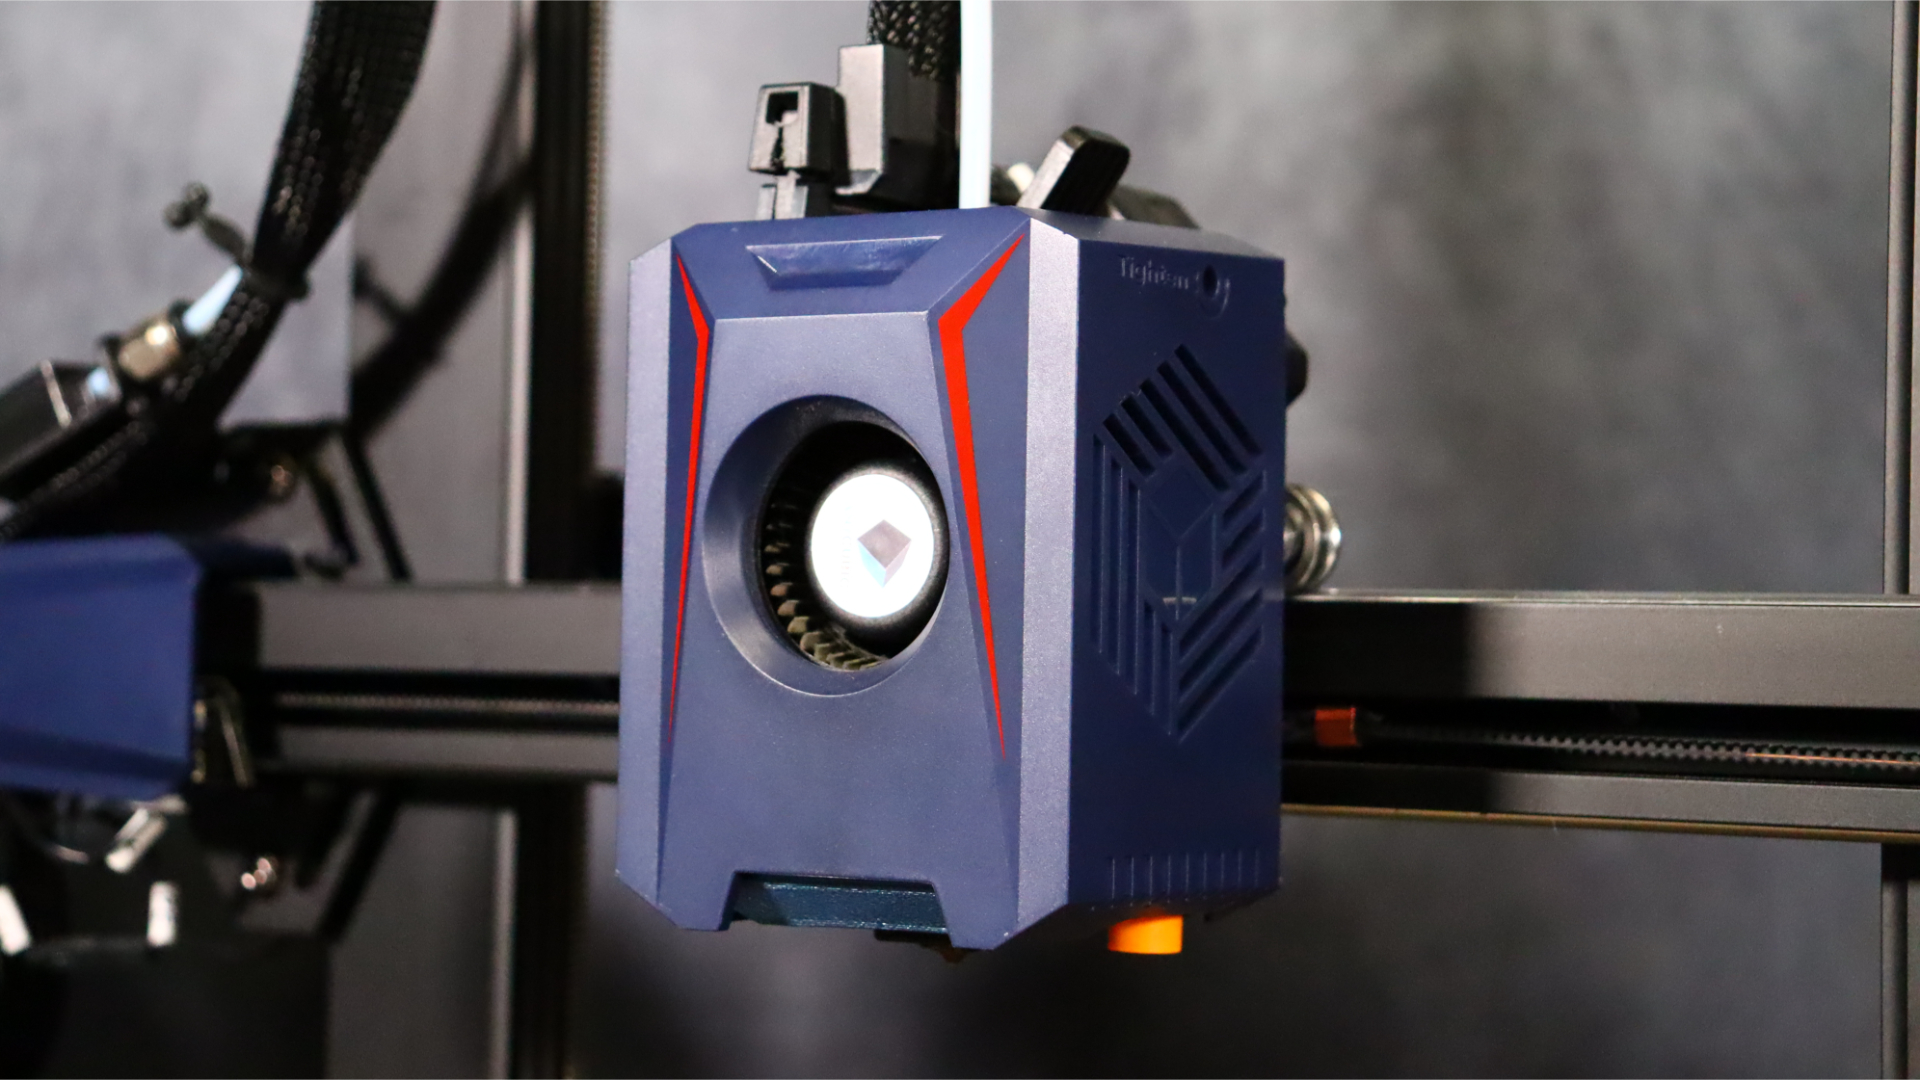
- Direct drive extruder and high-flow hot end allow for smooth, high speed printing.
- Effective, but loud cooling fan.
- LeviQ 2.0 auto-levelling system is simple and effective.
The Anycubic Kobra 2 is equipped with a new 4:1 direct drive extruder, which plays a crucial role in facilitating high-speed printing. This advanced extruder design allows for efficient filament feeding through the high-flow hot end. With the ability to push filament smoothly, the Kobra 2 eliminates potential bottlenecks and ensures consistent filament flow throughout the printing process. The direct drive system is enhanced with a dual gear setup, providing a strong and reliable grip on the filament, minimizing the chances of slipping or filament-related issues during printing.
Printing Technology: FDM
Build Volume: 220*220*250mm
Printing Speed: 150 mm/s standard 250 mm/s max
Printing Accuracy: ±0.1mm
Layer Height: 0.1-0.35mm
Extruder type: Dual-gear 4:1 ratio direct drive extruder
Nozzle diameter: Standard 0.4mm(compatible with 0.6/0.8mm)
Max nozzle temperature: ≤260°C
Max bed temperature: ≤110℃
Build Surface: Spring steel sheet
Auto leveling?: Yes, LeviQ 2.0
Connectivity: USB-C cable, MicroSD
Display: 4.3-inch color touch screen
Product dimensions: 486 x 440 x 440 mm
Weight: 8.4kg
To complement its high-speed capabilities, the Anycubic Kobra 2 features a powerful part cooling blower operating at an impressive 7000 rpm. This rapid cooling system is designed to keep pace with the increased printing speeds, effectively dissipating heat and ensuring that each layer is properly cooled. By maintaining optimal cooling, the Kobra 2 prevents issues like overheating, warping, and sagging, resulting in high-quality prints even at fast printing speeds.
The new part cooling blower worked effectively, ensuring sufficient cooling for each layer to promote adhesion and minimize sagging that can occur at higher print speeds. However, it's worth noting that the upgraded part cooling system comes with increased noise from the blower fan, which is expected at higher print speeds where faster cooling is necessary to prevent sagging.
Additionally, the new Anycubic LeviQ 2.0 system impressively maintains a level build surface. The new sensor calibration, attached to the back of the print bed, greatly assists in calibrating the Z offset and nozzle position, ensuring accuracy throughout the printing process.
Anycubic Kobra 2: Print quality & speed
For our test prints, all the models were sliced using the suggested parameters to achieve optimal results. We used Anycubic’s recommended slicing profile, which was configured to the printing speed of 150 mm/s and a layer height of 0.16 mm.
To streamline the slicing process, we relied upon the highly dependable and widely used Prusa slicer software. We used the machine profile that was conveniently included on the MicroSD card bundled with the Kobra 2. This preconfigured profile meant we could ensure accurate translation of our models into printable instructions, enhancing the overall quality of our prints.
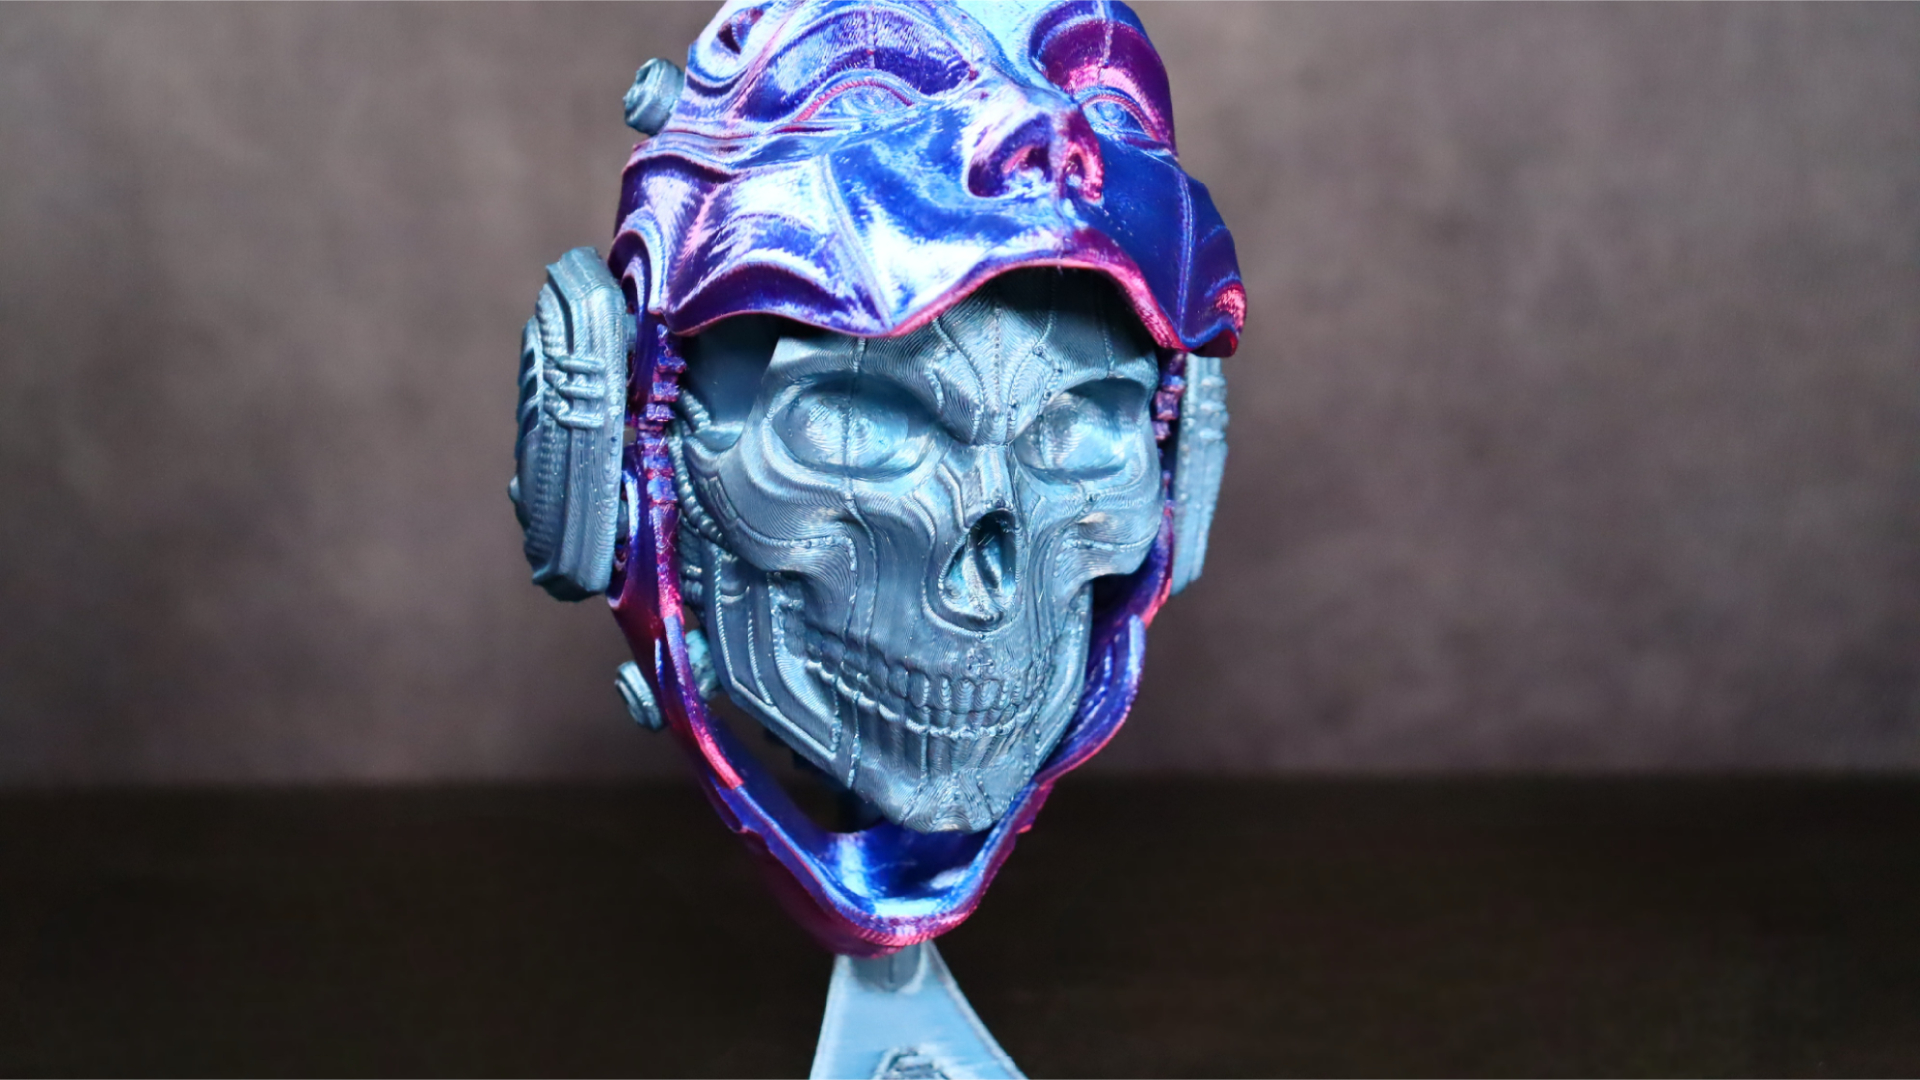
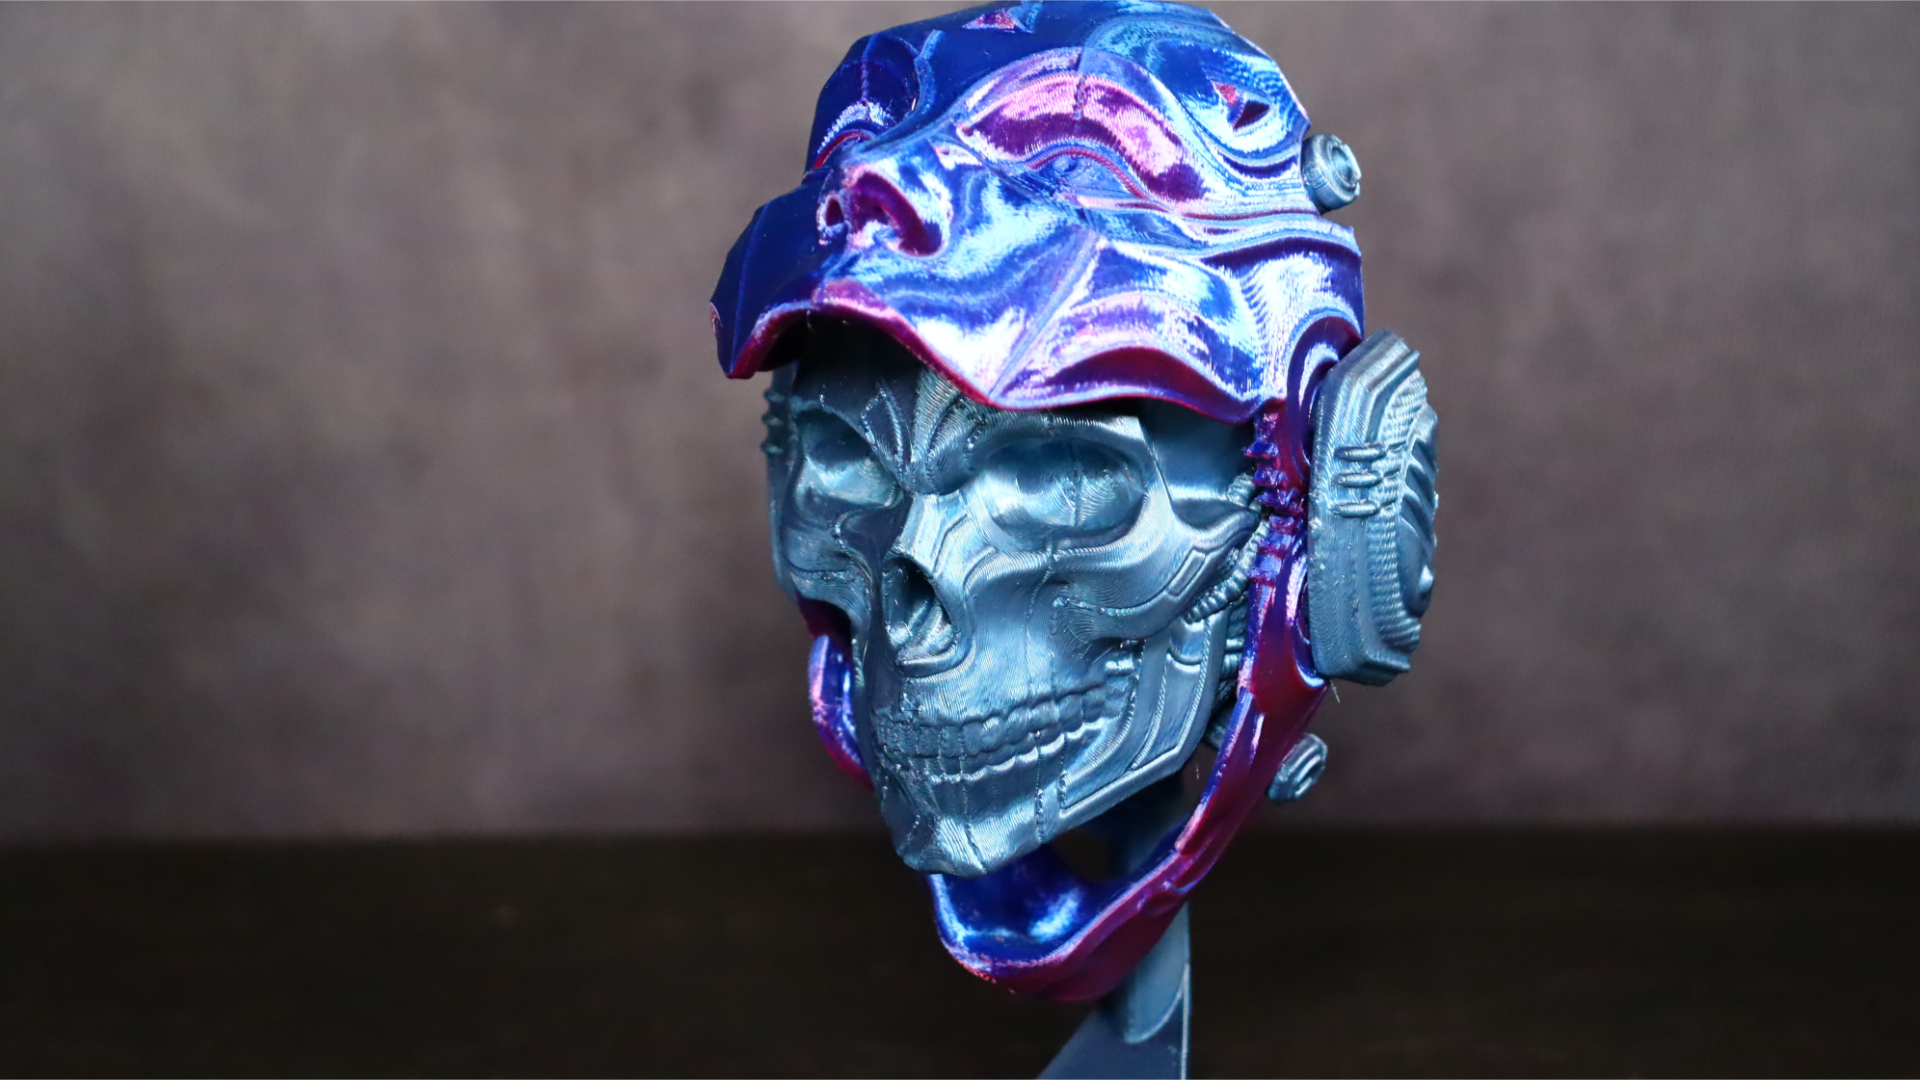
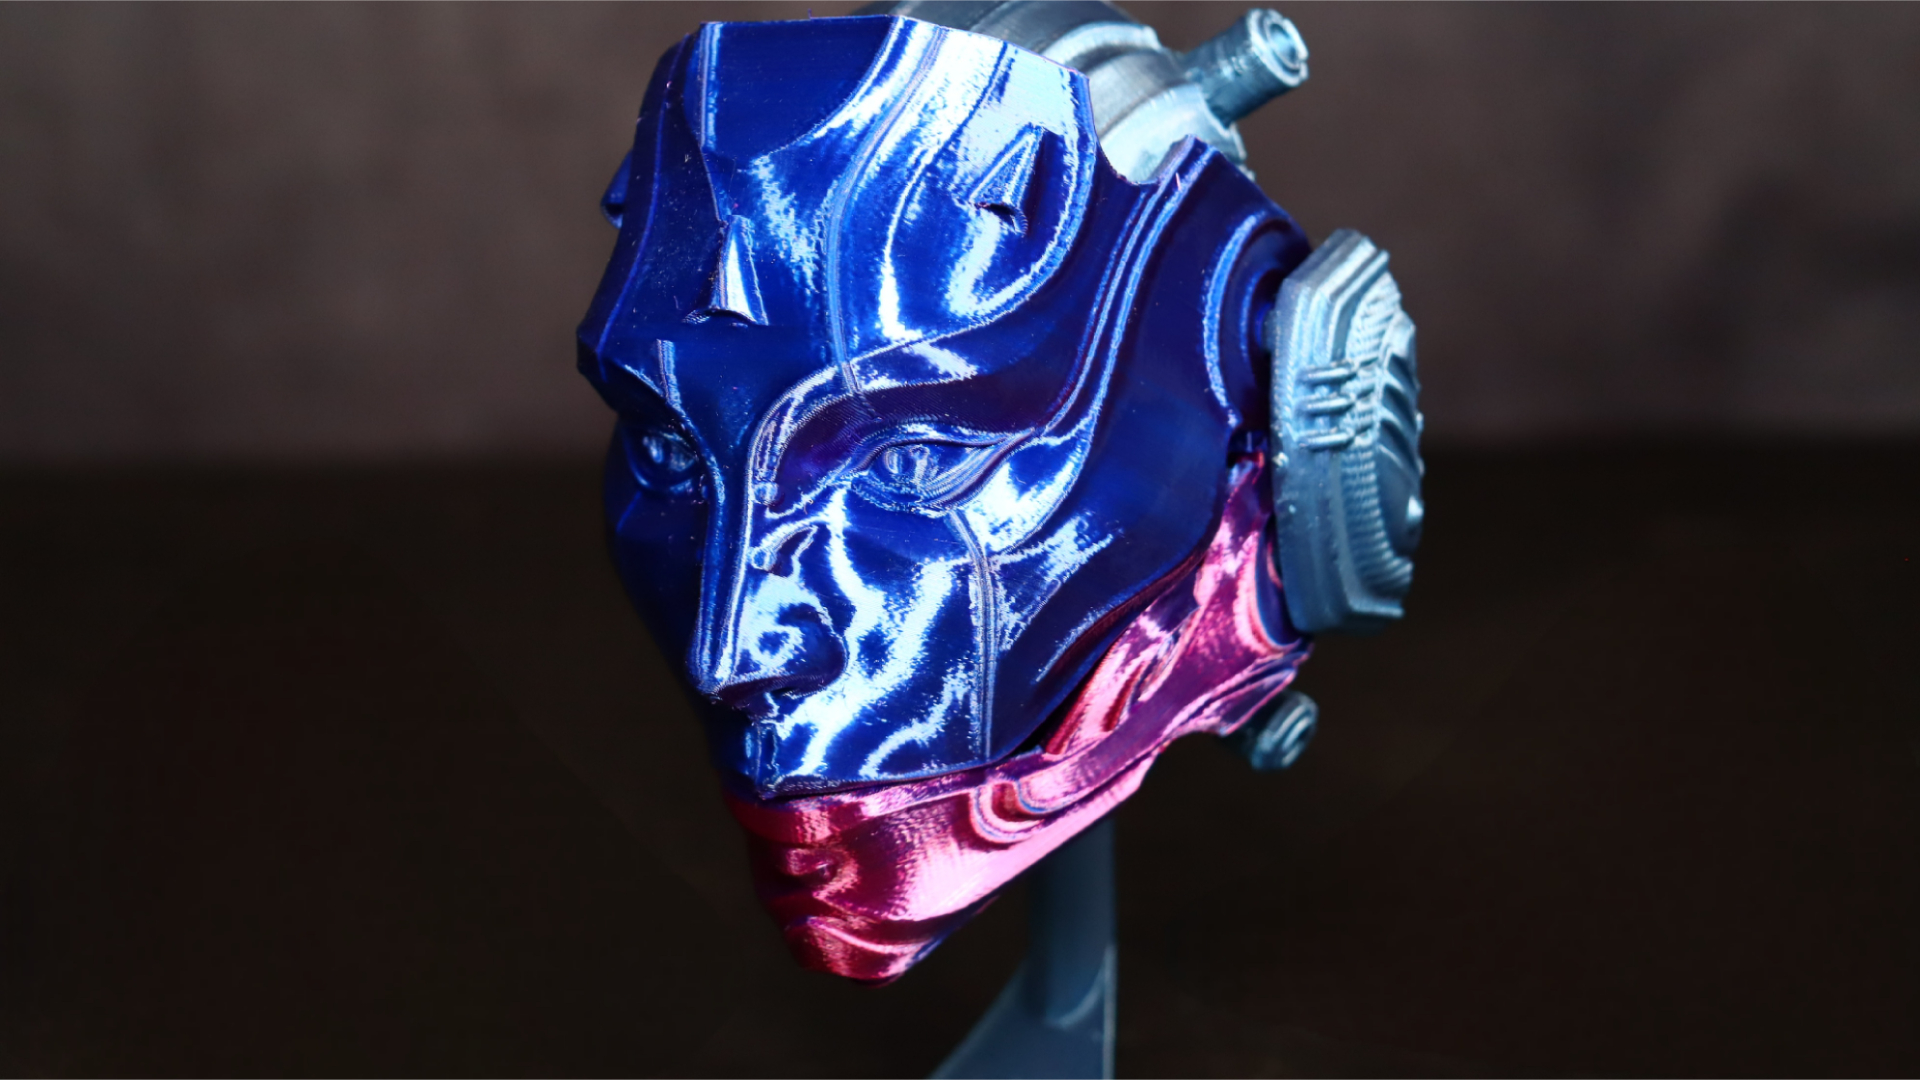
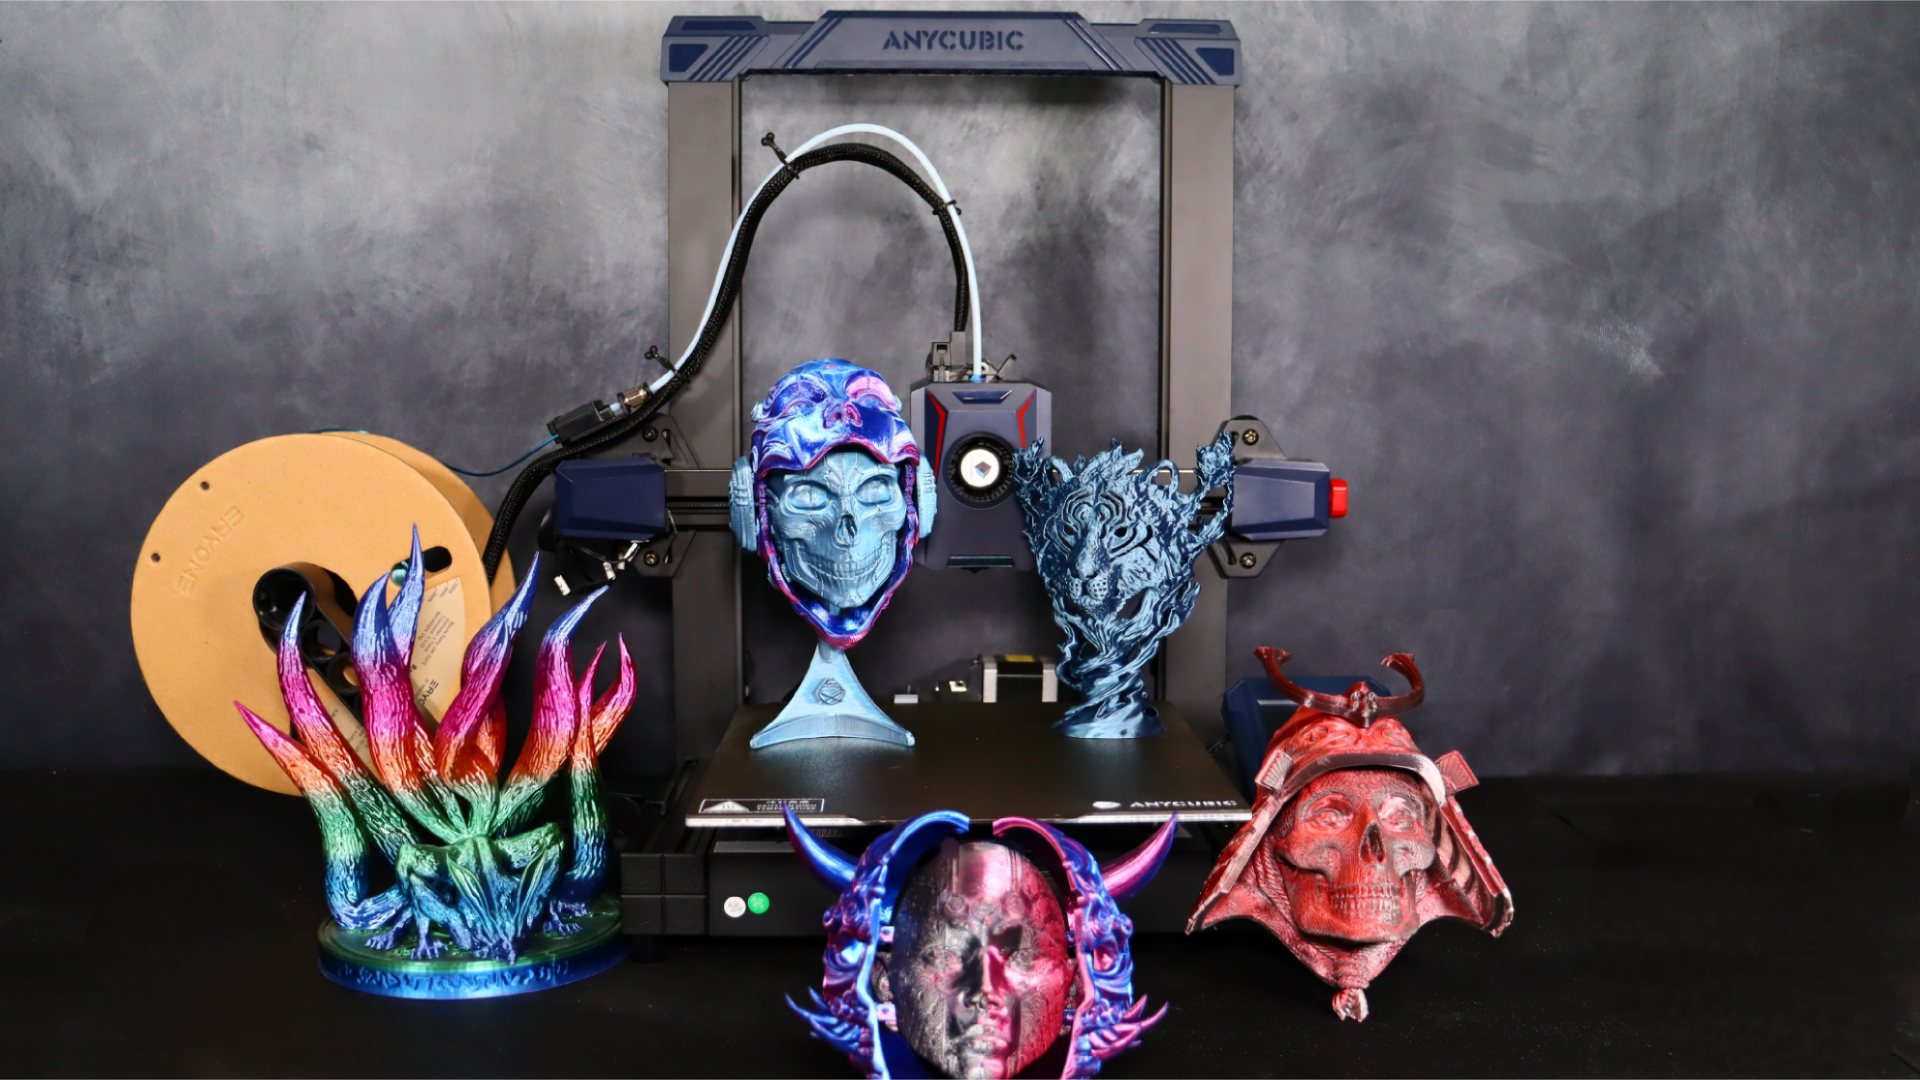
The first model we selected for printing was the Skulldroid wall mask, created by Pipe Cox. For the skull component, we opted for Anycubic Metallic Blue PLA filament, while the mask itself was printed using Eryone Dual Color Red and Blue Silk filament. The end result speaks for itself.
The level of detail on the skull was impressively clear, devoid of any noticeable issues. The print was divided into five separate pieces, which, when assembled, formed a complete mask overlaying the skull. However, the clever engineering of the model allowed the mask to be opened, revealing the intricate details of the skull underneath. The mask was designed with a hinge system so that both the top and bottom sections would open simultaneously, adding an interactive element to the model.
Throughout the approximately 6-hour printing process, the Kobra 2 exhibited no difficulties and flawlessly completed the entire print job.
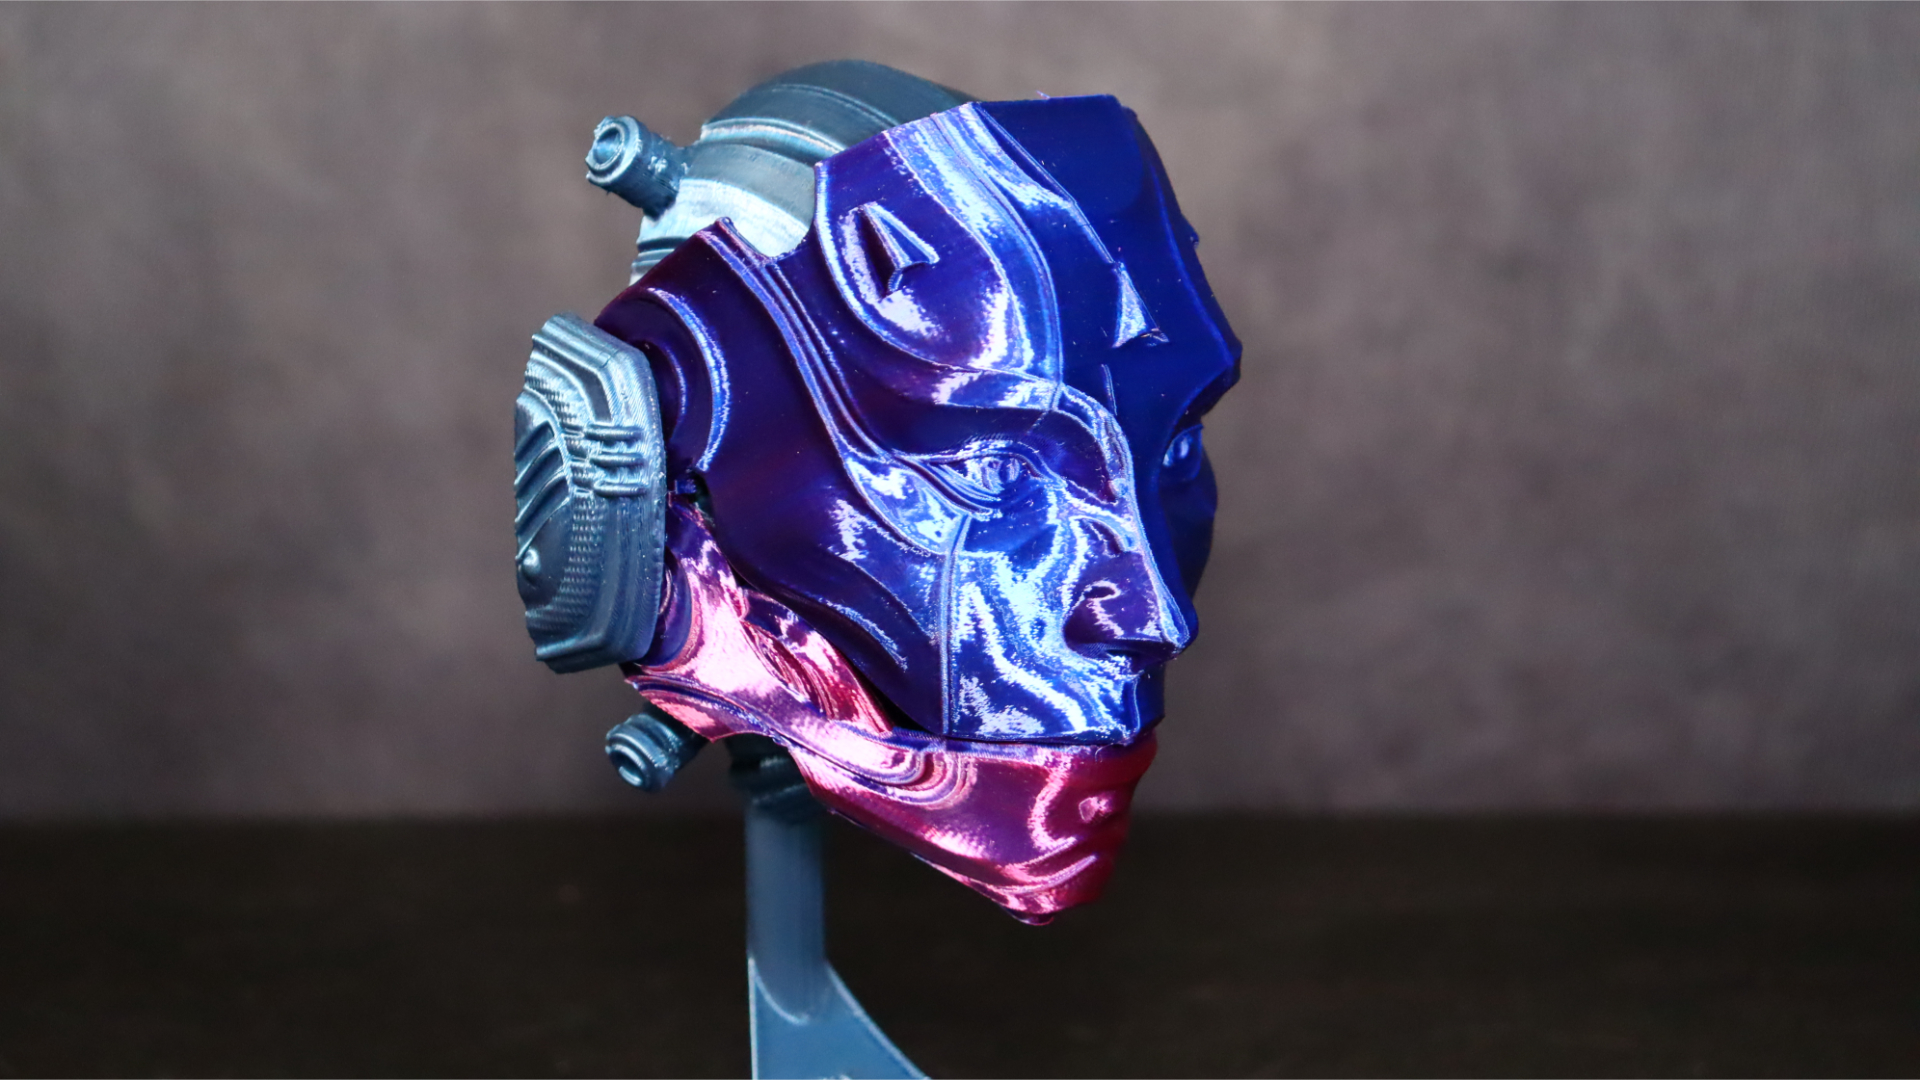
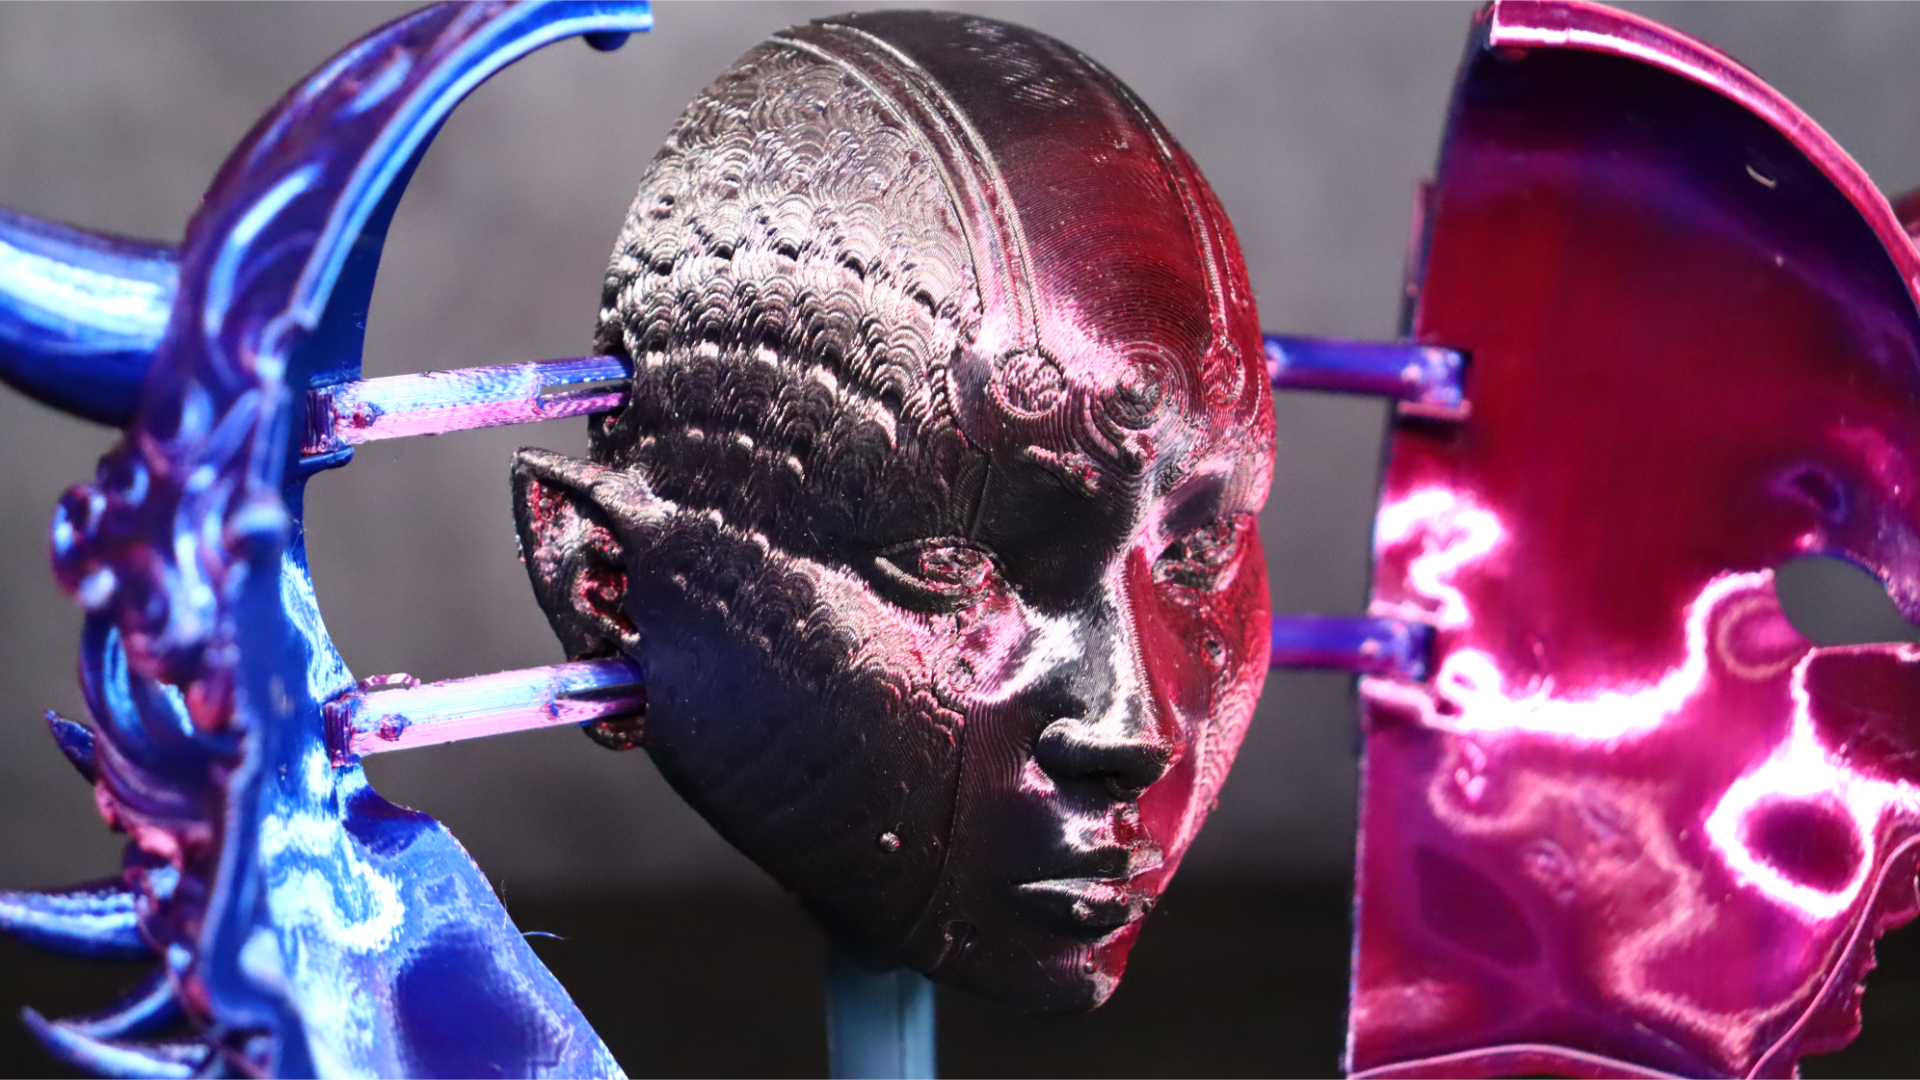
For our next printing project, we selected another creation by Pipe Cox—the Honnari Hannya Mask. This piece showcases a meticulously crafted mask that opens to the sides, revealing a face beneath. To bring out the intricacies of this design, we used Eryone Black and Rose Dual Color Silk filament for the inner face, while the outer mask was printed with Eryone Blue and Red Dual Color Silk filament. This model required a longer print time, clocking in at just over 7 hours, the results were truly exceptional.
The Kobra 2 printer effortlessly handled the complexities of the Honnari Hannya Mask. Printing at a 150 mm/s, it consistently delivered high-quality prints without any issues. The near-flawless execution of this model highlighted the printer's reliability and ability to produce stunning results even at higher speeds.
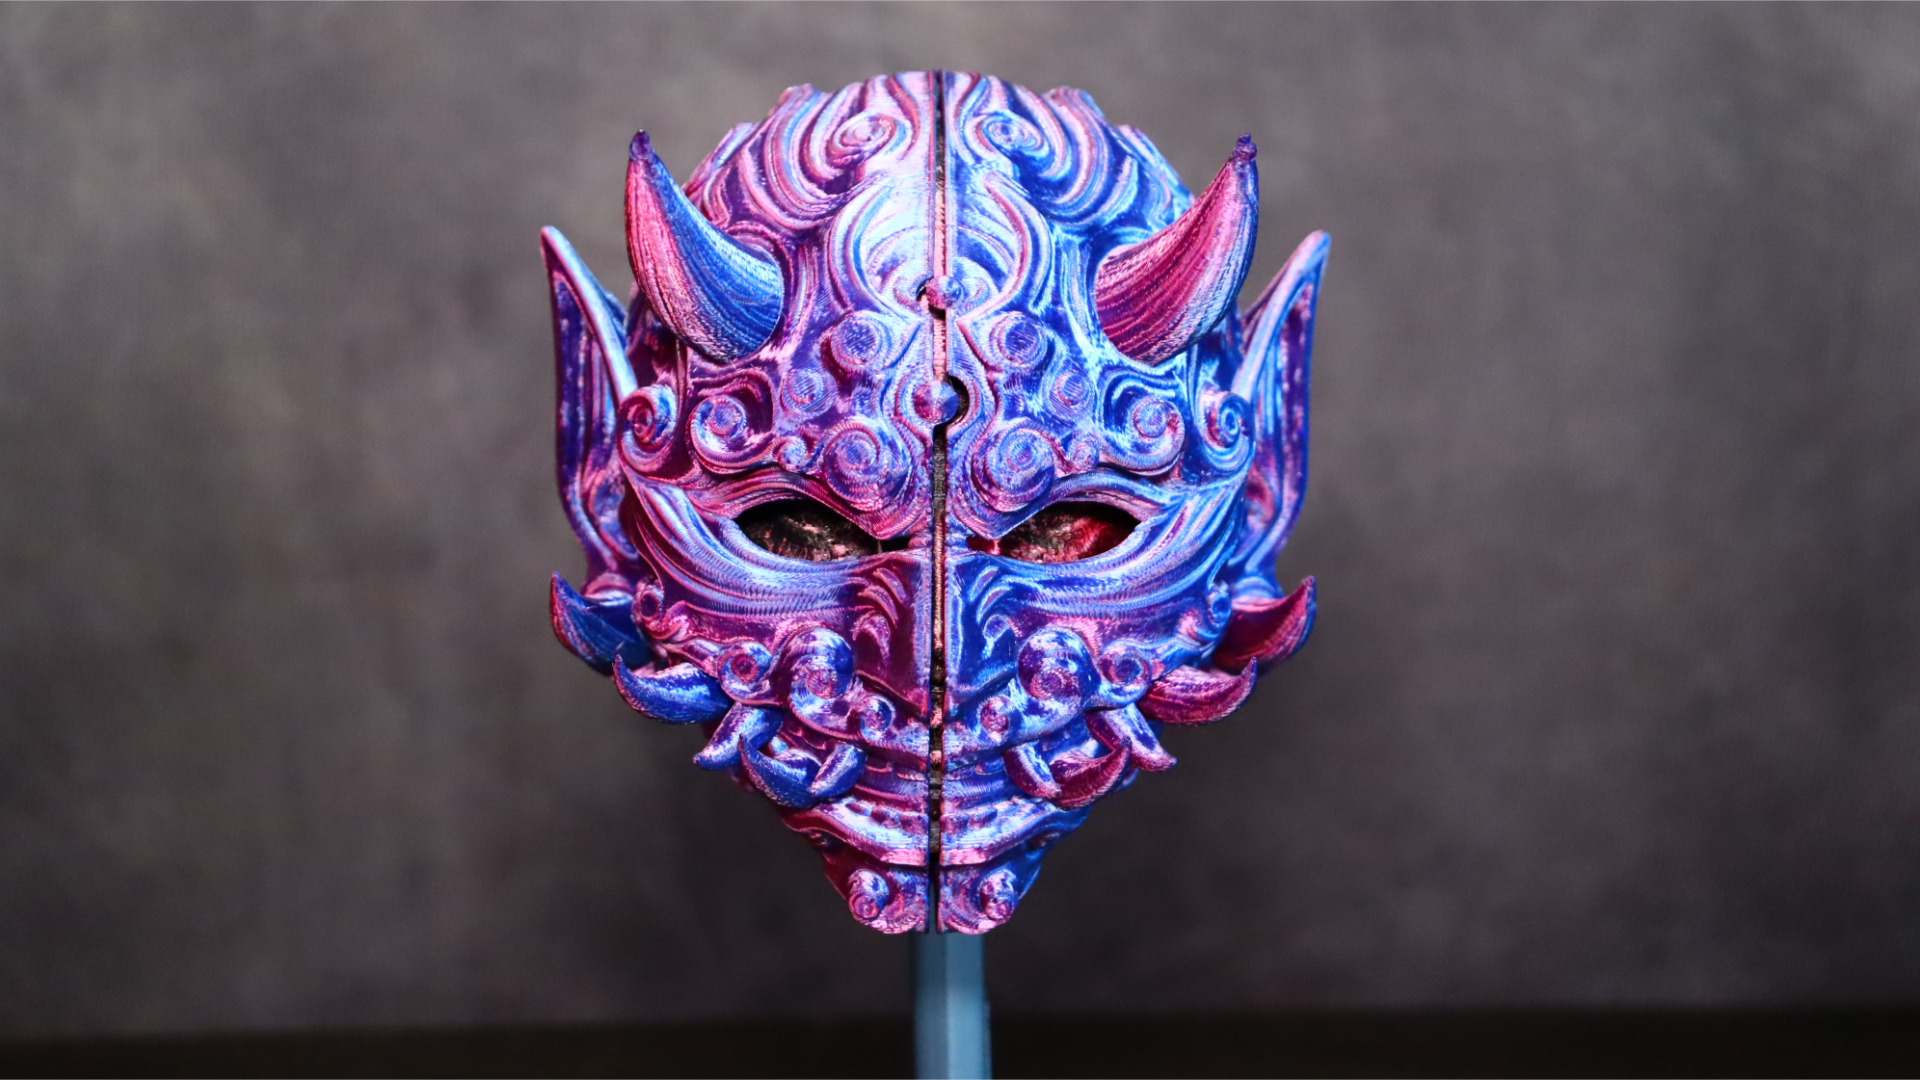
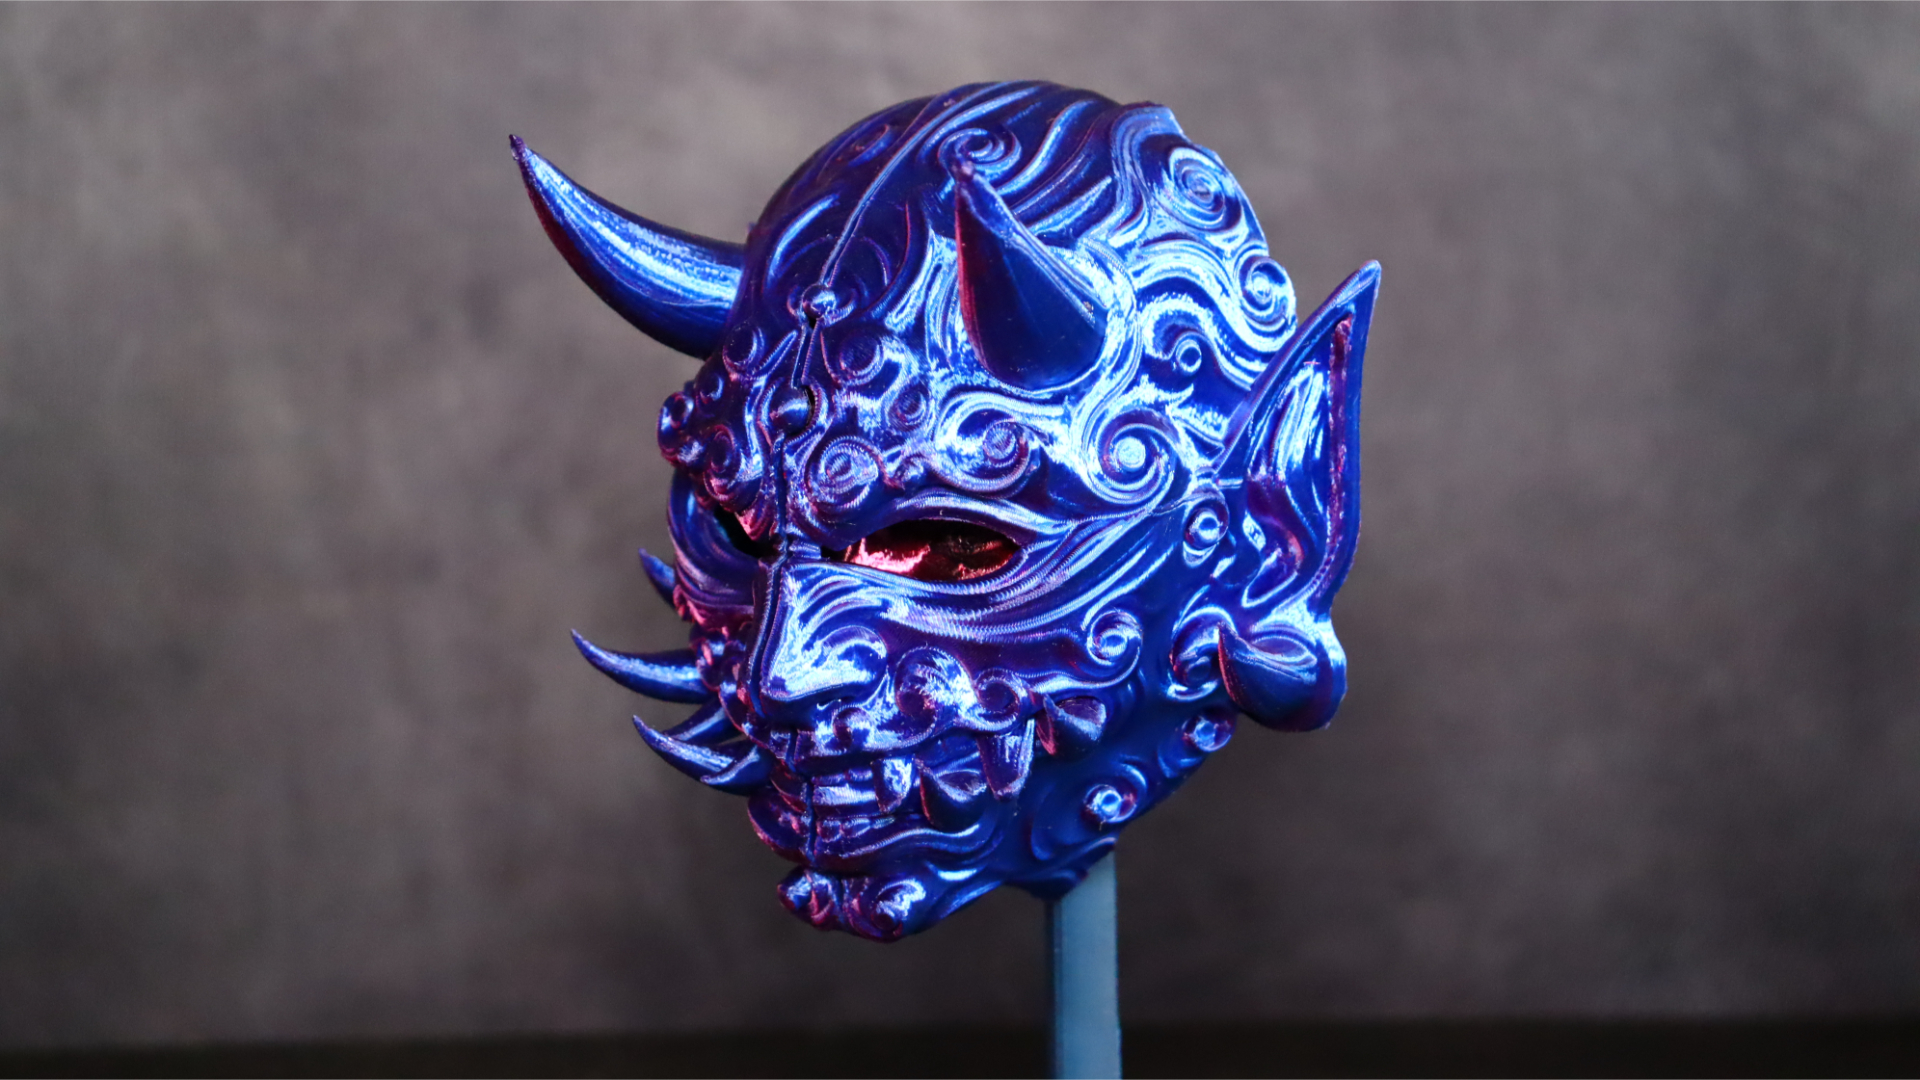
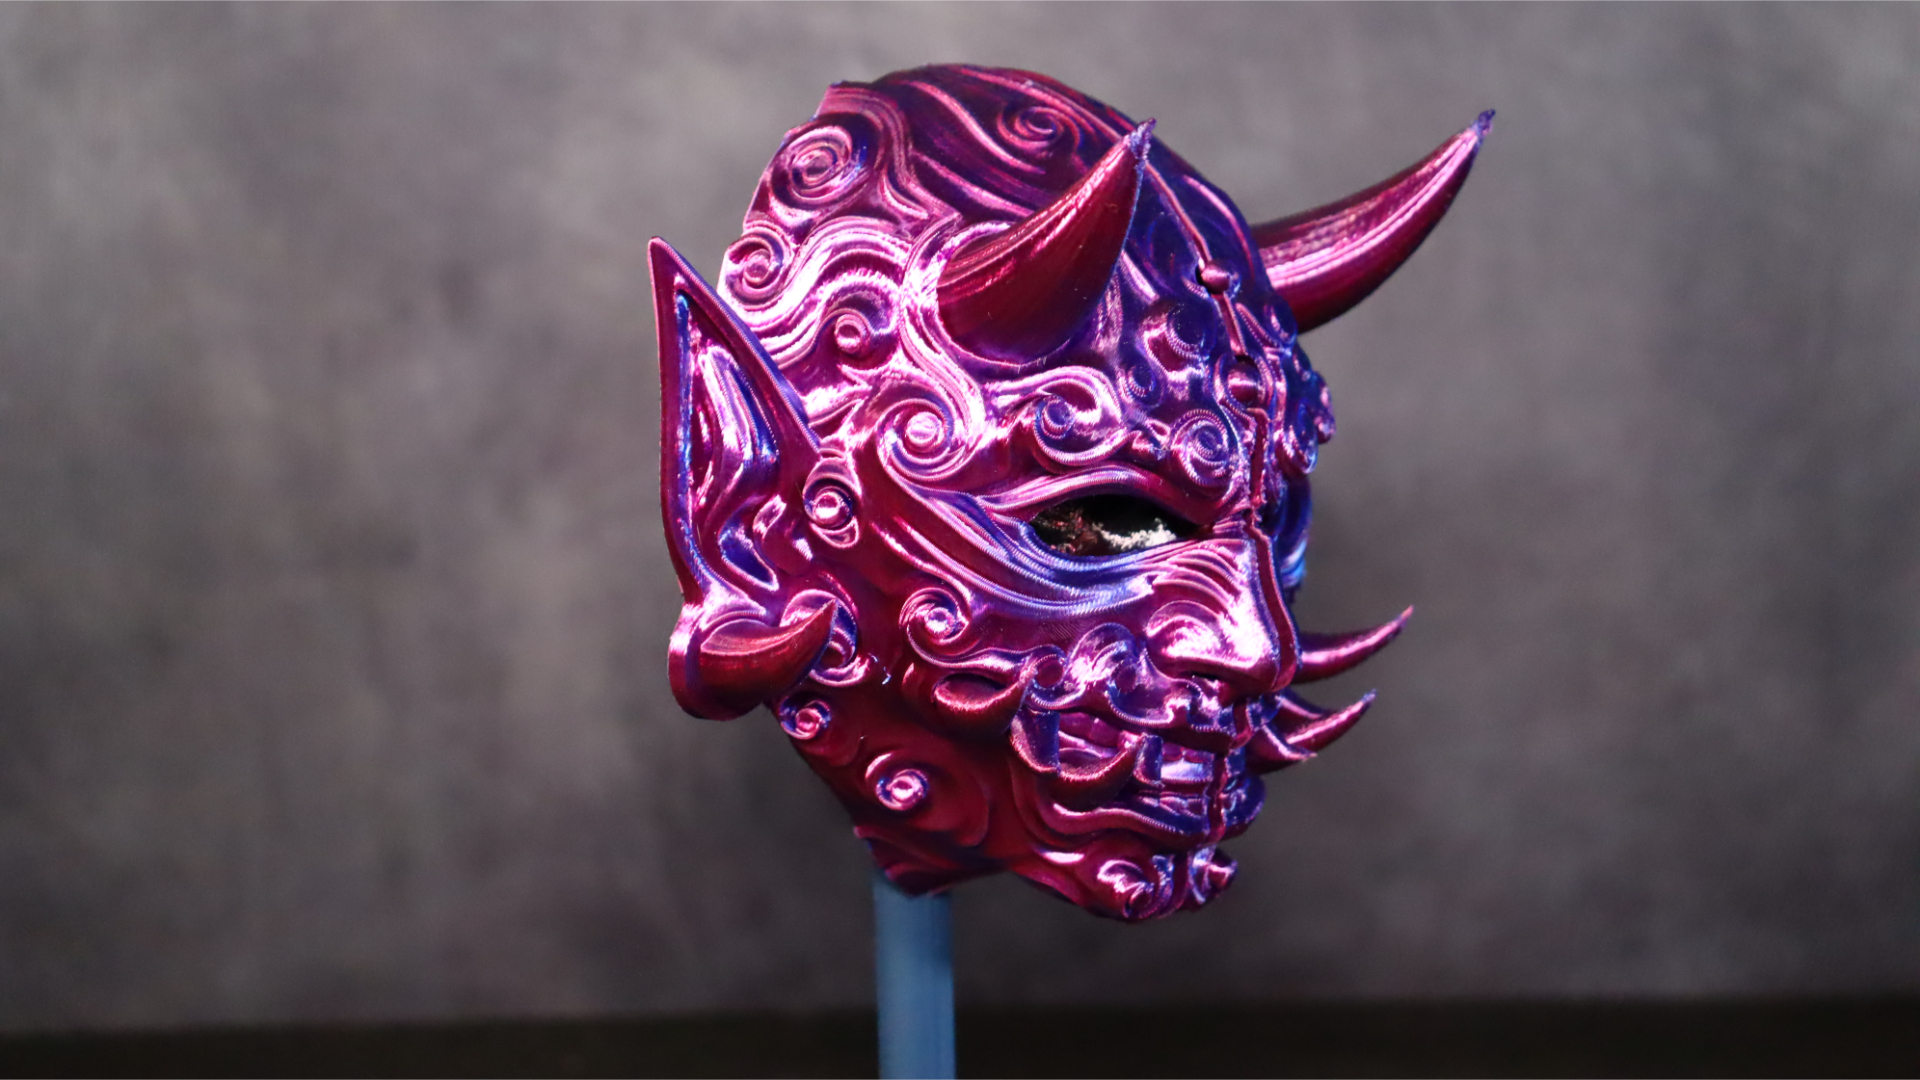
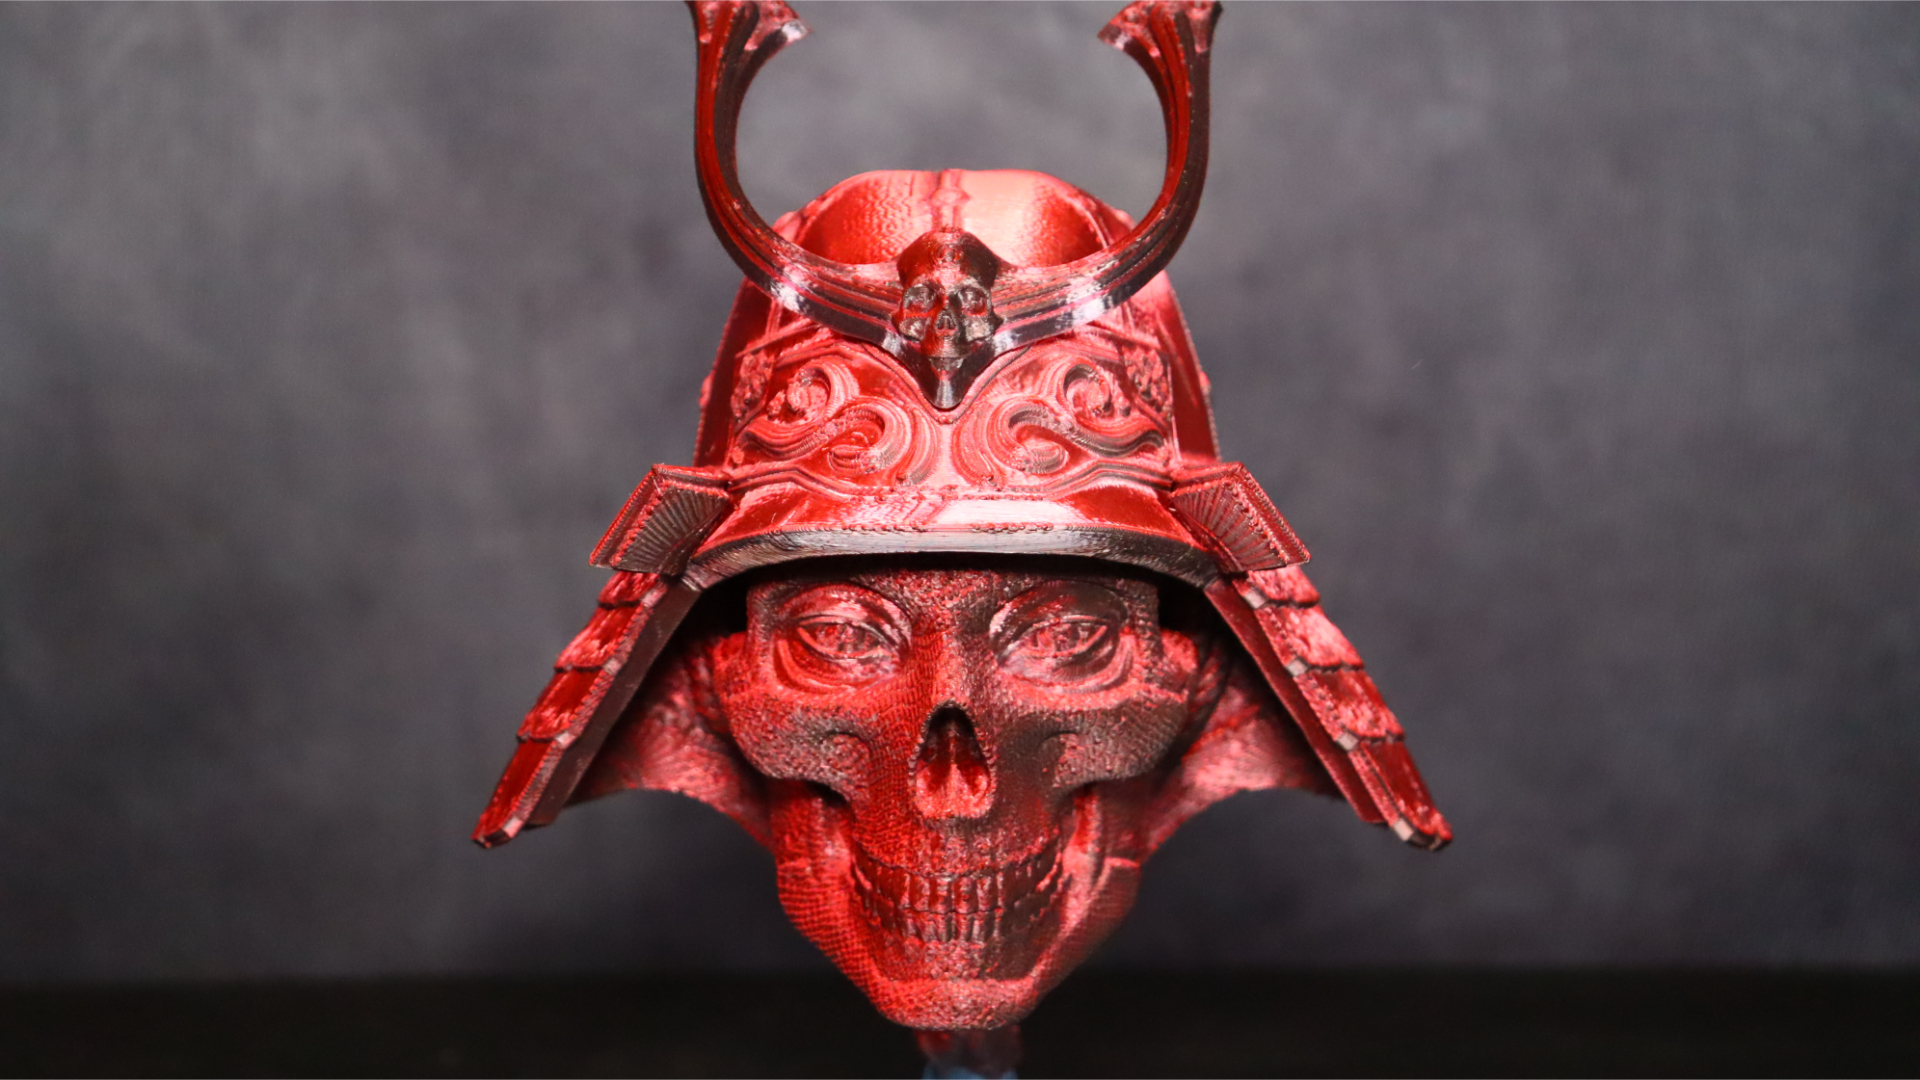
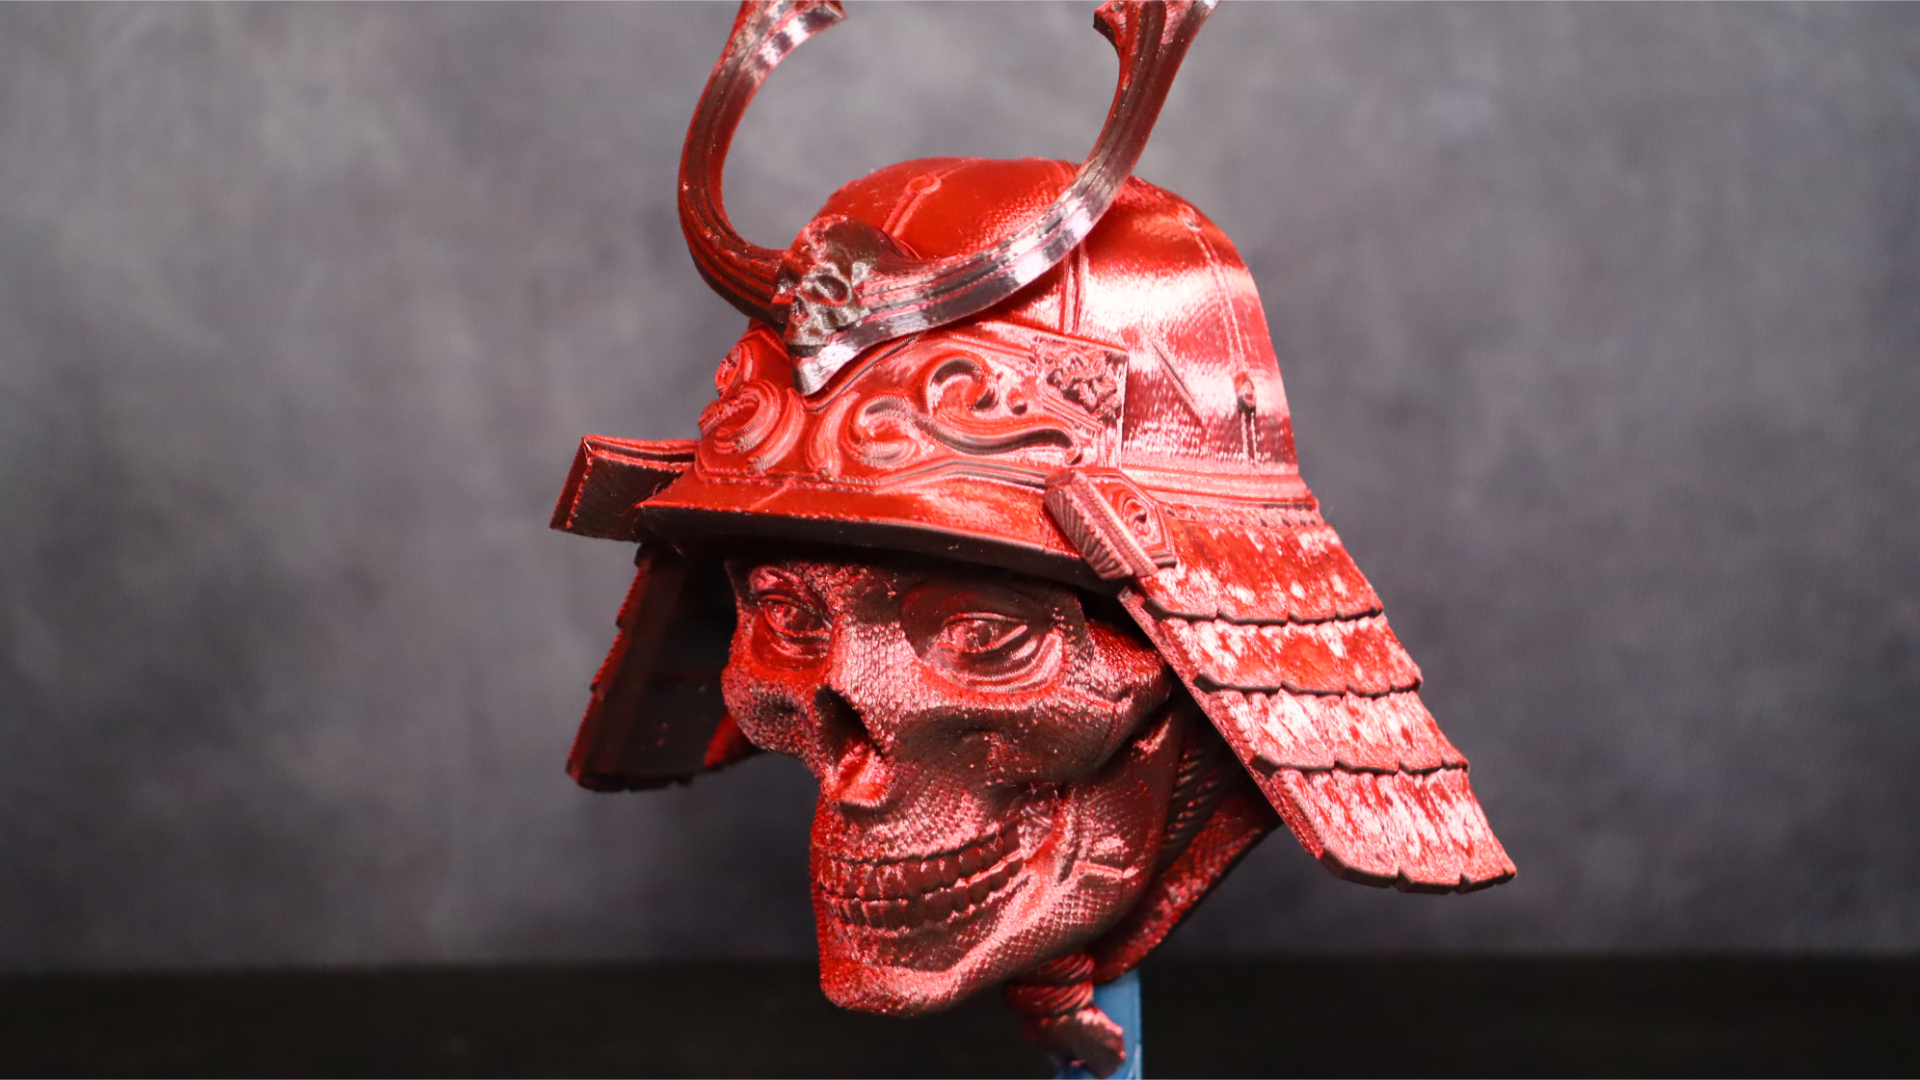
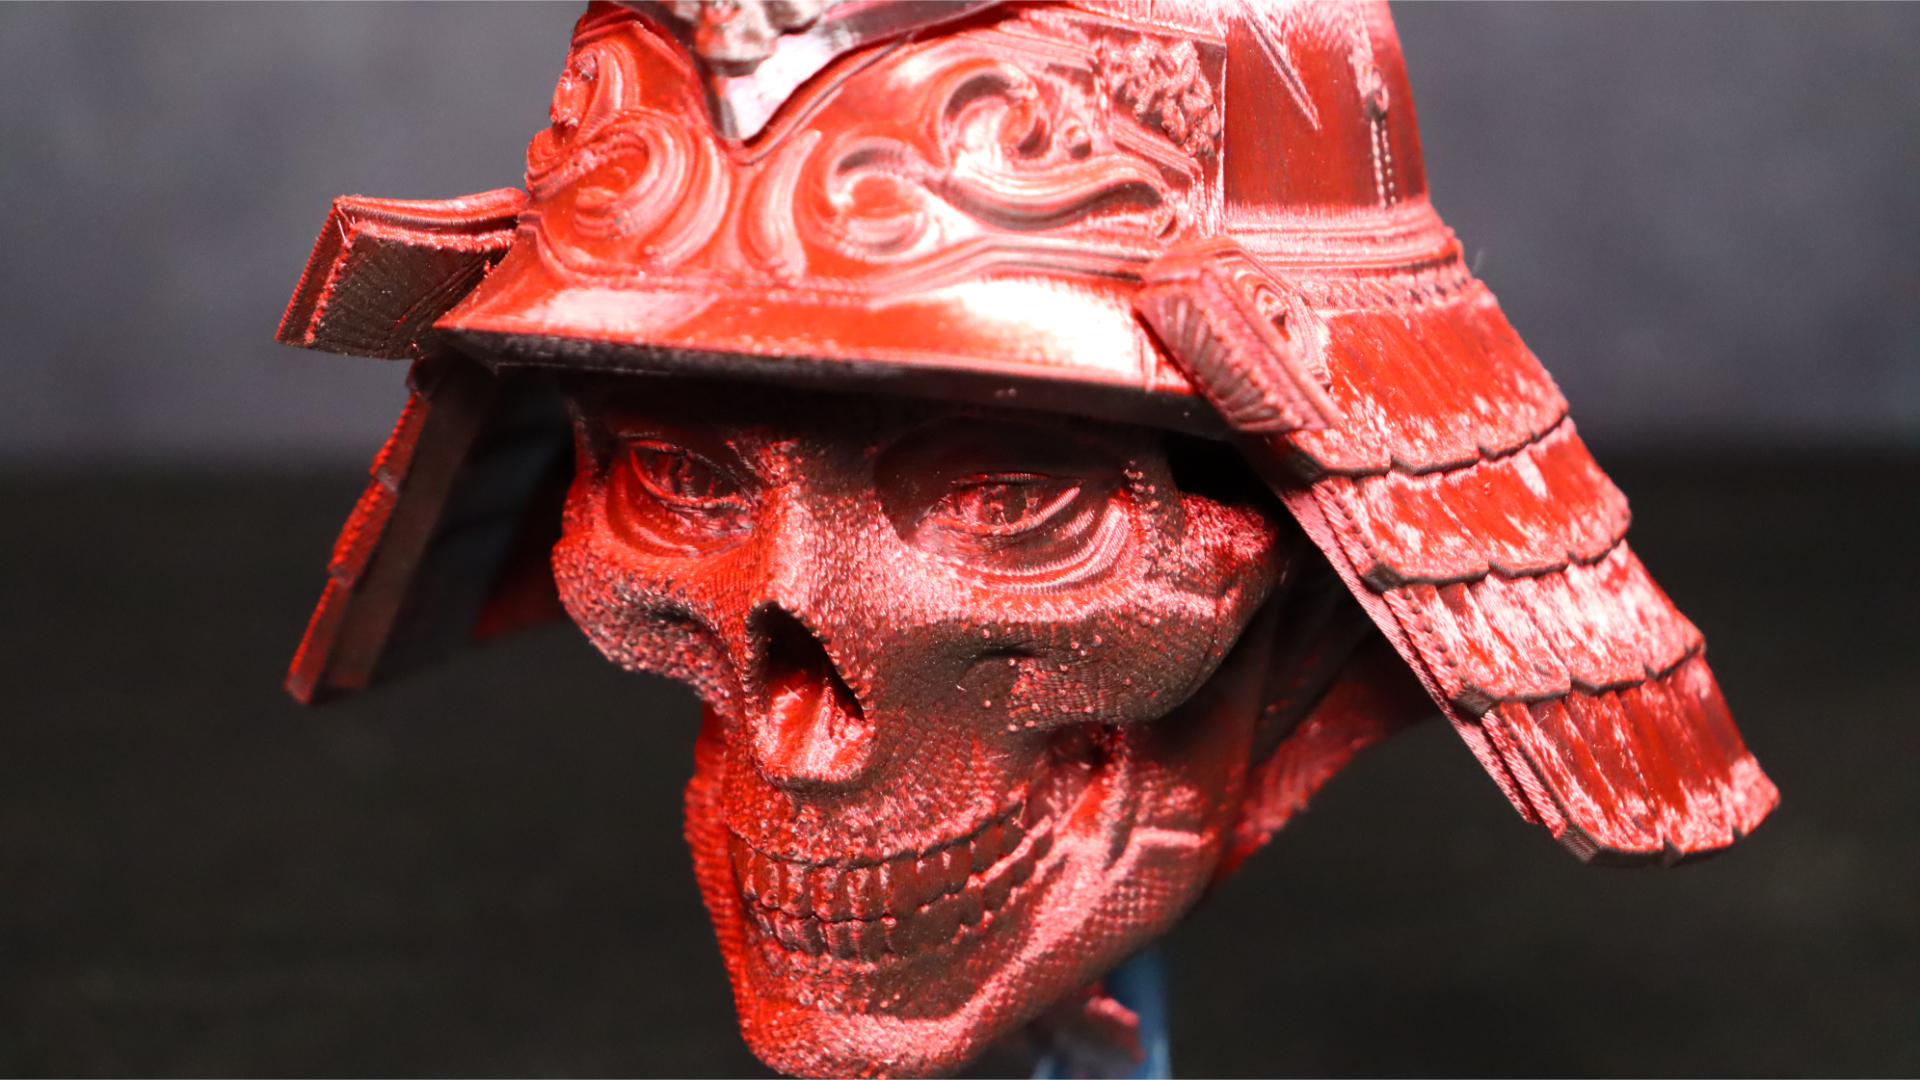
With the success of our previous tests, we decided to explore further within the Pipe Cox collection and set our sights on printing the Orochi Mask. This impressive mask features a textured reptilian skull adorned with a striking samurai helmet. The print consisted of two separate pieces: the mask itself and the ornate horn decoration for the front of the helmet.
For this particular print, we opted to use Eryone Dual Color Black and Red Silk filament. The way the colors seamlessly shifted during the print process added an extra layer of depth to the final product. The dominance of the red hue, with glimpses of the black filament peeking through from underneath, complemented the overall design of the mask.
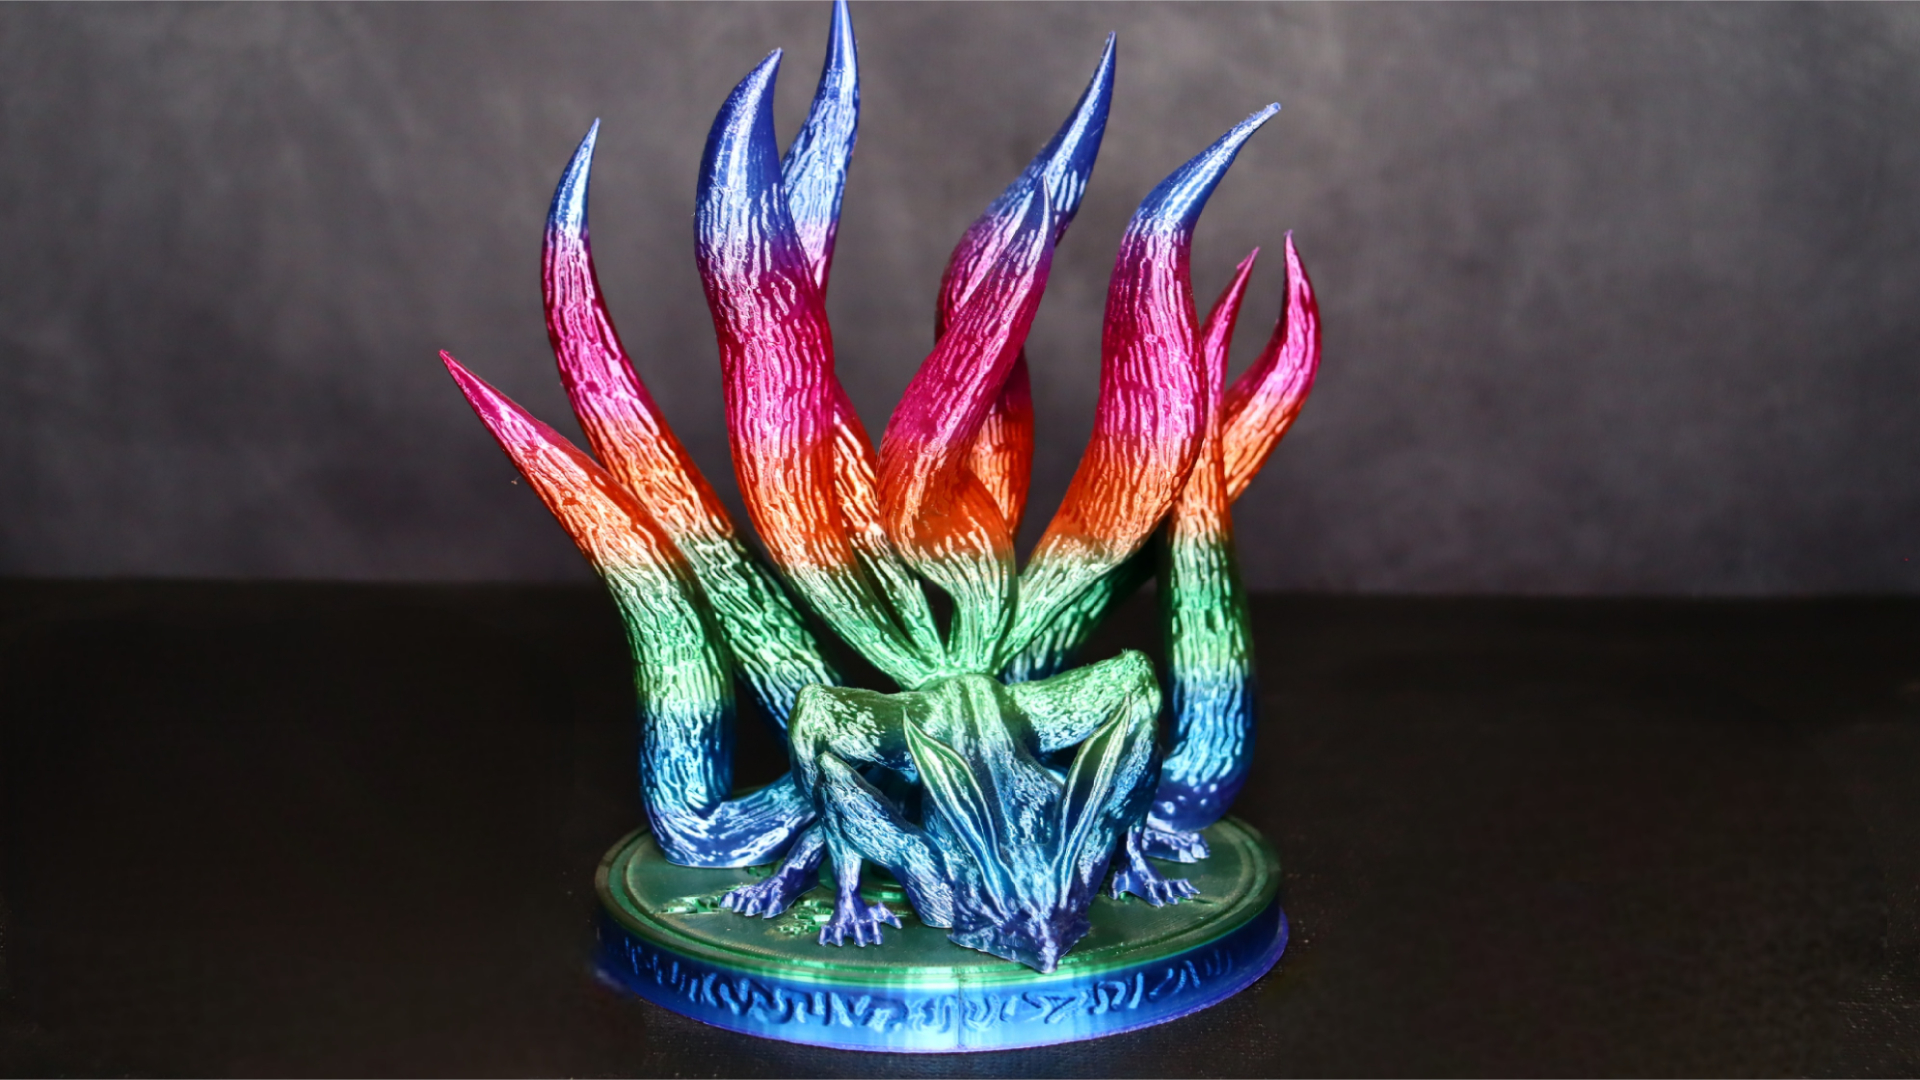
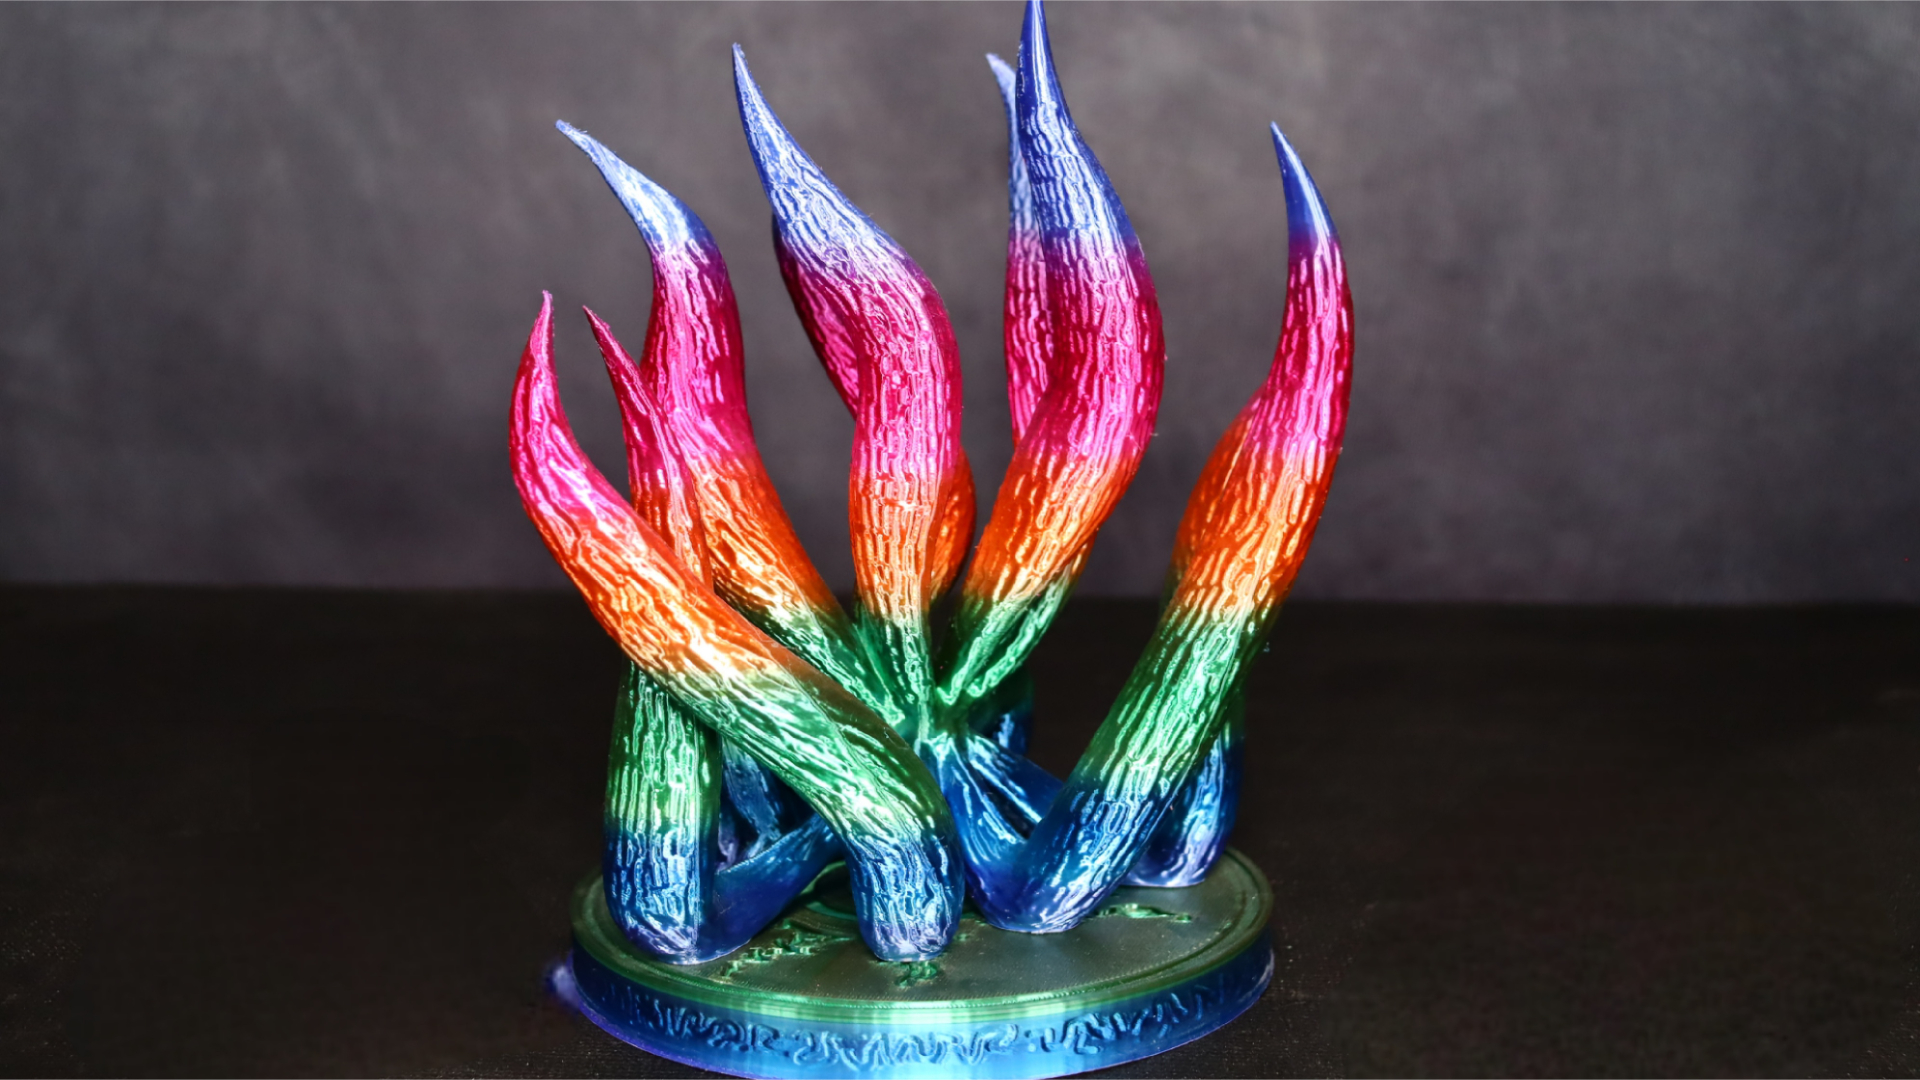
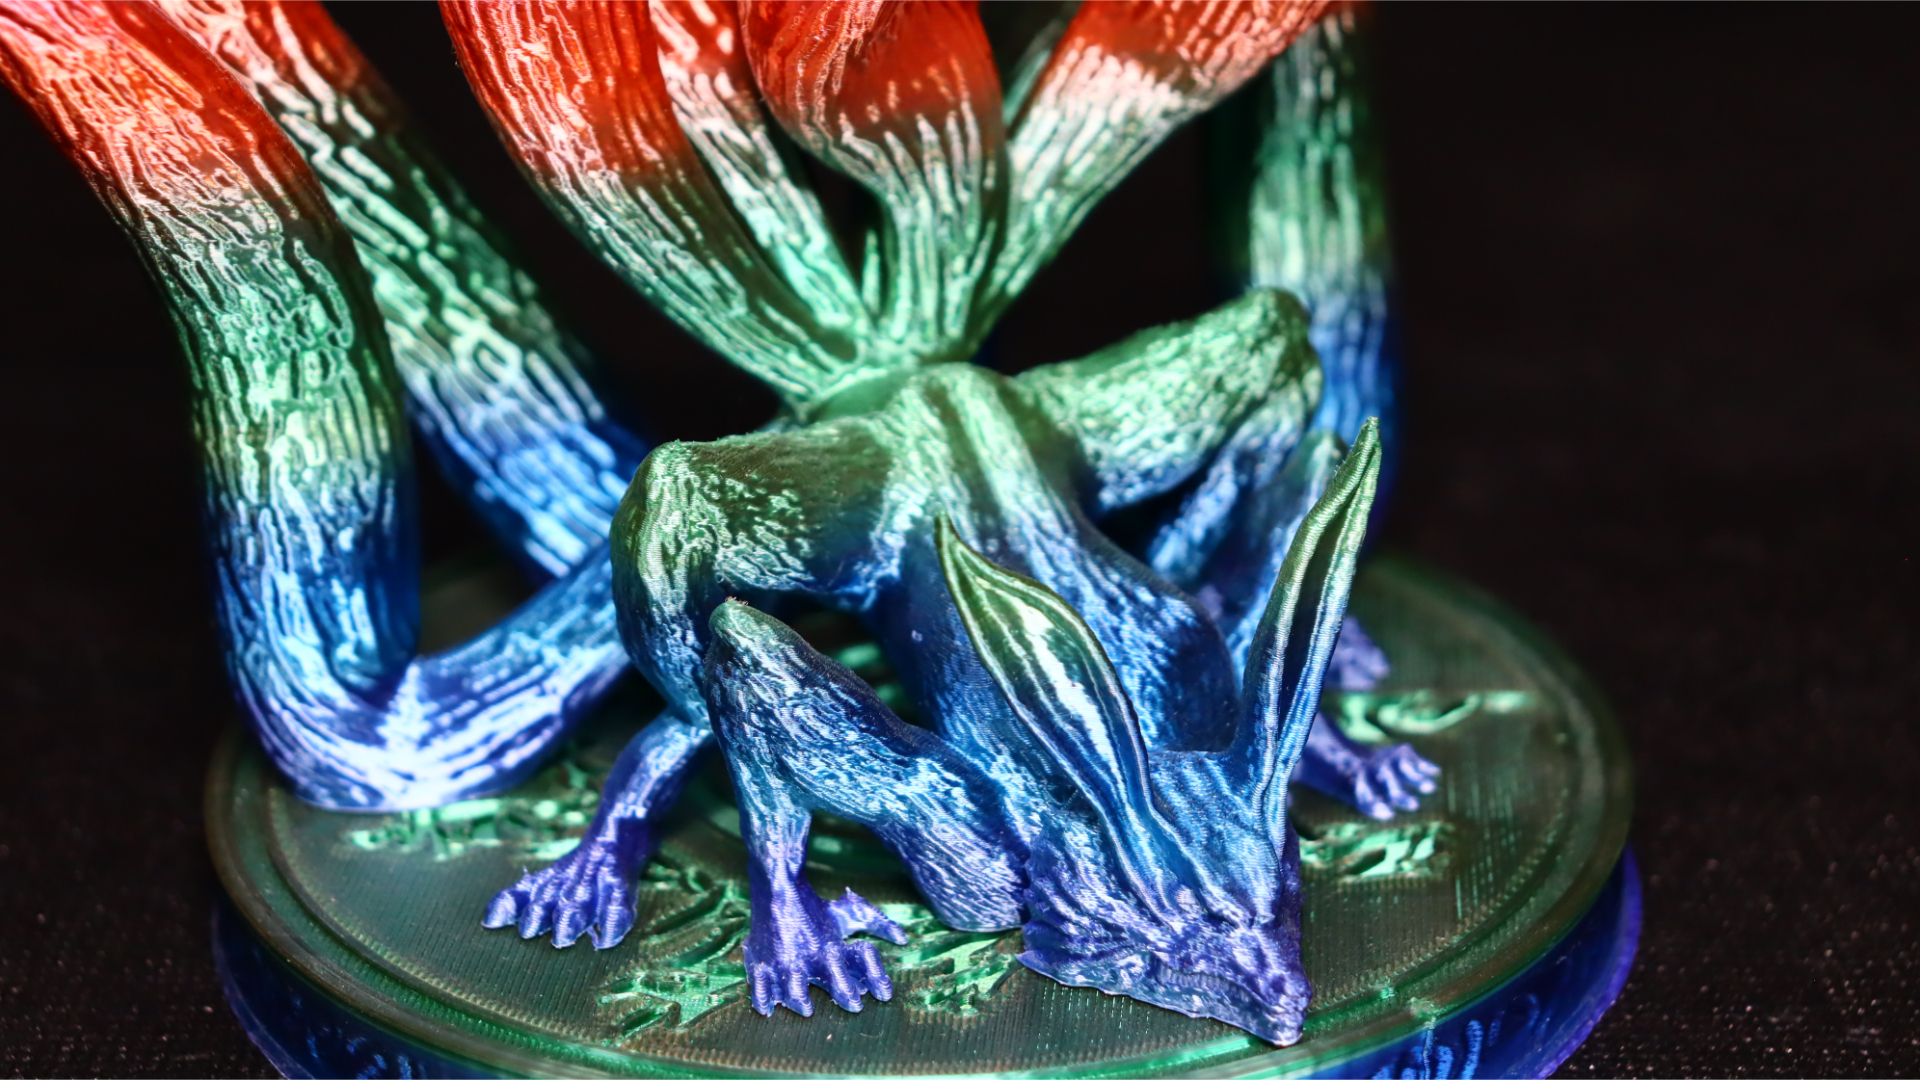
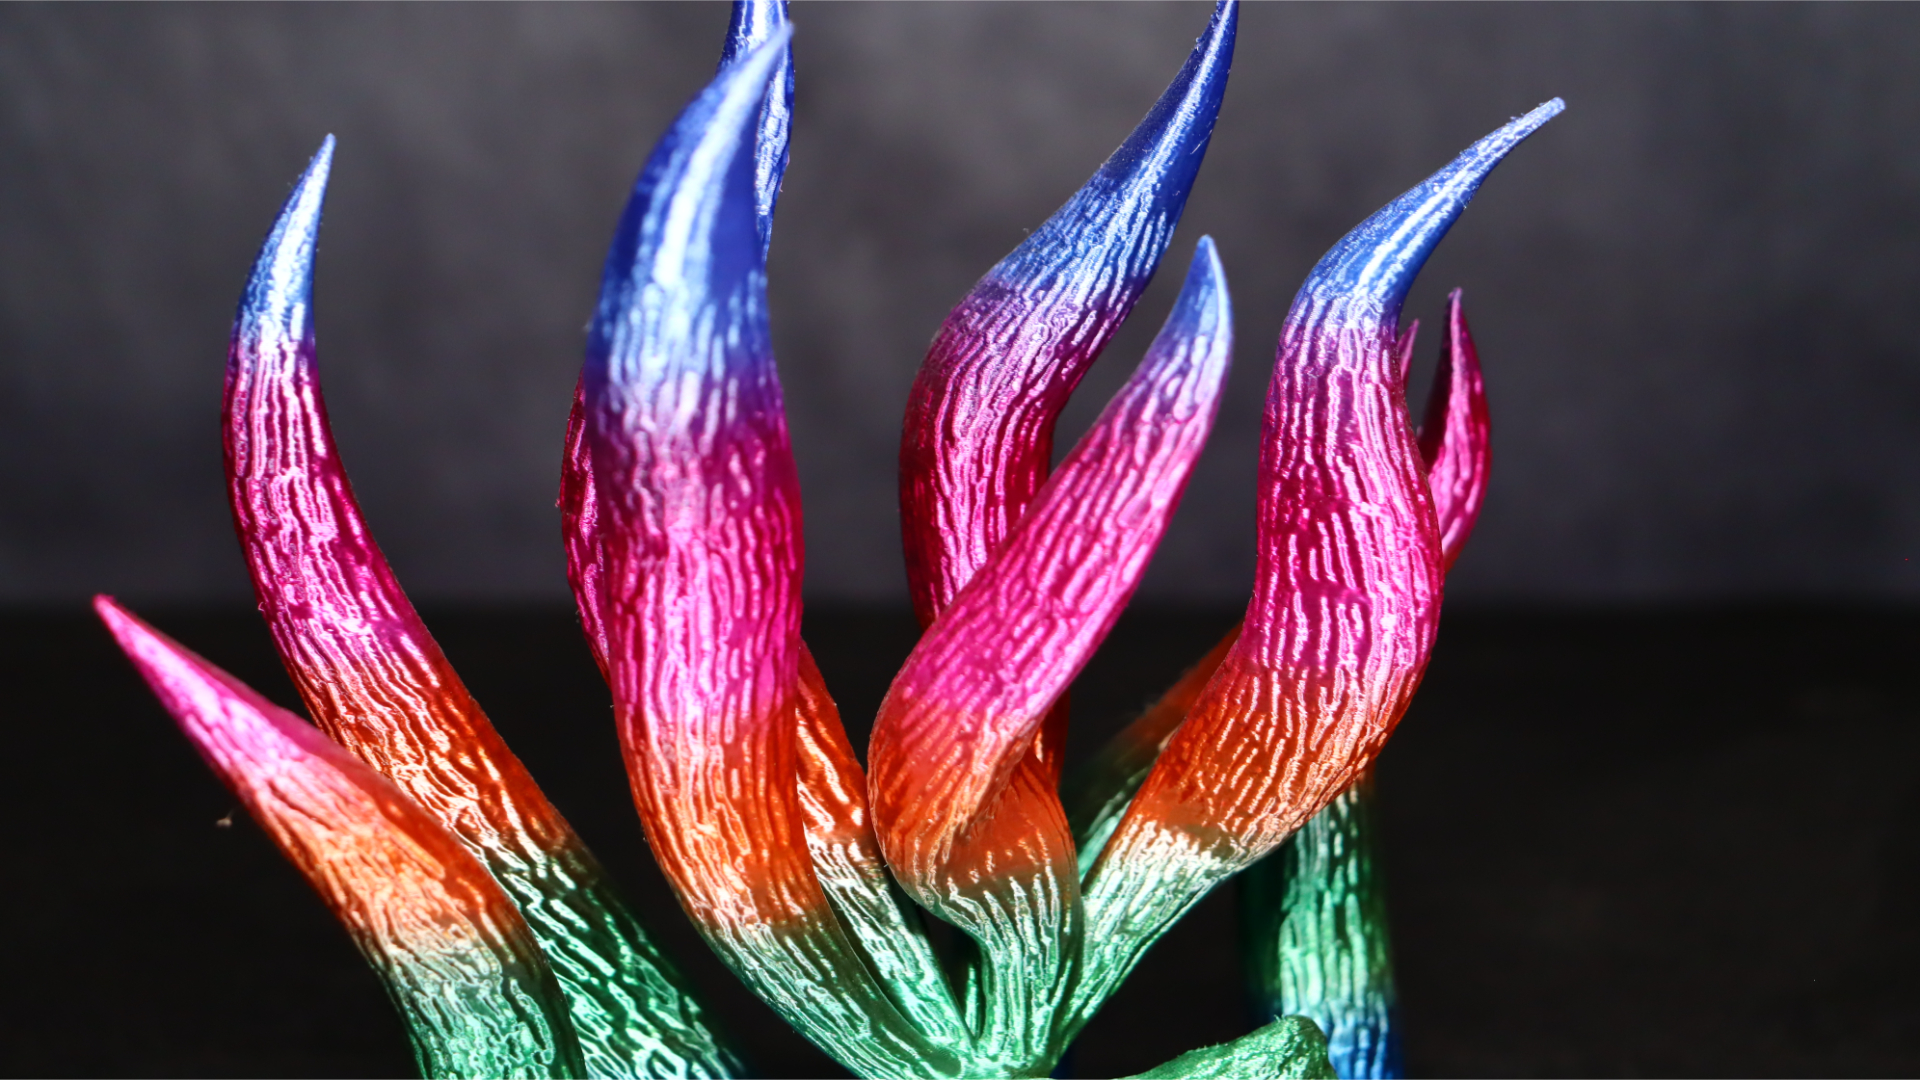
For our next print, we chose the Nine-Tailed Fox Demon, crafted by Jukka Seppänen from MyMiniFactory. This print comprised two distinct parts: the base and the fox itself. With an approximate print time of just over 8 hours, we selected Eryone Universe Rainbow Silk PLA filament to add a vibrant touch to the final result.
The Kobra 2 demonstrated its capabilities by flawlessly capturing the intricate details of the nine tails and ensuring a clean finish throughout the print. The higher print speeds posed no issues, showcasing the printer's stability and precision.
The utilization of Eryone Universe Rainbow Silk PLA filament brought the model to life with its vibrant colors, enhancing the overall visual appeal of the Nine-Tailed Fox Demon. The successful completion of this intricate model affirmed the Kobra 2's ability to handle complex designs while maintaining exceptional print quality.
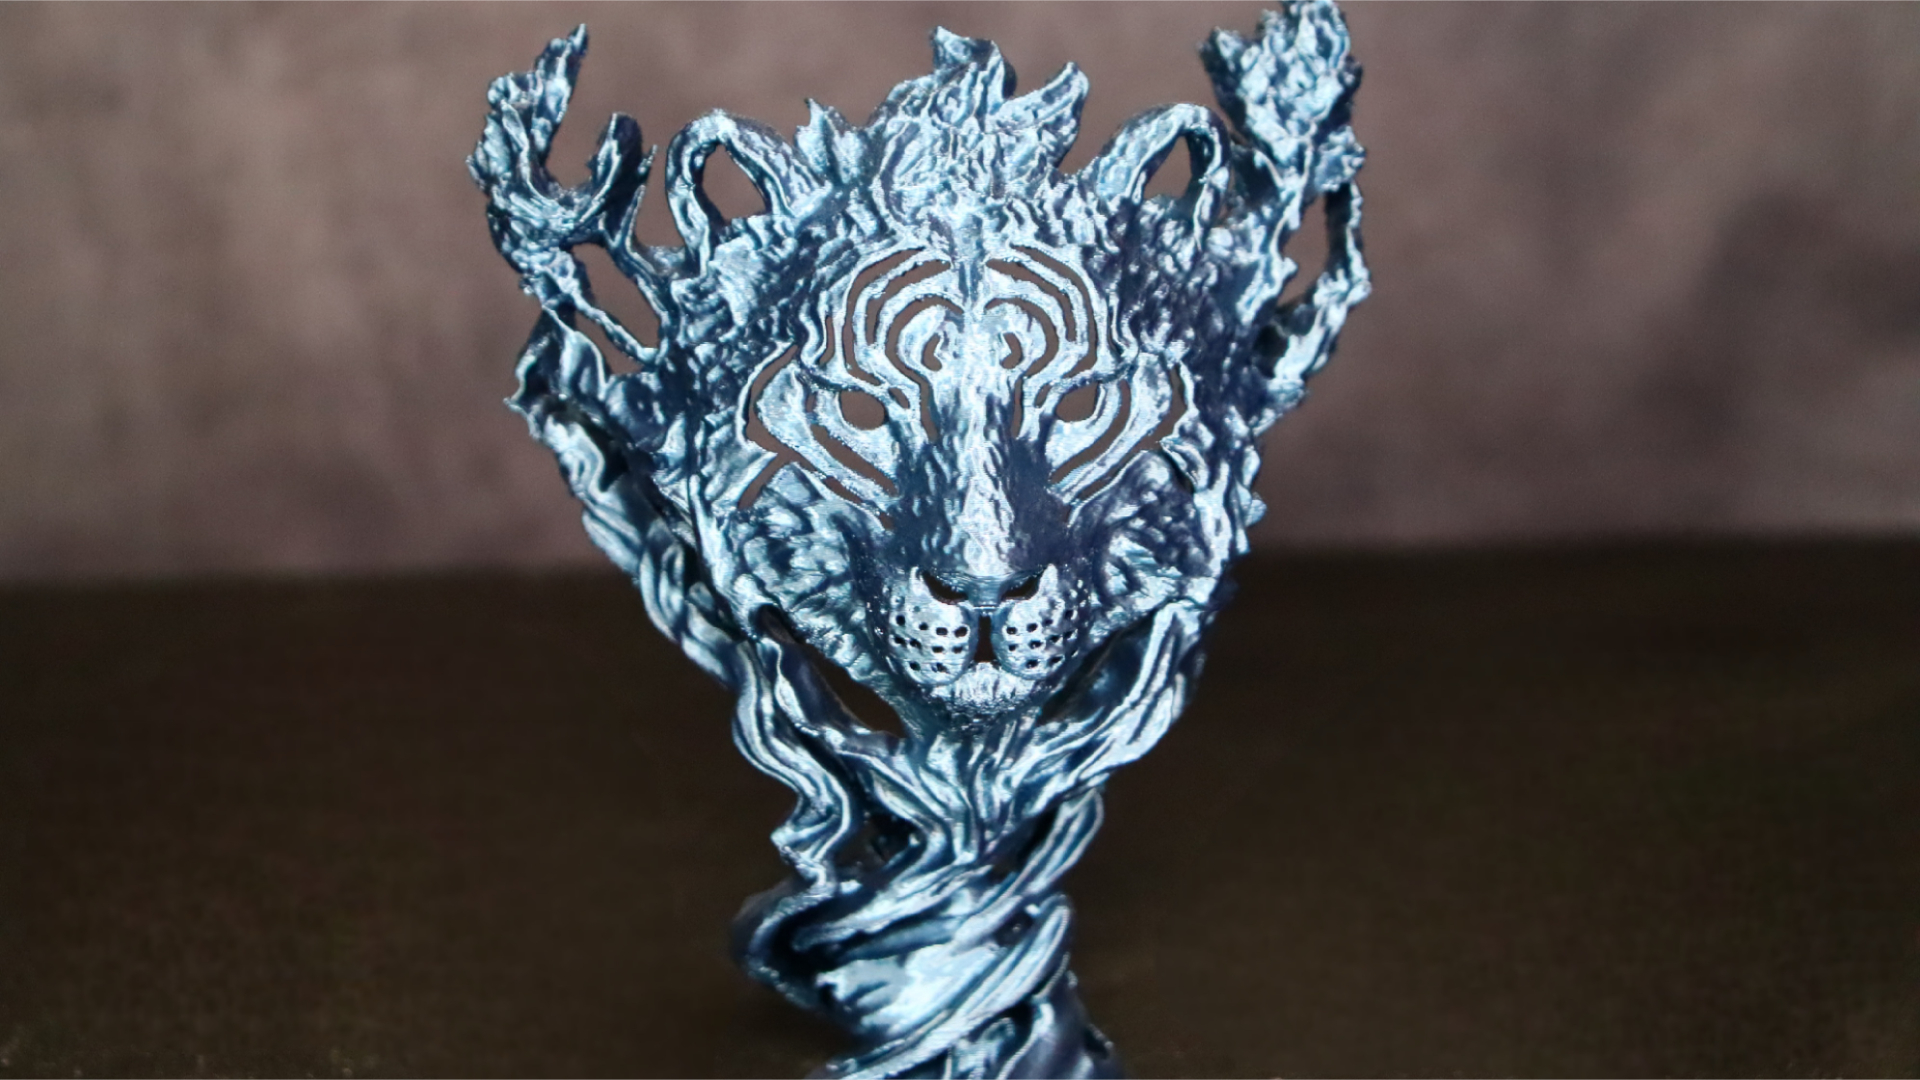
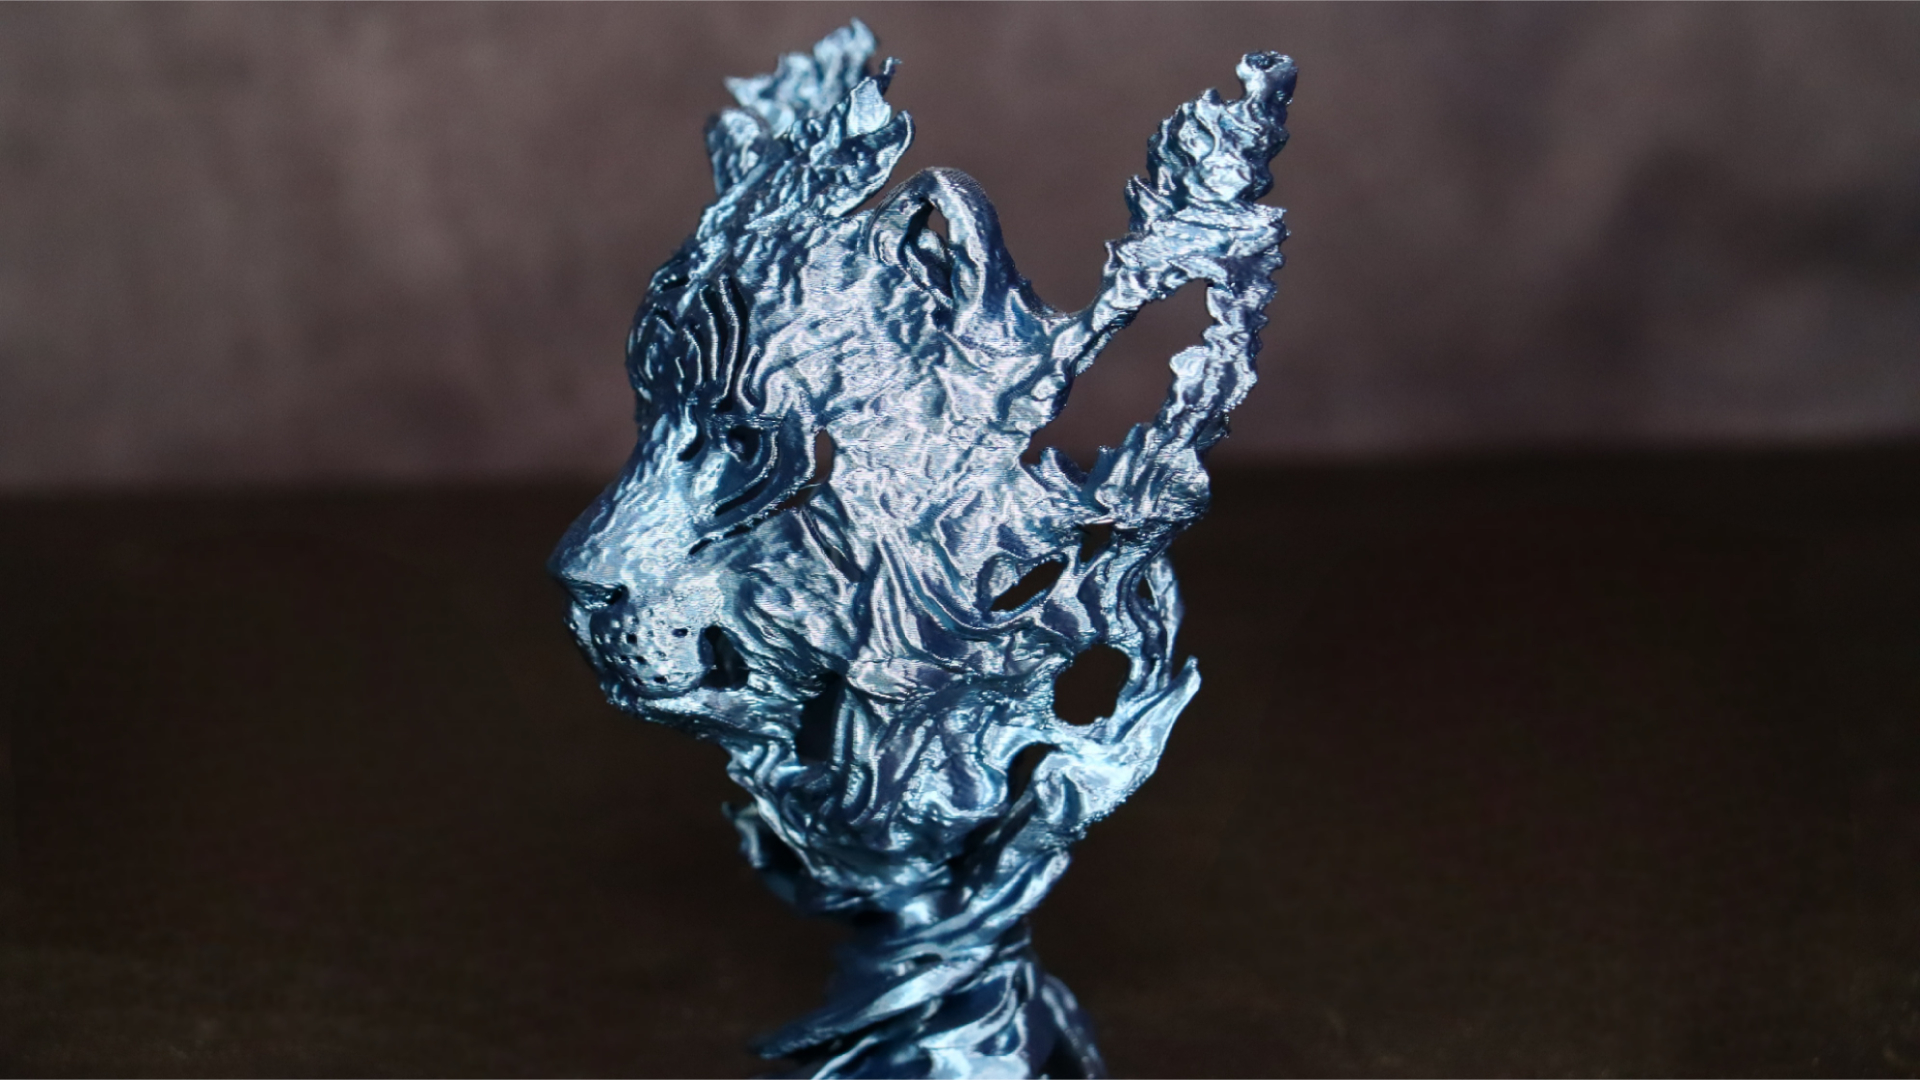
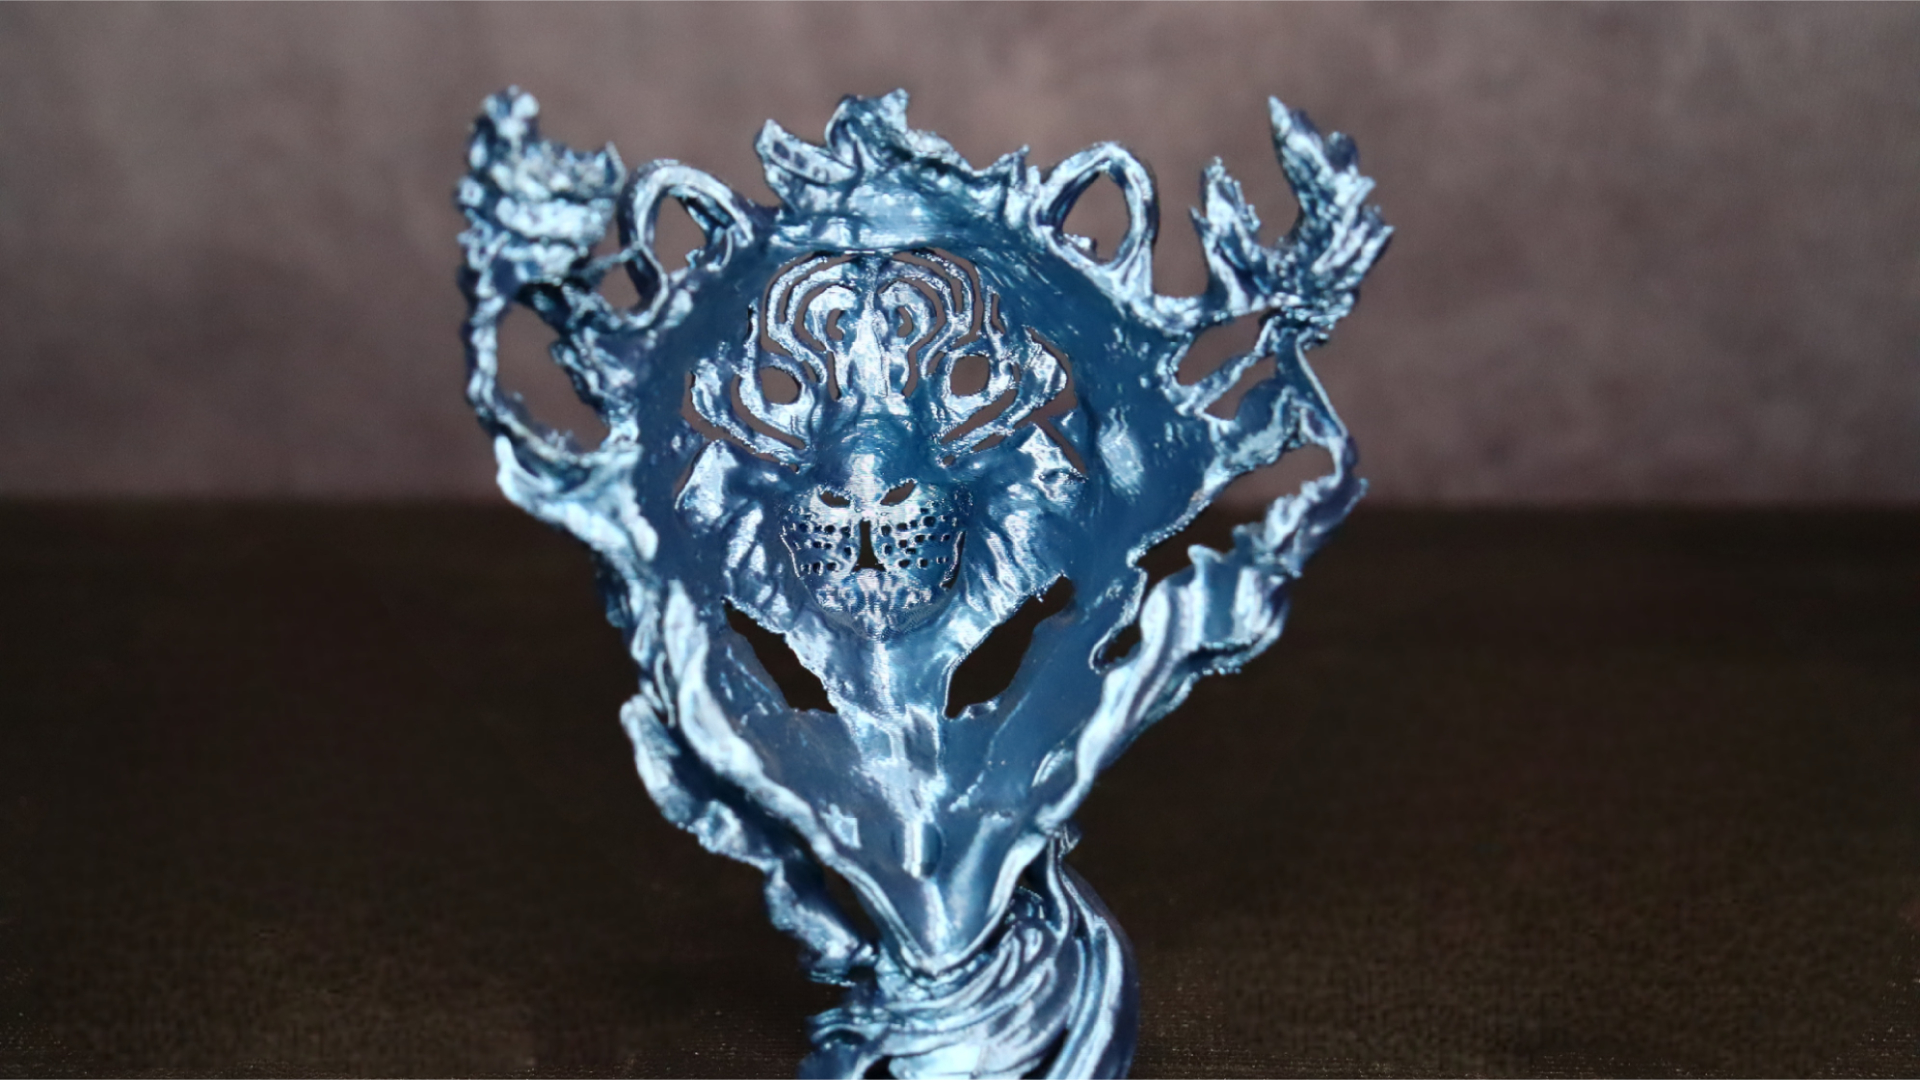
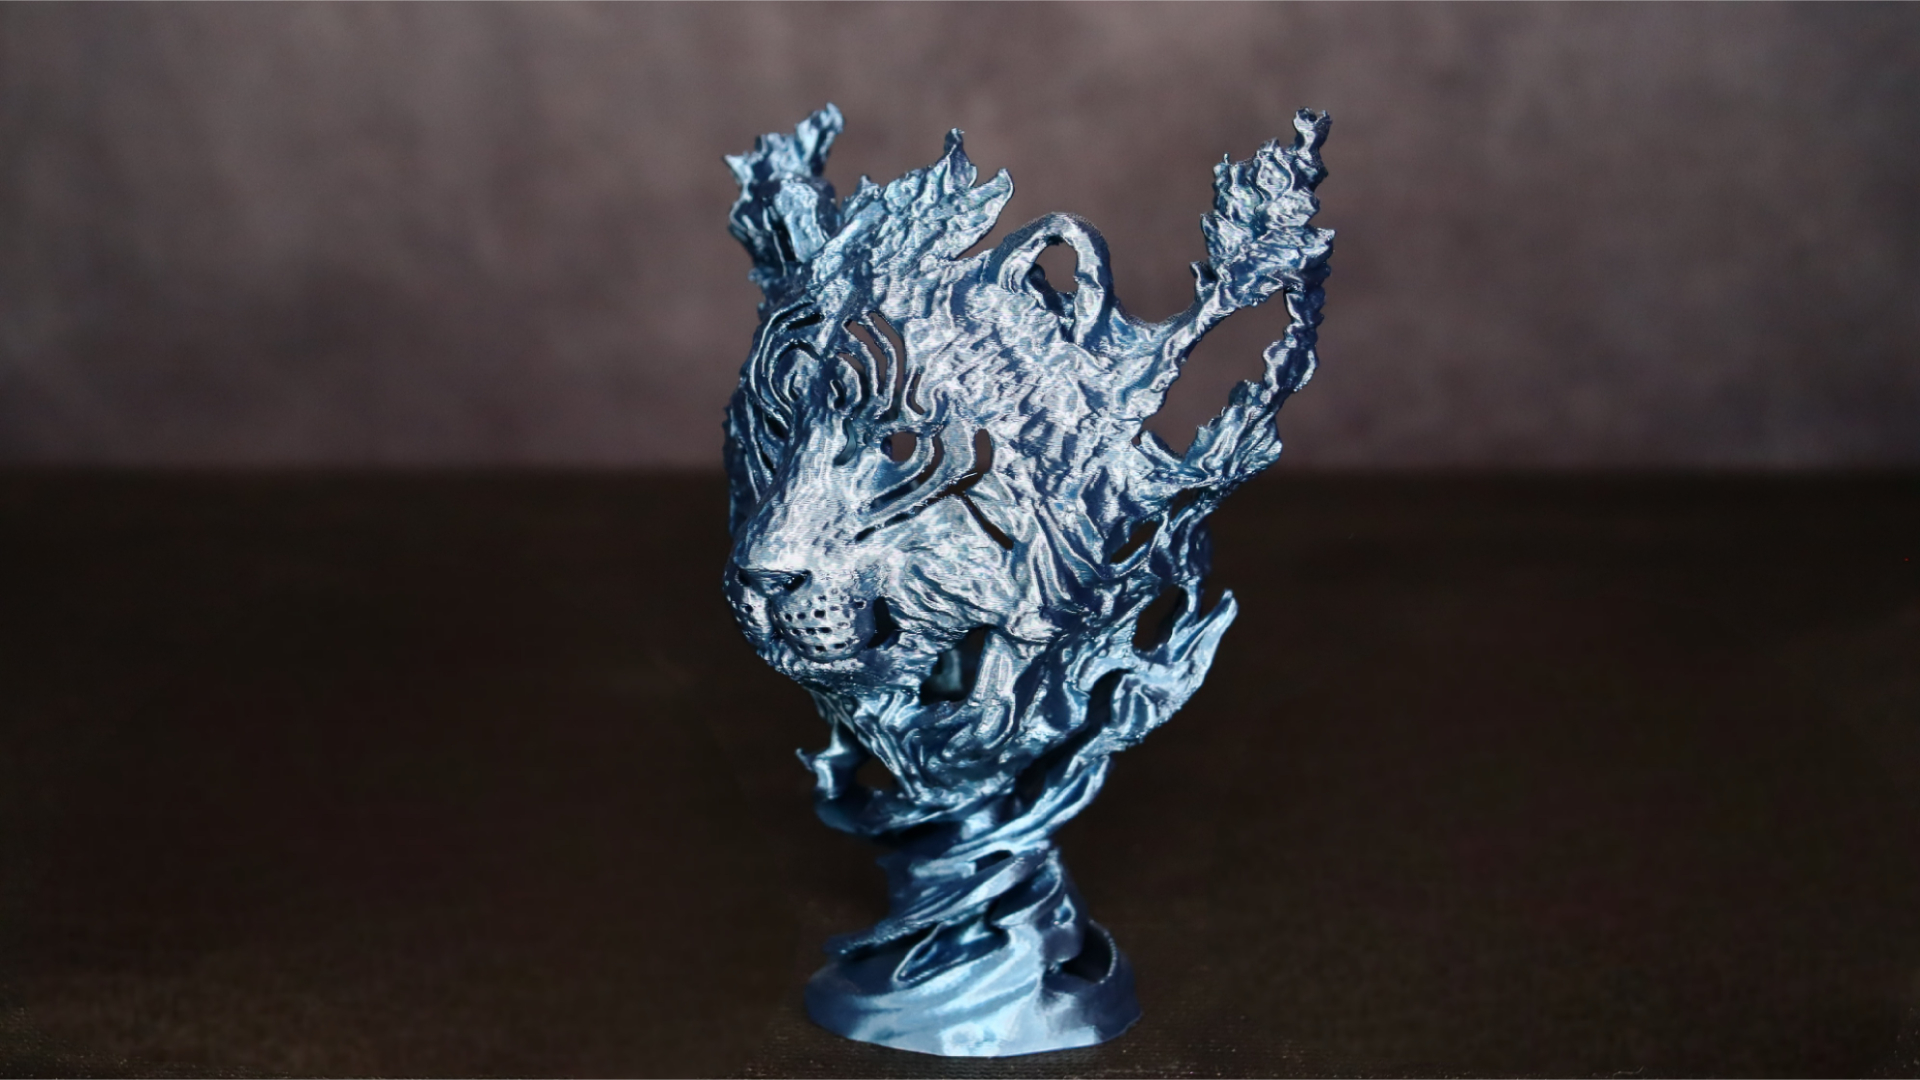
For our final print in our testing phase, we selected another remarkable model by Jukka Seppänen—the Water Tiger. This particular model proved to be an excellent test due to its numerous overhangs and intricate details that can pose challenges for some FDM printers. To bring out the best in this model, we decided to use Anycubic Metallic Blue PLA filament.
The print time for the Water Tiger was just under 7 hours, and once again, the Kobra 2 impressed us with its performance. The printer flawlessly handled the intricate details and challenging overhangs, resulting in a successful print.
Throughout our testing process, the Kobra 2 consistently delivered outstanding results, showcasing its capabilities in handling complex designs and producing high-quality prints. We conducted the majority of our tests at the recommended 150 mm/s print speed, and we encountered no issues with adhesion. It demonstrated its reliability and ability to capture intricate details, ensuring a satisfying printing experience
Anycubic Kobra 2 review: Price & warranty
The Anycubic Kobra 2 is available can be purchased directly from Anycubic for $269.99. It's also available on Amazon for $419.99, but at time of writing there is a coupon to knock $140 off that price, bringing it down to $10 above the price on the official store.
That brings the Kobra 2 in at a lower starting price than it’s predecessor – the original Kobra costs $299 at full price, though you can often find it on offer for closer to $200. Nevertheless, we think the Kobra 2 is excellent value for money at that price.
As with all the printers Anycubic sell, the Kobra 2 comes with a limited 12-month limited warranty.
Should you buy the Anycubic Kobra 2?
The Anycubic Kobra 2 3D printer is an exciting addition to the market, offering a compelling combination of features, performance, and affordability. With its quick assembly process, excellent printing results, and the stellar build quality, the Kobra 2 is a worthy successor to the original Kobra.
Whether you're an experienced professional or an enthusiastic hobbyist, the Kobra 2 is simple to use and capable of delivering exceptional printing results. Its user-friendly interface and intuitive operation make it an attractive choice, particularly for beginners, as it minimizes technical challenges and allows users to focus on their designs and creations.
The Kobra 2 offers an excellent balance of price, user experience, and print quality, while also offering a unique proposition in the Kobra line thanks to its improved printing speed. This makes it an appealing option for those who seek efficiency without compromising the final output. While it would benefit from a refreshed touchscreen user interface with more tuning options, the Kobra 2 remains a solid choice for your next printer, consistently delivering reliable results.
Additionally, the new LeviQ 2.0 leveling system with the nozzle calibration sensor located on the back of the build platform further enhances its appeal. The addition of a reliable printing profile for Prusa Slicer is an excellent bonus too.


